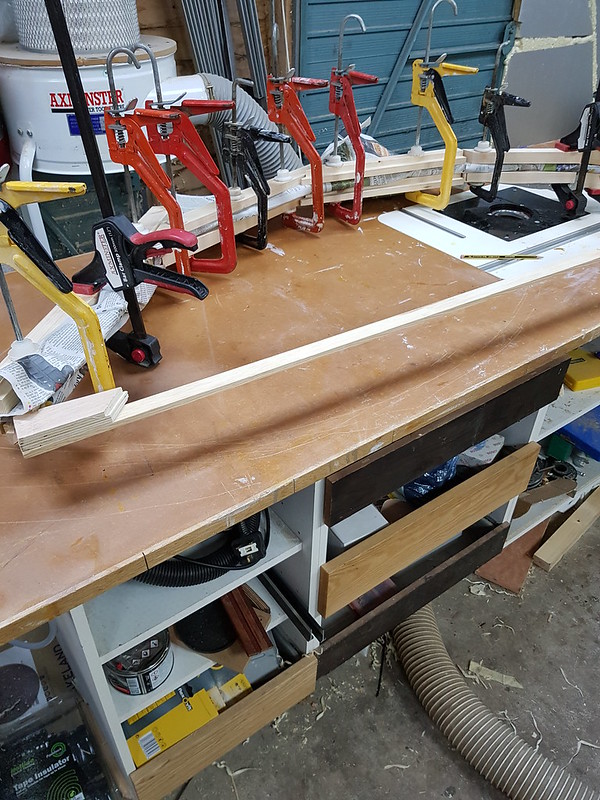
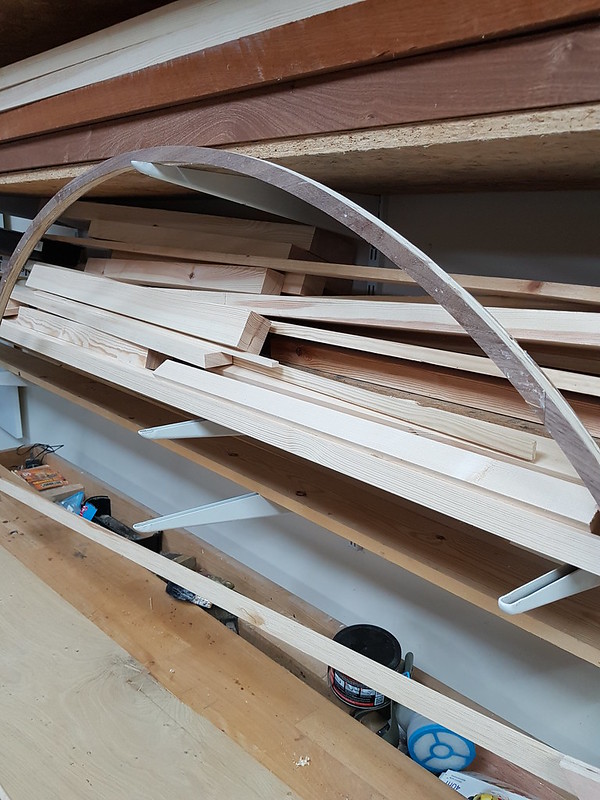
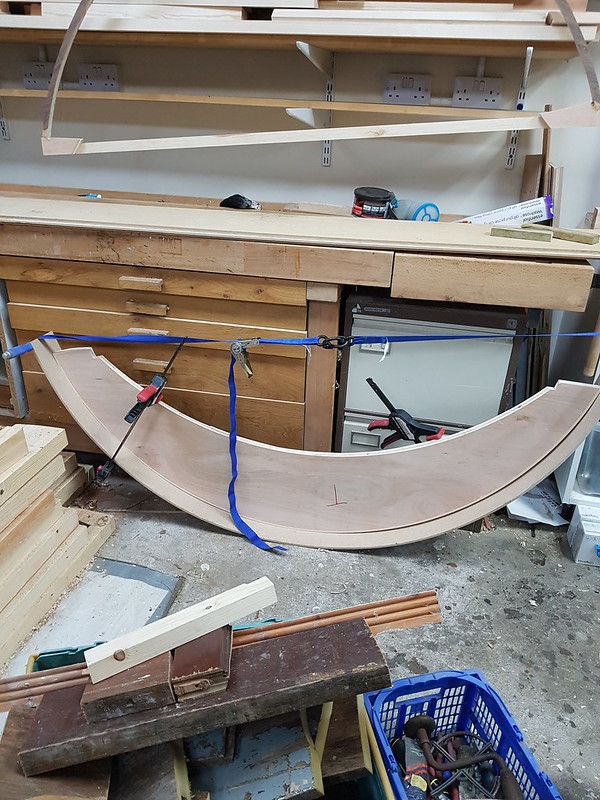
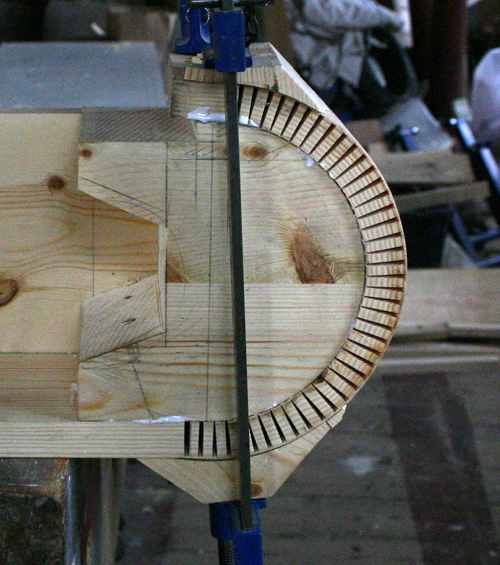
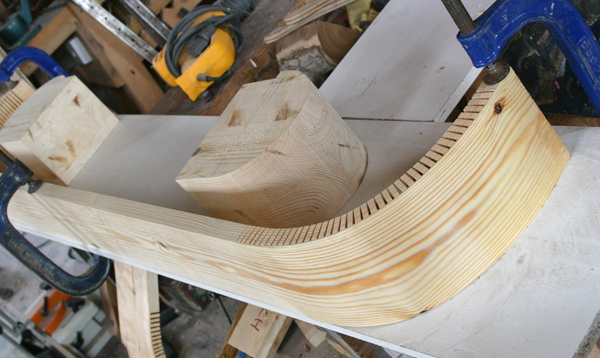
I’ve had two suggestions for ‘easing’ the curve on the 6mm MDF risers : cutting a load of kerfs (RogerM TWH2) and using a hot air gun (ProfChris UKW). Since it’s over 2m long, the thought of cutting all those kerfs didn’t appeal and so I gave the hot air gun a go and it worked a treat. You have to be careful not to get too close to any strapping
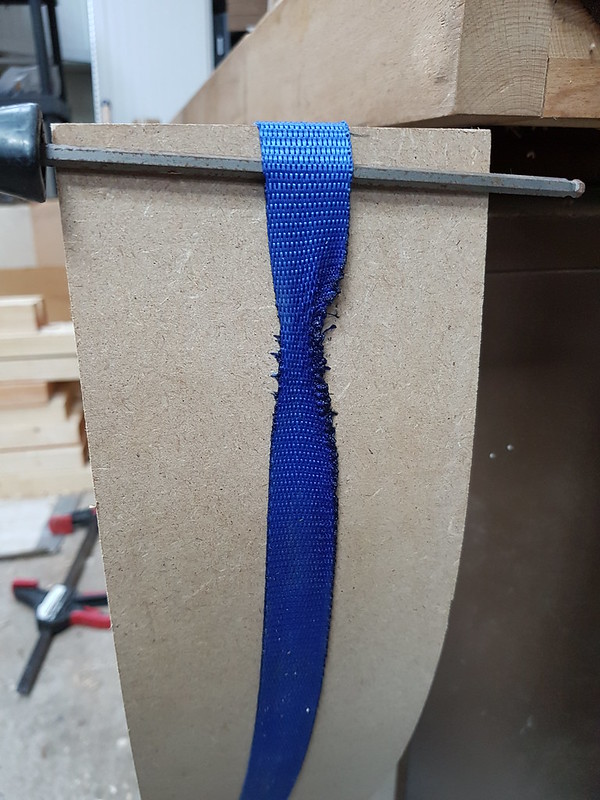
The allen key underneath is to spread the strap load evenly over the width. I’d noticed that without it, the MDF was starting to distort under the pressure of the strap.
Still thinking about (a) how to fix the riser to the subframe and (b) keeping it bent between taking it out of the vacuum press and fixing it to the subframe.
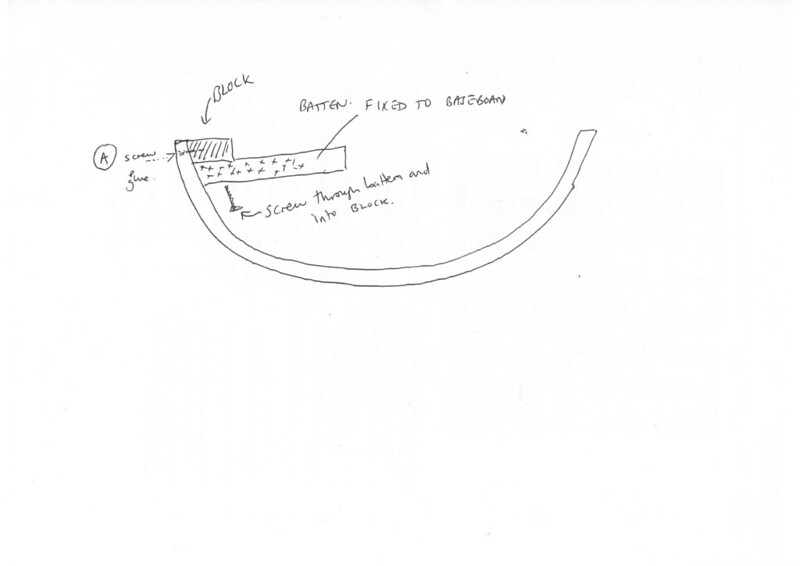
The solution to (a) is several blocks glued and screwed to the riser ahead of the veneering..since I don’t really want screw heads in the veneer !!
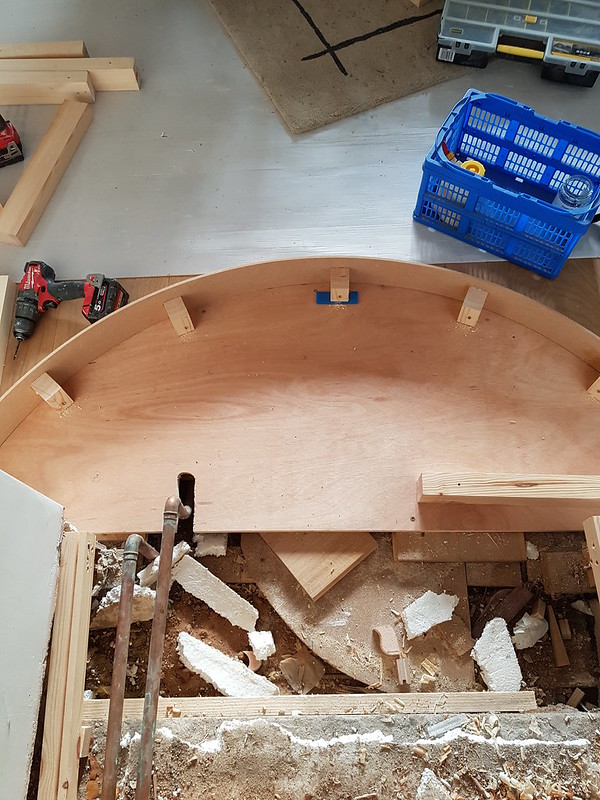
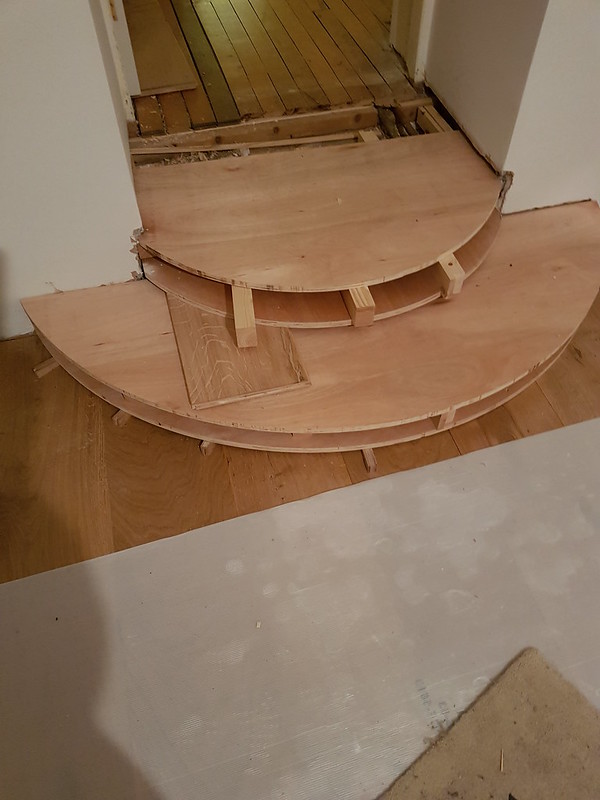
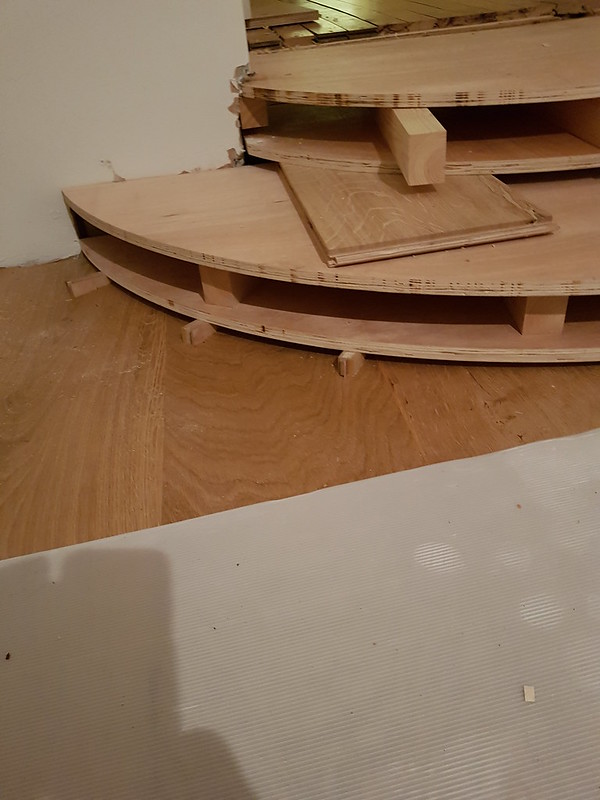
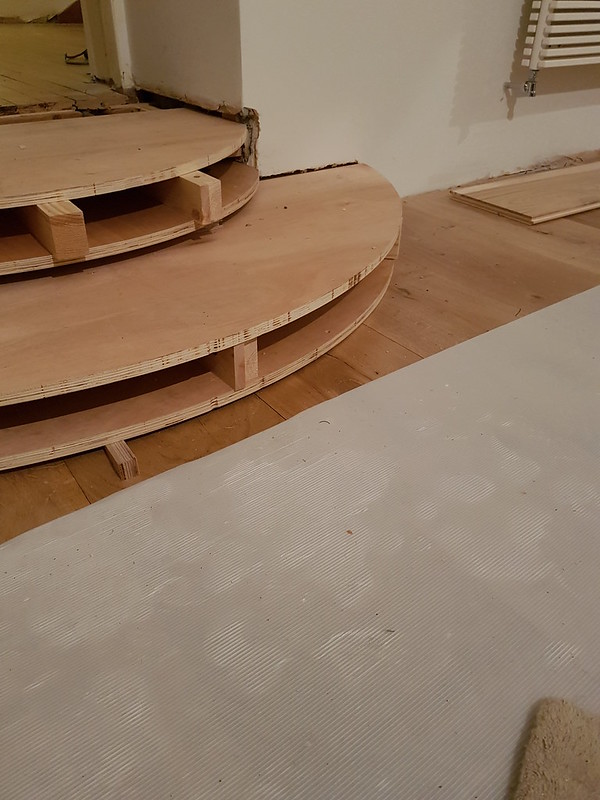
In an ideal world with a level floor I might have considered making the bottom step as a unit, gluing and screwing the riser on and then veneering but, as mentioned earlier, the floor isn’t level and I would like a nice tight fit down to the floor with the riser so it’s going to be …(a) fit the bottom subframe to the floor (b) veneer (c) fit the riser to the subframe.
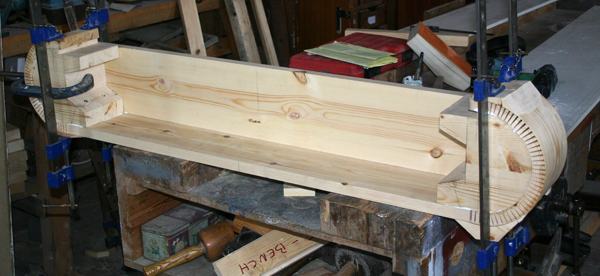
The solution to (b) is to have the two blocks at the lefthand and righthand extremes (where the riser meets the wall) extra tall and then have a plywood bar between the two. Using two screws at each end minimises any tendency for the riser to skew. Thus …
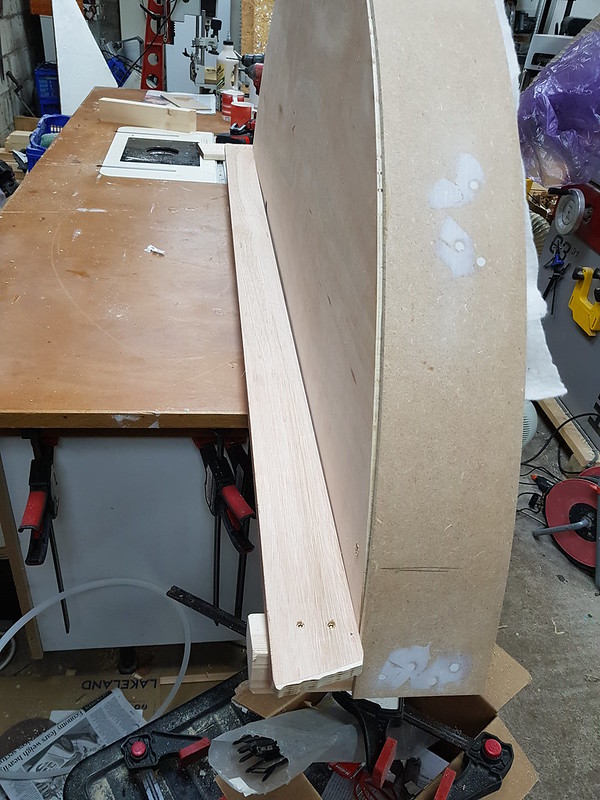
This was Plan A. It lasted two whole days.
Remember I’d not done any veneering for over two years and had forgotten what little I knew. First thing was to check the pump was OK and that this time I’d set the ‘suck’ to the right level. It’s also a damn great bag. Test 1…put the riser in the bag but without veneer or glue, started the suck
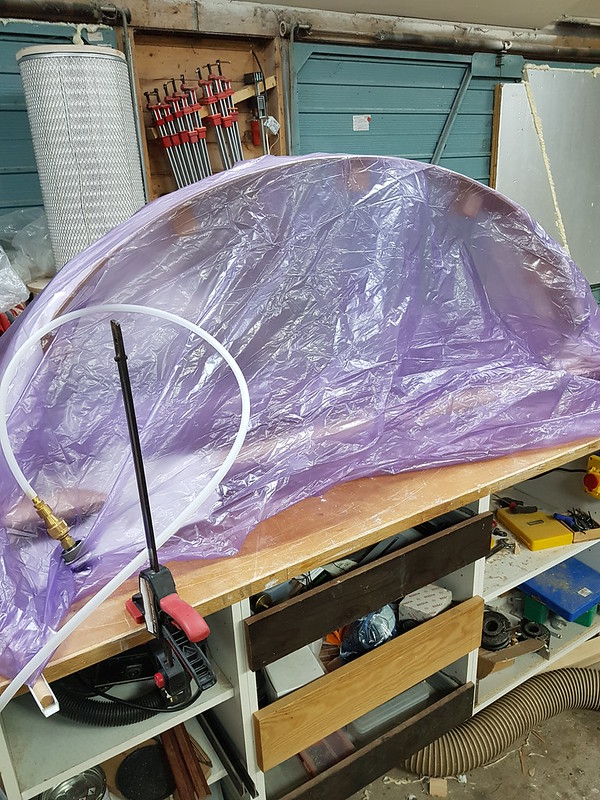
Not much happened. Then … I found out that it also helps to actually fit the vacuum connector on properly.

Test 2…well on the way. Success.
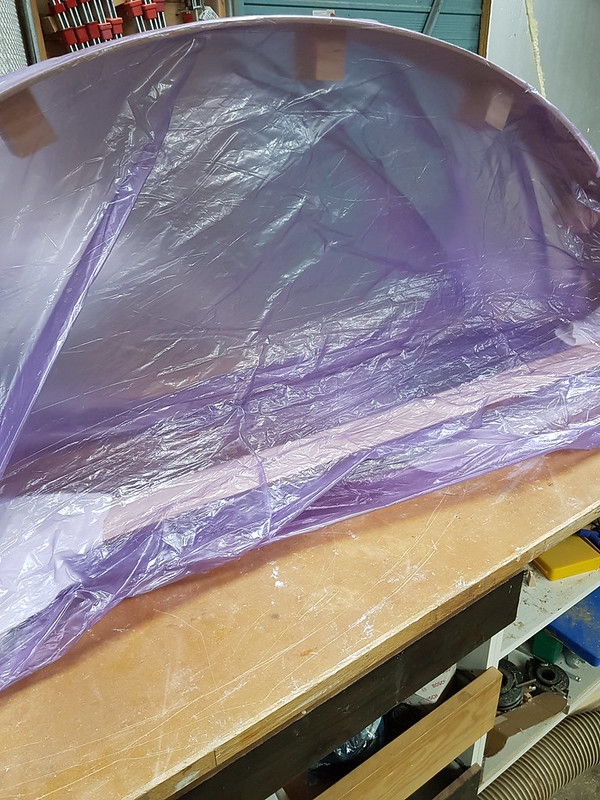
What next ? I remembered some of that breather membrane needs to go in but I couldn’t remember where it should go …alongside the workpiece ? On top of the veneer ? Did I have to moisten the veneer ? Did some reading around, spoke to a few folk. Membrane goes on top of the caul. Caul ? So thought to use some 6mm MDF as a caul. But speaking to Steve Maskery, he rightly pointed out ‘Why fight 6mm MDF…why not get some 3mm hardboard or picture backing board ?’. He was bang on the money.
Did you know that you can roll up 3mm hardboard and stick it in the back of your car ? No, I didn’t either until yesterday.
Then the thought struck me…looking at that photo…I couldn’t see how it was going to work properly. Surely the underside of the riser needs a better support. Or does the vacuum ‘wrap-around’ as it were and provide equal pressure on the underside? Would it all twist and stretch out of recognition once I’d fully applied the vacuum ?
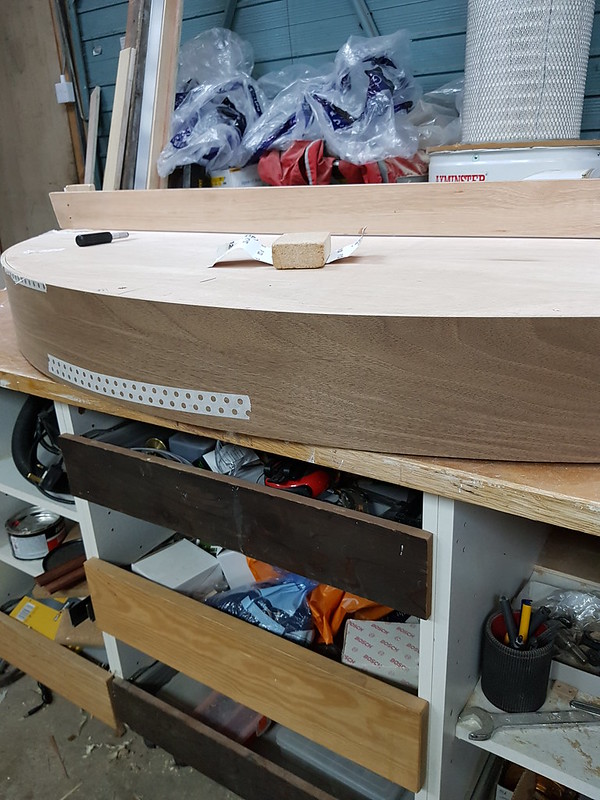
More Googling…more looking at Youtube. Couldn’t find anyone daft enough to be attempting what I was doing but gut feel suggested that belt and braces dictated a decent support underneath. So unscrew the bottom panel of the subframe from the floor, take that and the upper subframe panel back into the workshop. Screw the riser using those blocks onto the bottom panel …fudge fixing the upper panel fitting all together into some semblance of a support et voila.

Turn on the vacuum pump.
I’d knocked off as many sharp corners as I could and added padding as I didn’t want to tear the bag.
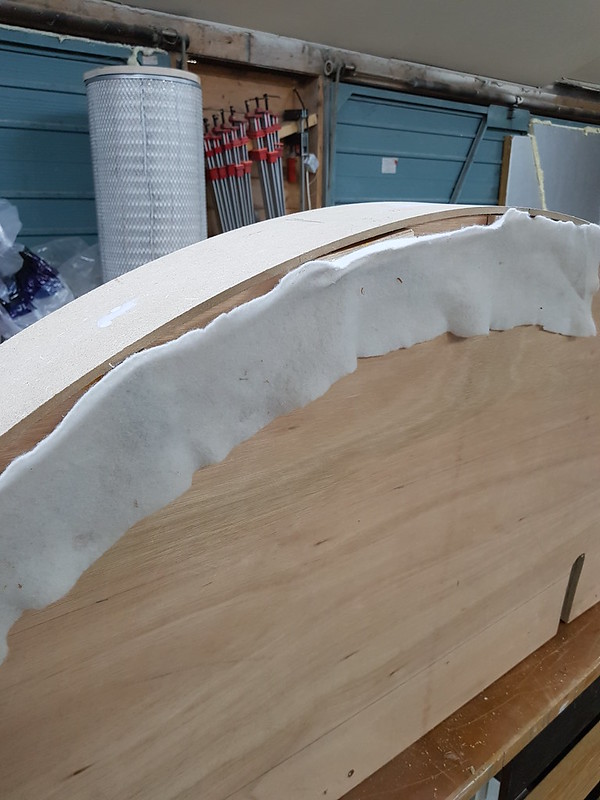
Even then, I think I could have provided more padding.
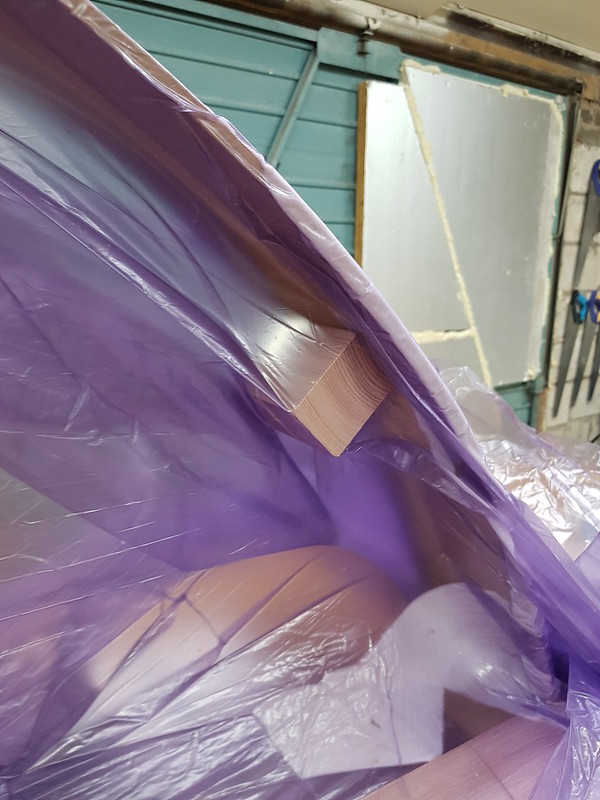
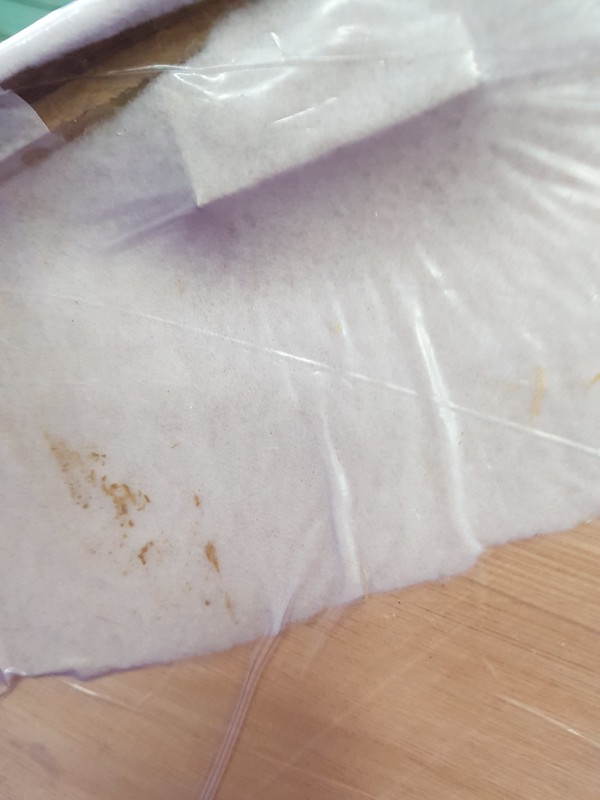
Doing this has also highlighted one thing…namely that glueing the top of the riser to the upper subframe panel is going to be challenging given the gaps…they will pull in but how ?
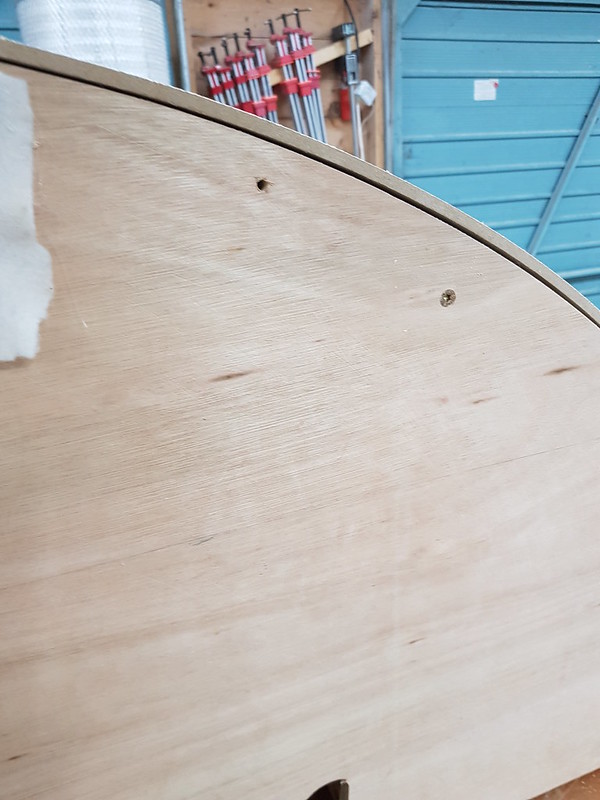
I have a cunning plan but that will have to wait.
Oh yes…that scream you heard this afternoon? That was me realising I’d been a muppet because when I went to apply the veneer to the freshly glued surface, it was then that this eejit had cut it 3” too short. That’s something else to sort out. But we are making progress.
