seanybaby Coffee Table[Beginner] Final Submission [Complete]

UKworkshop.co.uk

Help Support UKworkshop.co.uk:

This site may earn a commission from merchant affiliate links, including eBay, Amazon, and others.

seanybaby

Established Member
Joined
18 Mar 2007
Messages
484
Reaction score
0
Location
March, Cambridgeshire
Hi everyone,

Been busy making my coffee table. I think i'm maybe just under halfway so far. It's going to be made from ash with an iroko shelf.

Sorry but i missed some of the WIP pics :oops:

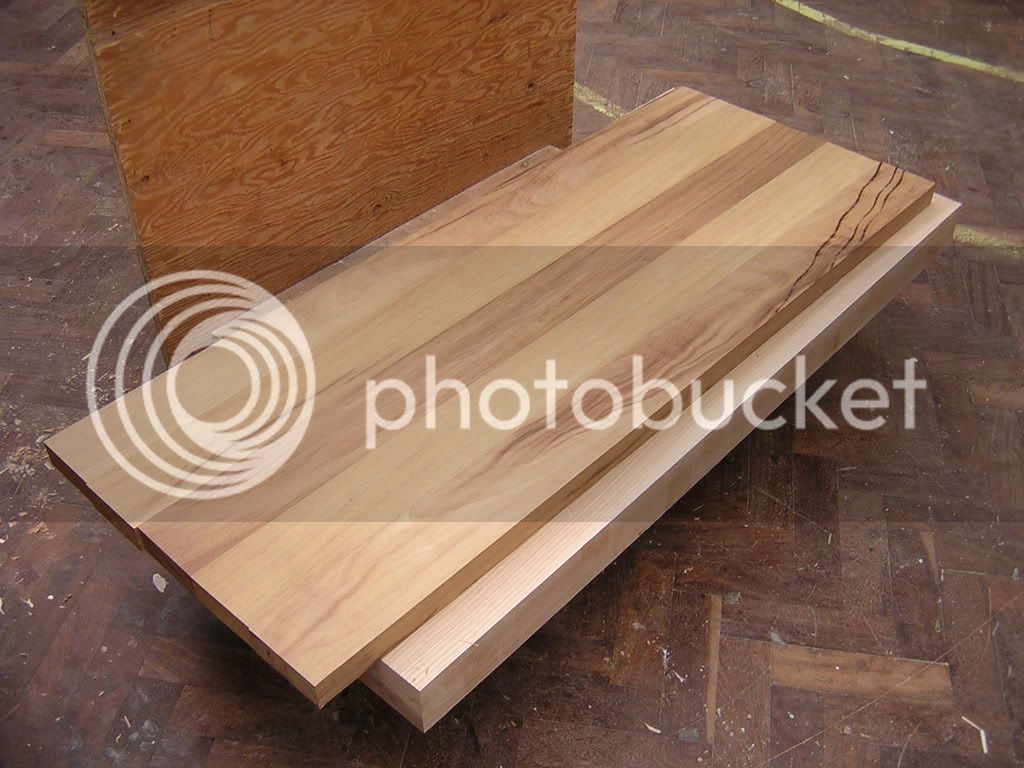
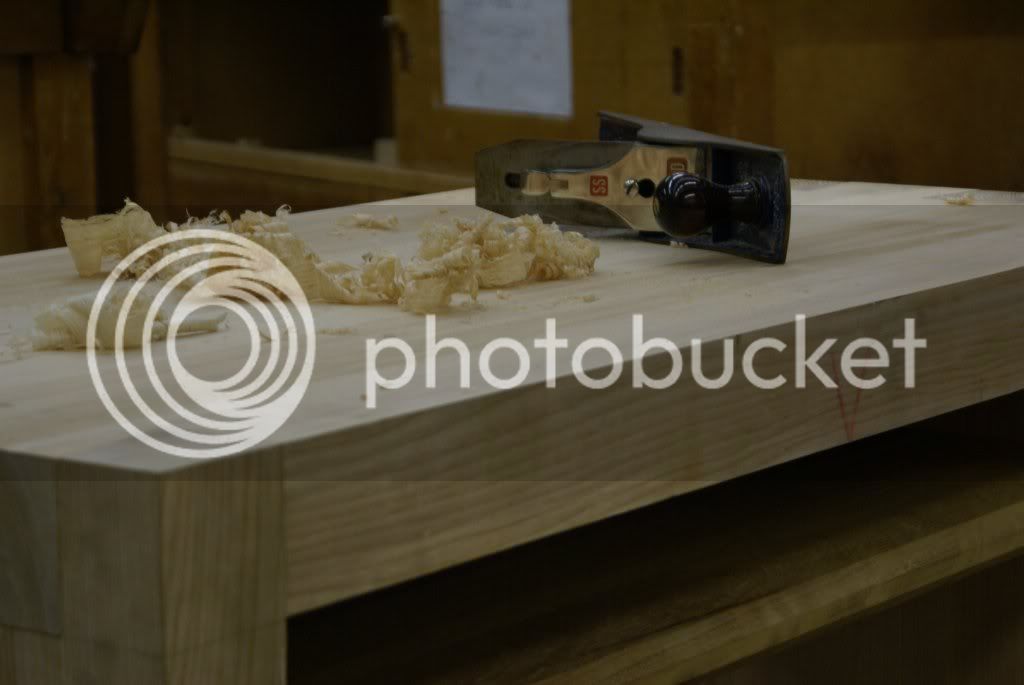
Anyways here's my table top jointed and thicknessed.
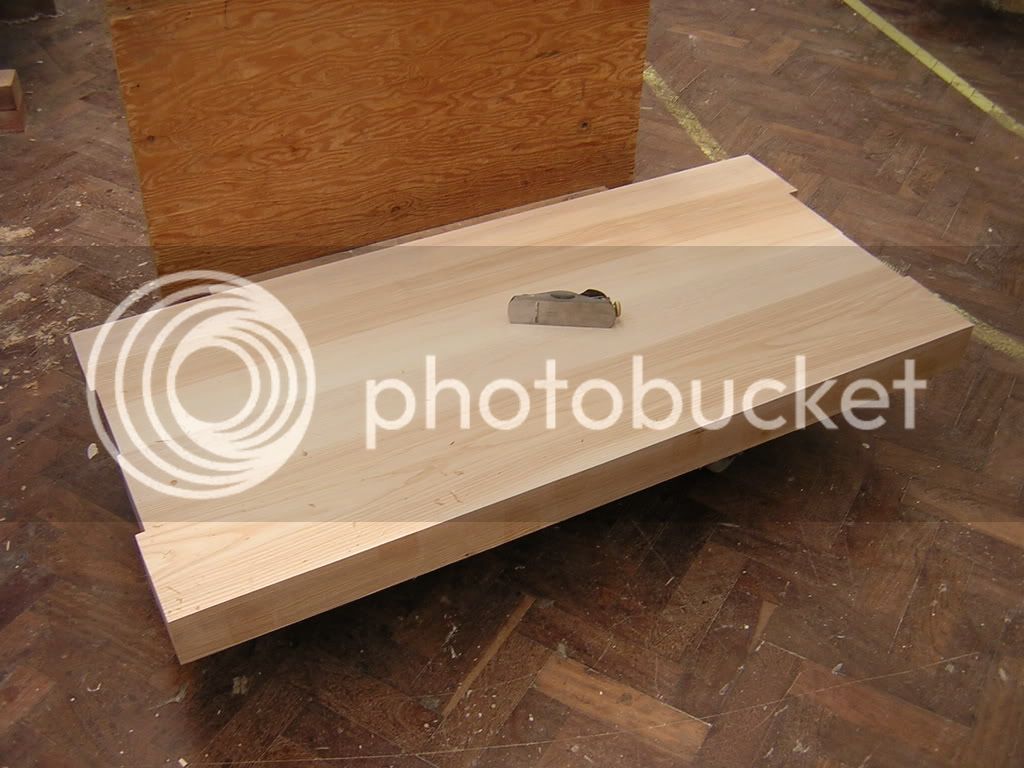
DSCN4873.jpg


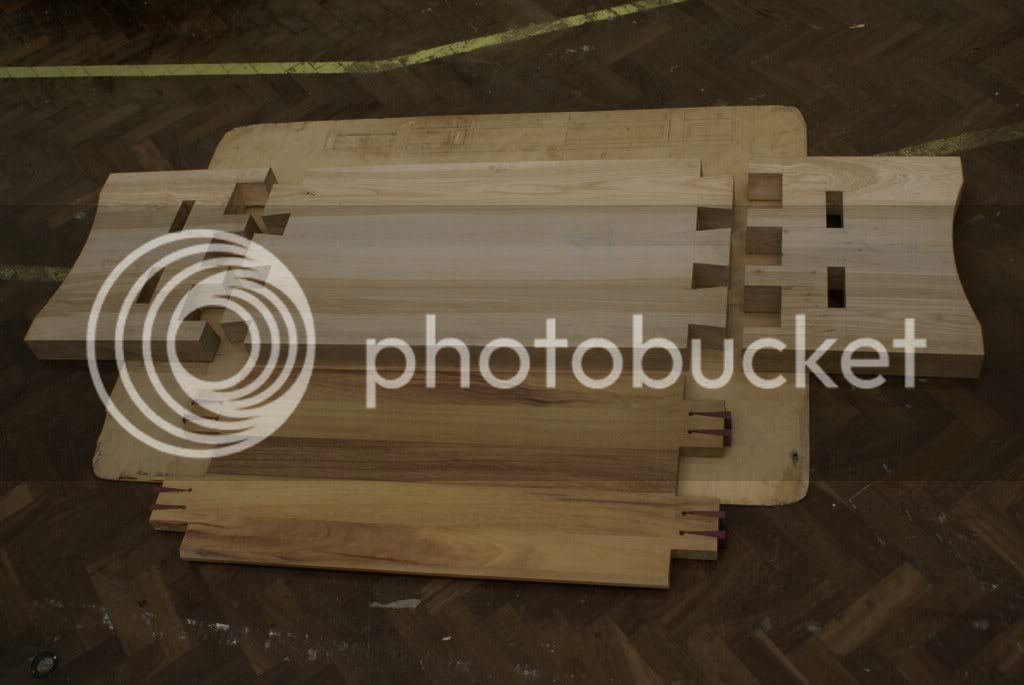
And the shelf in iroko.
DSCN4875.jpg


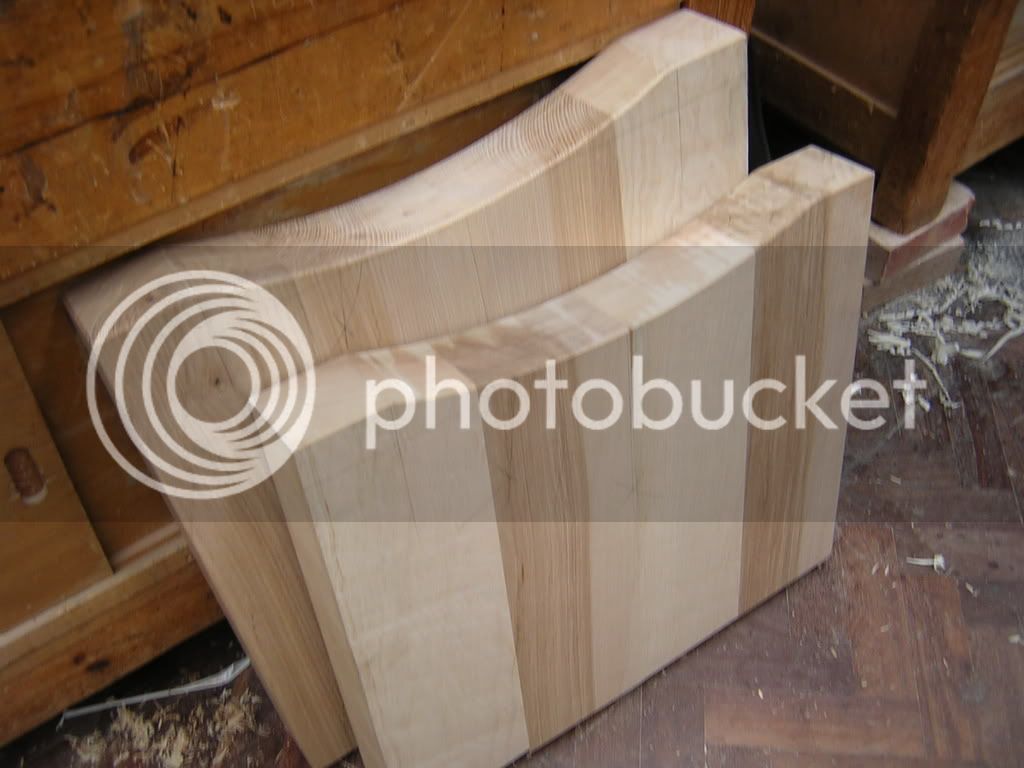
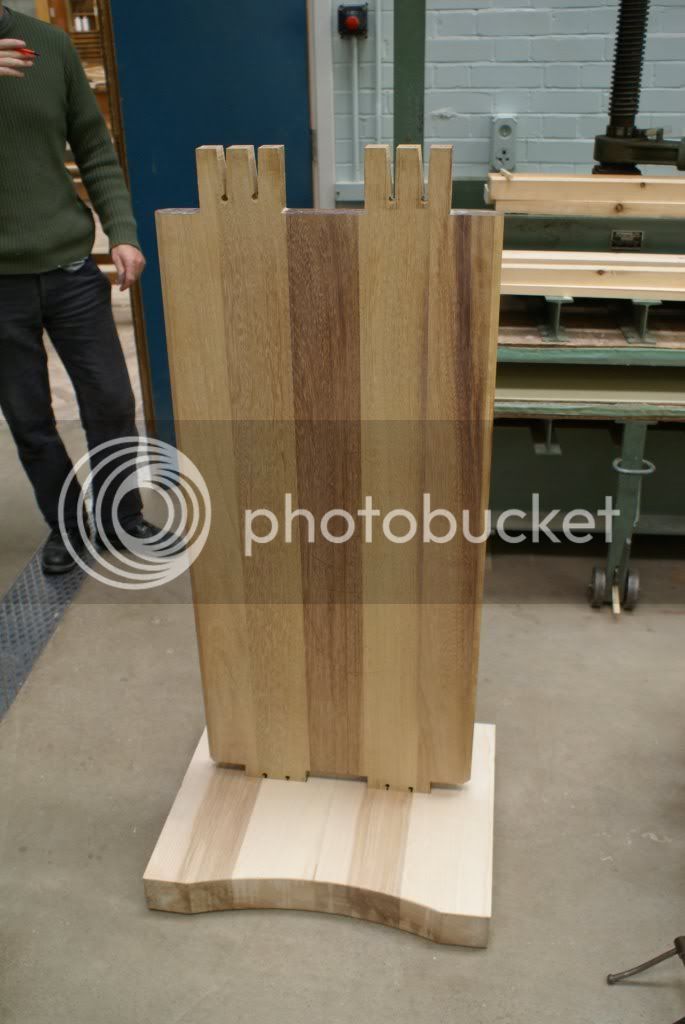
No pics of the sides being made, all though here i have shaped the bottom of the sides. Marked out with trammel, cut out on bandsaw, then finished with compass plane and spokeshave.
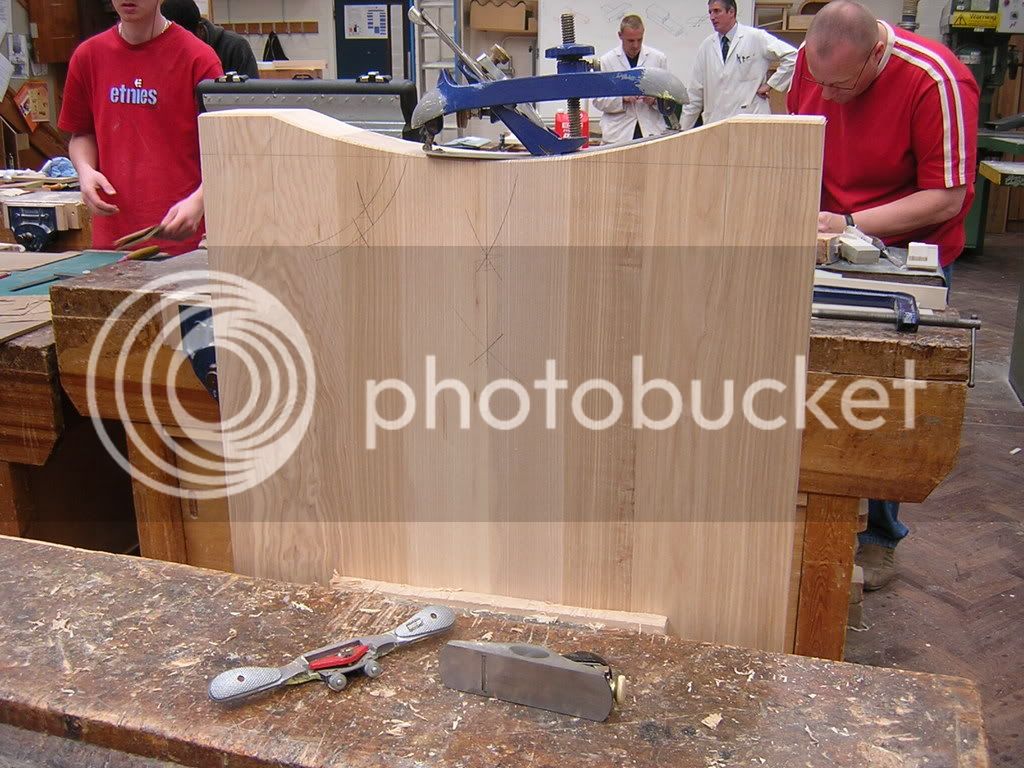
DSCN4872.jpg


The sides half finished.
DSCN4876.jpg


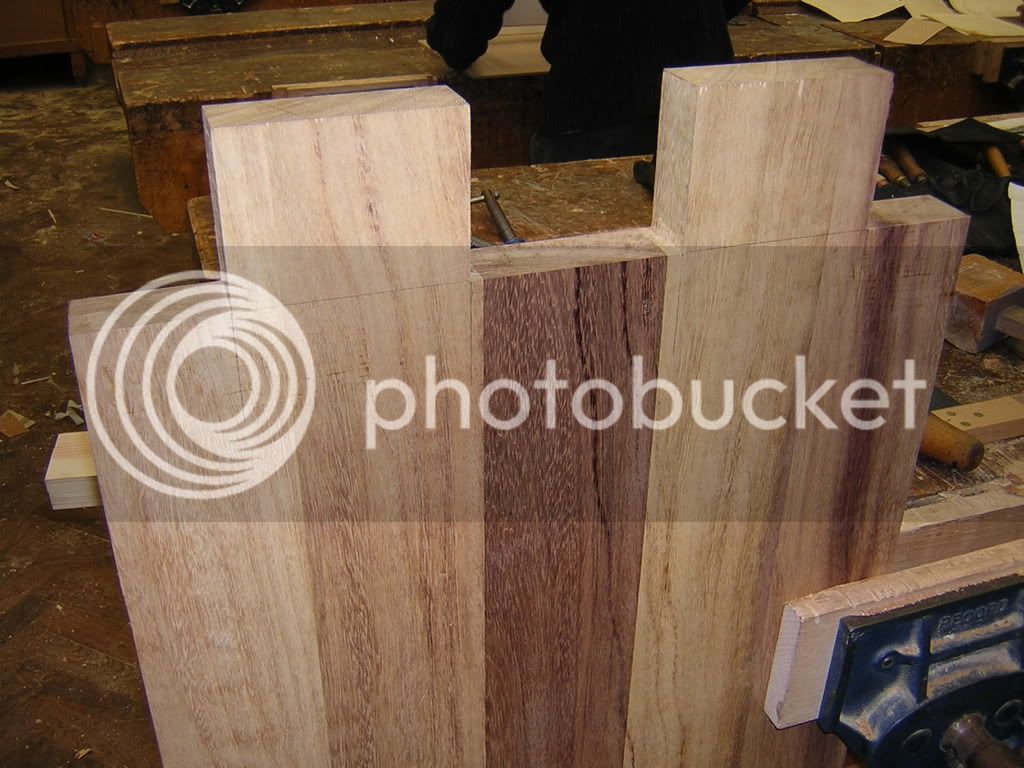
Cutting tennons on shelf.
DSCN4877.jpg


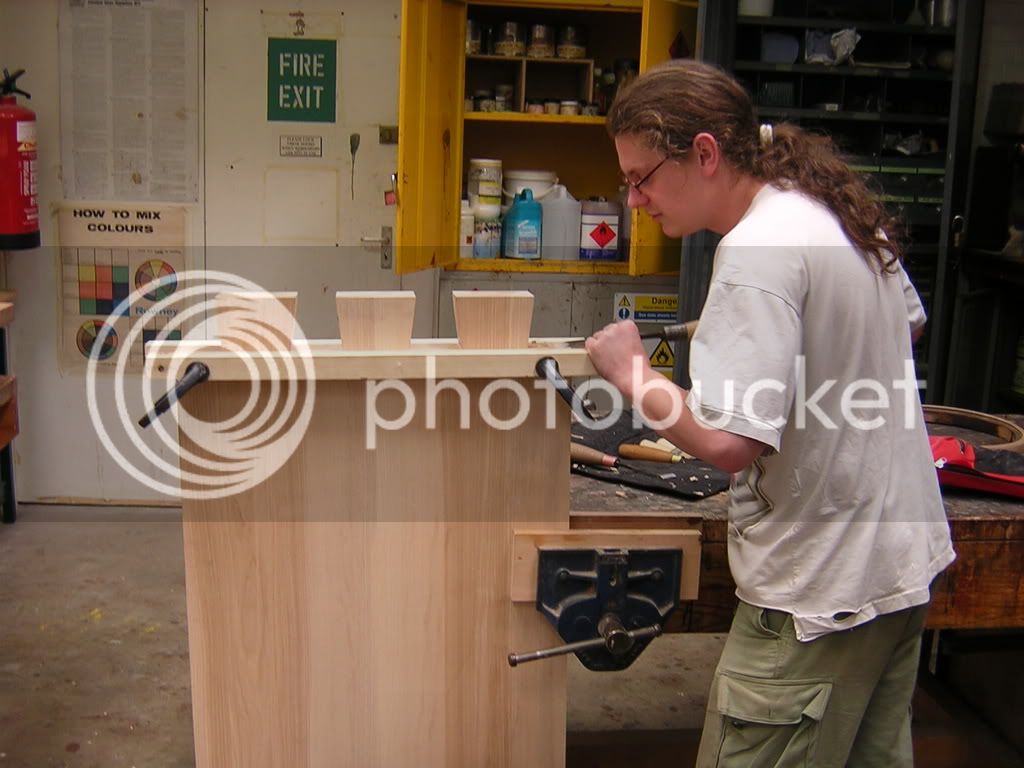
And the action shot!
DSCN4885.jpg


That's all for now.

Cheers
Sean
 
Heres my Septembers submission.

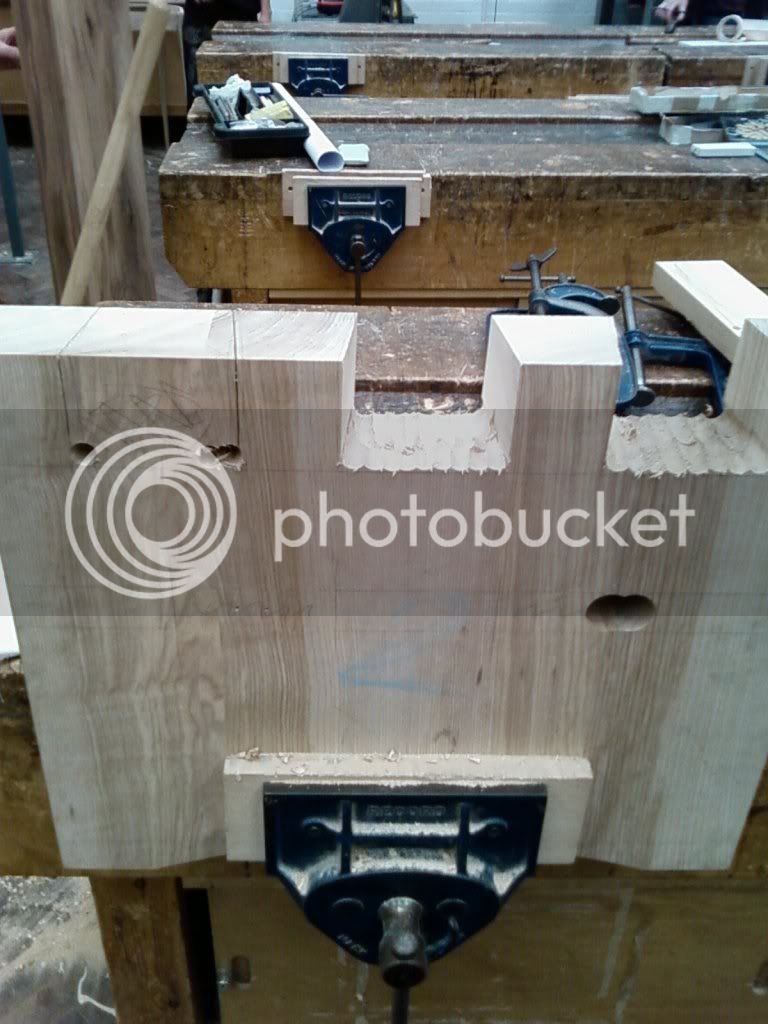
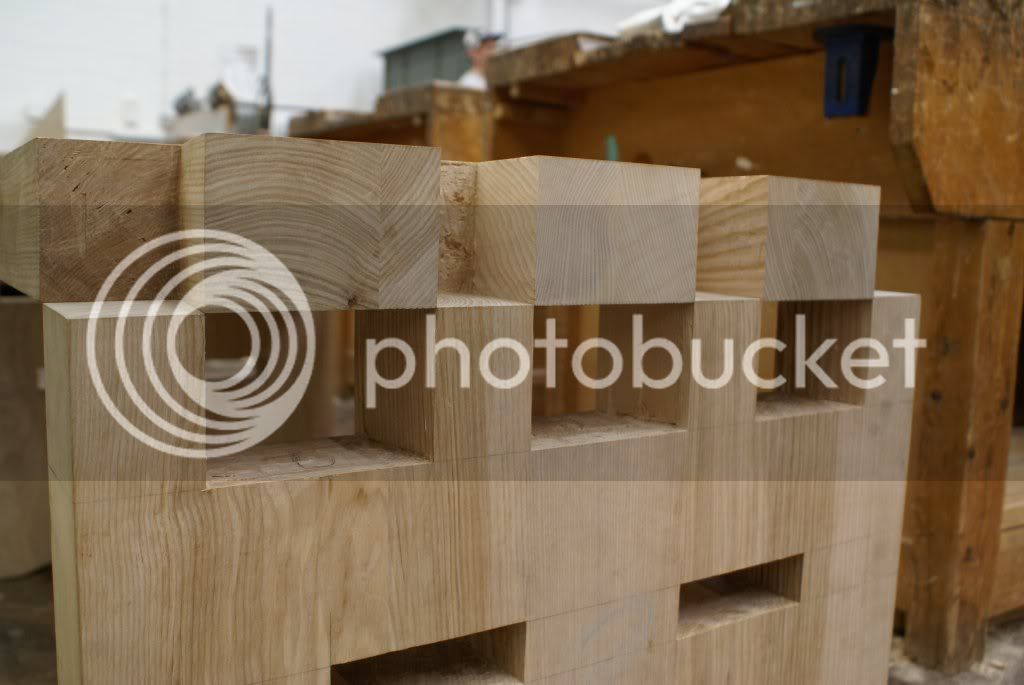
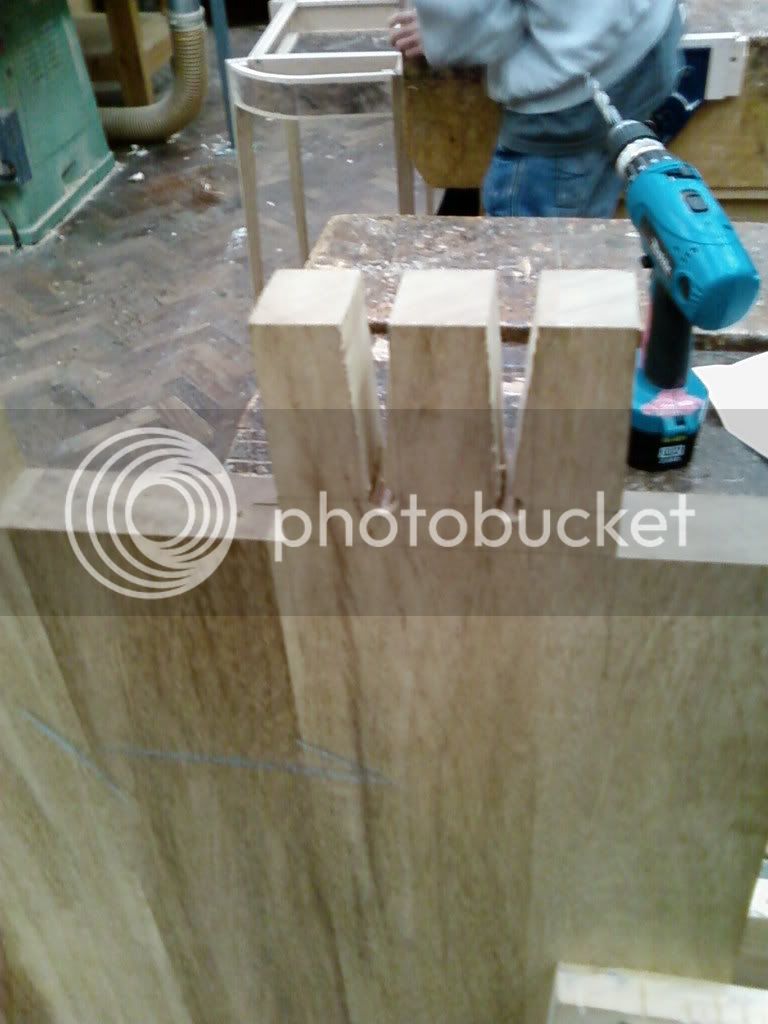
I used a forstner bit to remove most of the waist from the pins.

SP_A0085.jpg


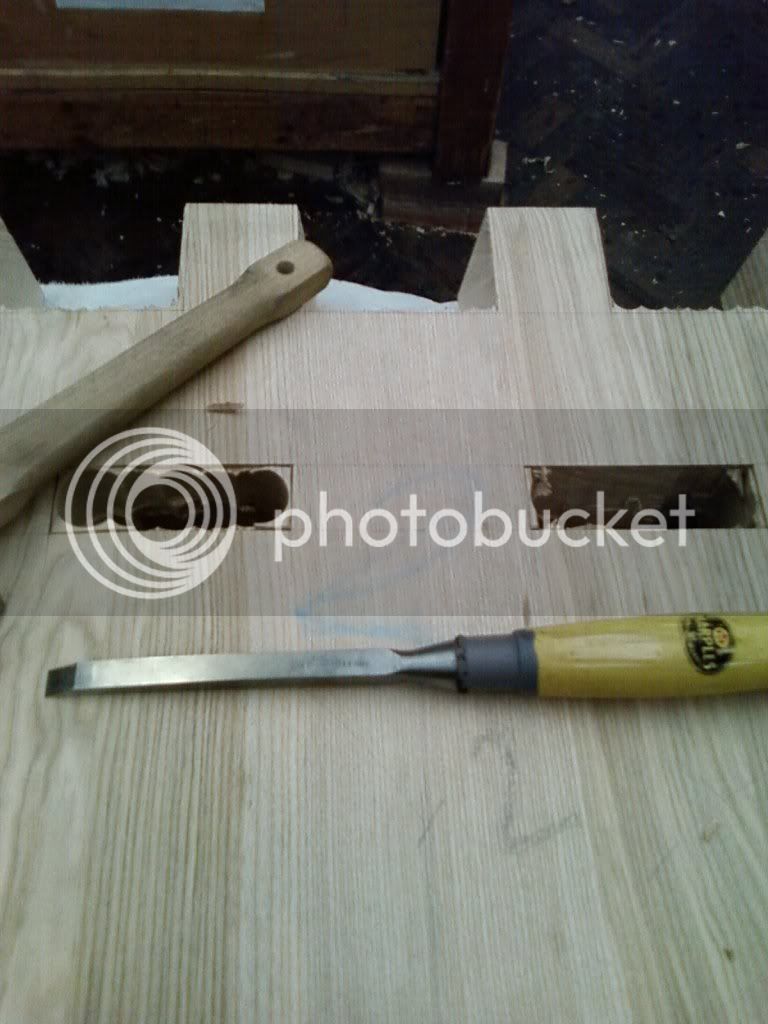
Also forstner bit to remove the mortice's and cleaned up with mortice chisel.

SP_A0086.jpg


Next week i will be fitting my dovetails together and maybe even get round to gluing. I have not decided on a finish yet. I usually use danish oil, however will this be suitable will hot cups of tea?

Cheers
Sean
 
Sean the oil should be ok for spills but i'm not sure about heat resistance, a more durable option would be a varnish or a polyurethane, these are less likely to be affected by the heat or spills - i'm looking into these finishes at the moment for a small sofa table that i'm doing for hte same reasons (holding hot cups of tea). Nice progress - they are mighty joints! :)
 
Cheers Byron,

Ooh arrr they are mighty.

Thanks for the advice. Still not sure what to do really tho. I think i will have to do some samples.

Cheers
Sean
 
Sean
Looks great - can't wait to see it glued up!
I have used Chestnut's "Finishing Oil" quite a lot and it is "cup of tea" proof! Mu coffee table has seen an amazing amount of abuse and has never stained .
Best regards
Philly :D
 
Cheers guys.

Philly - I can't wait either, although I'm dreading it :?

Another update.

Finishing the tenons off.
SP_A0087.jpg


Attempting to dry fit the M&Ts.
SP_A0088.jpg


Now to pull together.
SP_A0089.jpg


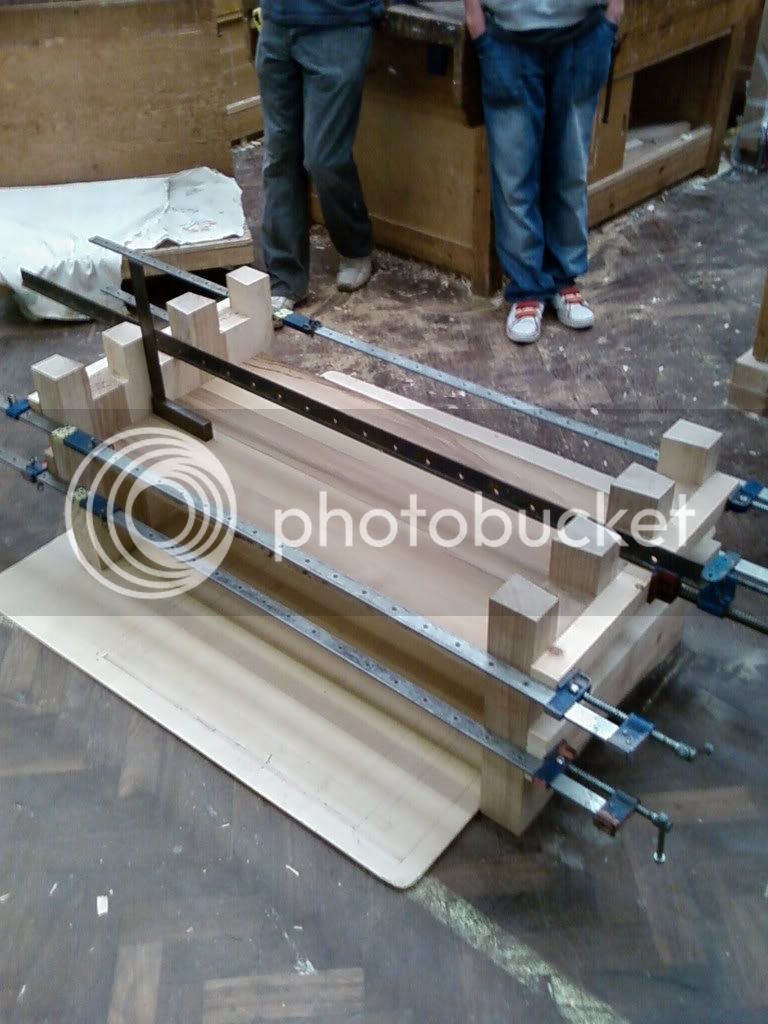
Cramped up dry. I dont think i will be dry fitting my dovetails :shock:
SP_A0091.jpg


In the end it was a good fit i think.
SP_A0093.jpg


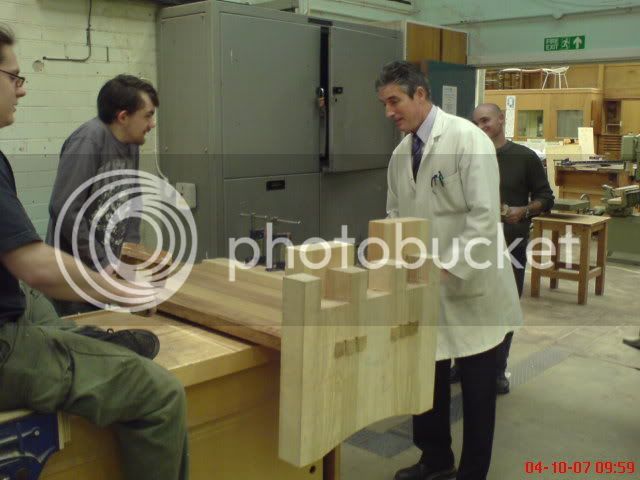
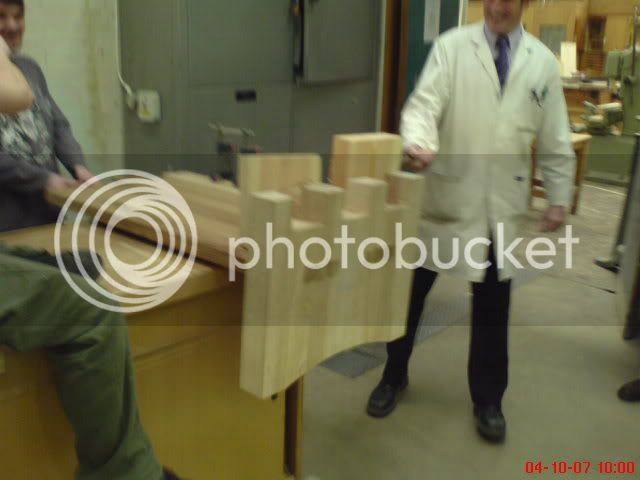
Now the hard part of pulling it apart again :shock:
DSC00088.jpg


DSC00089.jpg


Basically we just bashed it apart with BIG mallets and blocks. Those big blocks you see, we split 3 in half. Took a good few mins to bash them off.

Next week i will be on glue up :D :?
 
Philly, I've got some of those lab coats here at work if you want one! You could always get your name embroided on the lapel :)

Sean - what college/school is that?
 
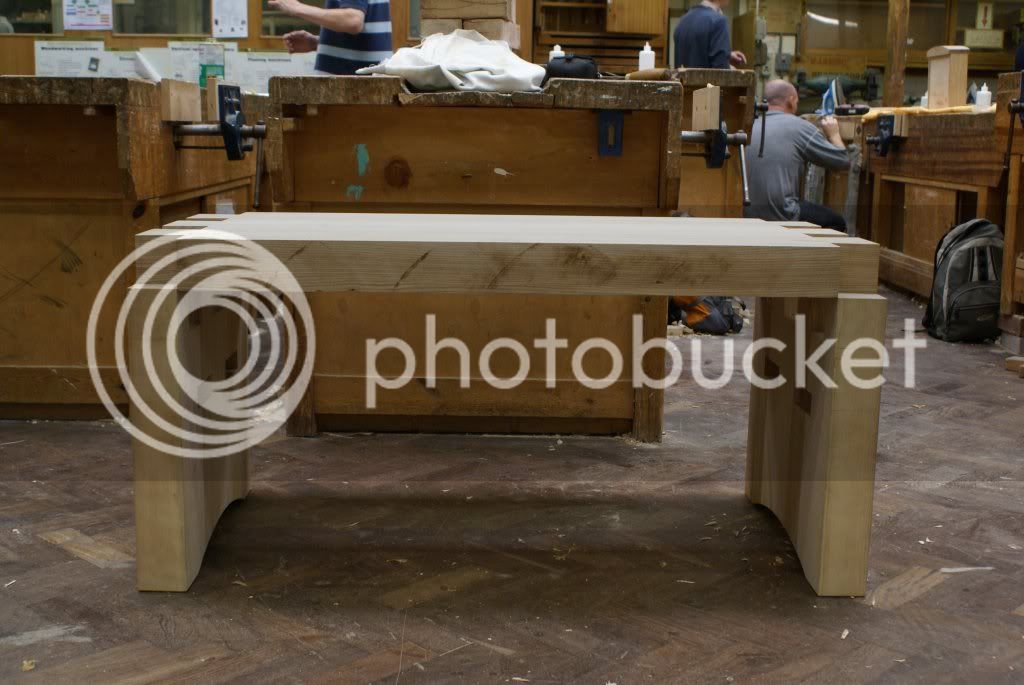
Well i've been missioning along and that frightening glue up went pretty well :)

Next week i will finish the table off, plane, sand and oil. Then i need to get it in my mums tiny car :shock:

Time for fitting the dovetails :shock:
DSC03121.jpg


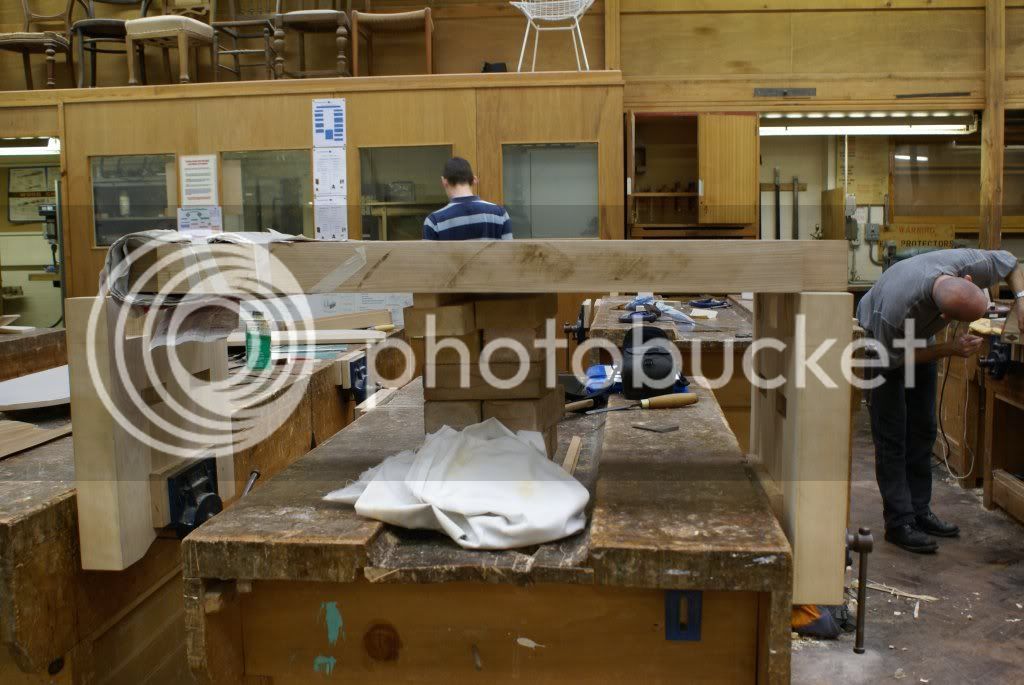
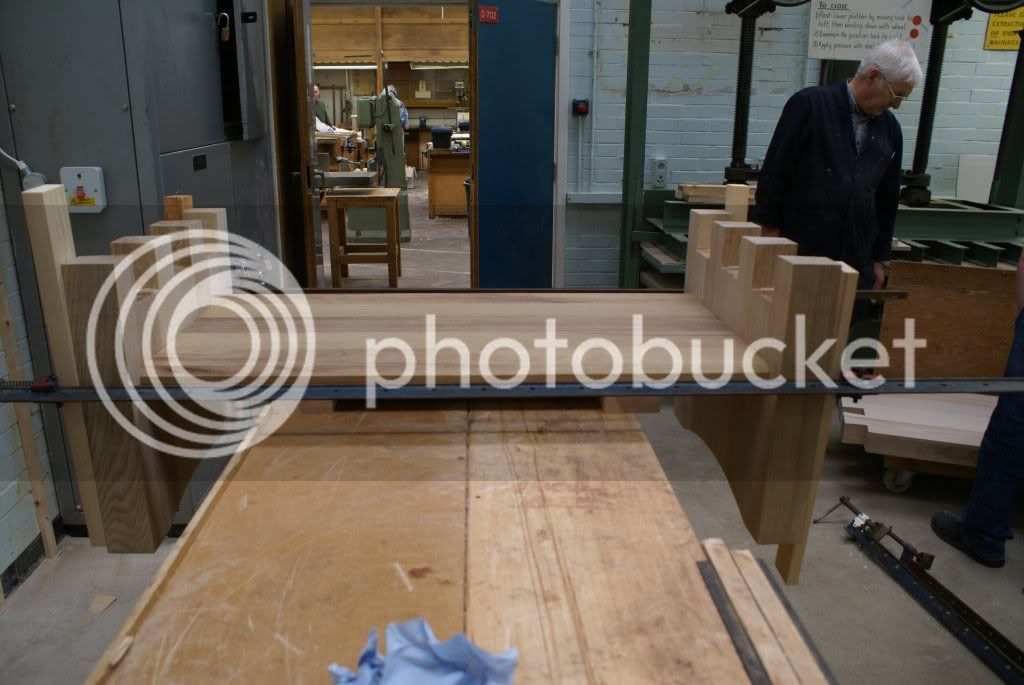
2 benches, 2 vices, bricks and some man power later...
DSC03124.jpg


On the floor without the shelf, a few shavings here, few there. NO dry fit on those dovetails though :shock:
DSC03127.jpg


DSC03134.jpg


The bit's set out.
DSC03135.jpg


Starting to glue up, i used weakish cascamite.
dsc03143.jpg


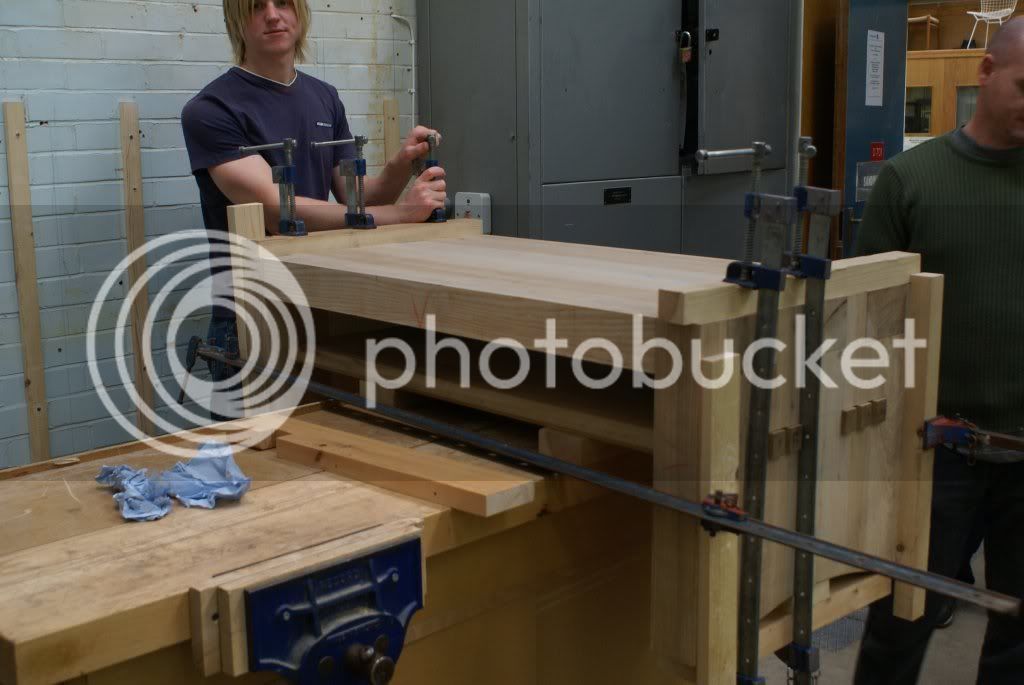
Resting the shelf on top of a bench helped tremendously as i could cramp both the shelf horizontally and pull the dovetails down vertically.
dsc03148.jpg


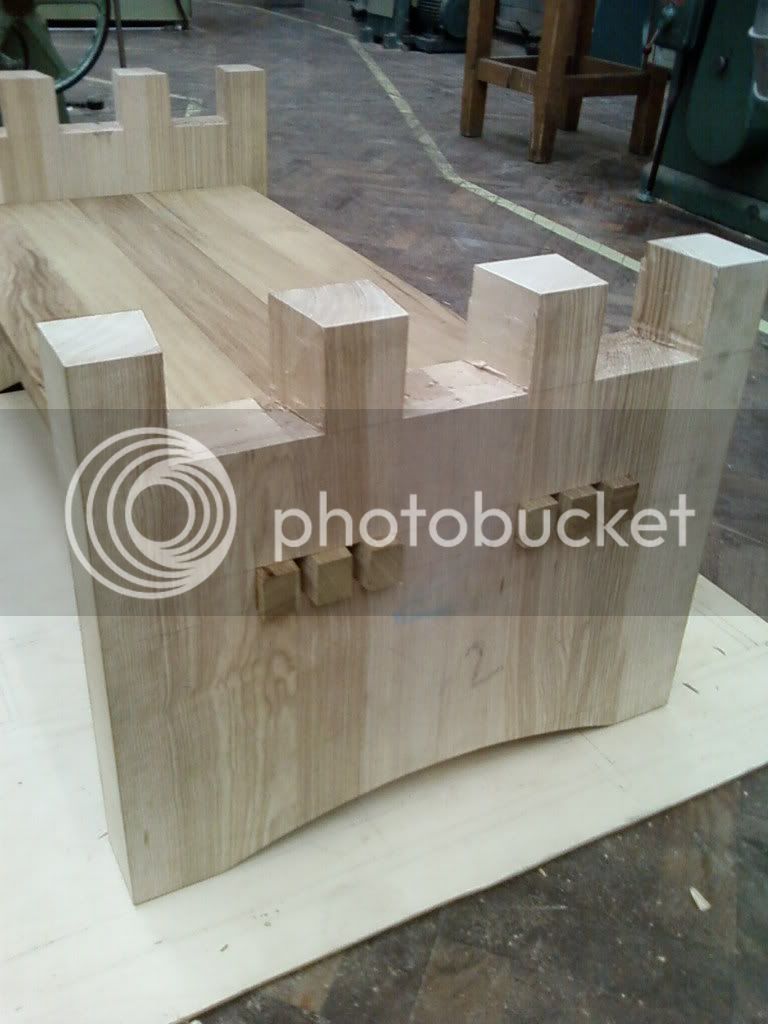
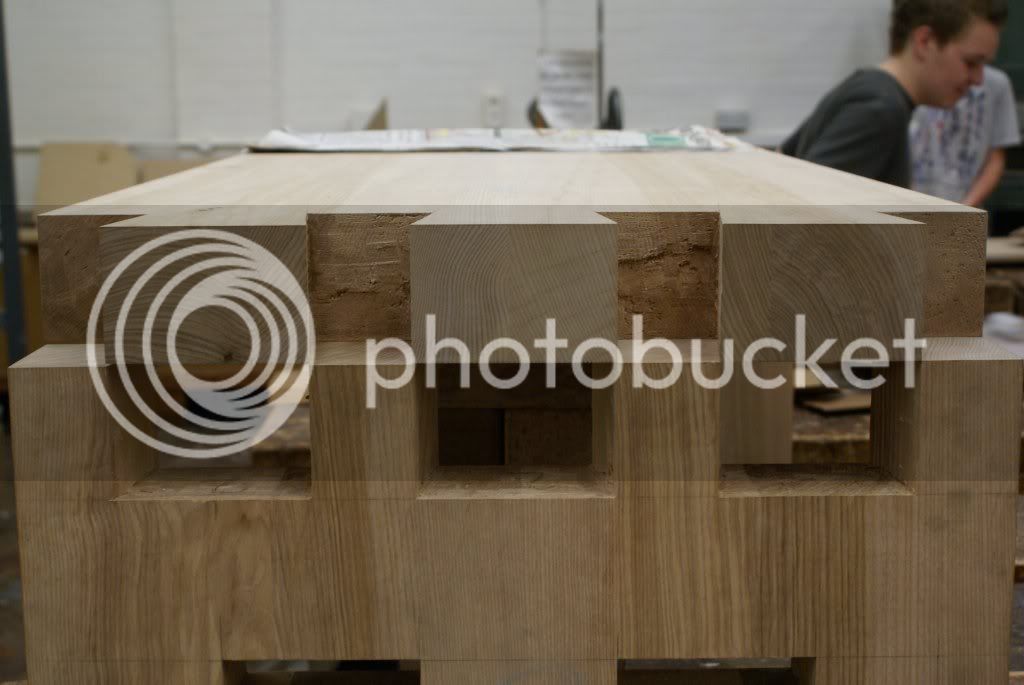
After A LOT of creaking and horrible crunching sounds my table finally came together and i was finally relieved and happy that it all went well and didn't get stuck at any point. The joints are pretty tight in my opinion due to their size.
dsc03160.jpg


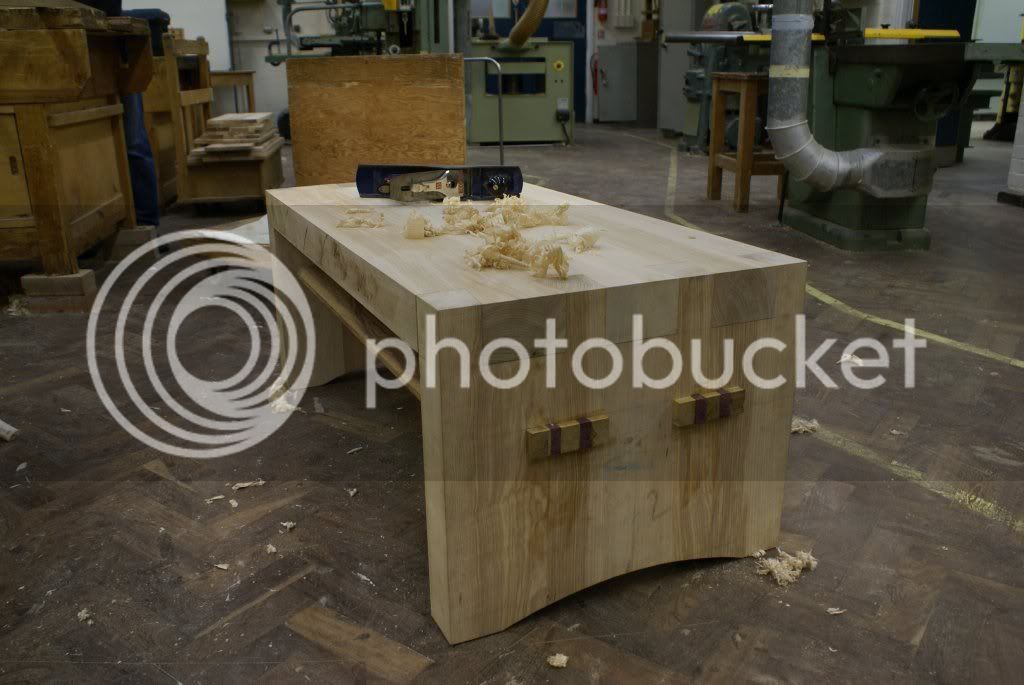
So, there we go, the first image of glue up, standing on the floor.
dsc03161.jpg


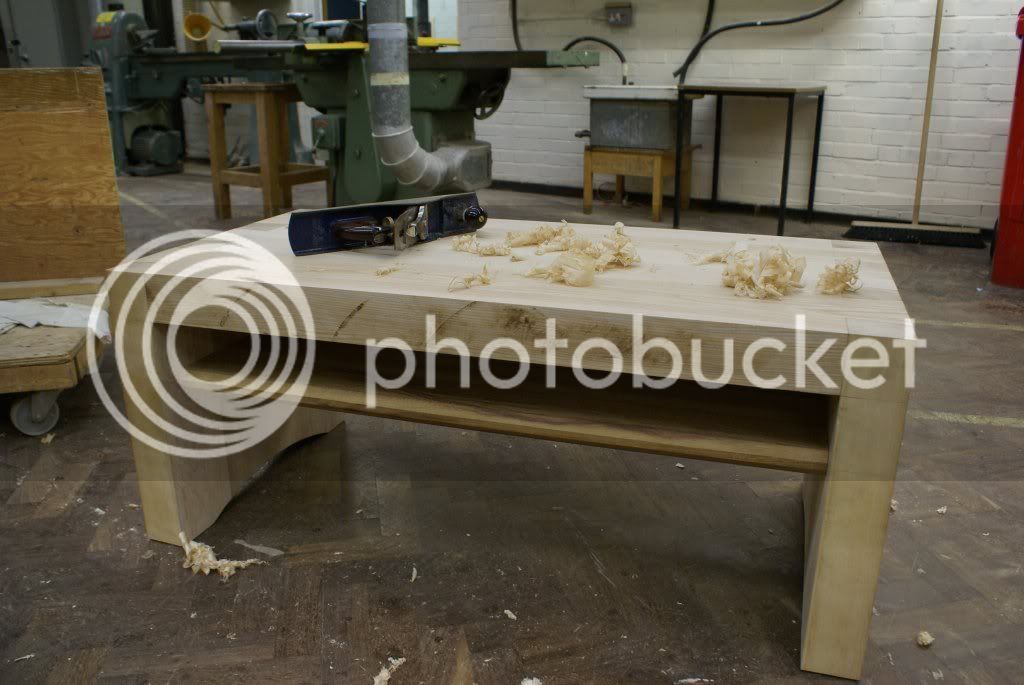
All the inside faces have already been finished to 320grit, just need to finish the outside faces.
dsc03164.jpg


My fav plane :D
dsc03169.jpg


Stay tuned for next week when all will be finished, and even maybe i will have it in it's final resting place in front of the TV with a beer on top :eek:ccasion5:
 
Looking good, though I can't help thinking you have a lot of work ahead of you to get those saw marks out of the side. It might have been easier to do that prior to the glue up.
Cheers Mike
 
Cheers Mike,

You mean the dimension saw marks. Don't think it should take too long, nice sharp plane, few passes, sand and oil. I think i didn't push my top fast enough through the saw, but being 80mm thick and quite heavy, plus me being smallish and new to woodworking doesn't really help. :)
 
Sean - coming along well, everything looks nice and 'crisp'. I didn't realize that the dimensions of the ash were quite so chunkable...hope mothers car has got heavy duty suspension :lol: - Rob
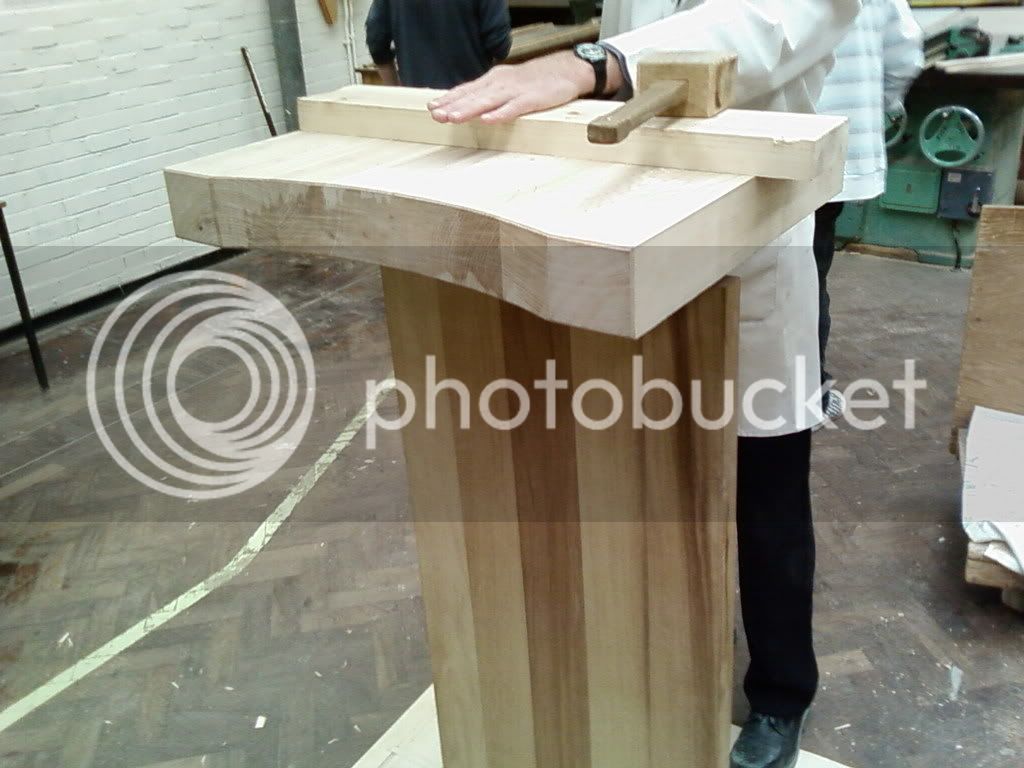
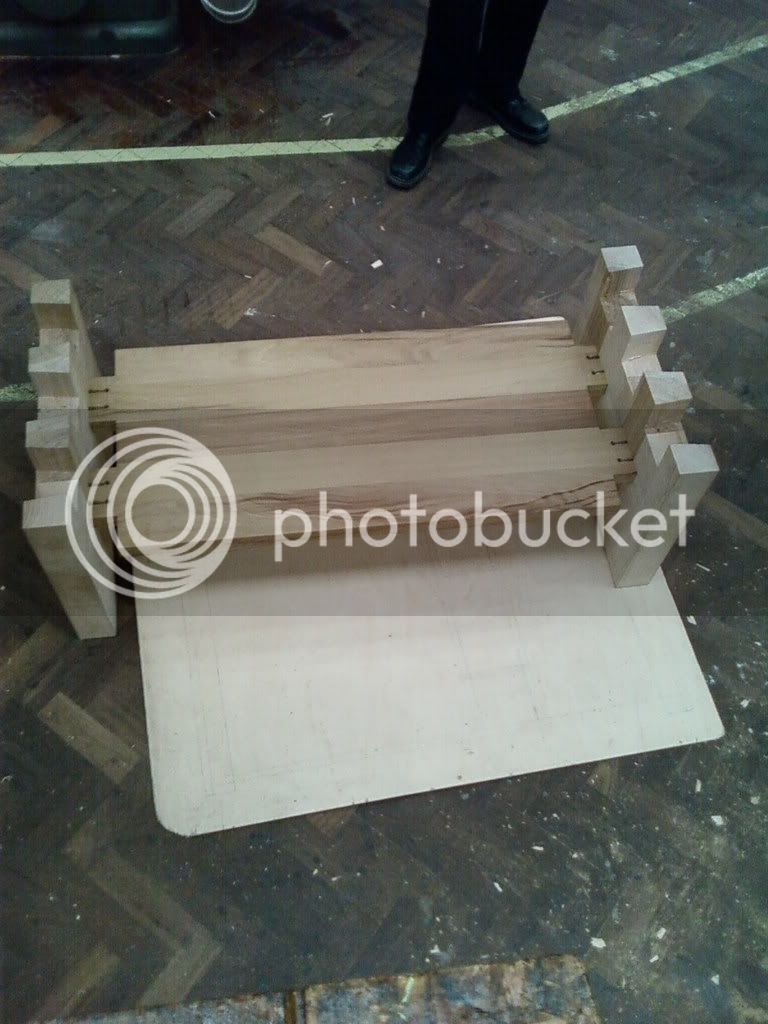
 
Wow! Glue-up must of been pretty nerve-wracking :shock:
Congratulations!
Guess you need a hand to move that beasty, now though? :lol:
Cheers
Philly :D
 
Looking at the WIP pics brought a lot of memories back of when I did my HiFi units using all 2" thick wood and boy that was heavy even though I made mine in two sections. I just love chunky heavy looking and this table fits the bill quite handsomely. =D> =D> =D>
 

Latest posts

Back
Top