Scarf Joint, oh yes indeedy

UKworkshop.co.uk

Help Support UKworkshop.co.uk:

This site may earn a commission from merchant affiliate links, including eBay, Amazon, and others.

RossJarvis

Established Member
Joined
20 Aug 2013
Messages
1,227
Reaction score
1
Location
Petersfield, Hampshire
For my next trick, I will attempt to make a scarf joint, without aid of assistants or a safety net, you people in the front three rows may wish to stand back a bit, or at least don a Mackintosh.

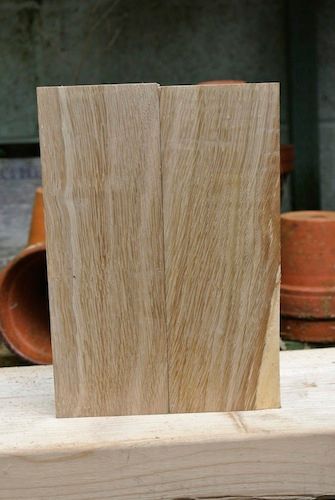
Once again, cut a bit of oak off the bit of oak I really really wanted to get this cut square as I’m still not brilliant at this. It seems that I can do it when not concentrating, but not when I am?!? So I found an old trick to help. First knife your mark square, then chisel into it a bit then cut on this mark;
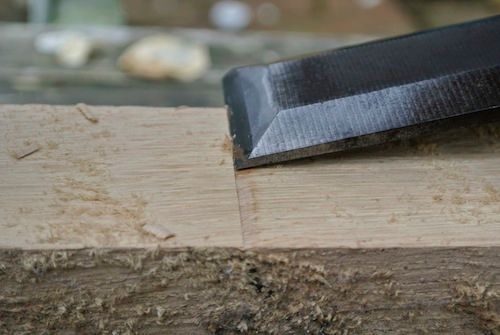


…zzzd zzzd zzd zzd and you should have a perfectly square cut, did I? Did I b*****y!;
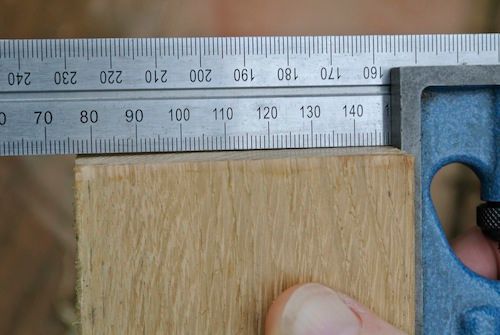


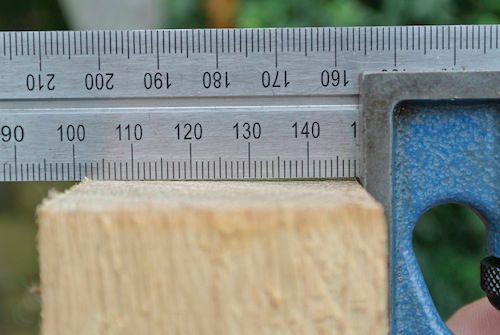
So I thought I’d trim the end, using a nice square block of wood as a guide (luckily I’d made one earlier);
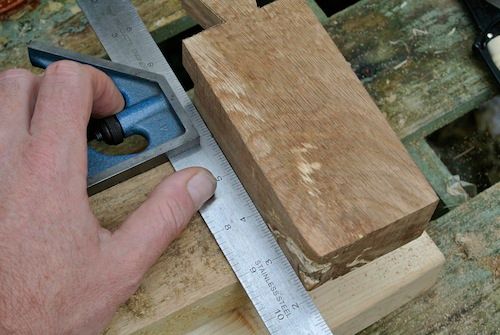


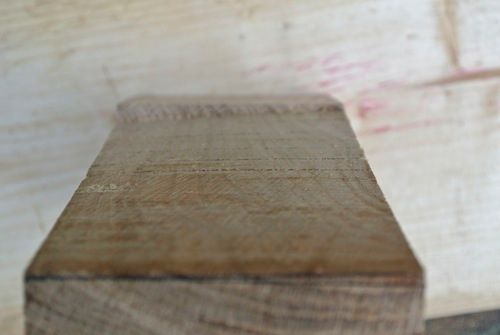
….now we should have a nice square end. However we still actually had a b******d end so I took the block plane to it and Viola;
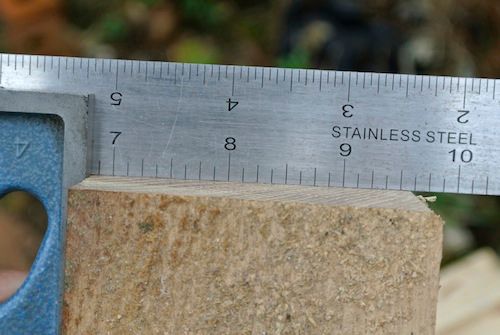
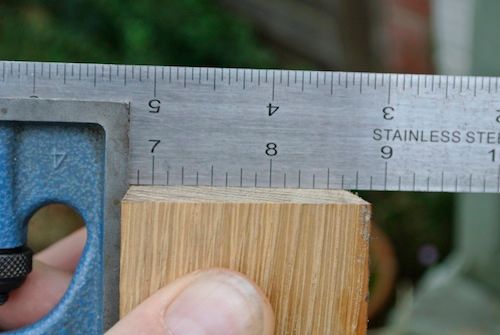


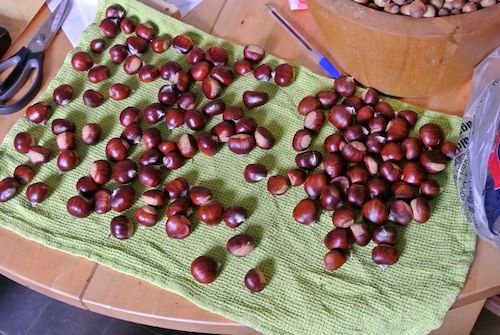
Time for a quick walk wi’ t’ apprentice. Boy, you need to see my nuts now, much bigger than the last time I showed you, plus the weather’s cooler now;


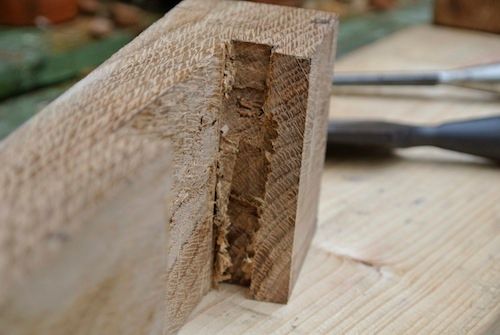
Back at the wood and I’ve discovered that the white pithy bits are white rot. This is a fungal thing and was in the tree when it was still standing. It appears to travel up the grain and turns the wood to fluff. I’m not sure how much is in the whole lot, but this bit of the block just fell out. The wood on either side of the ring seems sound;
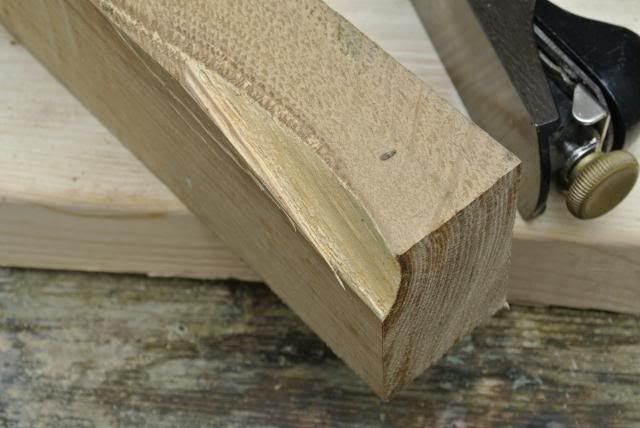


…ssshhhhh shhh ssshhhh, with the plane, ooh that’s a nice shaving;
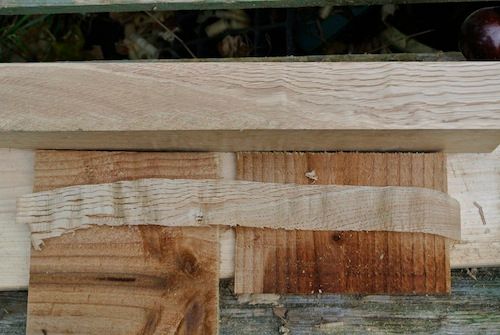


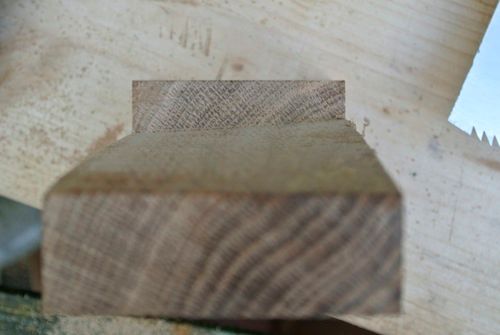
…..and we have a nice square lump of wood, just a touch of work to remove a slight slope and it’ll be great. I think I’m getting better as I haven’t had to take as much off to get this square;
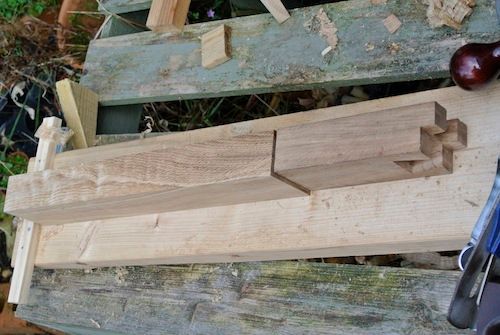


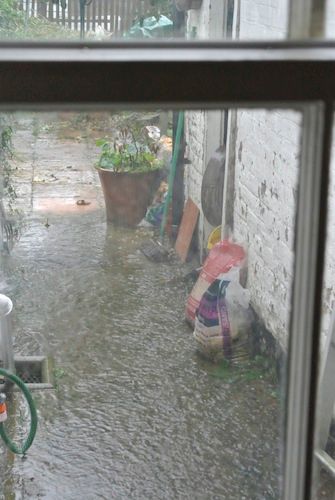
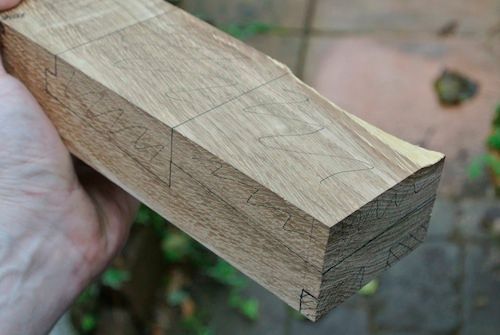
As the Hampshire monsoon is upon us again, I’m taking the time to work out whether to do a Japanese scarf, or an English one. In many respects they’re identical with the odd slight difference. There are some English ones every bit as fiendish as the Japanese ones. This is the “Kanawa Tsugi” which is one option;
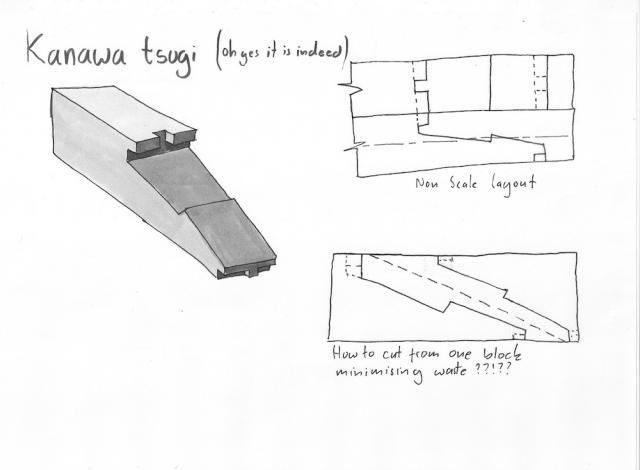


I’ll put some thinking tea on (Taylor’s Yorkshire today) and look up some more and get back to you if I’ve made a decision or when I’ve b******d up some more wood.
 
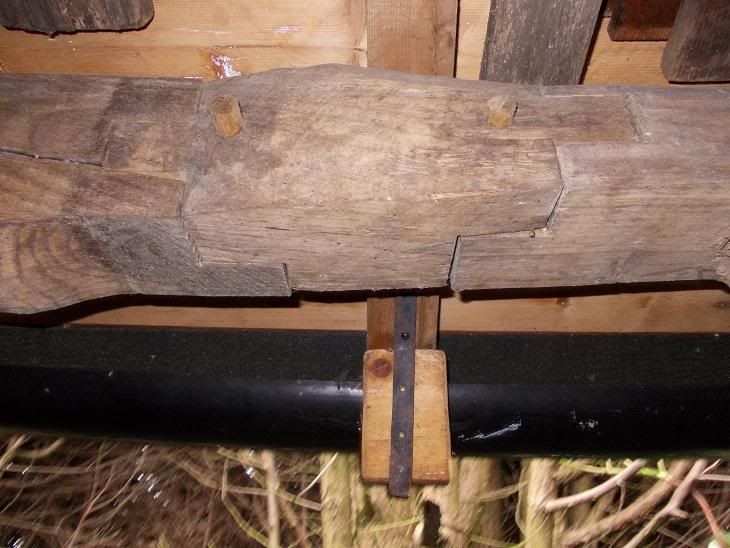
This is definitely an English one - one of many in the second frame I made in hedgerow Ash.


"If your bit of wood ain't long enarff, join two together with a scarf".
 
Hiya Guys :D

No-skills, am collecting and spinning the "apprentices" hair and will be making a proper scarf for the winter, in the meantime I'm using wood as a last resort. Richard T, yes that's very scary, I'd need a lot more skill and confidence before tackling that jobby, well done!
 
Unusually for me “ahem”, progress has been slow for the past couple of days, could be due to the weather;


I had managed to split the wood into two bits, I had intended to cut diagonally to save on waste and had had some good suggestions on how to do this, but in the end I just cut ‘em square(ish);


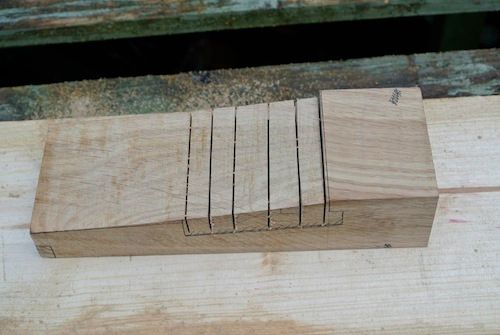
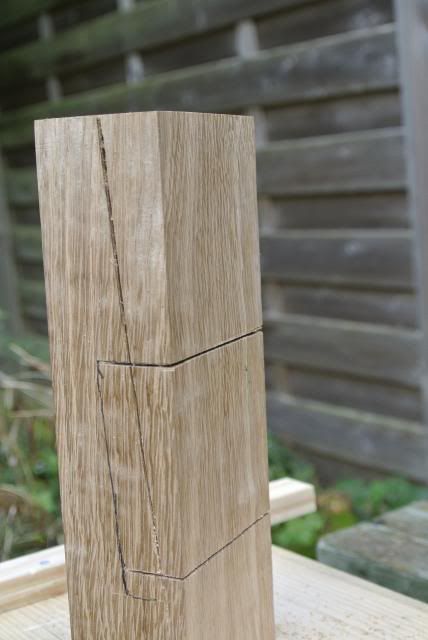
Next I planned out how to mark the joints out. There are some conventions to do this, based on the width of a Japanese square (15mm), which helps speed up and accuratise (that’s not a word is it!) marking out. Not having one of these I sort of approximated. I made the length of the slope 3x the width of the wood, not including the “noses” and did everything else in English;


…and then knifed this into the wood, highlighting in pen;


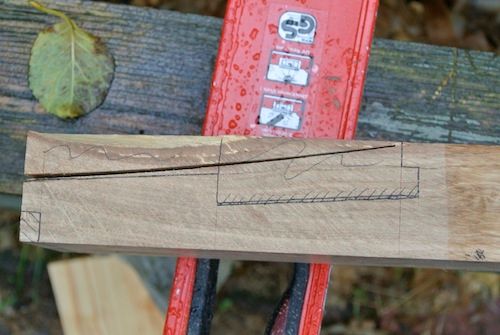
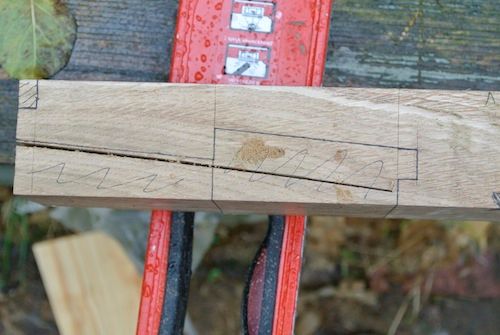
I’ve marked a face and face edge on both bits of wood to try and mark from the same reference, initially I was going to mark both out before applying saw, but I really couldn’t be bothered so will mark part 2 from the finished part 1. The weather cleared, so I ran out, set up the “bench” and started a bit of ripping, following the order in the book only to completely go off line and create a compound curve inside the wood;


….ho hum, I could always go back to plastic models for a hobby! I cross-cut out the waste;


…bashed a chisel with a hitting stick;


…started to plane the slope to the knife line, with a 60 ½ and the heavens opened, so I called it a day, Sunday I think I called it!
 
When we went to Coggeshall Barn (NT place just down the road from Cressing {but pre-dating}) they suggested there that the scarf joints of the type you are mastering are of French origin - not having been seen elsewhere before this point - not sure that is any use but there you go, I await the images of your mighty constructions shortly, the joints look great by the way!

http://www.nationaltrust.org.uk/coggeshall-grange-barn/

I did look about on the web but there were no descent images of the joints although there are many in the main beams running from end to end of the barn.
 
pjm699":ifpnbke0 said:
When we went to Coggeshall Barn (NT place just down the road from Cressing {but pre-dating}) they suggested there that the scarf joints of the type you are mastering are of French origin - not having been seen elsewhere before this point - not sure that is any use but there you go, I await the images of your mighty constructions shortly, the joints look great by the way!

http://www.nationaltrust.org.uk/coggeshall-grange-barn/

I did look about on the web but there were no descent images of the joints although there are many in the main beams running from end to end of the barn.

I love looking at those old wooden structures, I assumed Cressington was the oldest barn, must look up Coggeshall. I'd presume a lot of European joints are probably Roman in origin and earlier. Craftsmen seemed to move around a lot so there was probably a lot of knowledge spreading around Europe and I dare say a lot of innovation was off our shores. I'm also sure bright chippies came up with the same idea, in different places and times independently.
 
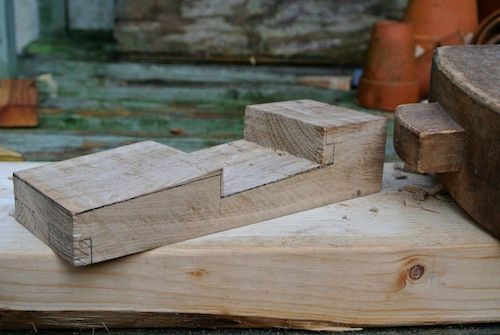
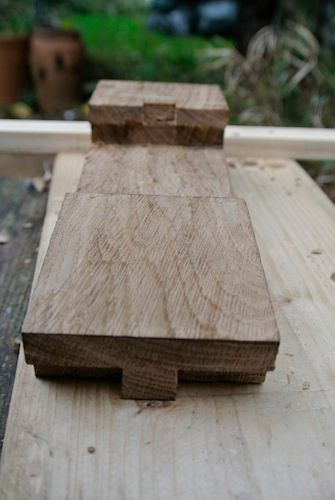
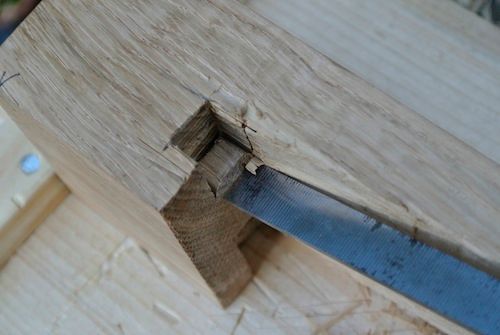
Well, one half of the joint’s done, not overly impressed with my skills but hey-ho. Not much work done today either. First off, I used the block plane to get the “lower slope” flat and even, then pared with the chisel the “upper” slope as there was no way to get in there, unless I used the shoulder plane and therefore couldn’t be a***d. Then I managed to b****r up the rebate at the top by being too enthusiastic with hitting stick and chisel. Additionally, this rebate was narrow and the only chisel I had to match was now ground skew!!;


Then I chipped away at the tenony thing on the end, this time using a gentler touch and going a bit slower;


Boy, I’ve been taught chiselling by about 5 different people and appear to have forgotten everything they must have told me. This bit came out relatively satisfactory though. So here we are, one half of a scarf;


I’ve marked the other half, from this and if the weather improves we’ll see if I can do this in one day.

TTFN
 
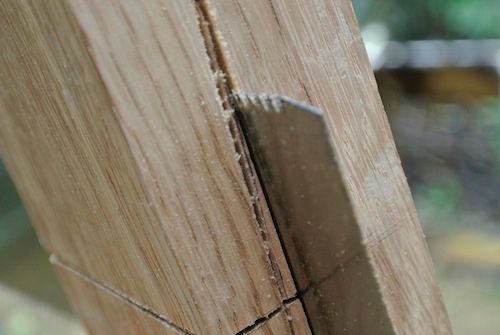
Rain again till the afternoon, I have now read all of the internet, apart from some of the Mongolian pages and those CIA ones which are hard to find. However, after going for a walk with the apprentice, well a bit more like going to stand under various trees, I applied sharpness to wood. (Sharpness in terms of tools that is, not in terms of me!). Following a demonstration and some advice about getting good straight square cuts with a pull-saw, I pre-cut along the lines to guide the saw;


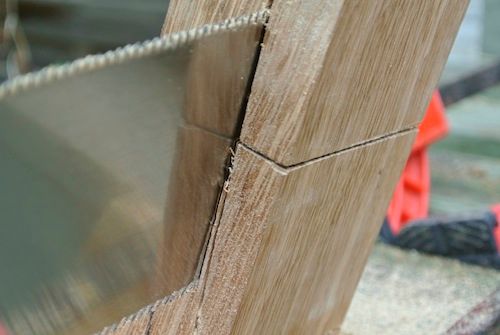
….started cutting and;


******, *******s, *******ing, ****. It was worserer on the other side;


****ing ******les!;


….more compound curves than on a compound-curvey thing. At this point I was going to give up. However, inside the old noggin a battle ensued and I decided to carry on despite it, chisel bash chisel;


….plus it came to transpire (or is that what trees do instead of sweat?), that I had subconsciously managed to mark things out, taking the ****-up into consideration and things weren’t quite as bad as I thought, so before long, Ta Dah;


…two funny shaped bits of wood. The light was going by now, so I tidied everything away and came in to see what was for tea. “Whatever you're b****y cooking” is the answer.

Getting a bit fed up with this sawing malarkey. I need to get some scrap wood and do a lot of practice just on that, me-thinks. At the moment, I’m not sure whether to blame it on the saw, the wood, the workbench or the apprentice, maybe all four!
 
Well you've stuck it out longer than I would of - which would of been at the end of the biscuit packet, which is located roughly where ever my lost rag is.

Don't give up now, finish it off and move on - your doing pretty well at some joints that foreign chippys spend most of their apprenticeships learning.

Might I make a suggestion for the future? Make the next project an easy but satisfying one :) Maybe a workbench, which can be built from crap (cheap) and is always a nice project to do.

Hmm, that's sounds quite condescending doesn't it - I'm not trying to be (comes naturally), I'll **** off and try again later.
 
No skills":15hrj0cs said:
Well you've stuck it out longer than I would of - which would of been at the end of the biscuit packet, which is located roughly where ever my lost rag is.

Don't give up now, finish it off and move on - your doing pretty well at some joints that foreign chippys spend most of their apprenticeships learning.

Might I make a suggestion for the future? Make the next project an easy but satisfying one :) Maybe a workbench, which can be built from rubbish (cheap) and is always a nice project to do.

Hmm, that's sounds quite condescending doesn't it - I'm not trying to be (comes naturally), I'll pineapple off and try again later.

Thanks No Skills.

Am currently looking at the outhouse which has been pencilled in as a workshop for years. However, it is full of clart, and is waiting for a small shed to be built. When the shed's built, The missus can move her gardening stuff from the outside Karzi to the shed, then the gardening stuff in the outhouse can go to the Karzi and I can built a b****y workbench under a roof!
 
I don't know about ripping with a pull - saw but what I would have done ... me with me western push - saw, would be to cut along the line on the end grain end and down the line on one side until the saw has cut along the length of the line on the end grain. Then turn the wood around and rip down the line on the other side and keep cutting and turning til yer's there. That way the saw is guided by the whole width of the cut.

I expect you know this already Ross. Don't let me distract you from your Japanesetudity.
 
After spending some time trying to figure out how to assemble this joint I had to resort to googling it and see that it is in fact fixed with wedges once assembled. Aha!
 
Loving your posts so far - please keep them coming. Richard has explained how to get your cuts lined up down the edge but if you want to see this in action have a look at Chris Schwarz in this Woodwrights Shop video - http://video.pbs.org/video/2172739971/

He explains it very well as following the line one saw tooth at a time.

Hope this helps
Graham
 
Thanks for the input guys, there's a few tips to think about for next time. I suppose I'm just impatient and want to get it right, first time. Like anything, a fair bit of practice is needed before it starts coming naturally. The other issue is getting used to the Japanese pull-saw, which is all new to me. I'll not be using my large western ripsaw as that was used by me for saw-filing practice :cry:. I suppose not having a vice and workbench aren't helping either :roll:. Rather than practicing on new-to-me joints, practicing on off-cuts would be better, just need to make a few more off-cuts (hammer) and we're ready!
 
I got some Japanese pull saws front axminster a while back...I find cross cutting more accurate than with a standard saw, but rip cutting is a problem. I think it's because it has a minimal kerf...so if you start wrong, it keeps going wrong..there's no wiggle room.

If your saw isn't tracking properly, then you can gently run a stone down the side of the teeth (on the side the saw veers to) and try again.
 
Thanks Mike, that's one I'll bear in mind.

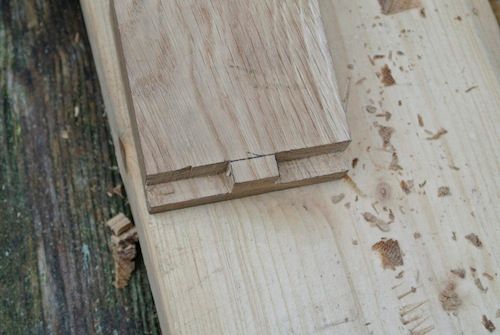
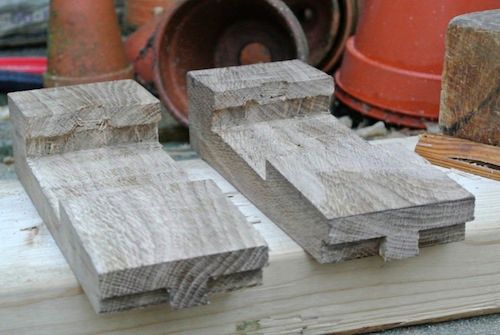
Finito Benito, or some such. Yesterday I found that the “step” in the middle had to be re-cut a bit, at an angle for the wedge. I couldn’t actually put the two halves together initially as it got in the way. I’m not sure whether this is something I missed from the book or just messed up when marking out. After last night’s deluge of Diluvian proportions, plus thunder and lightning (very, very frightening, ooh Galileo…….), which had left an inch of water in the tea mug, I was surprised to find a dry and sunny morning. So out pops I, pare, pare, pare, scrape, scrape, scrape and;


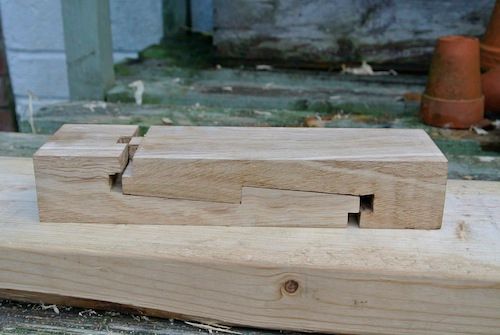
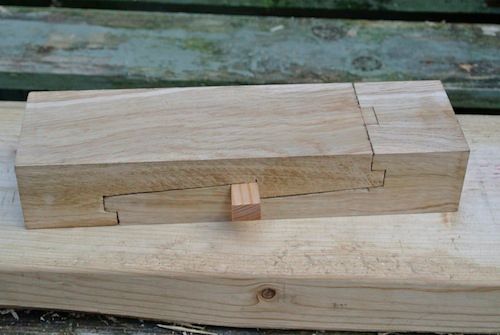
….two joint parts which almost fit together and a hand planed wedge, which also fits, almost! Starting to put them together;


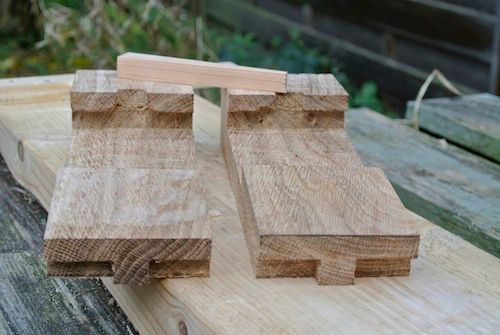
Put together and wedged loosely….;


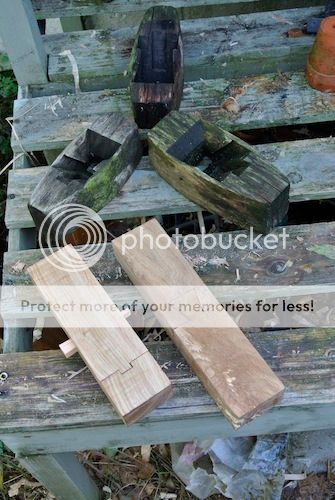
…..and here’s four bits of oak pretending to be two, along with my outdoors plane collection;


I’m sure I’ve learnt a lot more than I think, including not giving up when things all go ***s up. One thing I have learnt is why the Japanese build their houses out of softwood and not seasoned oak! I need more practice on the pull-saw, chisels and not rushing, but overall I’d have to say there are a number of things about it, which are positive. One was that both parts of the joint were straight and flush to each other…….hmmm, not sure what the others are, but I’ll come back if I remember.
 
they're the best joints I've seen since Amsterdam.

well done
 

Latest posts

Back
Top