SkinnyB
Established Member
I have been looking to add a cyclone unit to my extraction system for some time. Axminster's new cyclone range came up so I decided to go ahead with one of those.
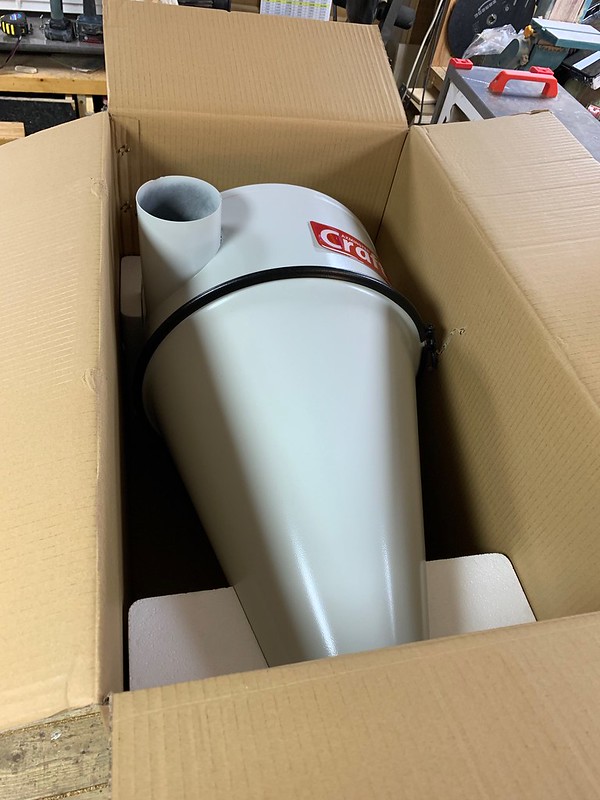
Unboxing:
 IMG_5943 by jamie skinner, on Flickr
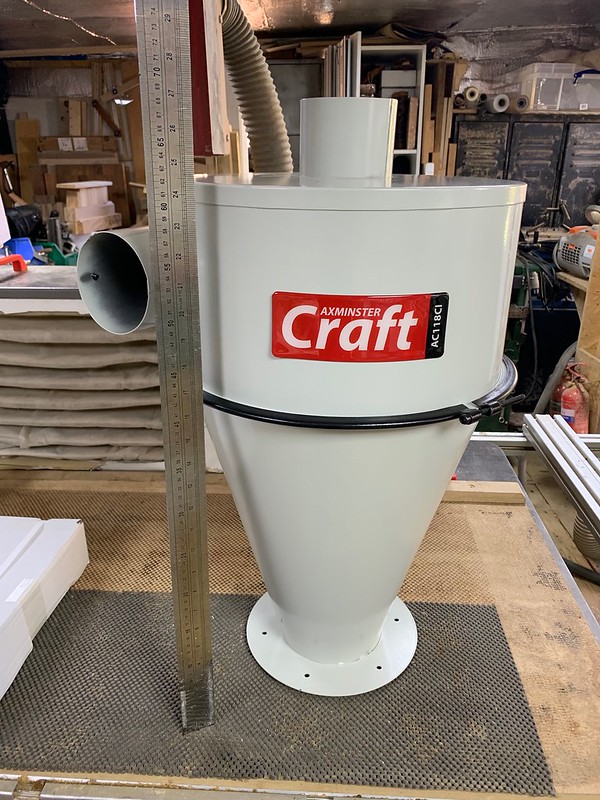
Height
 IMG_5944 by jamie skinner, on Flickr
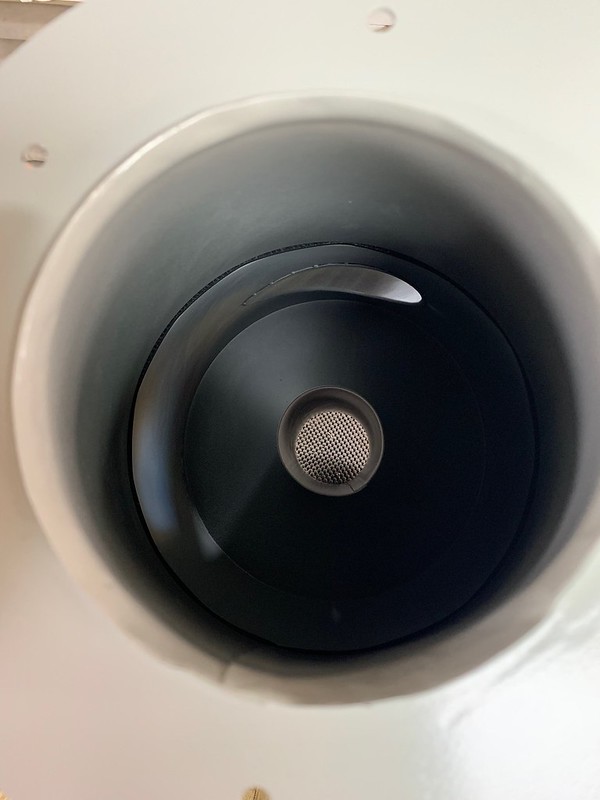
View from the bottom - top (not mesh at the bottom just my table.)
 IMG_5945 by jamie skinner, on Flickr
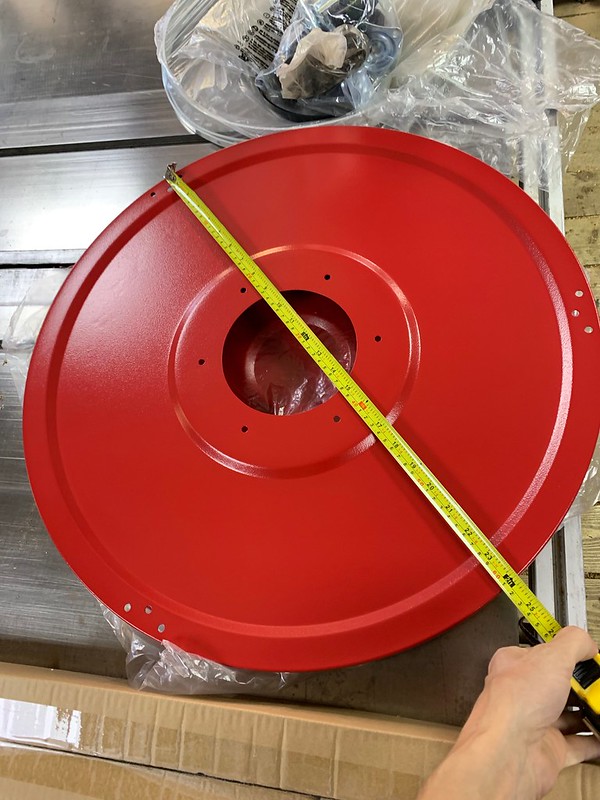
I also got the bag attachment waste bin part.
 IMG_5946 by jamie skinner, on Flickr
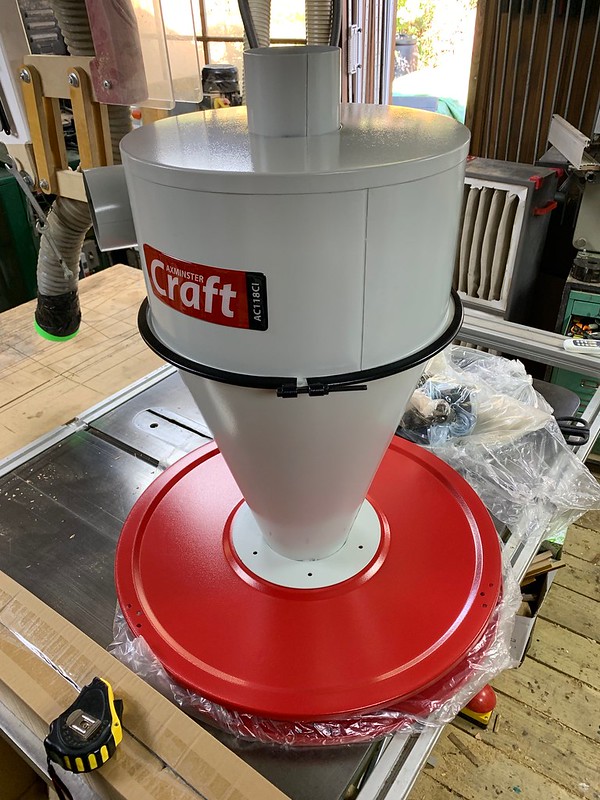 IMG_5947 by jamie skinner, on Flickr
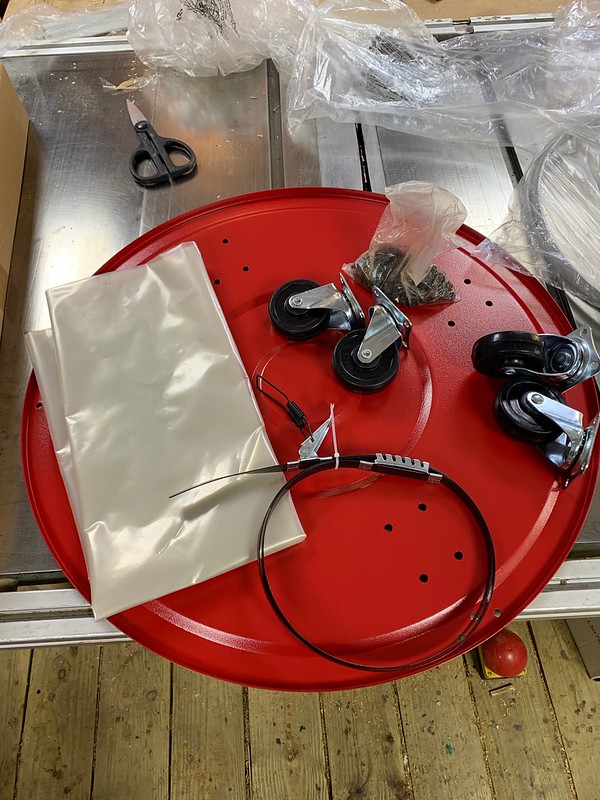 IMG_5952 by jamie skinner, on Flickr
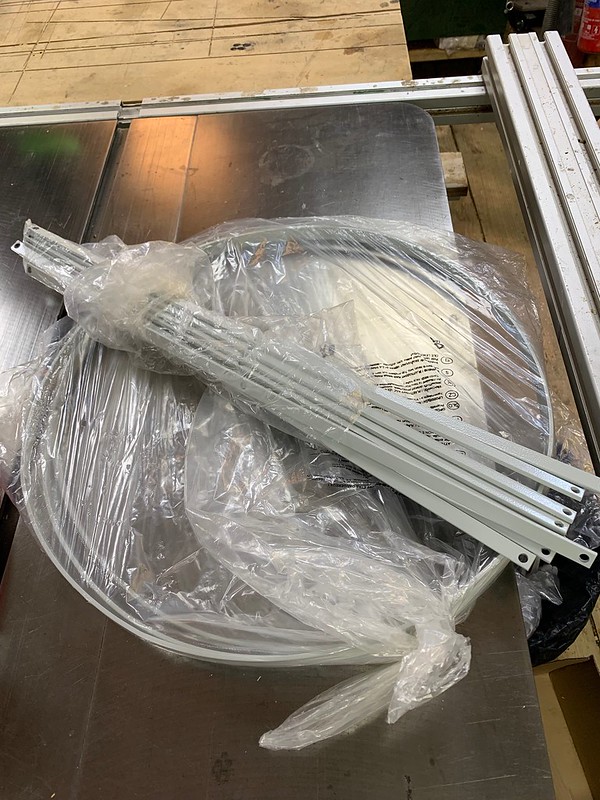 IMG_5954 by jamie skinner, on Flickr
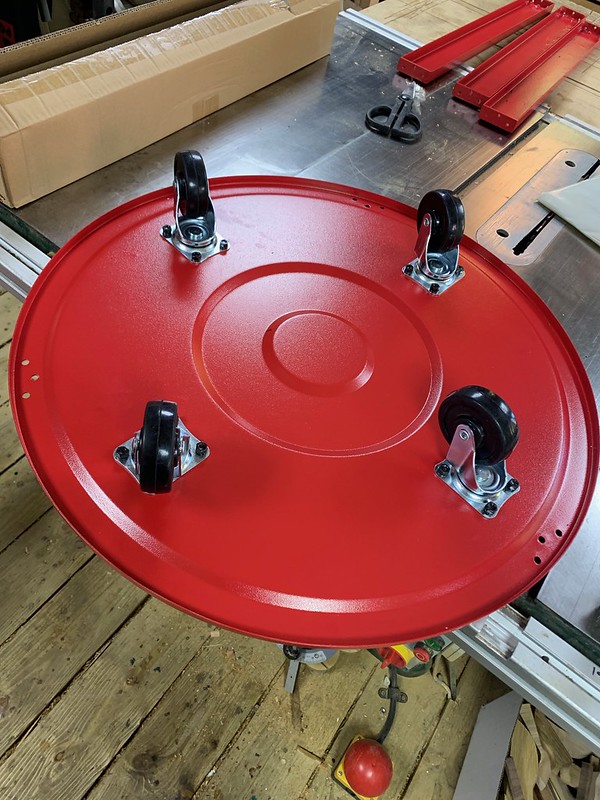 IMG_5955 by jamie skinner, on Flickr
 IMG_5956 by jamie skinner, on Flickr
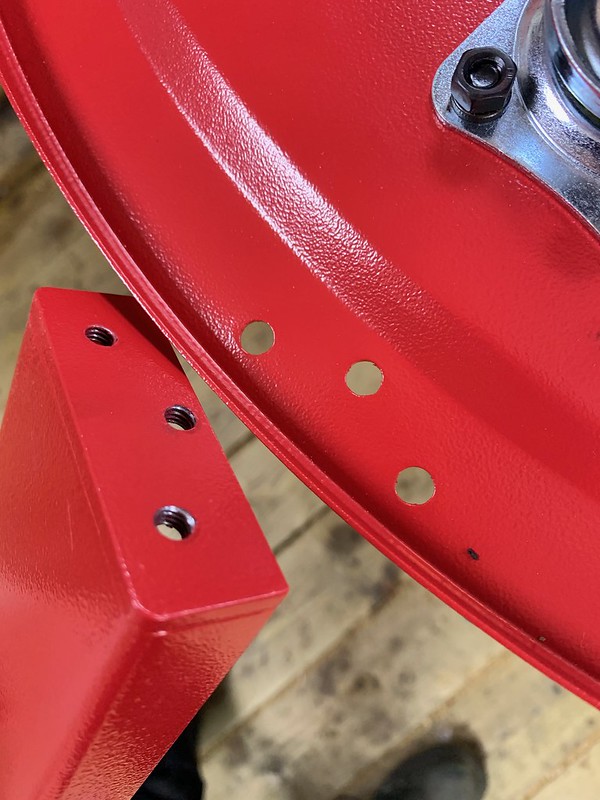
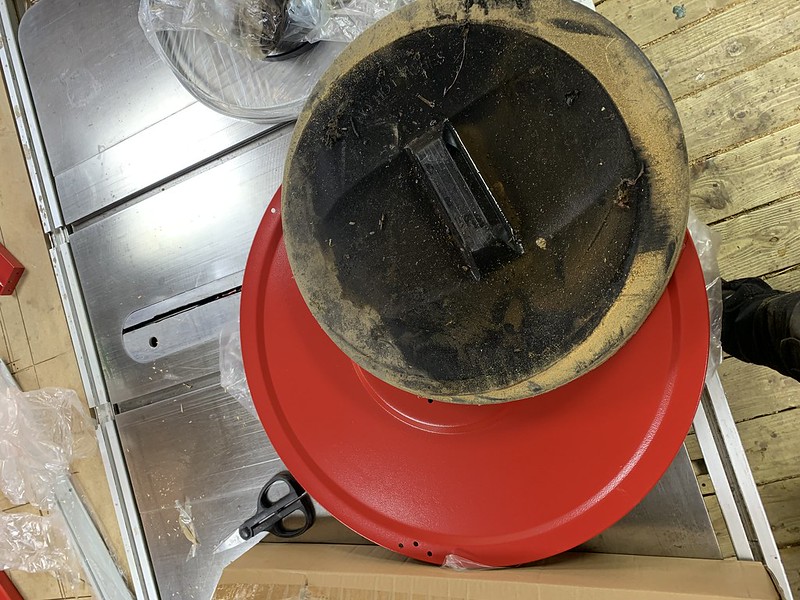
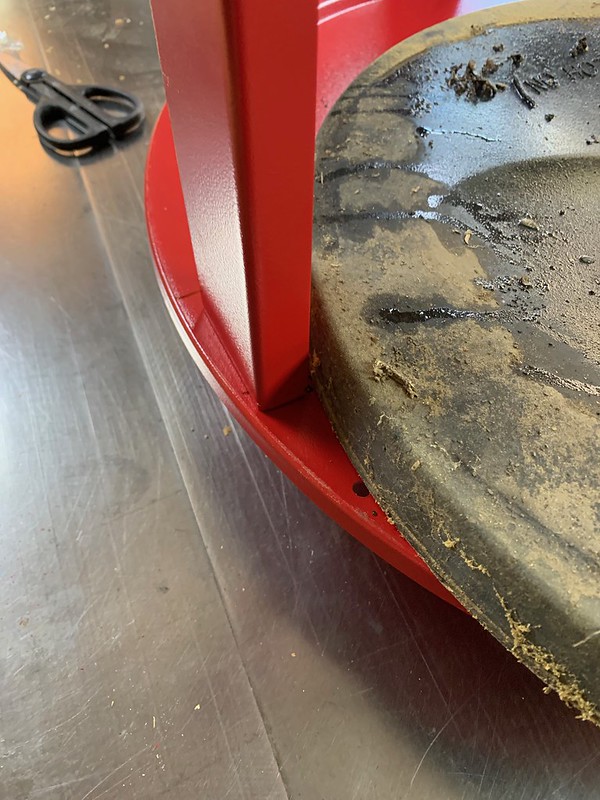
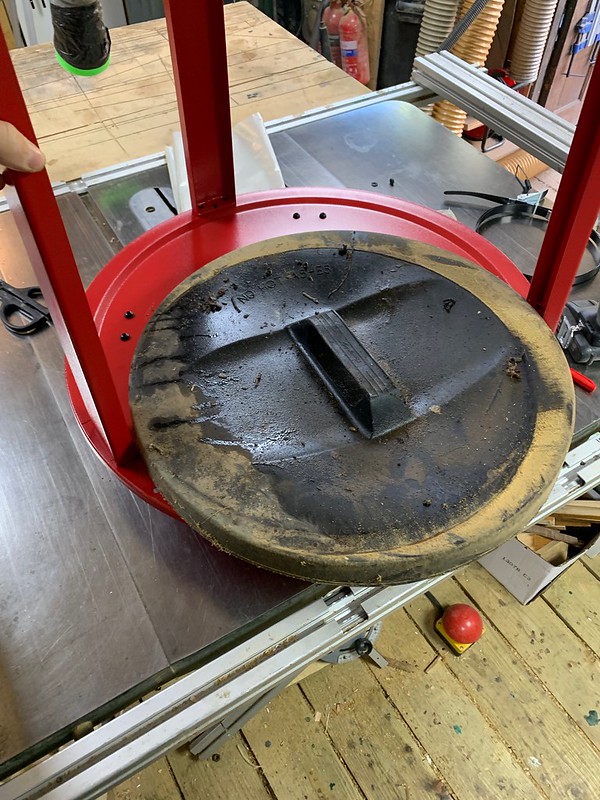
I am wanting to use a dust bin I have to collect the shaving so I am modifying the unit to accept this bin.
First it to move one of the columns that hold the cyclone up so I can get the bin in. Using the lid as a template.
 IMG_5950 by jamie skinner, on Flickr
 IMG_5957 by jamie skinner, on Flickr
 IMG_5958 by jamie skinner, on Flickr
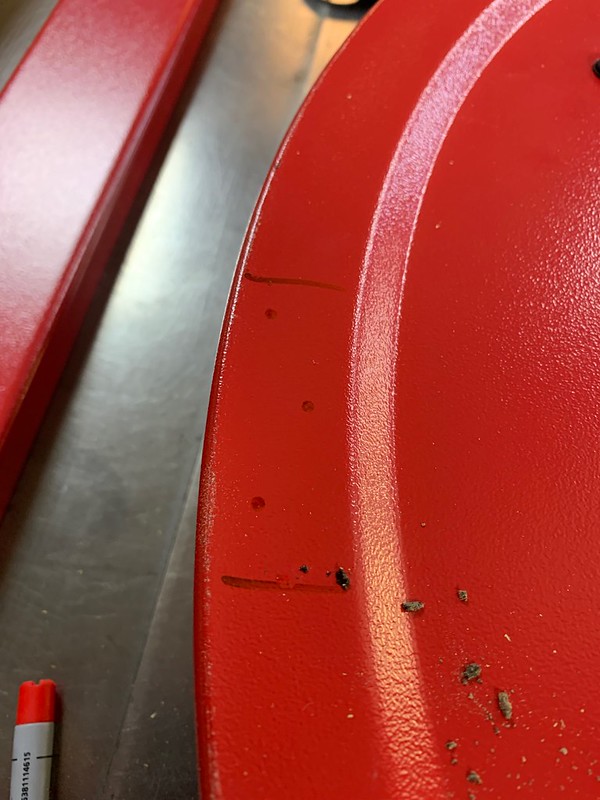
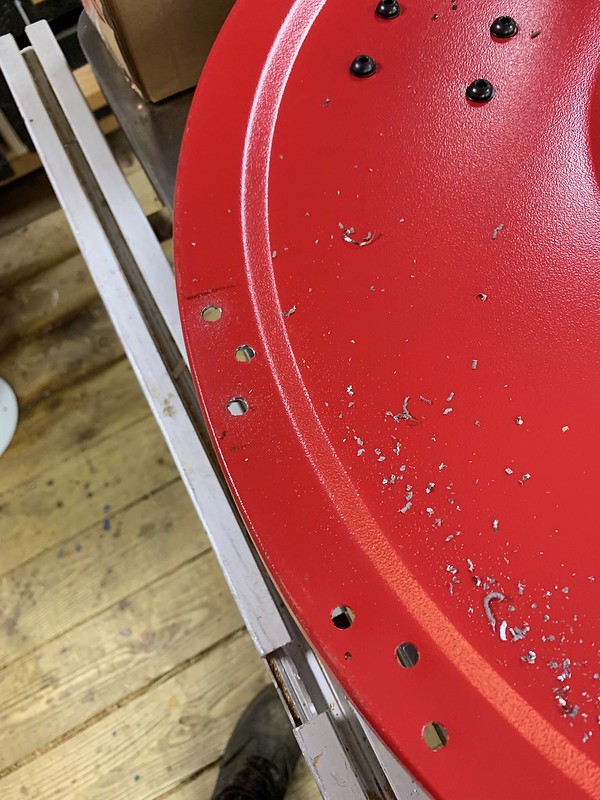
Marking and drilling new place for the column to allow for a bin to slide in.
 IMG_5959 by jamie skinner, on Flickr
 IMG_5960 by jamie skinner, on Flickr
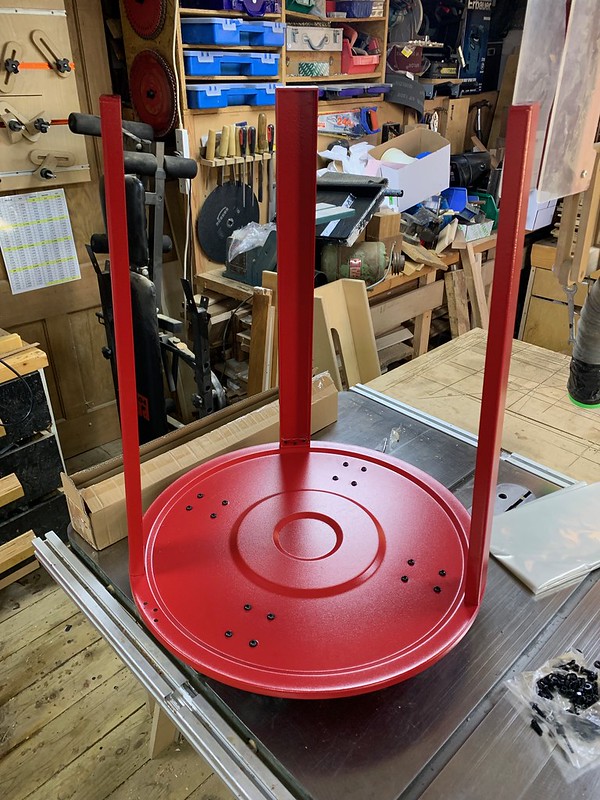
Wider front opening.
 IMG_5961 by jamie skinner, on Flickr
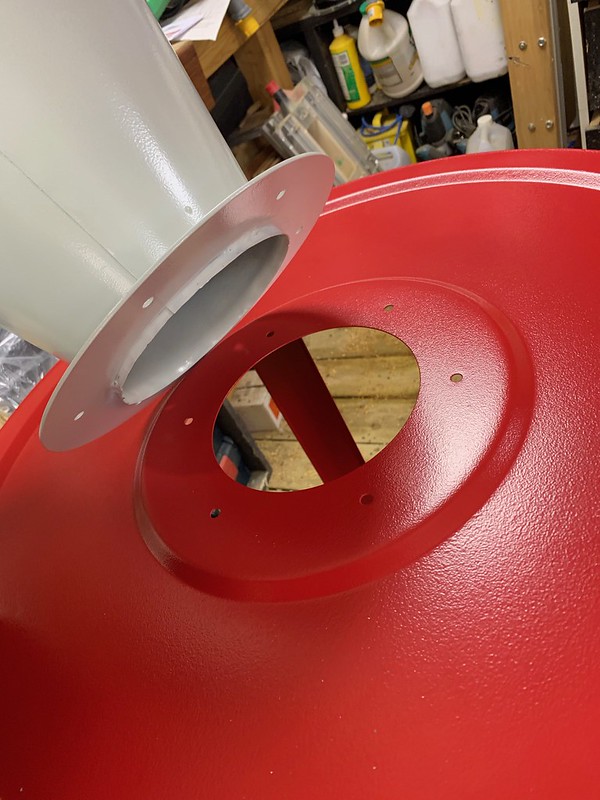
First issue.. Cyclone to base attachment. I was disappointed that this does not come with a gasket of sorts to seal the two parts.
 IMG_5962 by jamie skinner, on Flickr
old neoprene pencil case
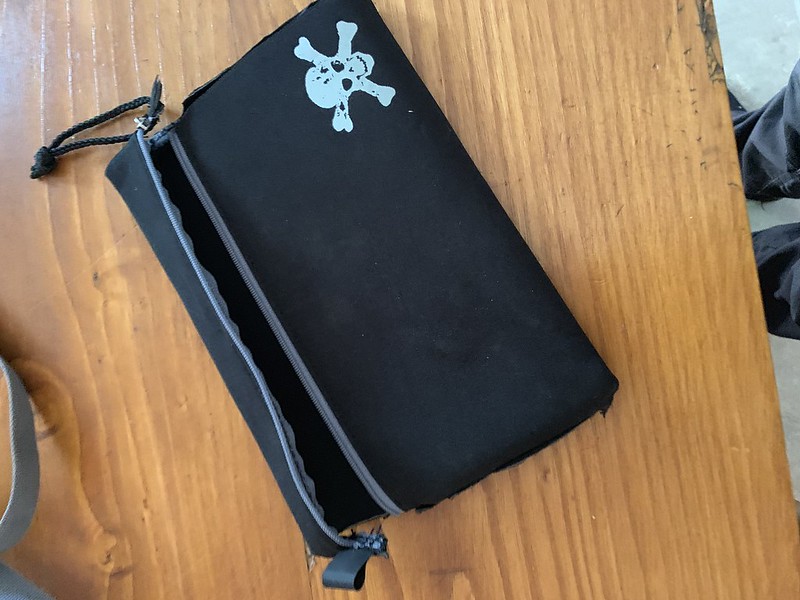 IMG_5980 by jamie skinner, on Flickr
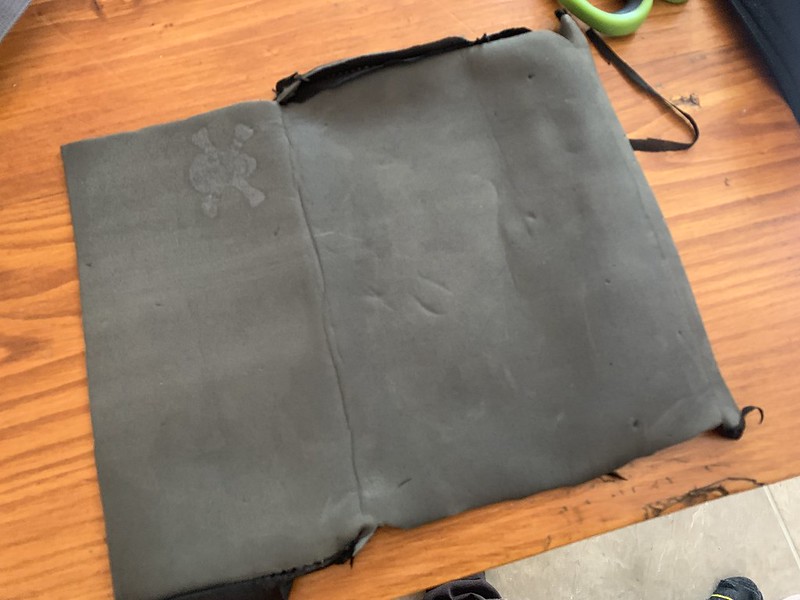 IMG_5982 by jamie skinner, on Flickr
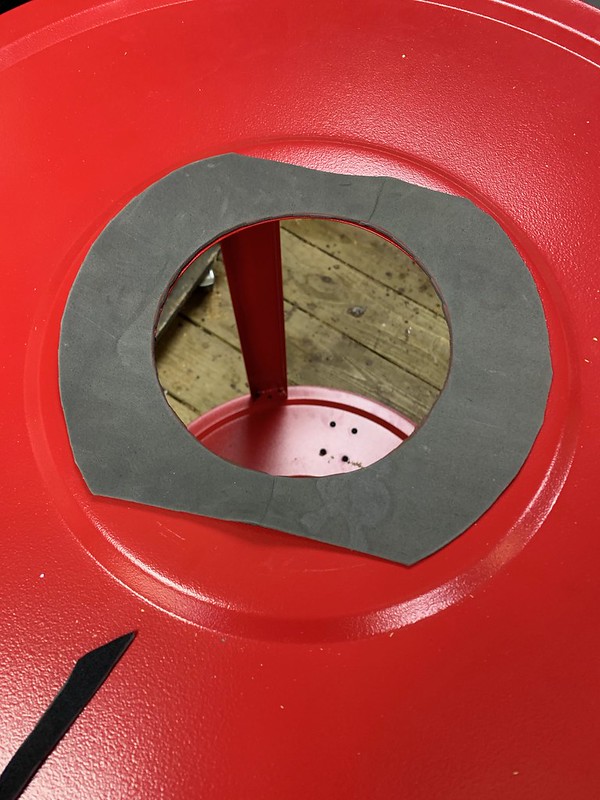 IMG_5987 by jamie skinner, on Flickr
Fixed!
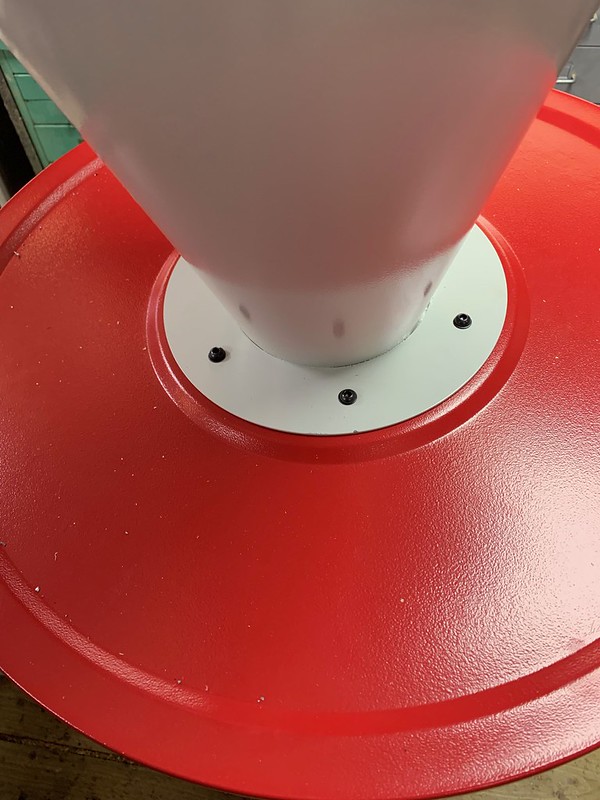 IMG_5988 by jamie skinner, on Flickr
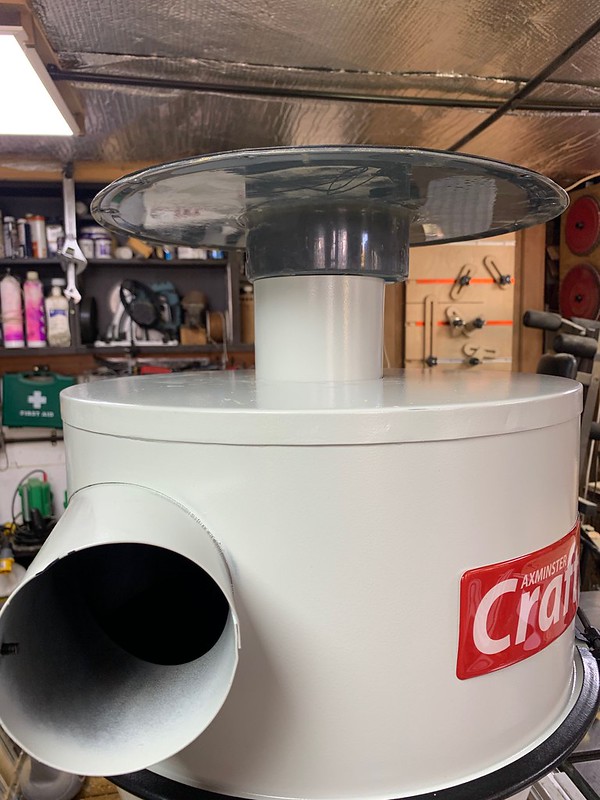
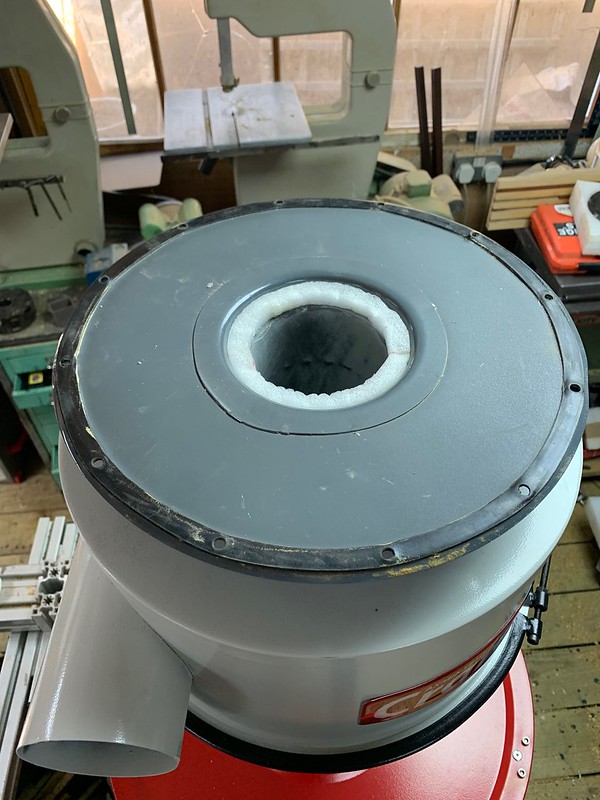
Second issue... These should come with 125mm+ ports as standard as it is a lot easier to reduce than to enlarge them.
 IMG_5967 by jamie skinner, on Flickr
 IMG_6001 by jamie skinner, on Flickr
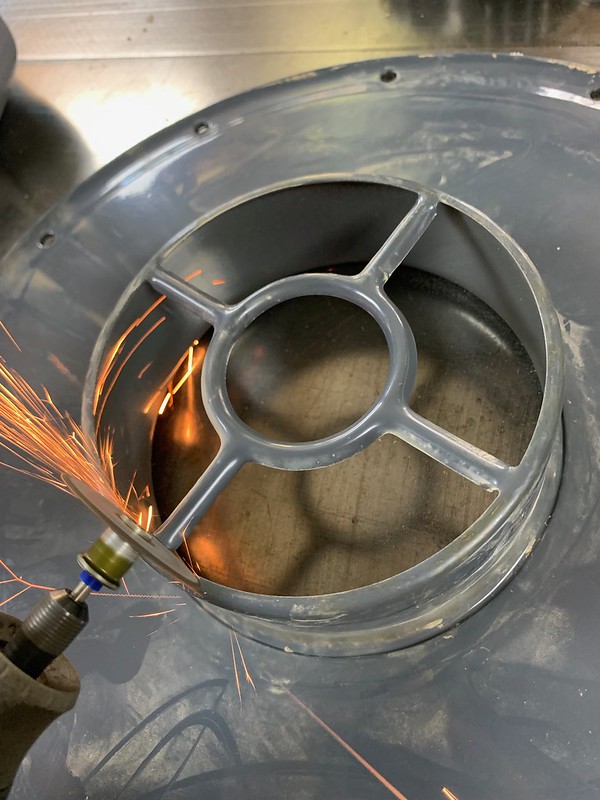
Cutting my blower intake. Action Shot!
 IMG_5970 by jamie skinner, on Flickr
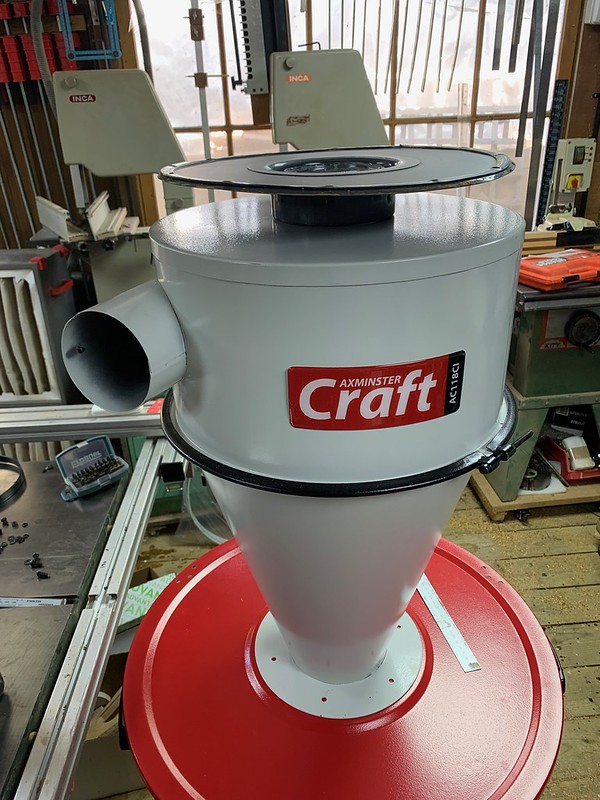
Now fits
 IMG_5977 by jamie skinner, on Flickr
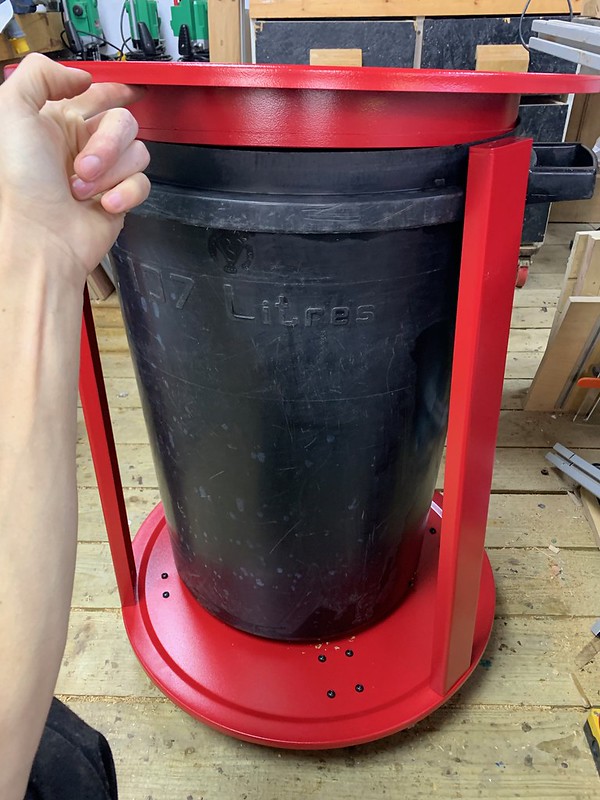
My issue.. Bin is too tall..
 IMG_5964 by jamie skinner, on Flickr
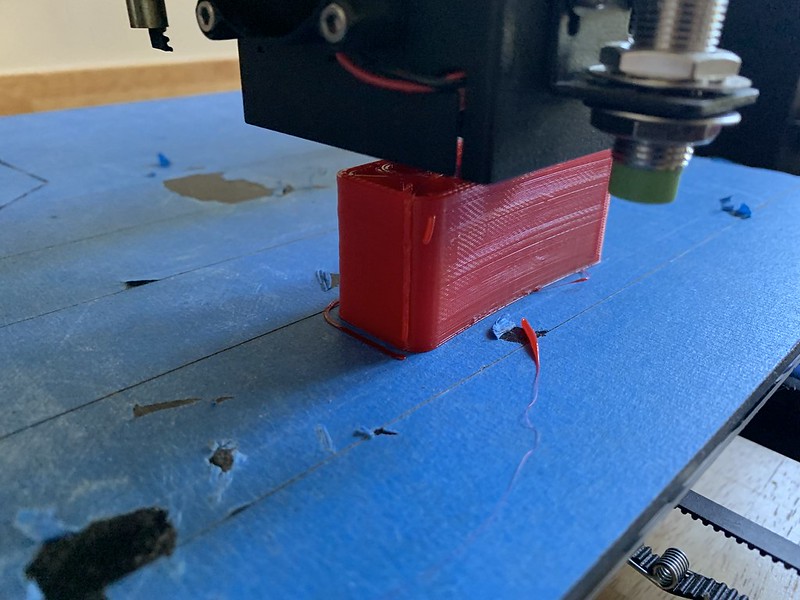
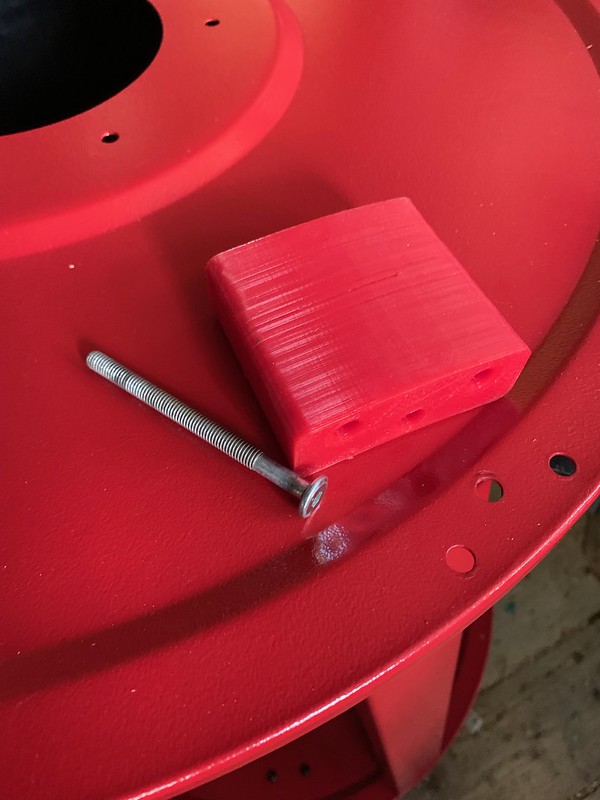
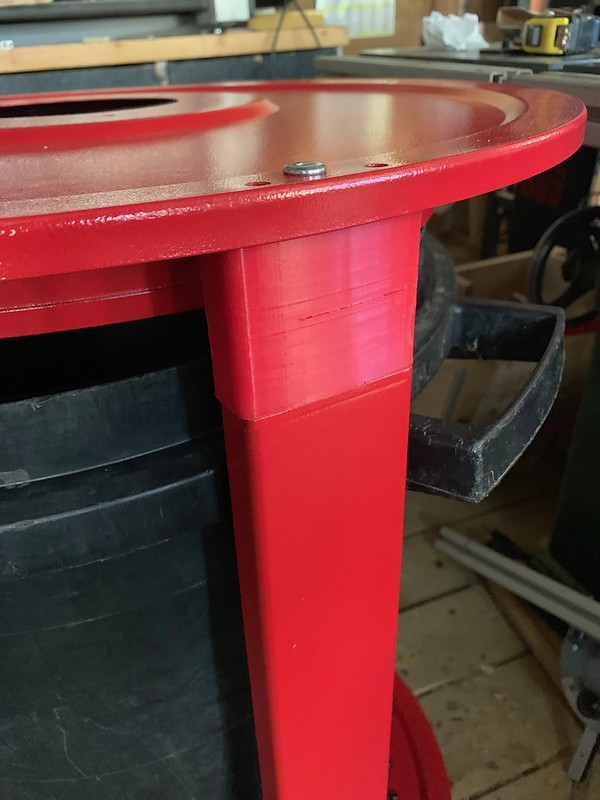
3D printing spacers
 IMG_5978 by jamie skinner, on Flickr
 IMG_5983 by jamie skinner, on Flickr
 IMG_5984 by jamie skinner, on Flickr
Third issue... Some of the fabricated metal joins have gaps in them. Easy fix
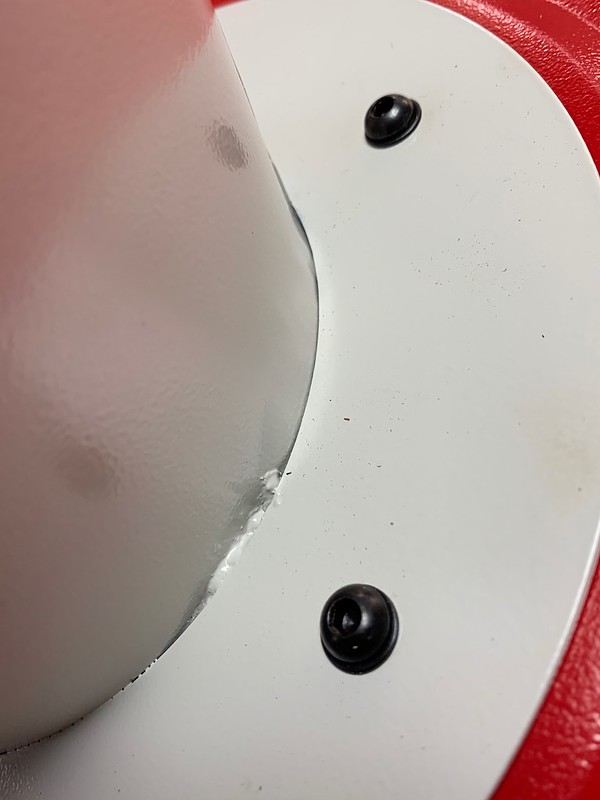 IMG_5990 by jamie skinner, on Flickr
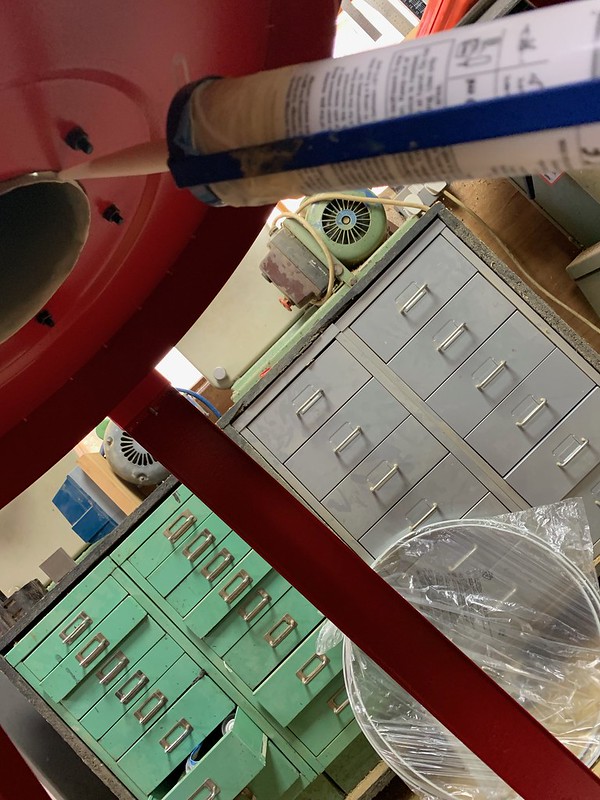 IMG_5991 by jamie skinner, on Flickr
Fixed
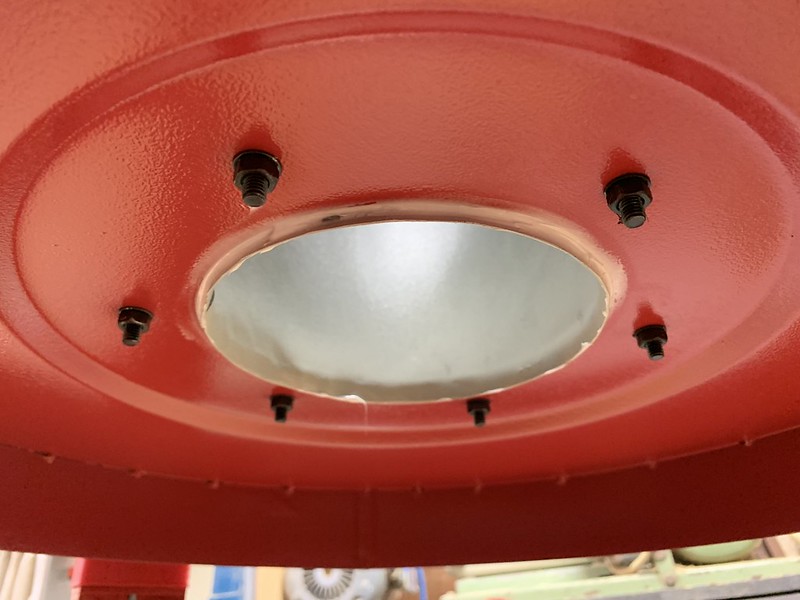 IMG_5992 by jamie skinner, on Flickr
Looking good so far
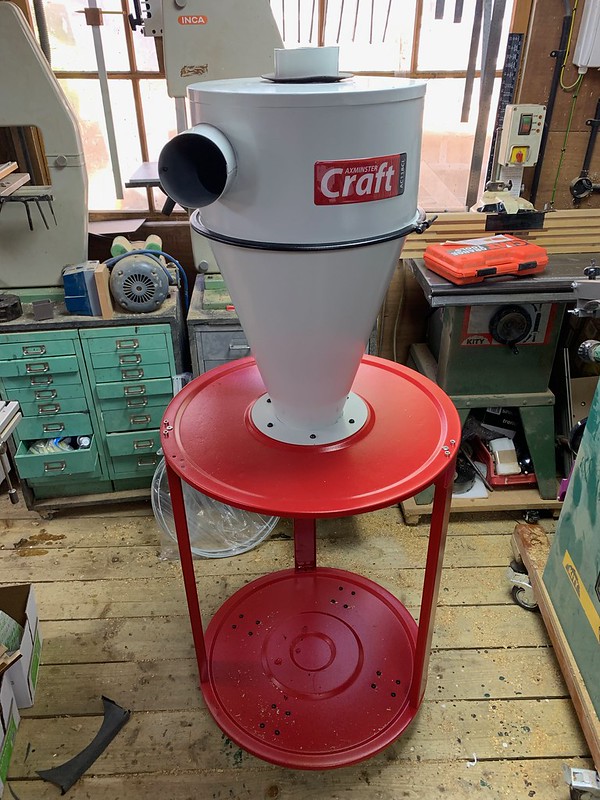 IMG_5993 by jamie skinner, on Flickr
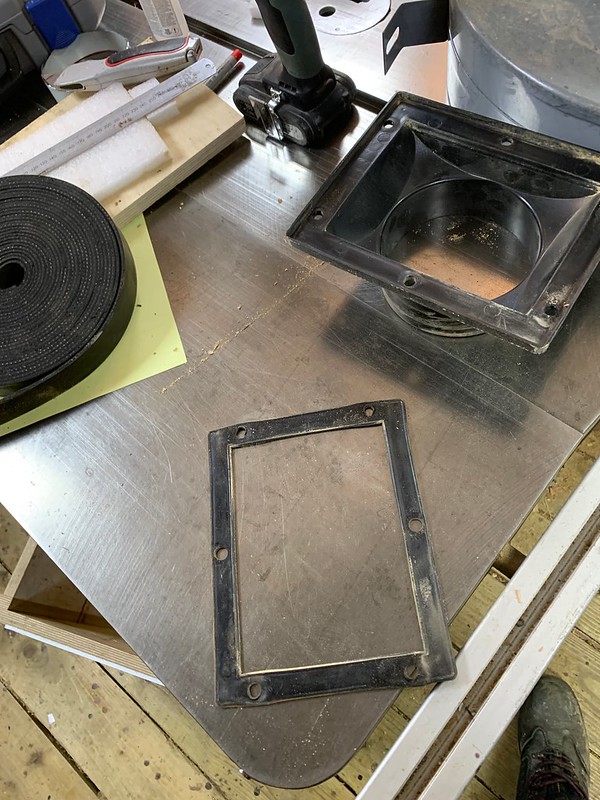
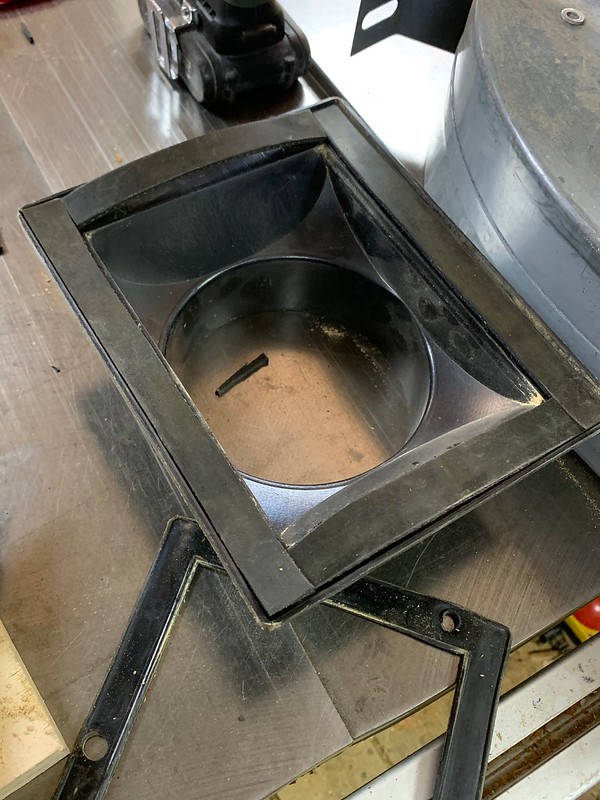
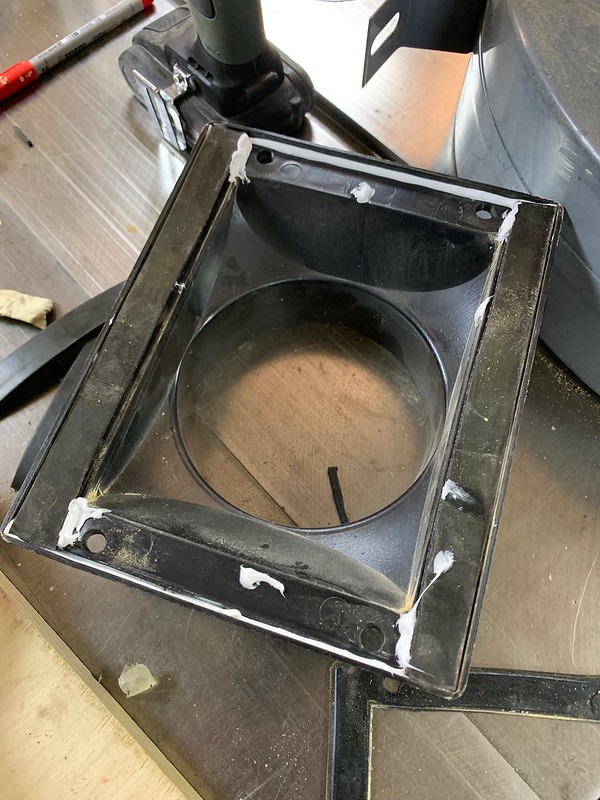
My blower issue. Bad seal around port. Fixed with new rubber and silicone.
 IMG_6003 by jamie skinner, on Flickr
 IMG_6004 by jamie skinner, on Flickr
 IMG_6005 by jamie skinner, on Flickr
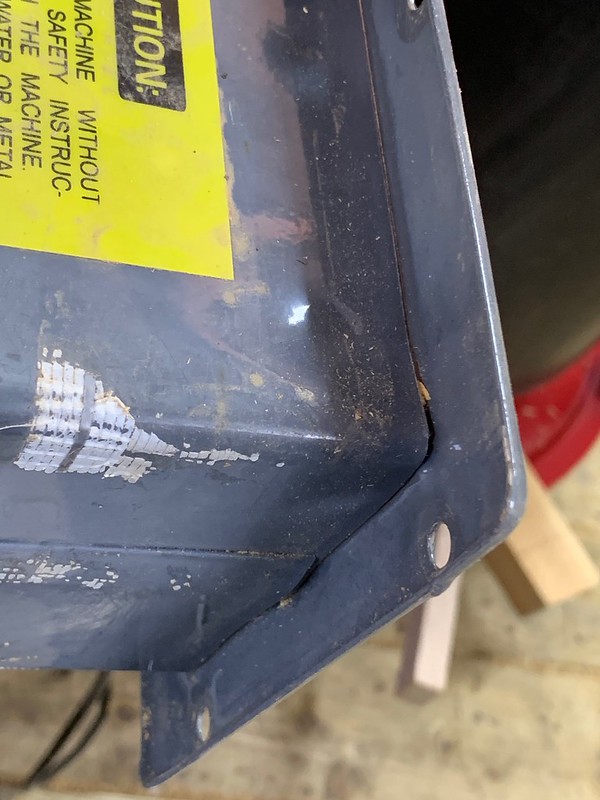
Metal fabrication on my blower could do with some sealant.
 IMG_6006 by jamie skinner, on Flickr
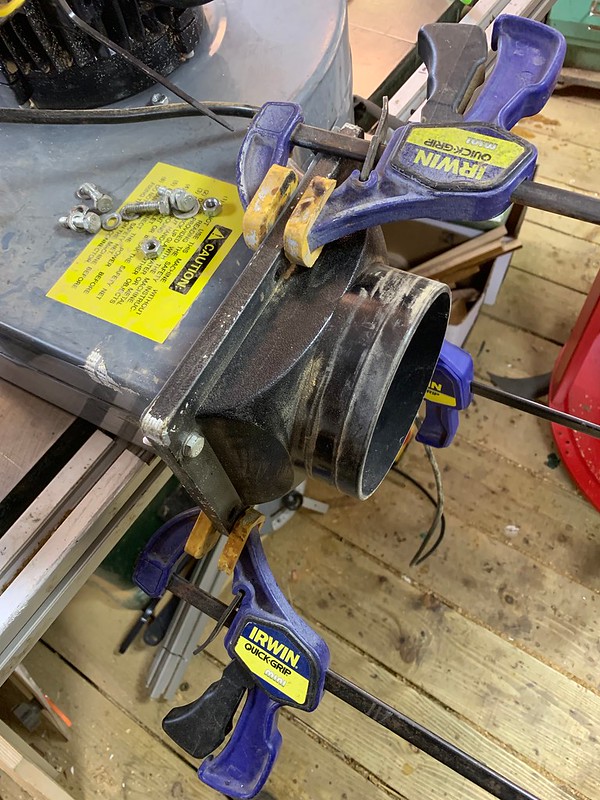 IMG_6007 by jamie skinner, on Flickr
Ready to mount the blower.
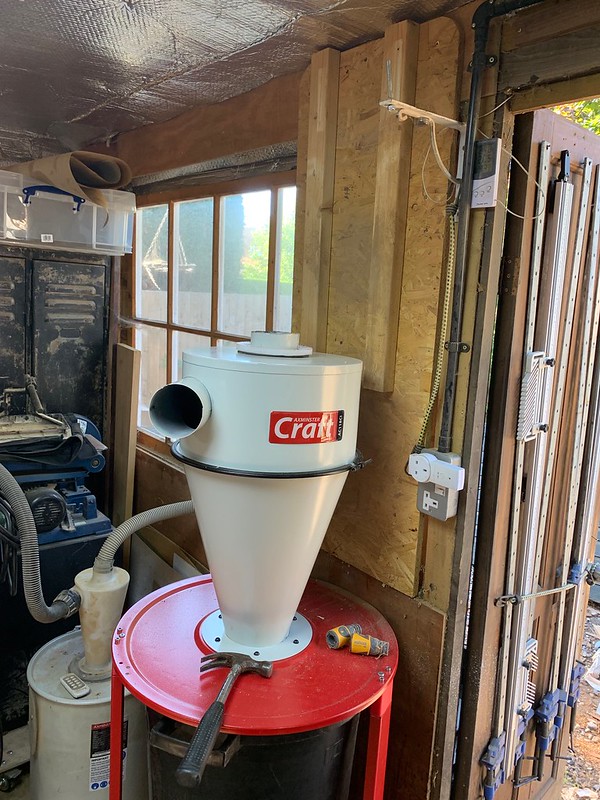 IMG_6008 by jamie skinner, on Flickr
The exhaust port is facing the wrong way so I am moving it 90 degrees to face the right way
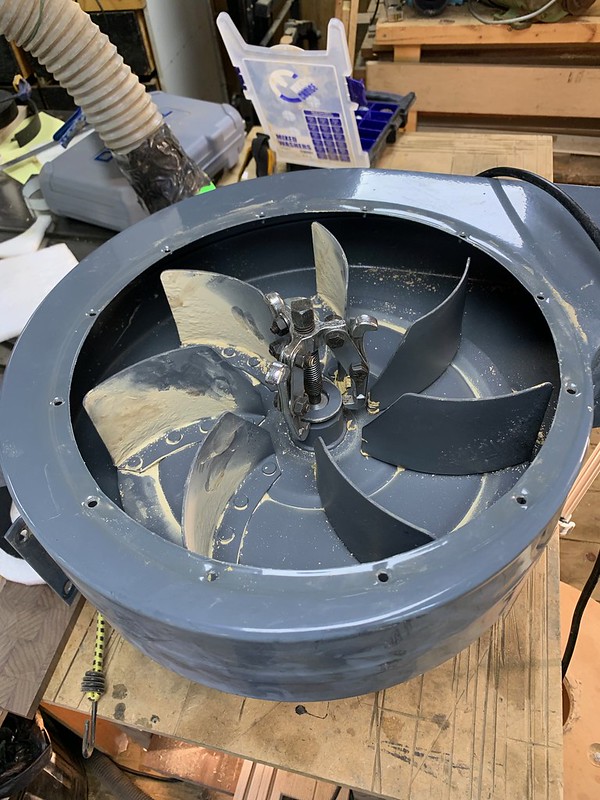 IMG_6009 by jamie skinner, on Flickr
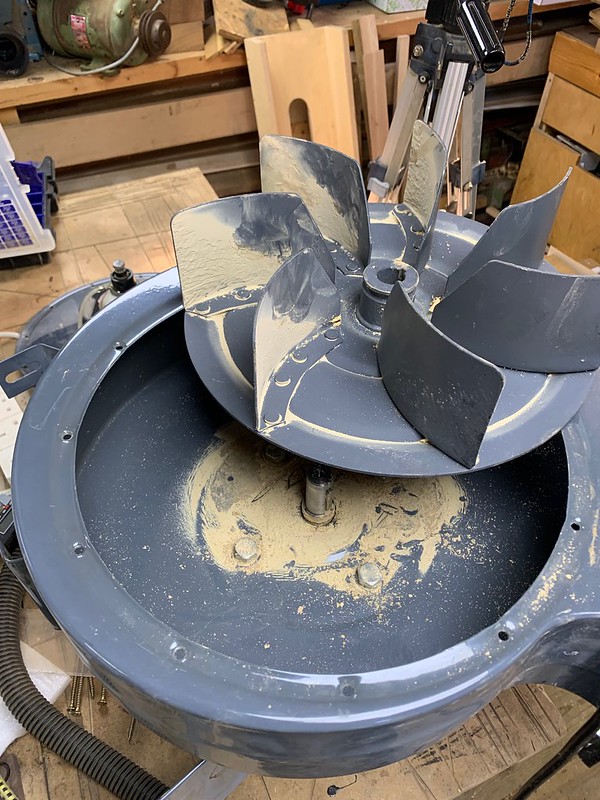 IMG_6011 by jamie skinner, on Flickr
Placing two blocks to hold the blower the correct distance while I bolt to the wall.
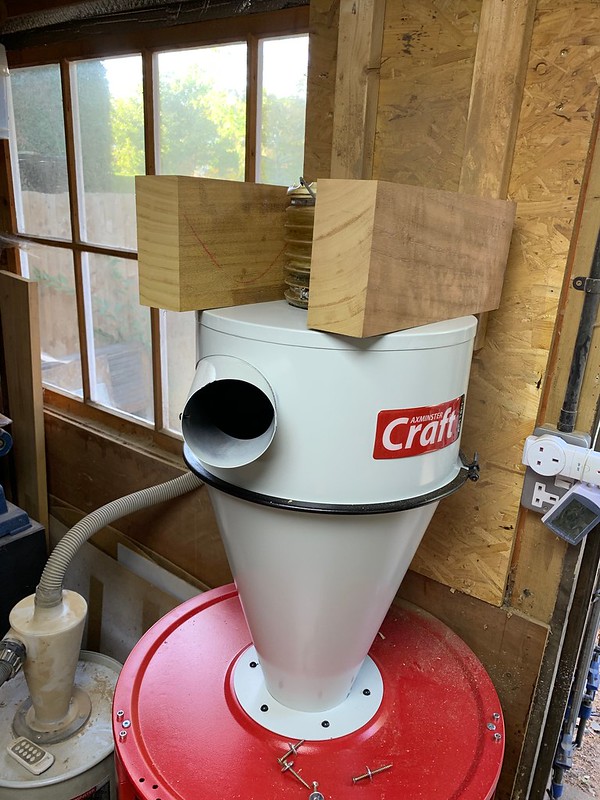 IMG_6012 by jamie skinner, on Flickr
Attached.
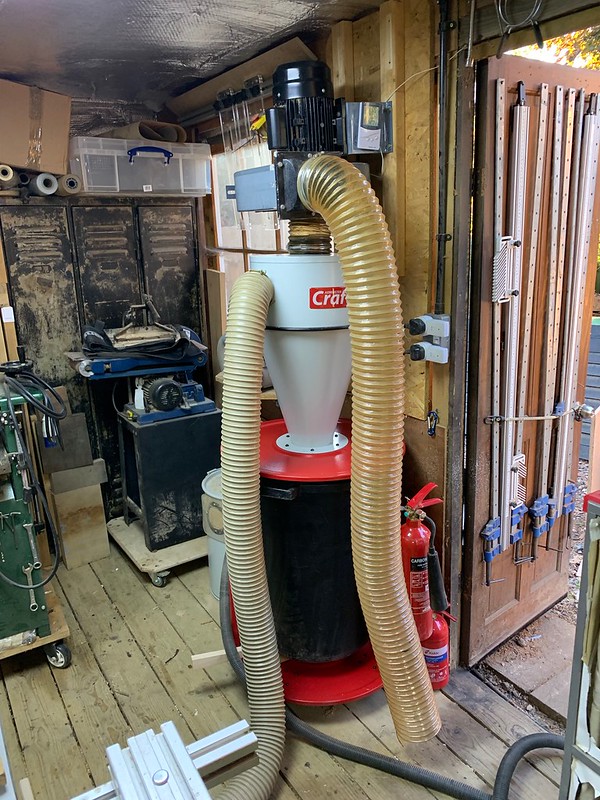 IMG_6013 by jamie skinner, on Flickr
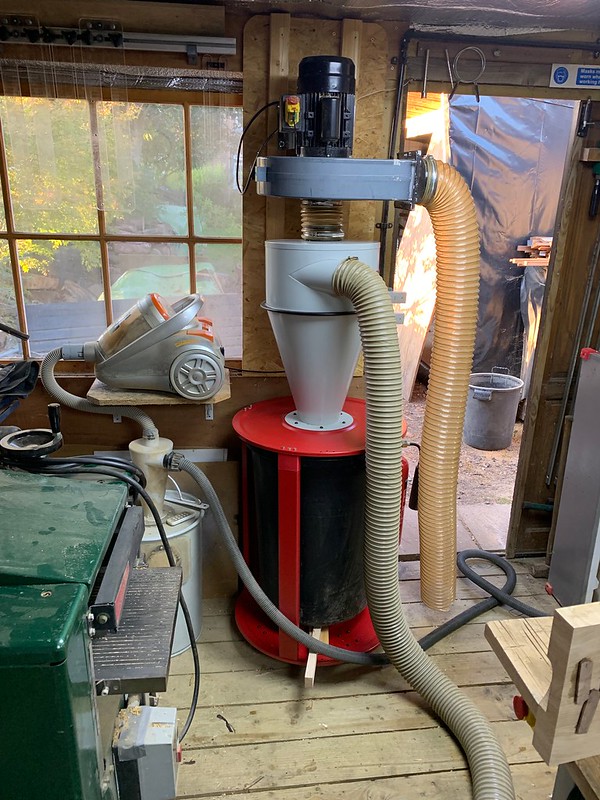 IMG_6014 by jamie skinner, on Flickr
Turns out I didn't need to remove the grid in the end...
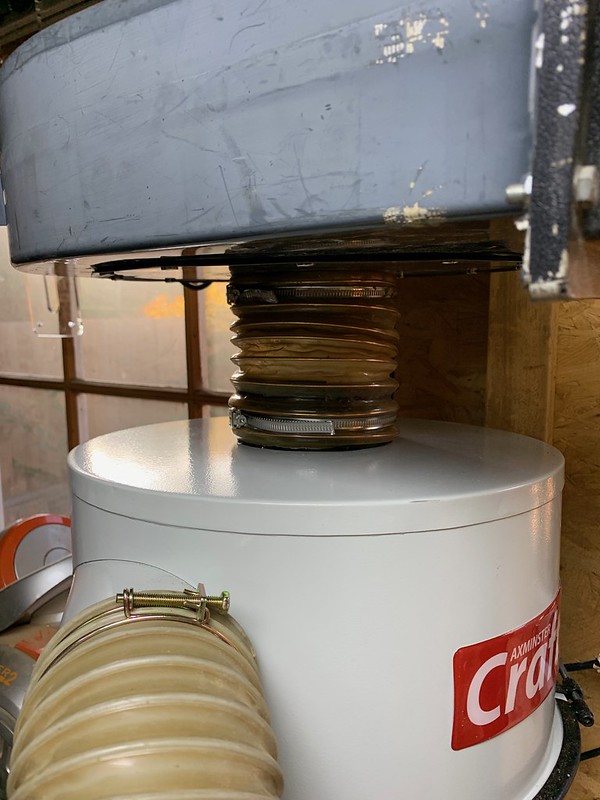 IMG_6016 by jamie skinner, on Flickr
Bin is currently wedged from bottom. Looking to add clips later on the top to hold the bin to the unit so it seal better.
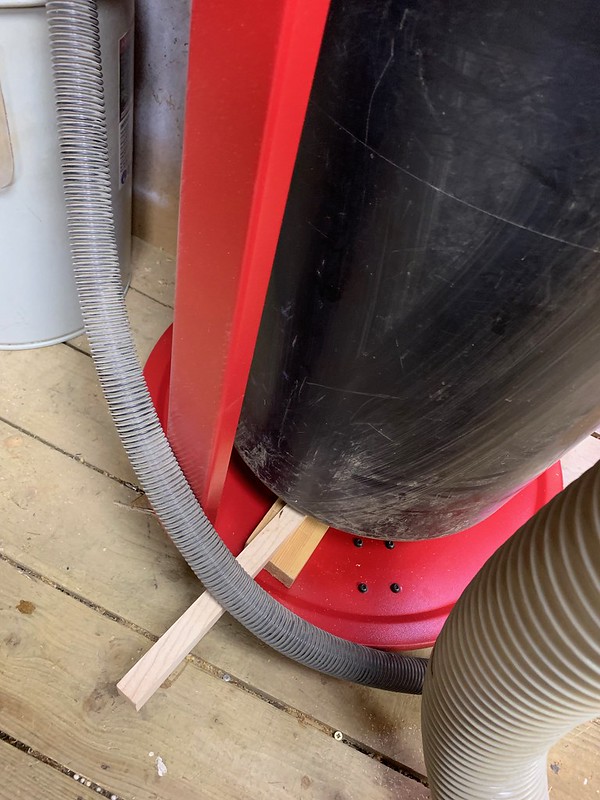 IMG_6017 by jamie skinner, on Flickr
Adding seals. Ideally I need some wider seals but this is all I had on hand.
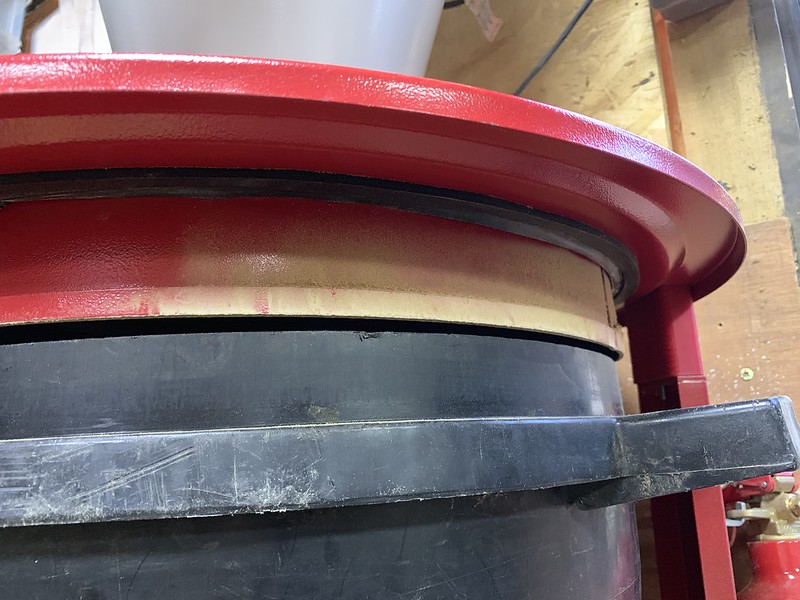 IMG_6022 by jamie skinner, on Flickr
baby cyclone next to it.
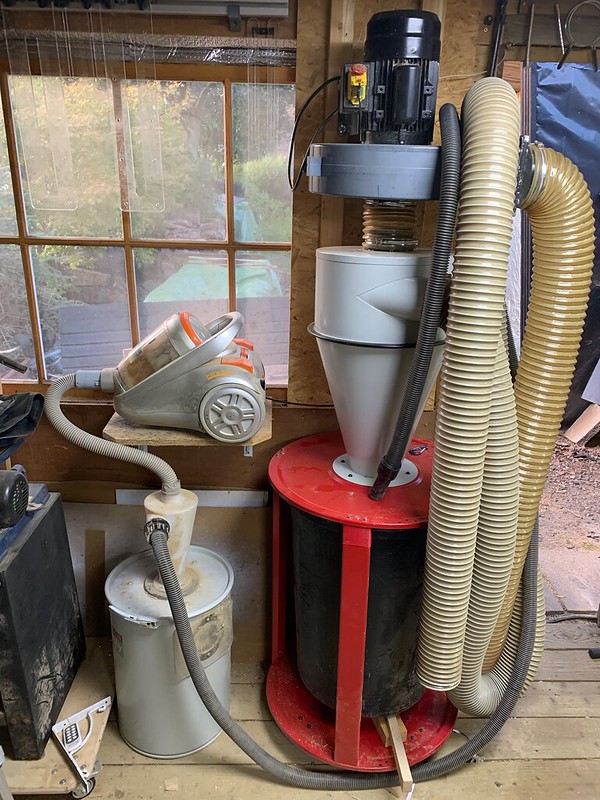 IMG_6024 by jamie skinner, on Flickr
My bin kept collapsing so I used some of the left over parts to brace the inside of the bin. These usually hold the bag open if using the bag that comes with the lower section.
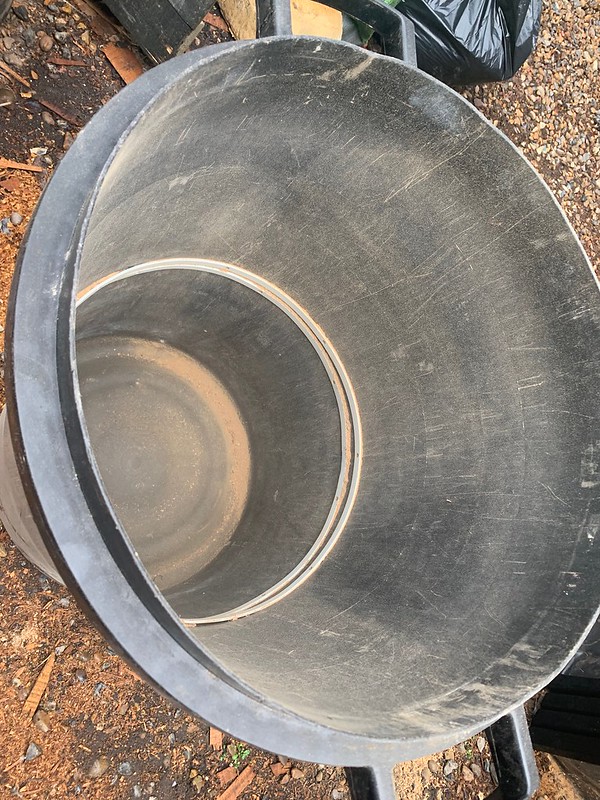 IMG_6025 by jamie skinner, on Flickr
Still a little more to do but overall pleased with the unit.
Improvements to the unit for me would be:
Larger dust posts on it. 125/150mm with plastic reducers offered.
Better seals. I found gaps in the cyclone using a torch around the base where I previously mentioned. Later I also found gaps around the "dust in" port which again used silicone to fix.
Gasket supplied for attaching bottom of cyclone.
I would buy again, and if these improvements were made, mainly the larger ports this will be great unit out of the box.
I am venting exhaust outside. I am planning on adding a filter unit to it for work in the winter.
Exhaust air looks very clean with minimal dust coming out when using my drum sander.
I believe my blower is 3hp. Ideally need 150mm posts on the cyclone for this size.
Currently I am just using a 100mm flex pipe to each machine as I use it. I will eventually replace with with 150mm spiral ducting which should offer better air flow than the long flex pipe.
Thanks for looking!
Unboxing:
 IMG_5943 by jamie skinner, on Flickr
Height
 IMG_5944 by jamie skinner, on Flickr
View from the bottom - top (not mesh at the bottom just my table.)
 IMG_5945 by jamie skinner, on Flickr
I also got the bag attachment waste bin part.
 IMG_5946 by jamie skinner, on Flickr
 IMG_5947 by jamie skinner, on Flickr
 IMG_5952 by jamie skinner, on Flickr
 IMG_5954 by jamie skinner, on Flickr
 IMG_5955 by jamie skinner, on Flickr
 IMG_5956 by jamie skinner, on Flickr
I am wanting to use a dust bin I have to collect the shaving so I am modifying the unit to accept this bin.
First it to move one of the columns that hold the cyclone up so I can get the bin in. Using the lid as a template.
 IMG_5950 by jamie skinner, on Flickr
 IMG_5957 by jamie skinner, on Flickr
 IMG_5958 by jamie skinner, on Flickr
Marking and drilling new place for the column to allow for a bin to slide in.
 IMG_5959 by jamie skinner, on Flickr
 IMG_5960 by jamie skinner, on Flickr
Wider front opening.
 IMG_5961 by jamie skinner, on Flickr
First issue.. Cyclone to base attachment. I was disappointed that this does not come with a gasket of sorts to seal the two parts.
 IMG_5962 by jamie skinner, on Flickr
old neoprene pencil case
 IMG_5980 by jamie skinner, on Flickr
 IMG_5982 by jamie skinner, on Flickr
 IMG_5987 by jamie skinner, on Flickr
Fixed!
 IMG_5988 by jamie skinner, on Flickr
Second issue... These should come with 125mm+ ports as standard as it is a lot easier to reduce than to enlarge them.
 IMG_5967 by jamie skinner, on Flickr
 IMG_6001 by jamie skinner, on Flickr
Cutting my blower intake. Action Shot!
 IMG_5970 by jamie skinner, on Flickr
Now fits
 IMG_5977 by jamie skinner, on Flickr
My issue.. Bin is too tall..
 IMG_5964 by jamie skinner, on Flickr
3D printing spacers
 IMG_5978 by jamie skinner, on Flickr
 IMG_5983 by jamie skinner, on Flickr
 IMG_5984 by jamie skinner, on Flickr
Third issue... Some of the fabricated metal joins have gaps in them. Easy fix
 IMG_5990 by jamie skinner, on Flickr
 IMG_5991 by jamie skinner, on Flickr
Fixed
 IMG_5992 by jamie skinner, on Flickr
Looking good so far
 IMG_5993 by jamie skinner, on Flickr
My blower issue. Bad seal around port. Fixed with new rubber and silicone.
 IMG_6003 by jamie skinner, on Flickr
 IMG_6004 by jamie skinner, on Flickr
 IMG_6005 by jamie skinner, on Flickr
Metal fabrication on my blower could do with some sealant.
 IMG_6006 by jamie skinner, on Flickr
 IMG_6007 by jamie skinner, on Flickr
Ready to mount the blower.
 IMG_6008 by jamie skinner, on Flickr
The exhaust port is facing the wrong way so I am moving it 90 degrees to face the right way
 IMG_6009 by jamie skinner, on Flickr
 IMG_6011 by jamie skinner, on Flickr
Placing two blocks to hold the blower the correct distance while I bolt to the wall.
 IMG_6012 by jamie skinner, on Flickr
Attached.
 IMG_6013 by jamie skinner, on Flickr
 IMG_6014 by jamie skinner, on Flickr
Turns out I didn't need to remove the grid in the end...
 IMG_6016 by jamie skinner, on Flickr
Bin is currently wedged from bottom. Looking to add clips later on the top to hold the bin to the unit so it seal better.
 IMG_6017 by jamie skinner, on Flickr
Adding seals. Ideally I need some wider seals but this is all I had on hand.
 IMG_6022 by jamie skinner, on Flickr
baby cyclone next to it.
 IMG_6024 by jamie skinner, on Flickr
My bin kept collapsing so I used some of the left over parts to brace the inside of the bin. These usually hold the bag open if using the bag that comes with the lower section.
 IMG_6025 by jamie skinner, on Flickr
Still a little more to do but overall pleased with the unit.
Improvements to the unit for me would be:
Larger dust posts on it. 125/150mm with plastic reducers offered.
Better seals. I found gaps in the cyclone using a torch around the base where I previously mentioned. Later I also found gaps around the "dust in" port which again used silicone to fix.
Gasket supplied for attaching bottom of cyclone.
I would buy again, and if these improvements were made, mainly the larger ports this will be great unit out of the box.
I am venting exhaust outside. I am planning on adding a filter unit to it for work in the winter.
Exhaust air looks very clean with minimal dust coming out when using my drum sander.
I believe my blower is 3hp. Ideally need 150mm posts on the cyclone for this size.
Currently I am just using a 100mm flex pipe to each machine as I use it. I will eventually replace with with 150mm spiral ducting which should offer better air flow than the long flex pipe.
Thanks for looking!


