kirkpoore1
Established Member
A year ago I was working on a set of thrones for a client, and posted them here (https://www.ukworkshop.co.uk/forums/work-in-progress-medieval-thrones-t47174.html). They liked them so much that they ordered a second set. The primary difference will be differently carved panels. I used a hand-held router on the last set to do the lower background, but last year I finished up restoring my Duro overarm router. This gives vastly more control and let me route out a much larger area in the background. Here are the panels I've done for the new set:
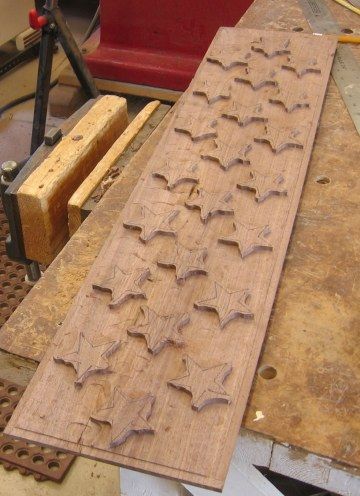
Back panel, routed:
Partly carved:
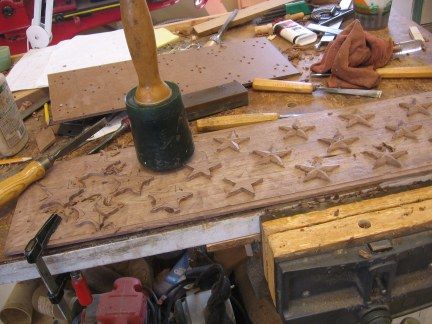
Since the stars are all flat, faceted surfaces, I only used chisels. In fact, after trying a number of chisels, I found that the one that worked best wasn't even a carving chisel--it was a half inch sash mortising chisel, on the left in the picture above. The walnut carved pretty well, with just a few chipouts and grain failures, and once I got into the routine with my cut directions even those were minimal. I only used gouges to remove router and stray chisel marks on the background. Depth is just under 1/4".
Finished carving. There are 4 of these panels with 22 stars each:
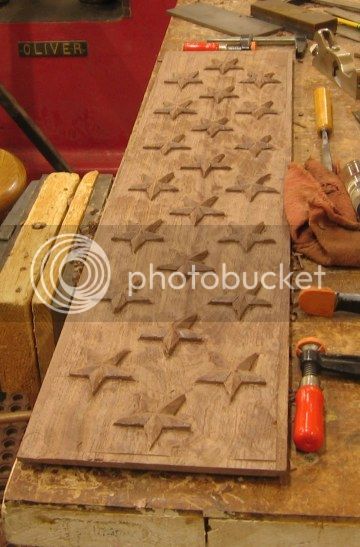
Oiled with one coat of linseed oil. Later I finished with Tried & True Varnish Oil:
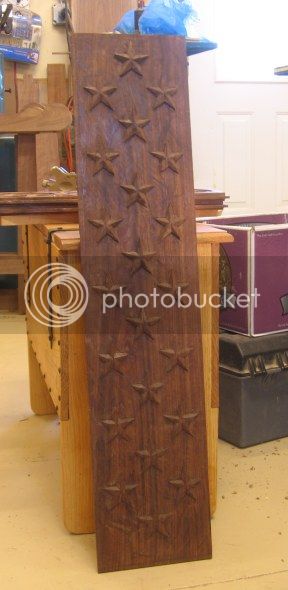
Five pointed stars aren't the most medieval of design, but the repeating pattern is, and they'll look fine from a distance (besides, that's what the client wanted. )
)
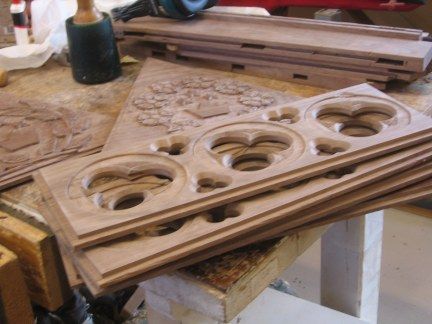
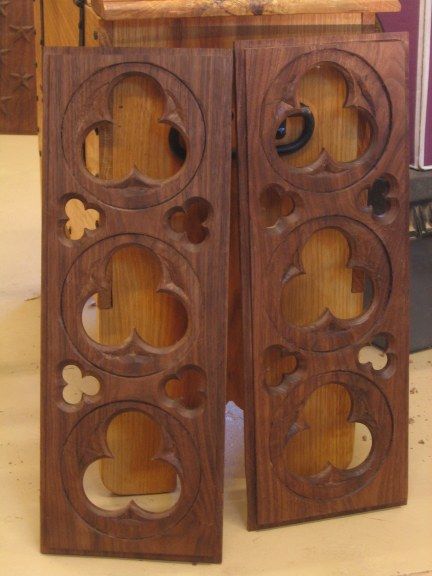
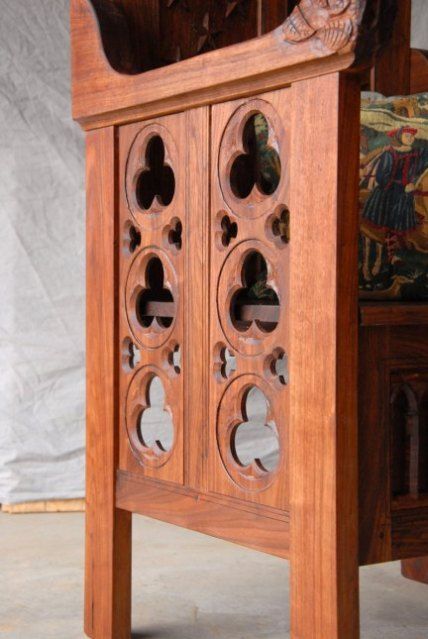
Now for the side panels. There are eight of these, all with the same trefoil design. The large circle was cut with a fly cutter, then the trefoils drilled with forstner bits, and finally the circle edges beveled and the inside of the large circle lowered on the Duro. The triangular depressions were hand carved:
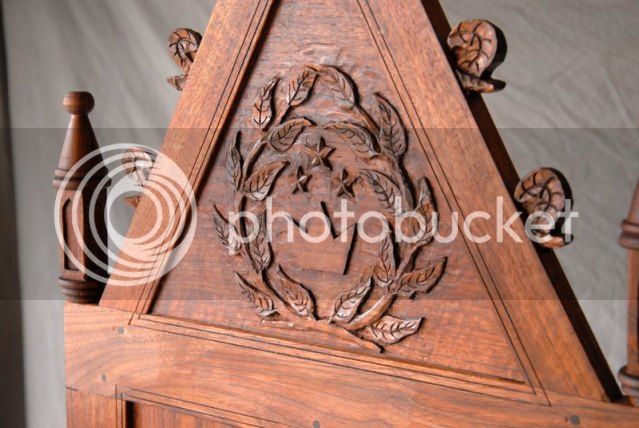
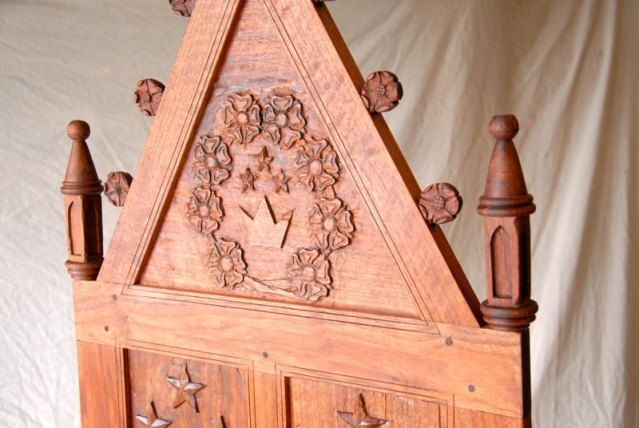
Finally, each back has an upper triangular pattern. On the last set of thrones these were plain, and a carved plate was added later. These are carved before assembly:
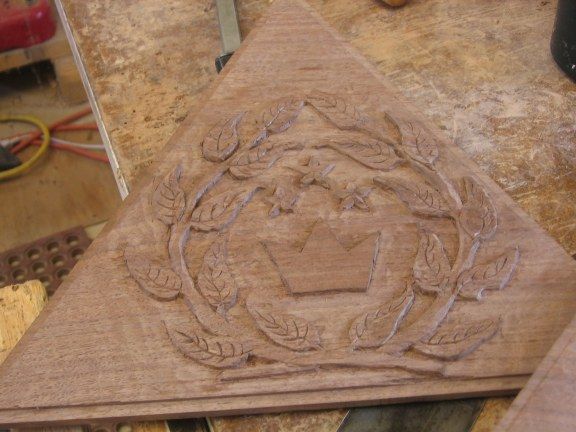
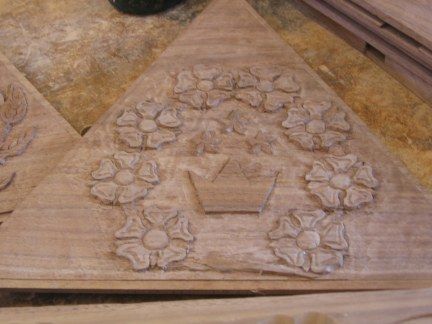
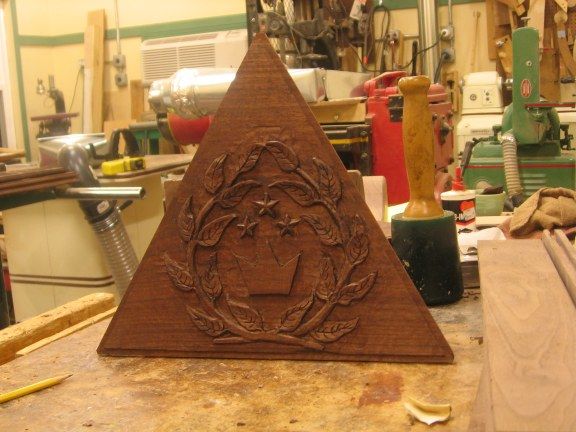
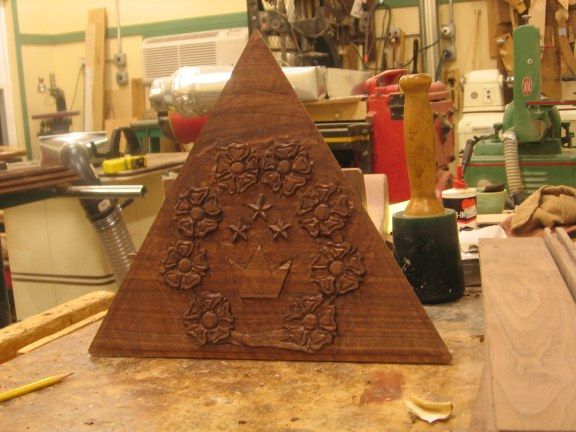
As with the stars, these are actually pretty shallow--only about 3/16". But the walnut allows plenty of detail and the frame should provide protection from chipping and other damage. I cleaned these up some more, since the oil really highlighted some tool marks that I wanted to get rid of.
Arm rest carving:


The carvings look kind of like a fairly standard vine-and-grape image. They are actually intended to be walnut leaves and flowers. (Black walnut flowers look like open lattice puff balls arranged in long clusters.) For the flowers to be durable enough, I had to just leave them solid, though.
These carvings must meet a peculiar set of intersecting requirements. They have to be visible from a distance, therefore large. But they're going to get rough handling (i.e. stuck in a padded bag and tossed in the back of a pickup truck) so must be durable (beefy and not sticking out too far). And the people writing the check for them will be the closest ones to them, so they have to look somewhat realistic up close.
The assembly part of the project:


And finished: A few final pics of the whole project. I delivered these last week to a very pleased client.
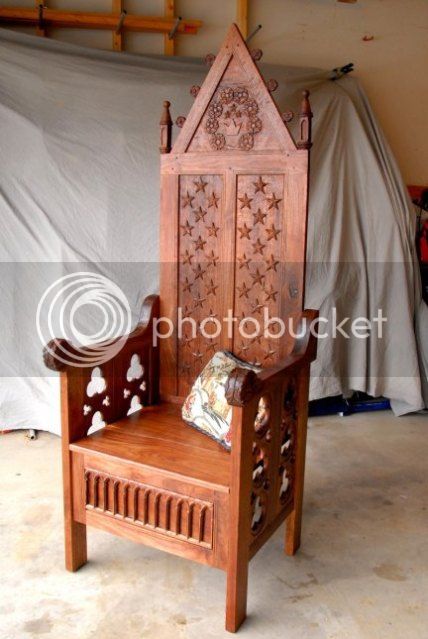
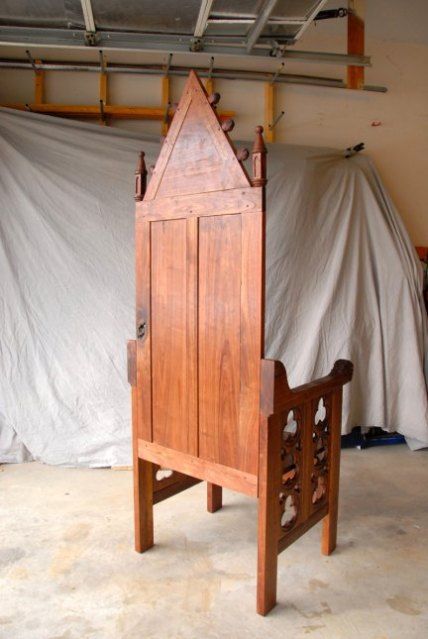
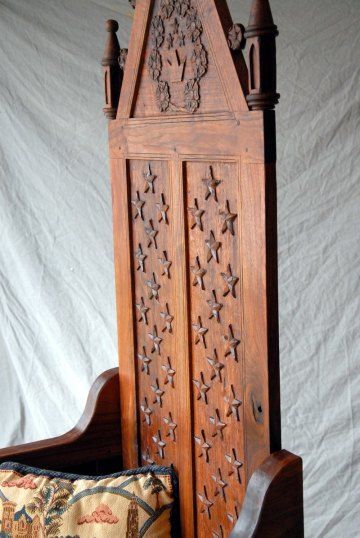
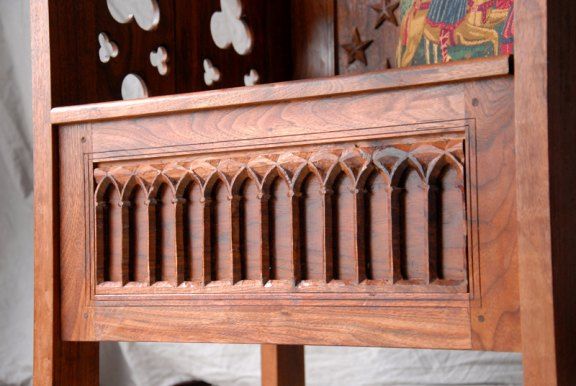
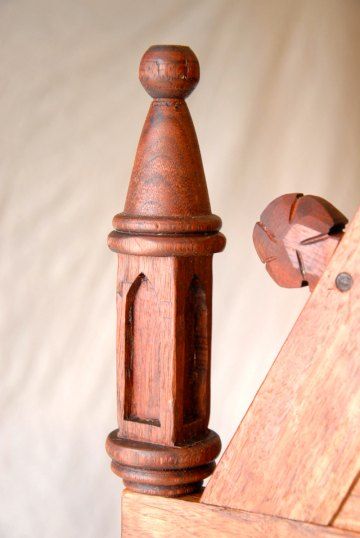
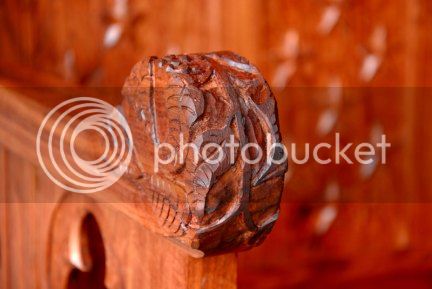
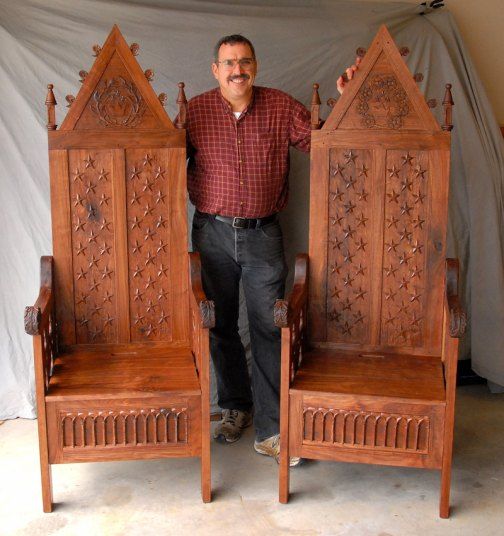
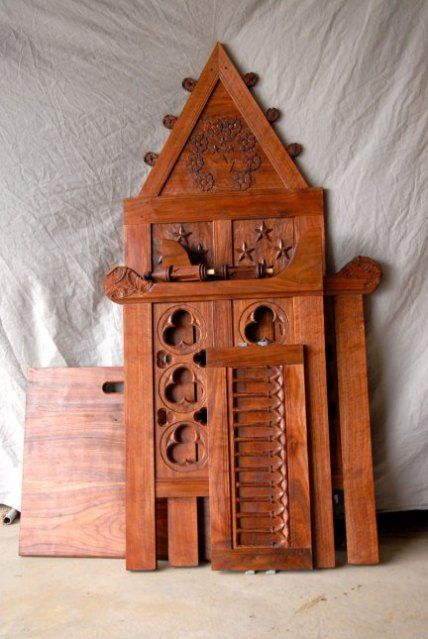
As you can see, these break down flat. They are assembled using bed rail hardware from Lee Valley, and take about a minute to put together after you've practiced a few times.
I started these in mid January, and they took about 120 hours. Next time, I'm starting sooner. That was too much work in too short a time for too small money. However, the overarm router, pictured here, was a real workhorse:
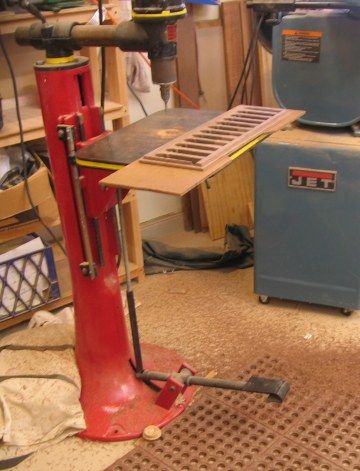
I have since added a polycarbonate guard, which keeps things cleaner by directing the chips to the back and keeping my fingers out of the bits. I've done a fair amount of relief carving, and have always been put off by the amount of wood to remove to get down to the background. This will reduce that waste removal to manageable proportions.
Thanks for looking...
Kirk
Back panel, routed:

Partly carved:

Since the stars are all flat, faceted surfaces, I only used chisels. In fact, after trying a number of chisels, I found that the one that worked best wasn't even a carving chisel--it was a half inch sash mortising chisel, on the left in the picture above. The walnut carved pretty well, with just a few chipouts and grain failures, and once I got into the routine with my cut directions even those were minimal. I only used gouges to remove router and stray chisel marks on the background. Depth is just under 1/4".
Finished carving. There are 4 of these panels with 22 stars each:

Oiled with one coat of linseed oil. Later I finished with Tried & True Varnish Oil:

Five pointed stars aren't the most medieval of design, but the repeating pattern is, and they'll look fine from a distance (besides, that's what the client wanted.
Now for the side panels. There are eight of these, all with the same trefoil design. The large circle was cut with a fly cutter, then the trefoils drilled with forstner bits, and finally the circle edges beveled and the inside of the large circle lowered on the Duro. The triangular depressions were hand carved:


Finally, each back has an upper triangular pattern. On the last set of thrones these were plain, and a carved plate was added later. These are carved before assembly:


As with the stars, these are actually pretty shallow--only about 3/16". But the walnut allows plenty of detail and the frame should provide protection from chipping and other damage. I cleaned these up some more, since the oil really highlighted some tool marks that I wanted to get rid of.
Arm rest carving:
The carvings look kind of like a fairly standard vine-and-grape image. They are actually intended to be walnut leaves and flowers. (Black walnut flowers look like open lattice puff balls arranged in long clusters.) For the flowers to be durable enough, I had to just leave them solid, though.
These carvings must meet a peculiar set of intersecting requirements. They have to be visible from a distance, therefore large. But they're going to get rough handling (i.e. stuck in a padded bag and tossed in the back of a pickup truck) so must be durable (beefy and not sticking out too far). And the people writing the check for them will be the closest ones to them, so they have to look somewhat realistic up close.
The assembly part of the project:


And finished: A few final pics of the whole project. I delivered these last week to a very pleased client.


As you can see, these break down flat. They are assembled using bed rail hardware from Lee Valley, and take about a minute to put together after you've practiced a few times.
I started these in mid January, and they took about 120 hours. Next time, I'm starting sooner. That was too much work in too short a time for too small money.

I have since added a polycarbonate guard, which keeps things cleaner by directing the chips to the back and keeping my fingers out of the bits.
Thanks for looking...
Kirk


