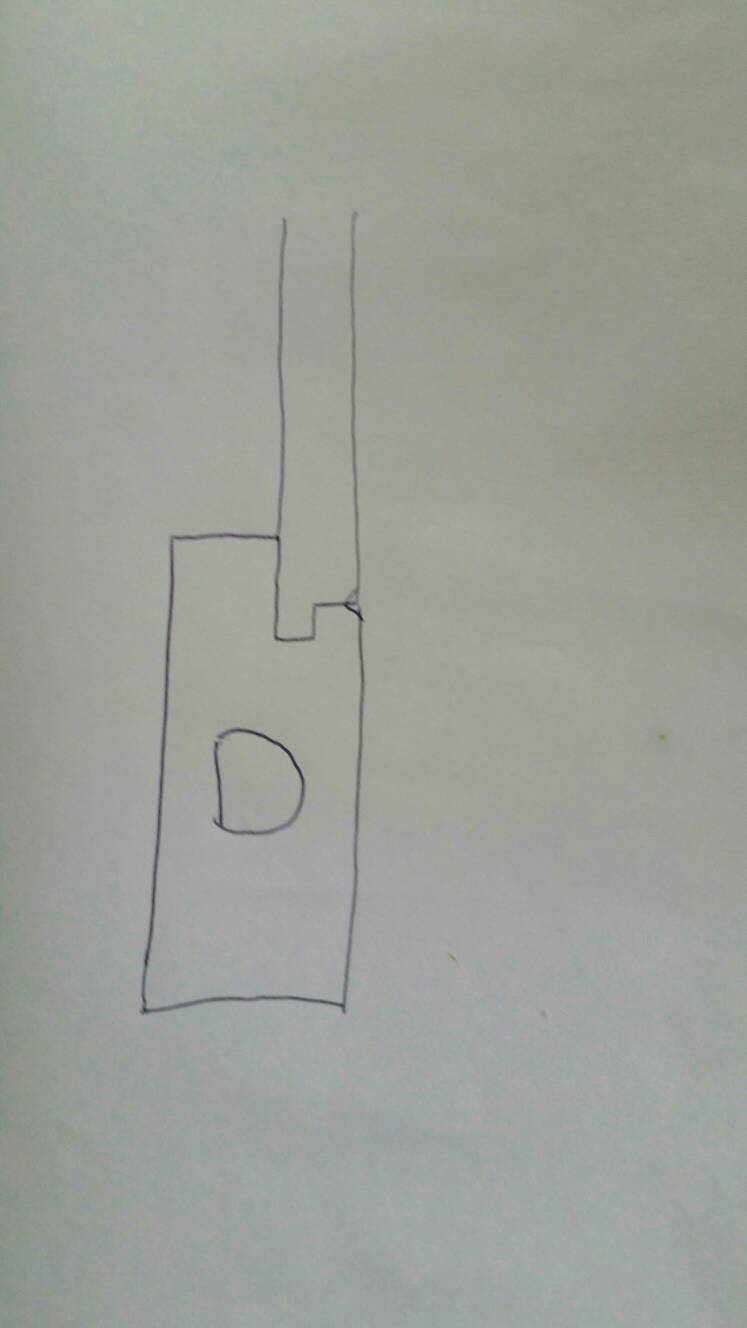
Rebate position for panelled door

UKworkshop.co.uk

Help Support UKworkshop.co.uk:

This site may earn a commission from merchant affiliate links, including eBay, Amazon, and others.

bohngy

Established Member
Joined
6 Feb 2012
Messages
62
Reaction score
0
Location
Dartmoor
Hi y'all,
I'm having another go at making an external door, but I'm still unsure of the correct rebate position. I would like to make this door:
door.jpg


In doing so, the tongue and groove panelling must meet flush with the rails. This is to ensure water can't pool on the horizontal surface of the rail and eventually rot the timber. SO....
rebates.jpg


A - offers most strength, the 18mm panel is fully rebated into the stiles. However, the panels are not flush with the stiles. So, this is not an option.
B - A 10mm x 10mm rebate, offset 8mm from the front of the door. This brings the effective thickness of the panels down to 10mm. Is this considered strong enough? Also, I can't find a 10mm rebate cutter, leading to...
C - A 10mm x 12.7mm rebate, offset 5.3mm from the front of the door. Thicker panels, but 5.3mm seems a bit thin to me. I'm wondering if this will curl/distort over time as it's thin. (12.7mm is the with of most rebate cutters I can find.)

Finally, is there a decent book out there that would explain issues such as this? I have John Birchard's books, but they don't address these aspects.

Thanks :D
 
I prefer this.
ae1550e45dca6e91f68b176477ab3b40.jpg

A bit more support by also having a thick part of the board in the rebate. If some lunatic tries booting it in, there will be less chance of the tongue snapping off. Another bonus is it makes shooting a nail in the top rail much easier so your boards stay nice and evenly spaced. A 6-7mm thick tongue is plenty then.

Sent from my SM-G900F using Tapatalk
 
You mention to avoid water pooling on the horizontals, for this it's good to have a bit of bevel on the cross rails or run the boards right to the bottom.

Hopefully Coley might post a pic of this :D
 
Doug71":dr59ys0x said:
You mention to avoid water pooling on the horizontals, for this it's good to have a bit of bevel on the cross rails or run the boards right to the bottom.

Hopefully Coley might post a pic of this :D
I just popped over the shop to see if I had an offcut in the log pile but couldn't find any.

Any of your rails that could collect water I'd do this arrangement.
27876cbbd47c379c10fdc6c559642894.jpg

When I was an apprentice I got carried away with grooving and accidently pushed through a bottom rail like
377d60c035205b741e1661553c6f541e.jpg

I think my foreman took pity cause he said it'll probably be fine. Everything use to get a lick of primer before assembly (tongues and grooves etc) but even that didn't stop the door from being back in the shop after only 7 ish years with a rotten bottom rail- Balls ! Ha
When I was just in the shop I did find a couple stile and board offcuts
6593c0f1c3bfd1cfff8c05f84e1b9cfd.jpg

3630669208b4a9f38d062348860ff1ad.jpg

The stile was a doubled boarded door but you get the idea
5135fa153cc2a753c2107d9e9d2e963e.jpg

One thing that might be worth mentioning is your door construction. I'd treat the door part as phase 1 and have it all glued up. Phase 2 is inserting the boards. Get your outer boards in first then lastly slide in the middle one. I made a batch of 10+ double sided iroko doors once. Had a phone call from one of the chippys saying it looked like I hadn't nailed one board cause it was loose. I forgot to nail an entire ruddy side !!! Once the boards spring in, they won't go very far !

Back to the door being glued up. Often where the boards meet frame you have a little v groove. Another perk of having a skinny tongue is it enable you to just buzz around with a champfer bit.
9f27b3507cb8a30912ff6e787cabd037.jpg

It's still a tight squeeze (note bearing screw removed and glued on instead) but it make doing the ends of the boards and frame easy. It comes into its own when you've got curvy top rails and curvy ends of boards.

Yadda Yadda Yadda lol.
Still can't believe I never noticed an entire side of a door didn't get nailed ! Ha


Sent from my SM-G900F using Tapatalk
 
Holy Moly, that's one impressive response, thanks Coley. I'm so grateful, for the time you've put into this.
SO, yes, D would be a better option, I see that, but I (currently) only have 100x45mm stock, so would have to laminate a piece along the 'inside' of the stile. D'you think this would be okay?

Is there any particular fixing you would recommend for the T&G boards. I recently saw a door, where the panels were screwed and plugged - not sure how much movement this allows.

The 'bad' bottom rail that you drew is exactly what I thought of doing, as I was reading your post. #-o I've been, what I would call a general Woodworker for 10 years - I've repaired countless sash/casement windows, but I'm still green when it comes to doors!
 
ooh, one other thing. How thick was that rail in the photograph, posted? I'm using 45mm stock and can't see how I can squeeze all of that in.
rail.jpg

I was planning on 18mm boards... :?
 
bohngy":w8uk09vg said:
ooh, one other thing. How thick was that rail in the photograph, posted? I'm using 45mm stock and can't see how I can squeeze all of that in.
rail.jpg

I was planning on 18mm boards... :?
Is yours gonna have boards both sides ? That would have been a 57mm thick stile.

Sent from my SM-G900F using Tapatalk
 
bohngy":18x4e4em said:
Holy Moly, that's one impressive response, thanks Coley. I'm so grateful, for the time you've put into this.
SO, yes, D would be a better option, I see that, but I (currently) only have 100x45mm stock, so would have to laminate a piece along the 'inside' of the stile. D'you think this would be okay?

Is there any particular fixing you would recommend for the T&G boards. I recently saw a door, where the panels were screwed and plugged - not sure how much movement this allows.

The 'bad' bottom rail that you drew is exactly what I thought of doing, as I was reading your post. #-o I've been, what I would call a general Woodworker for 10 years - I've repaired countless sash/casement windows, but I'm still green when it comes to doors!
Happy to help. You could face nail through the boards into the rails with gavanise lost heads. If you angle the nails a bit-
f3e274427013101f7750e9b573d802ea.jpg

It would be even more tricky to pull out. You could pepper the wood with screw & pellets if you'd rather- that's up to you. I prefer nailing...I think lol

Sent from my SM-G900F using Tapatalk
 
ColeyS1":1xt6mgtz said:
Is yours gonna have boards both sides ? That would have been a 57mm thick stile.
No, just on the one side. Would you use thinner boards than 18mm, on a 45mm stile?
 
bohngy":35282mrt said:
ColeyS1":35282mrt said:
Is yours gonna have boards both sides ? That would have been a 57mm thick stile.
No, just on the one side. Would you use thinner boards than 18mm, on a 45mm stile?
Probably not. You'll have nice sturdy boards with a decent 27mm to nail to. Are you gonna face nail or pellet through the rails...or through the boards?

Sent from my SM-G900F using Tapatalk
 
Is it gonna be painted or stained ?

Sent from my SM-G900F using Tapatalk
 
ColeyS1":3ecs1357 said:
Is it gonna be painted or stained ?
Lets say both. I'm fixing up my mum's house - This one will be painted u/s Redwood but I have a second to make out of oak.

Was planning to face nail. Plugs are an option, depends what the 'client' wants. HA!
 
so for the design I've planned, is this about right?
RSprofile.jpg

I have 2 problems/misunderstandings here..
1) The tenon is only 8mm wide and
2) Won't the rail end be an pain to machine?
blurgh.jpg


As you might have guessed, this is baking my noodle, somewhat! (hammer) (hammer) Let me know if I'm labouring the point! thanks
 
You're almost there.
eb79362ac8f55d1766a50114ecb34a39.jpg

You can fit a 12.7mm(half inch) mortice and tenon. Your groove in the stile only needs to be 6-7mm deep,probably the same depth as your t & g boarding. You don't need to worry about filling the small square, unless you really want to. If any water did get in, it should run straight out through that tiny square hole. Are you using a router or spindle moulder for your machining? If it's a router you could just stop the groove short of poking out the top. In reality its a 6x6mm hole that would only be seen stood on a stepladder looking down. I'll see if I can find some offcuts in the workshop to show what I mean.

Sent from my SM-G900F using Tapatalk
 
You can put the groove in after you have cut all the mortise and tenons, it will make it easier and as Coley says just stop it before the top so there is no hole when you look from above.
 
I just popped over the shop to see if I had an offcut in the log pile but couldn't find any.

Any of your rails that could collect water I'd do this arrangement.
27876cbbd47c379c10fdc6c559642894.jpg

When I was an apprentice I got carried away with grooving and accidently pushed through a bottom rail like
377d60c035205b741e1661553c6f541e.jpg

I think my foreman took pity cause he said it'll probably be fine. Everything use to get a lick of primer before assembly (tongues and grooves etc) but even that didn't stop the door from being back in the shop after only 7 ish years with a rotten bottom rail- Balls ! Ha
When I was just in the shop I did find a couple stile and board offcuts
6593c0f1c3bfd1cfff8c05f84e1b9cfd.jpg

3630669208b4a9f38d062348860ff1ad.jpg

The stile was a doubled boarded door but you get the idea
5135fa153cc2a753c2107d9e9d2e963e.jpg

One thing that might be worth mentioning is your door construction. I'd treat the door part as phase 1 and have it all glued up. Phase 2 is inserting the boards. Get your outer boards in first then lastly slide in the middle one. I made a batch of 10+ double sided iroko doors once. Had a phone call from one of the chippys saying it looked like I hadn't nailed one board cause it was loose. I forgot to nail an entire ruddy side !!! Once the boards spring in, they won't go very far !

Back to the door being glued up. Often where the boards meet frame you have a little v groove. Another perk of having a skinny tongue is it enable you to just buzz around with a champfer bit.
9f27b3507cb8a30912ff6e787cabd037.jpg

It's still a tight squeeze (note bearing screw removed and glued on instead) but it make doing the ends of the boards and frame easy. It comes into its own when you've got curvy top rails and curvy ends of boards.

Yadda Yadda Yadda lol.
Still can't believe I never noticed an entire side of a door didn't get nailed ! Ha


Sent from my SM-G900F using Tapatalk
Hi I'm currently on the mission of making a new front door and you sound like someone who knows what they are talking about! You wouldn't by any chance still have the pictures from this response of yours? Many thanks!
 
Hi @jai unfortunatly he was last seen in 2022, and the thread dated back to 2018.
Welcome anyway, perhaps put a sketch of what you want to make up for us to see, I’m sure you will get lots of good advice.
Ian
 
20
Hi @jai unfortunatly he was last seen in 2022, and the thread dated back to 2018.
Welcome anyway, perhaps put a sketch of what you want to make up for us to see, I’m sure you will get lots of good advice.
Ian
Hadn't spotted - so that's why the photos wouldn't load, except one of them, mysteriously. :unsure:
 

Latest posts

Back
Top