You are using an out of date browser. It may not display this or other websites correctly.
You should upgrade or use an alternative browser.
You should upgrade or use an alternative browser.
Ranch gates
- Thread starter mailee
- Start date

Help Support UKworkshop.co.uk:
This site may earn a commission from merchant affiliate
links, including eBay, Amazon, and others.
Hi mailee, nice to see your WIPS again, why is you're timber sticked, as you know I'm learning, and just wondered, please keep us posted with more pics, both you and Niki are a wealth of info.
Regards,
Rich.
Regards,
Rich.
Nice one mailee, keep them coming.
mailee
Established Member
Well thanks Rich and Waka, glad you find my posts interesting. I had to put a few of the pieces of timber in stick as they were pretty wet from the rain we have had recently. Being treated it probably won't matter but I thought I would be on the safe side.
Today I got out the trusty tennoning jig. (No not that one, the other one for long lengths of timber)

Having cut all of the mortices in the stiles and cleaned them up I set too cutting the tennons.
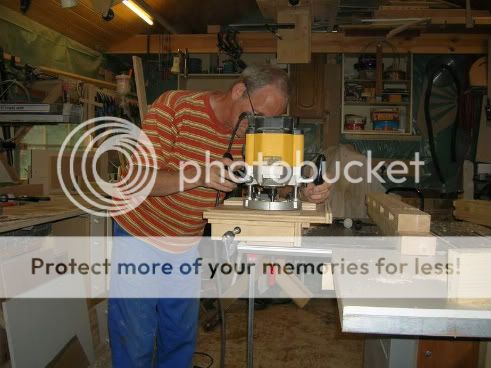
After a while I managed to get the small gate ones finished. Only eight more to go on the bigger gate now! :shock:

Finally I got the small gate to the dry fit stage.
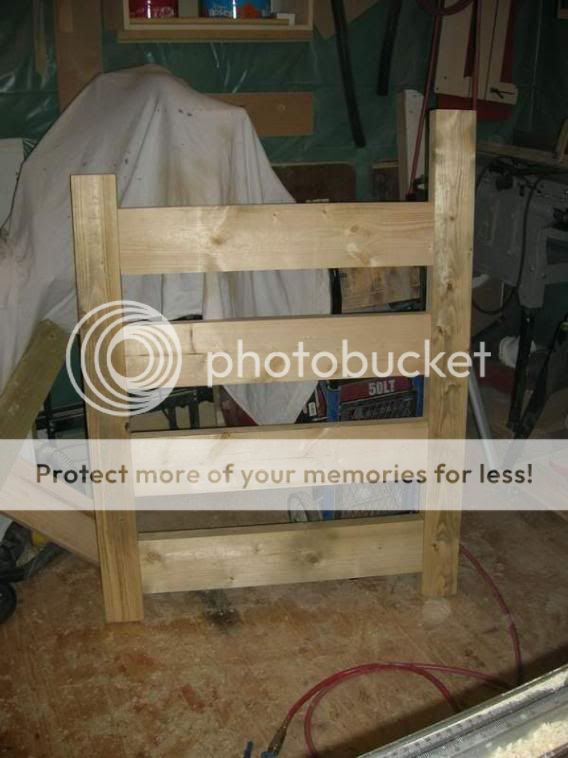
Will keep you posted with more tomorrow. :wink:
Today I got out the trusty tennoning jig. (No not that one, the other one for long lengths of timber)

Having cut all of the mortices in the stiles and cleaned them up I set too cutting the tennons.

After a while I managed to get the small gate ones finished. Only eight more to go on the bigger gate now! :shock:

Finally I got the small gate to the dry fit stage.

Will keep you posted with more tomorrow. :wink:
Hi Mailee, good to see your "at it again" coming along well and quickly as usual.
Just wondering mate, when you cut or plane (face and edge) your treated timber, do you retreat the cut faces ??
Cheers,
Gary.
Just wondering mate, when you cut or plane (face and edge) your treated timber, do you retreat the cut faces ??
Cheers,
Gary.
mailee
Established Member
Yes Gary, I do treat the timber when I have cut it. Once completed it will be given another coat of timber treatment.
Today I have managed to finish all the tennons on the long rails.

I also routed a radius on the edges of them.

I even had time to cut out the horns on the bandsaw and get them in glue ready for tomorrow. These are joined with half laps. I am using PU adhesive throughout.
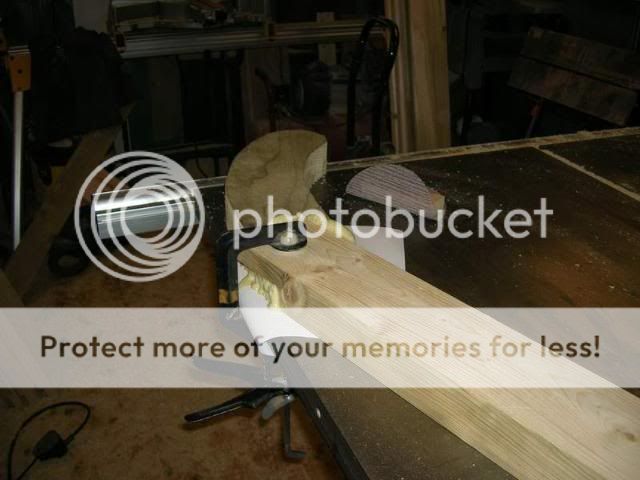
I finished the evening by putting a radius on the short rails too.

Tomorrow afternoon I shall put a radius on the stiles and round over the ends. Hoping to get the horns sanded to profile too. We will see what tomorrow brings. :wink:
Today I have managed to finish all the tennons on the long rails.

I also routed a radius on the edges of them.

I even had time to cut out the horns on the bandsaw and get them in glue ready for tomorrow. These are joined with half laps. I am using PU adhesive throughout.

I finished the evening by putting a radius on the short rails too.

Tomorrow afternoon I shall put a radius on the stiles and round over the ends. Hoping to get the horns sanded to profile too. We will see what tomorrow brings. :wink:

£234.08
£360.17
Trend Portable Benchtop Router Table with Robust Construction for Workshop & Site Use, 240V, CRT/MK3
Amazon.co.uk

£19.99
Respirator Mask,Safety Dust Face Cover,Dust Face Cover Paint Face Cover,Gas Mask With Filter,For Paint,Dust And Formaldehyde,Sanding,Polishing,Spraying And Other Work
ShenZHEN CIRY MINGYANG LITIAN ELECTRONIC ECOMMERCE

£12.50 (£1.25 / count)
£14.45 (£1.44 / count)
JSP M632 FFP3moulded Disposable Dustmask (Box of 10) One Size suitable for Construction, DIY, Industrial, Sanding, dust protection 99 Percent particle filtration Conforms and Complies to EN 149
Amazon.co.uk

£10.95
£15.48
Portwest Browguard with Clear Visor, Size: One Size, Colour: Clear, PW91CLR
Amazon.co.uk

£24.99
Facemoon Reusable Masks,Safety Masks,Dual Filter Masks, Paint, Dust, Epoxy Resin, Construction, Welding, Sanding, Woodworking, Chemical Reusable Gas Masks
ShenZHEN CIRY MINGYANG LITIAN ELECTRONIC ECOMMERCE
mailee
Established Member
Glad to hear it Tom, I hope I can do you justice.
Well I got on very well today and started out by rounding the ends of the stiles.
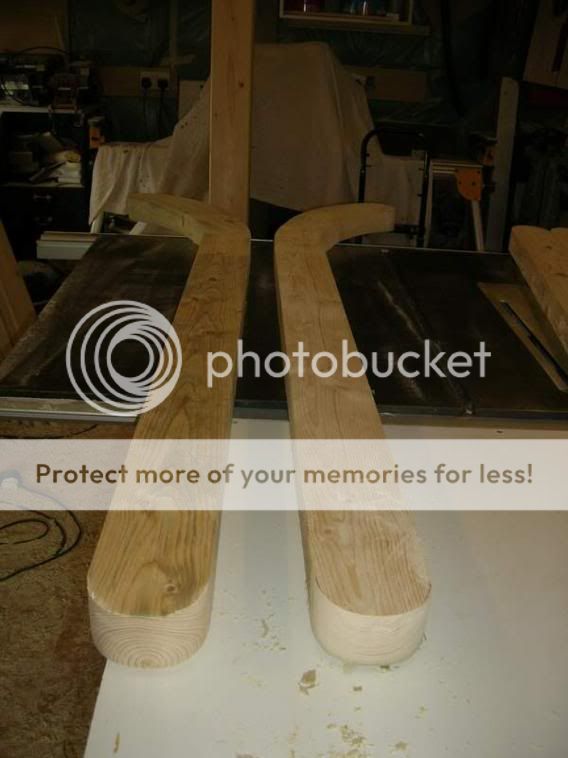
After spending a while sanding the horns to shape. I did a trial fit of the parts for the large gate.
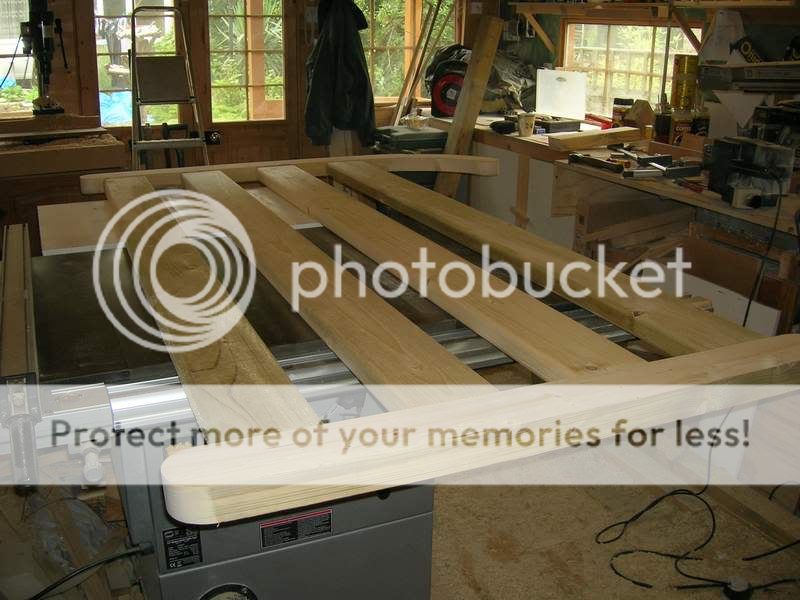
Next I started rebating the diagonal brace and the gate to accept it.
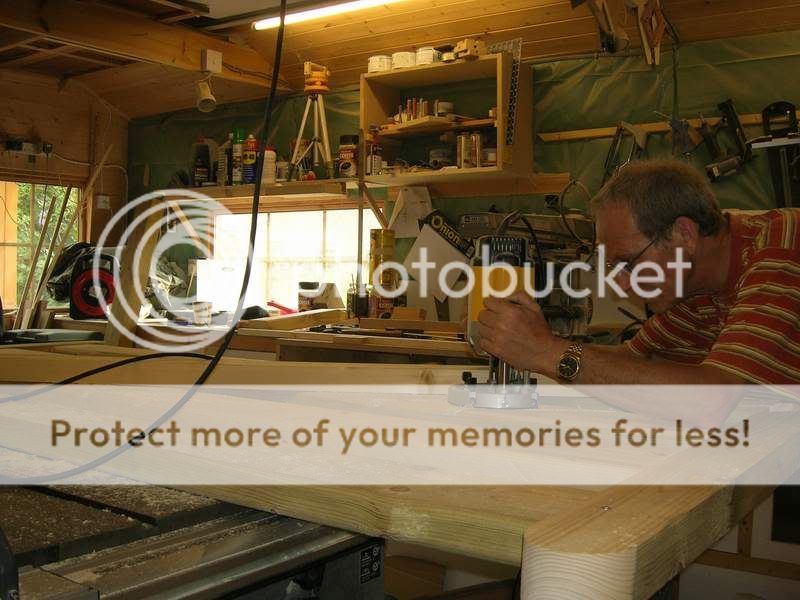
First I cut along the lines I had marked and then removed the waste in between.

After spending quite some time on this I did a dry fit of the large gate.
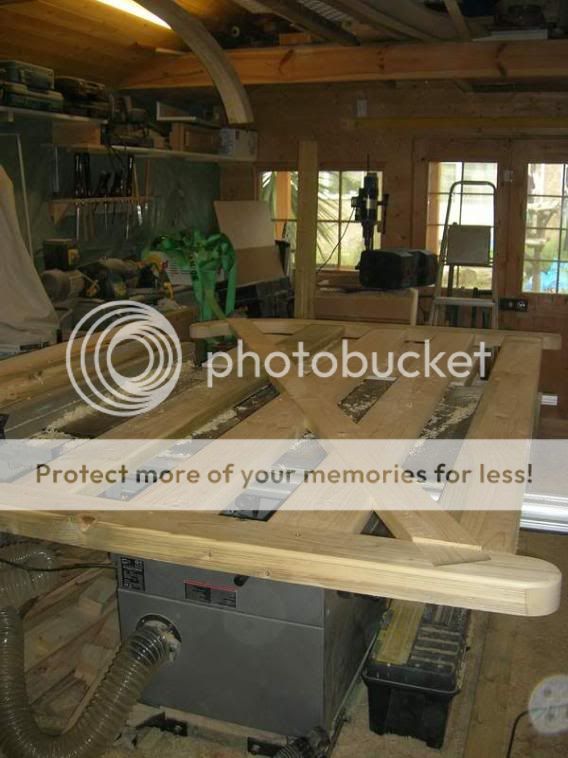
Happy with the fit I screwed it together until it was ready for the glue.
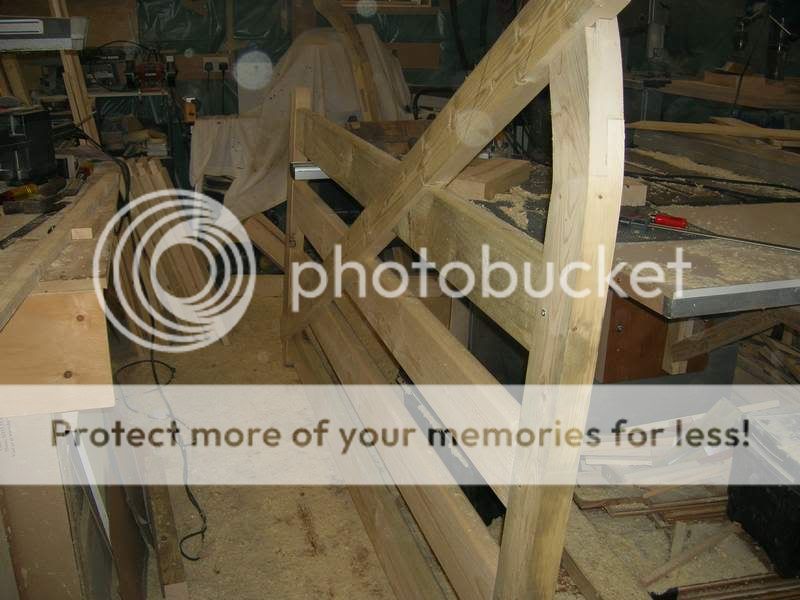
I then gave the small gate the same treatment and it turned out to be a good fit too.
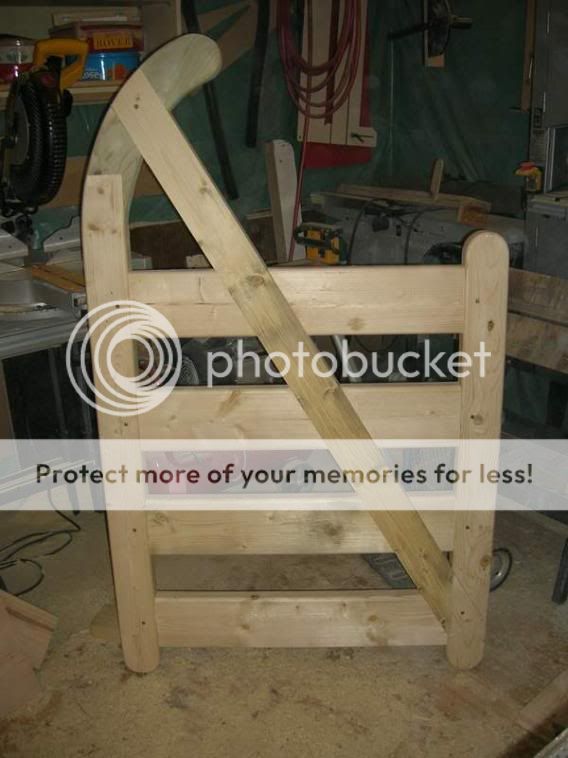
Tomorrow I shall take it all apart again and after a final sanding glue everything up. Will keep you posted of course. :wink:
Well I got on very well today and started out by rounding the ends of the stiles.

After spending a while sanding the horns to shape. I did a trial fit of the parts for the large gate.

Next I started rebating the diagonal brace and the gate to accept it.

First I cut along the lines I had marked and then removed the waste in between.

After spending quite some time on this I did a dry fit of the large gate.

Happy with the fit I screwed it together until it was ready for the glue.

I then gave the small gate the same treatment and it turned out to be a good fit too.

Tomorrow I shall take it all apart again and after a final sanding glue everything up. Will keep you posted of course. :wink:
Paul Chapman
Established Member
Looking really good, Mailee - great pictures.
Cheers :wink:
Paul
Cheers :wink:
Paul
OPJ
Established Member
Very good work Mailee. I've made plenty of gates similar to this in a previous job, though with 3"x1" rails and lots of bracing, they didn't look half as sturdy as yours do! :wink: Interesting way of tackling the "horns", as you put it ("hooked ends" was our terminology). We used to cut them from a single 8" width of timber and use the offcut for other things. The biggest problem with doing it this way (particularly in cheap Scandinavian softwood) is that the pith will often down the centre of the timber, so you have to spend ages sorting through the packs just to find a couple of decent lengths... And then put it through the planer, only to realise there were hidden shakes and splits you could've see before!! :roll: 
Following this with interest.
Following this with interest.
mailee
Established Member
Thanks guys. Well I finally got the colour on one gate and they are almost finished now ready to hang.
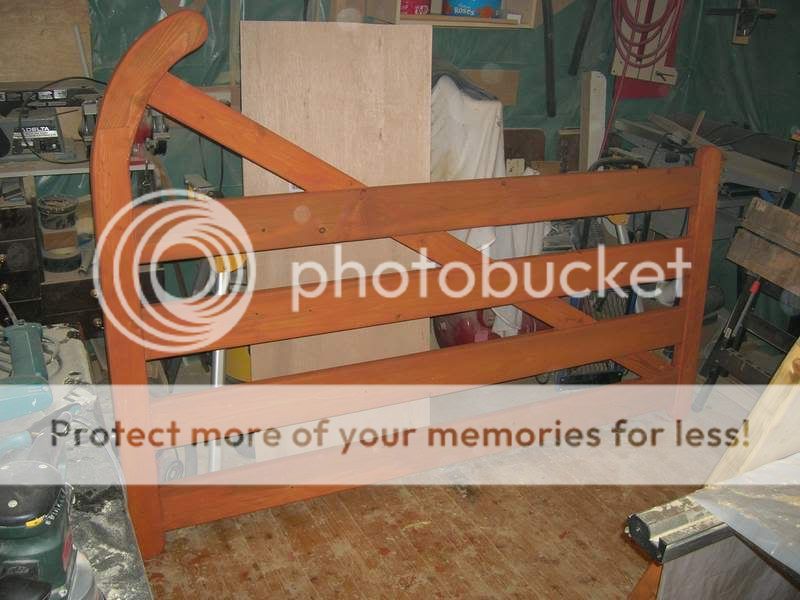
That will have to wait for a week as the customer is on holiday at the moment. Will post more pics of them in place then.

That will have to wait for a week as the customer is on holiday at the moment. Will post more pics of them in place then.
Woodmagnet
Established Member
- Joined
- 23 Jan 2006
- Messages
- 1,668
- Reaction score
- 0
Cracking job Mailee,very  well done.
mailee
Established Member
I took advantage of the weather and had a break from gardening today. 
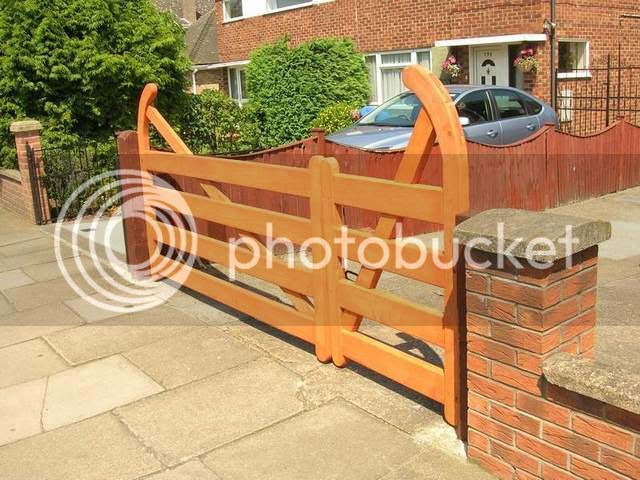
Finally got them fitted at last. Customer is now back from his holidays. Back to gardening now I suppose. :roll:

Finally got them fitted at last. Customer is now back from his holidays. Back to gardening now I suppose. :roll:
Hi Mailee.
Those gates look excellent..nice work..
Can I ask a question....I notice that you have pinned the tenons with small bolts or something..is that correct? Is that because of the tension that is on them in this duty or is it just a belt and braces approach? I wondered whether it would be possible to have used some dowel instead?
I still have a lot to learn so am just interested to know the decision process re the pinning and what to use..
Thanks and great job
Cheers
Timmo
mailee
Established Member
Hi Timmo. Thanks for the comments. No the tennons are actually dowelled. When the tennons were first assembled I put screws through to hold them, I later used the screw holes for a position to drill for the dowels. It is really a belt and braces job but I always use it just in case the glue should break down over time. I suppose with modern adhesives it shouldn't need them but I am a little old fashioned in that way. HTH. :wink:
Oh...I see that now..silly me..or should I say..I don't see the screws now!
Thats interesting though because like you, my dad also uses dowels on his m&t's...and when I showed him a picture of the horse mounting block that I made:Block
and asked him what he thought he told me that the only thing he might do differently would be to dowel the tenons..
I am sure that it is a good thing to do and compared to cutting the m&t's would only take a fraction of the time...I guess it certainly doesn't do any harm and I am in no way criticising what you have done..just thinking out aloud I guess..
Thanks for educating me.
Cheers
Timmo
mailee
Established Member
Thanks Rich. No the posts were already there. In fact these were to replace another set of ranch gates I built him eight years ago! Not bad for softwood is it? And they only got treated once.........by me! :shock: He said he will try to look after these a little better this time. :lol:


