woodbloke
Established Member
Paul C and I went round to see Newt (Pete) yesterday afternoon and after an extremely pleasant lunch (those who've dined at Pete's will know what I mean :wink: ...many thanks Pam) we retired to the conservatory for a natter. One of the many varied topics under discussion was making a small, raised and fielded panel using hand tools only. Normally this is easily done with a badger plane, carriage plane or the like leaving a flat bevel to the panel...not too difficult and quite easy to munch them out once the 'set' on the plane is correct.
However the problem with a flat, tapered section, traditional panel is that once it's in the frame problems can occur. If the wood shrinks due to seasonal movement, a gap then develops 'twixt the slope of the panel and the edge of the groove...the result will be a loose fit and a consequent rattle :twisted: :twisted: :twisted:
Conversely, if the wood expands, the taper will wedge itself ever more tightly into the groove. If it then subsequently shrinks and doesn't free itself the result in this case will be a split panel :evil: :evil:
In an ideal world, what's needed is a parallel section of the panel where it fits into the groove...the panel will then move to and fro quite easily in the groove. The difficulty arises where the fielded slope meets the flat at the edge...it should be a seamless transition but this is very, very hard to achieve.
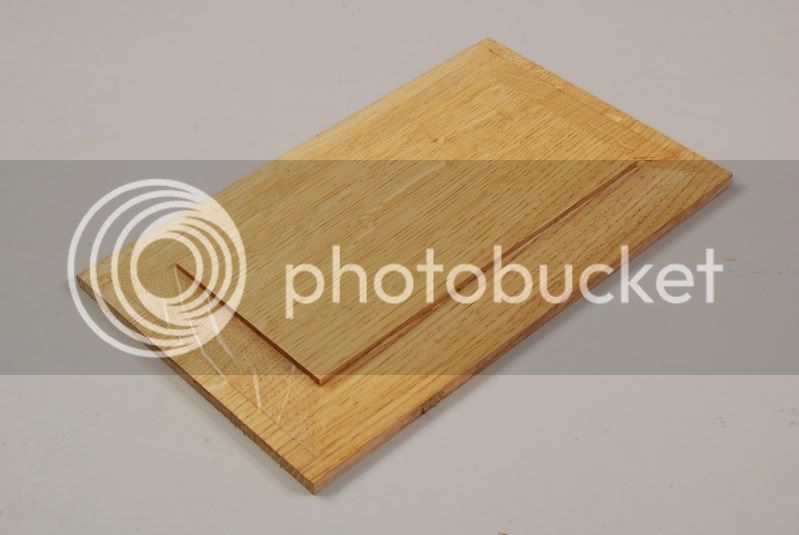
I made such a panel this afternoon:

You can see in the pic the flat section (around 8mm wide) where the panel could fit into the groove. Unquestionably, this is one of the hardest things I've ever done using just hand tools...in this case a Veritas plough and medium shoulder plane. It's taken some intense concentration to get to this stage and took all afternoon to do it.
If you want to have a go at one, I suggest that you clear your 'shop, give yourself plenty of time for brew breaks and allow at least 5 hours min to do it! - Rob
However the problem with a flat, tapered section, traditional panel is that once it's in the frame problems can occur. If the wood shrinks due to seasonal movement, a gap then develops 'twixt the slope of the panel and the edge of the groove...the result will be a loose fit and a consequent rattle :twisted: :twisted: :twisted:
Conversely, if the wood expands, the taper will wedge itself ever more tightly into the groove. If it then subsequently shrinks and doesn't free itself the result in this case will be a split panel :evil: :evil:
In an ideal world, what's needed is a parallel section of the panel where it fits into the groove...the panel will then move to and fro quite easily in the groove. The difficulty arises where the fielded slope meets the flat at the edge...it should be a seamless transition but this is very, very hard to achieve.
I made such a panel this afternoon:

You can see in the pic the flat section (around 8mm wide) where the panel could fit into the groove. Unquestionably, this is one of the hardest things I've ever done using just hand tools...in this case a Veritas plough and medium shoulder plane. It's taken some intense concentration to get to this stage and took all afternoon to do it.
If you want to have a go at one, I suggest that you clear your 'shop, give yourself plenty of time for brew breaks and allow at least 5 hours min to do it! - Rob


