You are using an out of date browser. It may not display this or other websites correctly.
You should upgrade or use an alternative browser.
You should upgrade or use an alternative browser.
Quick update on the workshop
- Thread starter LarryS.
- Start date

Help Support UKworkshop.co.uk:
This site may earn a commission from merchant affiliate
links, including eBay, Amazon, and others.
PowerTool
Established Member
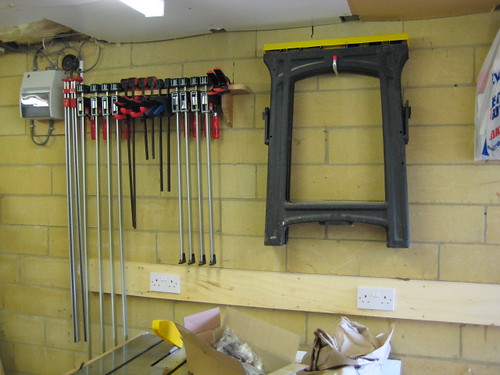
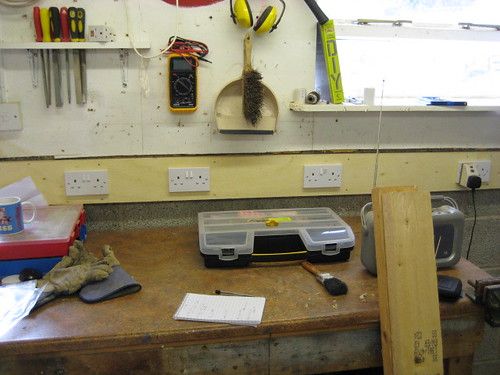
Another big improvement  - be warned,though,you will probably still find there aren't enough sockets.. :lol:
Andrew
Andrew
9fingers
Established Member
If you are using an axminster or similar mobile base then no need for the engine crane.
Walk the P/T off the pallet onto a couple of blocks of wood a couple of inches off the floor. You can then assemble the base around the P/T.
With the wheels in the UP position, slide some packing under the wheels, then move the wheels to the down position. This will lift the P?T off the blocks Withdraw the blocks and roll the machine off the packing pieces.
HTH
Bob
i like the sound of that idea bob, but how do you build the mobile base around the base of the p/t if its sitting on some blocks ?9fingers":14pdj4iq said:If you are using an axminster or similar mobile base then no need for the engine crane.
Walk the P/T off the pallet onto a couple of blocks of wood a couple of inches off the floor. You can then assemble the base around the P/T.
With the wheels in the UP position, slide some packing under the wheels, then move the wheels to the down position. This will lift the P?T off the blocks Withdraw the blocks and roll the machine off the packing pieces.
HTH
Bob
cheers
paul
9fingers
Established Member
Paul, the base components are only lengths of steel angle and it is relatively easy to slip the angle between the block and the underside or the machine base.
It is one of those easier to do than describe jobs!
Good Luck
Bob
It is one of those easier to do than describe jobs!
Good Luck
Bob

£24.99
Facemoon Reusable Masks,Safety Masks,Dual Filter Masks, Paint, Dust, Epoxy Resin, Construction, Welding, Sanding, Woodworking, Chemical Reusable Gas Masks
ShenZHEN CIRY MINGYANG LITIAN ELECTRONIC ECOMMERCE

£234.08
£360.17
Trend Portable Benchtop Router Table with Robust Construction for Workshop & Site Use, 240V, CRT/MK3
Amazon.co.uk

£12.50 (£1.25 / count)
£14.45 (£1.44 / count)
JSP M632 FFP3moulded Disposable Dustmask (Box of 10) One Size suitable for Construction, DIY, Industrial, Sanding, dust protection 99 Percent particle filtration Conforms and Complies to EN 149
Amazon.co.uk

£17.99 (£1.80 / count)
£27.44 (£2.74 / count)
3M 8822 Disposable-fine dust mask FFP2 (10-pack)
Amazon.co.uk

£19.99
Respirator Mask,Safety Dust Face Cover,Dust Face Cover Paint Face Cover,Gas Mask With Filter,For Paint,Dust And Formaldehyde,Sanding,Polishing,Spraying And Other Work
ShenZHEN CIRY MINGYANG LITIAN ELECTRONIC ECOMMERCE
Chems
Established Member
If not even a car jack will lift that up, most are rated on the side so if you just need to lift an edge up to slip the bits in that would work.
OPJ
Established Member
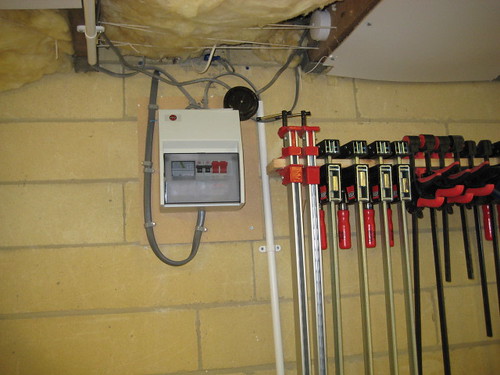
Workshop's looking really good Paul. Did you do all the electrics yourself? :shock:
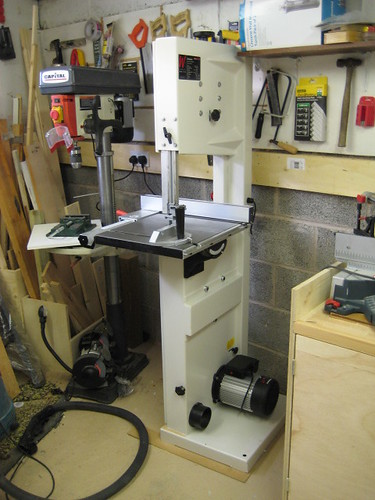
Don't know if you plan to ever use the mitre fence on your bandsaw, but you'll probably have a lot more luck with it if you turn it around!
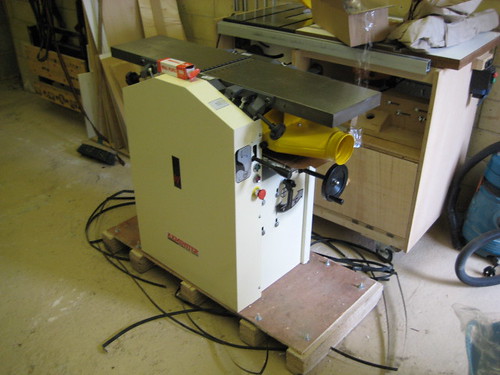
When you come to lifting the planer, don't forget that it's bolted to that ply and chipboard "pallet" - you can free it with a spanner by loosening the four (?) bolts from underneath.
Have you had a chance to play with the bandsaw yet?
OPJ":p5og5sbv said:Workshop's looking really good Paul. Did you do all the electrics yourself? :shock:
Don't know if you plan to ever use the mitre fence on your bandsaw, but you'll probably have a lot more luck with it if you turn it around!
When you come to lifting the planer, don't forget that it's bolted to that ply and chipboard "pallet" - you can free it with a spanner by loosening the four (?) bolts from underneath.
Have you had a chance to play with the bandsaw yet?
Electrics was pretty simple really, and means I have gotten rid of the dreaded cables all over the floor
many thanks for sarcastic comment on mitre fence
as for the P/T - miracle of miracles this evening, myself and the girlfriend plus two bits of 2x4 managed to gradually lower it down to the ground (me lifting and man-handling it, her holding bits of wood and supports where required), then built the mobile base around it, now installed. Just need to add the fence and check its all set-up correctly (no idea how to do this!) and then buy some wood for the bench to try it out on. Will I need a straight edge to set it up or would a big spirit level do the job ?
OPJ
Established Member
That's one heck of a girlfriend you've got there Paul - watch out or, next thing you know, she'll be out there using your new planer! :shock: :wink: Now she's seen what you've got out there, they'll be no end to the list of demands of jewellery boxes and other girlie things! 
The first thing you should do is to check the knives are all seated correctly in the cutter block. Swing both tables up and out of the way and use the supplied jig - there should be a diagram in the manual.
Once you know they're all correct, you need to drop the outfeed table back down and check that it is flush with the blades (or a tiny fraction lower, as some people prefer) across the whole width.
Assuming that's okay - these things are "factory set"; most people don't seem to have any trouble - you need a 1m straightedge to run across the full length of both tables and look to see that there are no gaps of light underneath. It should touch on four 'points' - front and back of each table and be equal across the width of the machine.
If you find that something's not right and you're not sure how to adjust it, give me a shout. I don't think the manual's very clear on this at all.
As for a straightedge, you might be able to use a spirt level but it depends on the length and whether those black 'things' on the end are flush or slightly proud of the rest of the level. I personally went for one of these from Axminster. You're welcome to borrow it, of course.
Similar threads
- Replies
- 6
- Views
- 1K
- Replies
- 10
- Views
- 6K


