Post a photo of the last thing you made

UKworkshop.co.uk

Help Support UKworkshop.co.uk:

This site may earn a commission from merchant affiliate links, including eBay, Amazon, and others.
Most recent end grain cutting board - Walnut and Cherry

Lumber rough cut to size
View attachment 93393

Various 'blanks' made to form the centre, plus 3 different 'frames' to go around the centre

View attachment 93394

Blanks then cut to thickness (45mm) and exposing end grain

View attachment 93395

Blanks then glued together in stages - central walnut and cherry squares, then a cherry and small walnut 'border', then a solid walnut border, then another walnut border with sapwood - handles done with a 3/4 core box cutting bit on the router table

View attachment 93396

Soaked in mineral oil overnight, and then applied a beeswax/mineral oil finish

View attachment 93397
Rorton, stunning.
 
I’ve just finished making a magnetic knife holder for my new knives 😁 (as discussed in the general off topic post). I’ve had this nicely figured board (I bought it as sweet chestnut) for a few years, so hopefully this does the board some justice. Also plenty of room for any possible future expansion of knives.

A16013A6-F583-4B46-85BE-2CAB5A079927.jpeg


5B4386BE-E015-4625-8F2A-10A72B945FA9.jpeg


I think I went a little overboard with the number of magnets I used! I filled the holes with resin to hopefully give the board more stability. As I used a forstener bit for the larger magnet holes, I set the magnets maybe around 7mm mill beneath the top surface to avoid the centre point of the Forstner bit breaking through the top surface. But the strength of the magnets is just about right though. I’ve also covered the back with some felt so no scratches to the wall. Only thing I forgot to do though is brand it with my mark before putting the felt on

11F90BEC-791C-4034-8C1E-4E5B5A60119B.jpeg
 
I made this table, to replace the folding patio table we've been eating at since before lockdown. With 3 year old and a 1 year old, cleaning between the slats of the patio table was getting very old, very quickly.

The new table is all recycled material, the legs are from a previous table I made for my brother years ago, and the top is worktop salvaged from kitchen I replaced a for a friend.

It is almost certainly the ugliest table I've ever seen. The proportions are all wrong. When I eventually replace it I'll try actually designing something rather than letting the material dimensions dictate things. It was a little dispiriting to assemble it for the first time and see quote what a monstrosity I'd created.
20201004_090612.jpg
 
The photo just cuts off the bottom corner, can’t see if you’ve got a drip rail/groove, essential to stop water running back under the frame. Ian looks nicely made by the way
It has,the original didn’t have a cill & the bottom rail had completely rotted away as the water held on the concrete, this is it prior to being glued in place.
02C3168C-3E82-4C54-A426-4E4C0D2D49D0.jpeg
 
Last edited:
Firstly sorry for the bad photo! I made these three sound diffuser/absorbers for a producers home studio. RWA45 acoustic insulation in the back of the panels covered with black cotton fabric. The vertical slats fan out and become ever so slightly concave as they reach the edges. The idea is any sound hitting them from any angle is deflected into the panel or scattered horizontally to be captured by other deep absorbers I also made which are placed on the side walls. These are on the wall directly behind where he sits in the studio.

The sound in that room is exceptionally clear...
IMG_20201002_133949.jpg
 
Every time I visit this thread I'm always wowed by what everyone's been up to and the quality of the work.

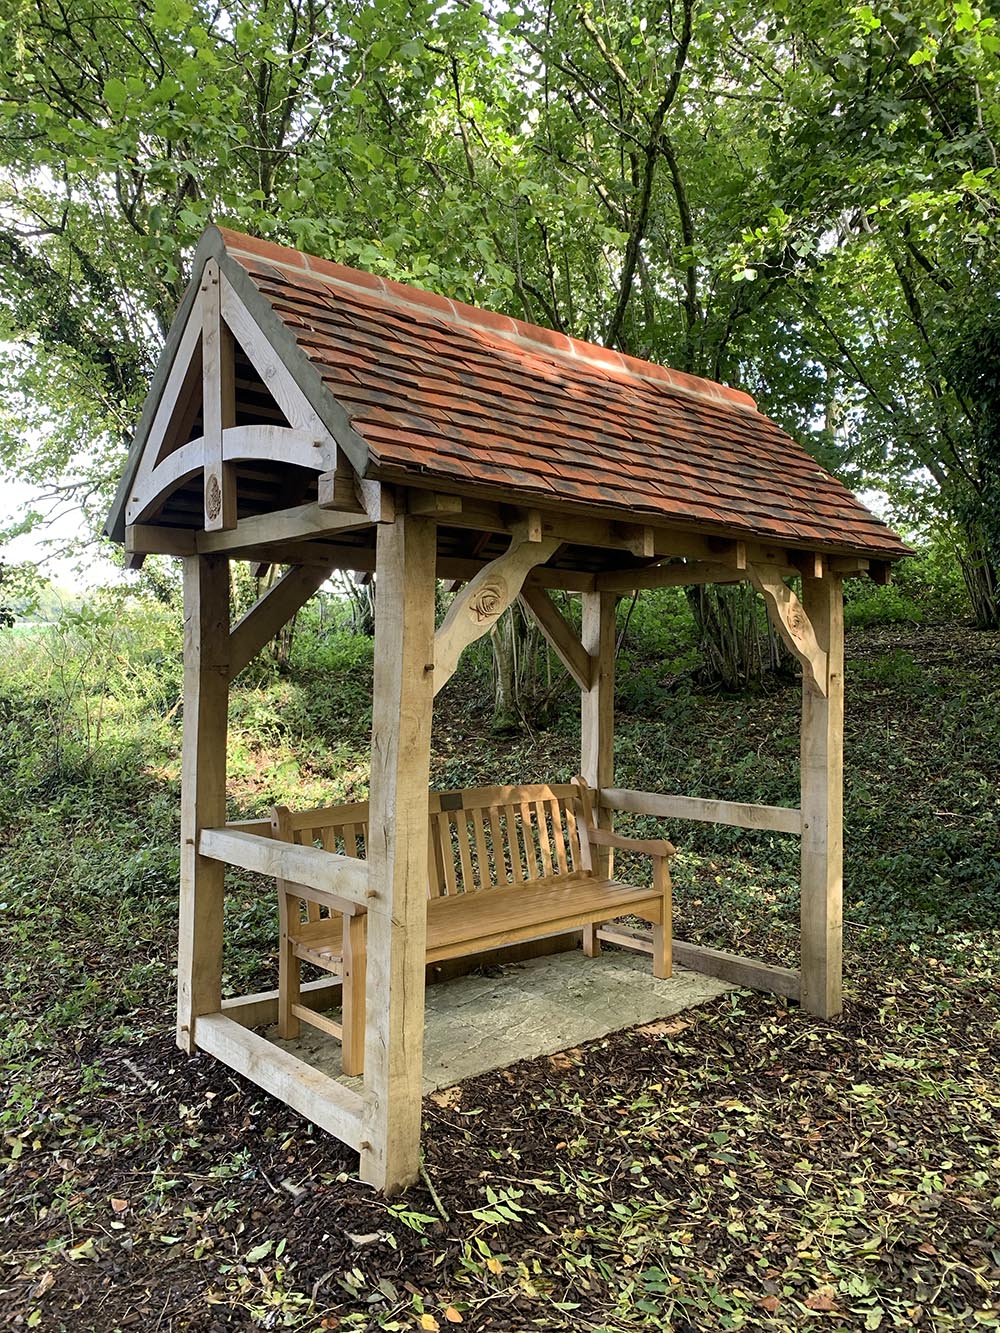
I recently made some small decorative trusses for this memorial pergola which were then beautifully carved by a friend of the client with a rose on one side and an owl on other. Nice lil job. There's one to enclose each gable.

Edit: I didn't make the overall structure.

QiYfsyy.jpg
 
Last edited:
What with inclement weather and illness, it seems like everything is conspiring against me and a lifetime since I first started knocking together a Catio for my two BSH cats.
I constructed it completely sectional so that if I needed to urgently access anywhere it covers, I could strip it with the minimum of effort in minutes so it actually very often took longer to think through than construct.
Everything is screwed with no nails used other than for the roof felt and shingles.

The weather has been my biggest headache. I have COPD and heart failure but I can plod along as long as the weather up holds but it's not been my friend for much of the time when I was able to do the work. I first started in July and now it's almost complete.

All I have to do is remove the protective temporary skirt and fit a scribed 4 x 1" permanent replacement. There is also 4 pieces of cladding to fit to bottom right corner to screen off the covered litter tray..
I fitted the pet mesh to the outside of the framing which was 2" x 2" eased edge carcassing so that the fastenings for the mesh couldn't be seen from inside the house. The outside I intend to face with 2 x 1 or 4 x 1 to hide the mesh fastening and make it look more presentable.

The 'shed' end houses a double cupboard to store several packs of cat litter material as well as litter tray cleaning materials and a place to store their two large carriers we use to transport them to our caravan sited 100 miles away. Fortunately, although the carriers are quite large even for two cats each going on for 7kg, they dissemble with the top fitting inside the bottom and the cupboard was designed to accept those.
There's also a lockable access door so that we can remove the covered litter box to clean it should they use it!

The barrel bolts on the door are only temporary as I used what I had left in my shed as a temporary measure but for security I'll fit a pair of decent galvanised Brenton bolts as replacements.
I've made sure that the roofs will withstand gales so there should be no blowing off due to wind getting under the edges.
Having never cut it before I wasn't sure how to cut the polycarbonate roof sheets but by testing different cutting methods on what would be the wasted areas, I found that a multitool with a half round blade was the best choice and with care and some masking tape to follow it gave very neat cut edges that only needed a quick wipe with some 240 grit to finish it off.

We weren't sure whether the cats would use it as they are house cats and so far it's been a case of mixed reception. They don't spend long out there but it's early days and they're still getting used to wind and outside noises.
If they don't use it my daughter who bred both of my two cats would love it so it won't go to waste.;)

I'll also be glad when I finally finish it this week so that I can get tidied up and put my compound mitre saw and stand under cover instead of being out there since I started the project covered by a tarpaulin which I had to often throw on quickly when it suddenly rained!

When I was assembling it, I ran our of Barrettine which I use to protect it and it was out of stock in the colour 'Golden Brown' for a while when I wanted it so now that I've got some that's the last job to do.

cationearlycomplete1.jpg


..and this is Jasper enjoying a bit of fresh air!

jasperincatio1.jpg
 
Last edited:

Latest posts

Back
Top