Post a photo of the last thing you made

UKworkshop.co.uk

Help Support UKworkshop.co.uk:

This site may earn a commission from merchant affiliate links, including eBay, Amazon, and others.
I made this today I have a all working area so every bit of space counts
 

Attachments

  • IMG-20210116-WA0003.jpeg
    IMG-20210116-WA0003.jpeg
    91.5 KB
That’s a very nice door indeed Sam, are the panels solid? I really like the detail on that middle rail. Ian
I believe this detail is referred to as 'Cloud lift'
Worked with an American maker who specialized in arts and crafts and after seeing the movie Zuthura, where they destroy a beautiful arts and crafts home, I asked him and he told me thats what it was called.

It is a lovely detail and the door looks great by the way. I think though the detail could be put on each rail, to carry it through and give the overall impression.

Well done on the bookmatched panels, that makes it look even better.
 
Last edited:
That’s a very nice door indeed Sam, are the panels solid? I really like the detail on that middle rail. Ian

Yes all solid elm. Below is the construction:
1610817497240.png

Wedged M&Ts for the corners, dominos in the middle. Panels are made from adjacent pieces in the slab they were cut from to ensure a grain continuity. Glad you like the detail on the middle piece (mullion I believe?) took a lot of fiddling in sketchup to get it right ha.


I believe this detail is referred to as 'Cloud lift'
Worked with an American maker who specialized in arts and crafts and after seeing the movie Zuthura, where they destroy a beautiful arts and crafts home, I asked him and he told me thats what it was called.

It is a lovely detail and the door looks great by the way. I think though the detail could be put on each rail, to carry it through and give the overall impression

Yes arts and crafts definitely the inspiration. Watched a quick video on youtube about "Greene and Greene" architecture and the style resonated. There's actually a very similar door on google images when you search for "Greene and Greene door"

And thank you for the term "cloud lift", figured there had to be one but hadn't come across it yet, good to know!
 
Last edited:
Why not (now its complete) throw in some false tenon pegging ? as with A&C styling. square pegs.

Admittedly that makes for a bit of difficulty as its together and you cant use a morticer.

Oh the joys of hindsight :LOL: The designers oldest friend.
 
Sawhorses to replace manky plastic ones I've had for 20 yrs. All done from rough sawn ash with hand tools only. I'll trim the top with leather
 

Attachments

  • PXL_20210115_183822840.jpg
    PXL_20210115_183822840.jpg
    112 KB
  • PXL_20210115_185731132.jpg
    PXL_20210115_185731132.jpg
    261.5 KB
  • PXL_20210115_185742499.jpg
    PXL_20210115_185742499.jpg
    171.8 KB
  • PXL_20210115_190328390.jpg
    PXL_20210115_190328390.jpg
    124.2 KB
I know we all have to start somewhere, so this is my current level.
One eucalyptus ring, one apple wood spoon and I made the bags as well.
Having just cut 2 year's worth of firewood, I kept throwing suitable spoon material to one side. All I need to do now is start making spoons. You are way ahead of me there.
 
TN you should have enough wood of a size to do the full kitchen tool set up
 
Round two of monitor and computer stands, for my desk this time. Oak and ash, box joints on my jig, 30 min epoxy glued, Osmo 420 finish.

Had few offcuts wide enough, only the ash which used to be a shelf before it warped badly when the branch was, and it was only so long, hence the slightly narrow monitor stand. Had to edge joint some oak, lovely quartersawn piece. Edge jointing went well, amazing how practice makes things easier!

Box joints abs glue up are now pretty straight forwards, and think I’m ready for the coffee table glue up, although that’s 32 ‘denticles’ rather that 5 on each of these, and some 60min epoxy will be needed. I also threw a bunch of epoxy at the branch to stabilise it, seemed to work, bit messy but it’s on the underside!

17AF0E34-C1A9-45D6-89CC-BED235FF1A92.jpeg

3F5B47D7-8A4F-4C5F-8DE8-8B956BAB204F.jpeg

38257E0D-1DE9-406D-9A3C-11A6A66F0C7A.jpeg

8425D7FF-1FAF-48C7-B088-32140C6D759B.jpeg

9591CA17-597F-4E9A-A134-BF83BD290822.jpeg

D08633EC-ABA4-4F2D-BCF6-B8BA6B025420.jpeg
 
Scaffold board bench all hand tools.
Pretty manky and soft timber, but the recipient wanted it cheap, knockdown and light. Wear strip and wedges are mahogany.
 

Attachments

  • 00100dPORTRAIT_00100_BURST20201024152855281_COVER.jpg
    00100dPORTRAIT_00100_BURST20201024152855281_COVER.jpg
    160.4 KB
  • IMG_20201021_111809.jpg
    IMG_20201021_111809.jpg
    105.6 KB
  • IMG_20201021_150905.jpg
    IMG_20201021_150905.jpg
    72 KB
  • IMG_20201021_172739.jpg
    IMG_20201021_172739.jpg
    169.8 KB
  • IMG_20201022_131111.jpg
    IMG_20201022_131111.jpg
    53.2 KB
  • IMG_20201025_113429.jpg
    IMG_20201025_113429.jpg
    71.1 KB
  • IMG_20201025_130752.jpg
    IMG_20201025_130752.jpg
    78.4 KB
  • IMG_20201027_134435.jpg
    IMG_20201027_134435.jpg
    153 KB
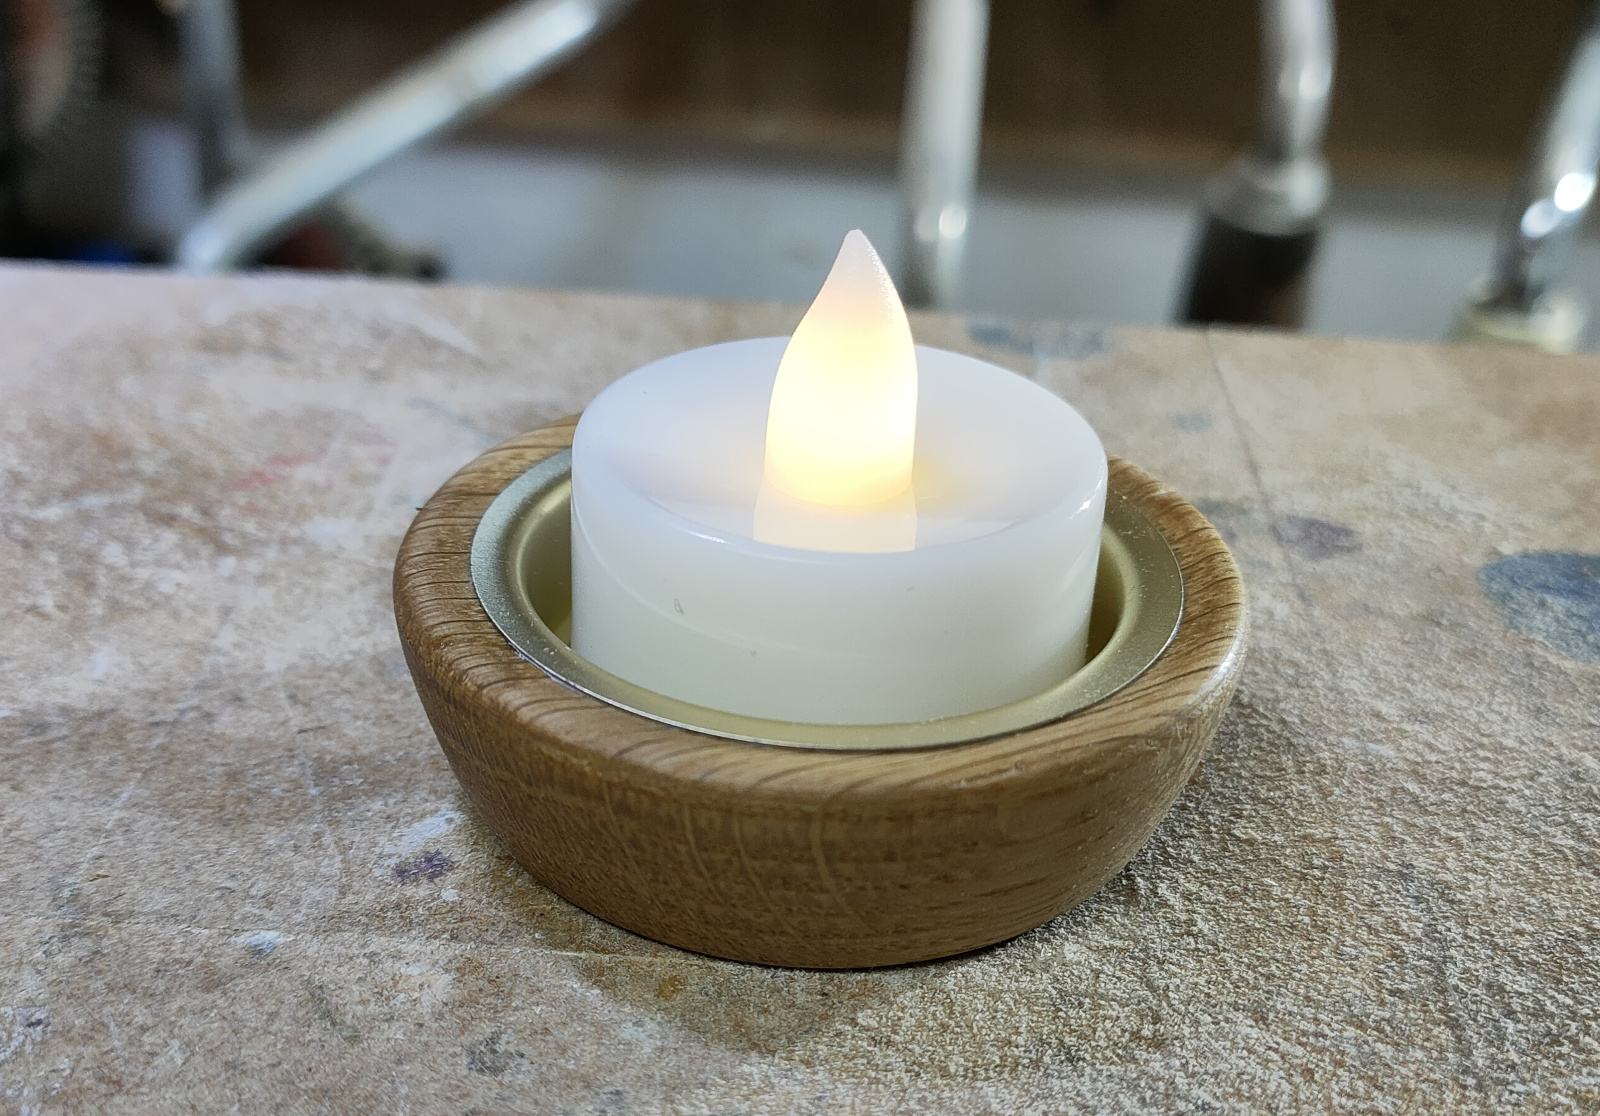
The item itself is nothing much to write home about, and this one was the first where I learned what I was doing wrong with workholding and order of operations, but I feel like it's a milestone because after a full year of mucking about, I finally used the lathe to do something with offcuts which is one of the things I bought it for in the first place :D :D :D

2021-01-14 20.43.09a.jpg


2021-01-19-20.41.48a.jpg


Little minimalist tealight holder in oak, turned using a hot melt glue block and a great deal of effort getting the right tongue angle :D
 

Latest posts

Back
Top