Post a photo of the last thing you made

UKworkshop.co.uk

Help Support UKworkshop.co.uk:

This site may earn a commission from merchant affiliate links, including eBay, Amazon, and others.
Oh, and I also got bored and did a shop tour. I was getting tired of all these lads with their huge workshops and six figures' worth of kit that take an hour to go over all their stuff while I get more and more envious, so I did mine in 1 minute 48 seconds :D

https://www.youtube.com/watch?v=ZSEmIxWZIhA

Craft level : low.
Funny level : moderate.
 
MarkDennehy":3mrh3jv0 said:
Oh, and I also got bored and did a shop tour. I was getting tired of all these lads with their huge workshops and six figures' worth of kit that take an hour to go over all their stuff while I get more and more envious, so I did mine in 1 minute 48 seconds :D

https://www.youtube.com/watch?v=ZSEmIxWZIhA

Craft level : low.
Funny level : moderate.

Absolutely brilliant, beware the sarlacc pit. An amazing amount crammed in there, including dust extraction, you’ve guilted me into sorting mine out I keep complaining I don’t have space! However my mask mark is nearly permanent and obviously space is not an issue.

F.
 
Last June I helped to take down a walnut tree growing in the garden of one of my wife's friends. I had one decent board out of the main butt although I said that I would make the lady in question a small box from some oddments of limb wood.

IMG_4443.jpg


IMG_4447.jpg


IMG_4448.jpg


IMG_4449.jpg


IMG_4444.jpg


Pretty straight forward construction; through dovetails on the corners of the box and tray, domino'd lid. The base for each made from ply veneered with more bandsaw oddments. The handle was a bit of 'shot in the dark' as I had a bit of Pink Ivory loafing about and decided to laminate it with some walnut veneer. Seems to work. Finished with four coats of Peacock Oil, Liberon Sanding Sealer and wax over the top, finally polished with a soft cloth - Rob
 

Attachments

  • IMG_4443.jpg
    IMG_4443.jpg
    245.1 KB
  • IMG_4447.jpg
    IMG_4447.jpg
    247.8 KB
  • IMG_4448.jpg
    IMG_4448.jpg
    251.4 KB
  • IMG_4449.jpg
    IMG_4449.jpg
    247.2 KB
  • IMG_4444.jpg
    IMG_4444.jpg
    279.6 KB
Lons":1ssovzdn said:
Nice box Rob, did you laser the inscription?
Ta; nope, just a bit of pyrography using a pen from the 'old firm'. Walnut seems to take quite well to this sort of labelling; some woods don't such as laburnum - Rob
 
MarkDennehy":kuw0s5gg said:
Oh, and I also got bored and did a shop tour. I was getting tired of all these lads with their huge workshops and six figures' worth of kit that take an hour to go over all their stuff while I get more and more envious, so I did mine in 1 minute 48 seconds :D

https://www.youtube.com/watch?v=ZSEmIxWZIhA

Craft level : low.
Funny level : moderate.
Thank you. Never disappointed.
Is it just me that secretly rates ukw members not just on 'woodworking skills'but 'most likely to enjoy a pint with'?
 
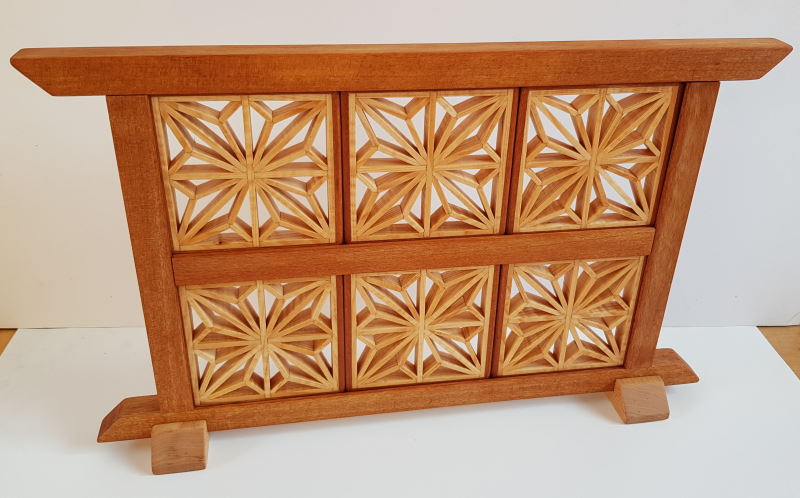
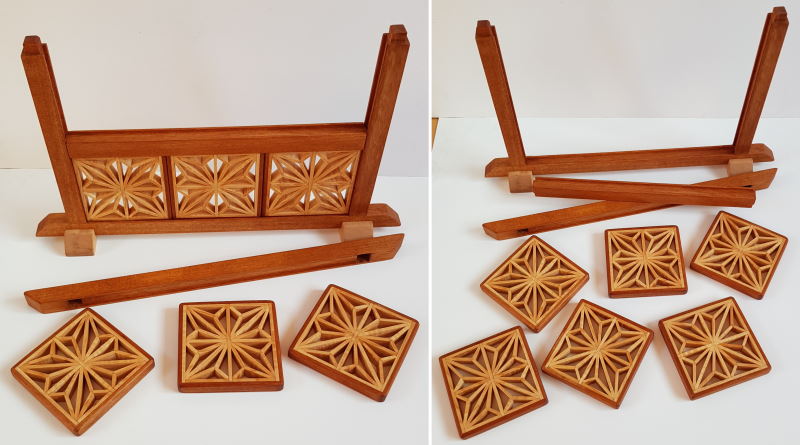
The latest export from the lockdown shed is a 'coaster screen' with grateful thanks to Desmond King for his excellent books on Shoji and Kumiko design, his detailed tutorials on YouTube and the idea from his website.

in the process of completing this project I've accumulated quite a variety of jigs and aids which took about four times as long to make and refine than it took to make the actual coaster screen itself. They will earn their keep over the coming months :D

Coaster%20Panel%2001.jpg


Coaster%20Panel%2002.jpg


The kumiko strips are cut from a board of lime and darker wood is salvaged from a piece of furniture that was being thrown out (not sure what it is but would guess it's meranti). The 'feet' are fashioned from a maple off cut.
As the coasters will inevitably have liquids spilled over them I finished them with cutting board oil to give a little protection.
 
It has been inferred that all I do is crazy stuff with chainsaws. I resent that, but it may be true.

In order to damage my reputation even more, here is my current chainsaw madness:
Resizer_15863679454909.jpg


It's a cradle for the chainsaw, which runs on a track (like an inverted t-track):
Resizer_15863679454908.jpg


The point is to mill logs into planks/boards - call it what you will. I tried freehand, and that is serious effort, and rubbish results. I tried making an "Alaskan mill" arrangement, and that is also hard work, and still not good results. This system is virtually no effort at all,and seems to do very well. I'm getting flat, square boards about 35mm thick, so all in a good days work. Completely made from scrap I had lying around, there are no frills, and it could be much better, but for now it is working well.

First cut straight through the middle, at whatever point it happens to be.
Resizer_15863679454907.jpg


Then put the flat newly cut side down to keep everything square, and cut again. Raise the work up on blocks, for the next cut, and the third.
Resizer_15863679454906.jpg


Here's the result still covered in sawdust:
Resizer_15863679454904.jpg


The spacers I use are 45mm thick, but with the chainsaw kerf being huge each plank is about 35mm, and the surface is quite uneven from the saw but not as bad as I was expecting.

And the big reveal (also known as a bucket of water):
Resizer_15863679454903.jpg


And a close-up to show the surface:
Resizer_15863679454901.jpg


Here are some I made earlier:
Resizer_15863679454905.jpg


These have been sealed at the ends, firstly with a latex paint, but when I ran out of that with wood glue, because it's all I have. It's an expensive waterproof D3 wood glue, so that must help, surely...

So far I have only cut up olive wood - I also have a fair amount of walnut logs which are longer, wider, and much straighter than the olive wood, but I have more olive wood so I am practicing with that first. If anyone has any pointers as to how to do this properly I am very open to suggestions, but I am happy with the results so far.
 

Attachments

  • Resizer_15863679454909.jpg
    Resizer_15863679454909.jpg
    300.8 KB
  • Resizer_15863679454908.jpg
    Resizer_15863679454908.jpg
    258.1 KB
  • Resizer_15863679454907.jpg
    Resizer_15863679454907.jpg
    276.7 KB
  • Resizer_15863679454906.jpg
    Resizer_15863679454906.jpg
    280.6 KB
  • Resizer_15863679454904.jpg
    Resizer_15863679454904.jpg
    273.1 KB
  • Resizer_15863679454903.jpg
    Resizer_15863679454903.jpg
    280.1 KB
  • Resizer_15863679454901.jpg
    Resizer_15863679454901.jpg
    245.7 KB
  • Resizer_15863679454905.jpg
    Resizer_15863679454905.jpg
    315.1 KB
Well, I have to say it's been a pleasure knowing you, TN......and don't worry about all your stuff. I'll find most of it a good home. Not the sheep of course, but everything else. Well, nearly everything else. Not the chainsaw, obviously. That'll be a bit gory.
 
MikeG.":34uc5ifw said:
Well, I have to say it's been a pleasure knowing you, TN......and don't worry about all your stuff. I'll find most of it a good home. Not the sheep of course, but everything else. Well, nearly everything else. Not the chainsaw, obviously. That'll be a bit gory.

I didn't mention that everything happens at the other end of a long rope. I'm a good 4' away from the excitement.

I have considered what happens if the chainsaw gets loose at full chat: my plan is to wait until the fuel runs out, but visions of some kind of Beny Hill chase scene are definitely an option.
 
2020-04-08-23.18.09a.jpg


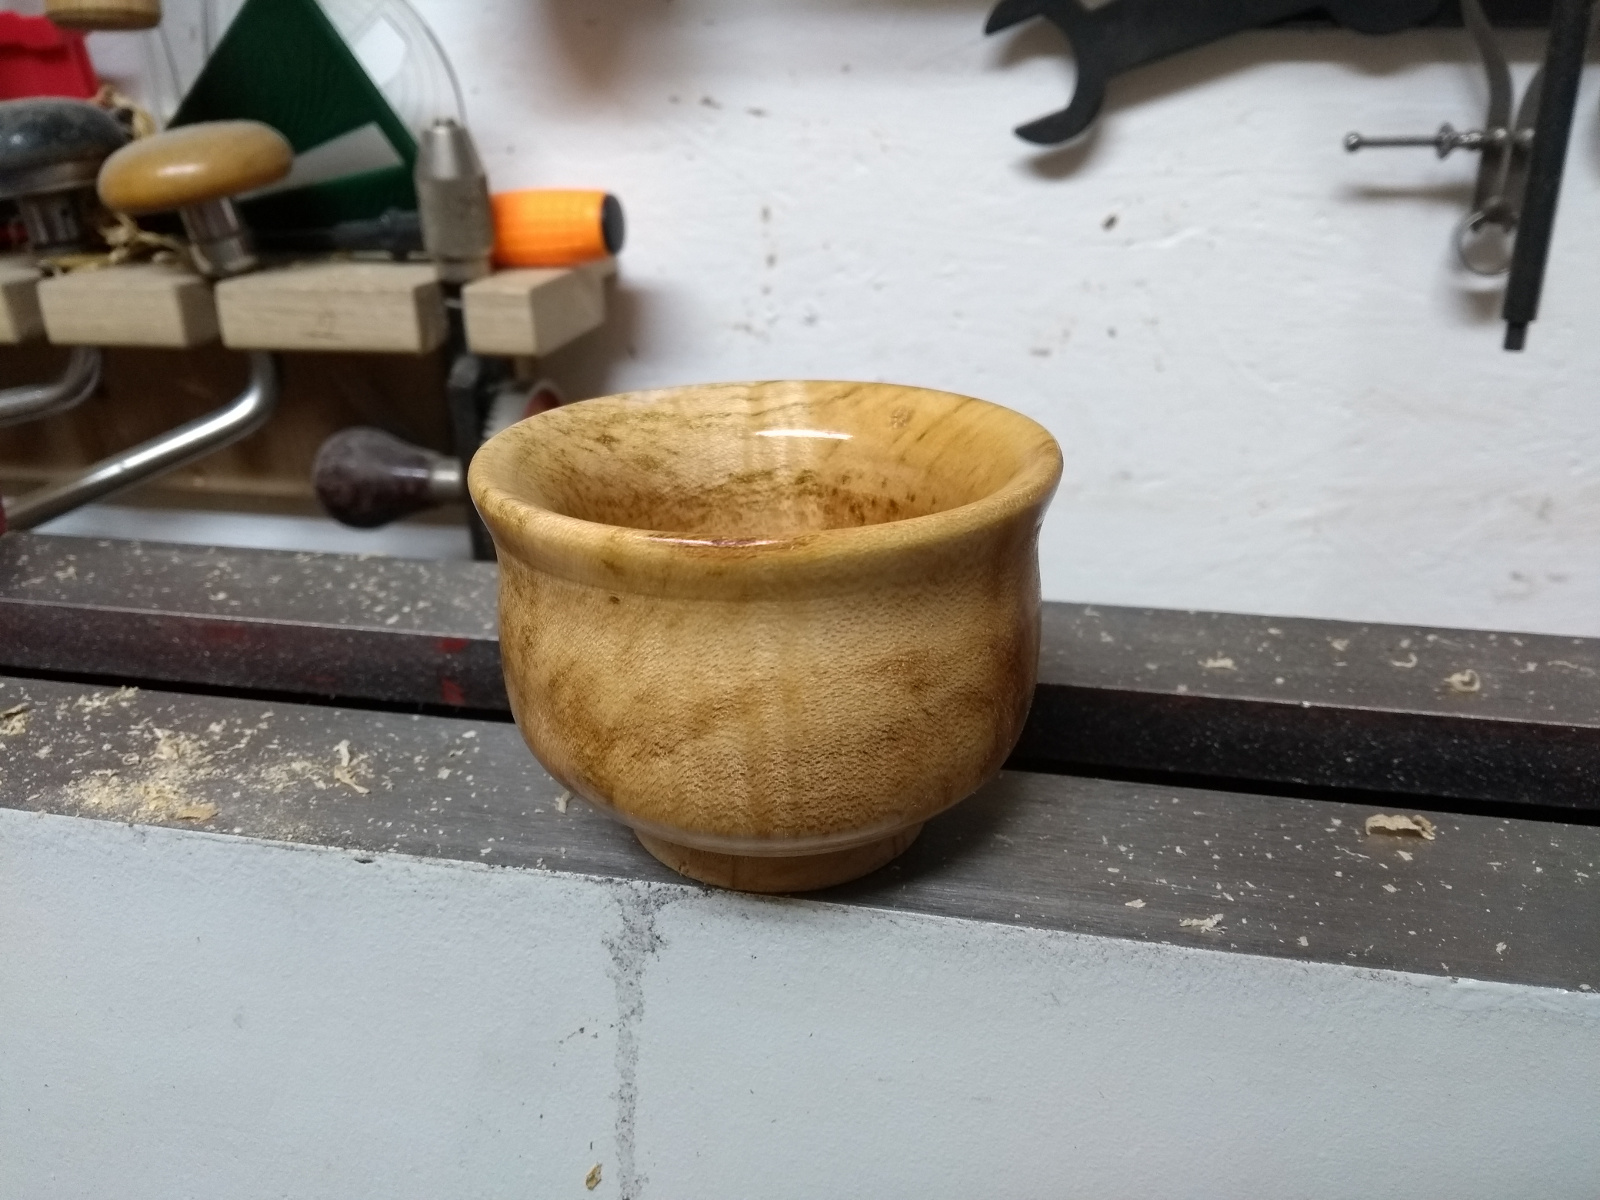
The woodturning course I was taking had to be cancelled because of Covid19 before we got to the bowl turning part of the course, so I've taken my time getting to this stage, but there it is, my first bowl.

Not sure about the wood, it was an unmarked miniature blank from one of homeofwood's variety packs (sycamore maybe?), finished in poppy seed oil to keep it light and a single coat of blonde shellac.

It's only a tiny thing, about 3" across and 2" deep, the walls are too thick to be elegant and too uneven to be thick by design, I didn't get rid of the very bottom of the faceplate screwholes from the rim, and you can prise it from my cold dead hands 'cos I love it :D
 
Trainee neophyte":291xkmvc said:
It has been inferred that all I do is crazy stuff with chainsaws. I resent that, but it may be true.

In order to damage my reputation even more, here is my current chainsaw madness:

It's a cradle for the chainsaw, which runs on a track (like an inverted t-track):

The point is to mill logs into planks/boards - call it what you will. I tried freehand, and that is serious effort, and rubbish results. I tried making an "Alaskan mill" arrangement, and that is also hard work, and still not good results. This system is virtually no effort at all,and seems to do very well. I'm getting flat, square boards about 35mm thick, so all in a good days work. Completely made from scrap I had lying around, there are no frills, and it could be much better, but for now it is working well.

First cut straight through the middle, at whatever point it happens to be.

Then put the flat newly cut side down to keep everything square, and cut again. Raise the work up on blocks, for the next cut, and the third.


Here's the result still covered in sawdust:

The spacers I use are 45mm thick, but with the chainsaw kerf being huge each plank is about 35mm, and the surface is quite uneven from the saw but not as bad as I was expecting.

And the big reveal (also known as a bucket of water):

And a close-up to show the surface:

Here are some I made earlier:

These have been sealed at the ends, firstly with a latex paint, but when I ran out of that with wood glue, because it's all I have. It's an expensive waterproof D3 wood glue, so that must help, surely...

So far I have only cut up olive wood - I also have a fair amount of walnut logs which are longer, wider, and much straighter than the olive wood, but I have more olive wood so I am practicing with that first. If anyone has any pointers as to how to do this properly I am very open to suggestions, but I am happy with the results so far.
Well the pics of all that nice wood shows it works. Just be careful.
Regards
John
 
A pair of sofa end tables.

imgonline-com-ua-CompressToSize-8AyZU4PB5y.jpg

imgonline-com-ua-CompressToSize-tw0ObIHZOsn2Qf.jpg
 

Attachments

  • imgonline-com-ua-CompressToSize-8AyZU4PB5y.jpg
    imgonline-com-ua-CompressToSize-8AyZU4PB5y.jpg
    237 KB
  • imgonline-com-ua-CompressToSize-tw0ObIHZOsn2Qf.jpg
    imgonline-com-ua-CompressToSize-tw0ObIHZOsn2Qf.jpg
    246.7 KB
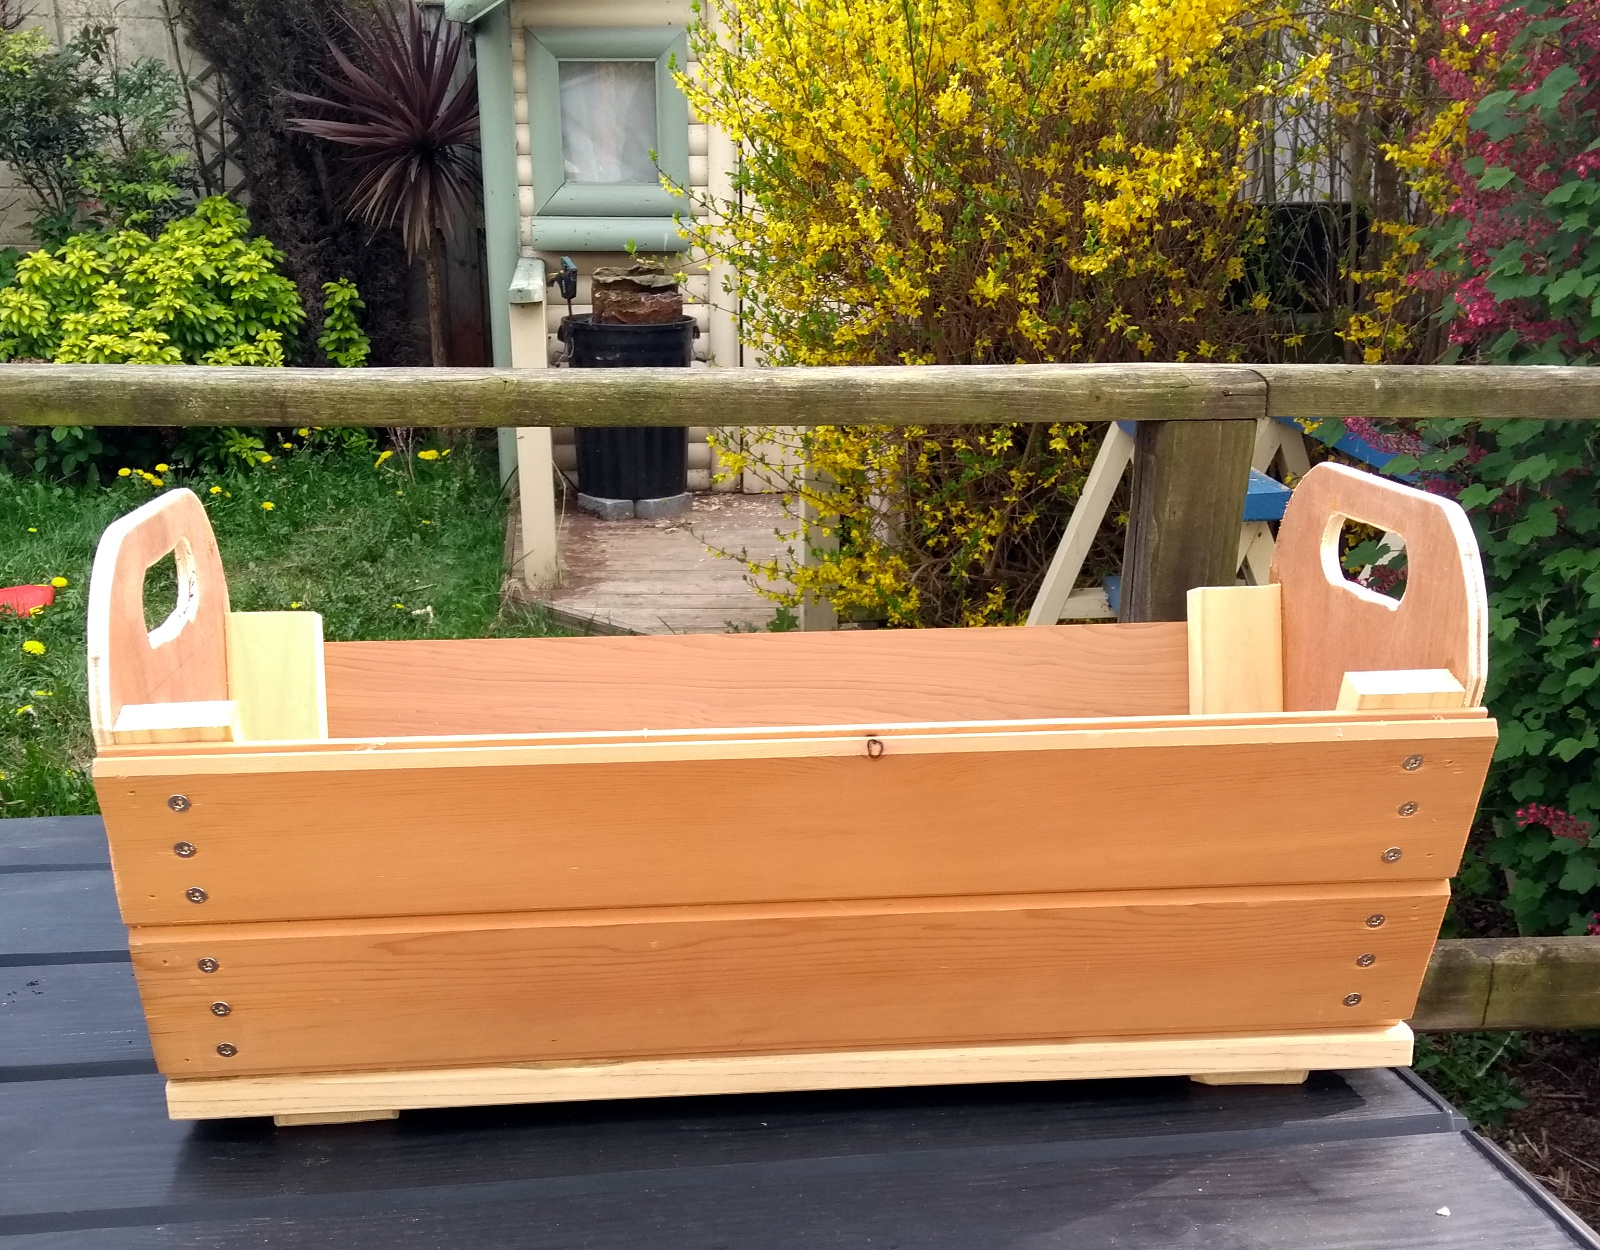
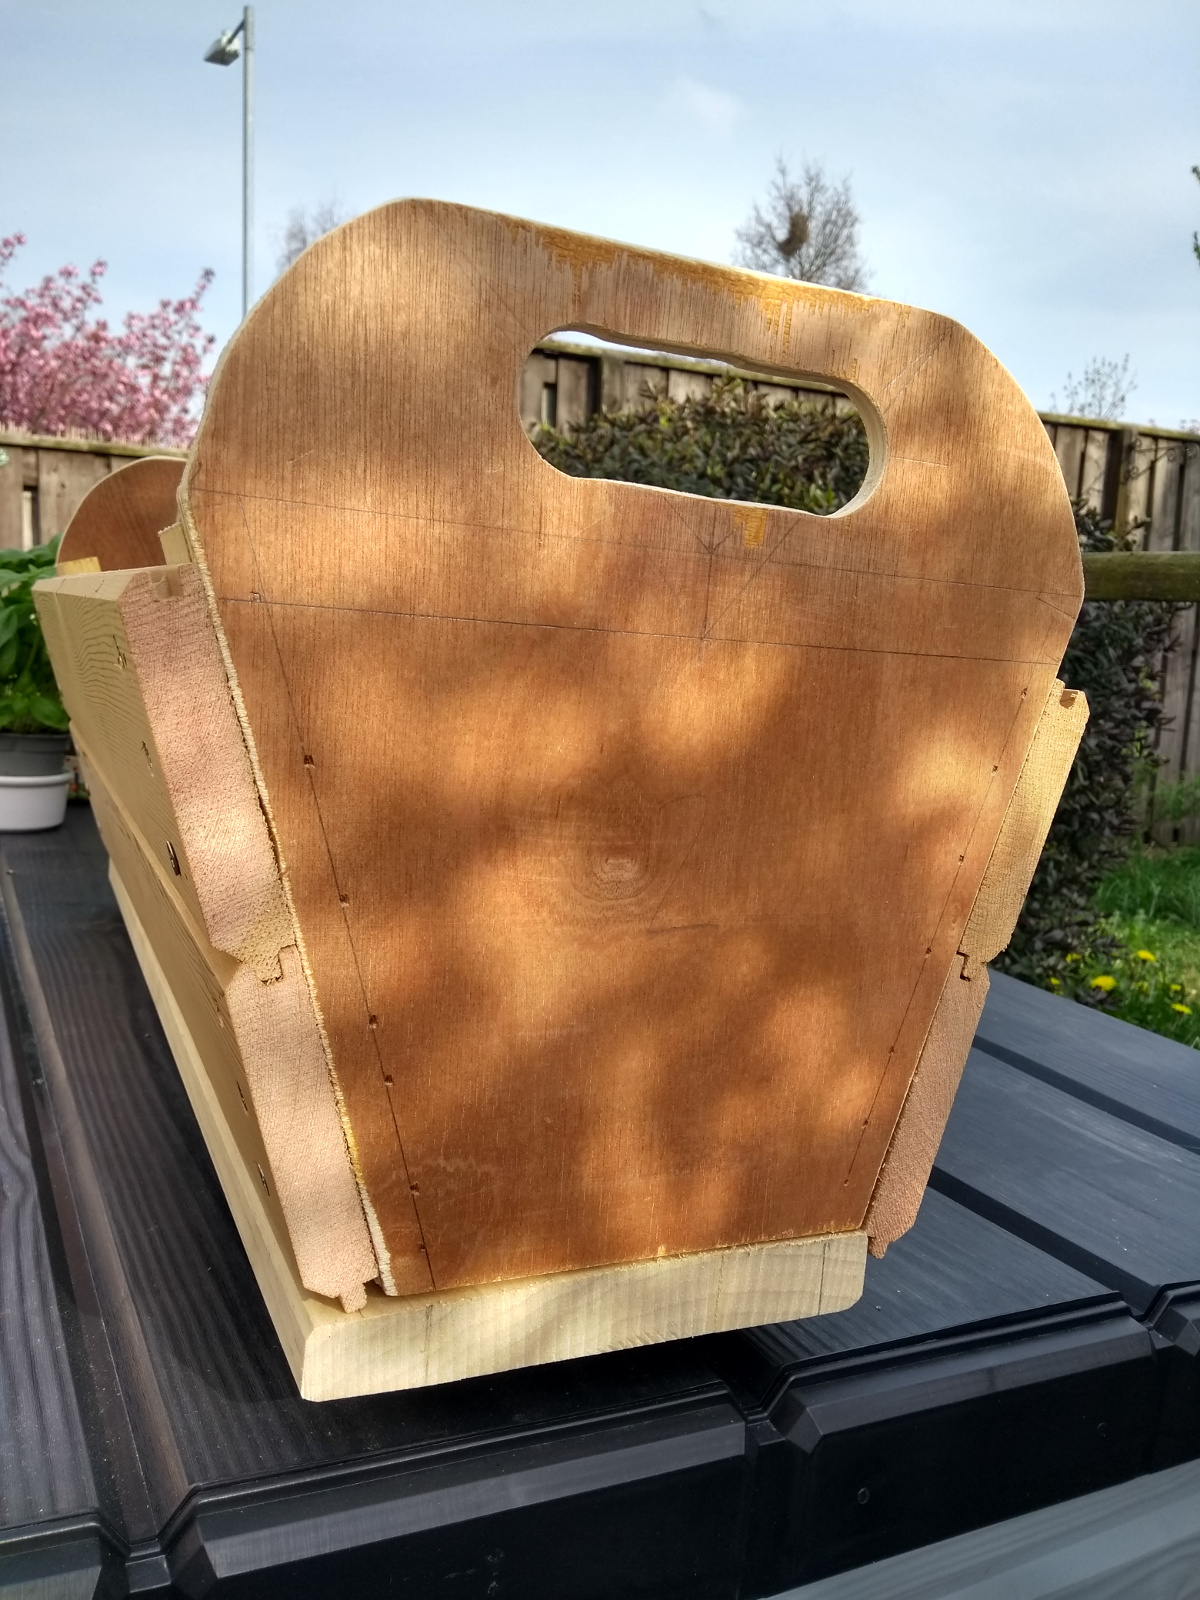
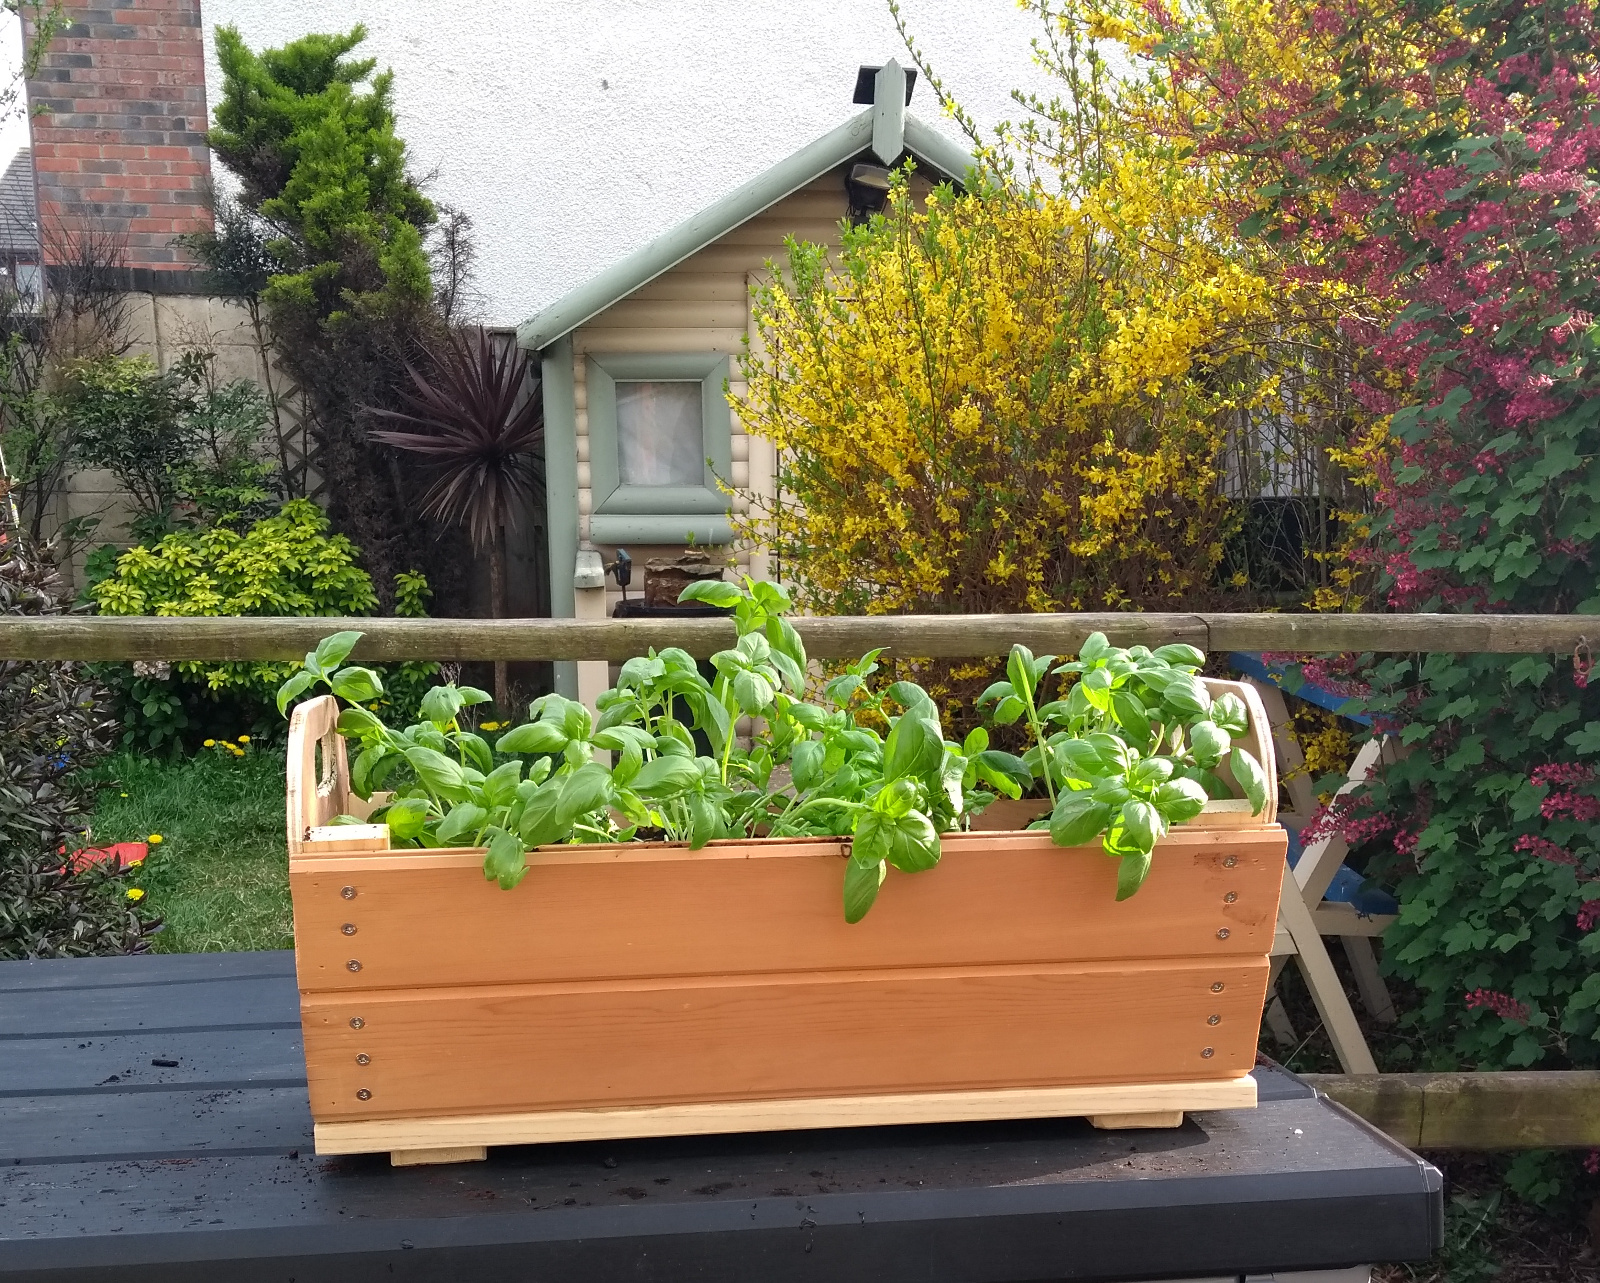
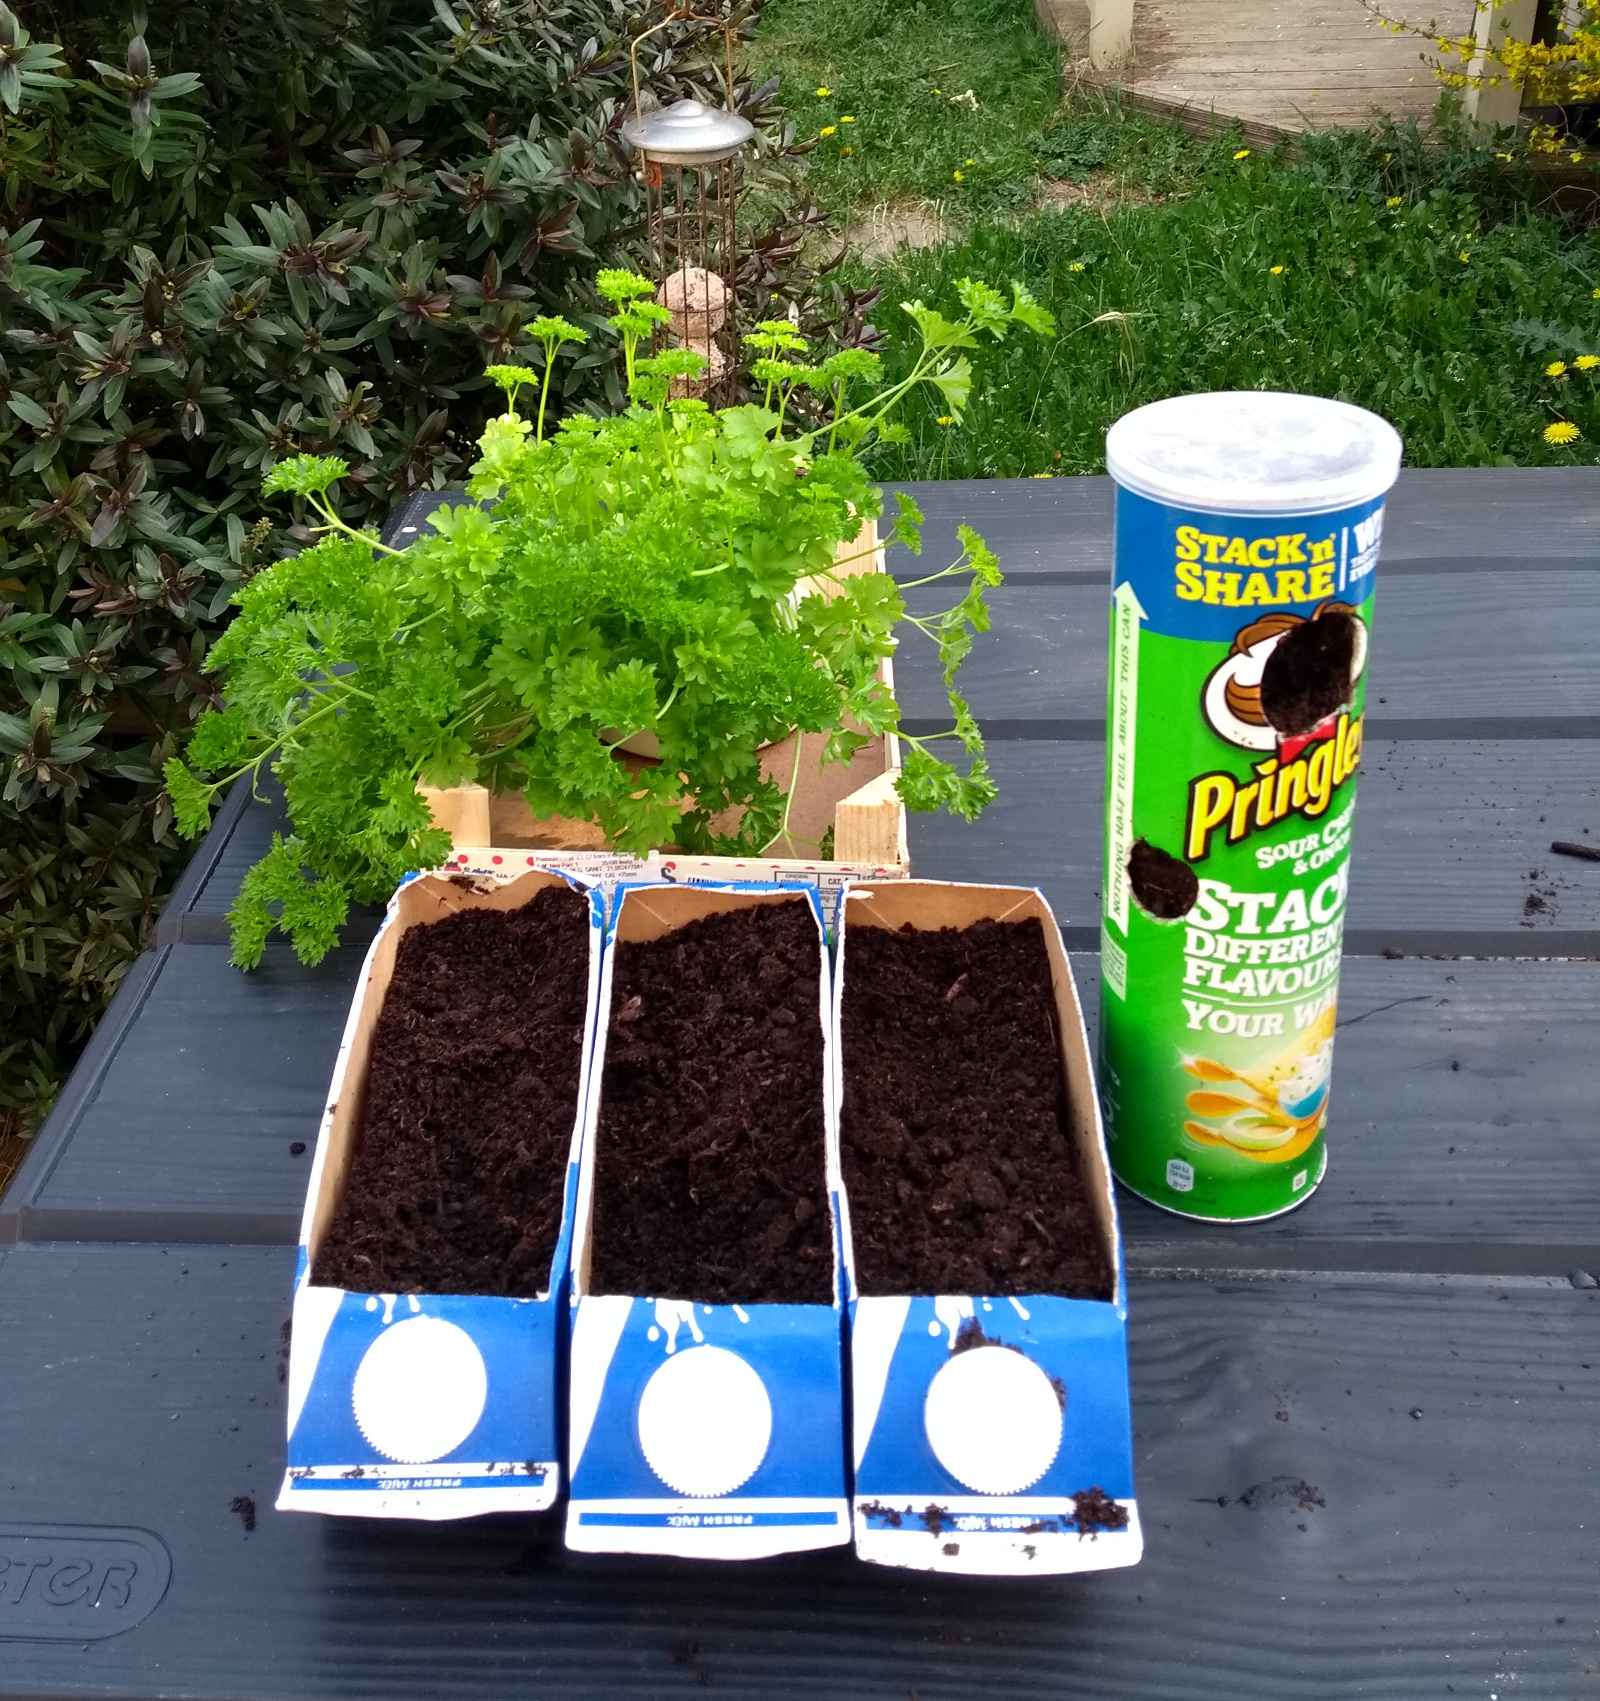
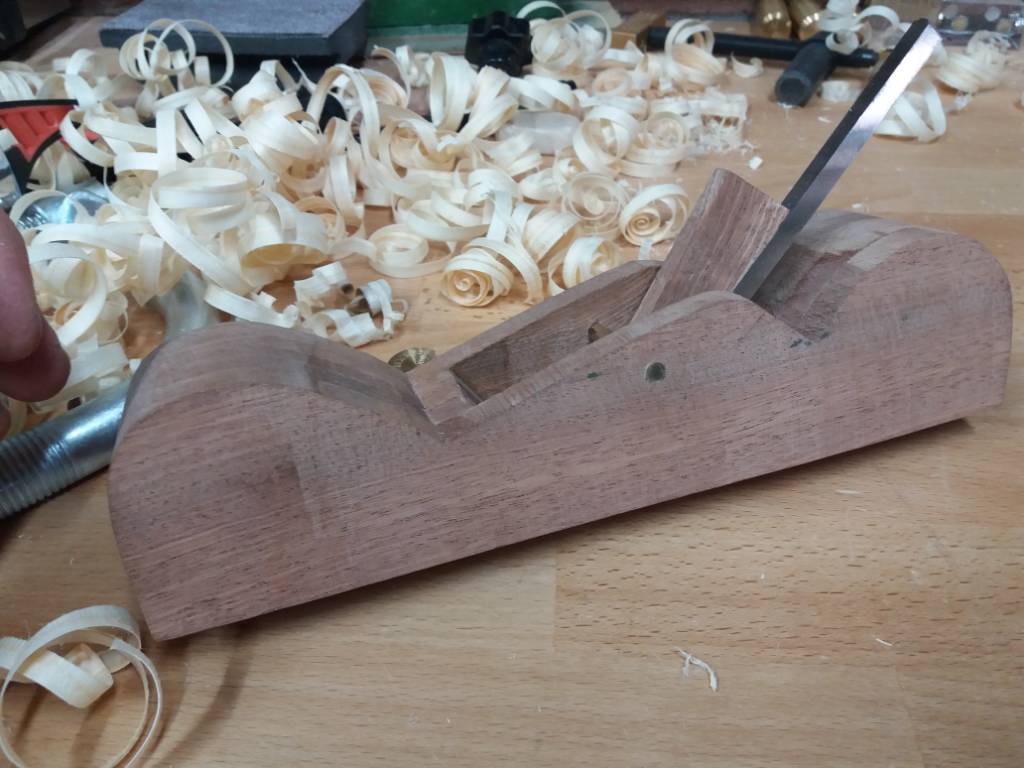
Got an 18g brad nailer the other day (to go with the cutest little 6L draper air compressor which is the biggest one that'll fit in the shed) and knocked up a *very* quick-n-dirty planter out of offcuts - there'll be no visits to the garden center for a while since we're in lockdown until next month over here, so we're making do :)

2020-04-10-17.13.05a.jpg


2020-04-10-17.13.32a.jpg


2020-04-10-17.26.39a.jpg


Granted, not fine furniture but it beats what we were using till now :D

2020-04-10-17.26.58a.jpg
 
Back
Top