You are using an out of date browser. It may not display this or other websites correctly.
You should upgrade or use an alternative browser.
You should upgrade or use an alternative browser.
Post a photo of the last thing you made
- Thread starter DTR
- Start date

Help Support UKworkshop.co.uk:
This site may earn a commission from merchant affiliate
links, including eBay, Amazon, and others.
John15
Established Member
Nice neat dovetails Tyreman
John
John
thetyreman
Established Member
I drilled a 3/4" 19mm hole in the end, it works very well, here it is:
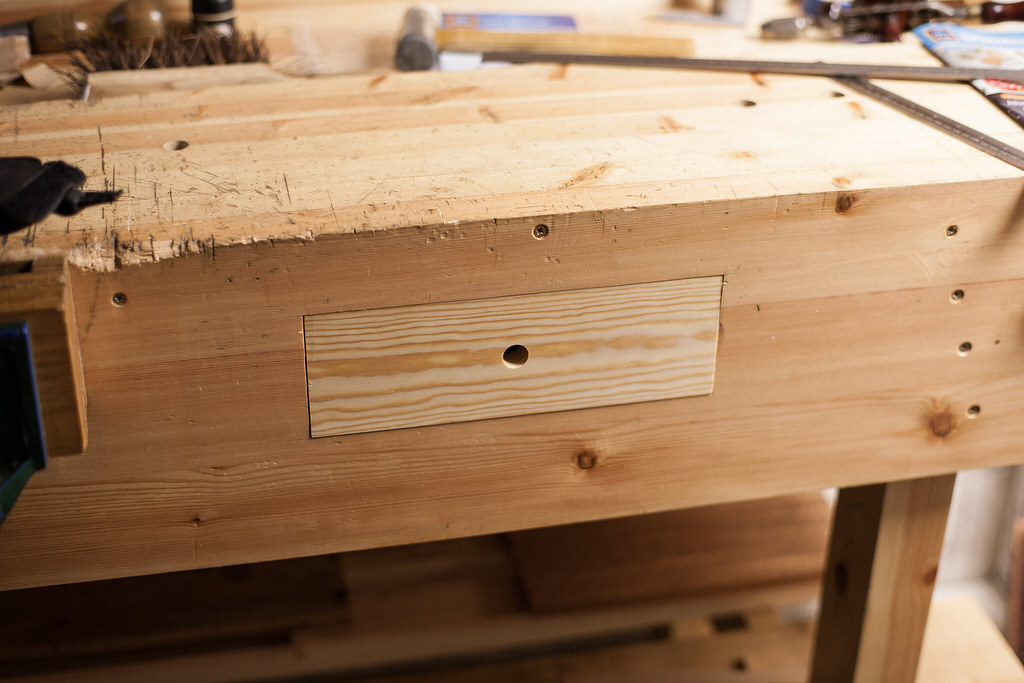 Completed Apron Drawer by Ben Tyreman, on Flickr
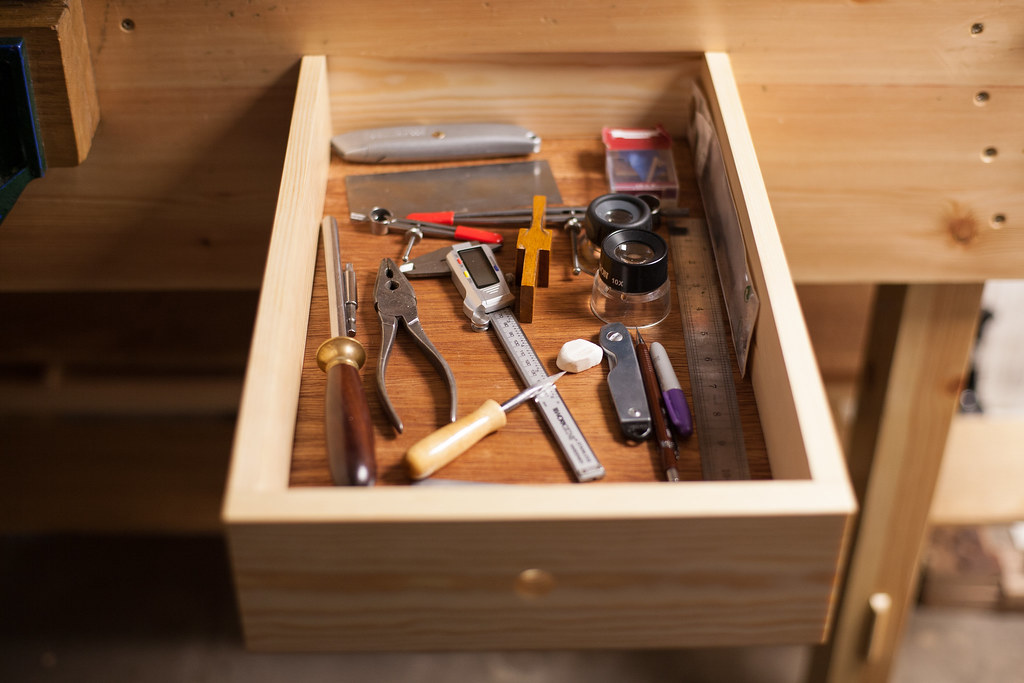 Apron Drawer Contents by Ben Tyreman, on Flickr
 Completed Apron Drawer by Ben Tyreman, on Flickr
 Apron Drawer Contents by Ben Tyreman, on Flickr
ScaredyCat
Established Member
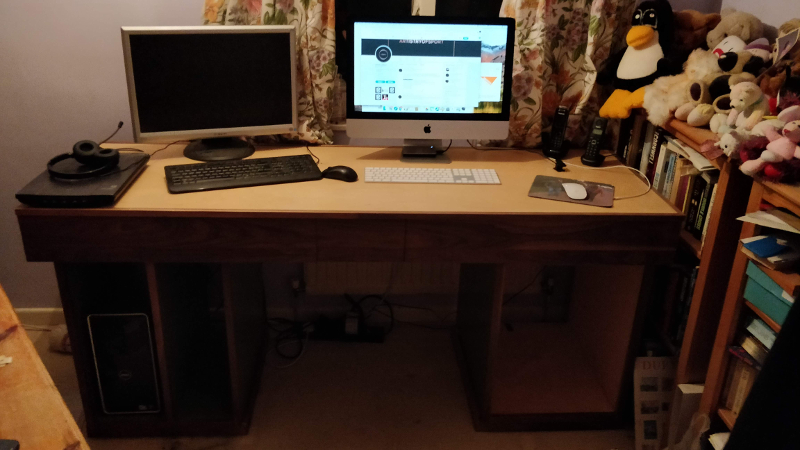
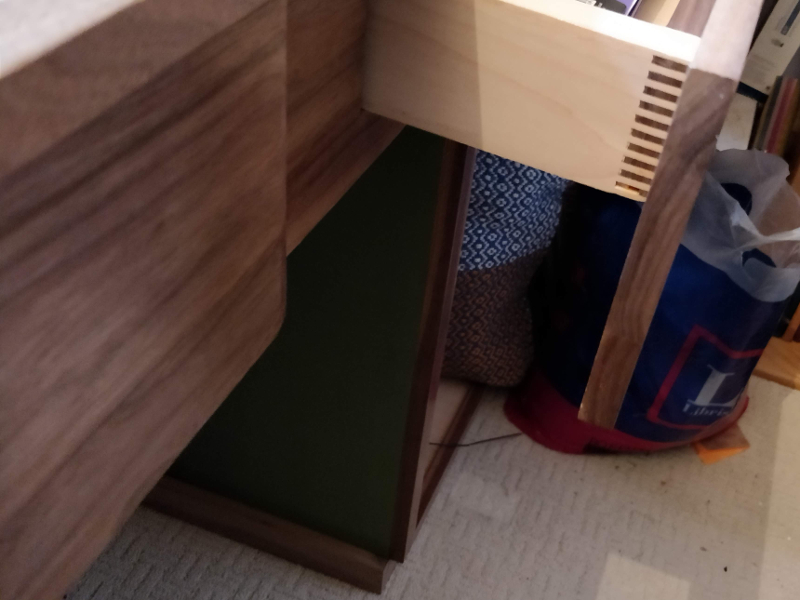
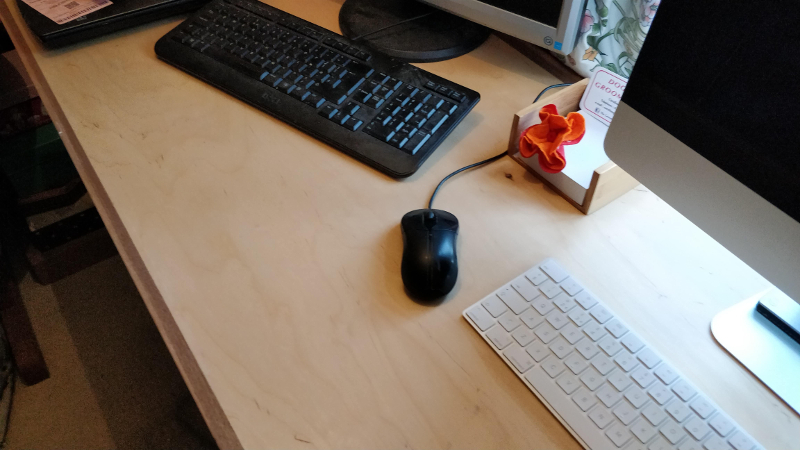
Sorry for the image quality, not much light in that room. I had about 30 seconds after I'd installed it before my wife started using it.
Walnut (most of it) and maple (drawers and sides) with a birch (ply) top, trimmed with walnut. Originally I was going th veneer the top, if fact I tried. That's £40 I'm never getting back and 16 hours trying to get it off again. What a mess. At first I hated the birch ply /walnut top but I put 10 coats of varnish on it and it has a really nice soft feel to it. I'm now sold on that finish.
Size is 1785mm x 620 mm ( 70" x 24.5" approx in old money). There are a lot of mistakes in it but I learned an awful lot when building it.
Not quite finished, but I needed to get it installed beause it was taking up loads of room (I don't have a workshop). I have 2 shelves for the left which I'm just finishing and then I have drawers to make for the right.
El Barto
👍
I very quickly (too quickly in fact) decided to make this stool as a birthday present. It was a good experience though, working to a tight deadline; I think I learnt more as a result and I'm happy with the finished piece. My favourite thing about chair making is with each process you see and feel your skills develop. Legs this length for instance were really difficult to turn and match consistently but by the end I was getting the hang of it.
The legs are ash riven from a tree that came down by my house in a storm and the seat is wych elm kindly given to me by Custard (thank you again).
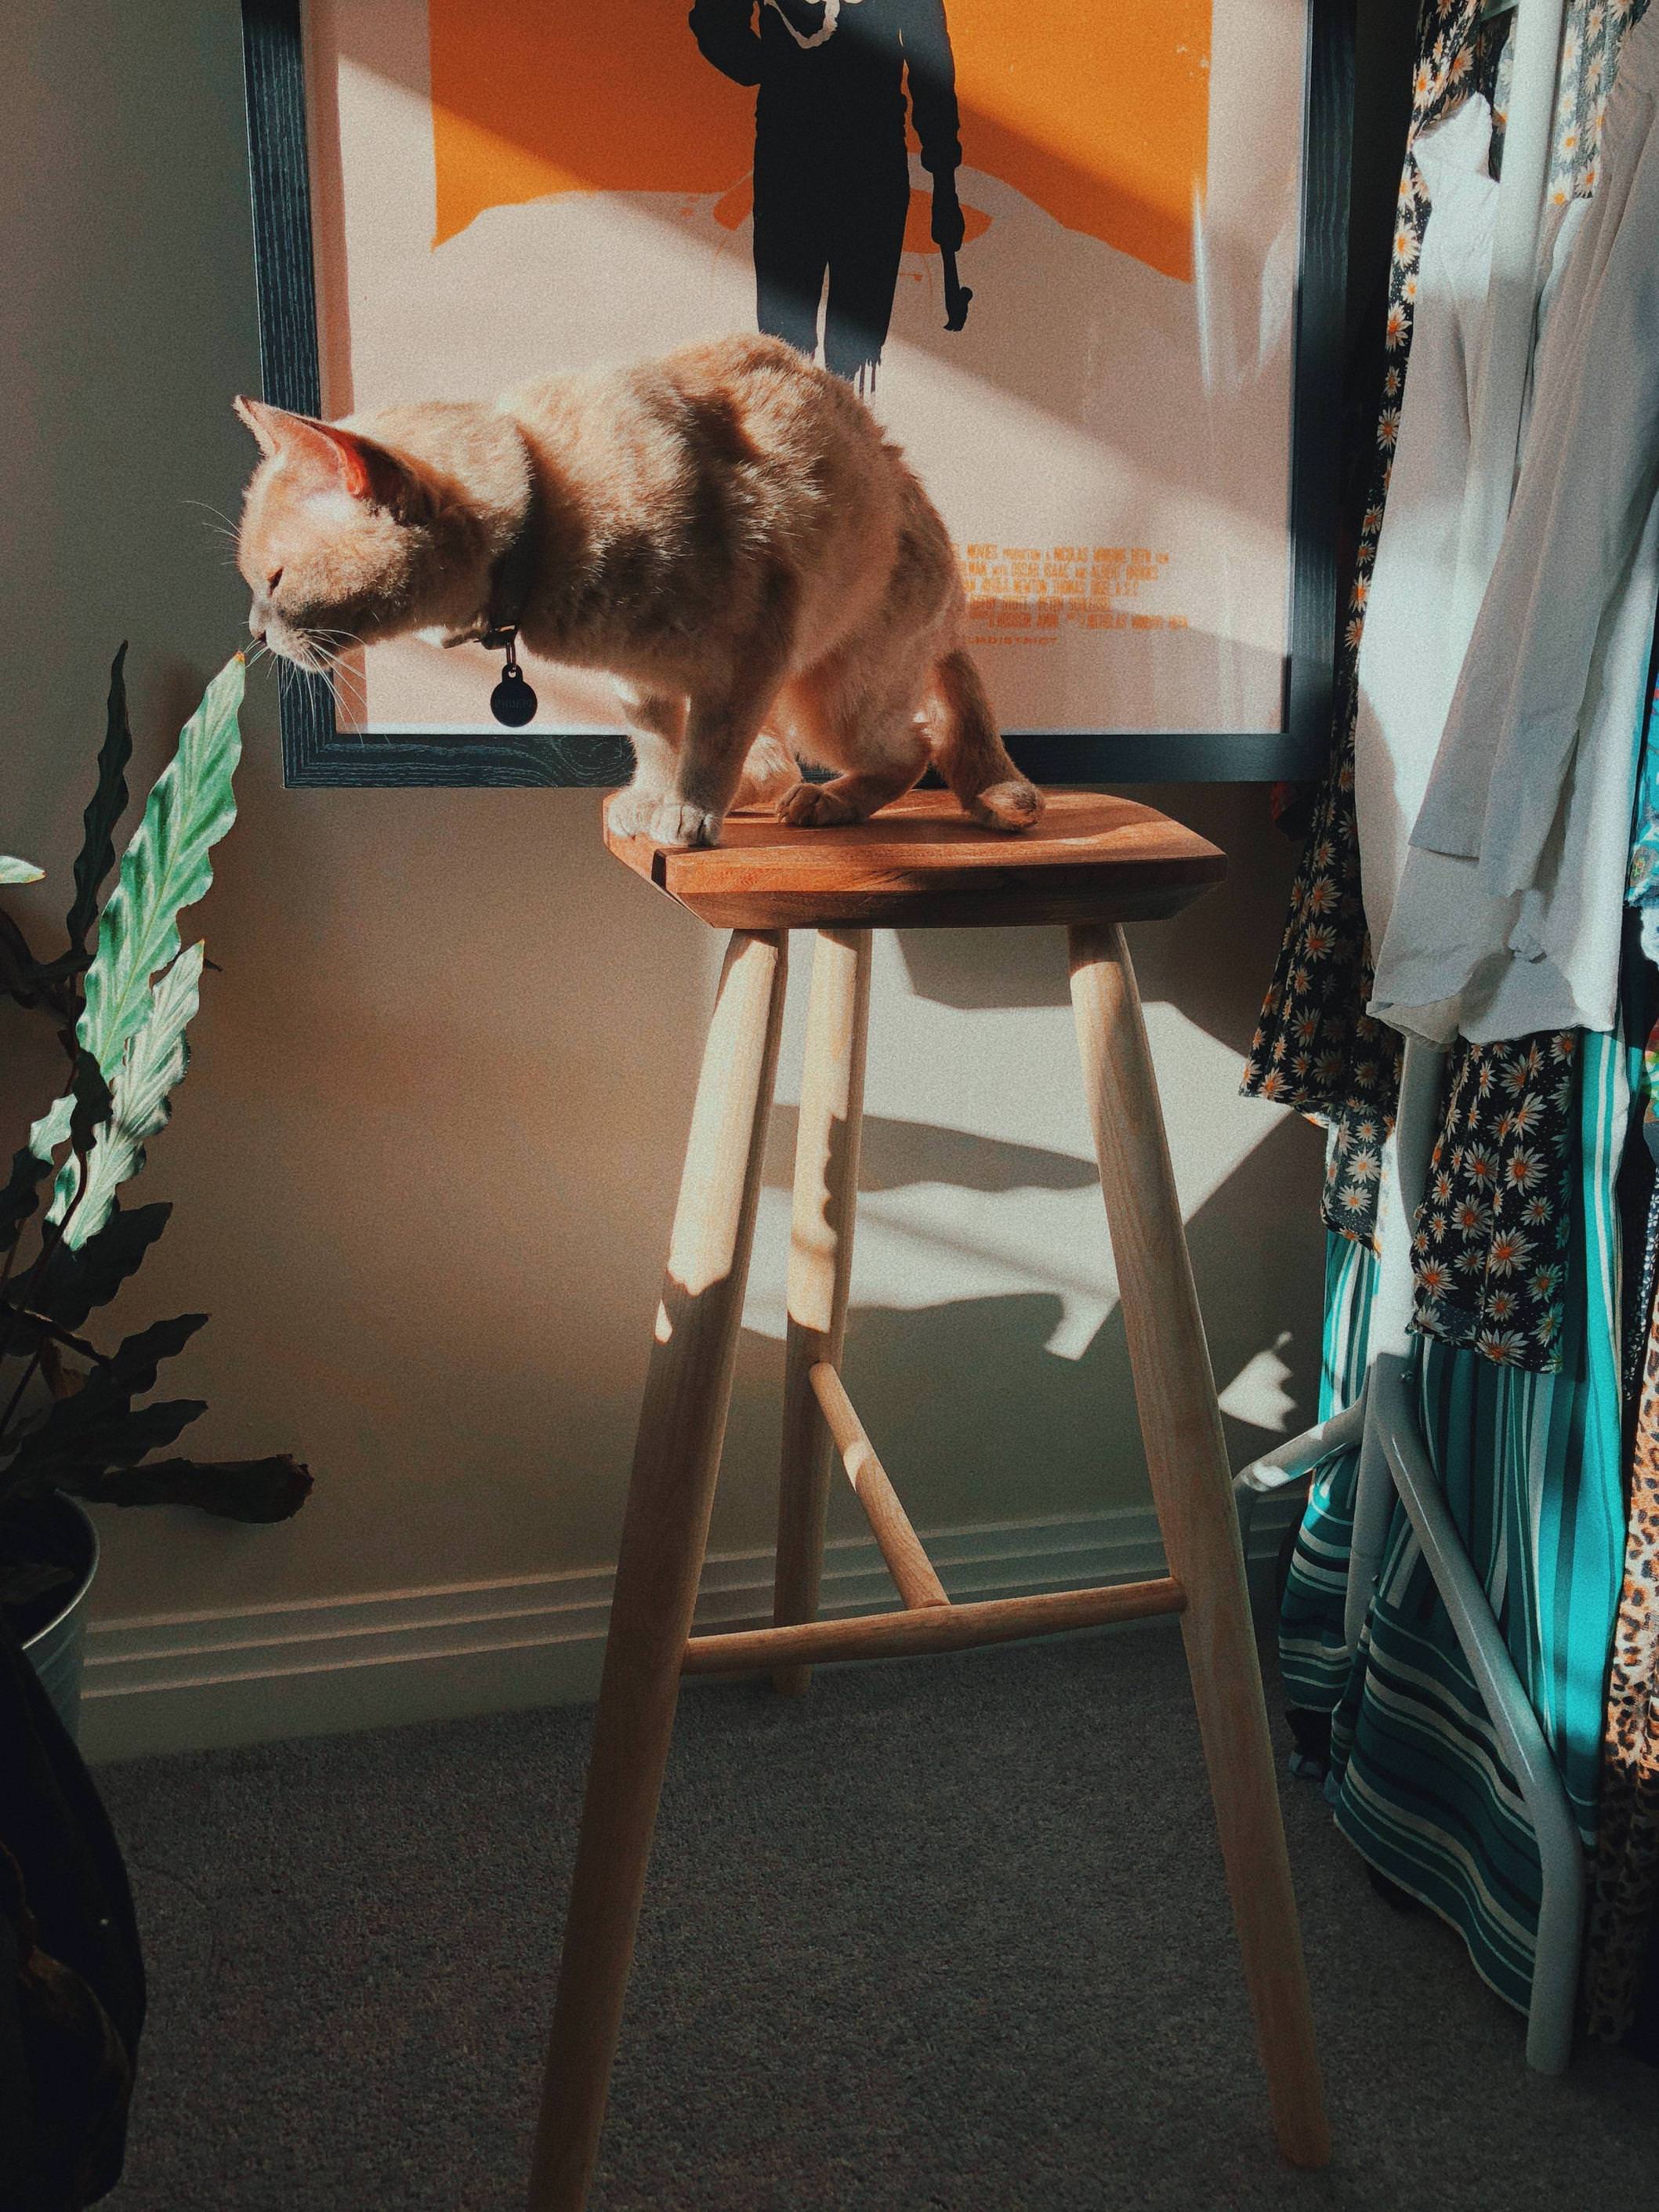

The legs are ash riven from a tree that came down by my house in a storm and the seat is wych elm kindly given to me by Custard (thank you again).


£12.50 (£1.25 / count)
£14.45 (£1.44 / count)
JSP M632 FFP3moulded Disposable Dustmask (Box of 10) One Size suitable for Construction, DIY, Industrial, Sanding, dust protection 99 Percent particle filtration Conforms and Complies to EN 149
Amazon.co.uk

£13.99 (£2.80 / count)
VEVOX® FFP1 Dust Mask - Set of 5 - Valved Face Masks - Respirator - Protection e.g. for Construction, Building Work, Sanding, Woodworking, Fine Dusts, Aersoles or Particles
SLSK Ventures GmbH (UK)

£96.56
£101.95
O'SKOOL Mortise and Tenon Jig is Ideal for cabinets, Chairs, and Table Construction Using a Plunge Router
Amazon US

£17.99 (£1.80 / count)
£27.44 (£2.74 / count)
3M 8822 Disposable-fine dust mask FFP2 (10-pack)
Amazon.co.uk
This deserves better photos so we can see more clearly! Look forward to seeing it finished.ScaredyCat":2x57byvj said:Not quite finished, but I needed to get it installed beause it was taking up loads of room (I don't have a workshop). I have 2 shelves for the left which I'm just finishing and then I have drawers to make for the right.
thetyreman
Established Member
stunning el barto, your work is REALLY coming along thesedays, I recon you could sell that no problem, please do not stop and keep persevering, I have yet to use custards wood that he sent me last year it's so beautiful that I'm almost scared of touching it, he sent me the most amazing rippled ash and cherry and other woods as well, they've been air drying for over a year, it's time to get using them on my next project I think.
El Barto":3fiygwj7 said:
The shape seems somewhat unusual to my novice eye but all the better for it. It's really appealing. Like the seat shape and how you have joined the legs. I don't have the design language but you've caught something there. =D>
Mrs just walked past.
'Oohhhh, that's nice.'
See. Told ya.
:wink:
El Barto
👍
thetyreman":1z8pdq7q said:stunning el barto, your work is REALLY coming along thesedays, I recon you could sell that no problem, please do not stop and keep persevering, I have yet to use custards wood that he sent me last year it's so beautiful that I'm almost scared of touching it, he sent me the most amazing rippled ash and cherry and other woods as well, they've been air drying for over a year, it's time to get using them on my next project I think.
Thank you! Yes I have a few other bits from him that I'm trying to save. Luckily one of the seat blanks was large enough to keep for a proper chair seat while also squeezing this stool seat out of it too.
Bm101":1z8pdq7q said:El Barto":1z8pdq7q said:
The shape seems somewhat unusual to my novice eye but all the better for it. It's really appealing. Like the seat shape and how you have joined the legs. I don't have the design language but you've caught something there. =D>
Mrs just walked past.
'Oohhhh, that's nice.'
See. Told ya.
:wink:
Thank you to you too! And to your Mrs.
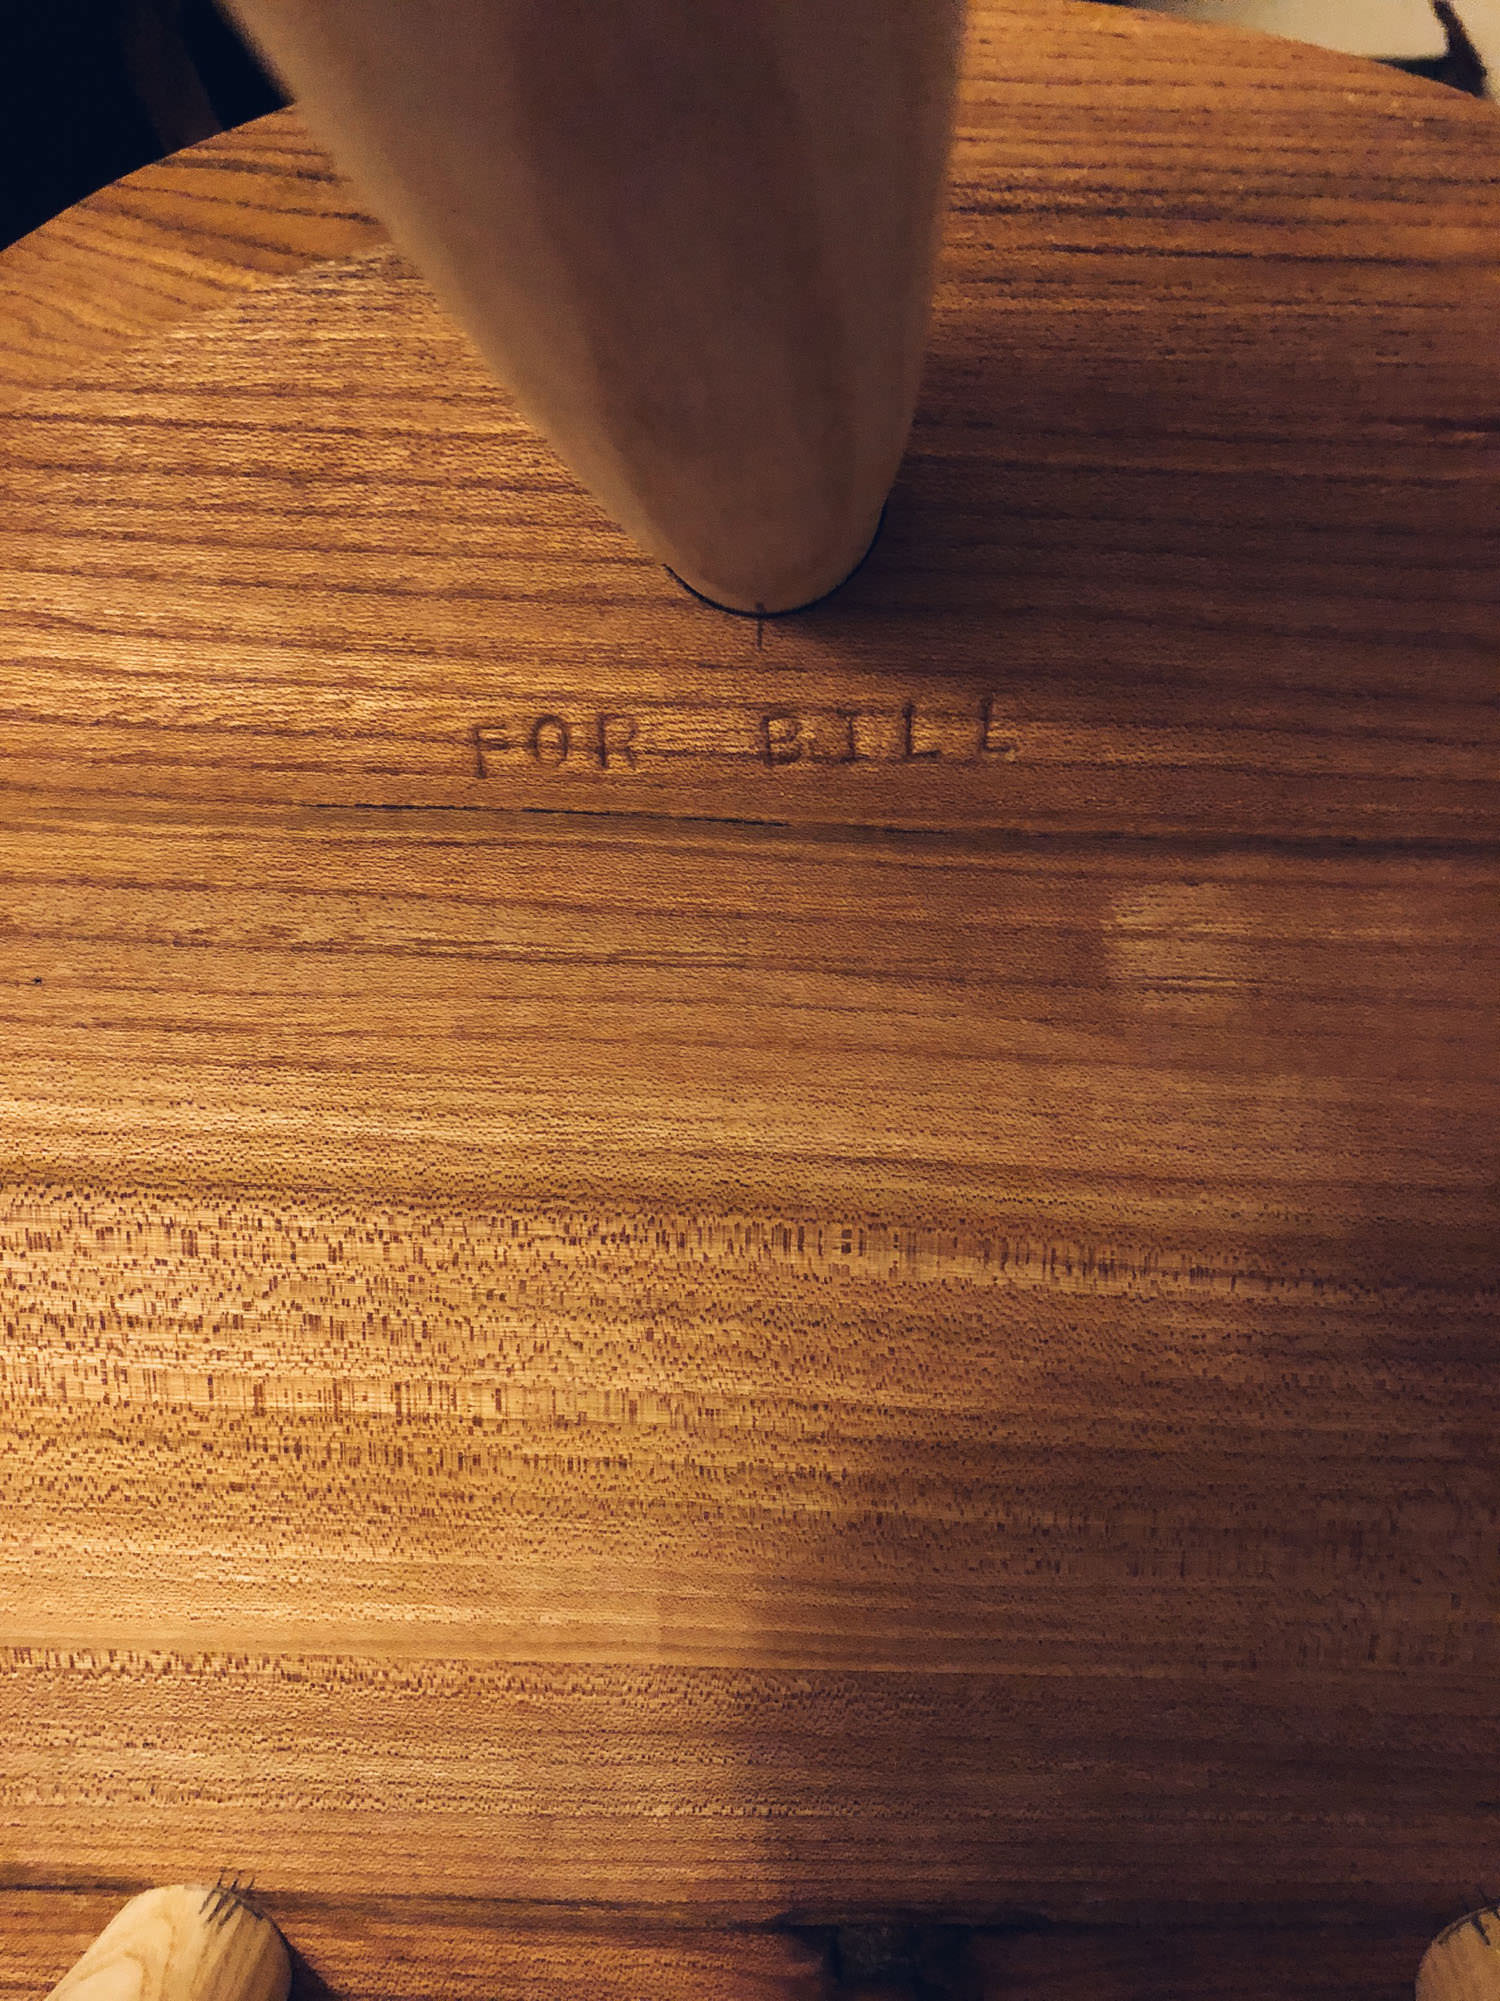
I finished it with Osmo clear and was completely blown away by what it did to the elm. It went the most incredibly colour and brought out every tiny detail. I couldn't really capture it in a photo but it is stunning. Some of it looking like digital glitches. There's also a glue line here which almost disappeared which I'm pretty pleased about!
Raymond UK
Established Member
ScaredyCat":21ond0do said:


Sorry for the image quality, not much light in that room. I had about 30 seconds after I'd installed it before my wife started using it.
Walnut (most of it) and maple (drawers and sides) with a birch (ply) top, trimmed with walnut. Originally I was going th veneer the top, if fact I tried. That's £40 I'm never getting back and 16 hours trying to get it off again. What a mess. At first I hated the birch ply /walnut top but I put 10 coats of varnish on it and it has a really nice soft feel to it. I'm now sold on that finish.
Size is 1785mm x 620 mm ( 70" x 24.5" approx in old money). There are a lot of mistakes in it but I learned an awful lot when building it.
Not quite finished, but I needed to get it installed beause it was taking up loads of room (I don't have a workshop). I have 2 shelves for the left which I'm just finishing and then I have drawers to make for the right.
Very nice looking desk indeed. I really need to pull my finger out and make myself one once I get some time.
Dandan
Established Member
Finally got the first part of my front garden fence done, more pictures here:
post1251108.html#p1251108
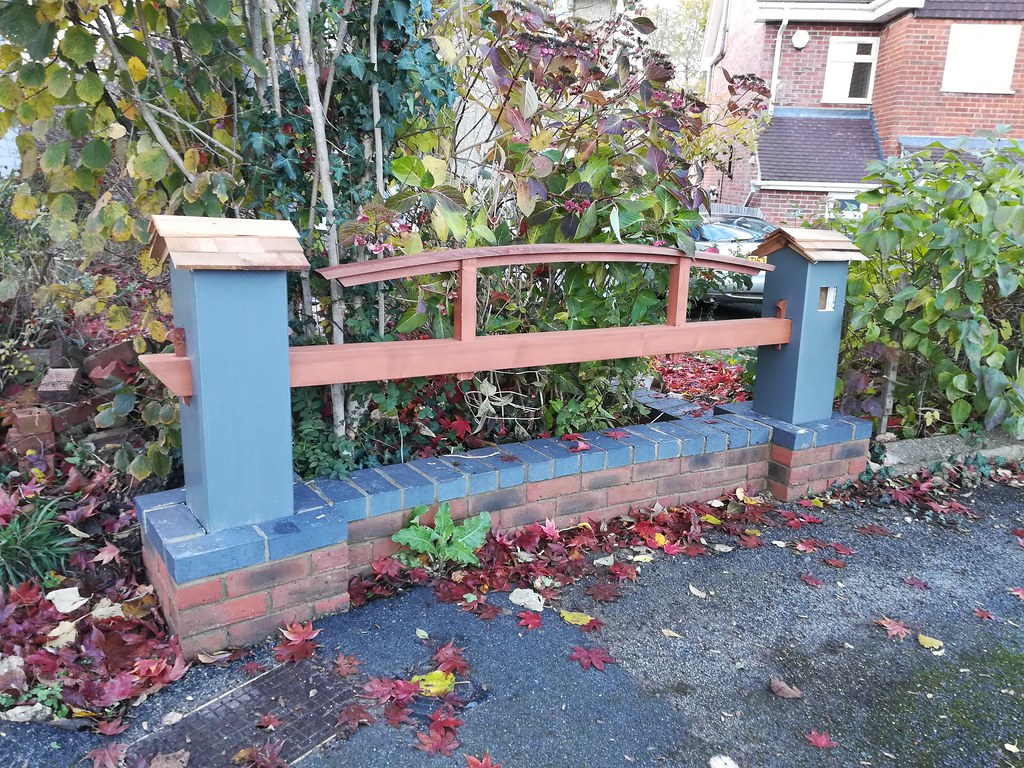
post1251108.html#p1251108

Buckeye
Established Member
This is the biggest project I have done to date. It is a run of 4.5m of built ins under the stairs of an old Victorian semi. Shelves, cupboards and a log store at the short end. I got my estimate right in terms of material costs but didn't do well with time estimate. Cabinets were huge so had to be assembled on site. I only do one-two days a week at woodwork and then four at my day job so it took a load of time to complete.
They are mrmdf with tulip doors and frames.
Lots of firsts for me on this job and they are not perfect by a long shot but I am happy and the client was delighted so alls well that ends well.


They are mrmdf with tulip doors and frames.
Lots of firsts for me on this job and they are not perfect by a long shot but I am happy and the client was delighted so alls well that ends well.


Very smart Buck eye! I like the colour, F&B?? Not so sure on the colour of the handles mind, but then, the customer is always right eh..
I love that beading detail around each of those little cubby holes and the white paint inside them, it gives the whole thing more of a bespoke/handmade feel. Does the customer plan to install some LEDs inside those at some point?
Will
I love that beading detail around each of those little cubby holes and the white paint inside them, it gives the whole thing more of a bespoke/handmade feel. Does the customer plan to install some LEDs inside those at some point?
Will
Buckeye
Established Member
Thanks Will. Customer always right indeed. No LEDs planned. They had a painter come in to paint so I am not sure of the colours.
Raymond UK
Established Member
I put the Matthias Wandell bandsaw to task this week and made a stack of timber.
Oh, on the bandsaw front I finished the table, made a base cabinet, fitted the motor, made a rail and fence and few other modifications..
A month back we had a silver birch taken down in the garden, most of it has been cut up for next winters firewood or gone through the chipper to feed the compost bin. The trunk however was cut into 4 lengths, each about 3' long and set aside for milling into boards.
The other night I got round to milling up the first of these, I made a sawing guide from some scraps to run against the fence. I split the log into quarters then sawed those into 1" boards. It's in stick in the garage now but won't be ready for use until at least next summer.

There is some nice character timber in there including some nice figure where an old branch grew. There's more variation between the heart and sap wood than I was expecting.


Not a bad haul for a single log, the other three are slightly larger and one has a crotch in it that I expect to provide some nice figure.


Once I have my big log store situated in its final position in the garden I'll paint the ends of the boards and stack all of it all in there. The log store is stained black to match my fencing but this also has the effect that it heats up quickly in the sun and therefore helps with the drying process.
Oh, on the bandsaw front I finished the table, made a base cabinet, fitted the motor, made a rail and fence and few other modifications..
A month back we had a silver birch taken down in the garden, most of it has been cut up for next winters firewood or gone through the chipper to feed the compost bin. The trunk however was cut into 4 lengths, each about 3' long and set aside for milling into boards.
The other night I got round to milling up the first of these, I made a sawing guide from some scraps to run against the fence. I split the log into quarters then sawed those into 1" boards. It's in stick in the garage now but won't be ready for use until at least next summer.

There is some nice character timber in there including some nice figure where an old branch grew. There's more variation between the heart and sap wood than I was expecting.


Not a bad haul for a single log, the other three are slightly larger and one has a crotch in it that I expect to provide some nice figure.


Once I have my big log store situated in its final position in the garden I'll paint the ends of the boards and stack all of it all in there. The log store is stained black to match my fencing but this also has the effect that it heats up quickly in the sun and therefore helps with the drying process.
Attachments
Raymond UK
Established Member
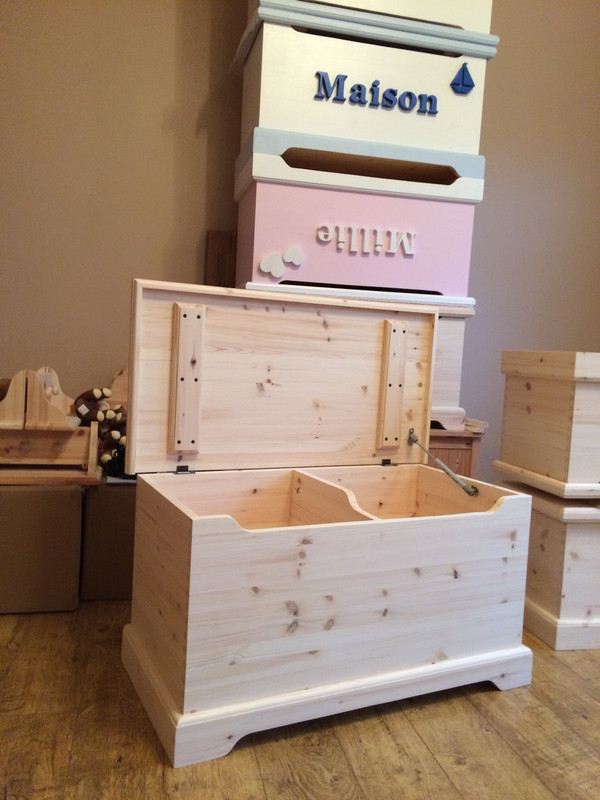
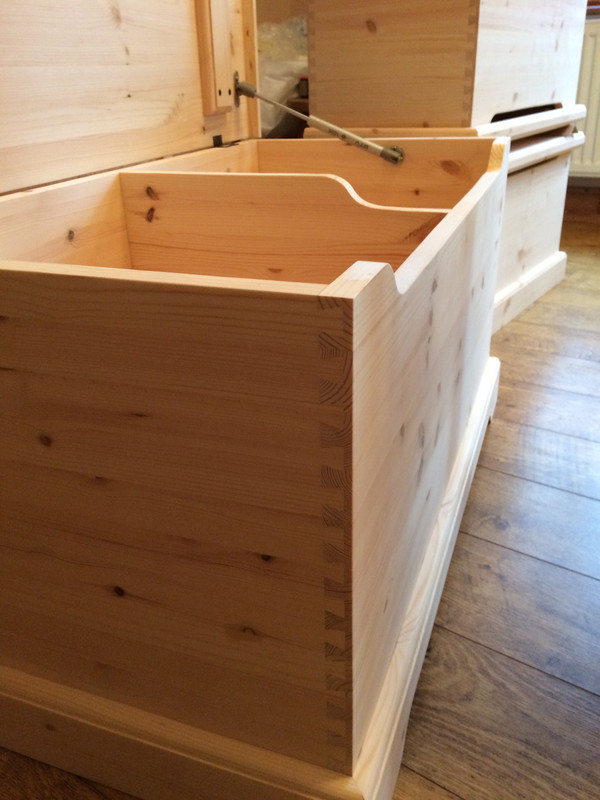
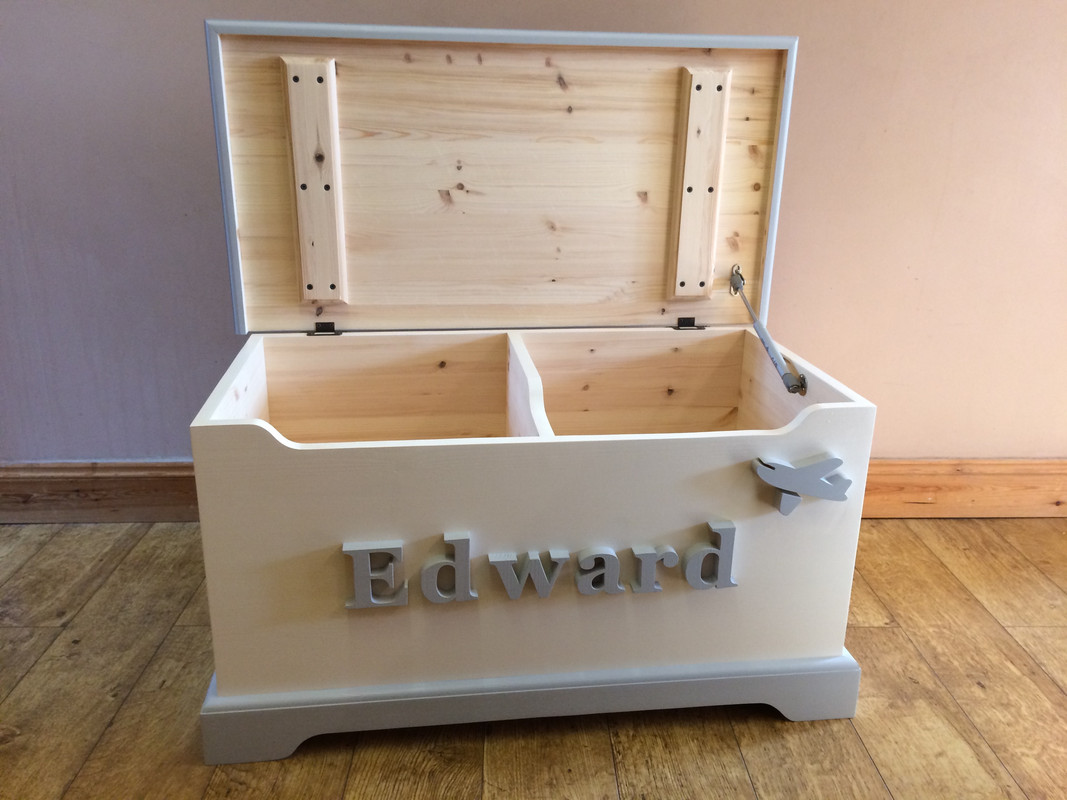
will1983":3np5br6f said:Beautiful work there Raymond, lovely tight dovetails and nice painted lettering. Are they those solid pine panels you can buy or did you glue them up yourself?
Thanks Will.
It's 18mm laminated pine . They come in 600x3000mm sheets. The whole of the box is made out of it. I don't believe in putting cheap ply bottoms in. Misses Ray paints these on her days off. Sometimes even cuts some letters when it gets too busy.
That's some bandsaw you've build :shock:
Similar threads
- Replies
- 1K
- Views
- 111K
- Replies
- 7
- Views
- 2K


