Pekka Huhta
Established Member
The whole bathroom project has taken years, so it is quite a different woodworking project than all the others in the competition. I have thought about it a bit and divided the whole project in smaller parts, most of it being left out of the competition scope. As I was still in the middle of the preparations during the Competition Part 1 submittal date I didn't have too much to submit, but I'll include some of the new drawings to my second part.
Part 1, preparations to be done in the house. Moving doors, repairing windows and preparing the available space for the bathroom.
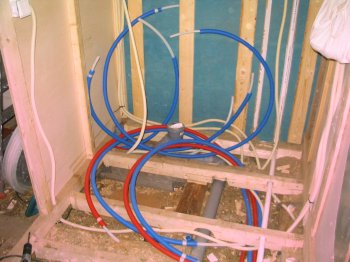
Part 2, framework, plumbing, electrics, walls. Nothing fancy in them either.
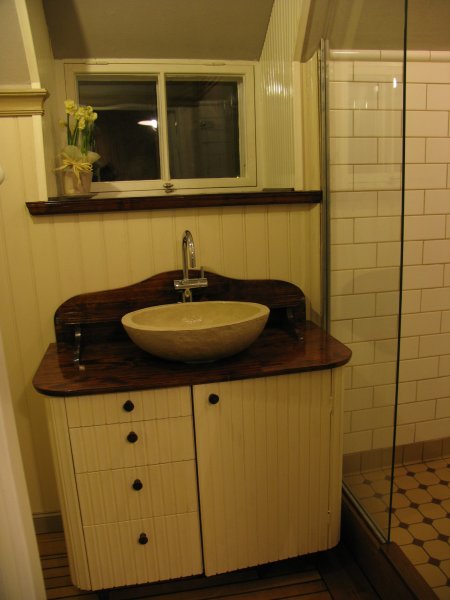
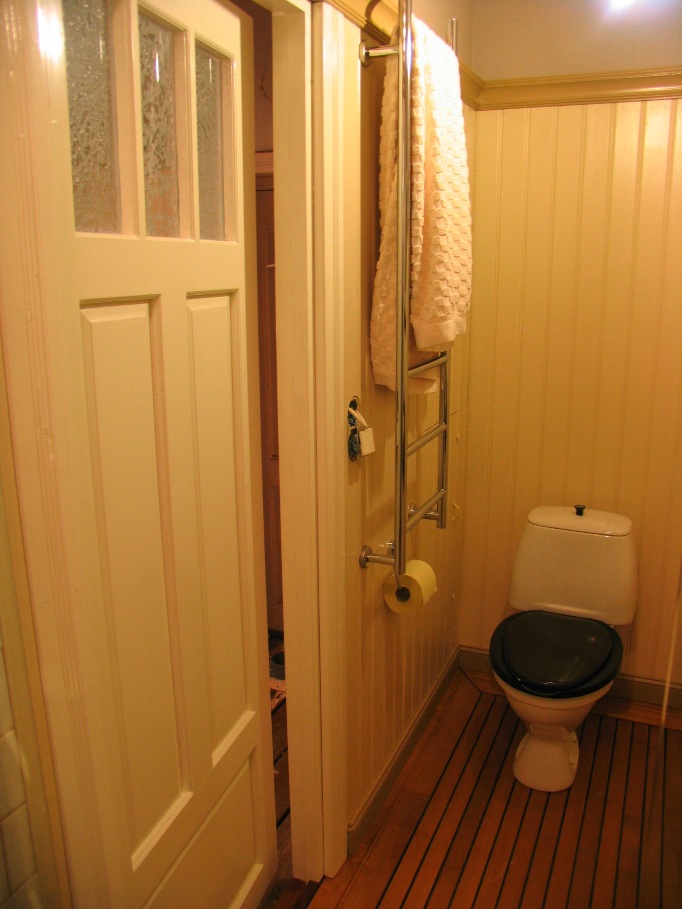
Part 3, interiors: Panelling, trim, floors, interiors. This would already be a part of the competition, whenever I get there.
Part 4, furniture. If my schedule goes completely wrong, I'll finish the cabinetry in any case for the competition.
So parts 1-2 are just for background, but as I've taken all the photos anyway I thought that someone might be interested in them as well so I'll post them anyway.
this post is about the part 1. I guess that I'll be able to post the part 2 and some new drawings by the end of this month, majority of part 3 on the intermediate submission on September and the rest (hopefully) on October.
But to the case:
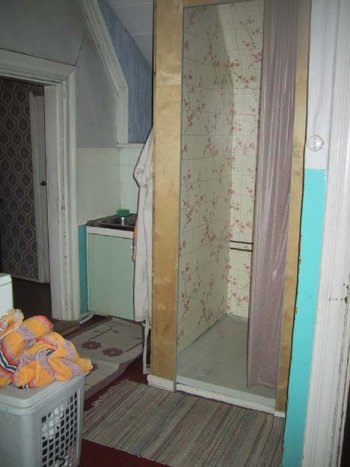
The house has been built 1919 and when we bought it it was in quite sad state. the last renovations had included building a "bathroom" in the corner of the upstairs hall. The real estate guy really had the nerve to call it "a bathroom".
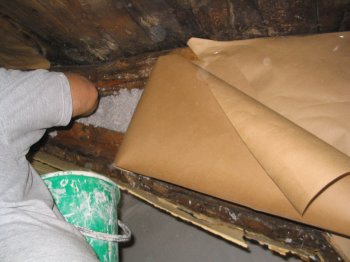
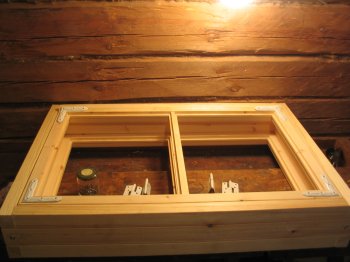
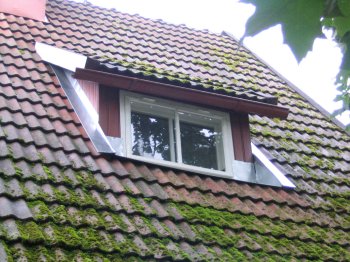
Actually the bathroom project started almost a year ago when we started restoring windows on the wall where the bathroom is being built. The roof window was not in it's prime anymore, there was absolutely no putty on the window, the panelling was rotten, and the windowsill leaked.
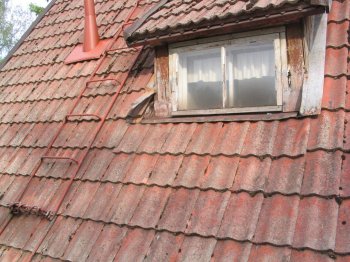
I re-insulated the walls around the window with cellulose insulation (actually recycled newspapers). the panelling was replaced and I got a friend of mine to build new windows. I had to glaze, paint and install the hardware for them. Another friend bent the sheet metal plates around the windows and I installed them.
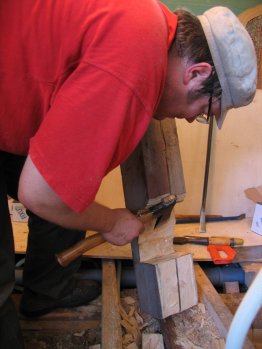
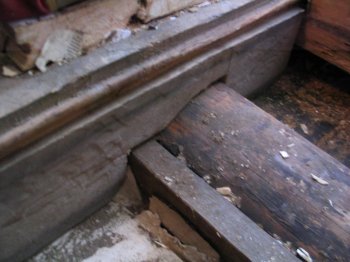
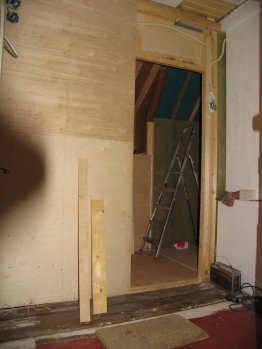
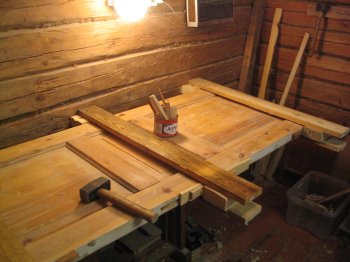
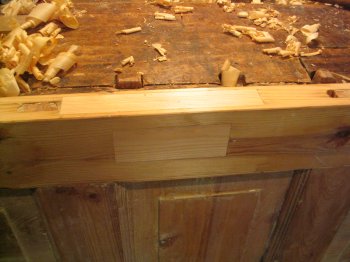
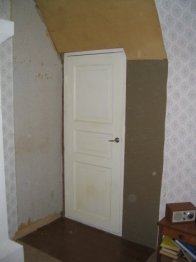
There was an old door to the attic on the bathroom corner and that had to be moved. I got an old recycled door, but it needed some work: stripping the paint, clamping it together and fixing the wood around the lock. There had be at least two different locks installed and there was nothing left to screw a new lock on.

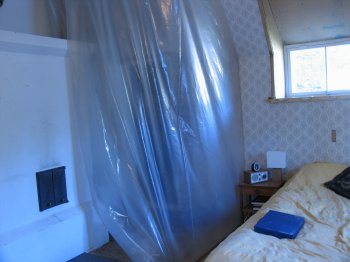
Moving the door was simple: removing an old wardrobe, some creative chainsawing and voilá, a new door installed. With a proper tent buolt around the area you can very well live in the middle of the project.
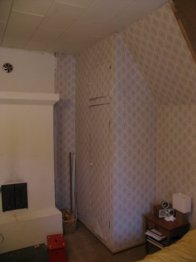
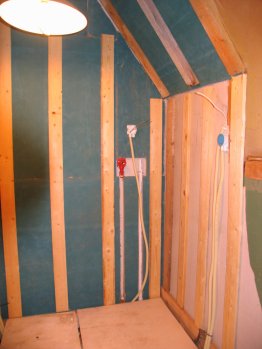
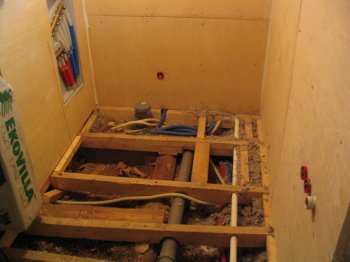
The old door was removed and patched with the same wood and insulation materials which were taken off the old door. On the last picture you see the size of the available space for the bathroom.
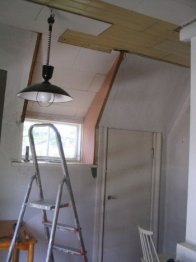

This is the starting point. I'll finish the walls within a week or two so I'll post more WIP pictures before the end of the month...
Pekka
Part 1, preparations to be done in the house. Moving doors, repairing windows and preparing the available space for the bathroom.
Part 2, framework, plumbing, electrics, walls. Nothing fancy in them either.
Part 3, interiors: Panelling, trim, floors, interiors. This would already be a part of the competition, whenever I get there.
Part 4, furniture. If my schedule goes completely wrong, I'll finish the cabinetry in any case for the competition.
So parts 1-2 are just for background, but as I've taken all the photos anyway I thought that someone might be interested in them as well so I'll post them anyway.
this post is about the part 1. I guess that I'll be able to post the part 2 and some new drawings by the end of this month, majority of part 3 on the intermediate submission on September and the rest (hopefully) on October.
But to the case:
The house has been built 1919 and when we bought it it was in quite sad state. the last renovations had included building a "bathroom" in the corner of the upstairs hall. The real estate guy really had the nerve to call it "a bathroom".
Actually the bathroom project started almost a year ago when we started restoring windows on the wall where the bathroom is being built. The roof window was not in it's prime anymore, there was absolutely no putty on the window, the panelling was rotten, and the windowsill leaked.
I re-insulated the walls around the window with cellulose insulation (actually recycled newspapers). the panelling was replaced and I got a friend of mine to build new windows. I had to glaze, paint and install the hardware for them. Another friend bent the sheet metal plates around the windows and I installed them.
There was an old door to the attic on the bathroom corner and that had to be moved. I got an old recycled door, but it needed some work: stripping the paint, clamping it together and fixing the wood around the lock. There had be at least two different locks installed and there was nothing left to screw a new lock on.
Moving the door was simple: removing an old wardrobe, some creative chainsawing and voilá, a new door installed. With a proper tent buolt around the area you can very well live in the middle of the project.
The old door was removed and patched with the same wood and insulation materials which were taken off the old door. On the last picture you see the size of the available space for the bathroom.
This is the starting point. I'll finish the walls within a week or two so I'll post more WIP pictures before the end of the month...
Pekka
")