MarkDennehy
Established Member
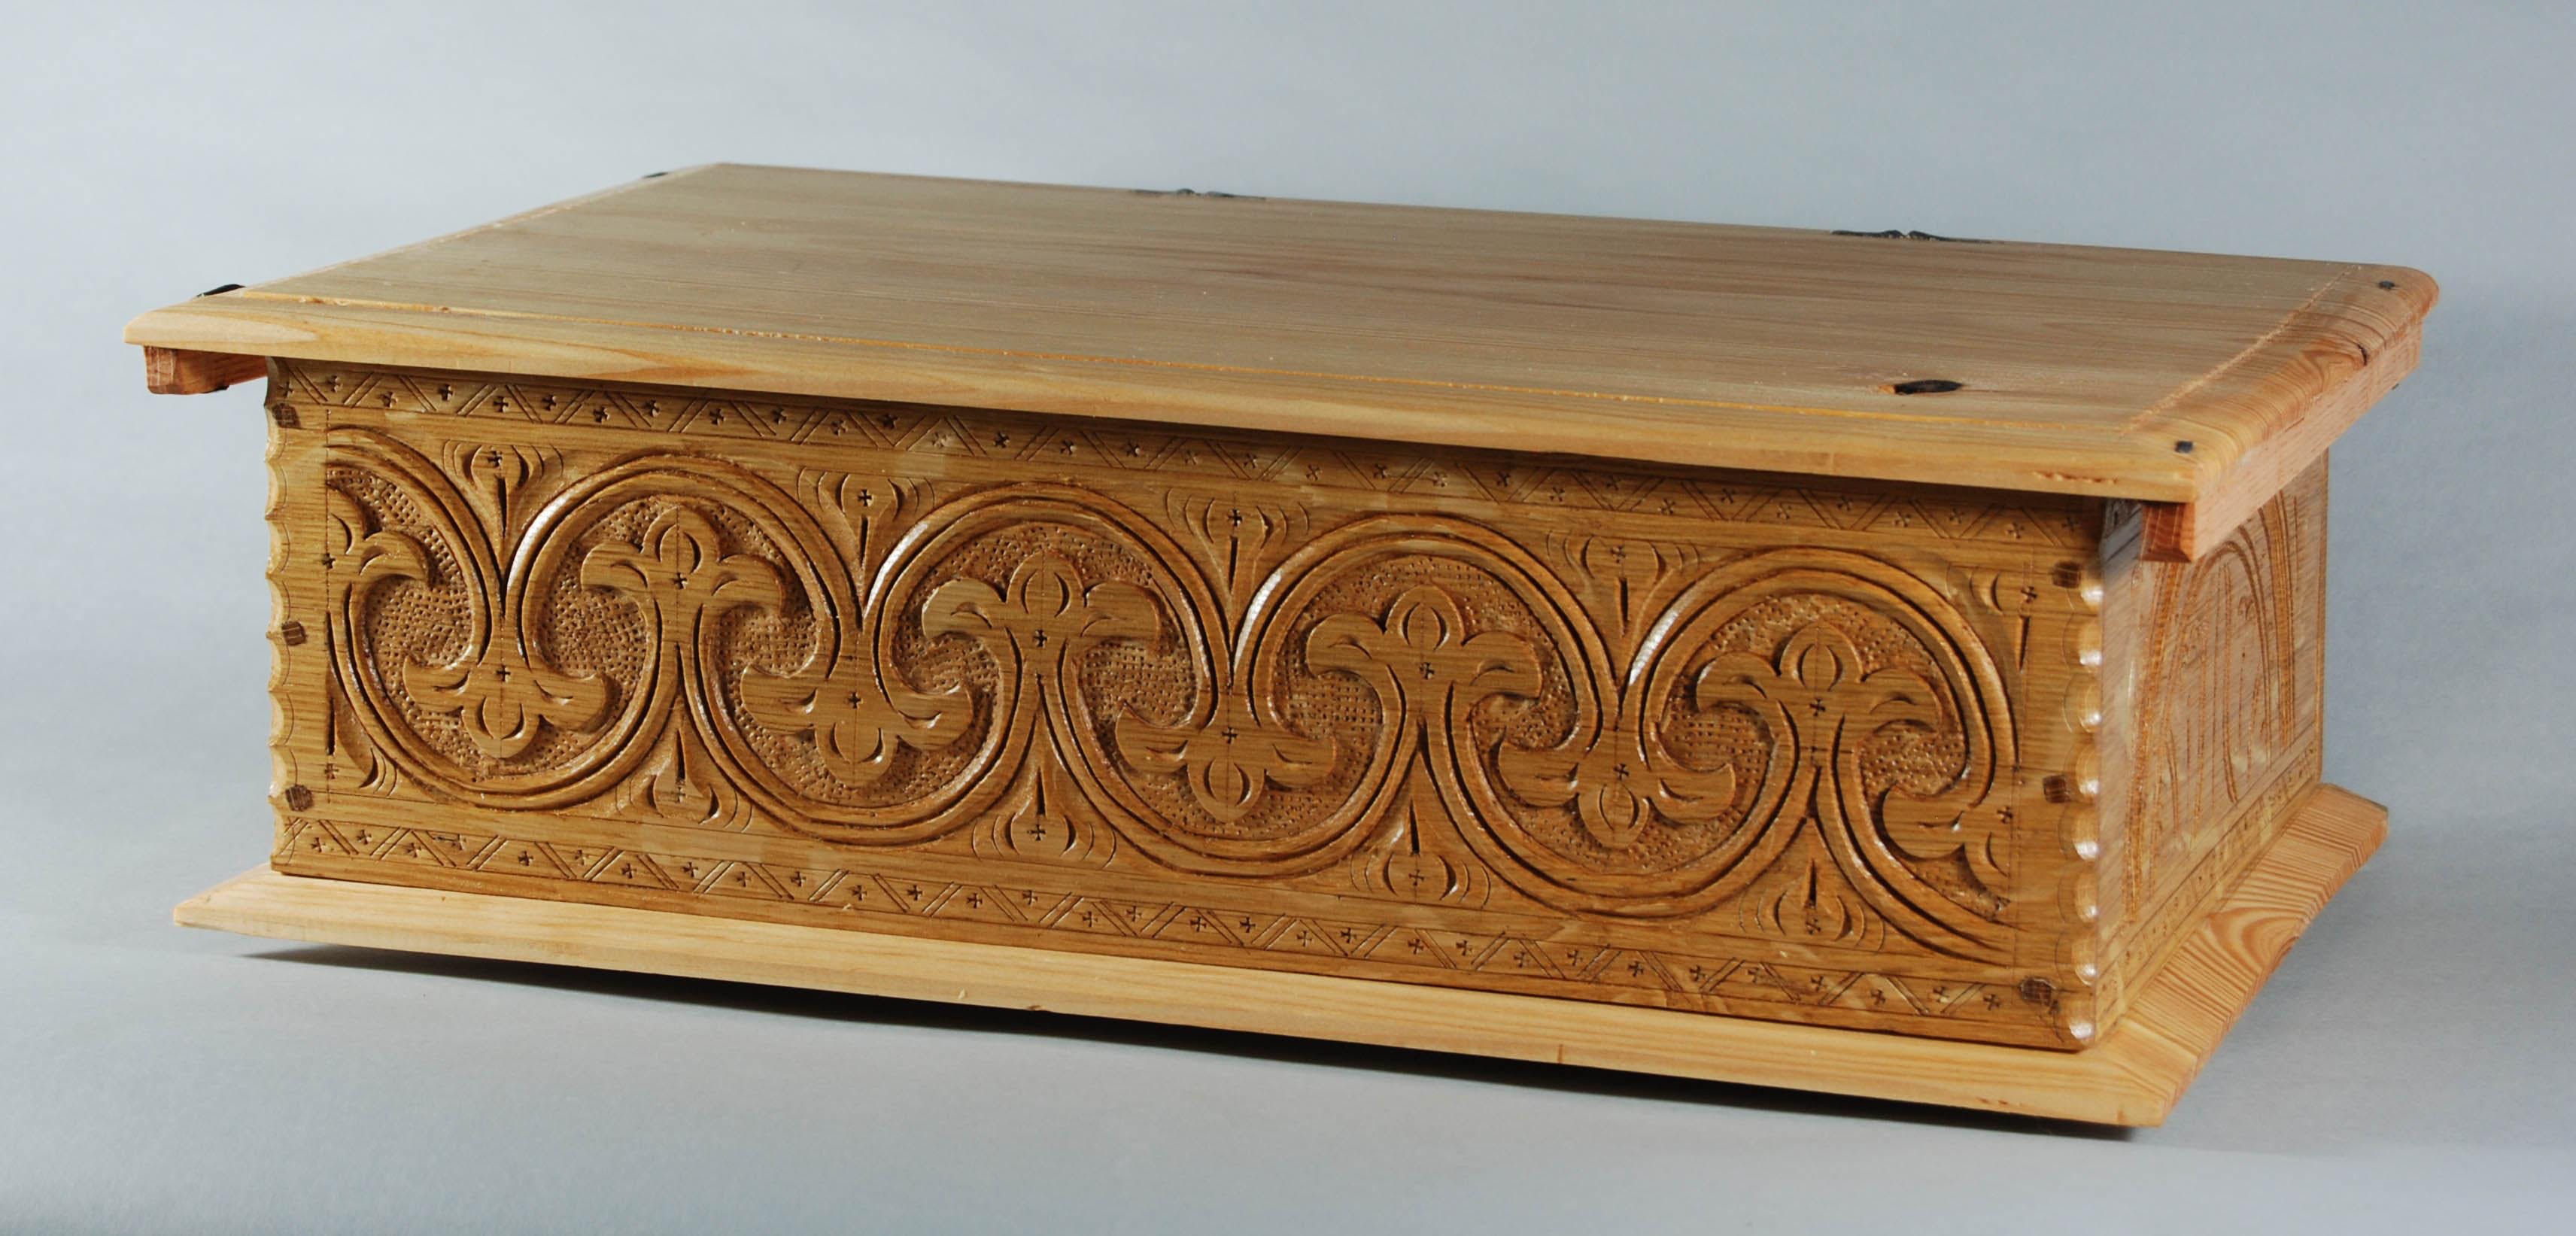
Took a somewhat protracted break from the desk unit I'm building for Calum to build a carved oak box for baby blankets (not for a new addition to my family, but for a friend).
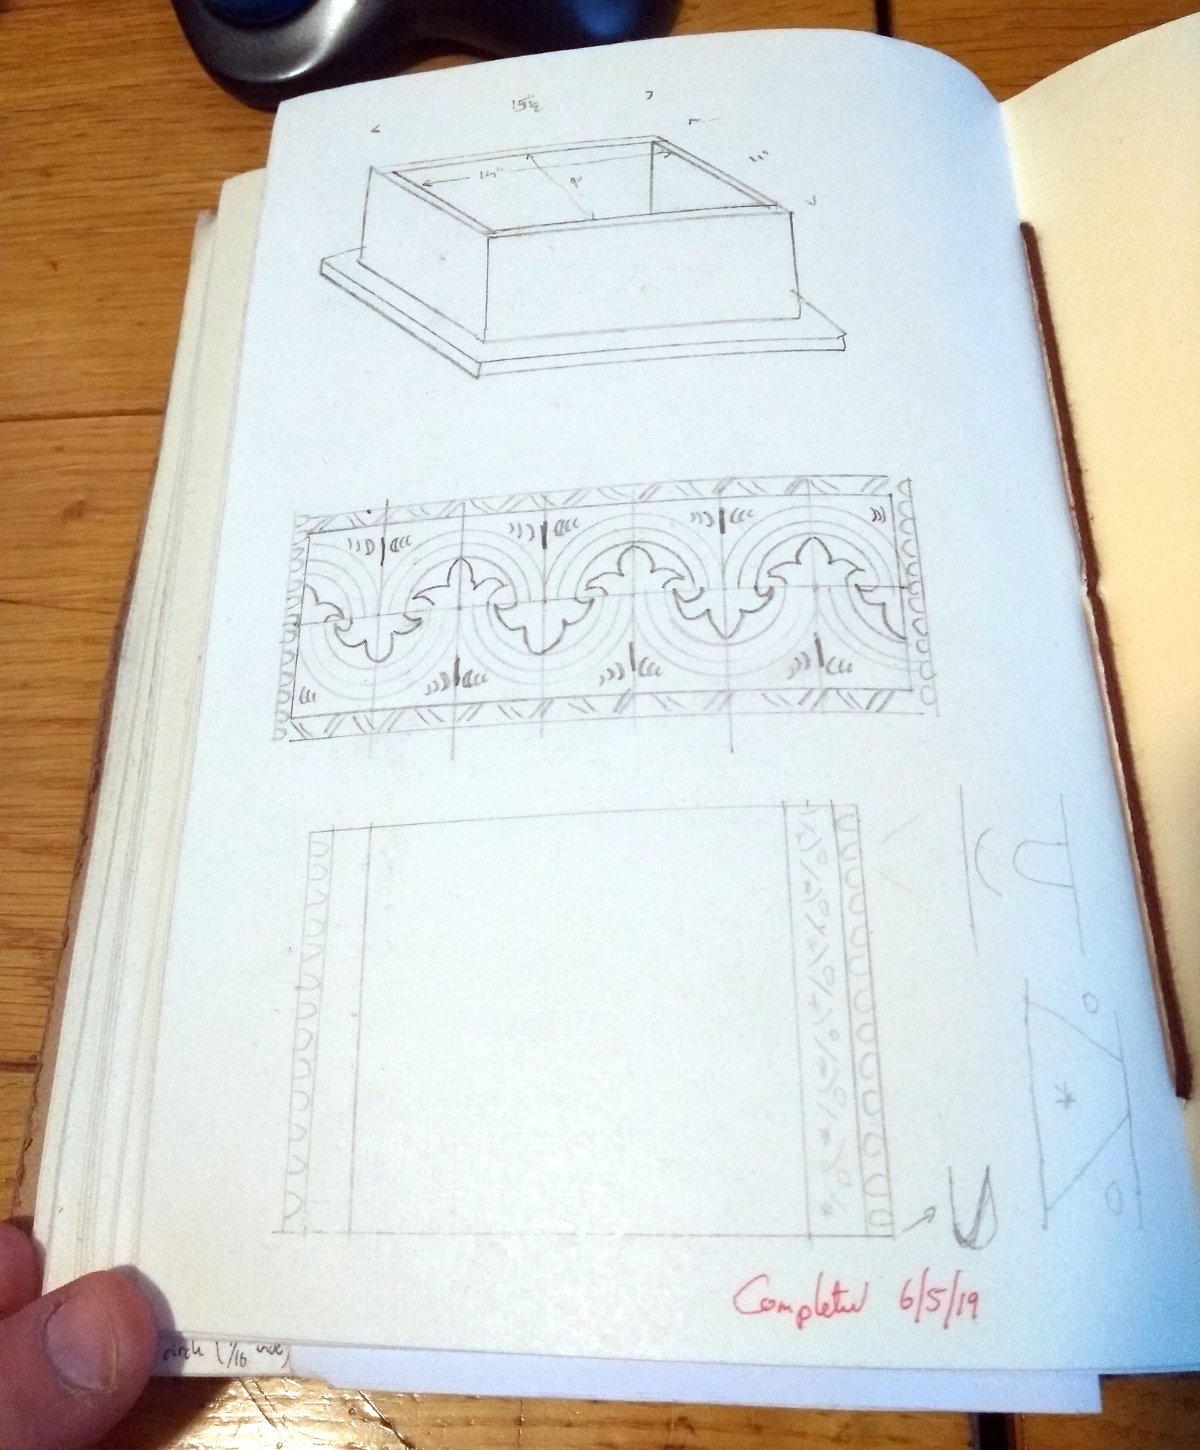
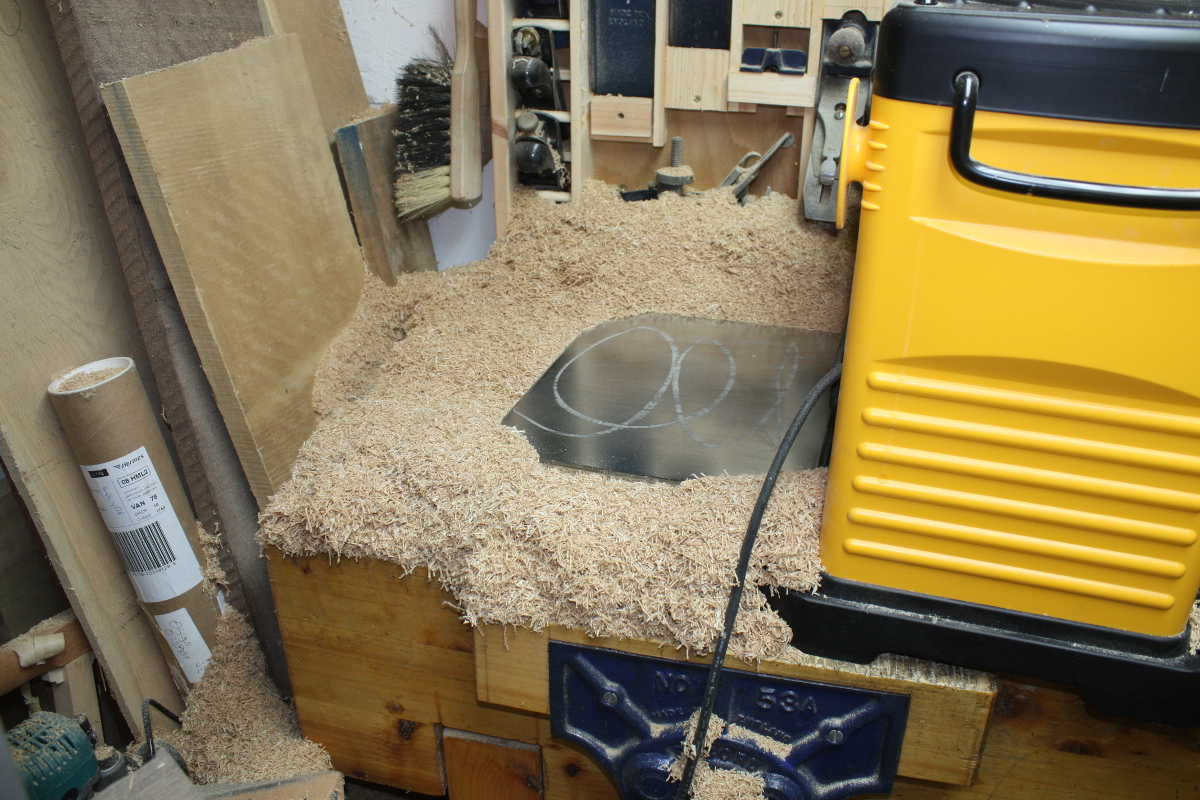
Raw material was in storage for long enough to get buried:
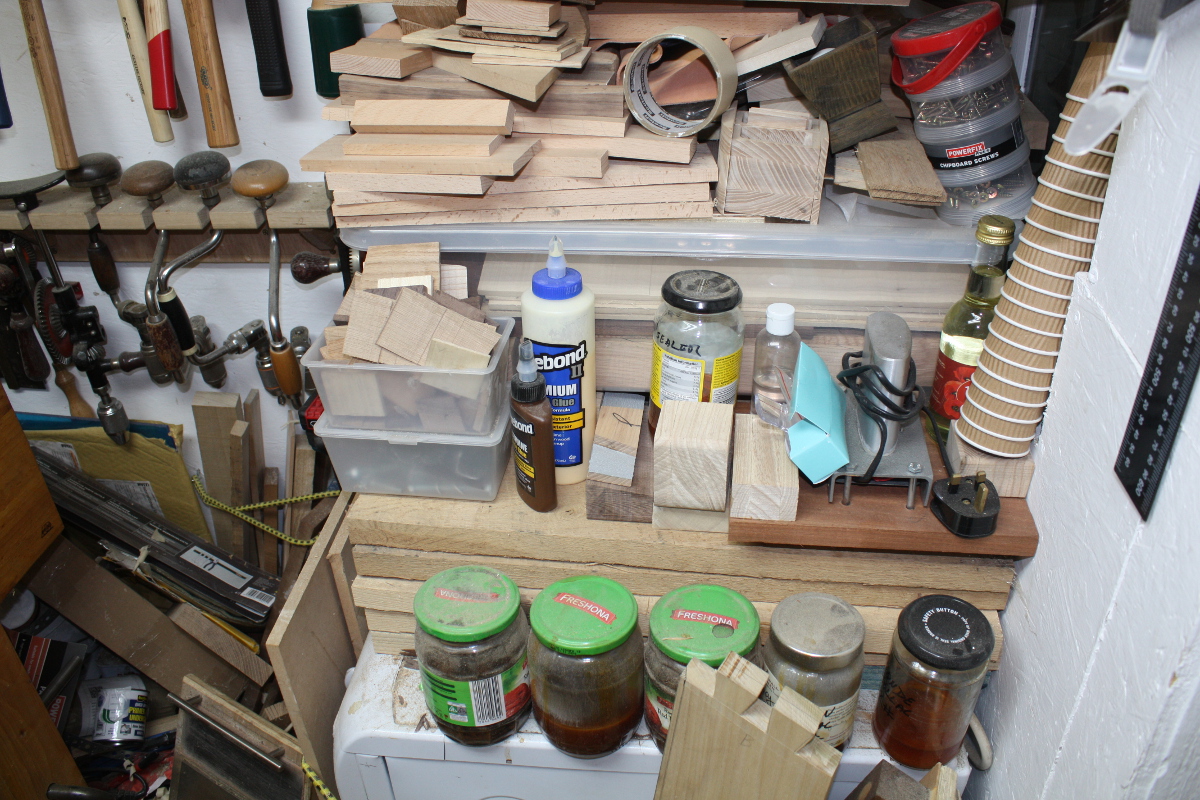
Extracted after much effort:
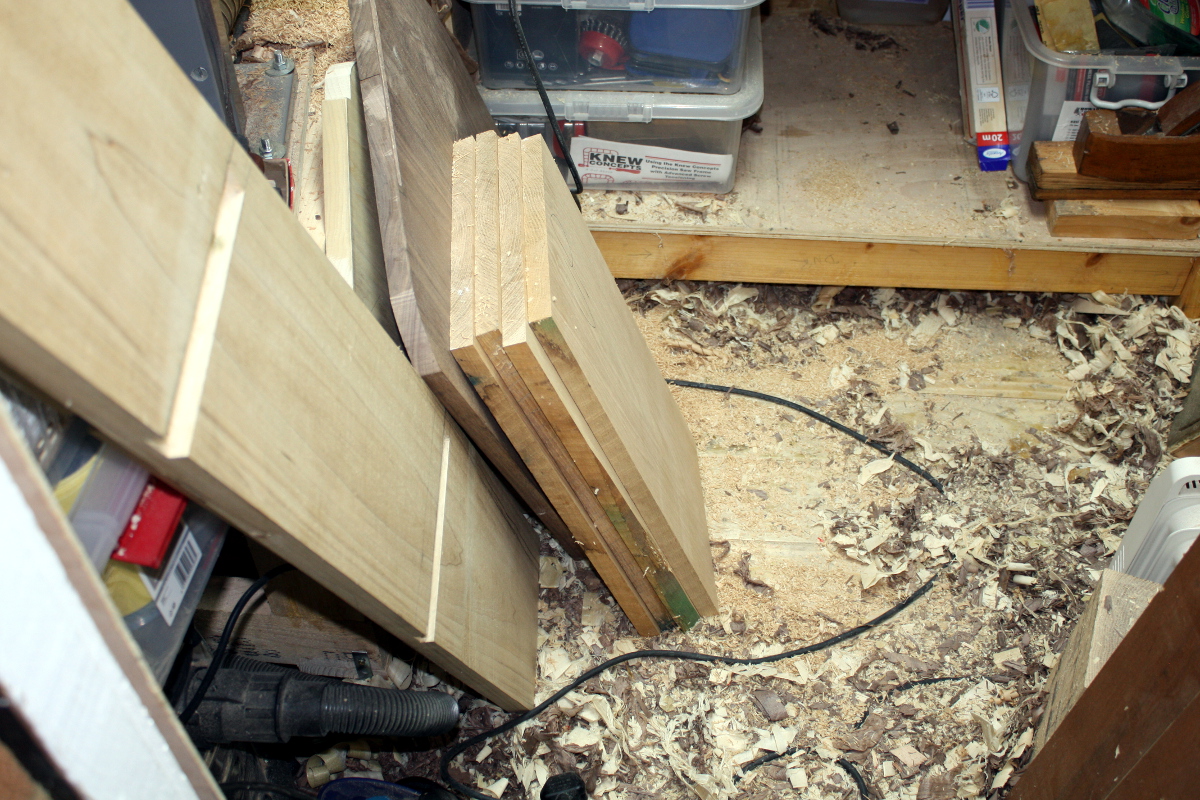
Cheated wholesale by flattening with a #05 and then using the thicknesser to, er, thickness the boards down to 19mm:
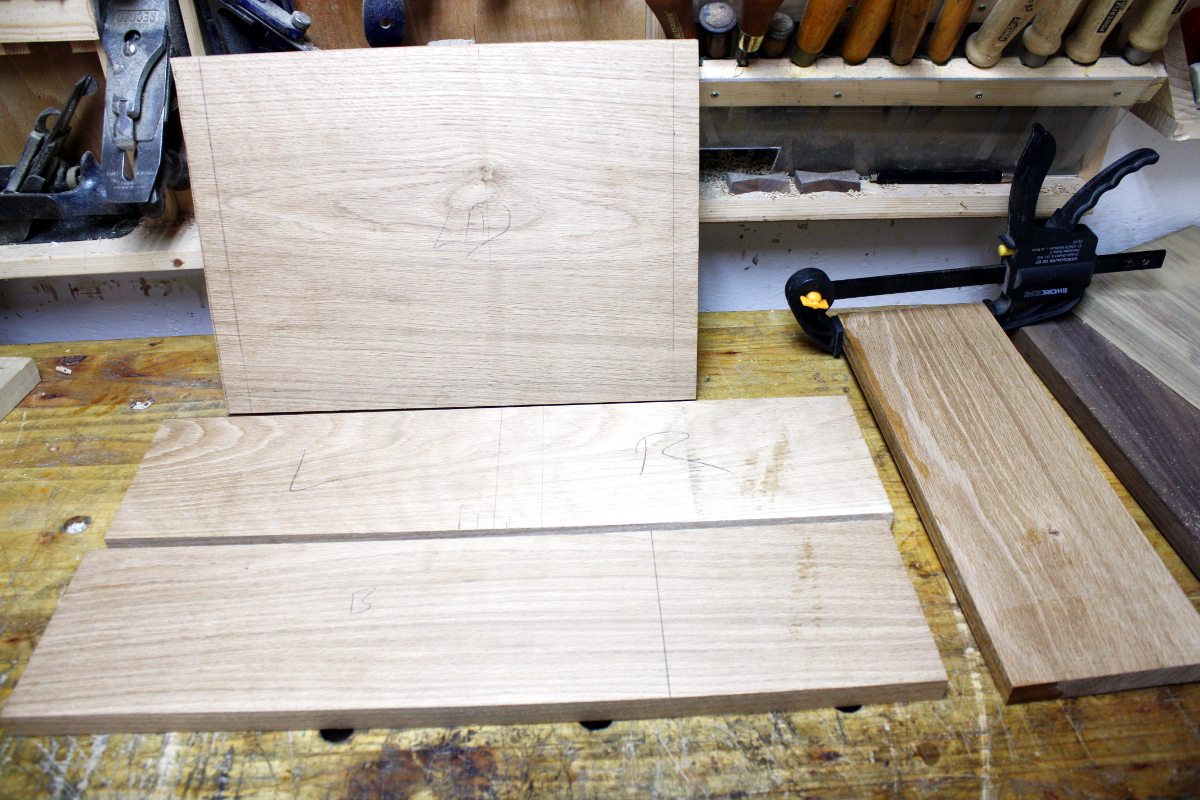
Marked out the design on the sides and started in with the V-tool:
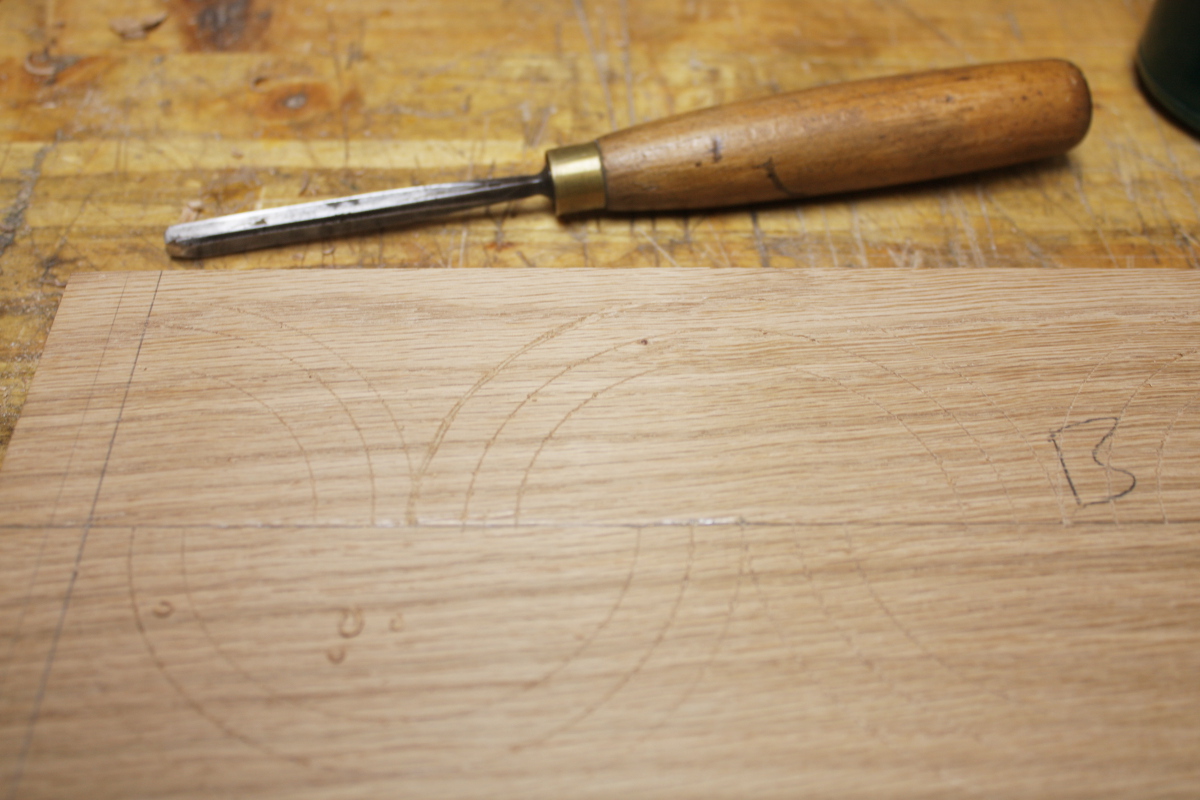
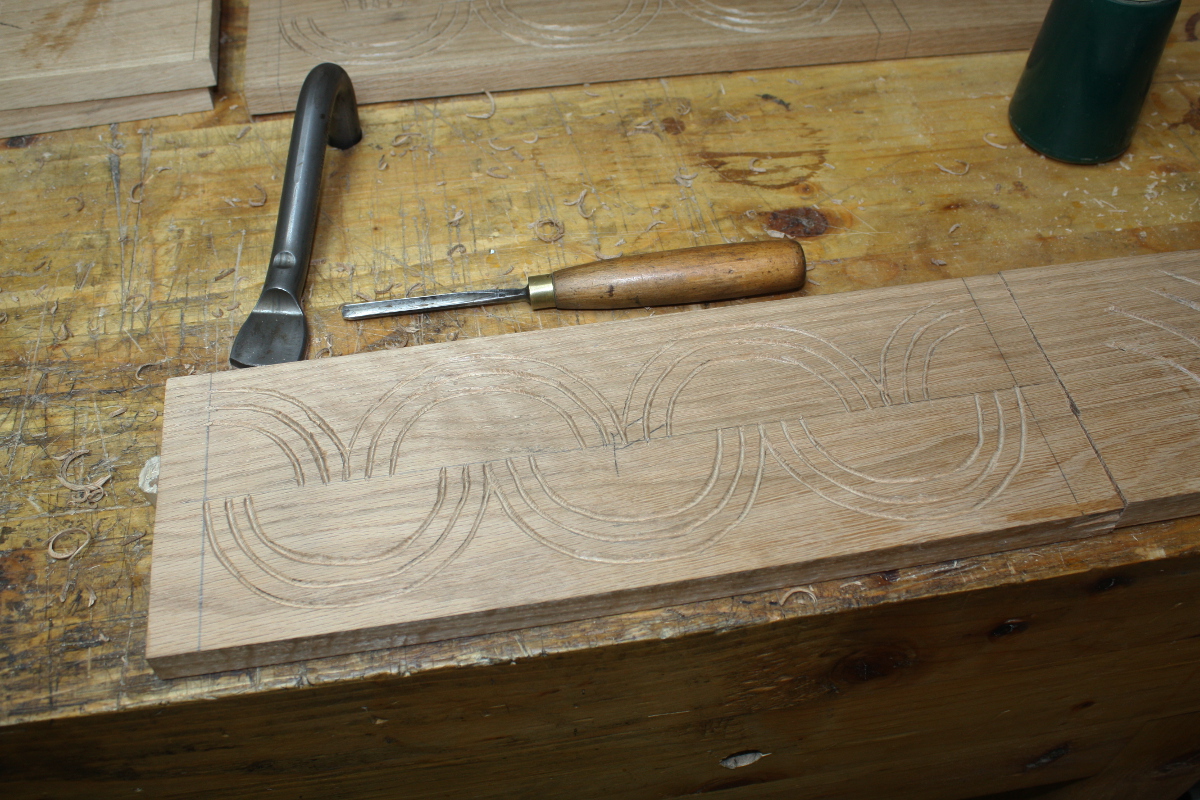
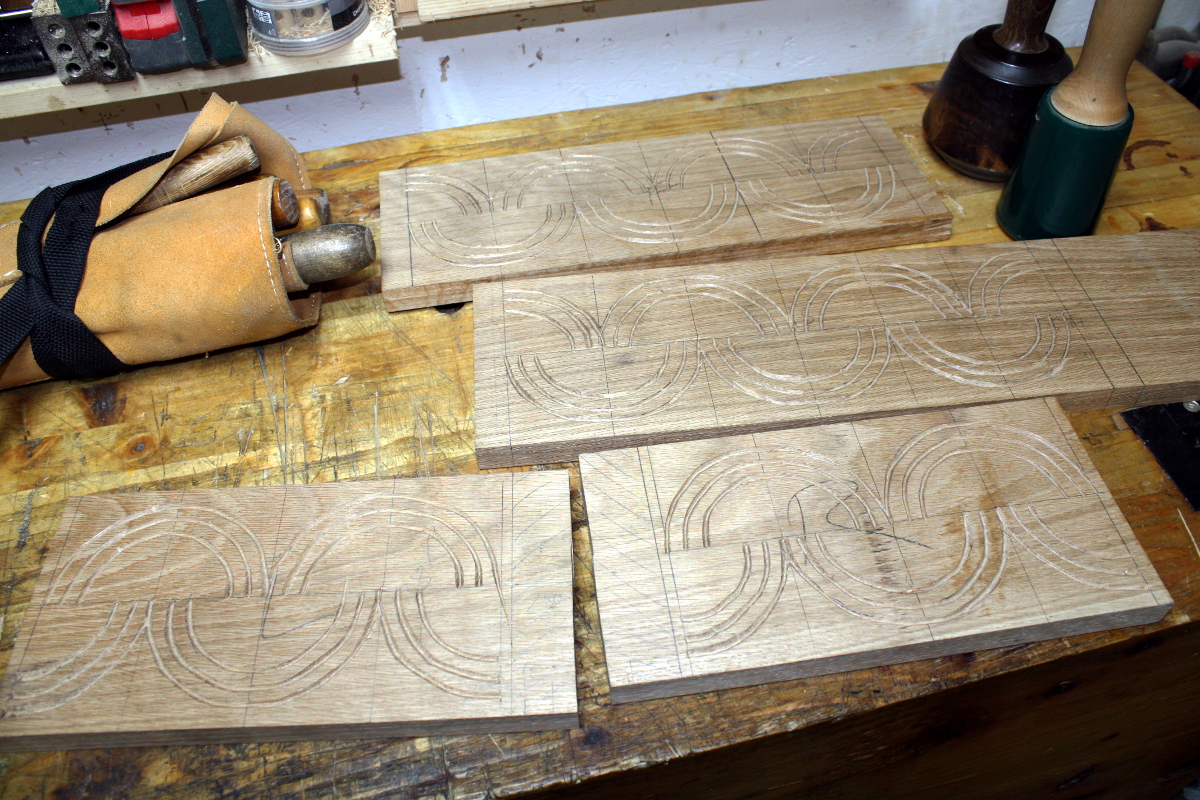
I think it's fair to say my skill with a v-tool is not really noteworthy, but on now to the gougework.
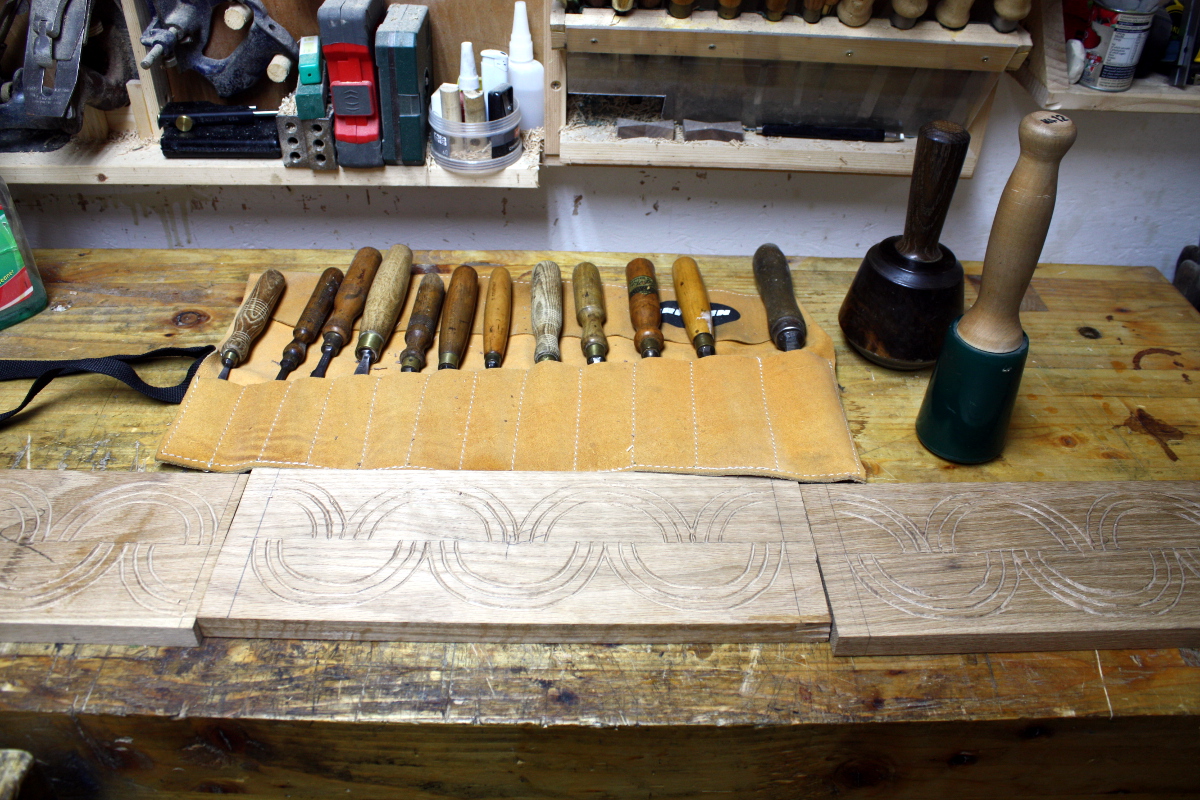
Chopping first:
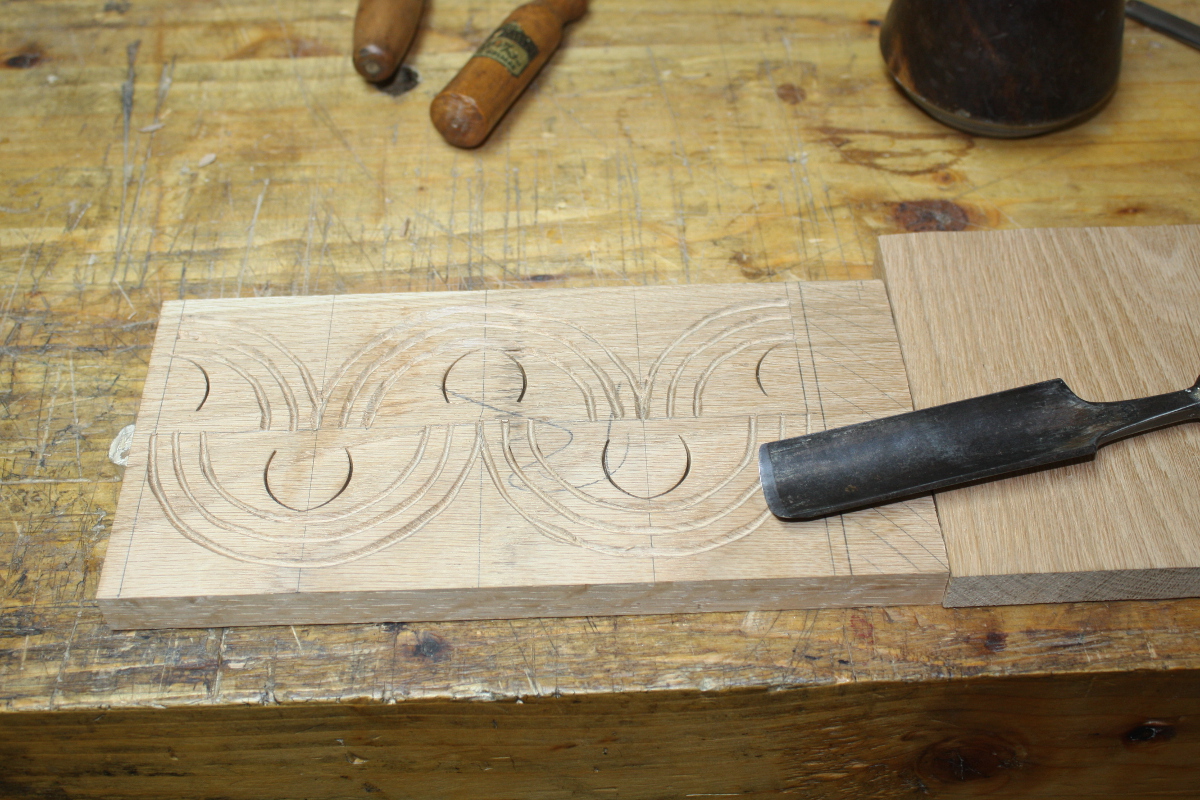
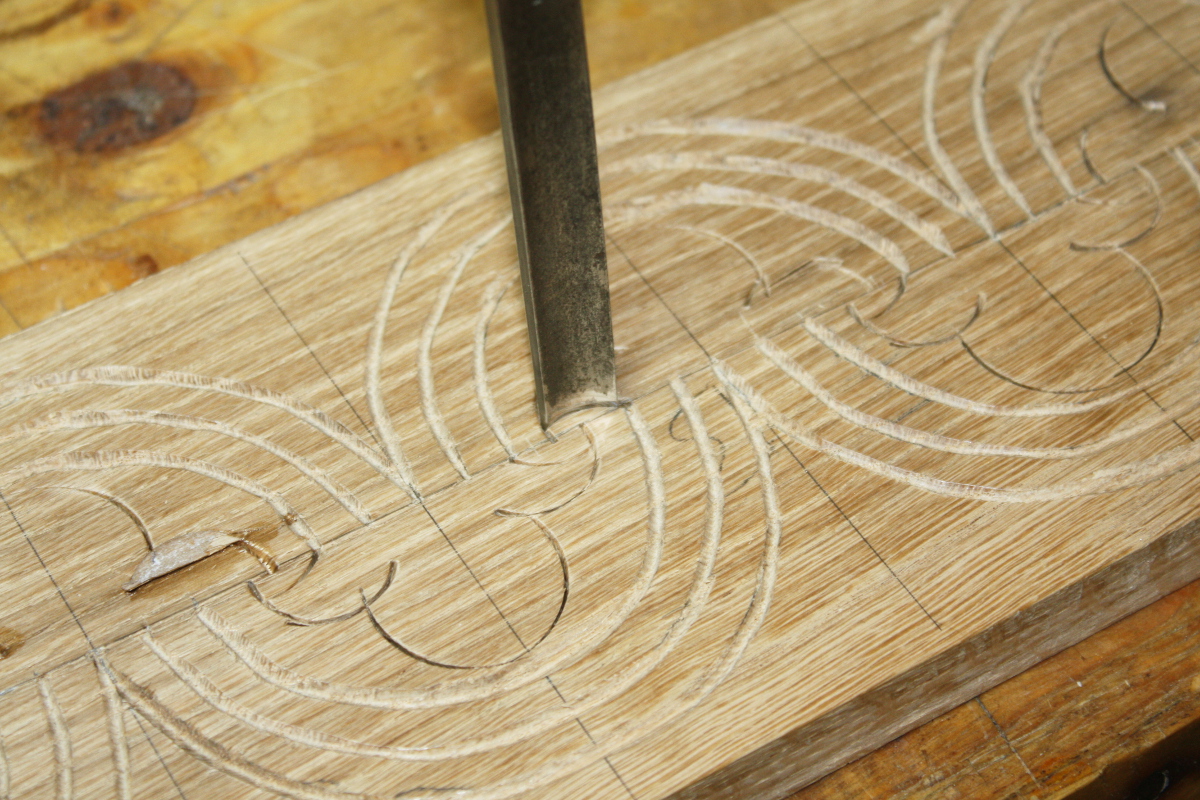
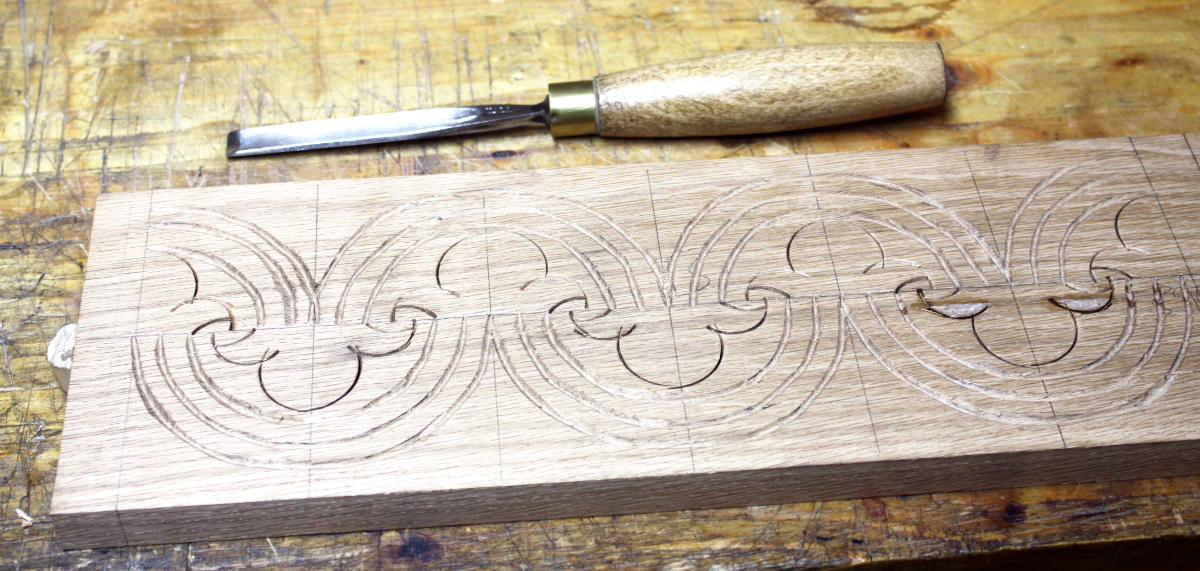
Kiln-dried flat-sawn oak chips like a cracker if you're as cack-handed as I am or if your tools aren't sharp. The grinder and the CA glue both had starring roles in this project. Next up was removing the background:
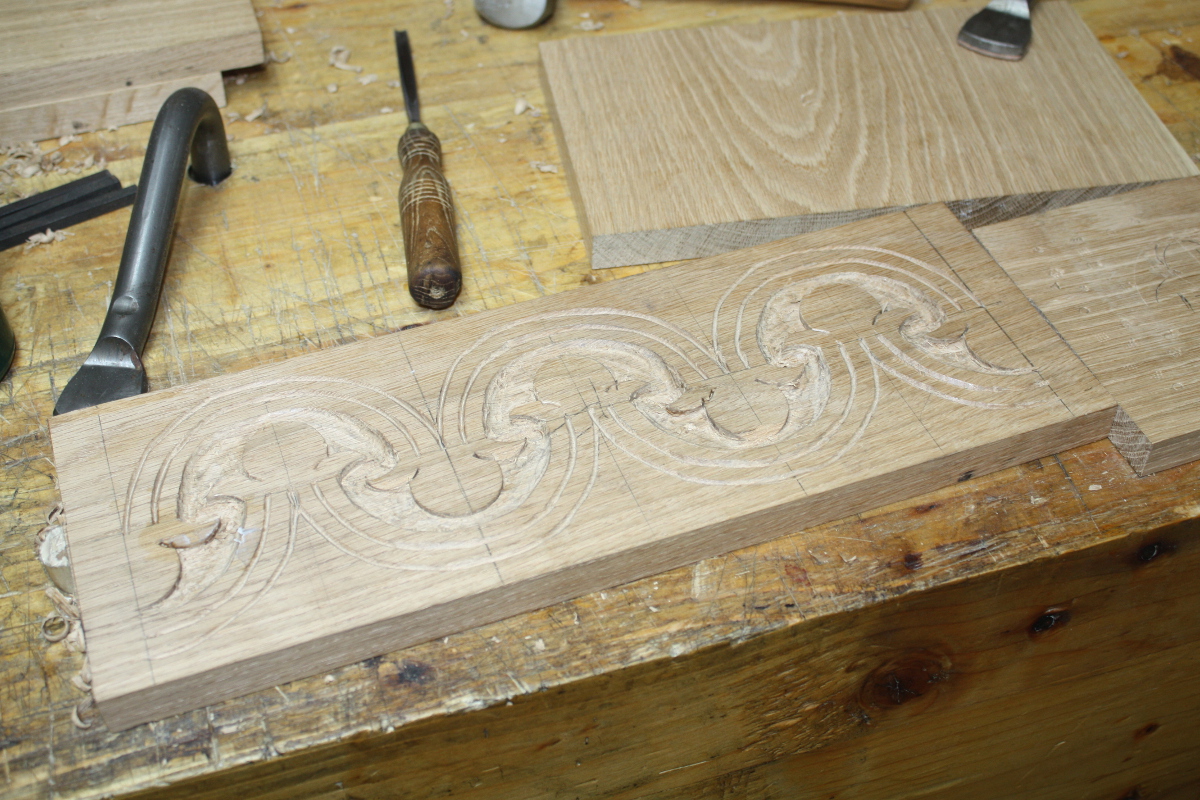
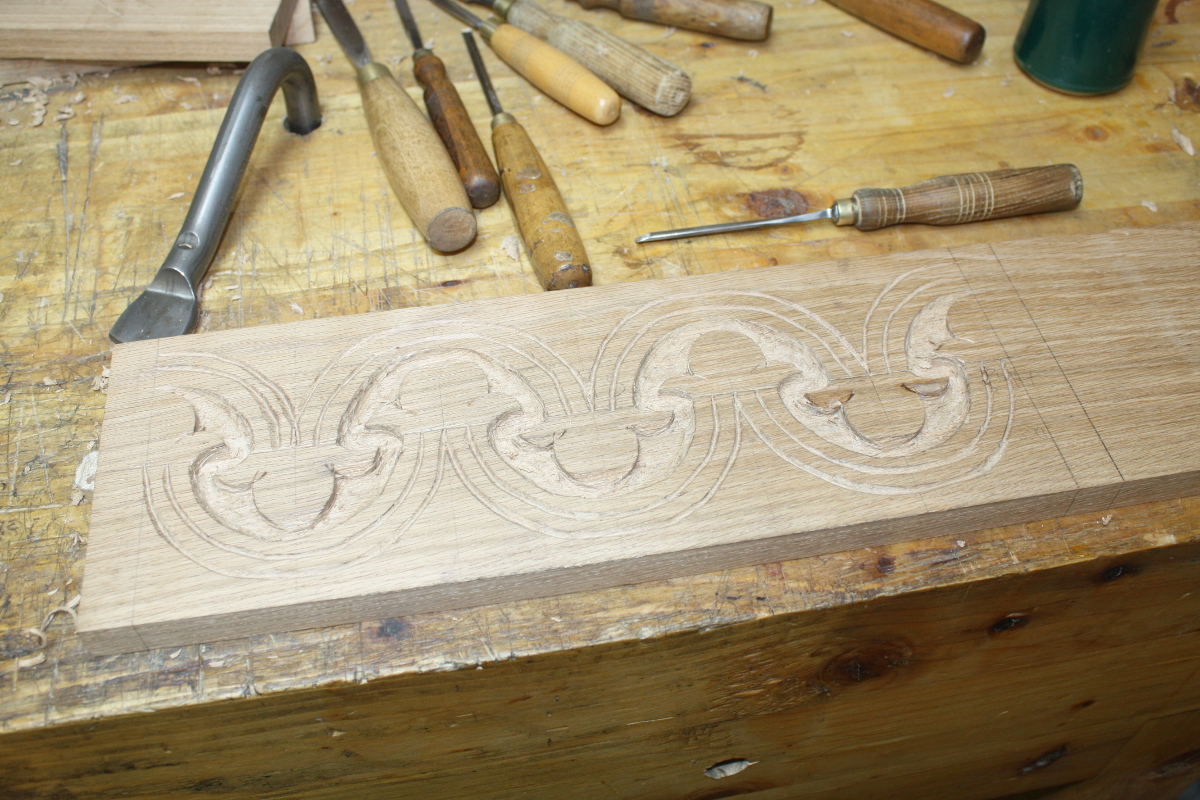
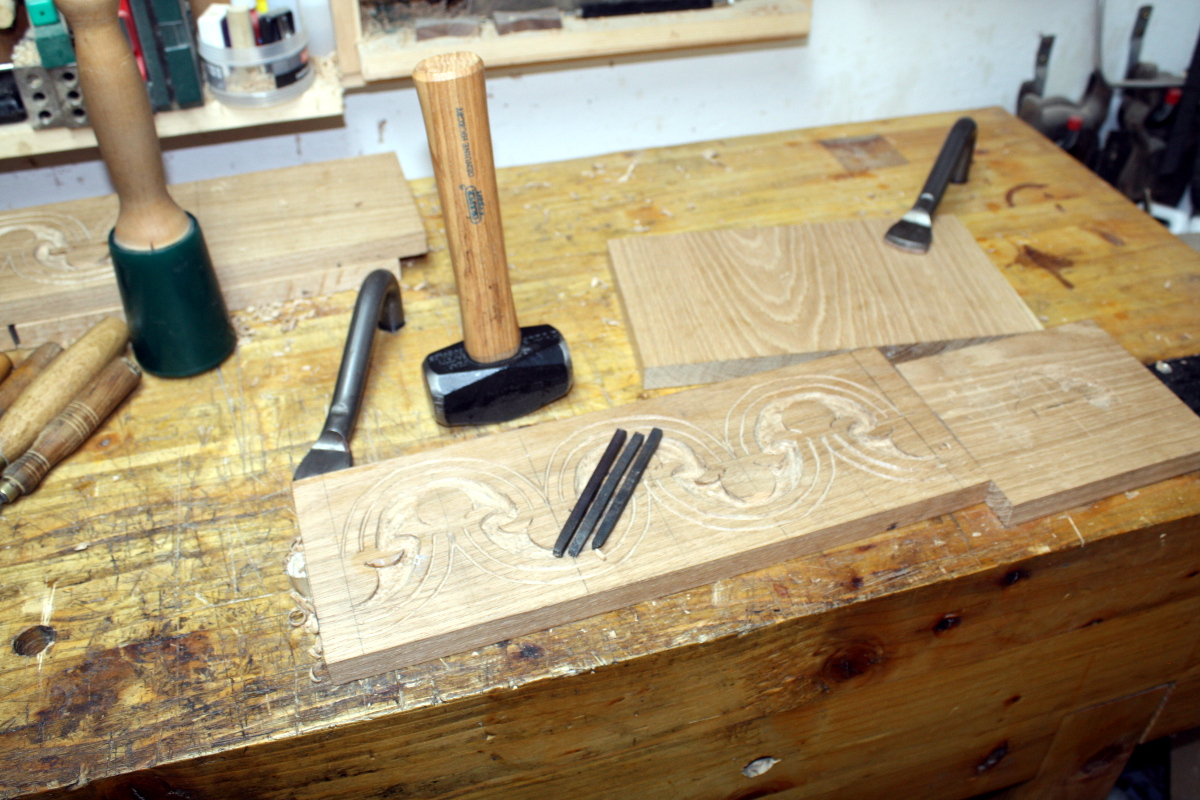
And then using a freshly-filed stippling punch to stipple the background.
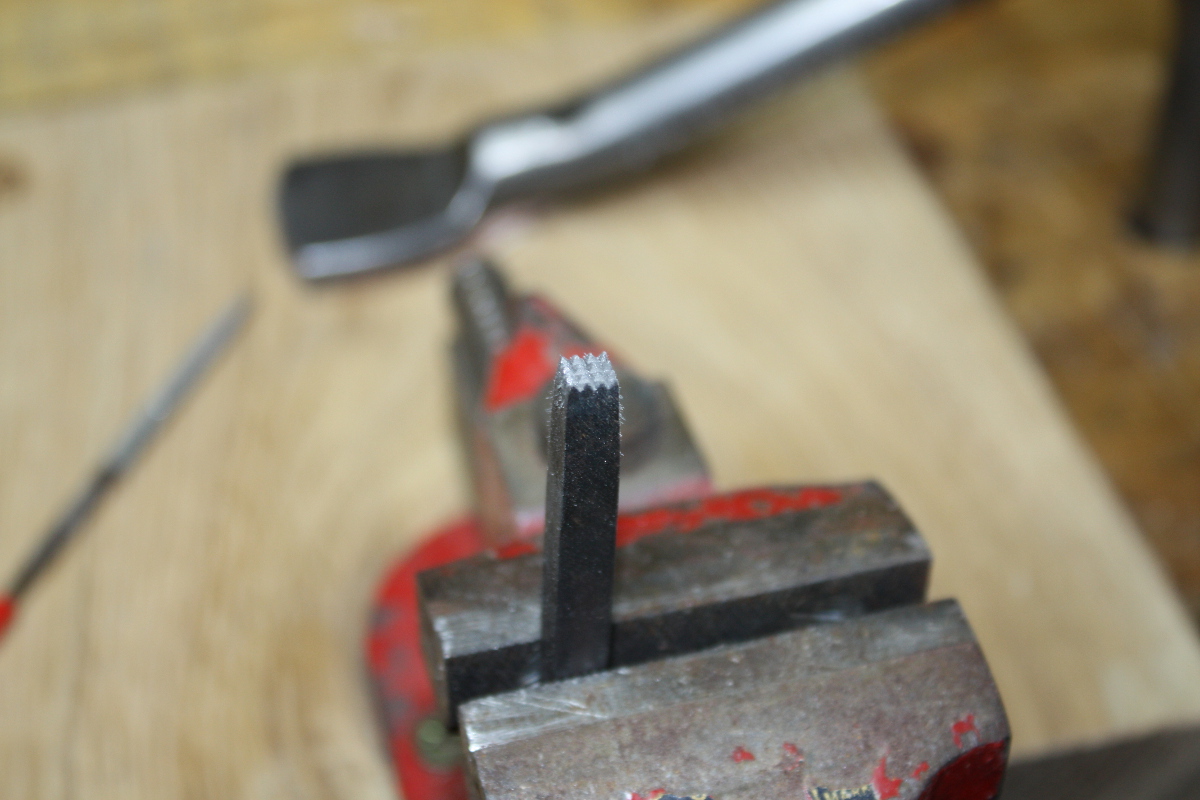
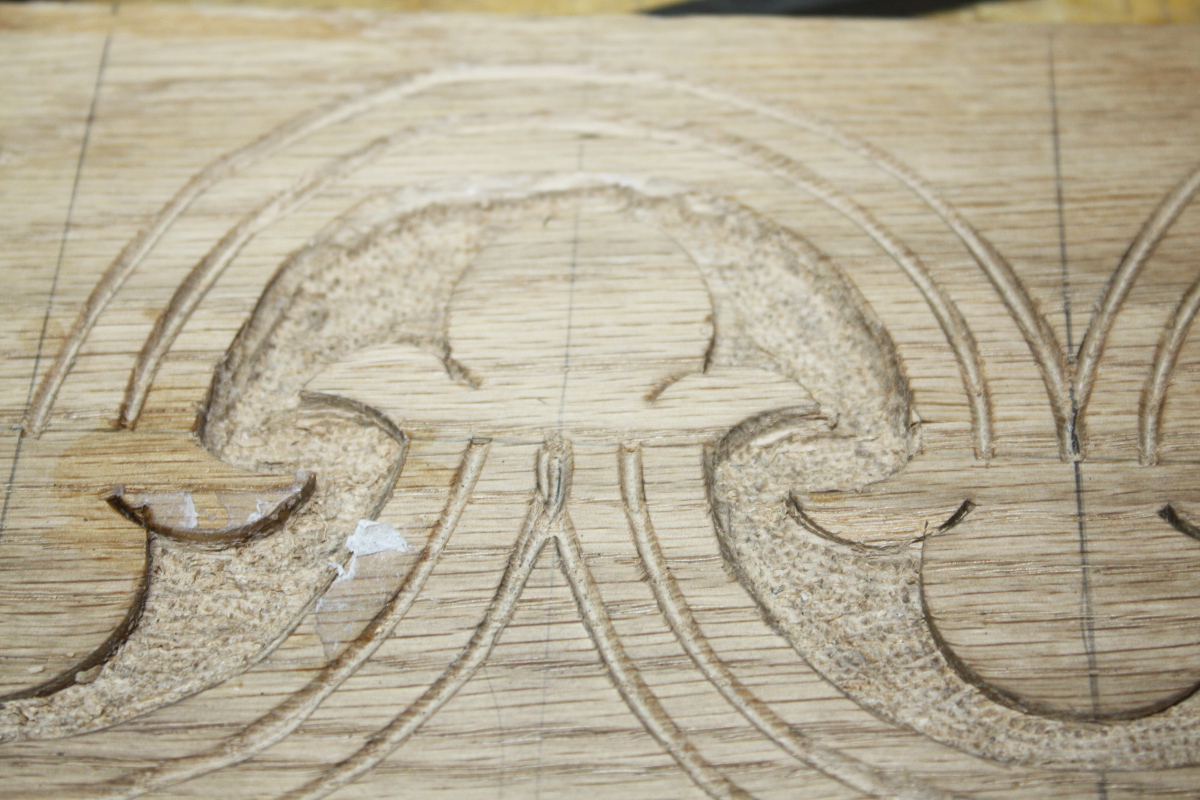
A quick swipe with a BLO-soaked rag brings up the detail for a quick check:
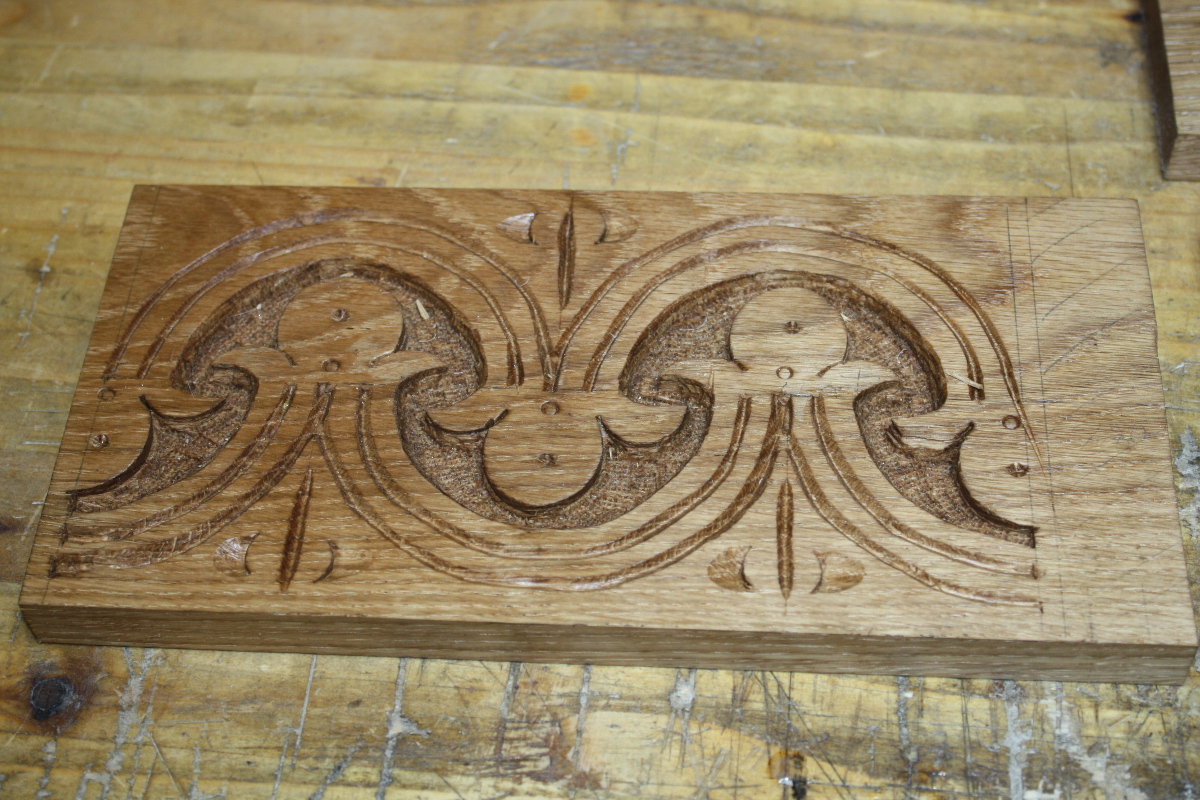

Then the very basic joinery - butt joints aligned with a simple shallow rabbit is the norm for this kind of box, so I sawed the shoulder and split the cheeks off by chisel. Very much squeaky bum time. How Peter Follansbee has the nerve to do this with a hatchet to his panels is beyond me.
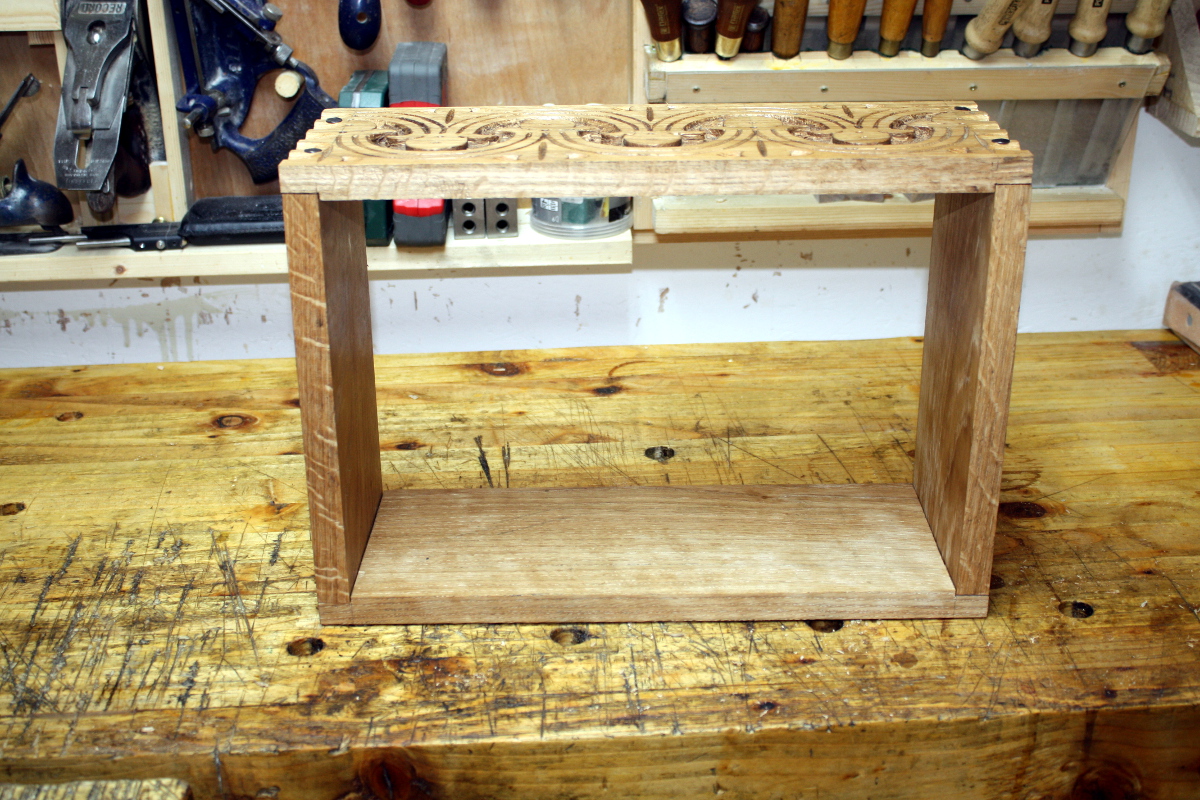
And nailed together with cut nails, again as per the norm for the period (though these aren't hand-forged by a blacksmith, so losing points there).
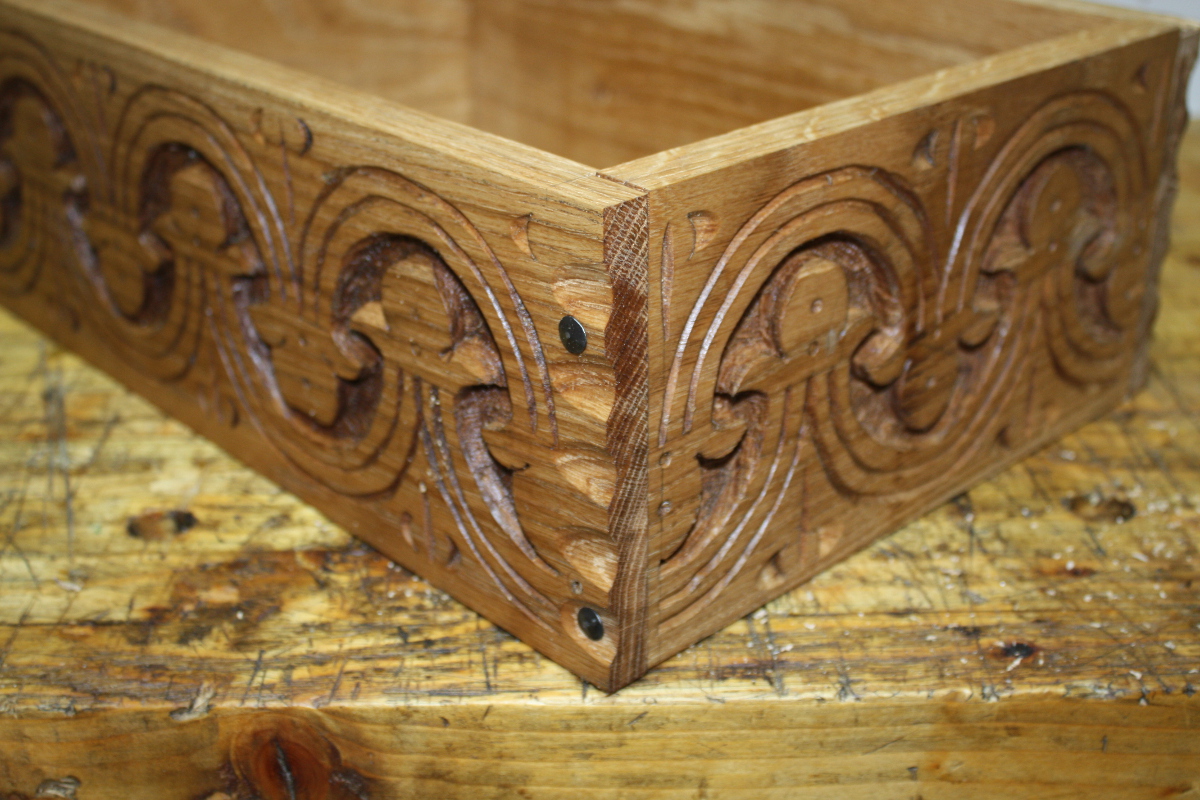
And while I got the pattern to flow, I managed to place the nails badly on the first try and they wanted to punch through into the background of the carving so I had to relocate them.
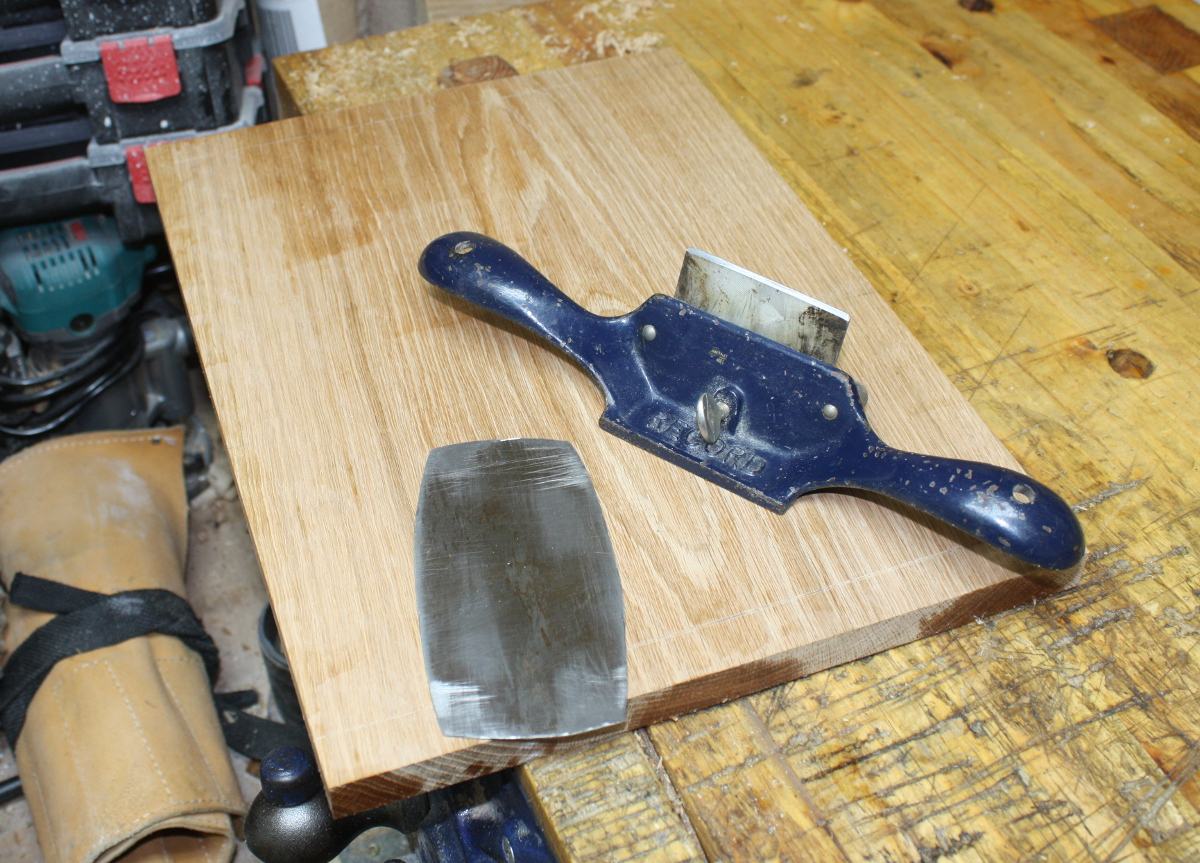
Next, the lid. Had to get it out of a mm or so of twist and clean the surface a little.
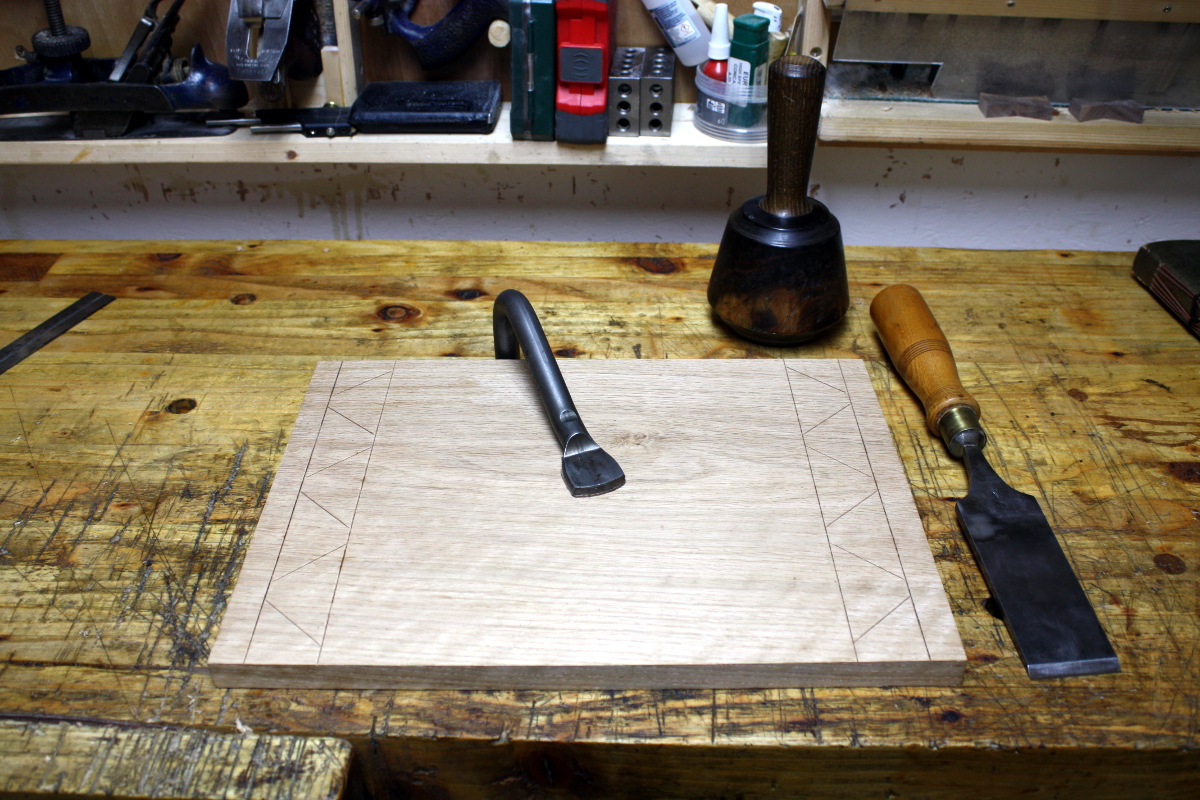
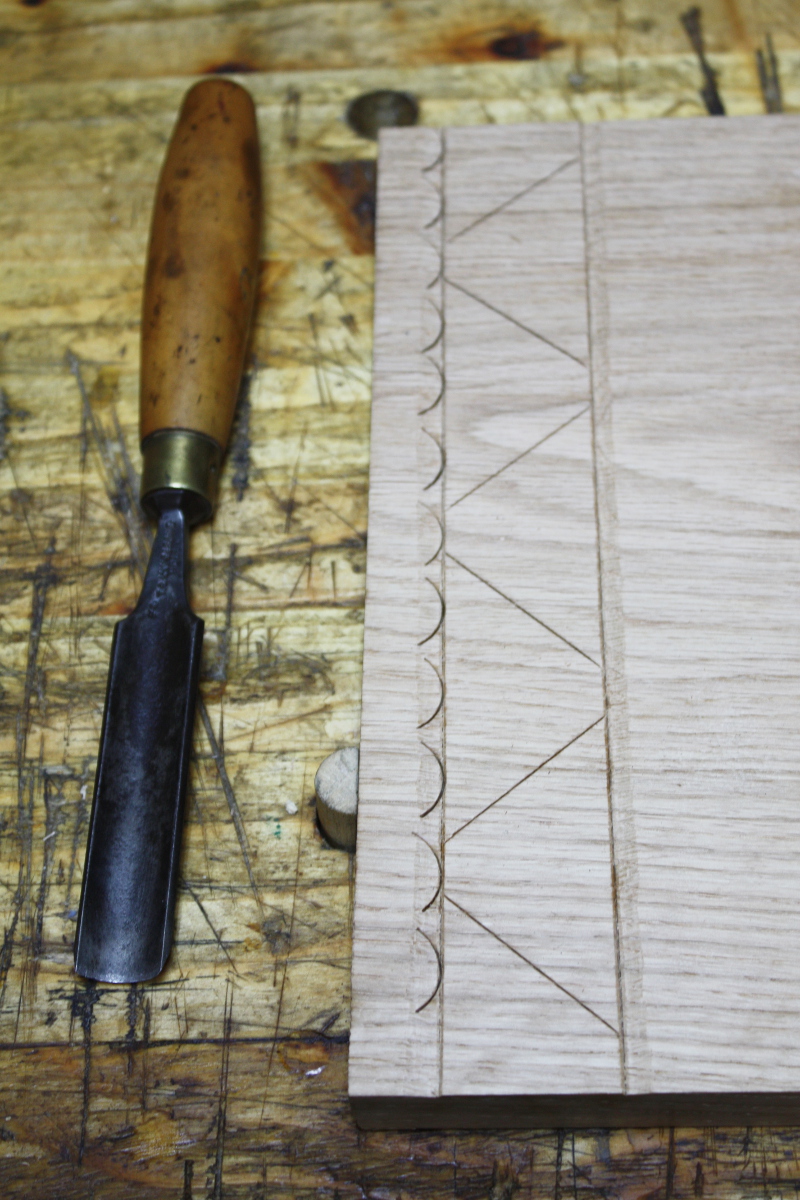
Then a much simpler pattern on the lid, mainly on the edges to make the end grain look less raw.
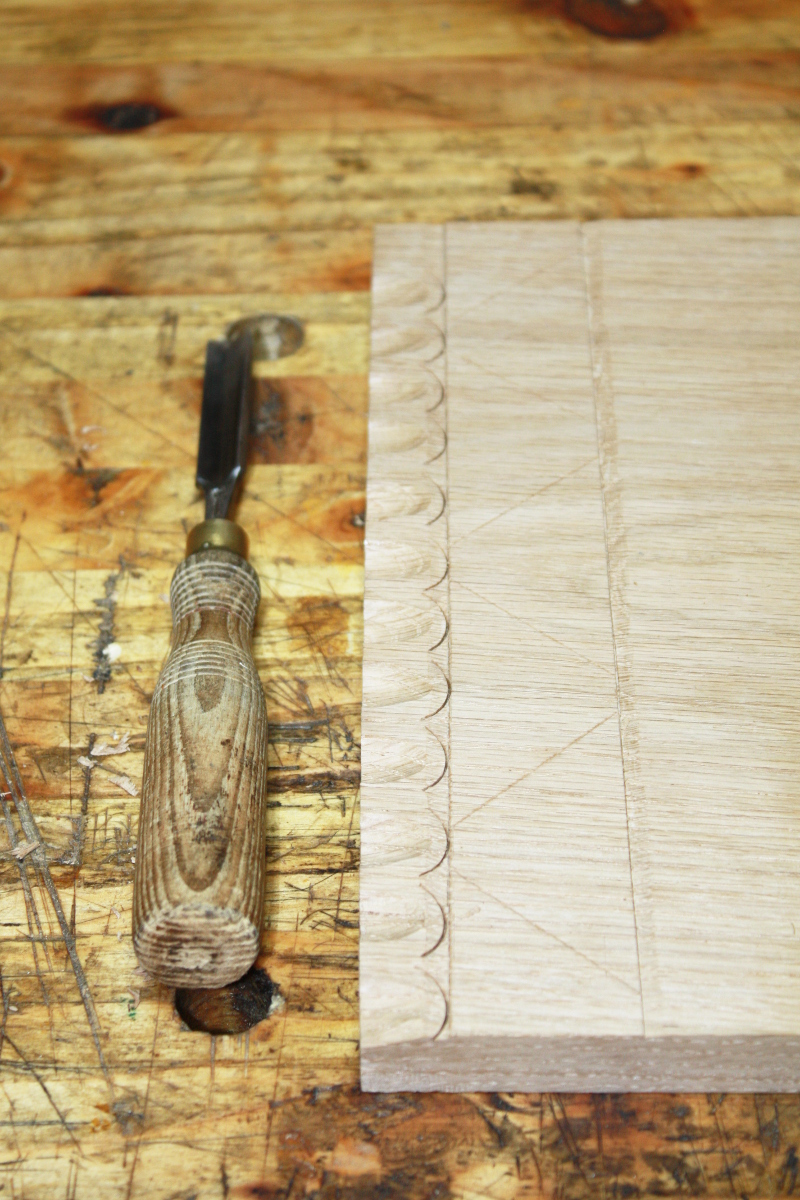
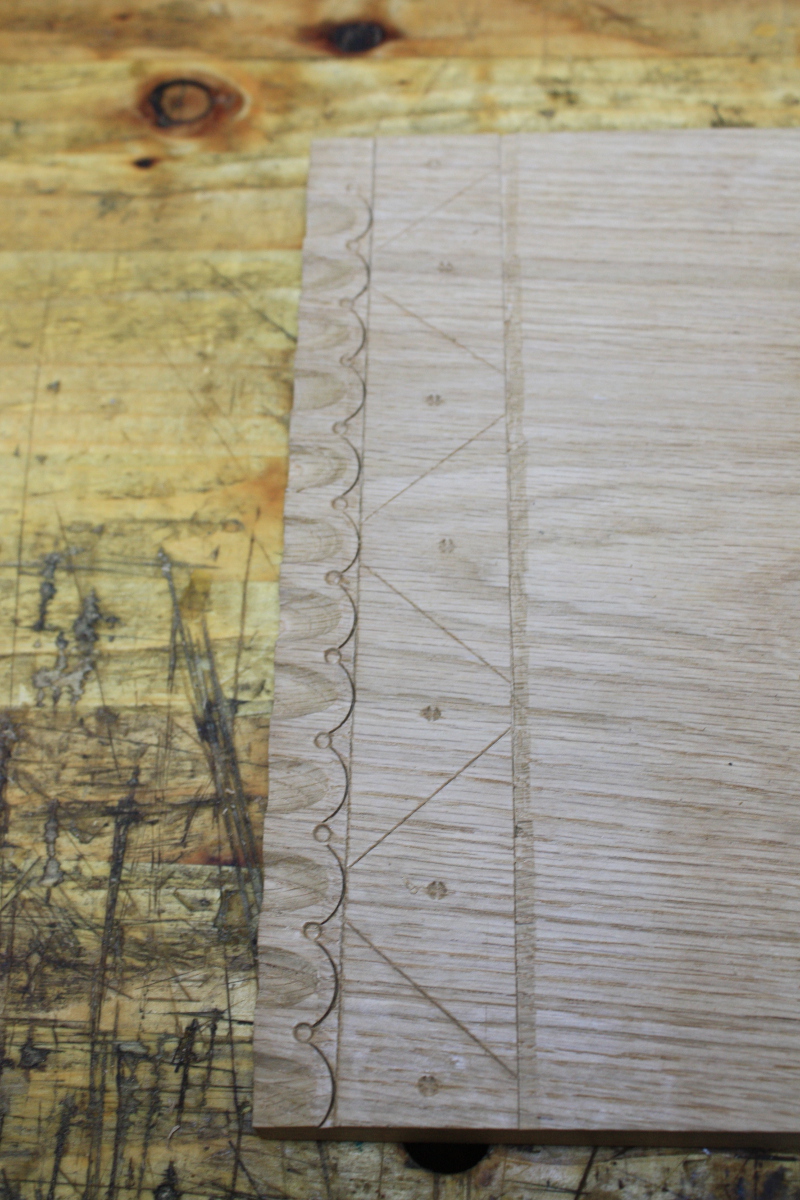
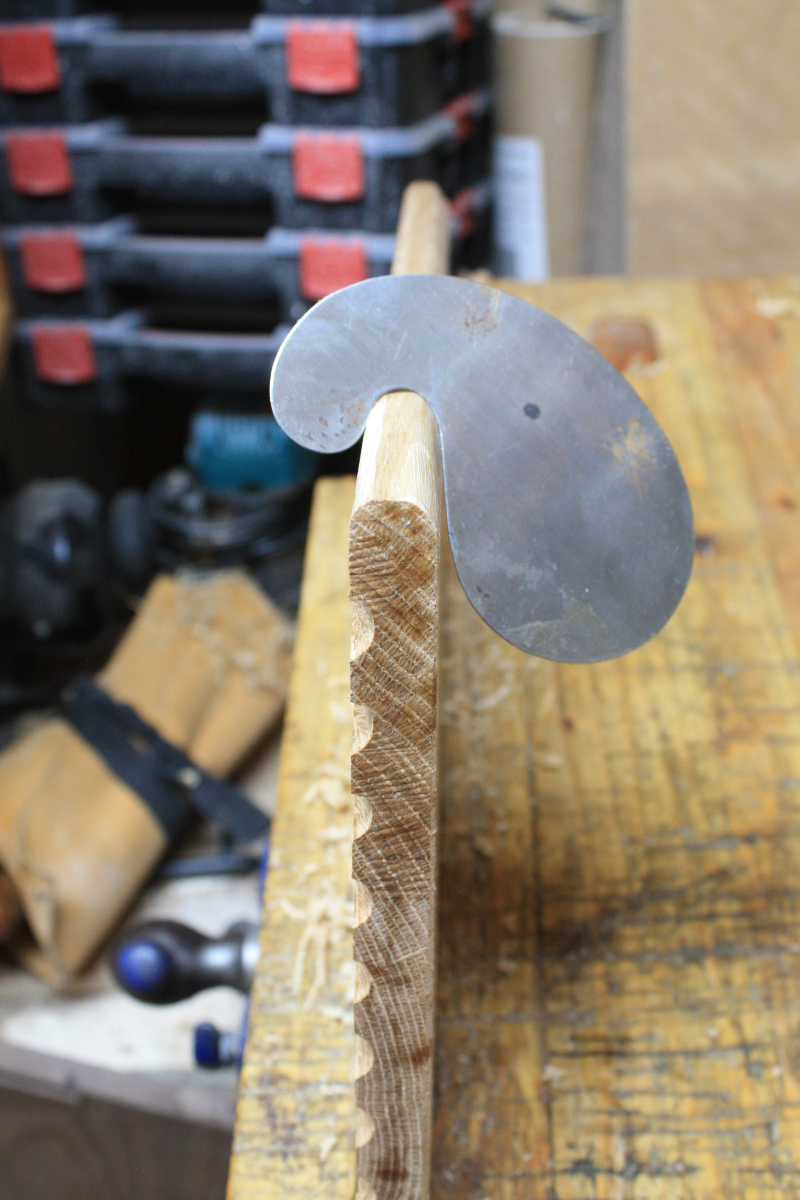
Then a bit of shaping for the front and breaking the edges of the sides using a #04, a #62 1/2 and a gooseneck scraper:
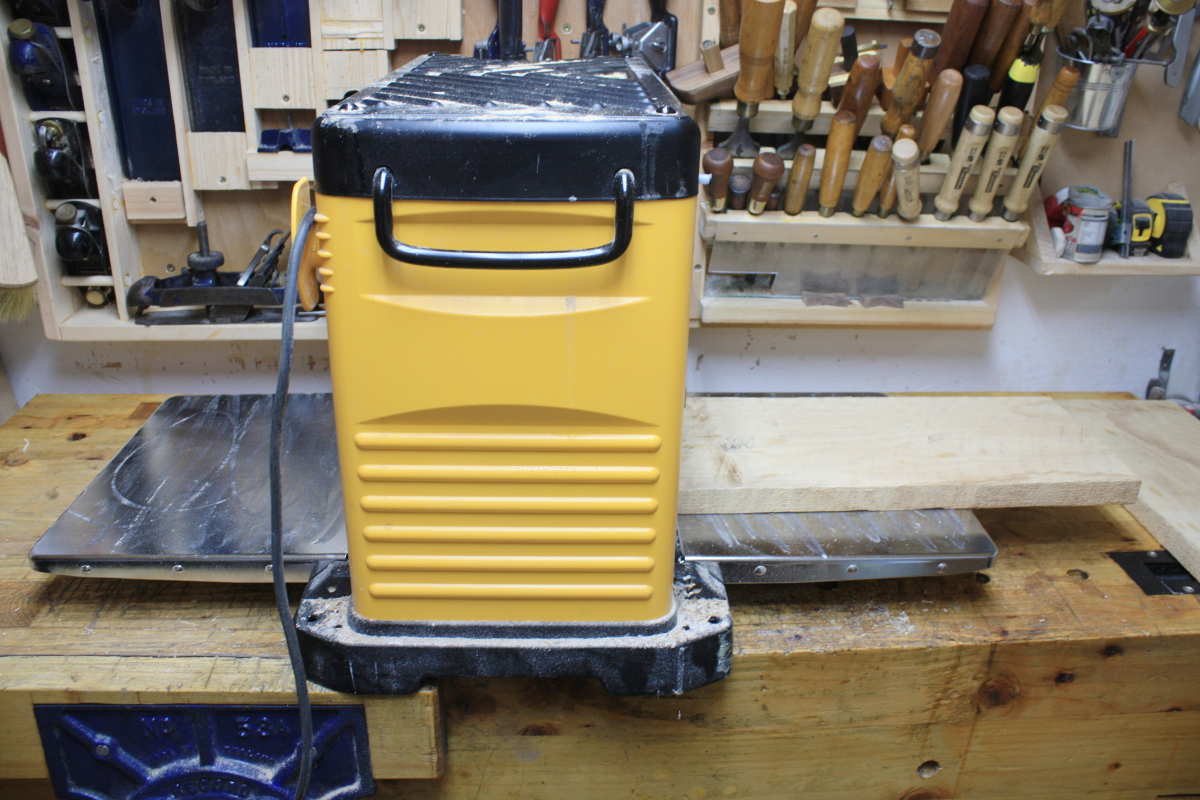
Found at this point that I didn't have a base large enough set aside, so took an ash board that was taking up space, flattened it via #05, and cheated again with a thicknesser:
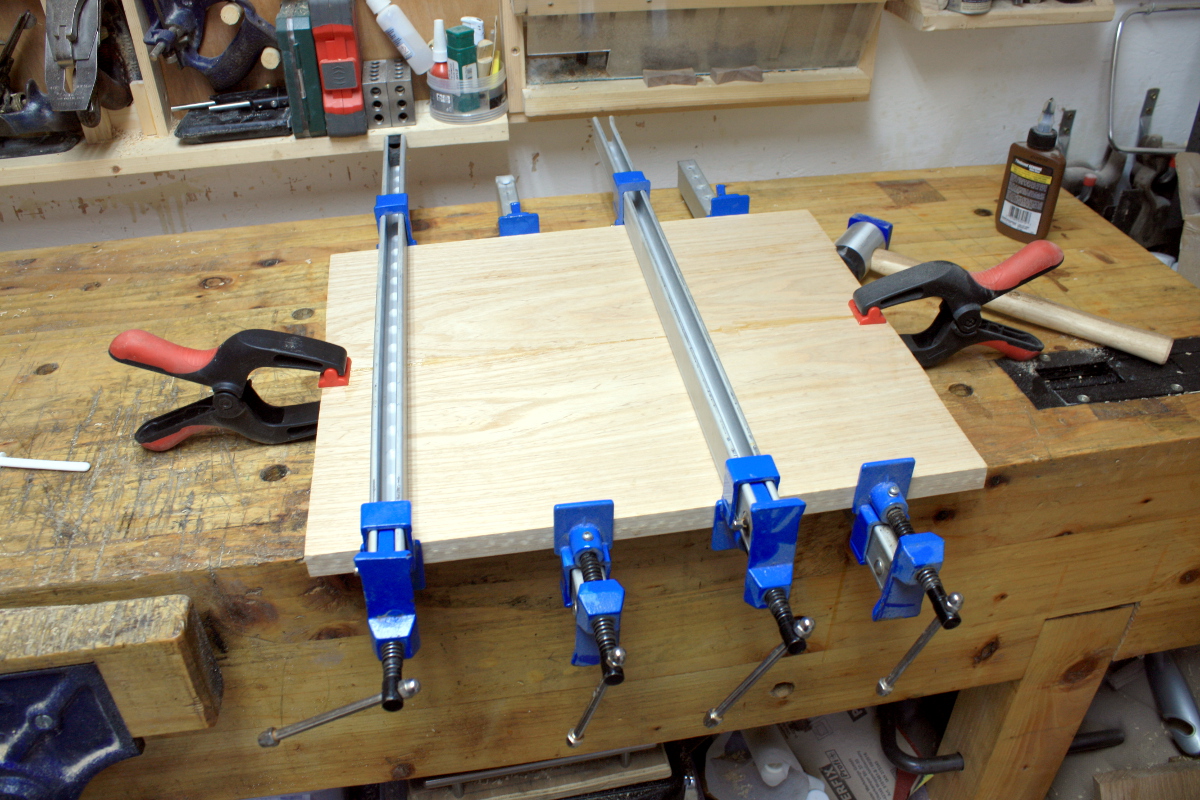
Scribed the box around the base, cut it to size, drilled pilot holes for more cut nails, and shaped the sides with a simple bevel with the #05 and #04 and some sandpaper to break the short vertical edges left at the corners.
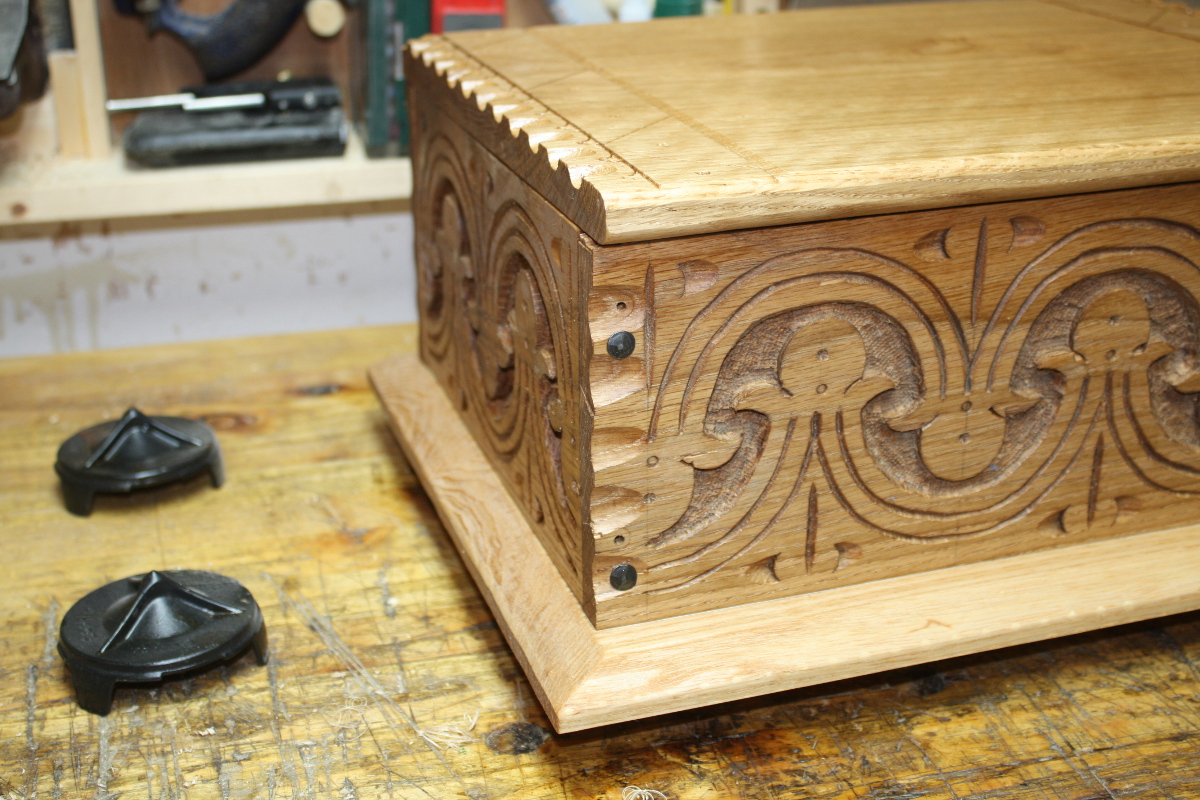
Then sweated bullets over the hinges because I'm terrible at hinges but this time they came out okay.
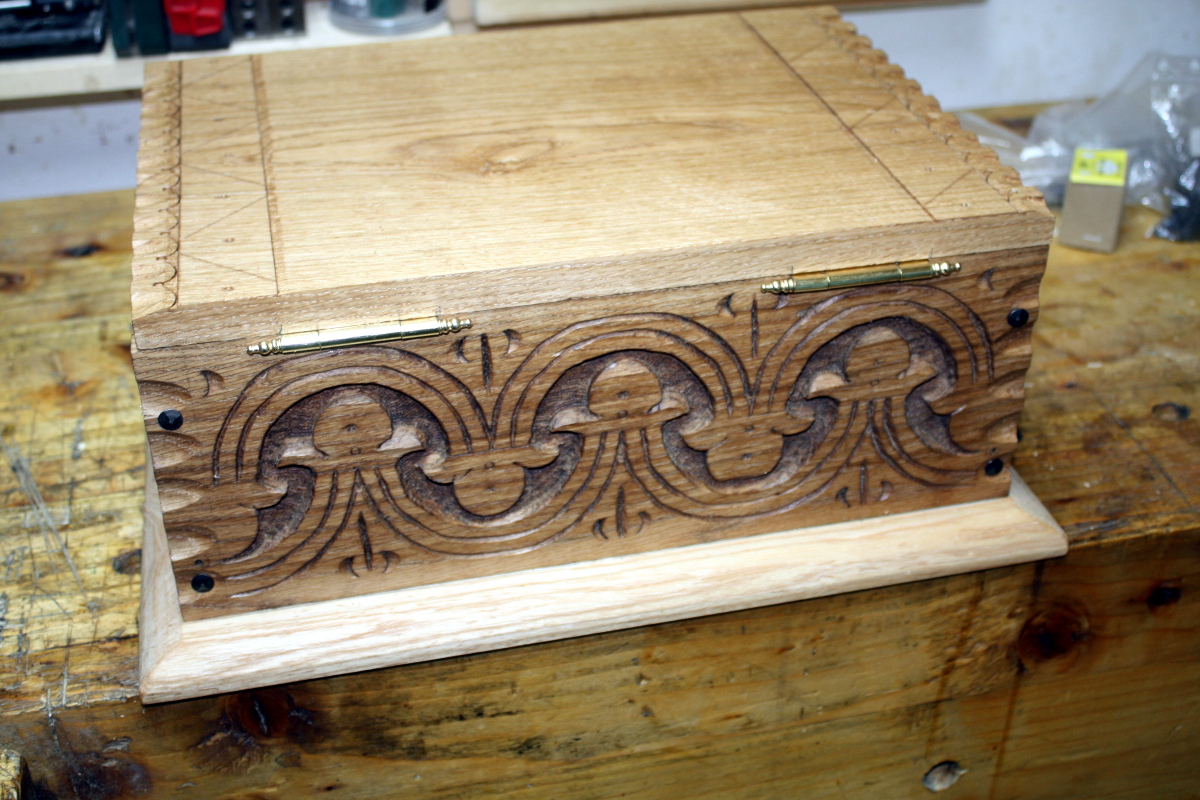
Okay, they're garish as anything, and really should be wrought iron or cast iron or something that's at least black, but these were all I had and the baby was born ten days ago at this point, so I just used what I had on hand.
And done:
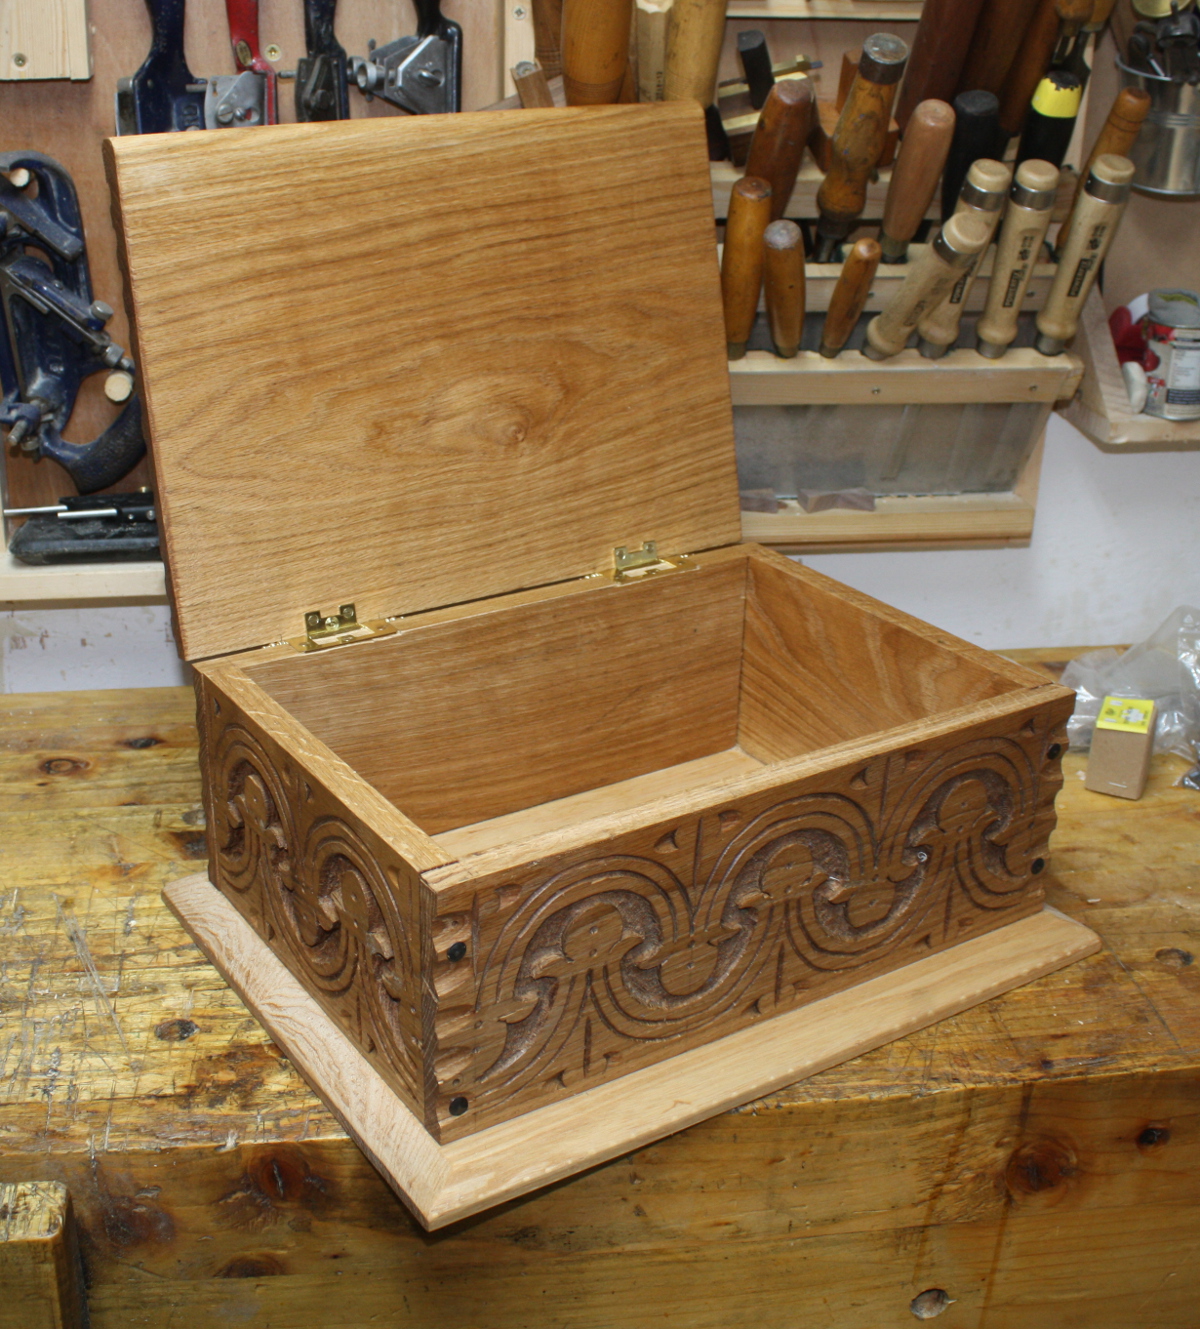
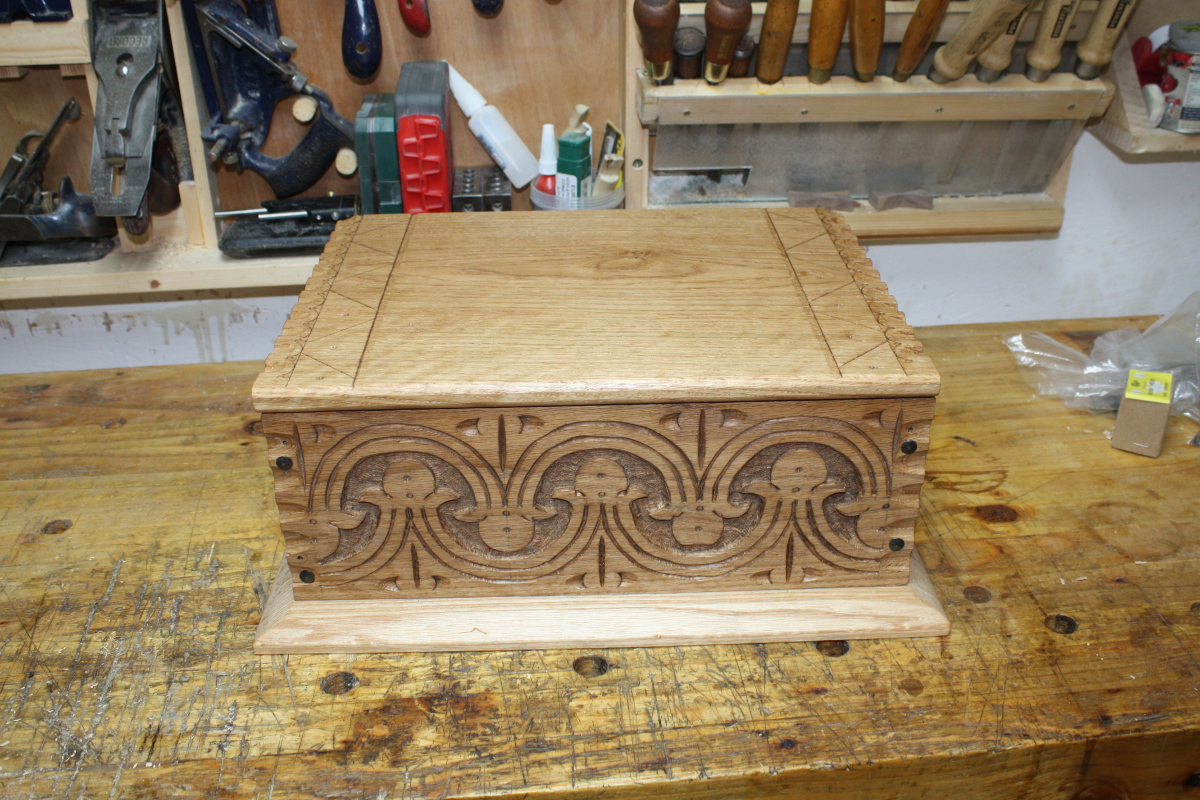
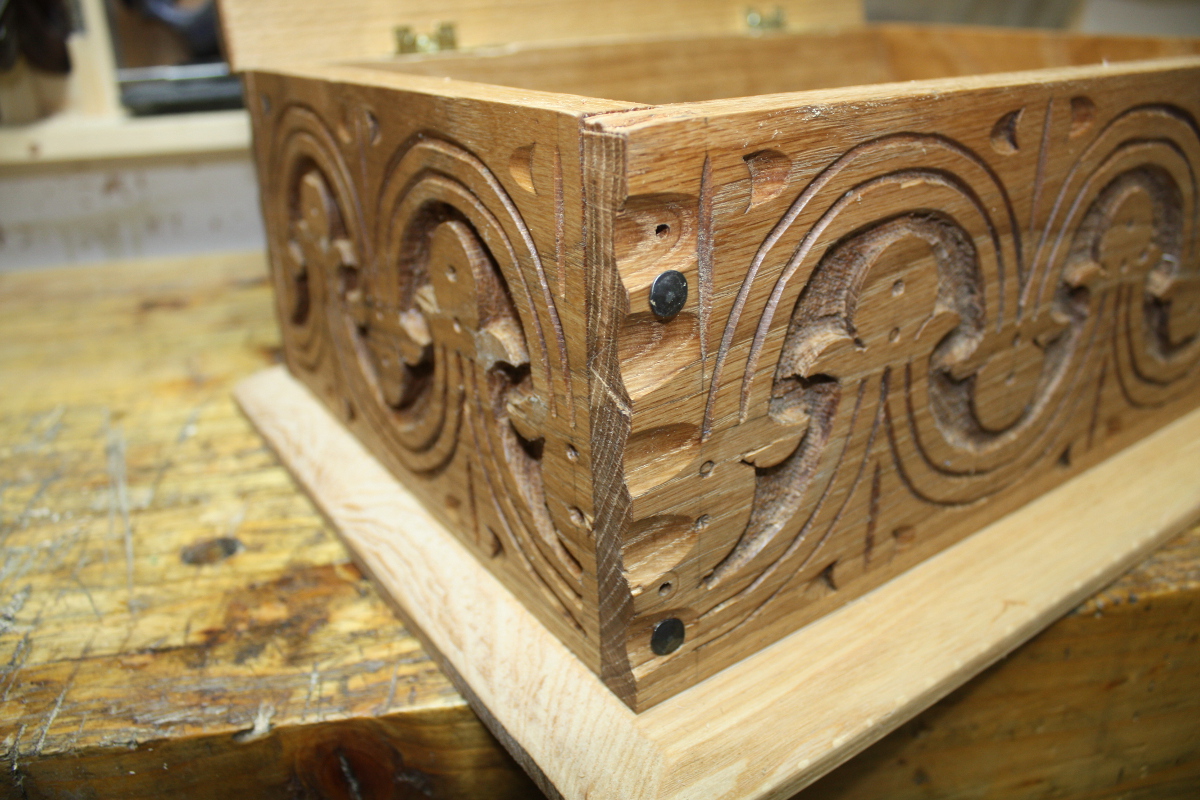
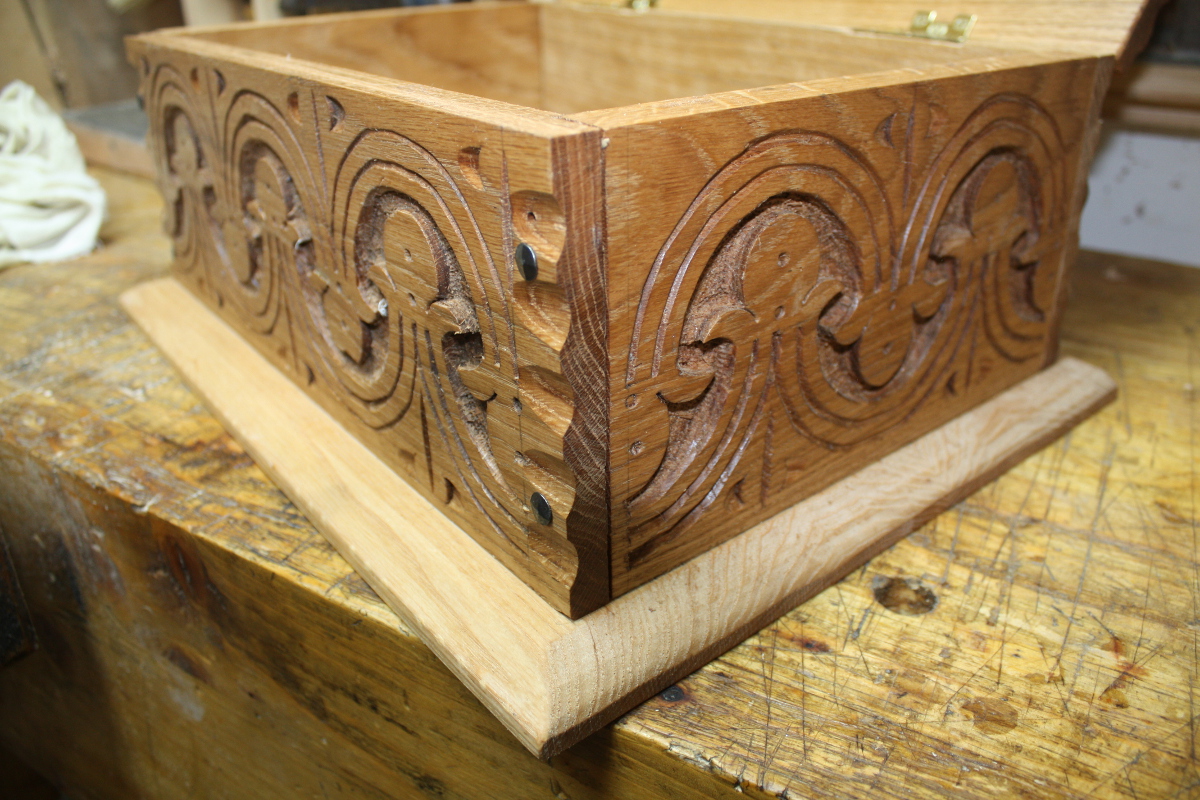
Not terrible I think. Next up is the clean-down and then back to the inlay and decoration work for Calum's desk....
http://www.stochasticgeometry.ie/2019/05/06/finished-3/

Raw material was in storage for long enough to get buried:

Extracted after much effort:

Cheated wholesale by flattening with a #05 and then using the thicknesser to, er, thickness the boards down to 19mm:


Marked out the design on the sides and started in with the V-tool:


I think it's fair to say my skill with a v-tool is not really noteworthy, but on now to the gougework.

Chopping first:


Kiln-dried flat-sawn oak chips like a cracker if you're as cack-handed as I am or if your tools aren't sharp. The grinder and the CA glue both had starring roles in this project. Next up was removing the background:


And then using a freshly-filed stippling punch to stipple the background.


A quick swipe with a BLO-soaked rag brings up the detail for a quick check:


Then the very basic joinery - butt joints aligned with a simple shallow rabbit is the norm for this kind of box, so I sawed the shoulder and split the cheeks off by chisel. Very much squeaky bum time. How Peter Follansbee has the nerve to do this with a hatchet to his panels is beyond me.

And nailed together with cut nails, again as per the norm for the period (though these aren't hand-forged by a blacksmith, so losing points there).

And while I got the pattern to flow, I managed to place the nails badly on the first try and they wanted to punch through into the background of the carving so I had to relocate them.
Next, the lid. Had to get it out of a mm or so of twist and clean the surface a little.

Then a much simpler pattern on the lid, mainly on the edges to make the end grain look less raw.


Then a bit of shaping for the front and breaking the edges of the sides using a #04, a #62 1/2 and a gooseneck scraper:

Found at this point that I didn't have a base large enough set aside, so took an ash board that was taking up space, flattened it via #05, and cheated again with a thicknesser:


Scribed the box around the base, cut it to size, drilled pilot holes for more cut nails, and shaped the sides with a simple bevel with the #05 and #04 and some sandpaper to break the short vertical edges left at the corners.

Then sweated bullets over the hinges because I'm terrible at hinges but this time they came out okay.

Okay, they're garish as anything, and really should be wrought iron or cast iron or something that's at least black, but these were all I had and the baby was born ten days ago at this point, so I just used what I had on hand.
And done:


Not terrible I think. Next up is the clean-down and then back to the inlay and decoration work for Calum's desk....
http://www.stochasticgeometry.ie/2019/05/06/finished-3/


