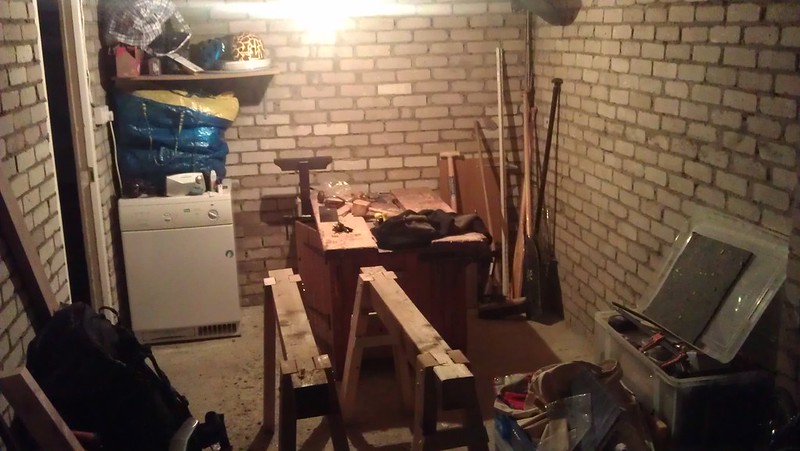
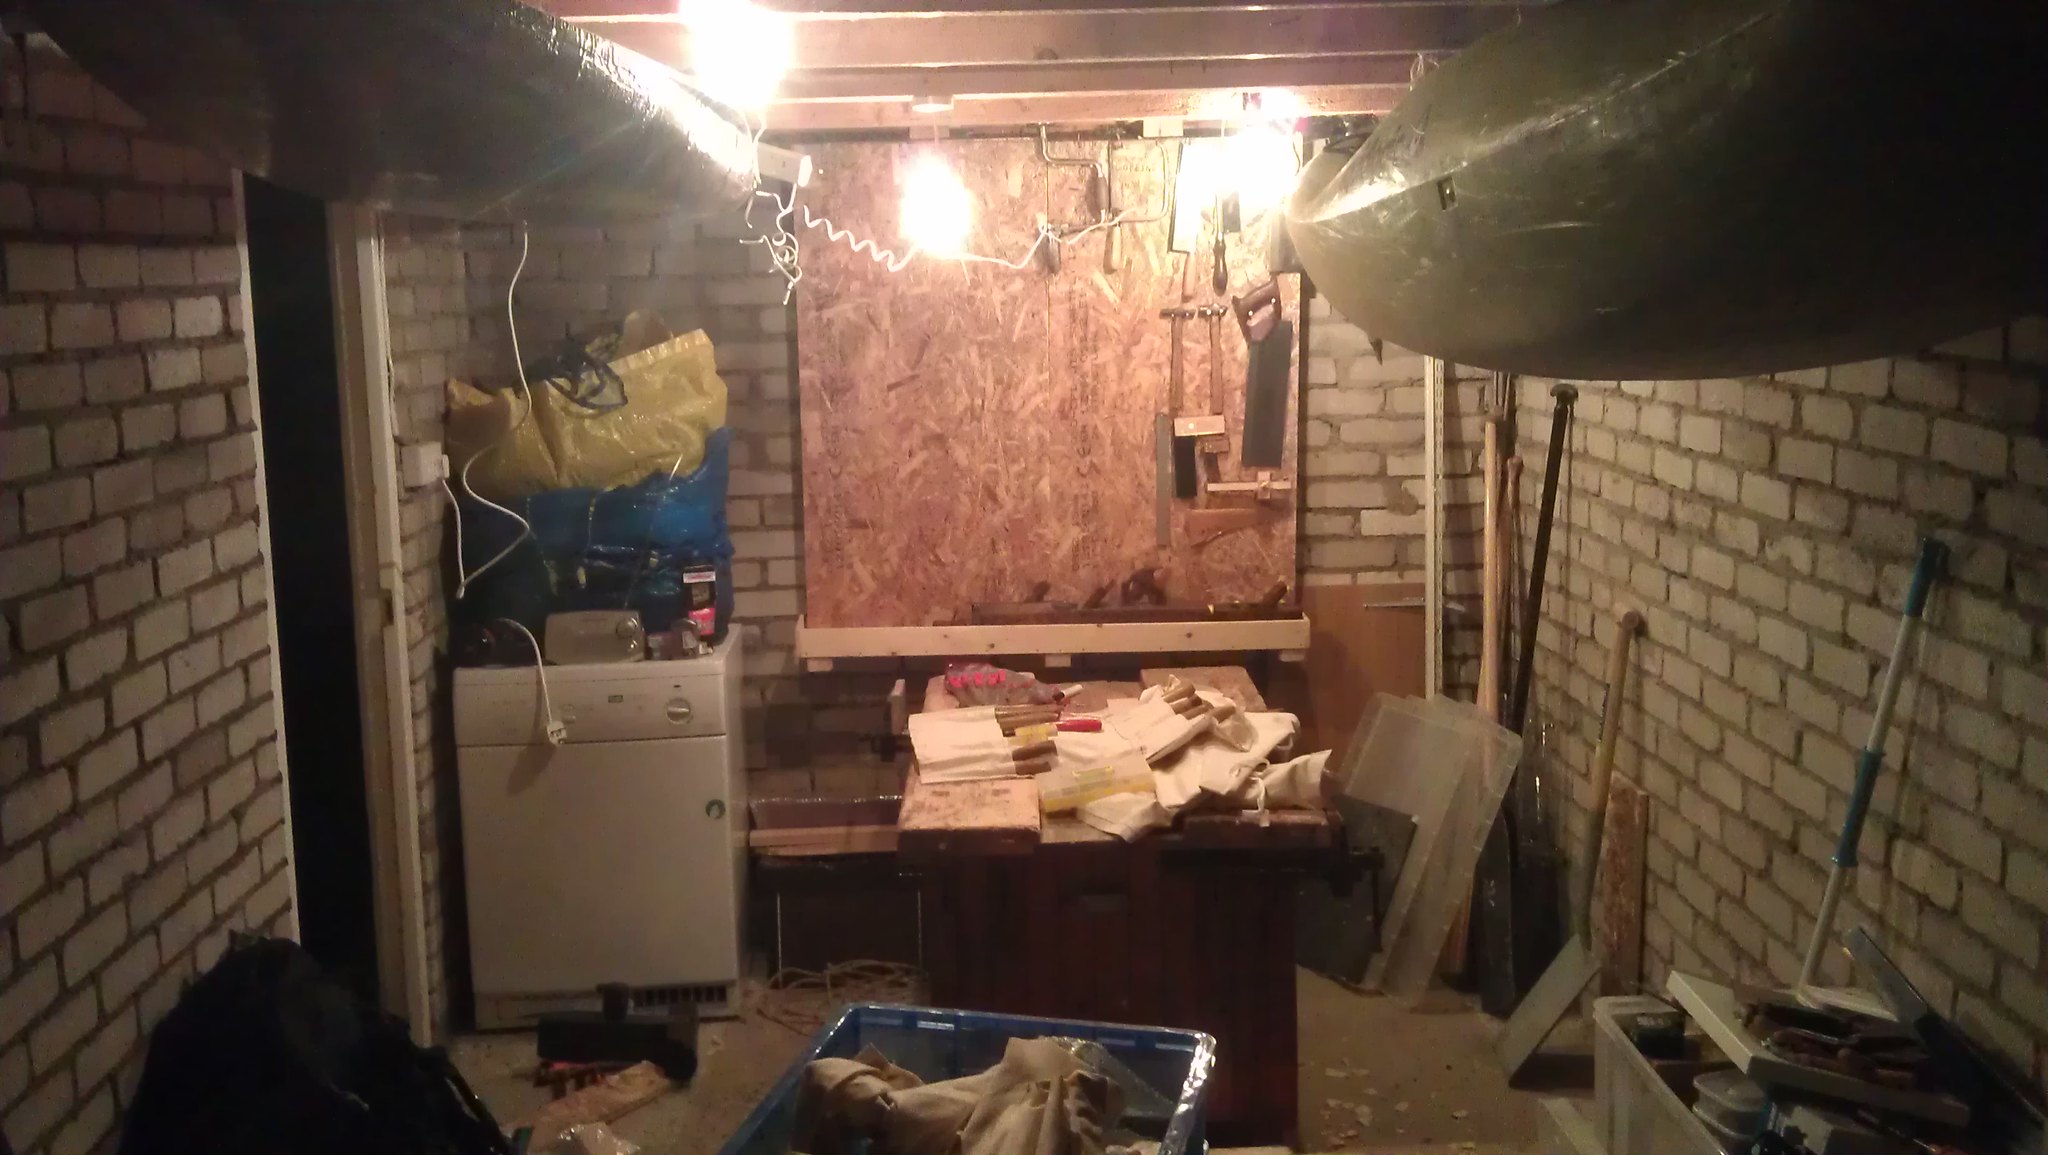
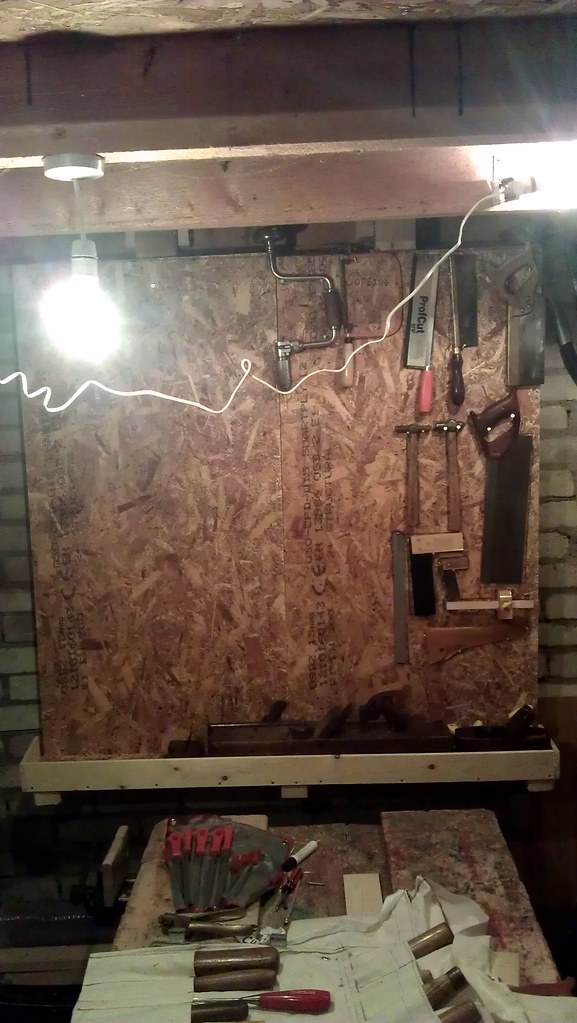
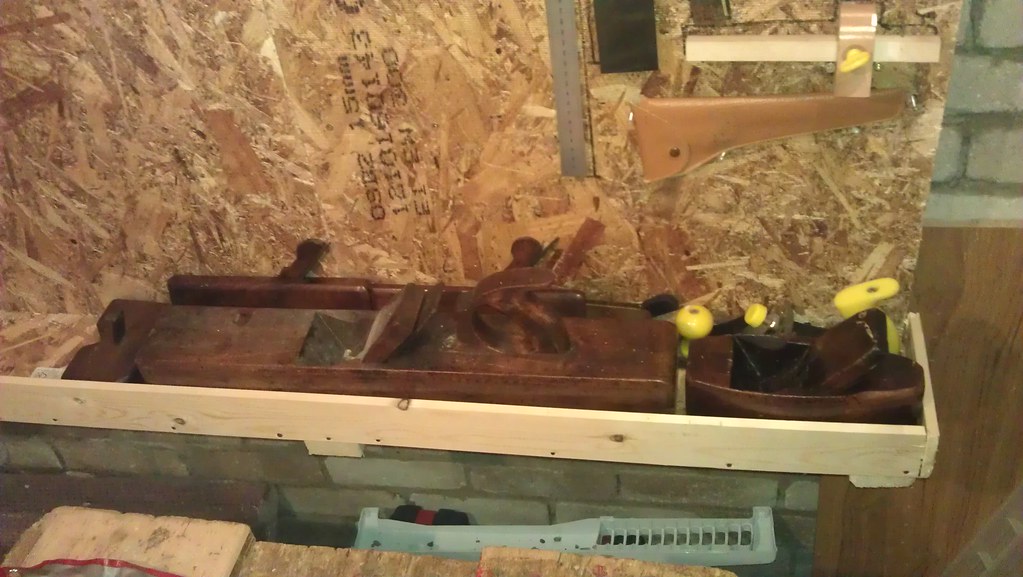
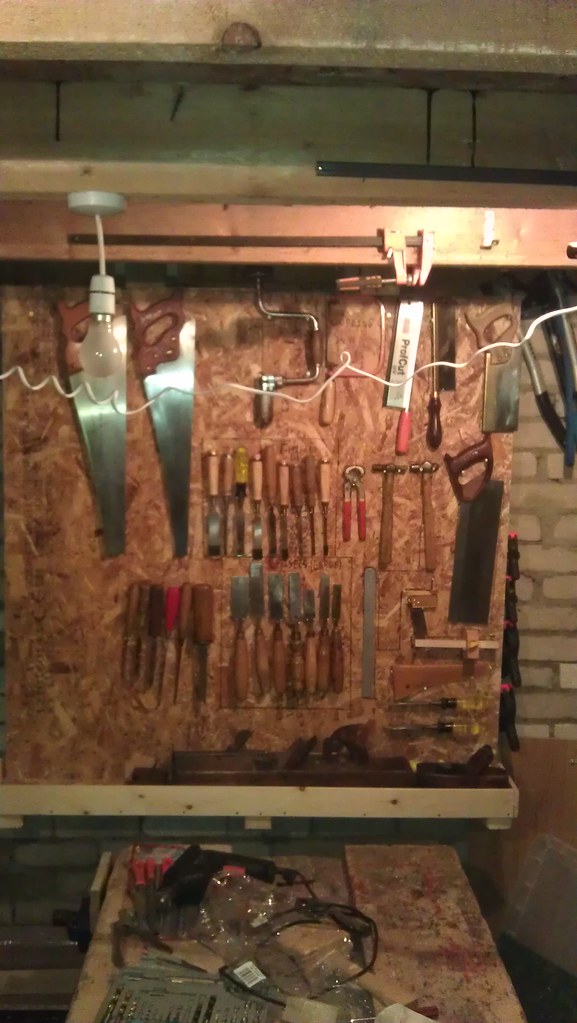
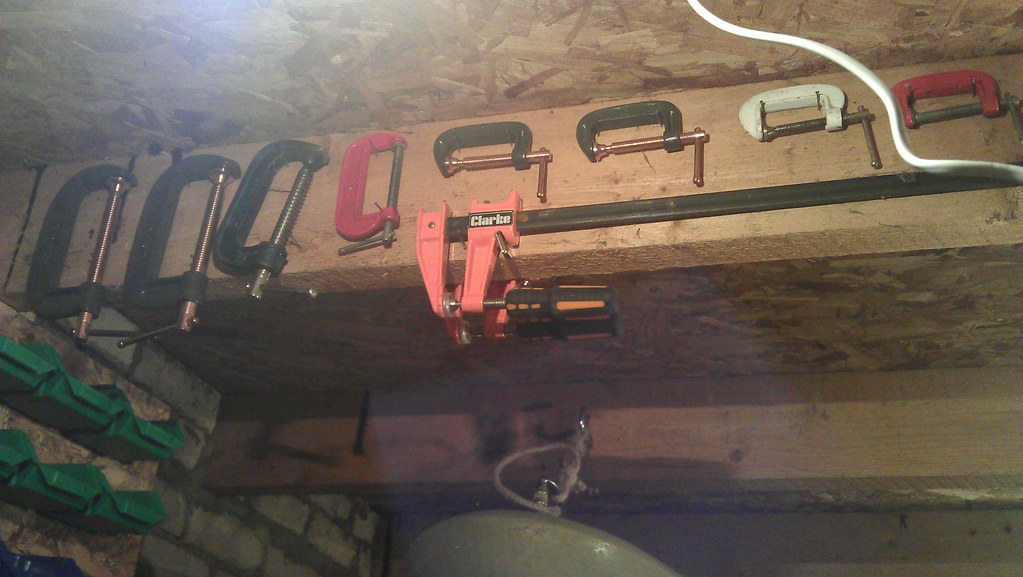
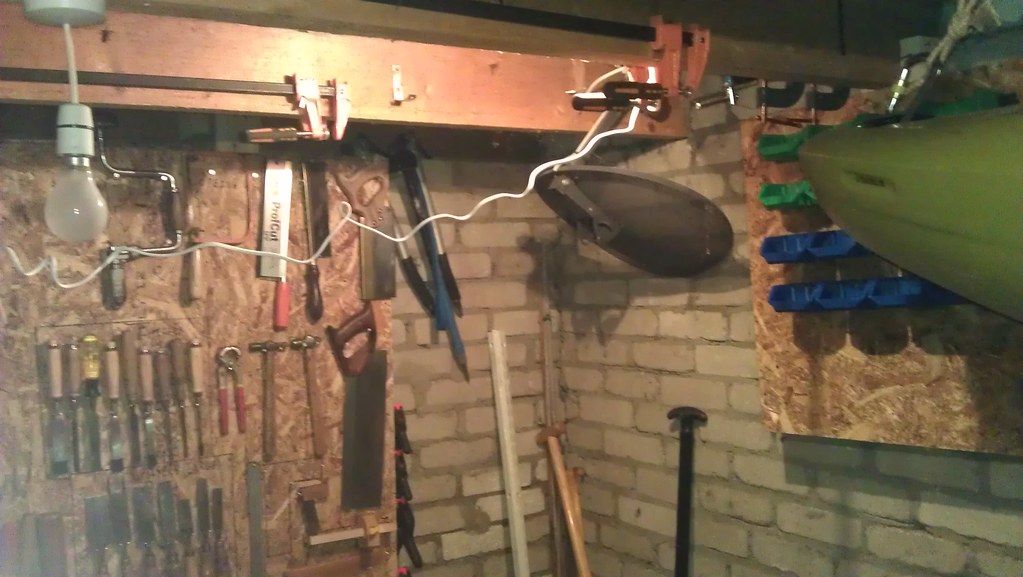
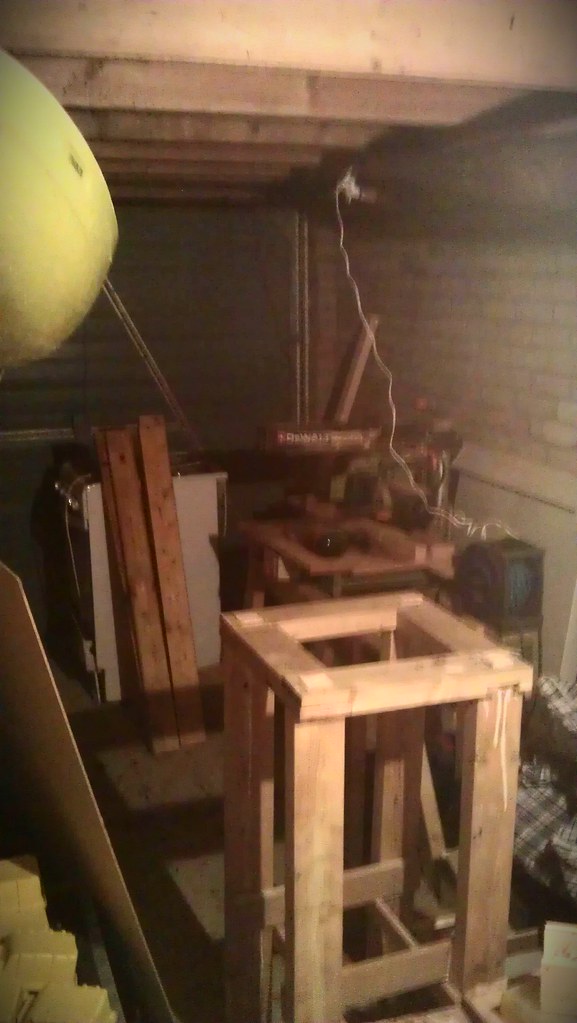
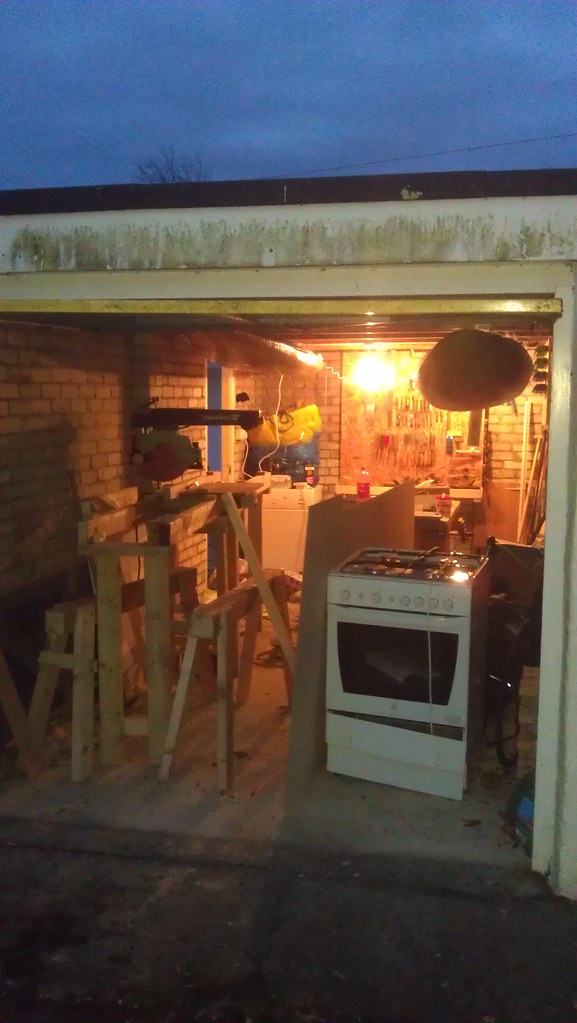
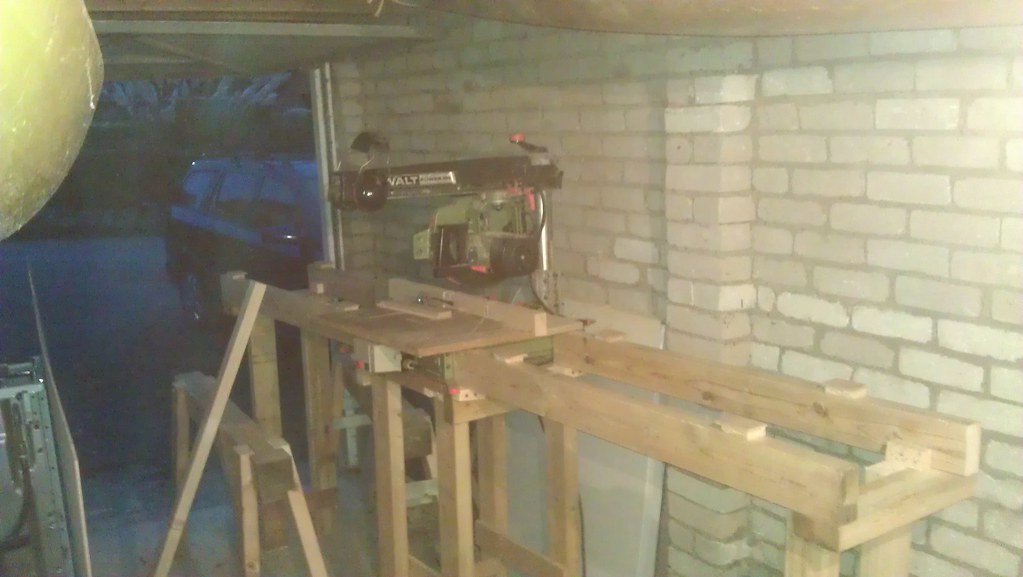
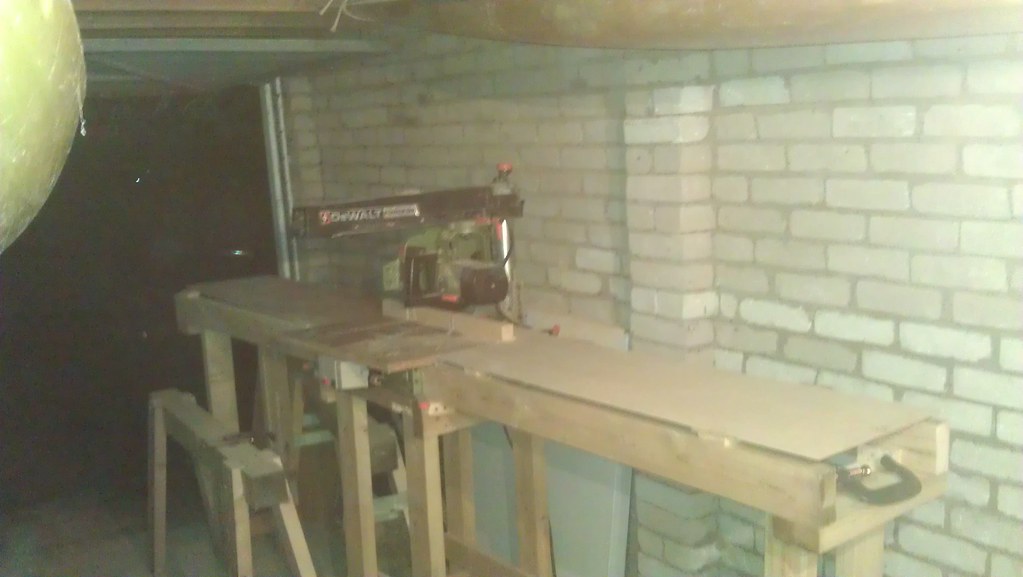
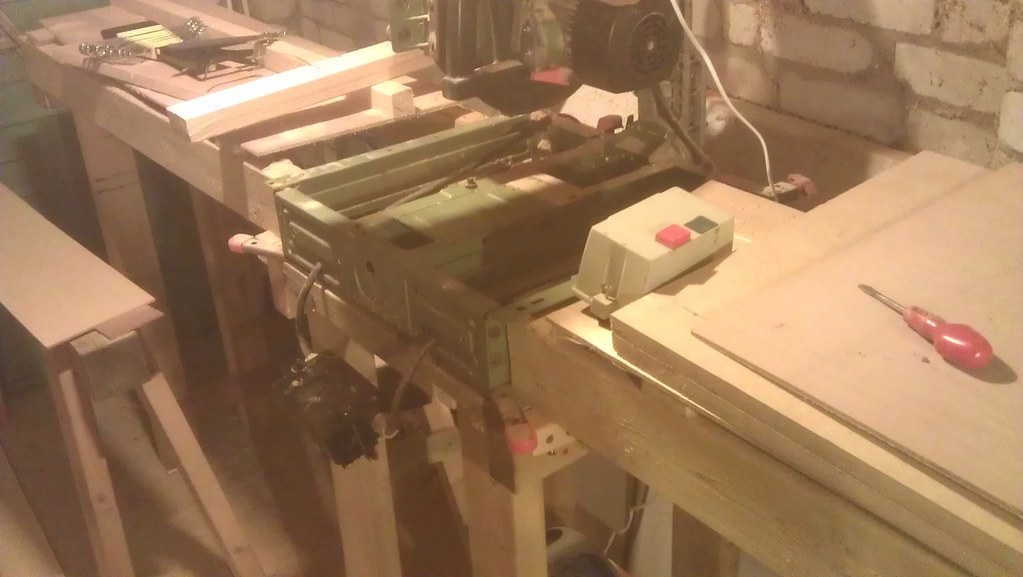
Having moved house last week, I now have a garage; there's some stuff from the previous tenant to shift, the roof is lower than ideal, and it has to double as a store for my bike, canoes, and tumble drier; but it offers a reasonable enough sized area for me to establish a workshop properly... I've got a bench, wheeled table and RAS on the way; so I figured I'd try to create a reasonable account of the process on here.
I'm using uni internet as I've not managed to get a hookup at home, so pictures will have to be added in either via smartphone, or once I get sorted out.
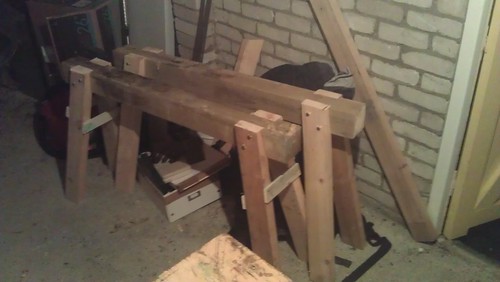
Anyway, as I'm waiting for everything else to arrive, I figured I'd whip up some sawhorses (after my last one died of the cumulative effects of woodworm and using it for resawing 12" by 7' logs); I looked at the article on Jacob's website, scratched my head a little and worked out that (I think) in simple terms, the legs want to be angled such that in the entire height of the trestle, they move outwards by the width of the stock they're made from, in both directions.
In my case that's 100mm in 750mm, the inverse tangent of 750/100 gave an angle of 82.4 degrees from the floor, or 7.6 degrees from perpendincular for the cuts in the legs... so I marked one by hand, cut it and used it as a jig to set up a friends mitre saw for the other 15 cuts (I prefer handwork usually, but you've got to be a bit lazy some times, and trying to accurately cut compound angles through damp 100*50 whitewood seemed as good a time as any).
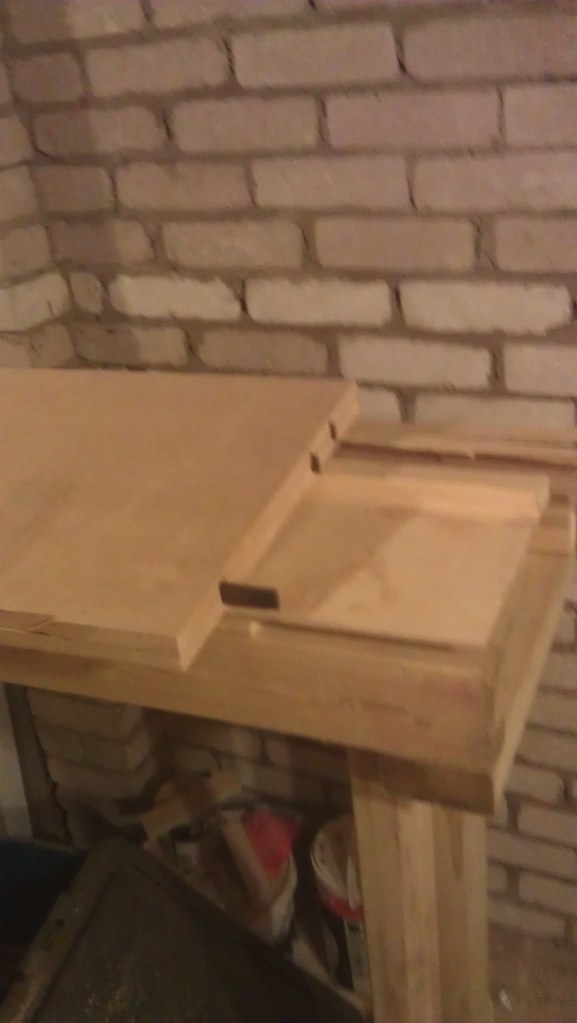
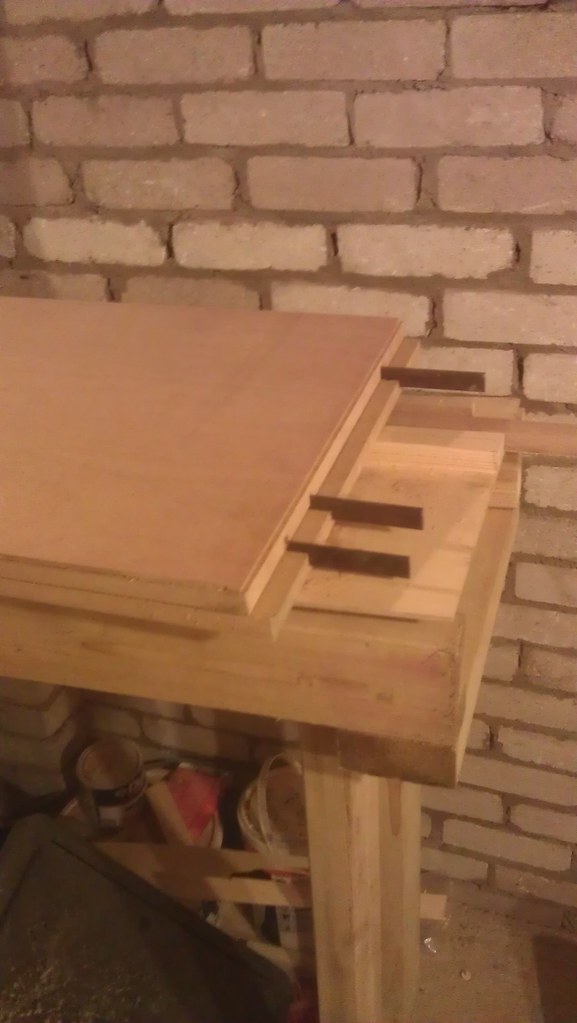
Cheating done, I decided to deviate from the time honoured design a little (again out of lazyness) and omit the cutting of the cheek on the trestle, it makes for a lesser mechanical joint, but 8*75 coach screws and a liberal coating of glue ought to be sufficent for any load I put on them)... Went to the ironmongers for coach screws (£2.78 for a bag of 20, up yours B&Q!), and eventually got round to cutting the angled rebates for the legs to fit into.
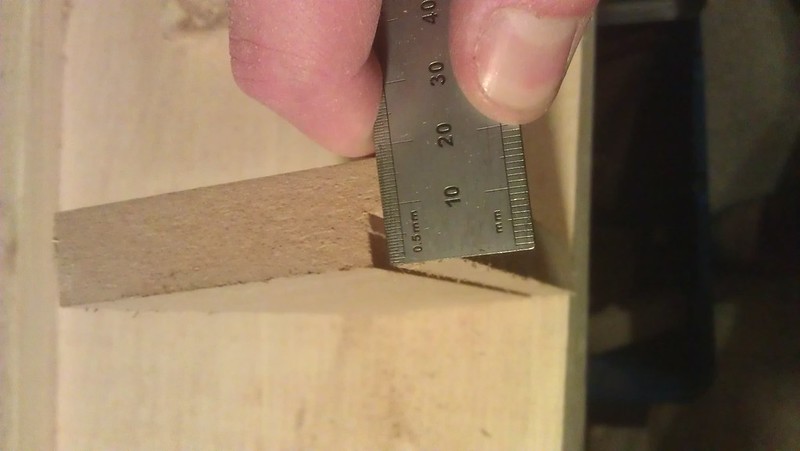
I decided to put them 25mm deep at the top (so as to not cut the load bearing part away entirely at the top, it only being 100*100) and worked out that this should have them exiting at a depth of 12mm from the bottom, with a shift of 13mm laterally from the top to the bottom of the rebate, so I marked all of this out and cut the two edges with a mitre saw...
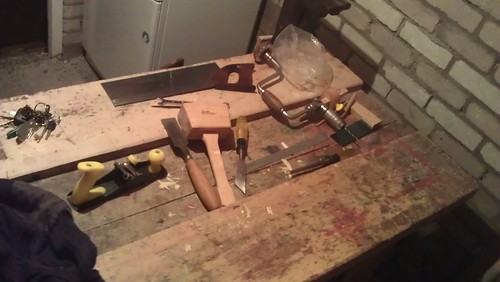
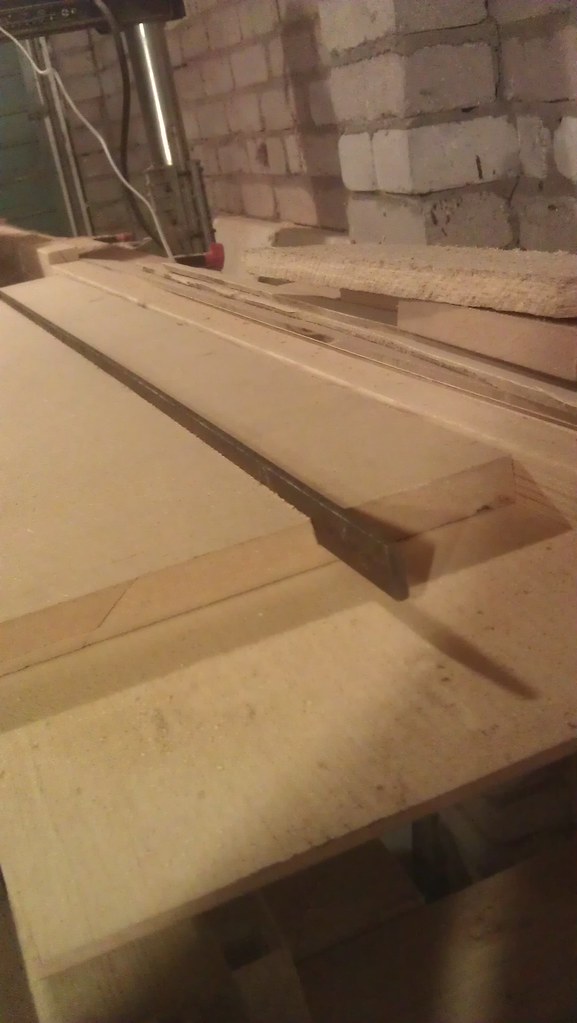
Now for the fun bit... Accurately cutting out the waste... I selected a 1½" firmer chisel and proceeded to belt it mercilessly to remove material down level to the shallower line on the bottom, then flipped over for the deeper line and slightly more gingerly (though still with a lot of force) chopped out waste down to the deeper line, this time at an angle, until there was a noticable crown of waste in the middle, using my 1" skew chisel, I pared a small flat on this crown and proceeded to use my my scrub plane (with an uncambered blade fitted :shock: ) take out the waste, going down to a relatively fine cut once it was nearly there and worked it until the sole could simultainiously rest on both of the marked and chopped lines.
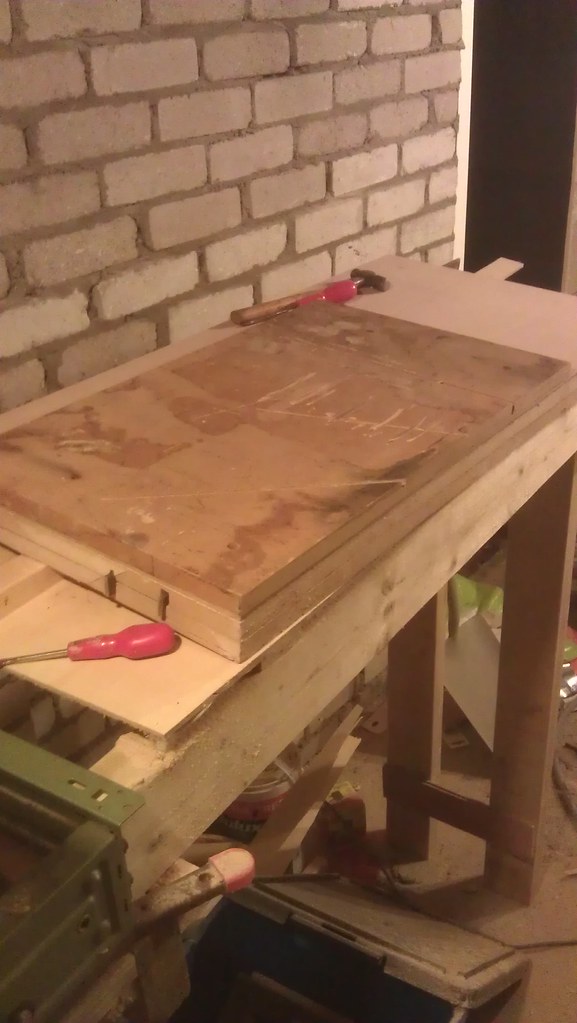
After that, it was a simple matter of clamping the leg in place, drilling two 6mm pilot holes with a bit and brace (discovering in the process that the brace would really benefit from a new chuck, or at least some attention giving to the old chuck) and turning the coach screws in to temporarily secure the joint.
Next, repeat the process 7 more times
Anyway, I'll try get some pictures of both the garage as it is now, "before" if you will... and of the process of making the trestles (as I have a few more of those joints to cut yet) tomorrow to illustrate all of this.


