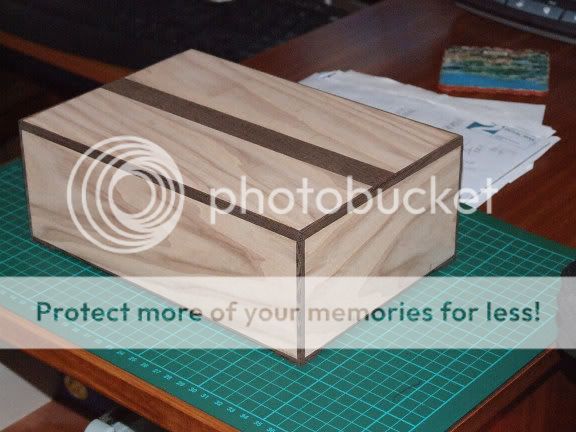
new box idea for me

UKworkshop.co.uk

Help Support UKworkshop.co.uk:

This site may earn a commission from merchant affiliate links, including eBay, Amazon, and others.

devonwoody

Established Member
Joined
11 Apr 2004
Messages
13,493
Reaction score
25
Location
Paignton Devon
Put the Chevron box aside for a while (the lid is giving me agro) so started another box with a new idea:

The corner mitres are going to have contrasting corners fitted (but not stringers). Also will attempt to use contrasts at other sections of box.

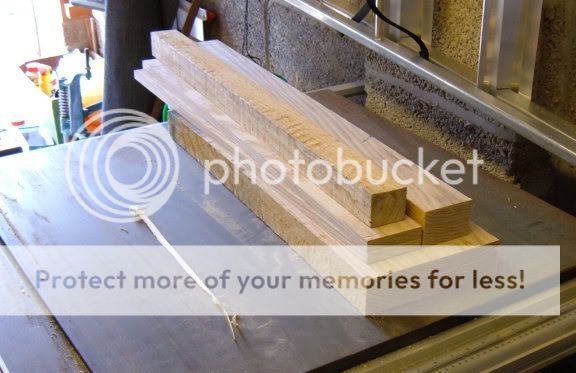
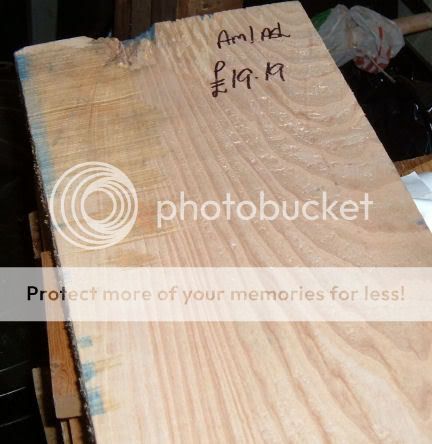
Purchased this 5to 6ft. length of American Ash last year at Yandles and I have stored it in my computer room over the past 4 months so it would be ready to work on this spring.
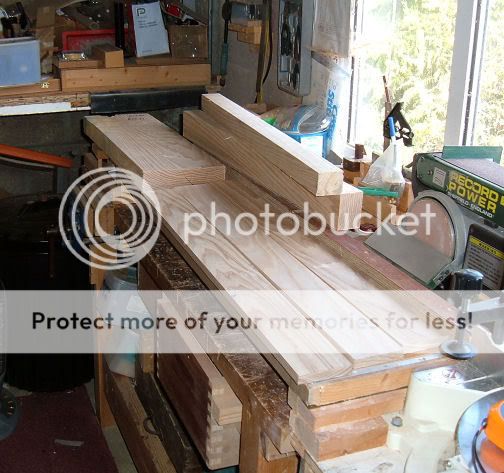
The board has some nice grain effects so I have chopped off a 36" length and cut a 2" thick board out of the centre of board along its length which has the strong grain effect.
1w-9.jpg


2w-7.jpg


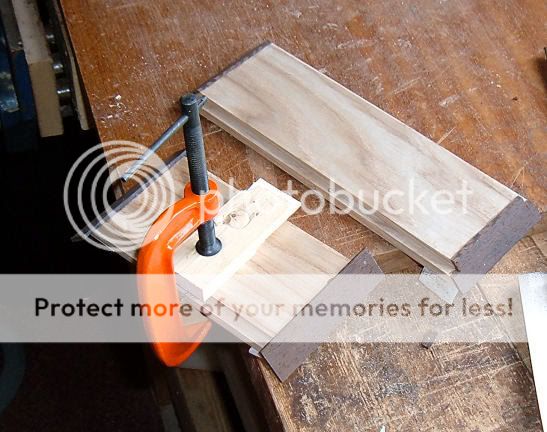
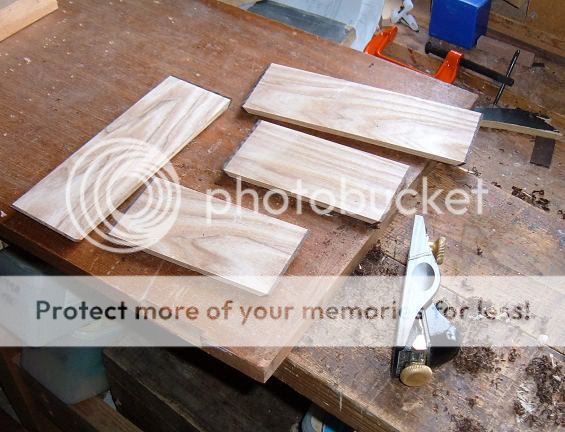
The board from this centre piece has produced three nice selections with grain for making three boxes.
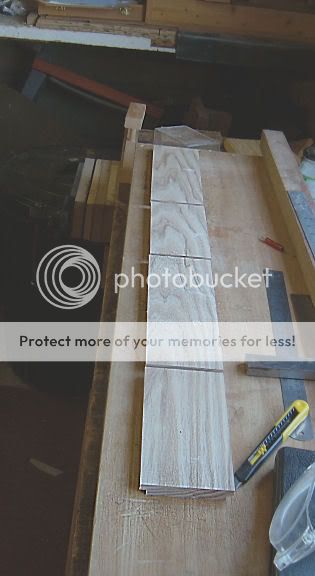
I prepared one length which was sawn, planed, thicknessed and then rebated top and bottom edge before cutting to the 4 box sections maintaining the grain pattern at each corner. (accept the last one of course).

3w-7.jpg


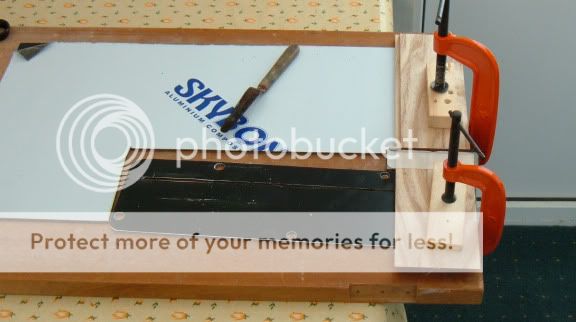
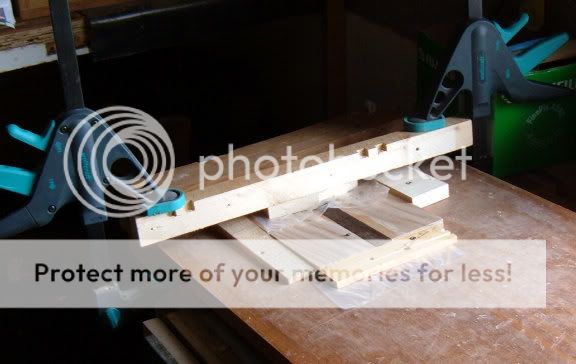
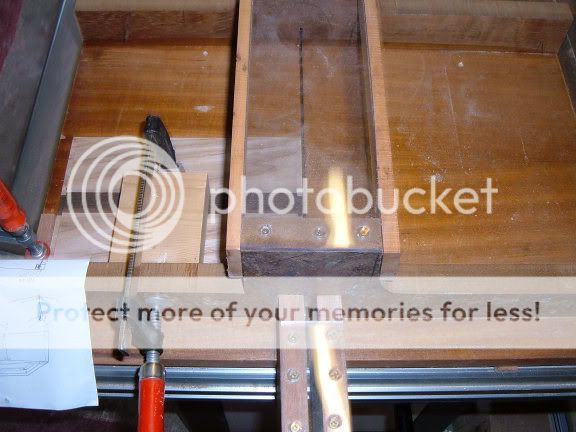
The 4 mitres were cut using the table saw mitre jig and I must confirm the cuts appear perfect. (I use many clamps at the jig to ensure there can be no movement of timber whilst it is being cut, also side lengths are maintained with spacing blocks.
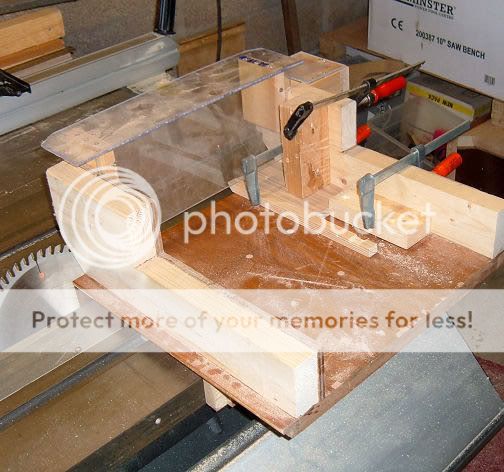
4w-7.jpg


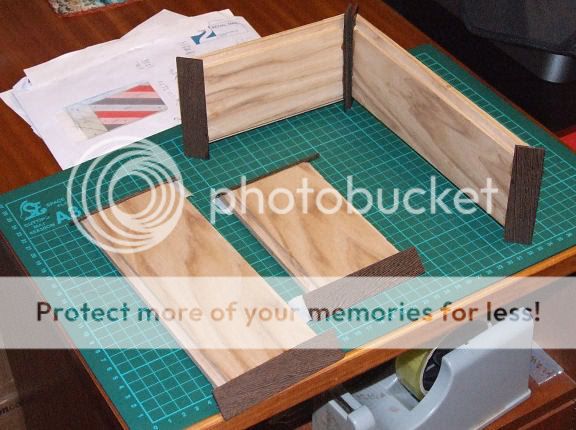
This picture shows my usual layout to confirm that pieces have been cut accurately and should give good corner joints.
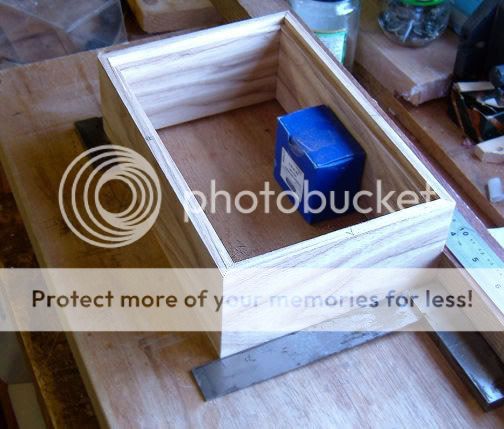
5w-7.jpg


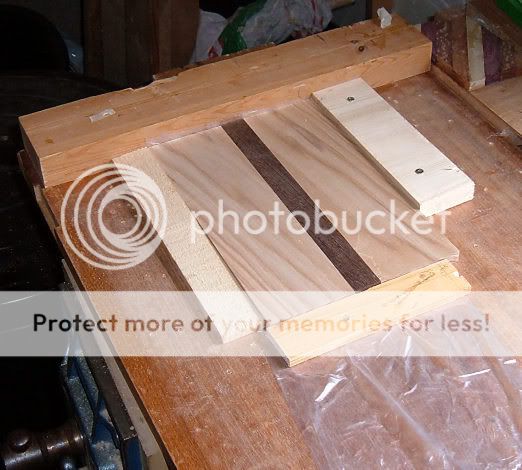
This is where the change of routine is now going to take place, I am going to insert a coloured contrast (wenge 2mm thick) to each mitred cut making 8 slices in total.
This means that the corner joints are not going to be 100% end grain glued joins.
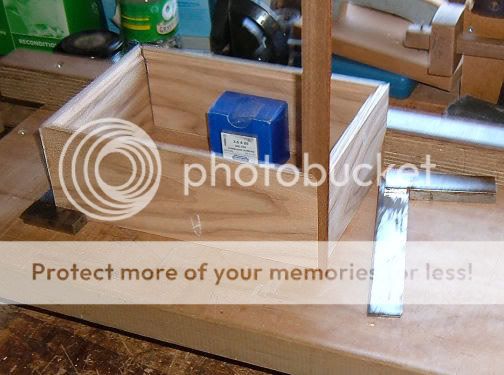
6w-8.jpg


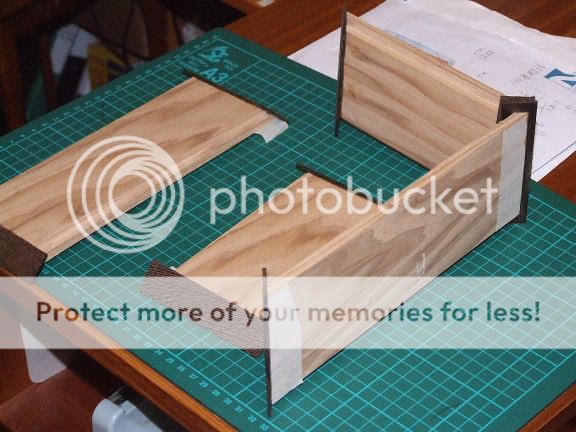
Final picture shows the sections with the piece of prepared wenge ready for the next session.
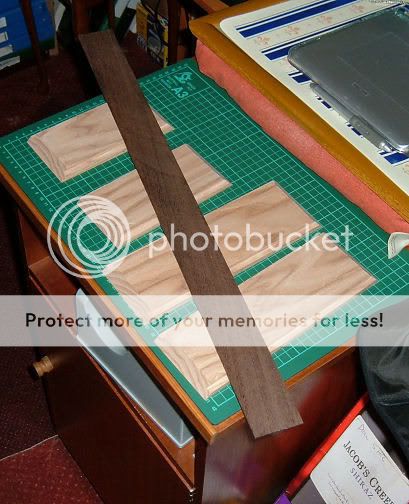
7w-6.jpg


My next problem is that I have now got a few days of gardening to pursue because spring will not wait any longer, so depending on weather will decide on my return to the workshop.
 
How have you fared with tearout on that board? The American ash from Yandles that I have had in the past and have at the moment seems particularly prone to very nasty tearout.

Cheers Mike
 
I've had similar problems with American Ash recently, Mike, although English ash appears to be fine.

DW, how did you 'prepare' such a thin strip of wenge? It looks too thin to have gone through a thicknesser, did you cut it on the bandsaw with a fine blade?

I guess that, with the overlapping fibres, you'll have an extra strong joint for each mitre as well. :)
 
not the slightest problem with any tear out for me on this board. Perhaps bringing it indoors for 3 months released any moisture. The crosscuts were done on my new sled and the wenge was cut using a 60T blade and my ripping jig, displayed earlier this year.

Slight chipout doing rebates with router but that was going against the grain on the bottom edge of each piece.

(Emptied around 40 flower boxes this morning and refilled ready for summer plantings, let you know how we feel tomorrow :roll: )
 
Managed to escape to the workshop yesterday for a few minutes :wink:

The remains of the American Ash board (a gloat)

8w-7.jpg


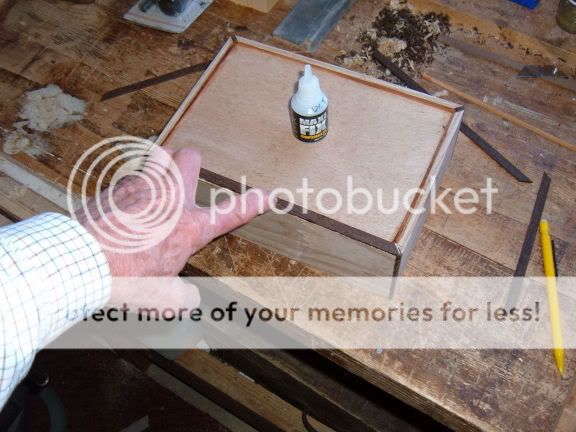
So cut the wenge to width and lengths and then glued a section on each mitred surface. I allowed for the decorative wenge to drop below surface of box sides by placing on some 3mm ali. that I have laying around and glued as per picture.

9w-6.jpg


Pictures taken this morning of the corner setups awaiting another escape to the workshop (when the wife is busy planting the flower boxes etc.etc.etc.)

10w-8.jpg


11w-6.jpg


I must say on this trial run putting the corners together feels like a fairytale, the flat wenge surfaces almost cling together without glue. :)
 
I had to clean up the wenge faces before gluing up the box, however the timber grain is very coarse and hard, (it chipped my blade on the block plane). This means I shall most probably have to round off the corners when box completed to avoid edge damage to box when in use.

The inserted faces do make a terrific difference to the setup when gluing corners and I think the strength is greatly increased.

12w-4.jpg


All four sides cleaned up.

13w-6.jpg


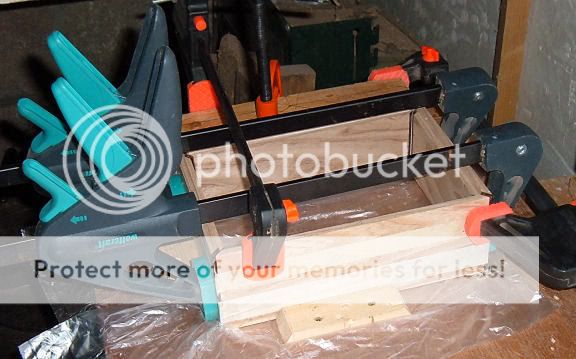
Got the gluing up done as well

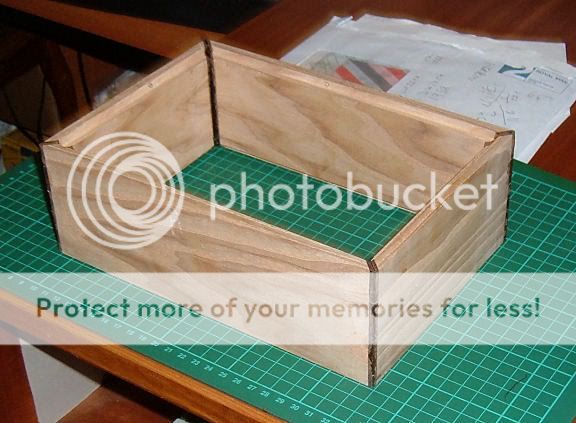
14w-3.jpg


The view this morning after coming out of clamps and squareness of box lines up nicely on the cutting board lines..

15w-4.jpg
 
John,

May be I am just nosey but why have you glued a contrasting strip on each end of all four parts?

I think I would have just use a single strip in each corner. :-k
 
Hi DW,
An interesting variation on a theme. I also share DaveL's curiosity?

Cheers
David
 
Hi DW,
An interesting variation on a theme. I also share DaveL's curiosity?

Cheers
David


--------------------------------------------------------------------------------

John,

May be I am just nosey but why have you glued a contrasting strip on each end of all four parts?


Working on the premise that glue is stronger than wood, so that means there are 4 glue lines at each corner.
And I hadn't seen it done before. :)
 
devonwoody":1s4687md said:
Working on the premise that glue is stronger than wood, so that means there are 4 glue lines at each corner.
And I hadn't seen it done before. :)

If you have four parallel glue lines where previously you might have only had two doesn't that mean that you now have two extra points of potential failure? :twisted:

Cheers Mike
 
Not too concerned Mr. never had a glue failure using titebond3 (or 2)

And I might add that the next few weeks will make this box just a prototype of ideas that might come.
 
Hi, Devomwoody

Here is another way of doing corners I made this from some spalted beech that wasn't very wide so I added the rosewood strips in to make it bigger.
DSCF0053.jpg


Sorry about the quality of the photo. old camera.

Pete
 
Fitted the drop in base a piece of 3mm ply (from a skip around 5 years ago)

16w-3.jpg


Then prepared some decorative strips (wenge) around 10mm wide and 2 mm thick to lay on bottom edge of box and hide base piece join.

19w-2.jpg


The strips were produced using the jig I made around a month ago which makes cutting these sort of jobs a piece of cake.

20w-1.jpg


Strips are glued to base using titebond 3 adhesive plus two or three spots of superglue to avoid having to clamp and stop slippage whilst glue sets, just finger hold for a couple of minutes.

21w-1.jpg


22w-1.jpg


Lid is also under preparation as per trial run in photo below.

17w-2.jpg


This one is screwed and clamped down tho. No super glue this time.

18w-2.jpg


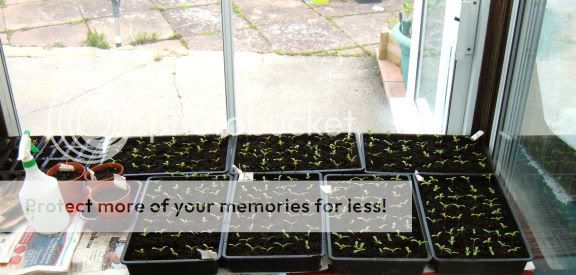
In the meantime our spring has arrived and sowing and planting is also in full swing.

23w-2.jpg


For those who have never seen an English spring arrived, this is what a woodland looks like for the first few days when the hardwood trees breakout into leaf.

24w-1.jpg


Also an April shower!

25w.jpg
 
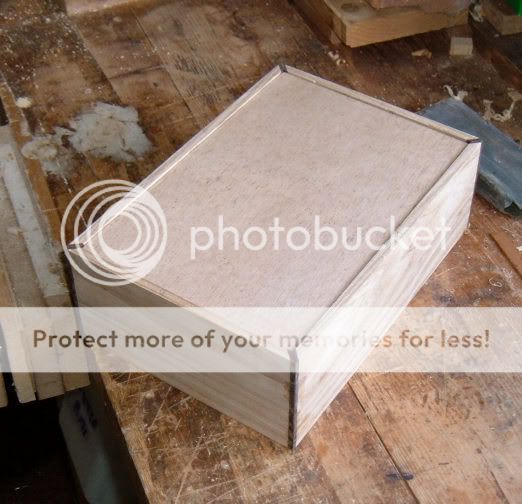
Fitted the lid yesterday afternoon, cut the four faces using my crosscut sled because the lid corners came up at 90 degrees. :)


26w.jpg


underside
27w.jpg


Going to decide today a further contrast on the lid top, either to its edge or to the top face.
 
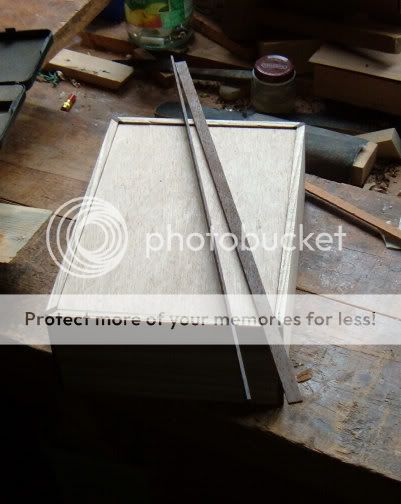
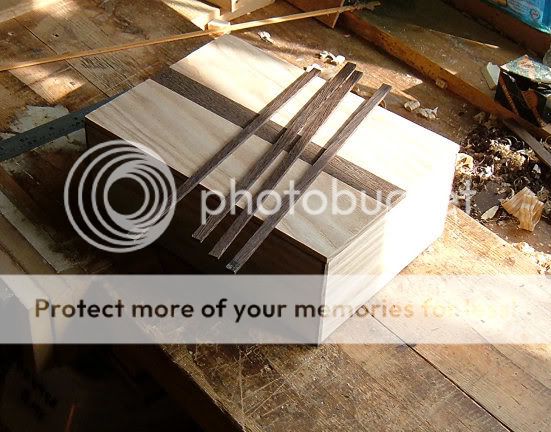
Decided on lid completion with contrasting timber(wenge) fitted to lid sides and not the top face.(because the lid would have come down to around only 3mm thick at lip)
Therefore cut 4 strips off a short length left of the wenge as per picture below.

28w.jpg


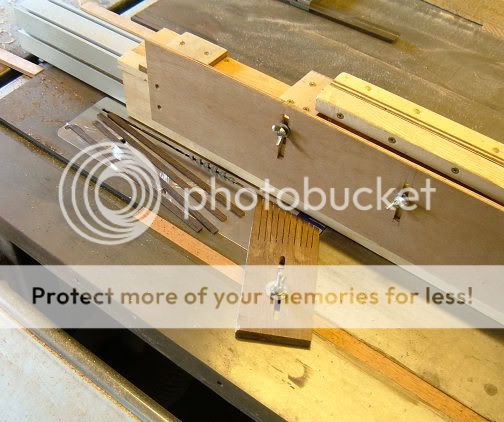
These were cut off a 1" x 3/4" batten using the fence jig which makes it very comfortable to cut material of these sort of dimensions. ( no blade guard to foul push stick problems and limbs are well away from blade, and no fear of kickbacks.)

29w.jpg


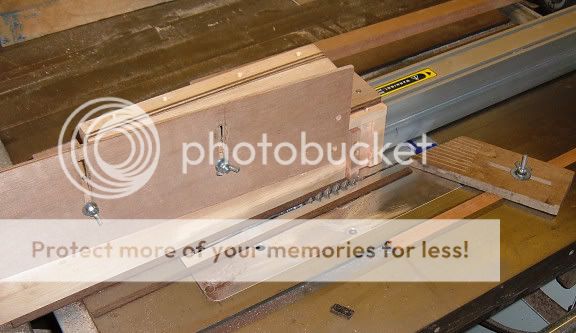
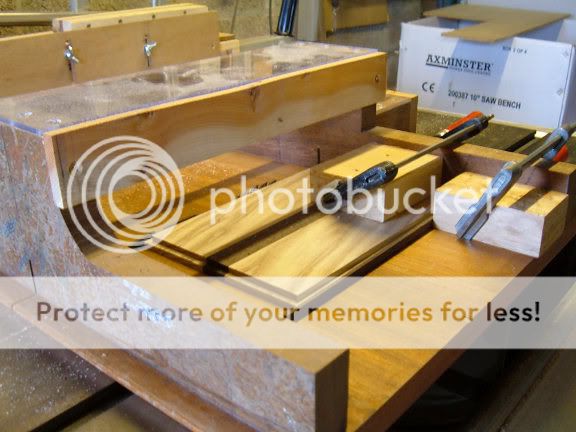
The lid was then trimmed down to size to accommodate these strips again using another jig, the sled, and the beauty of this system of cross cutting is that you can see where the cutting line starts and finishes because of the kerf line viewable through the perspex guard.

30w.jpg


another view of the sled for those that haven't seen it previously.

31w.jpg


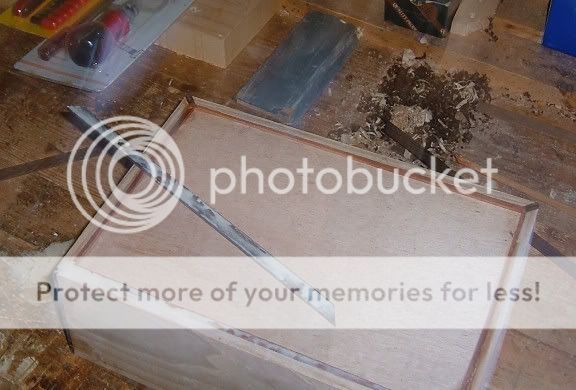
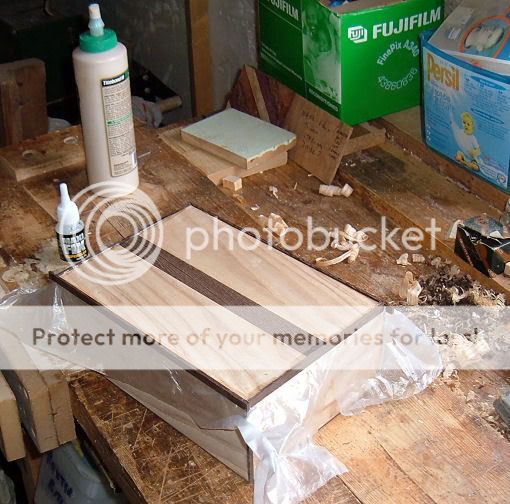
Glue up of edgings using titebond3 and superglue again, plus lots of polythene under lid to stop any unrequired stick ups. :)

32w.jpg


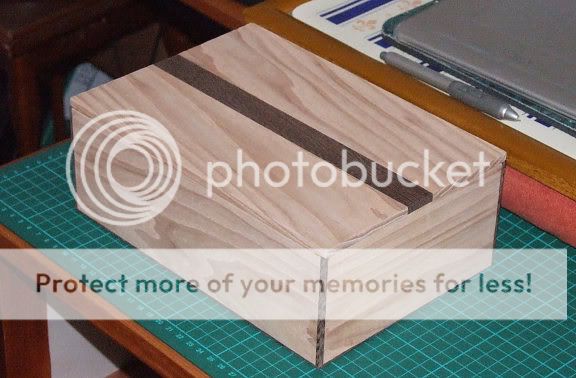
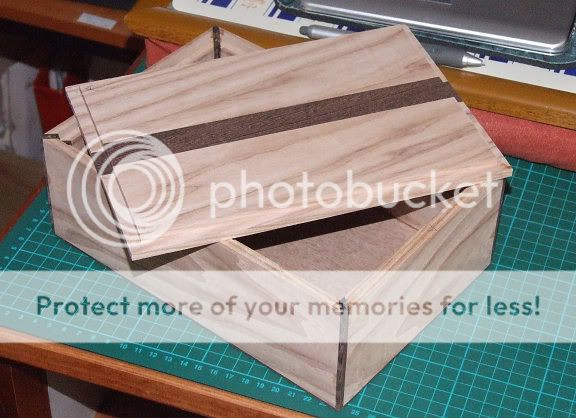
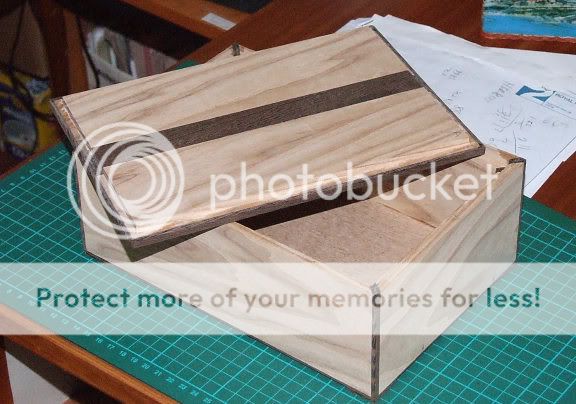
Two views of the completed box.

33w.jpg


34w.jpg


So I might make a lifting knob for the top later today and then apply a finish.
 
Well the last pic says it all =D> I couldn'y understand why you took so much trouble infilling the mitred corners the way you did. But that last pic with the lid in place says it all. Very nice indeed.
 

Latest posts

Back
Top