My Cyclone Build

UKworkshop.co.uk

Help Support UKworkshop.co.uk:

This site may earn a commission from merchant affiliate links, including eBay, Amazon, and others.

The Bear

Established Member
Joined
10 Sep 2007
Messages
1,063
Reaction score
20
Location
Surrey
Cyclones seem to be flavour of the month at the moment so I thought I'd post my build.
Hopefully it will be a bit of a different build compared to others. Two of the main "ingredients" are going to be cardboard and masking tape - I kid you not, but I'm confident it will work, we'll have to wait and see...
I am basing it on the Bill Pentz design. However I am not intending to get bent out of shape about his complicated maths/airflows etc. It seems to me many people have built all sorts of cyclones without his scientific knowledge and they work very well. My intended ducting size is 4 inch so an immediate departure from Bill's advice. His design calls for 6 inch diameter ducting and an 18 inch diameter cyclone. As my intended ducting size is 2/3 of his I am building a cyclone to 2/3 size of his plans. Thats my rational anyway, it may not work, but I hope it does. Well my cyclone is going to have a 12.5 inch diameter so 2/3ish is probably more accurate.

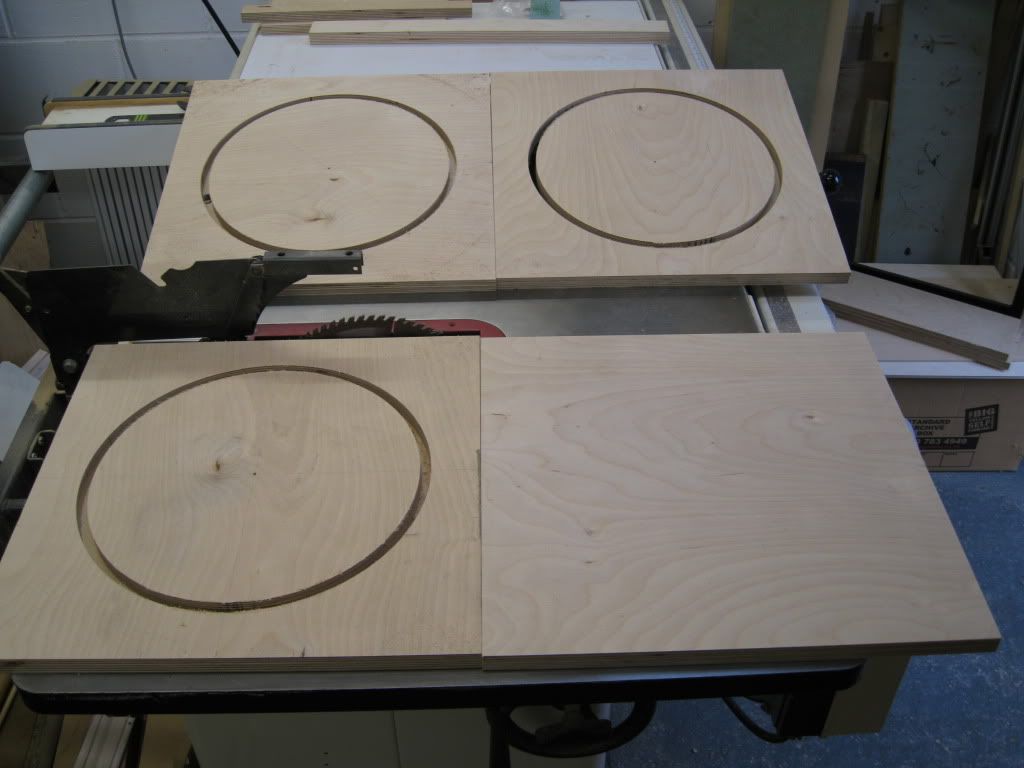
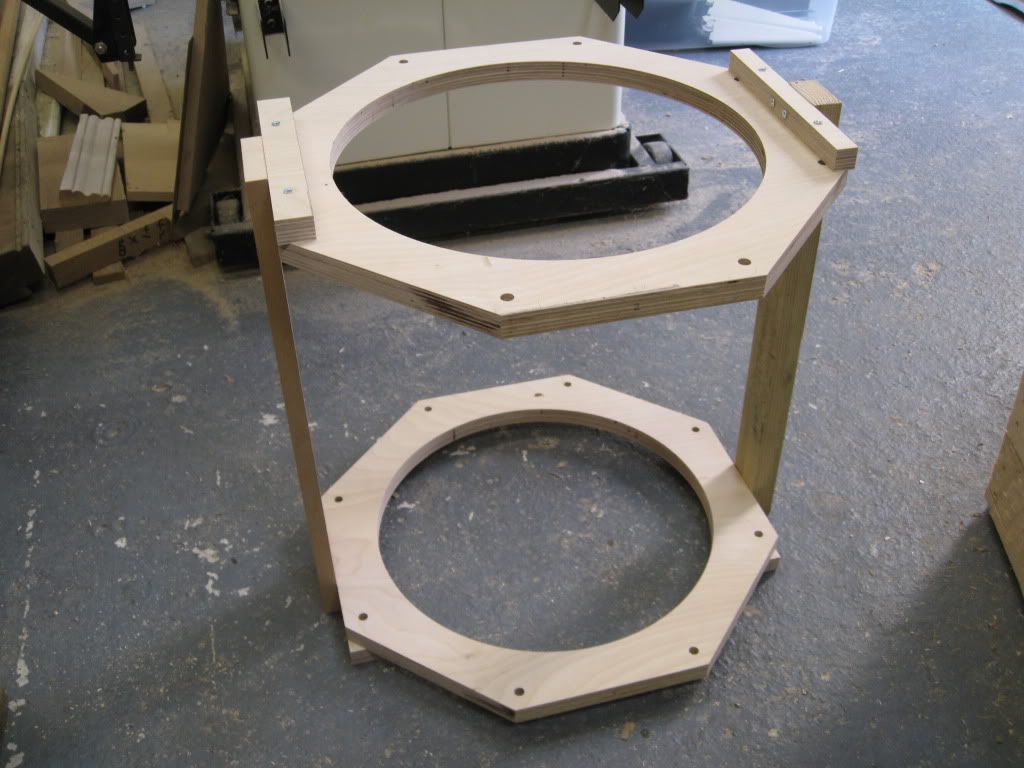
So I started with some birch ply out of a skip and cut 4 squares that are going to be the supports
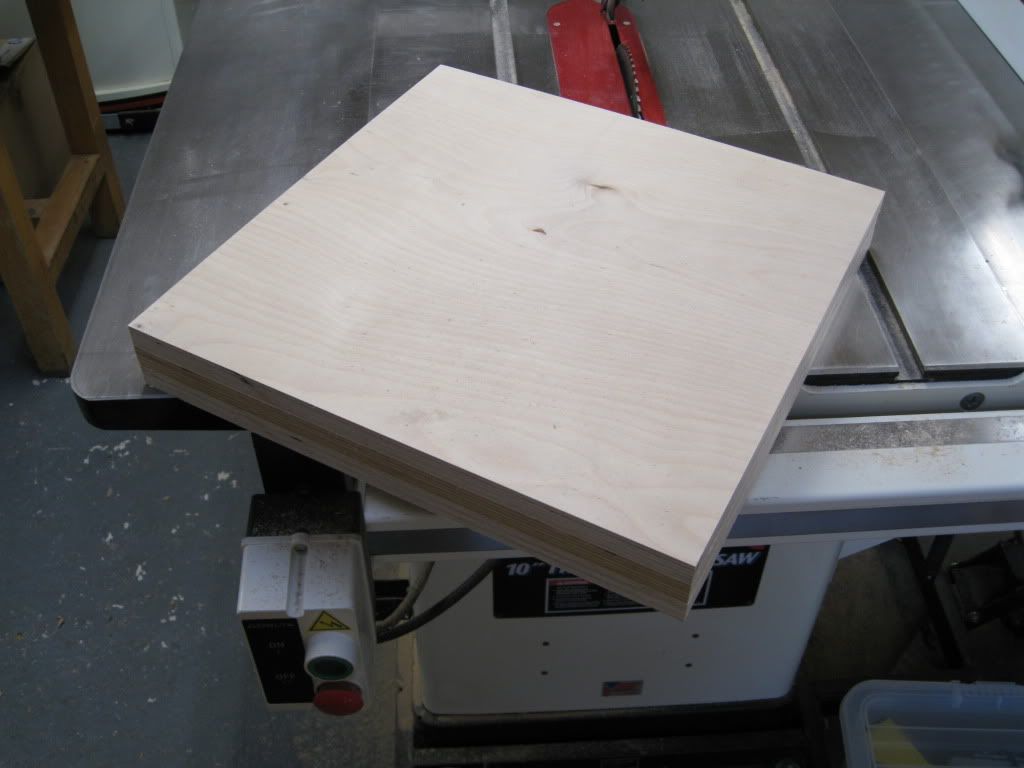
IMG_2826.jpg


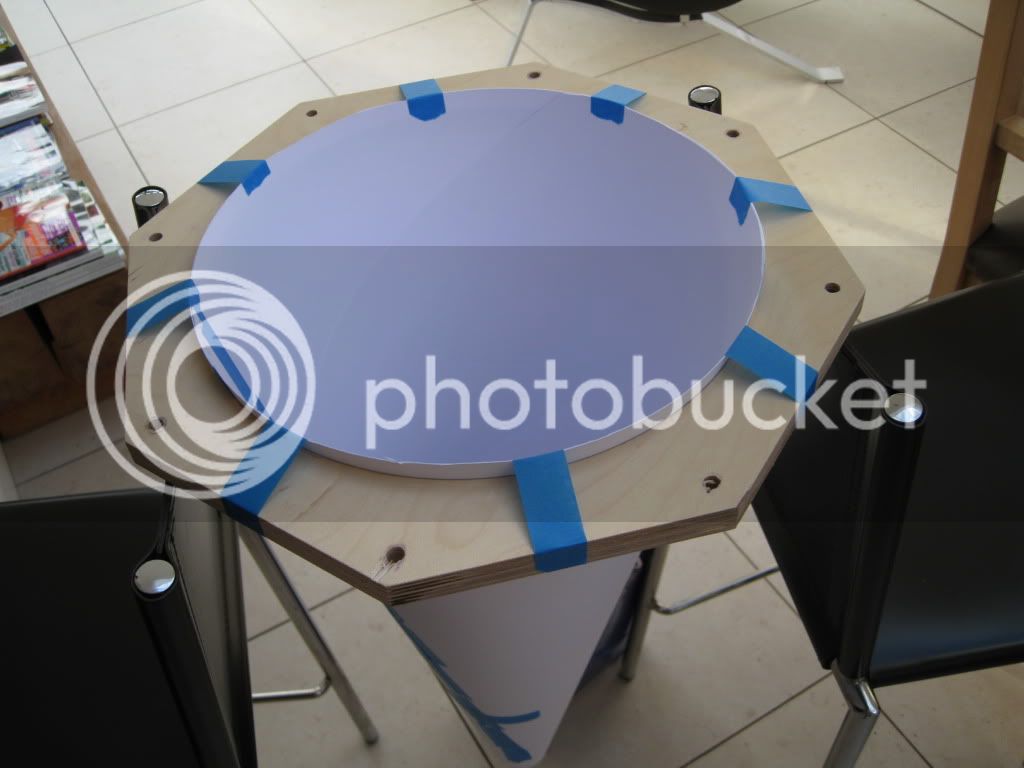
These then had a 12.5 inch diameter hole routed in them. This is the first time I've used the trammel and it was quite easy to use. Didn't quite go all the way through as its the outside I want and didn't want to ruin it.
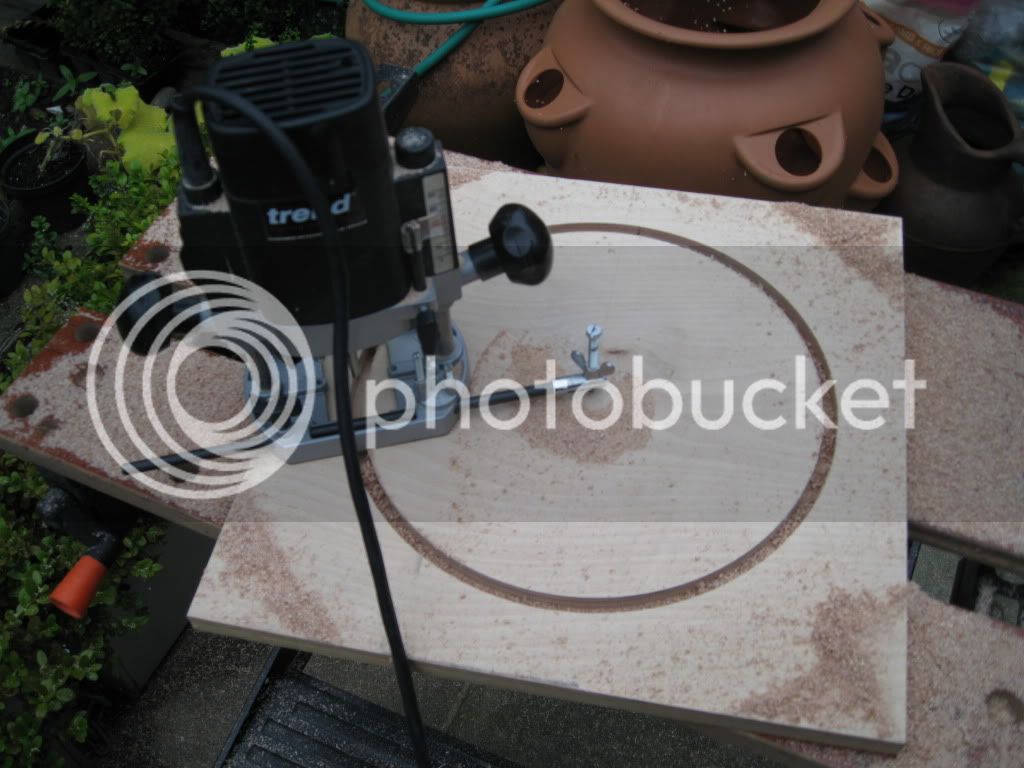
IMG_2824.jpg
 
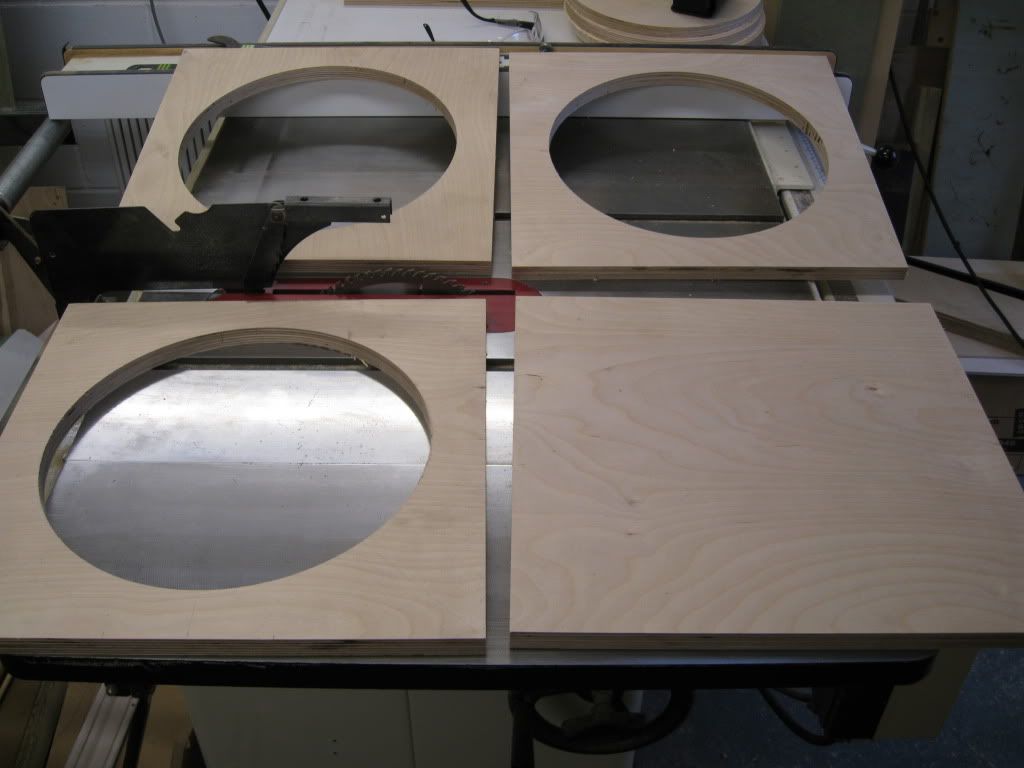
Which left me with 3 pieces cut to the right diameter and a fourth that will become the top and need a smaller hole at a later date

IMG_2827.jpg


I them cut the last mill with the jigsaw and then used a flush trimmer in the router to give the full depth cut out

IMG_2828.jpg


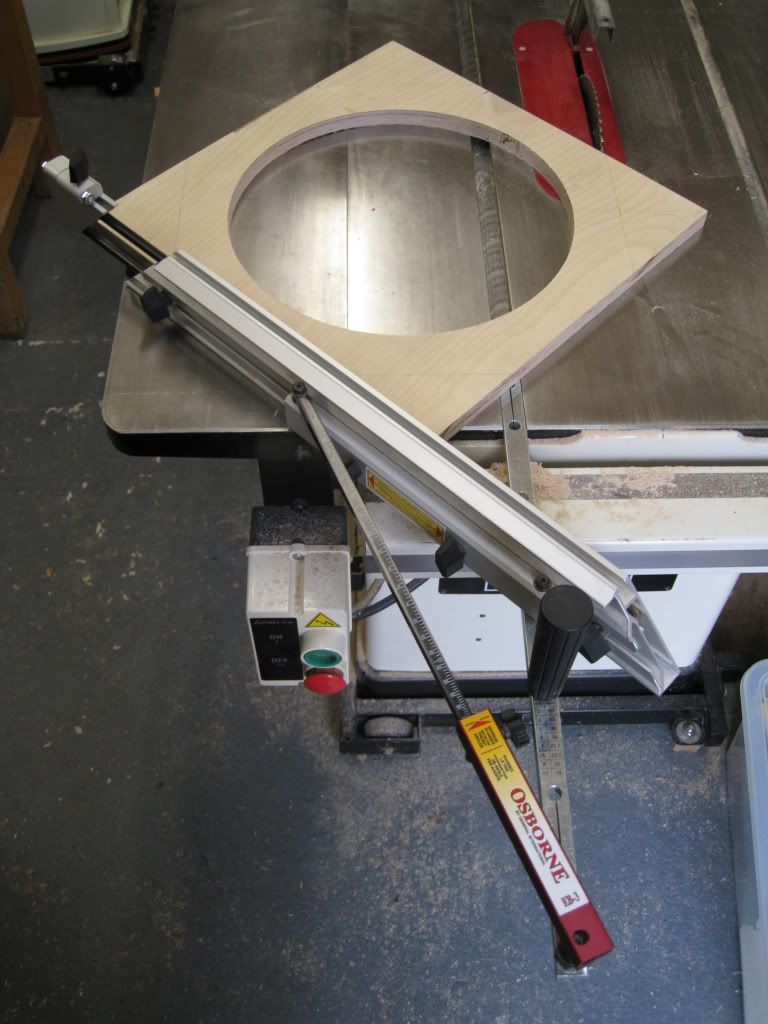
Next was knocking the corners off. In reality they were just too big for my mitre guage, but without any other way to cut them I sort of managed.

IMG_2829.jpg


It did however cause a bit of burning where they weren't properly supported at the start of the cut

IMG_2830.jpg


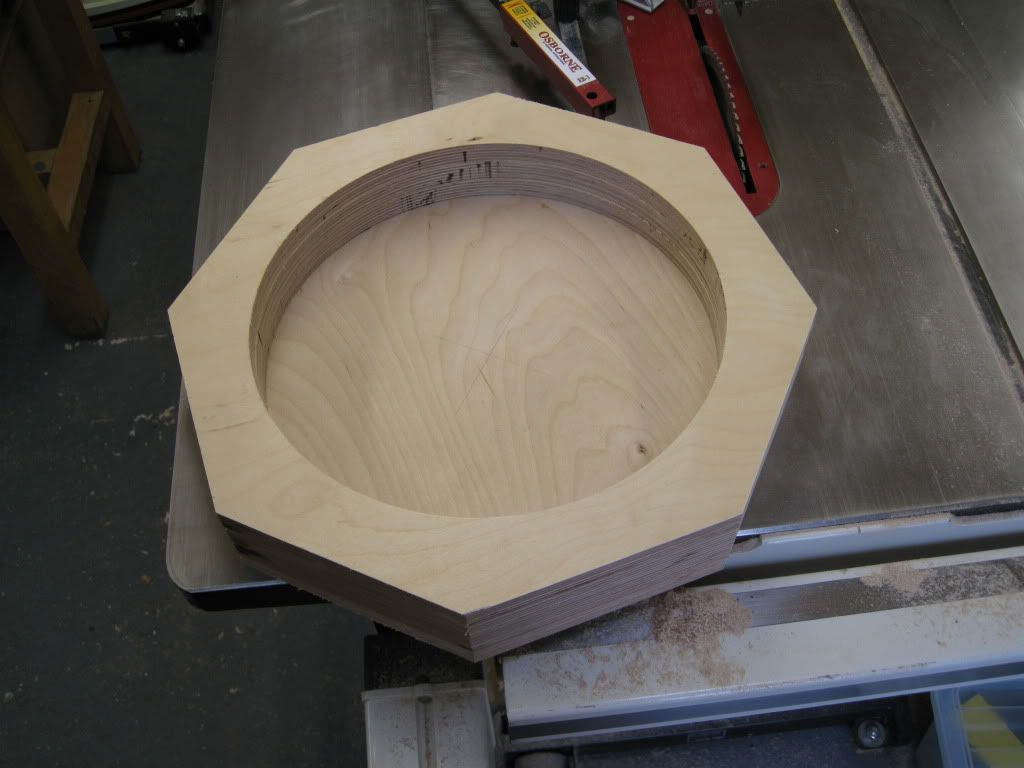
Thats the supporting rings all made

Mark
 
The supports were paired up and holes drilled for later. The 2 supports for the upper cylinder were then temporarily joined with a couple of supports ready for me to form the drum.

IMG_2836.jpg


Will post some more in a few days

Mark
 
Interesting, look forward to future updates.
 
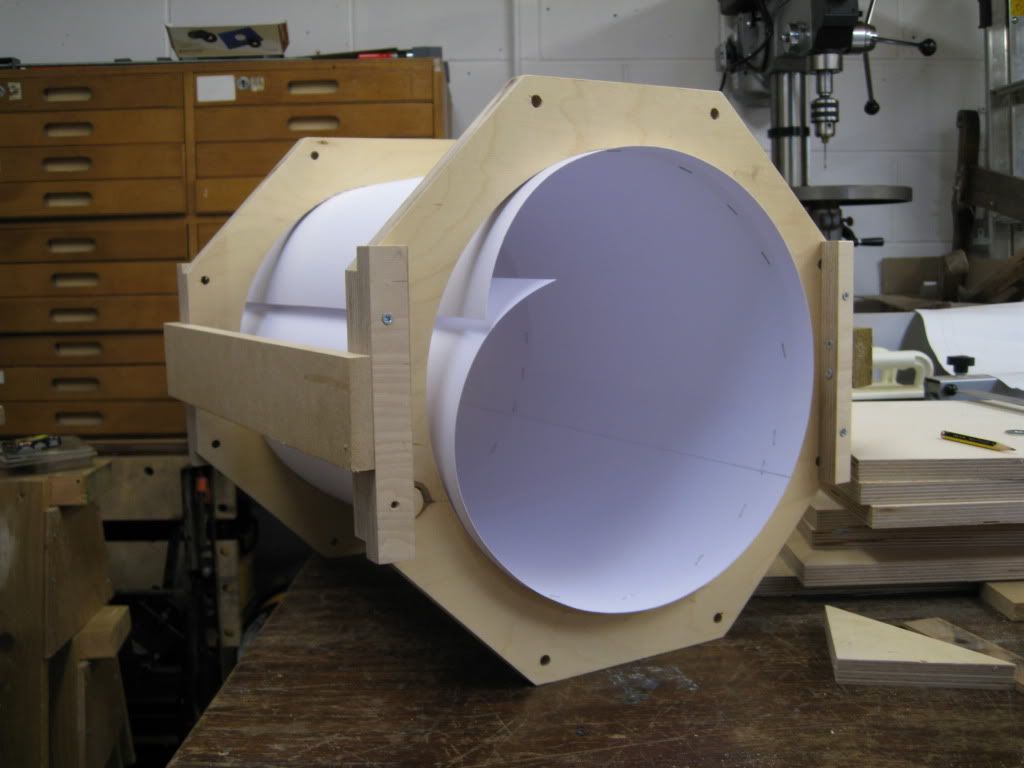
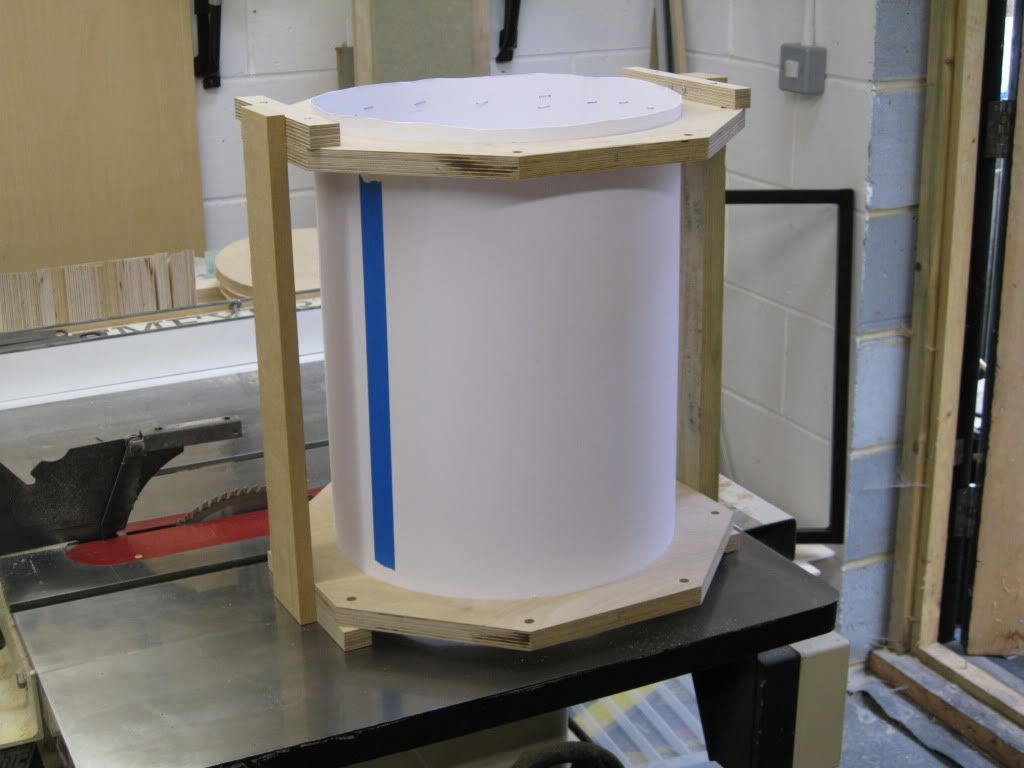
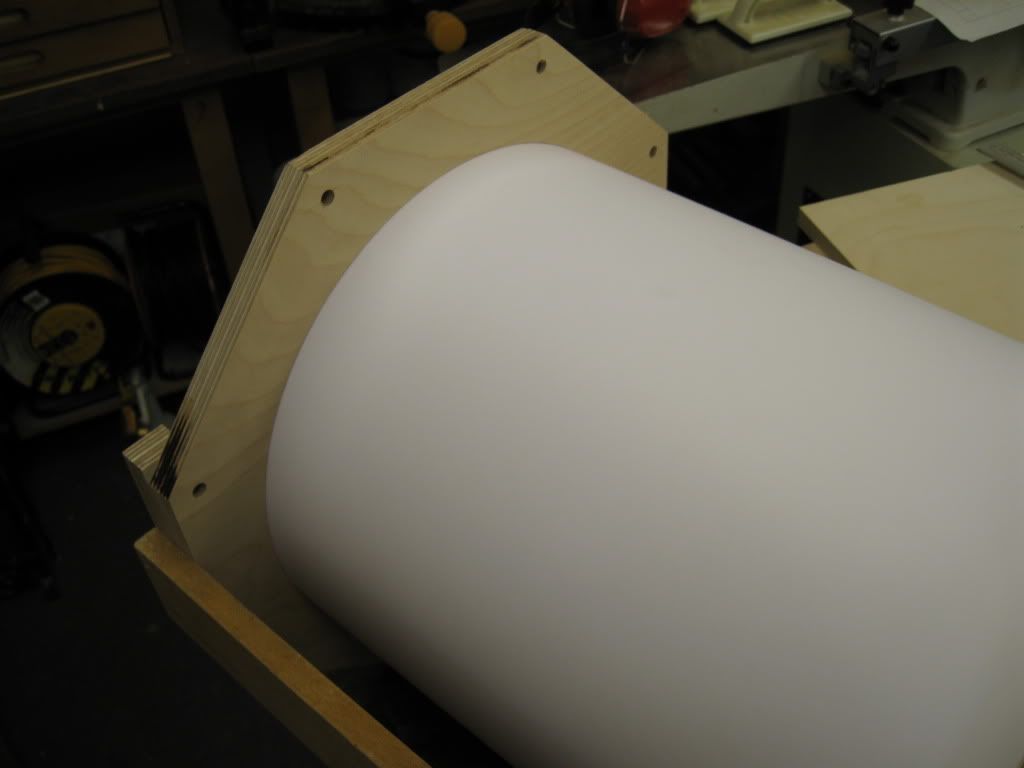
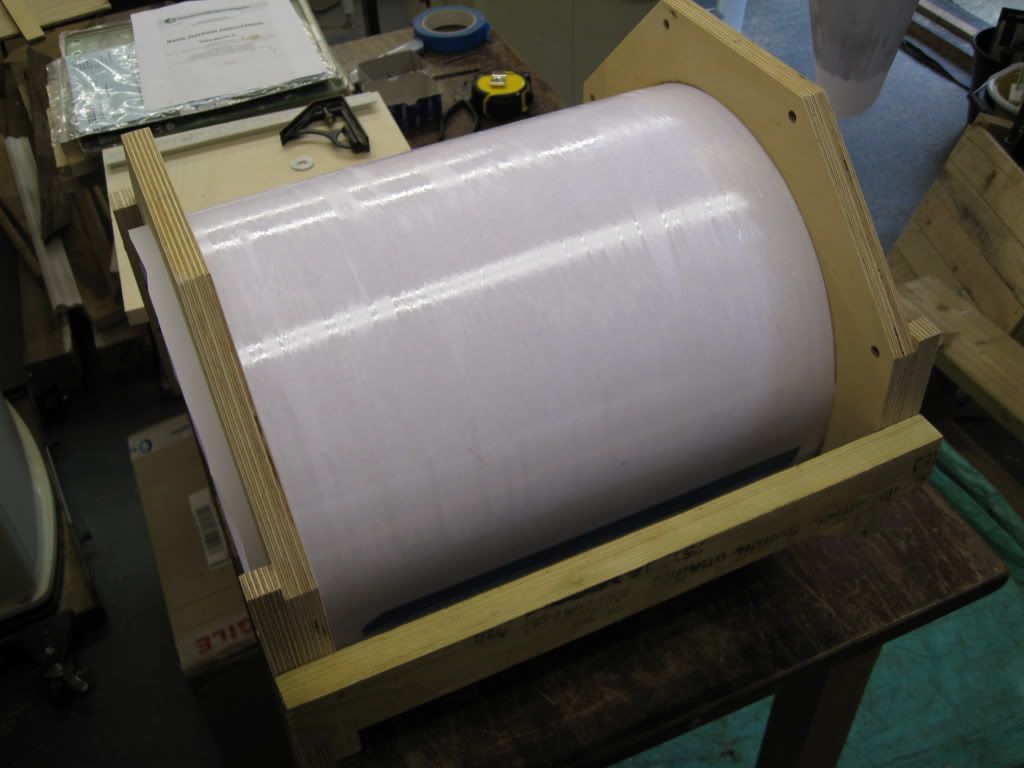
Right, I've now made the cylinder and cone and this is how. Starting with the cylinder. It is made from 300g cardboard and needed 2 A1 sheets to get all the way round the formers. I had to buy these but are only £1 per sheet. The seems are joined with masking tape. I initially tried glue but it made the card ever so slightly wrinkled when the join dried.

IMG_2838.jpg


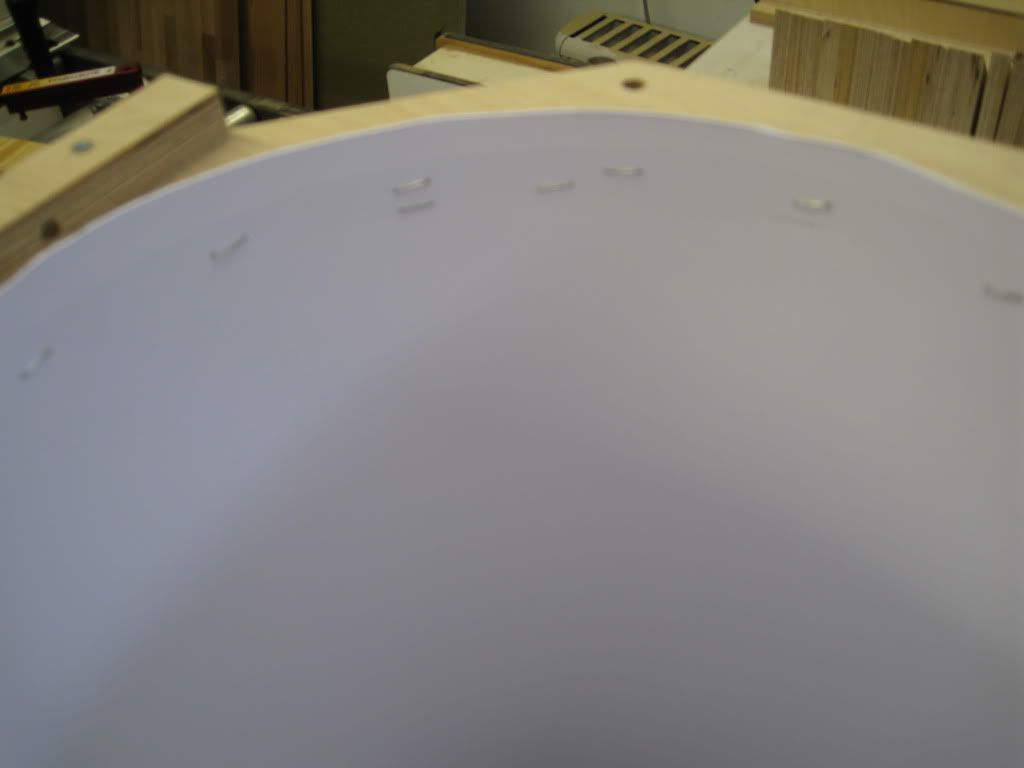
It was then a case of carefully going round the inside stapling the card to the former. The staples are temporary so no need to be neat or worry about them sitting flush

IMG_2839.jpg


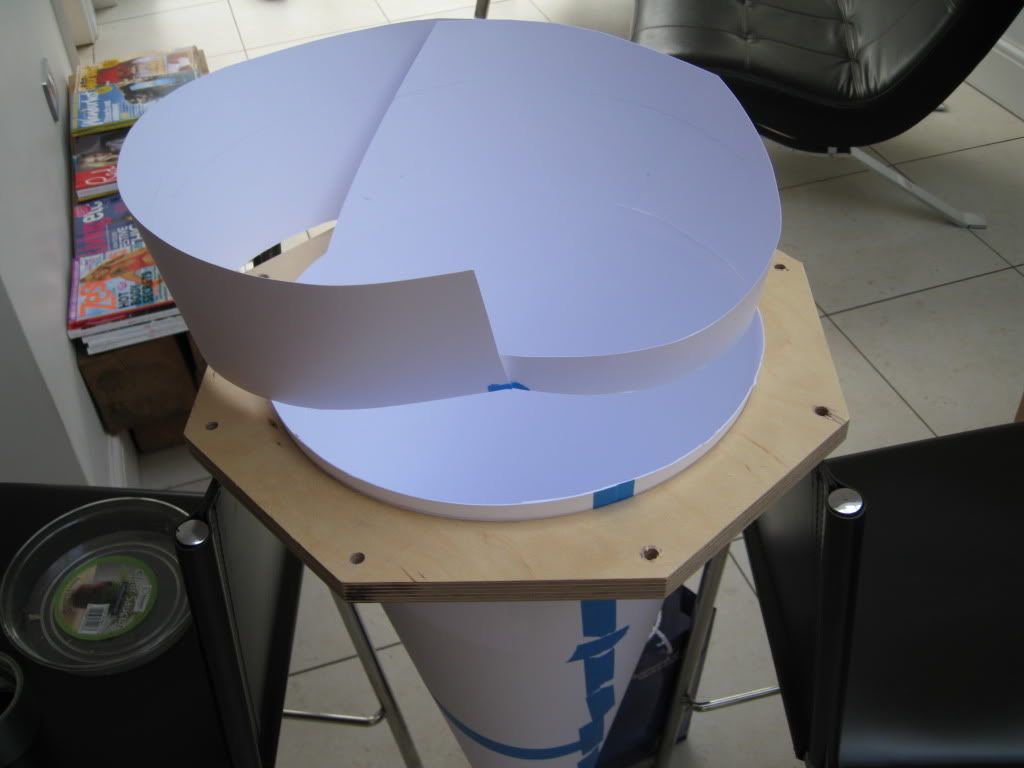
Eventually getting all the way round and then the join can be trimmed and taped up

IMG_2841.jpg


Mark
 
You can see from this photo the card sits tight against the former and follows it perfectly for a perfect circle

IMG_2840.jpg


Mark
 
Looks really good, be interested to see what happens.

Is cardboard air tight? And what happens when the cyclone sucks in a pointy larger bit that bangs around the inside, won't it just fly out?
 
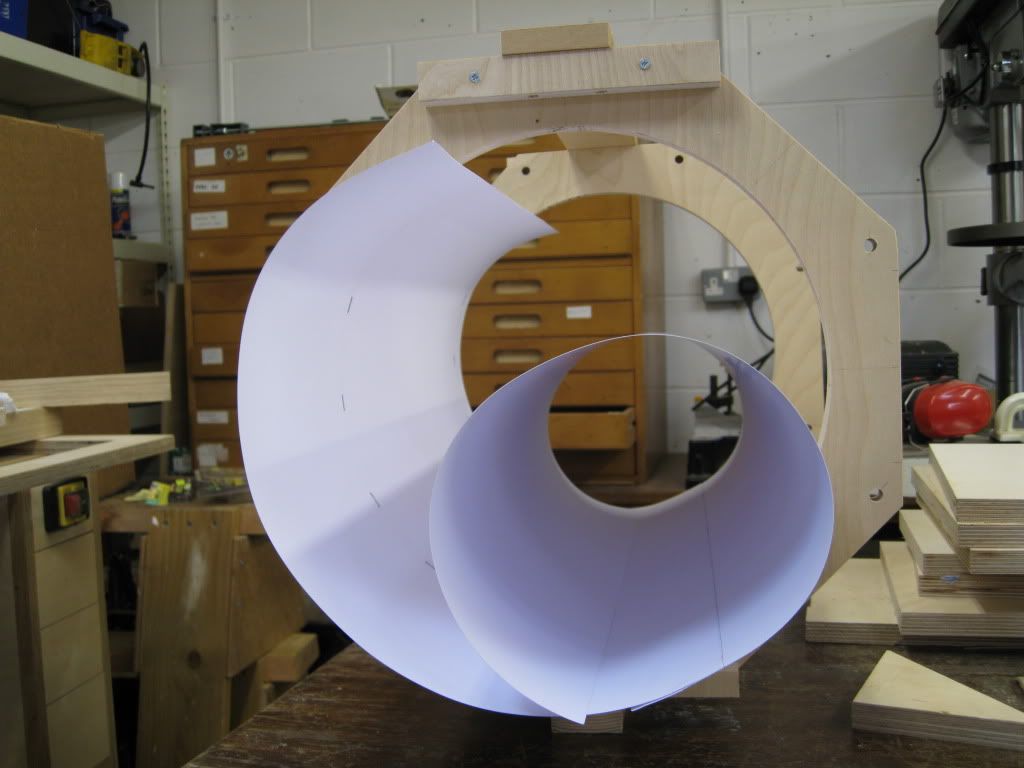
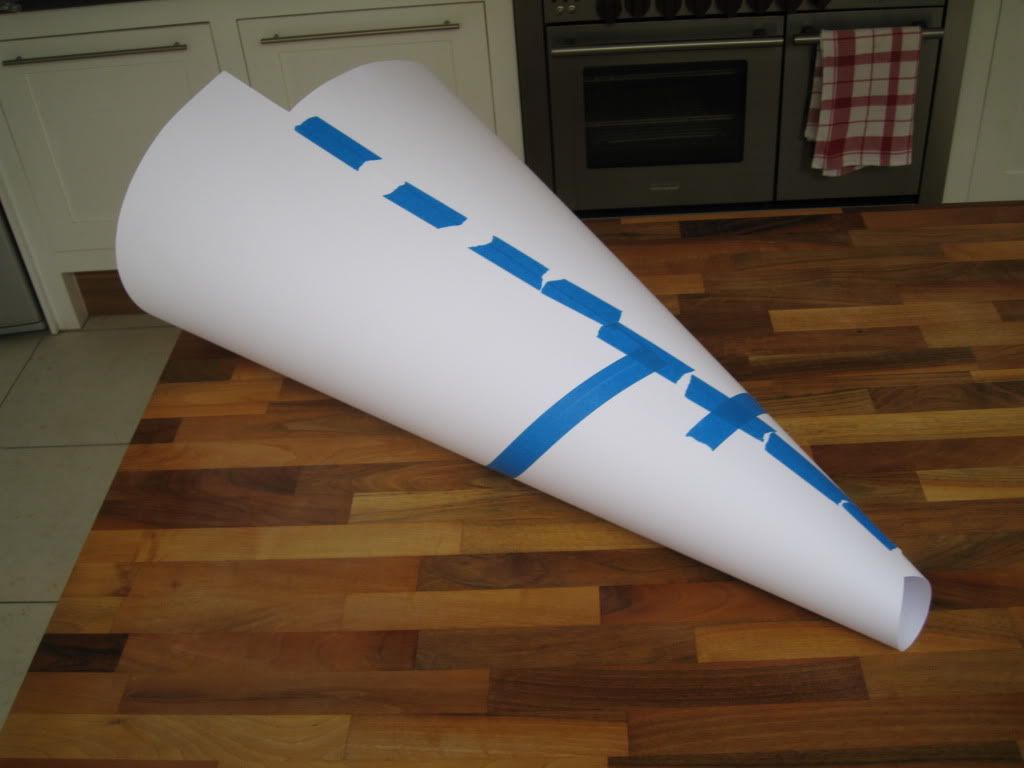
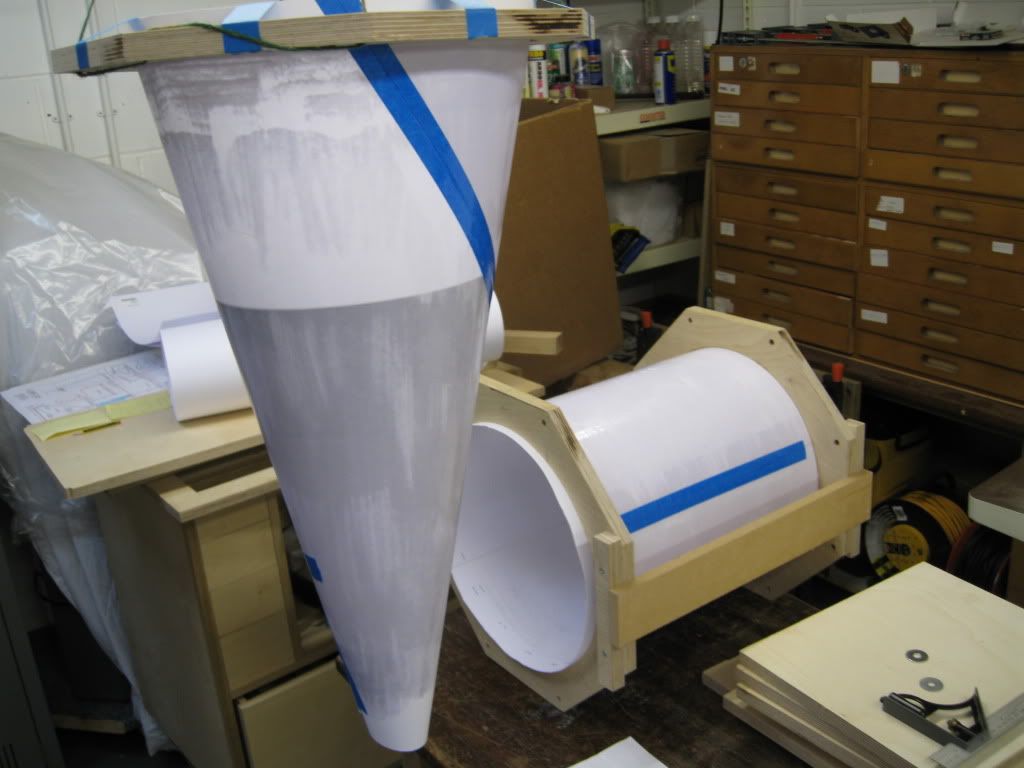
Onto the cone. This was quite tricky and required a bit of trial and error to get the right length and diameter at the top and bottom. Oh and a lot of masking tape to hold it inside and out.

IMG_2844.jpg


In can't support its own weight so just flops while laying on its side

IMG_2845.jpg


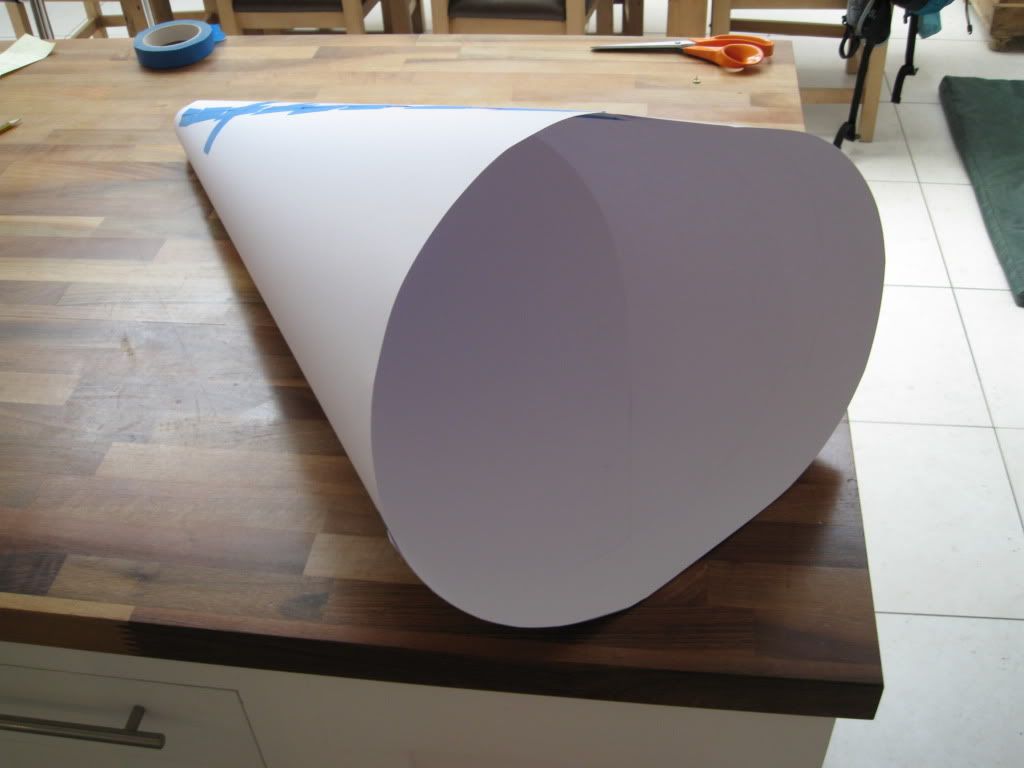
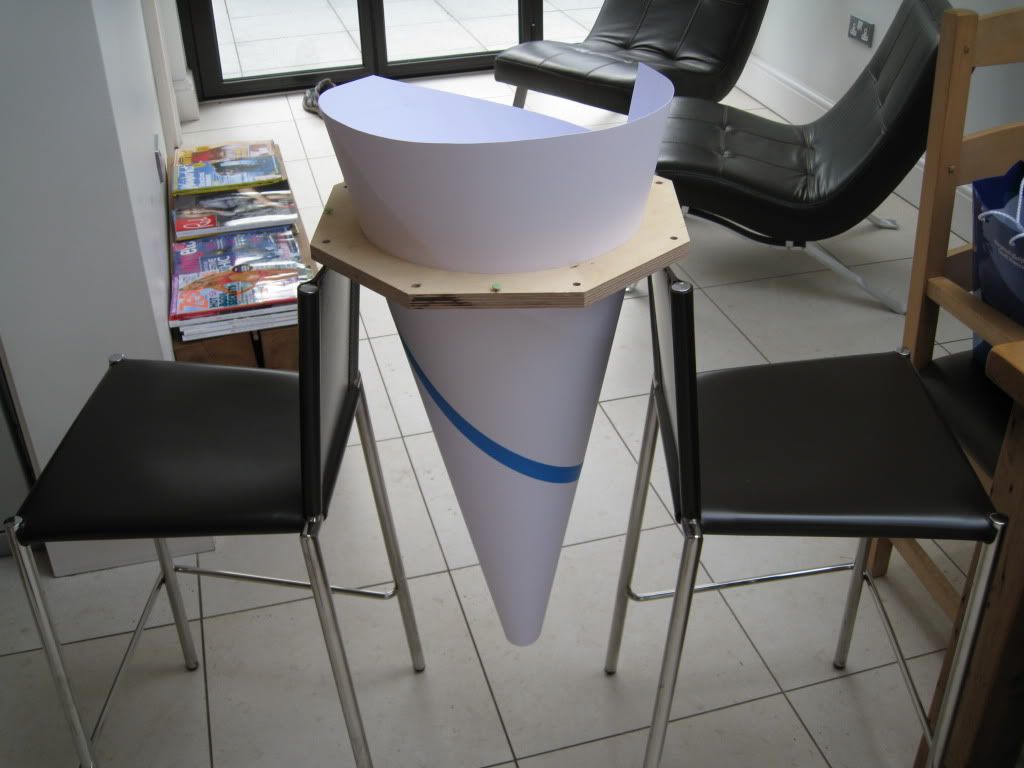
However once sat in the former it sits in a perfect cone

IMG_2846.jpg


Mark
 
Chems

You are quite right, the card board is just to get the shape, it will be strengthened and made air tight later. I would have loved to make it from metal but do not have the skills, so have come up with my own way. By the time I've finished uploading photos today you will see where this is going :wink:

Mark
 
Then had to try and make sure it was sitting evenly in the former and not off to one side, which I had to do very carefully by eye

IMG_2848.jpg


Which means I could cut off the excess

IMG_2849.jpg


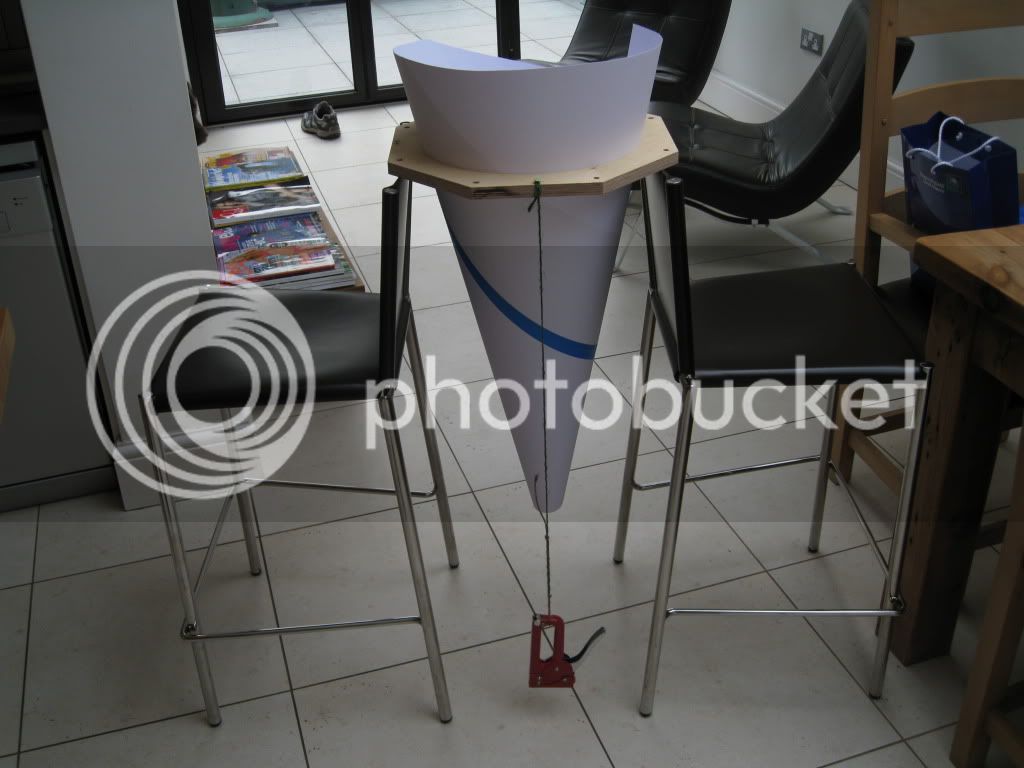
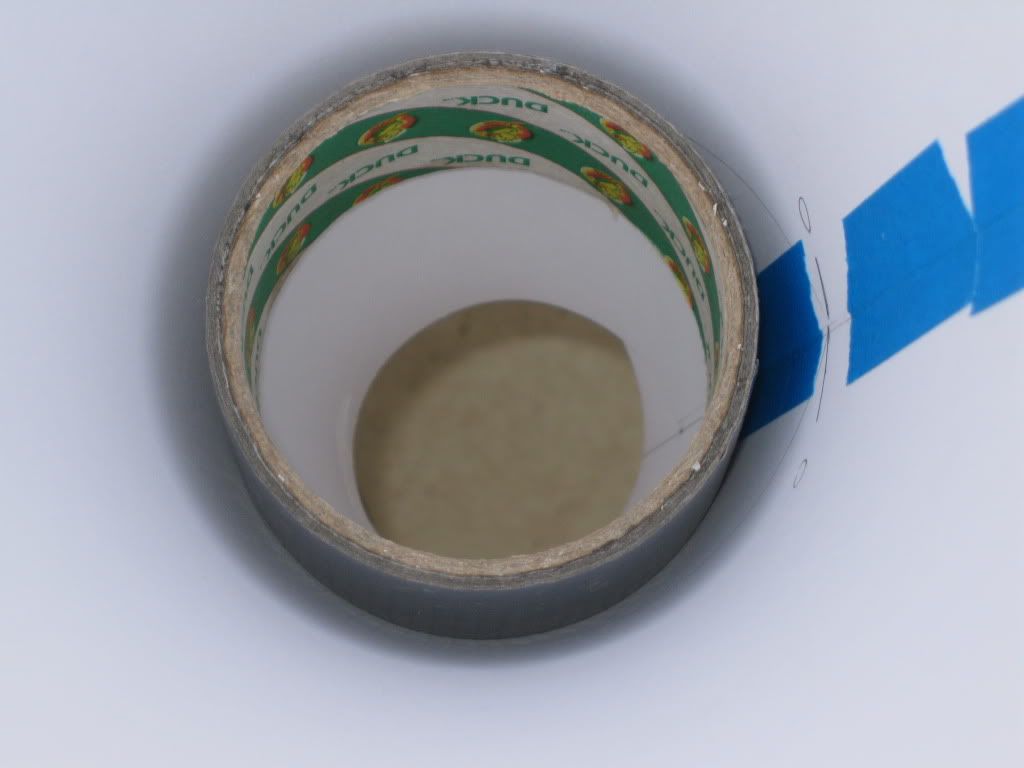
I also wedged a roll of tape in the bottom to help keep that round. The cone at the bottom is longer than needed at the moment and where the radius gets very tight it wants to deform. I will trim that to the right length/diameter later

IMG_2851.jpg


Mark
 
The cone was then secured in the right position with more masking tape

IMG_2854-1.jpg


Mark
 
So here's where it starts to get strengthened and made air tight.

The outsides of both bits had polyester resin brushed on. I was quite concerned that this would wet the card too much and possibly make it soggy, so I made sure it was a very thin layer. However I had nothing to worry about as it turned out.

IMG_2857.jpg


IMG_2855.jpg


The grey/white band is a trick of the light. There are some more discs in the cone stopping the light getting to the bottom and some of it is double thickness card.

Mark
 
Looks good so far. I'll be following progress with interest.

What are you going to use for the blower? Just a shop vac or something bigger?

Dave
 
Looking good. There was me thinking cardboard will be no good, then you went and applied resin to it - good thinking!
 
With regards to the blower, I'm still undecided. When I first started thinking about this I was going to get hold of a multi motor Camvac with the hope I'd get some suction off power tools with a smaller hose as well as 4 inch on the machines.

I'm now leaning towards the normal HVLP blower route taken from a standard double bag chip extractor

I am a couple of weeks ahead of the WIP at the moment so will try and bring this thread up to date when I get chance, I've got lots more photos to post

Mark
 
I have been considering trying to make a similar system to what you are proposing (i.e. trying to use a HVLP blower - in my case, I am eyeing up the Axminster AWDE extractor http://www.axminster.co.uk/axminster-axminster-awede-extractor-prod376272/).

But I was unsure how useful it would be in cases where I want to move small volumes of fine dust (i.e. router) so I'll be very interested to see how you get on.

The other thing I was thinking about was just replacing the top (filter) bag with ducting to vent outside the workshop which should eliminate any dust getting fed back into the air inside.
 
Not sure about how well it will work with a router, everything I read suggests not that great but I don't know

Venting outside is ok in summer but in winter all the warm air is blown outside to be replaced by cold air


Mark
 
To pick up the build...

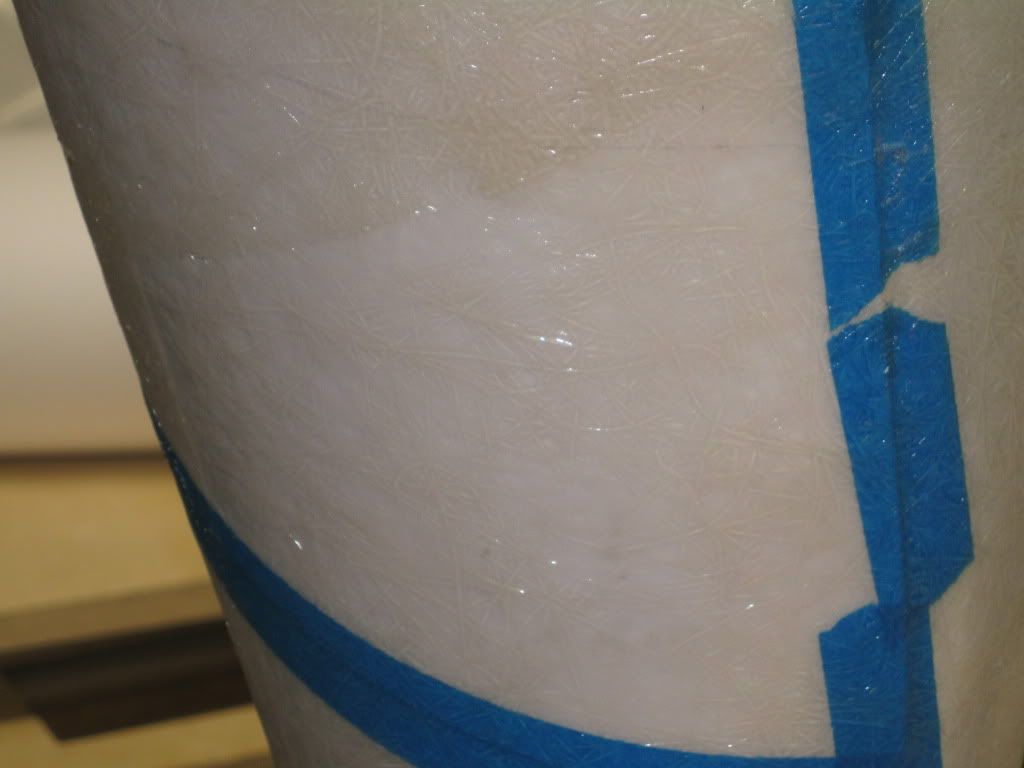
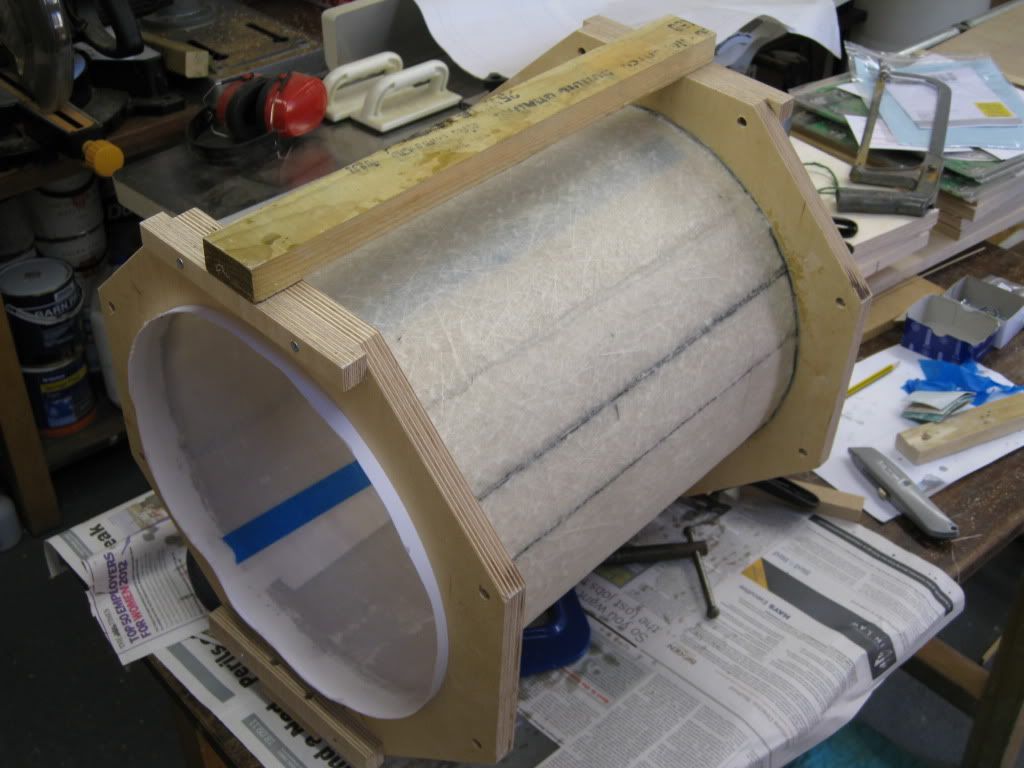
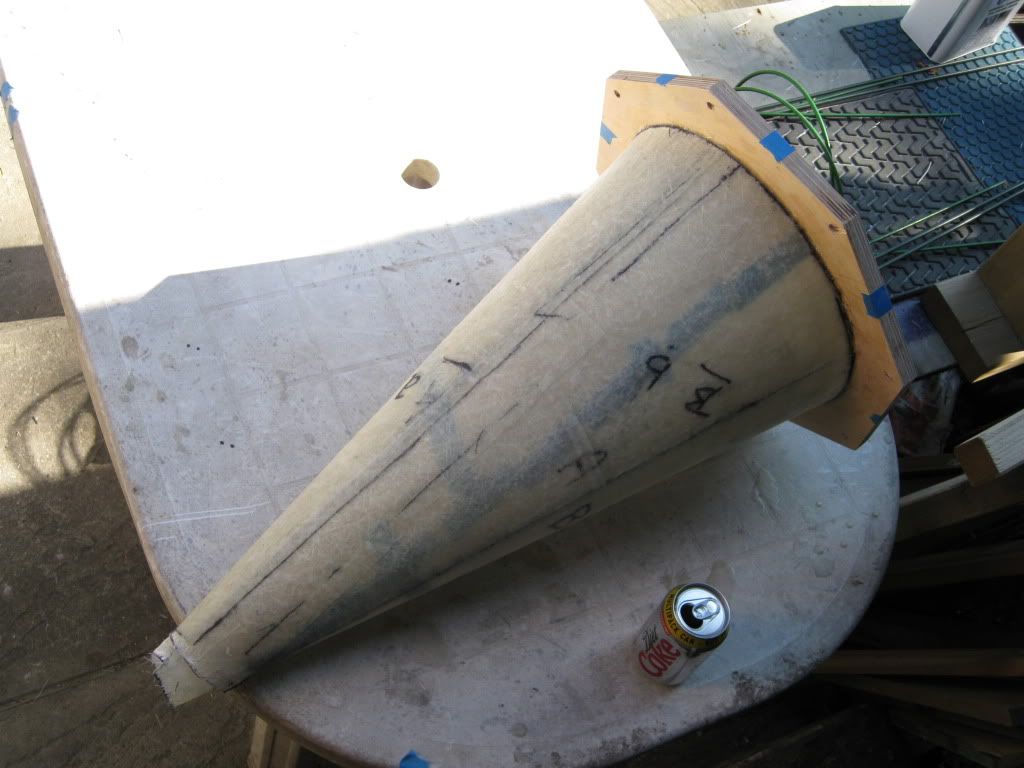
Once the thin coat of resin was dry, the cone and cylinder had a nice "plastic" ring to them when tapped. It was then a process of building up layers of resin and chopped strand mat. I started with a layer of 100g to add a bit of strength before a started pressing anything thicker into place

IMG_2861.jpg


A the same time I kept brushing layers of resin on the inside of both parts.

IMG_2868-1.jpg


Obviously each layer needed to dry between coats so this took a number of days to do. Eventually on the outside I built up a layer of 100g mat, 2 layers of 350g mat and a layer of surface tissue.
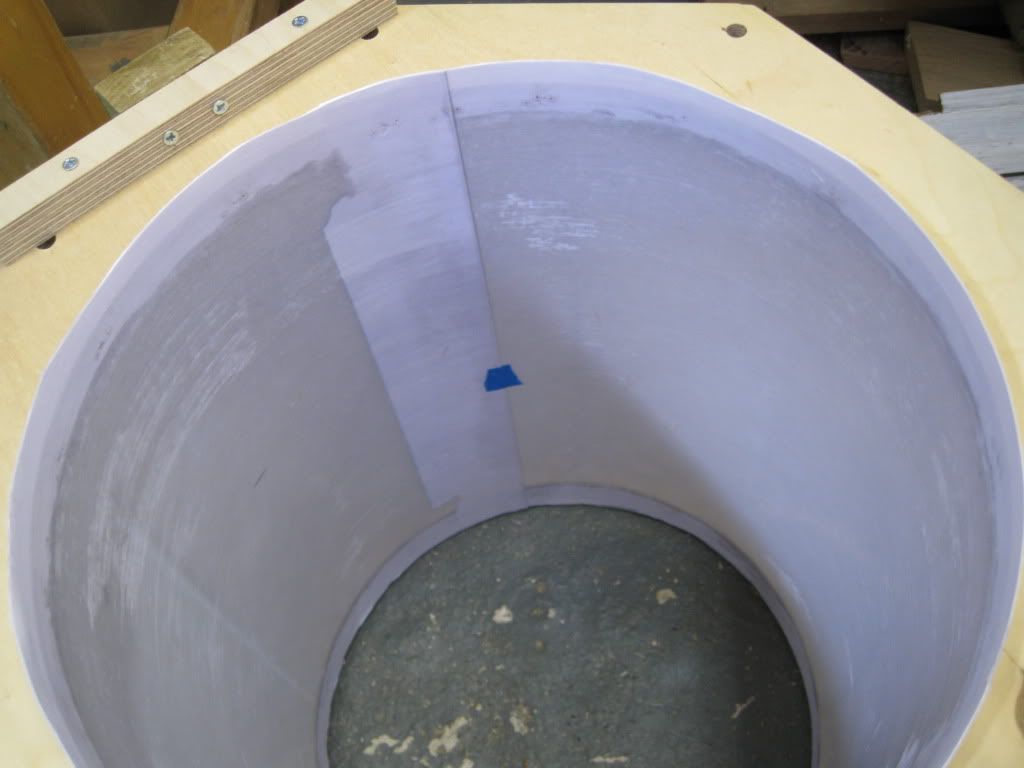
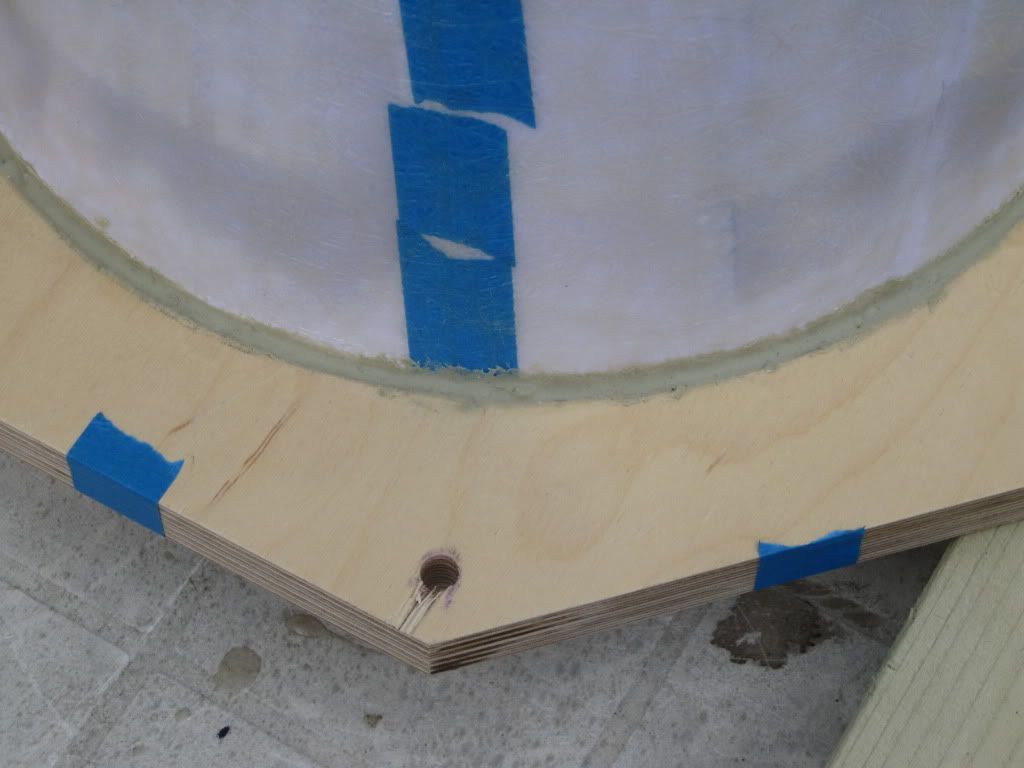
The inside had about 7 layers of resin brushed on but no mat. I did take a series of pics of this but to be honest, they all look the same. On the inside there was obviously a small seam where the cardboard overlapped. I did lap it the correct way for the airflow but also between each coat of resin I sanded the seam down so now it isn't actually detectable when you run your hand over, all nice and smooth. I also added a bead of gripfil between the drums and the wooden rings.

IMG_2870.jpg


Here's what they looked like when finished.

IMG_2885.jpg


IMG_2887.jpg


Mark
 
Back
Top