Hi guys!
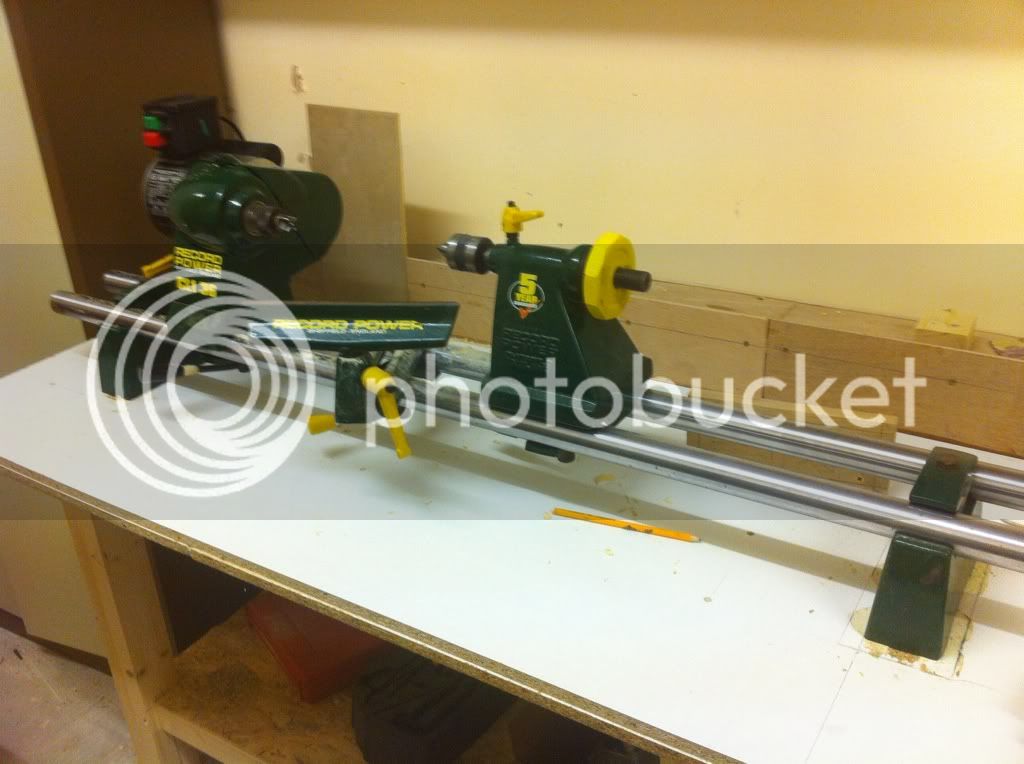
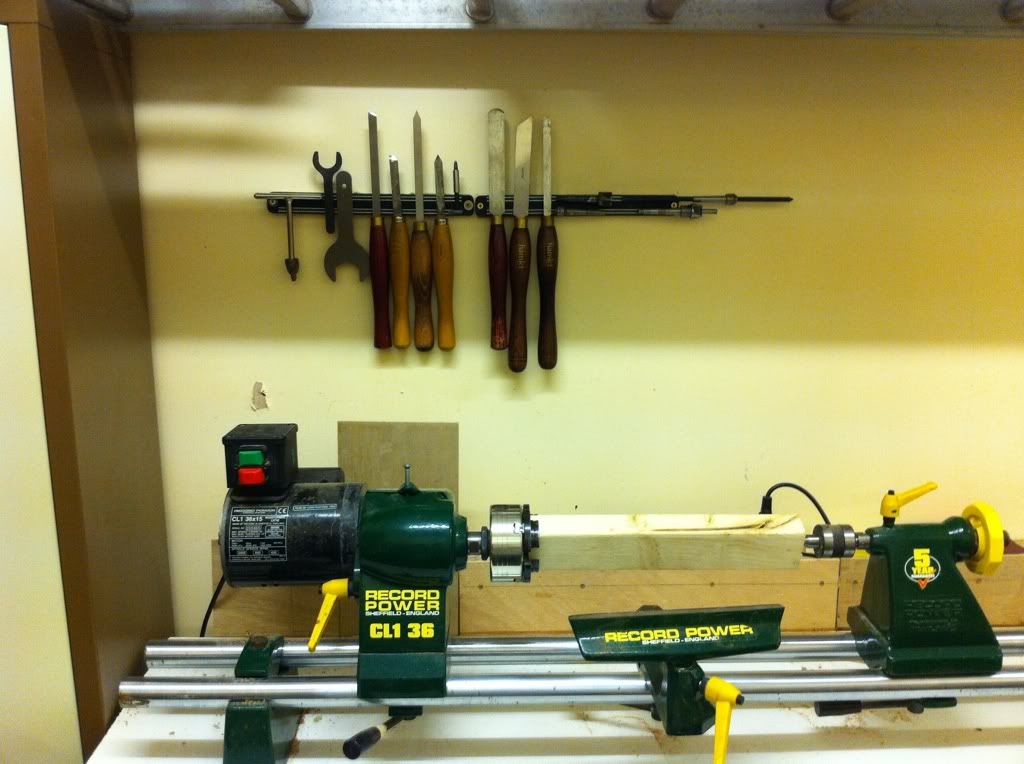
Well after my recent purchase of a Record Lathe it became clear that I needed somewhere to mount it as it is fairly long (roughly 1.5m overall).
I went through the obvious options which were to:
1) Buy a decent bench, I didn't want to do this because of the cost.
2) Buy a cheap metal bench from ebay, I didn't want to do this because I didn't want the bench to vibrate whilst working
3) Make my own out of scrap wood and cheap bits and bobs.
I decided to go down the DIY route not only because of the cost, but also it gave me something to fiddle with on the weekends!
Here is what I wanted:
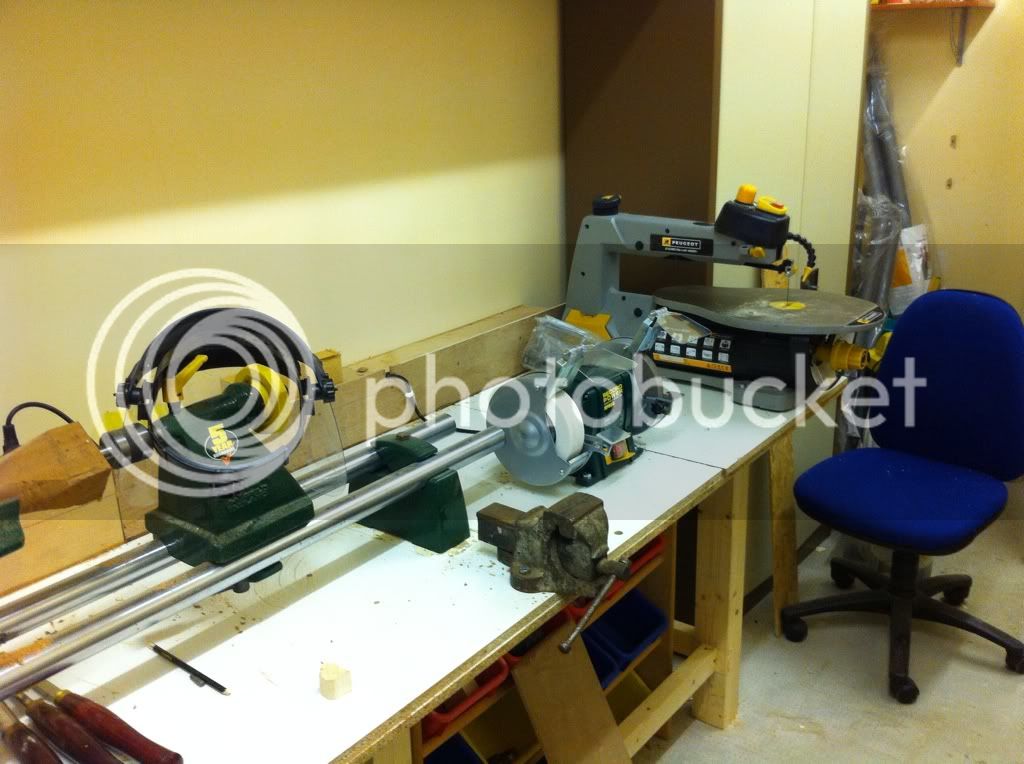
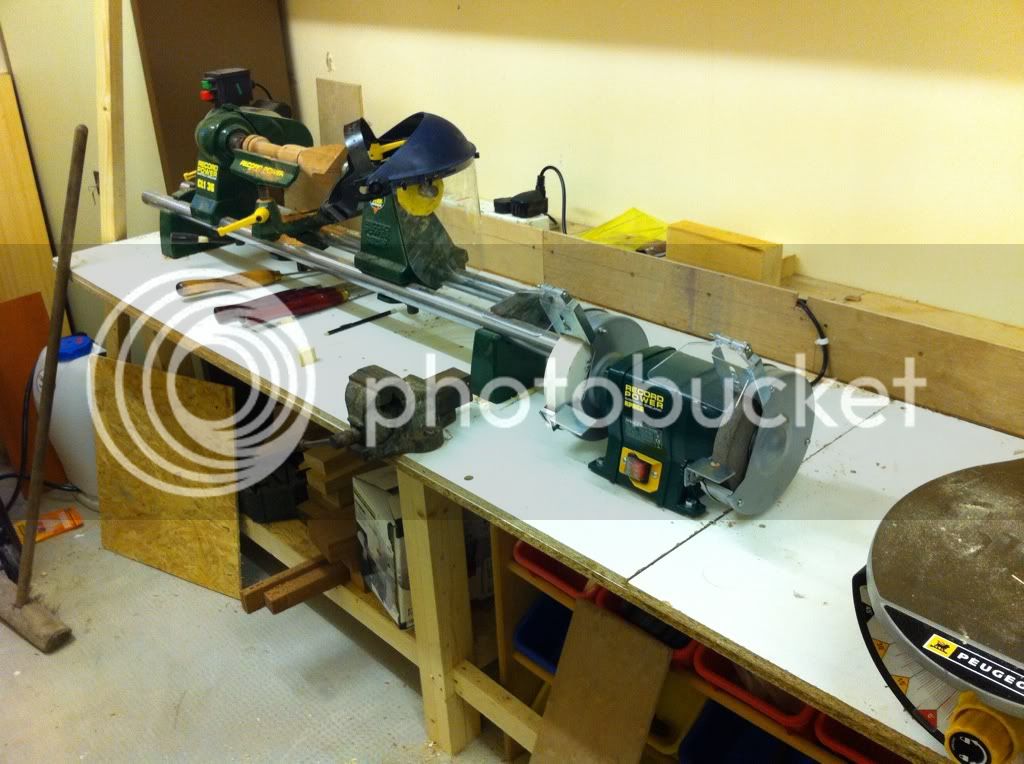
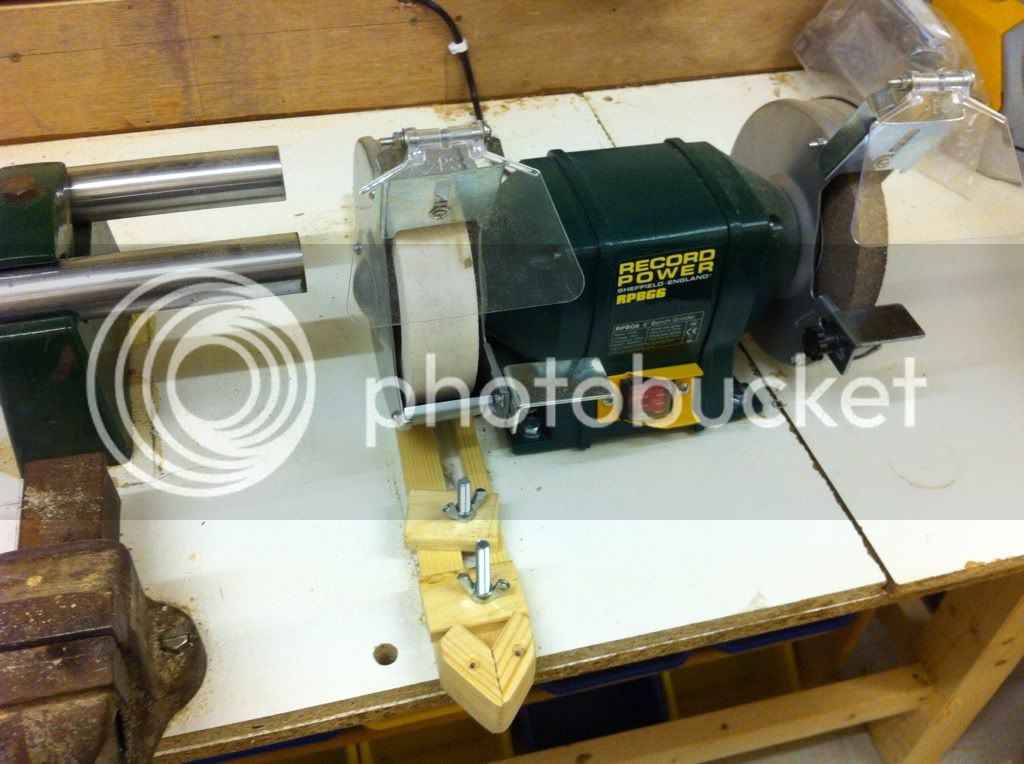
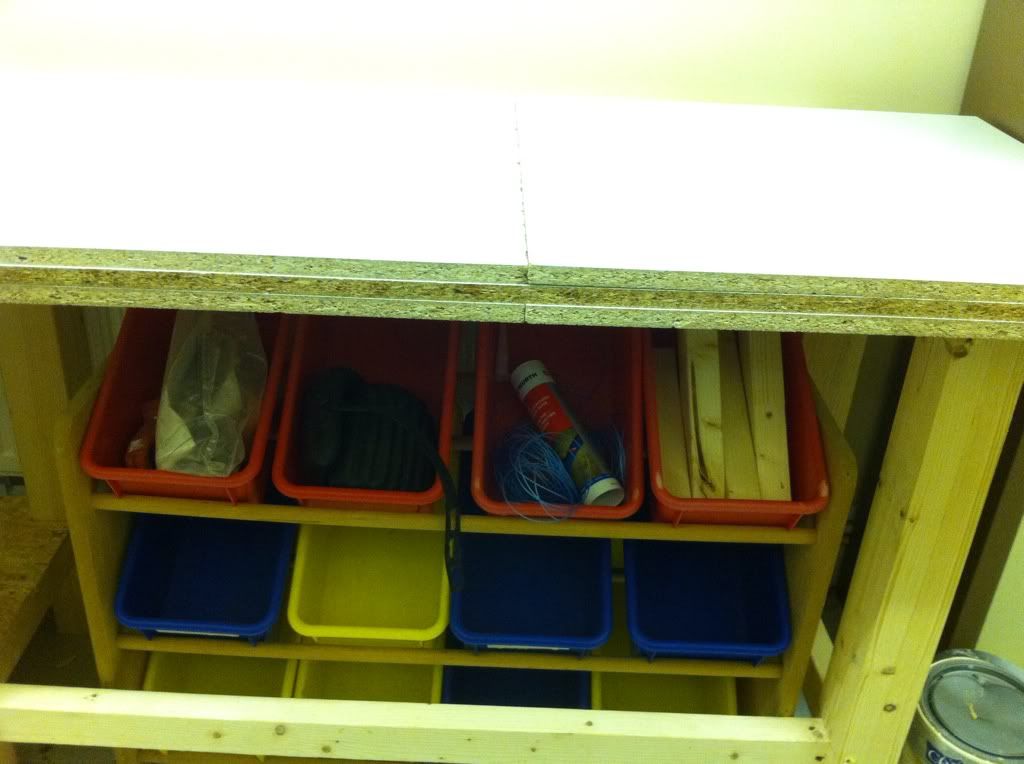
- 8ft long to house the lathe and either a mitre saw, band saw, fret/scroll saw or bench grinder
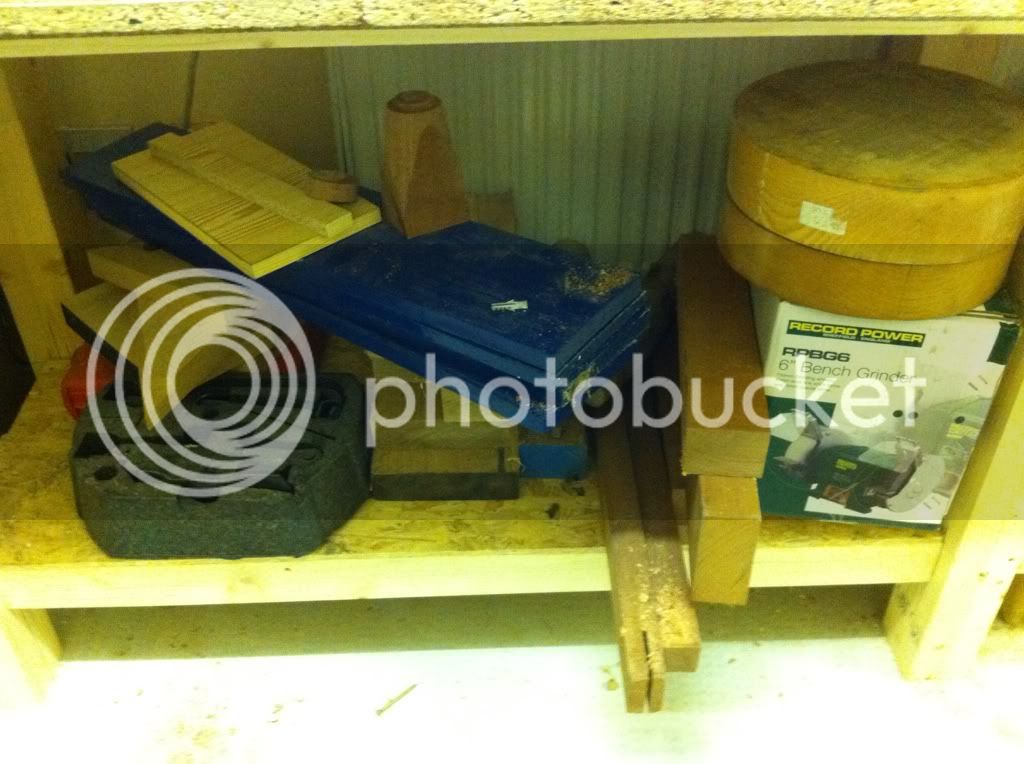
- A nice sized shelf to keep my nice stock pile of timber
- A space to fit a storage rack in (already have this)
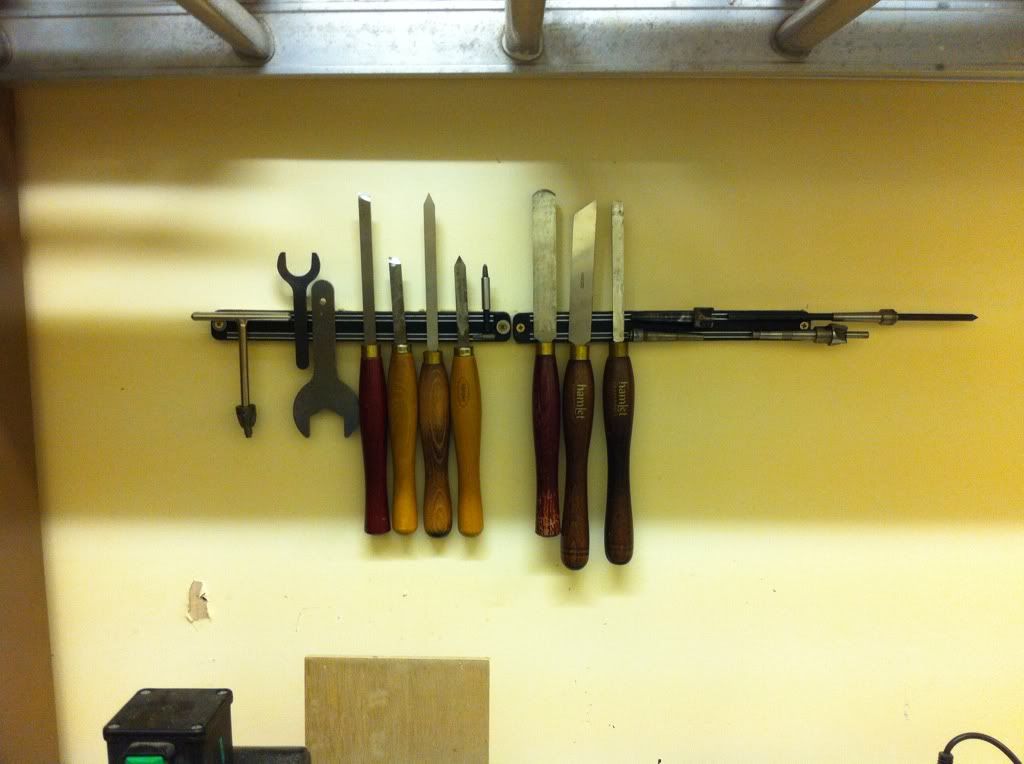
- Somewhere to store my tools
First of all I went to my local Travis Perkins where I picked up some 18mm MDF and two planks of 4x2 CLS, the total for these came to £32 which I was totally shocked about because that seemed a lot for what I got but hey ho.
My next stop was B&Q where I intended to get some lengths of 3x2 CLS as this was £2.60 for 2.4M lengths. However when I got there I realised that the 4x2 that I got in Travis Perkins was for sale for £3 odd a length and also to add to that, they had some coated chip board that was used for shipping of bathroom suites on offer for £1 for a sheet with the dimensions of 6' x 4' which was a bargain so I bought both of them! My total bill from B&Q came to £25 which included 7 lengths of 3x2 CLS, 2 lengths of 4x2 CLS and 2 6'x4' sheets of chip board.
(needless to say that I returned my TP haul!)
I then went to the workshop and managed to scavenge 3 legs worth of 4x4 softwood (scrap). Here I laminated the 4x2 in order to get 4x4 for the legs, cut the stock to the required lengths and then cut mortice and tenons in the stretchers (3x2) and legs (4x4). I also ripped the 6x4 boards down to 4 pieces with a width of 24". I then took one of the lengths and cut it on the cross cut into 3 sections of 24" (to give me 3 layers of 8')
Once all of the wood was machined I then took it all to my "workshop" where the bench was going to live.
I won't bore you with all of the details about how I assembled it as it was relatively straight forward, I will just give you some nice pics to look at now!
My initial idea:
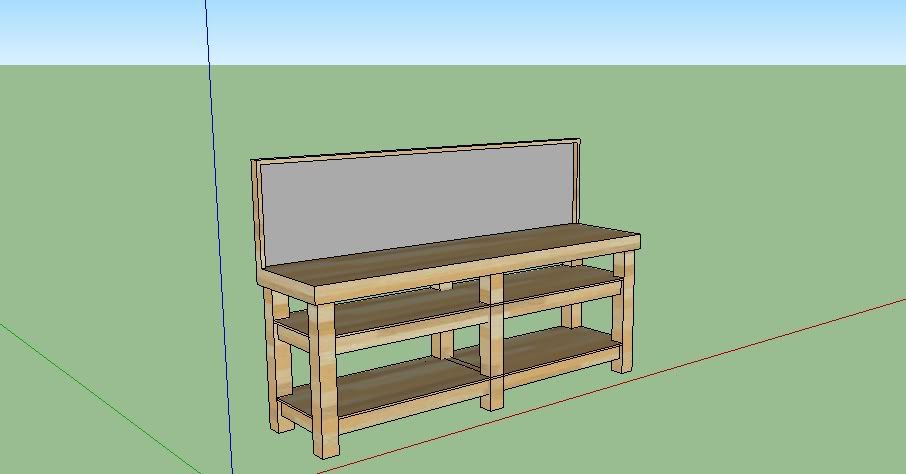
Day one of assembly:
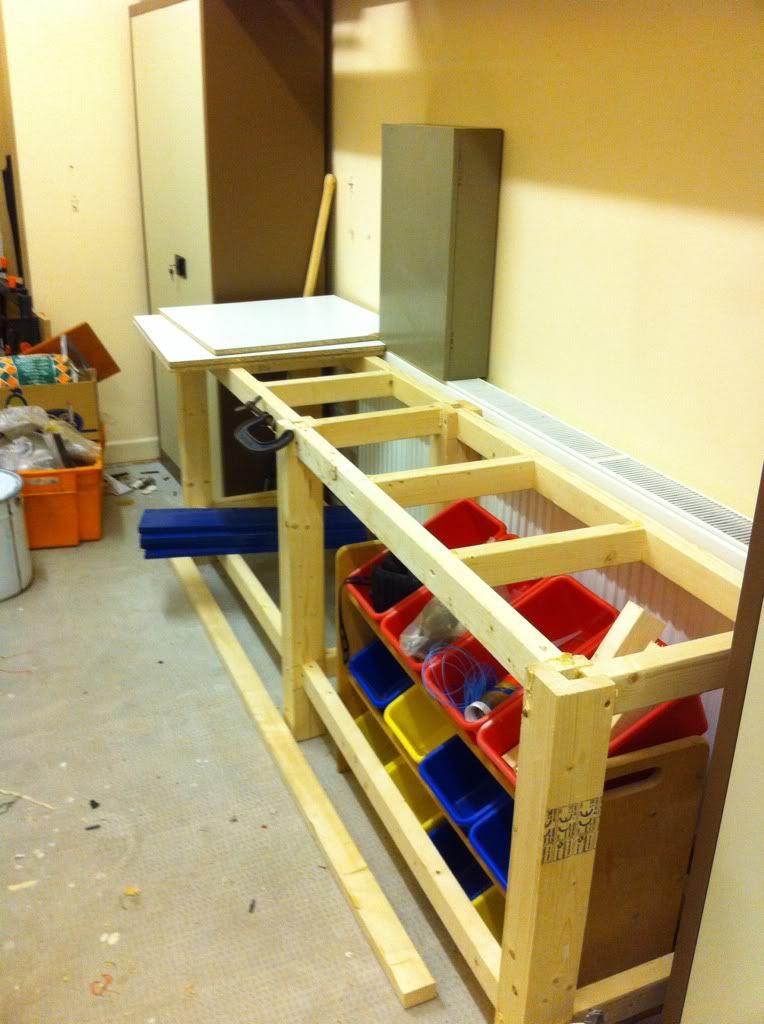
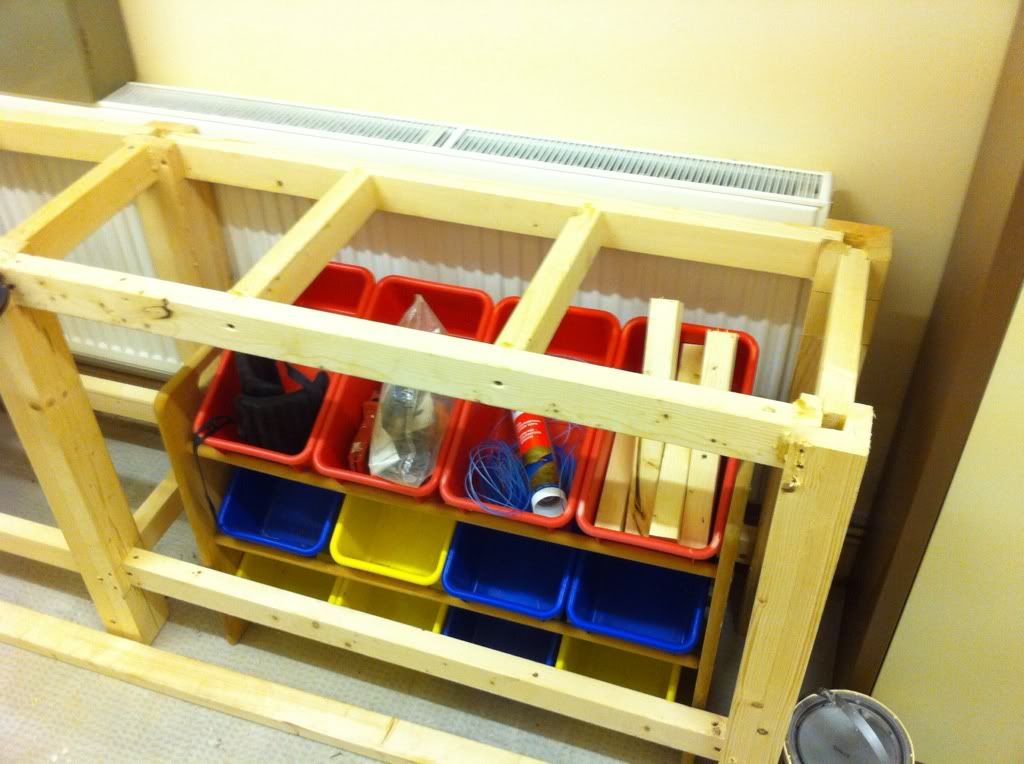
Yesterdays efforts:
Shelf constructed:
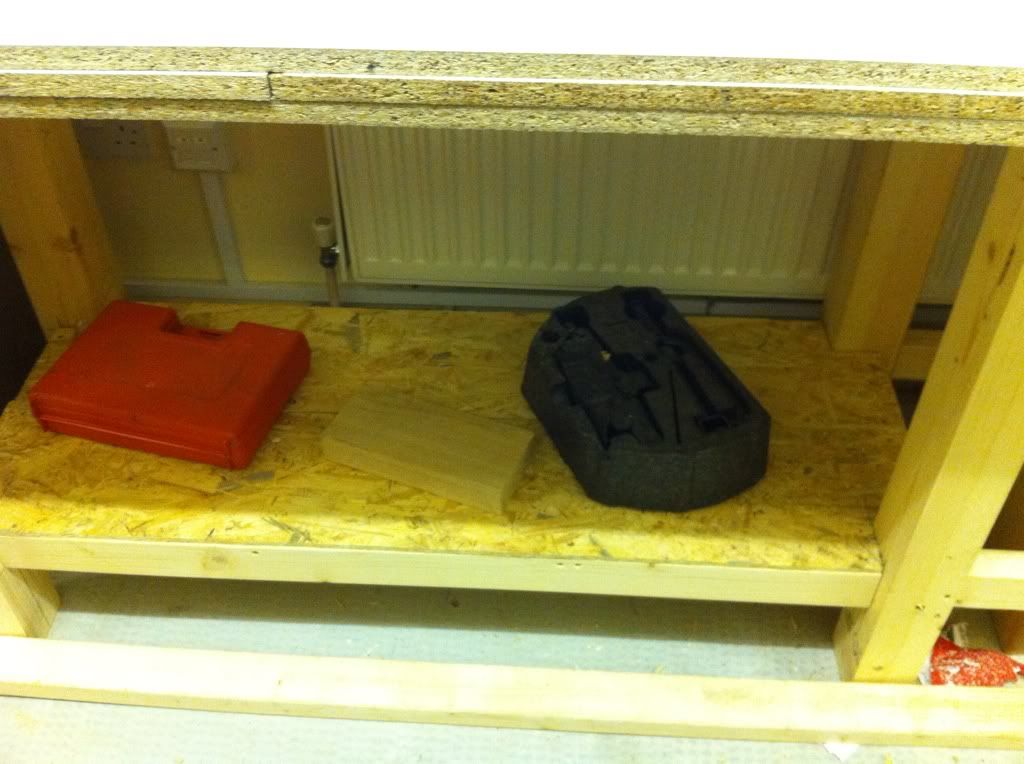
One layer of work surface screwed down:
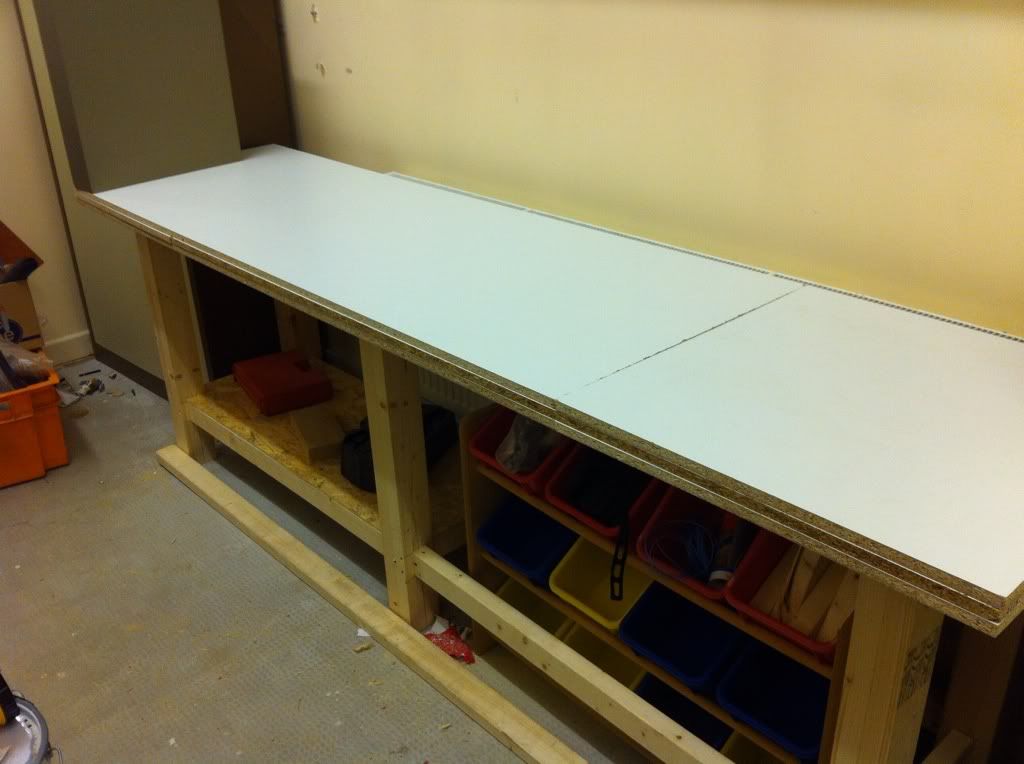
Storage:
The Beast!!!:
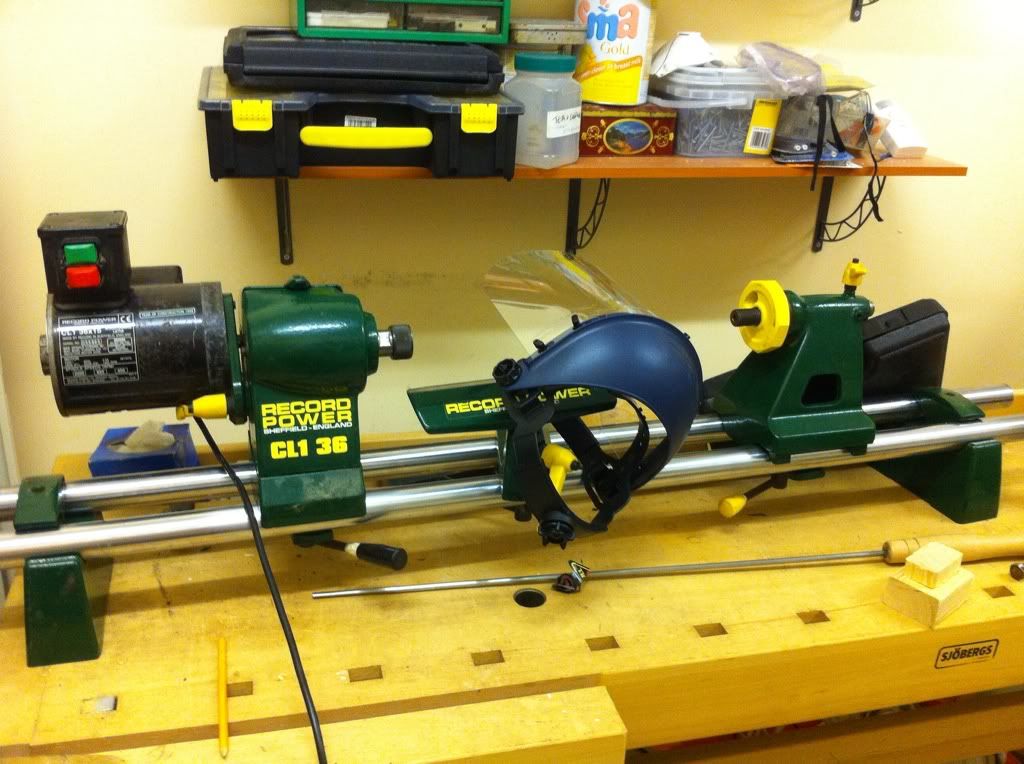
Now the bench isn't complete as I have to fix the next two layers of chip board down and I have to box in the top of the radiator in order to stop it getting clogged up full of dust and shavings.
Before I put the work top on, I put horizontal cross braces in in order to stop any lateral movement and vibration.
The whole bench has been glued together using polyurethane glue and screwed on the joints to make sure that it doesn't come apart.
Thanks for looking.
Be gentle
Well after my recent purchase of a Record Lathe it became clear that I needed somewhere to mount it as it is fairly long (roughly 1.5m overall).
I went through the obvious options which were to:
1) Buy a decent bench, I didn't want to do this because of the cost.
2) Buy a cheap metal bench from ebay, I didn't want to do this because I didn't want the bench to vibrate whilst working
3) Make my own out of scrap wood and cheap bits and bobs.
I decided to go down the DIY route not only because of the cost, but also it gave me something to fiddle with on the weekends!
Here is what I wanted:
- 8ft long to house the lathe and either a mitre saw, band saw, fret/scroll saw or bench grinder
- A nice sized shelf to keep my nice stock pile of timber
- A space to fit a storage rack in (already have this)
- Somewhere to store my tools
First of all I went to my local Travis Perkins where I picked up some 18mm MDF and two planks of 4x2 CLS, the total for these came to £32 which I was totally shocked about because that seemed a lot for what I got but hey ho.
My next stop was B&Q where I intended to get some lengths of 3x2 CLS as this was £2.60 for 2.4M lengths. However when I got there I realised that the 4x2 that I got in Travis Perkins was for sale for £3 odd a length and also to add to that, they had some coated chip board that was used for shipping of bathroom suites on offer for £1 for a sheet with the dimensions of 6' x 4' which was a bargain so I bought both of them! My total bill from B&Q came to £25 which included 7 lengths of 3x2 CLS, 2 lengths of 4x2 CLS and 2 6'x4' sheets of chip board.
(needless to say that I returned my TP haul!)
I then went to the workshop and managed to scavenge 3 legs worth of 4x4 softwood (scrap). Here I laminated the 4x2 in order to get 4x4 for the legs, cut the stock to the required lengths and then cut mortice and tenons in the stretchers (3x2) and legs (4x4). I also ripped the 6x4 boards down to 4 pieces with a width of 24". I then took one of the lengths and cut it on the cross cut into 3 sections of 24" (to give me 3 layers of 8')
Once all of the wood was machined I then took it all to my "workshop" where the bench was going to live.
I won't bore you with all of the details about how I assembled it as it was relatively straight forward, I will just give you some nice pics to look at now!
My initial idea:

Day one of assembly:


Yesterdays efforts:
Shelf constructed:

One layer of work surface screwed down:

Storage:

The Beast!!!:

Now the bench isn't complete as I have to fix the next two layers of chip board down and I have to box in the top of the radiator in order to stop it getting clogged up full of dust and shavings.
Before I put the work top on, I put horizontal cross braces in in order to stop any lateral movement and vibration.
The whole bench has been glued together using polyurethane glue and screwed on the joints to make sure that it doesn't come apart.
Thanks for looking.
Be gentle


