Trevanion
Greatest Of All Time
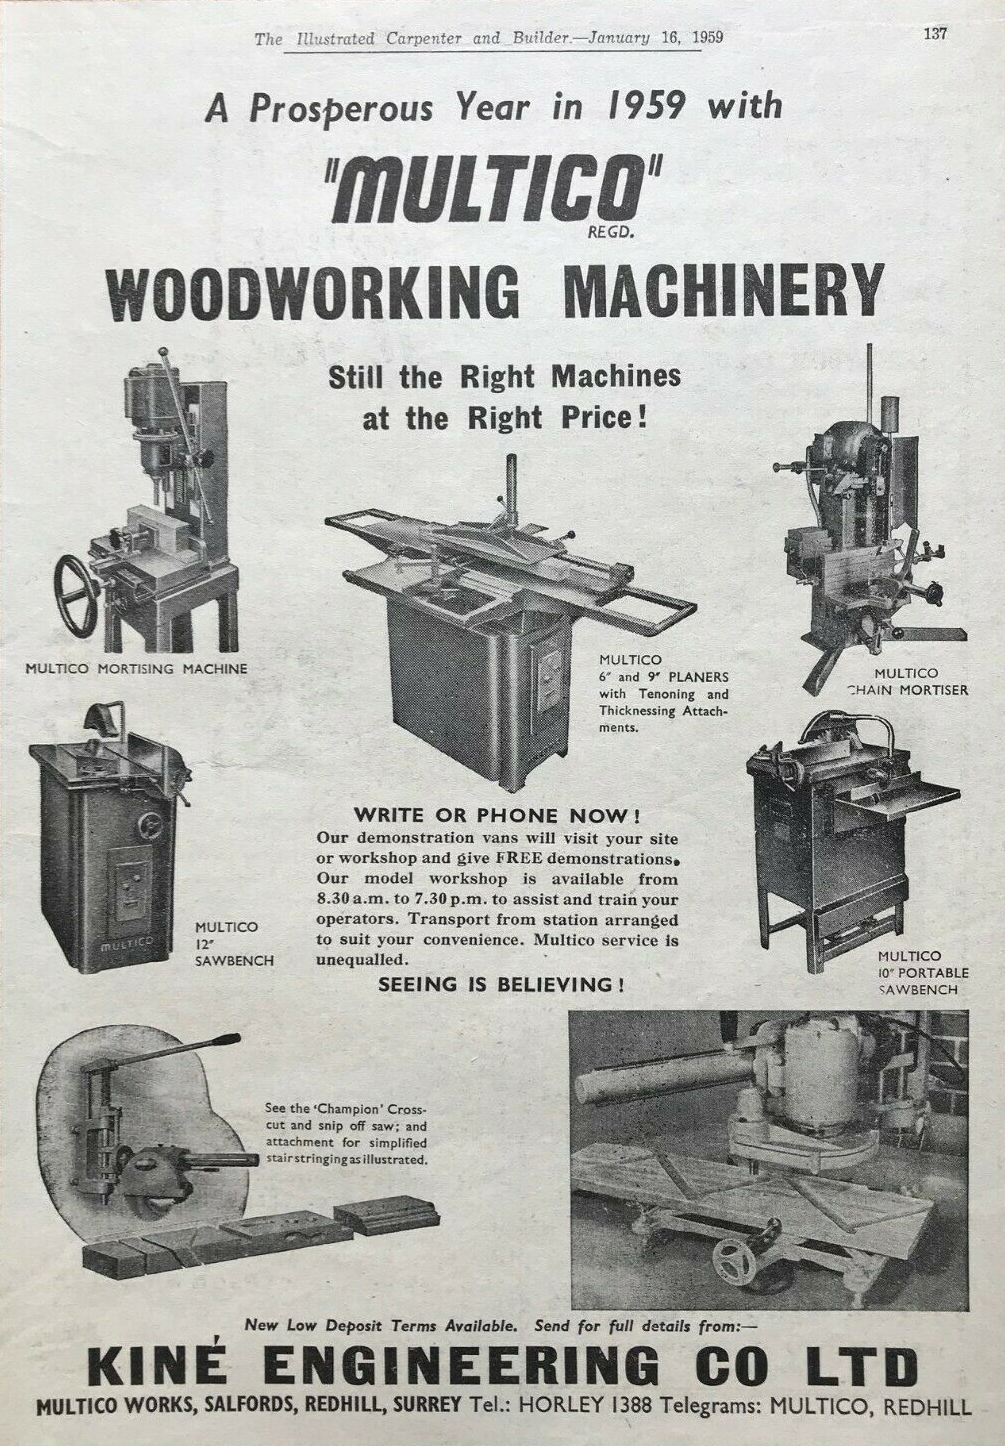
March the 4th, I bought this sorry looking thing for £60. Had been stored in a cow shed for god knows how long and god knows how much longer before that it was actually used. I figured for the money even if it was totally knackered I could at least turn the legs into a nice (and absurdly heavy) bar stool or something.
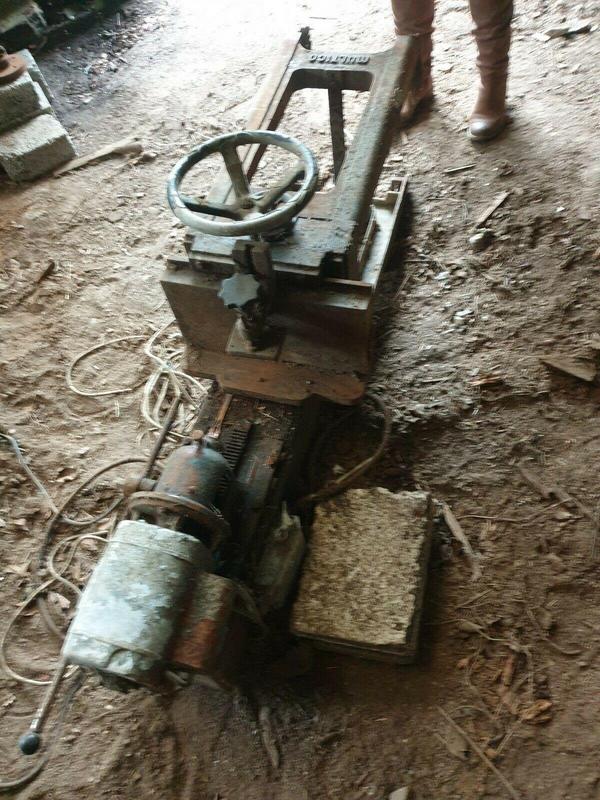
I picked it up late at night in a cowshed with no lighting so I didn't really get a good look at it until I got home.
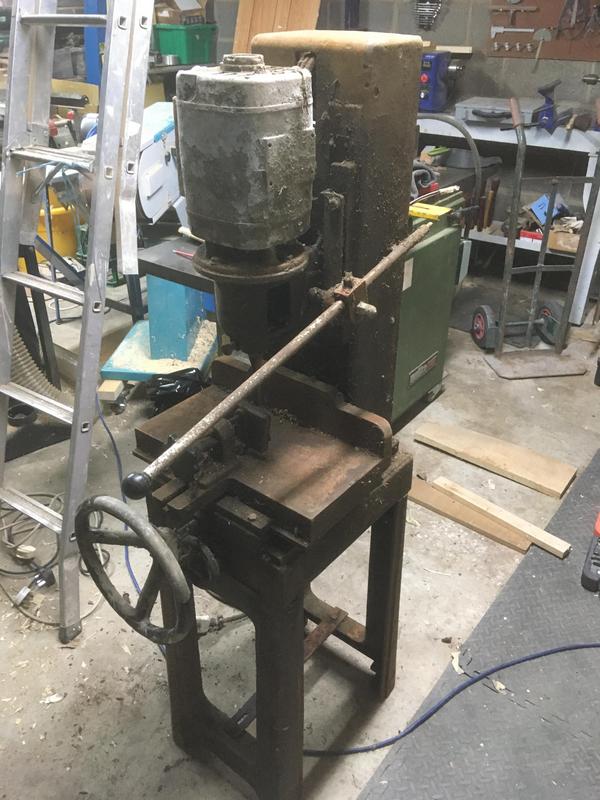
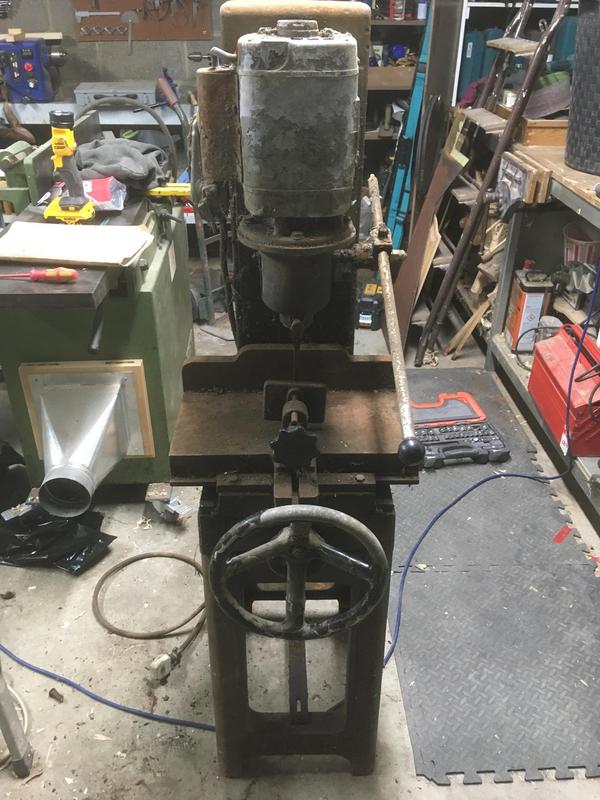
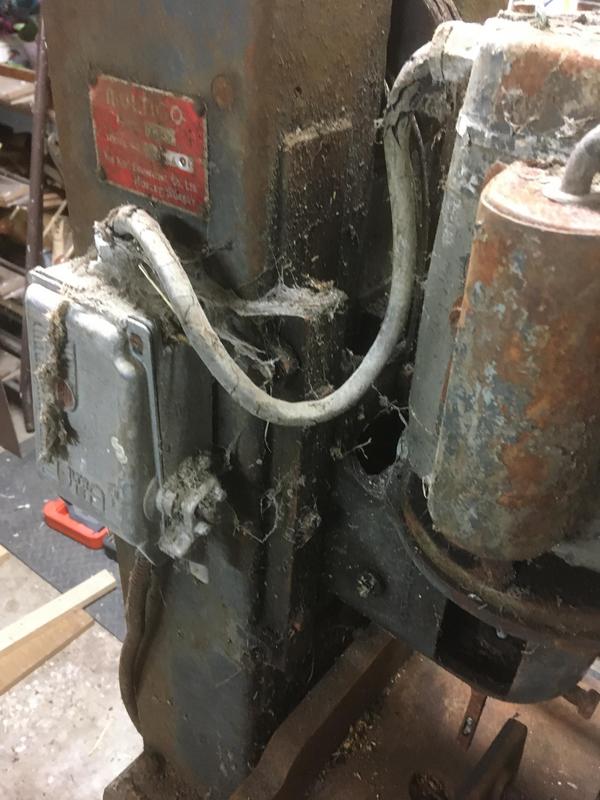
So... obviously she's a little rough around the edges but it does actually fire up despite the very dubious at best cabling and archaic switchgear.
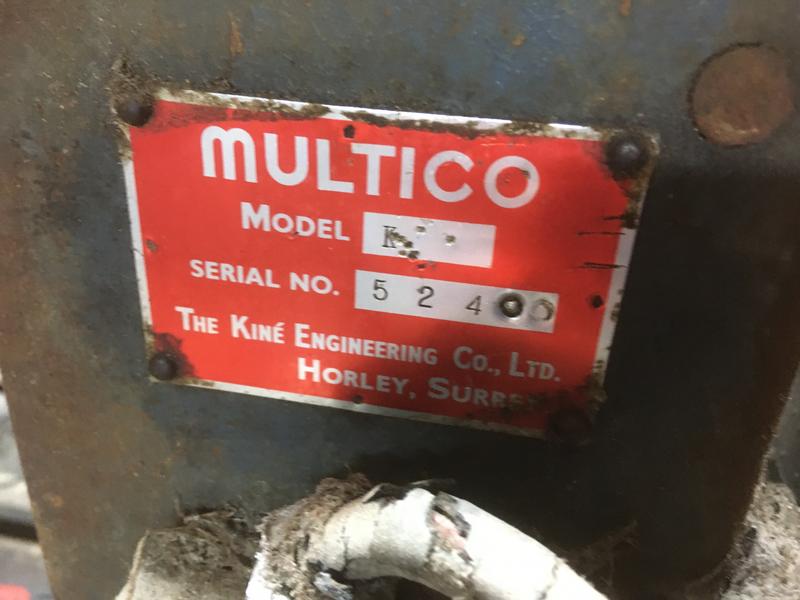
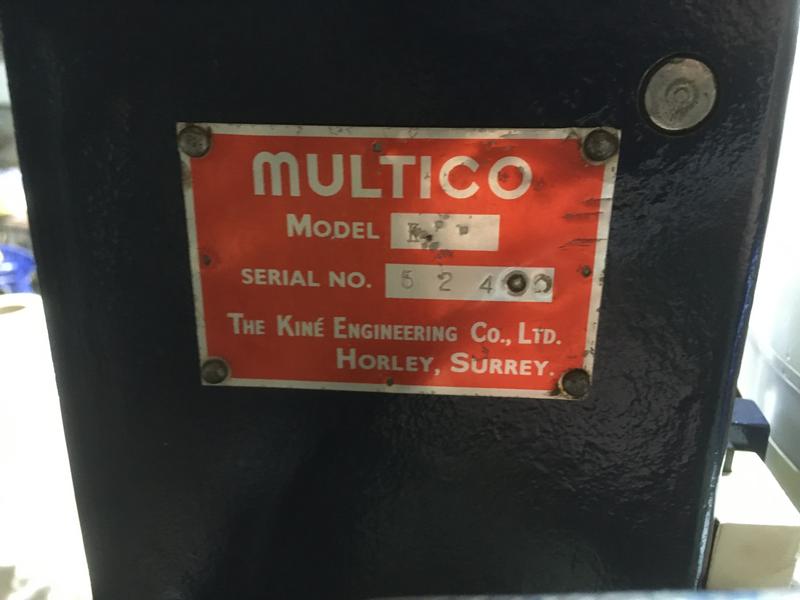
Multico Model K, Serial number 524. I really do like these Multico badges, they clean up nicely too.
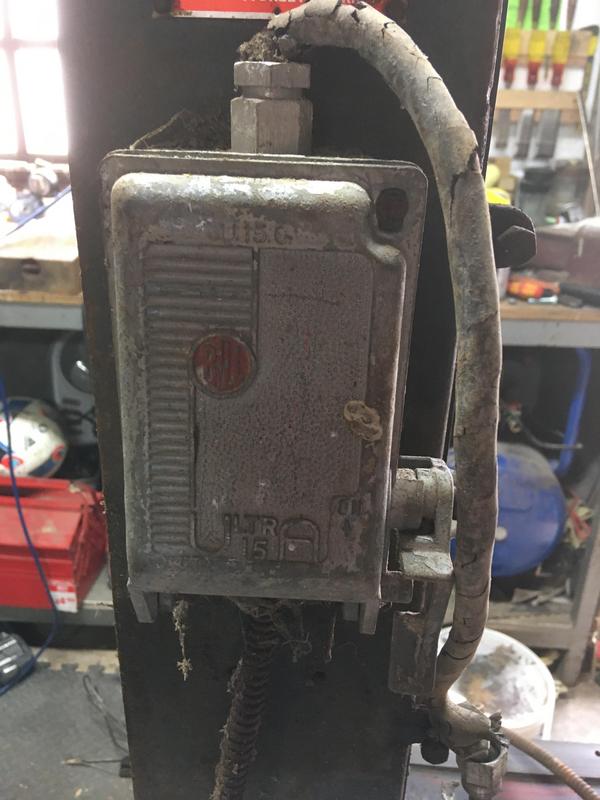
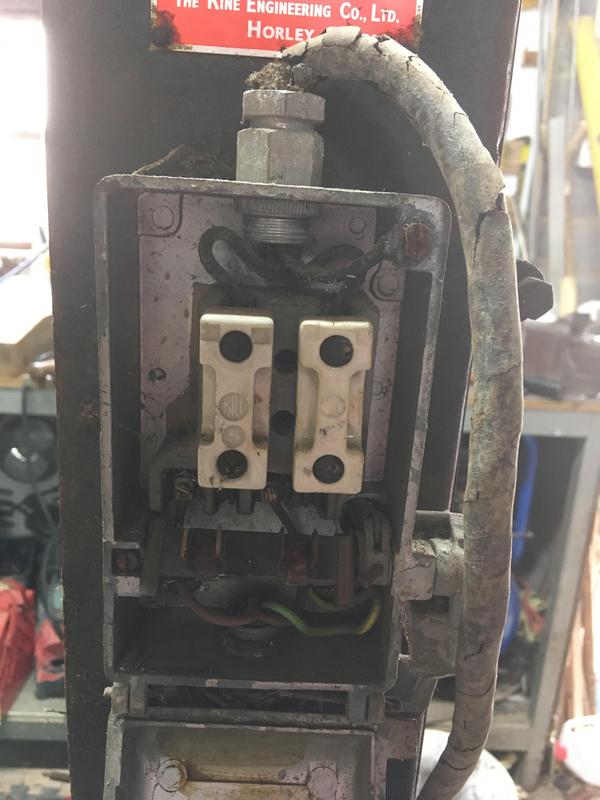
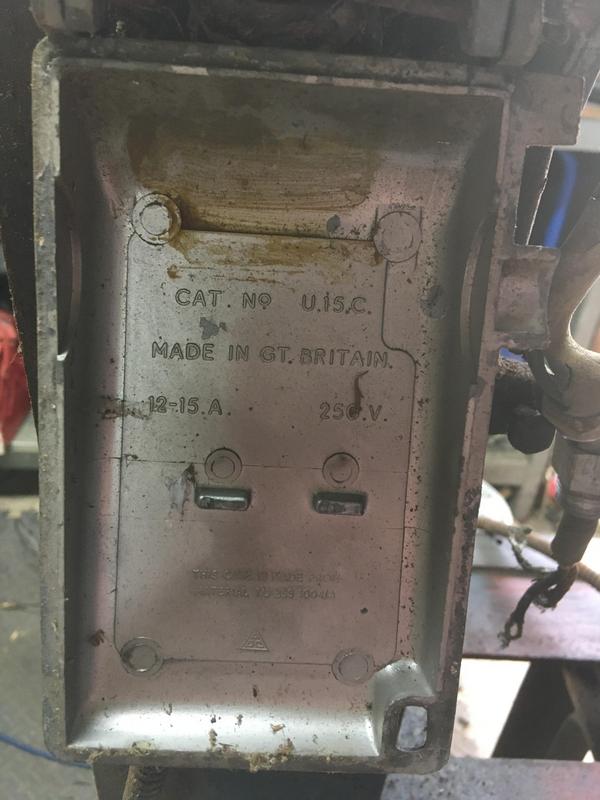
I know some will scream sacrilege but I'll swap this switchgear out for something a bit more modern, it is a nice switch though and probably better built than most anything that could be bought today!
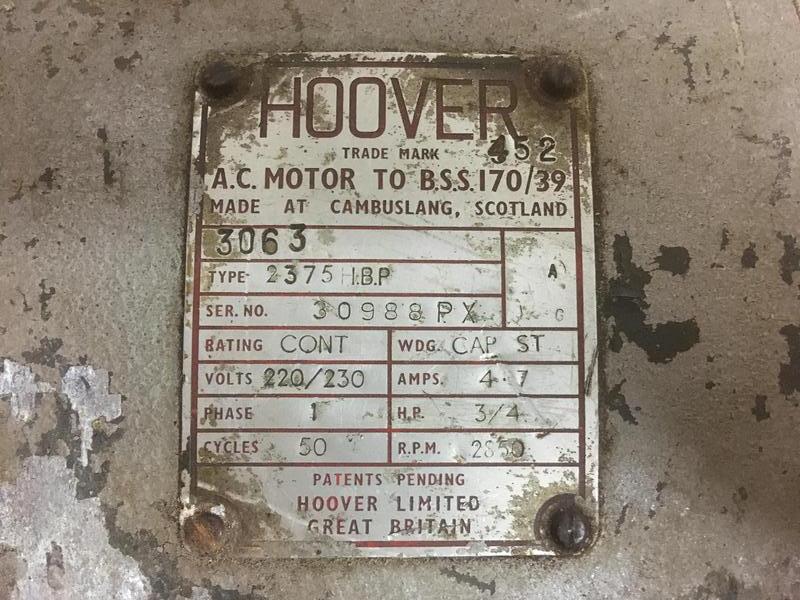
A 3/4hp single-phase Hoover motor, there was a bit of speculation about the "3063" stamped on the tag meaning that it was made in the 30th week of 1963 but I wouldn't know.
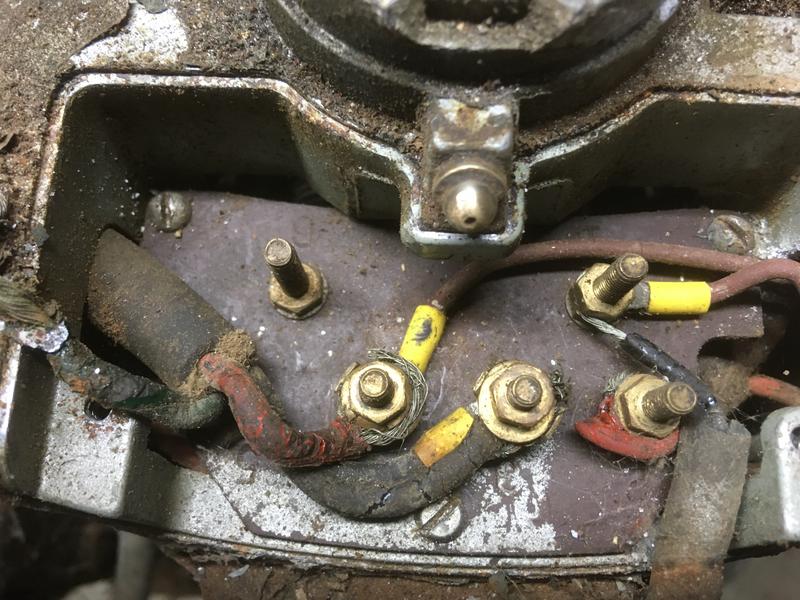
Inside the top of the motor, the wires on the infeed power and capacitor have completely perished which isn't too much of a big deal since I'll be replacing these. Very fortunately, the wires from inside the motor itself are in very good condition comparatively, I really wouldn't even want to start trying to replace those.
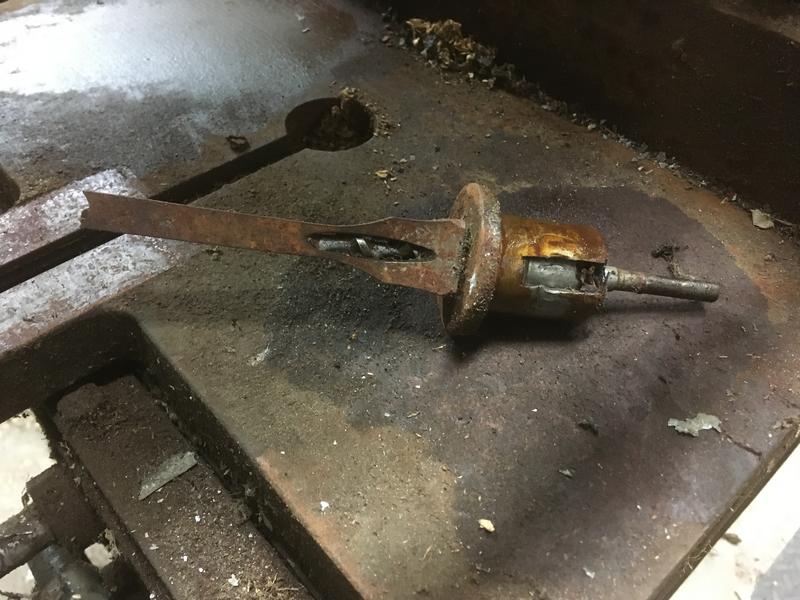
Pulled the chisel and auger out of the head, definitely has seen better days...
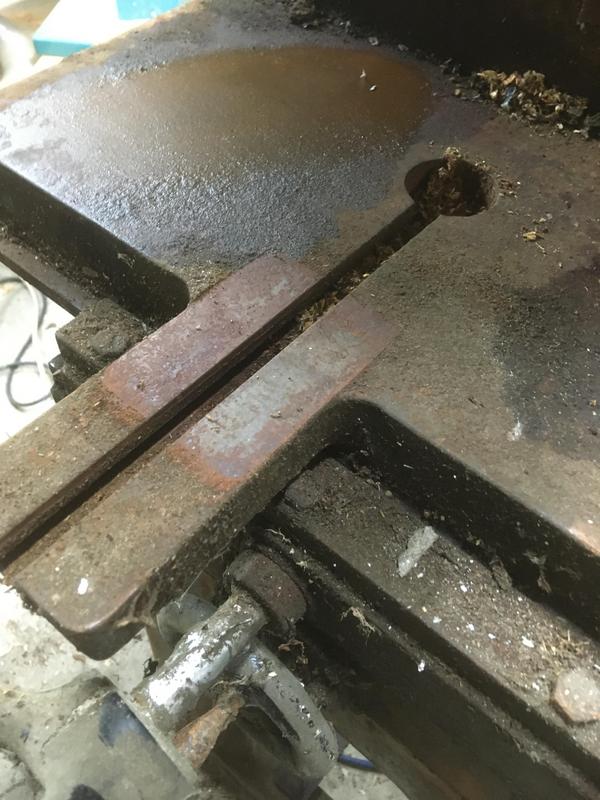
The bed had a rather thick layer of rust and grime! I started to attack it with a block of wood with an 80 grit piece of sandpaper wrapped around it to try and get back to decent metal. Rusted cast-iron always looks worse than it actually is.
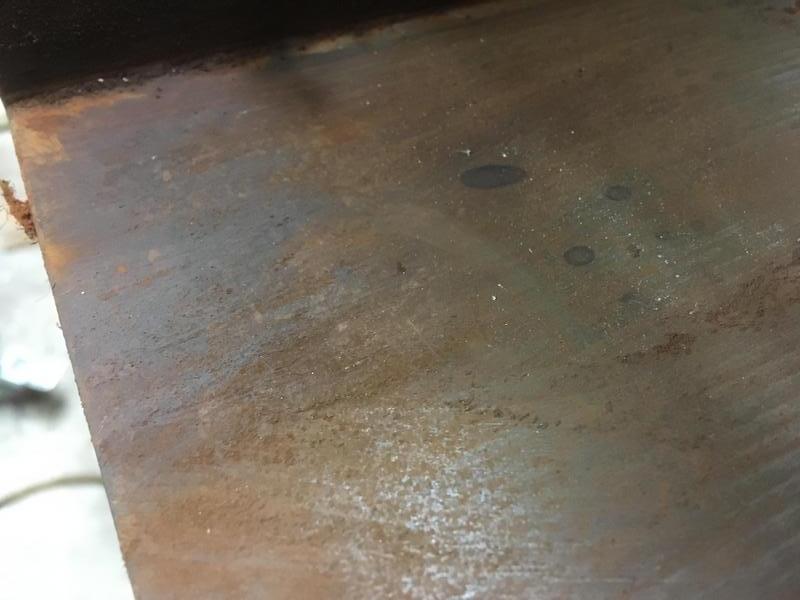
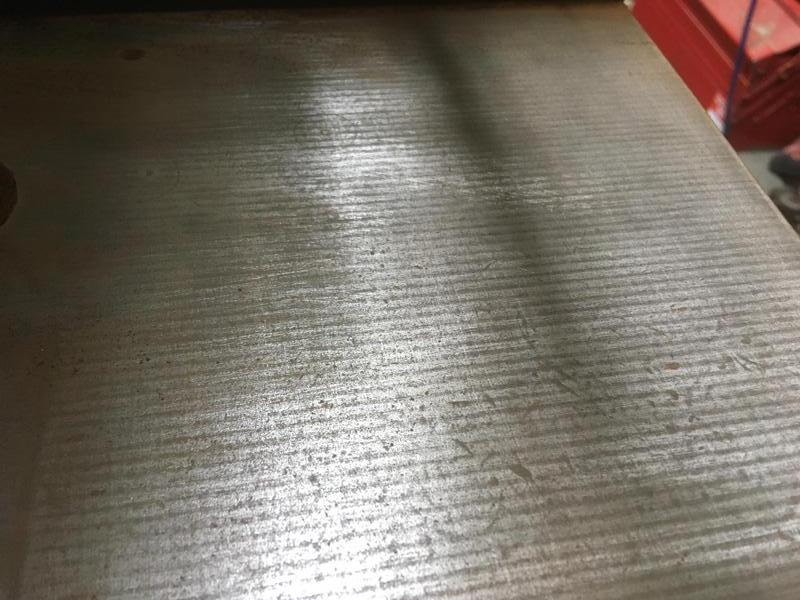
Revealing the planed/shaped finish on the bed.
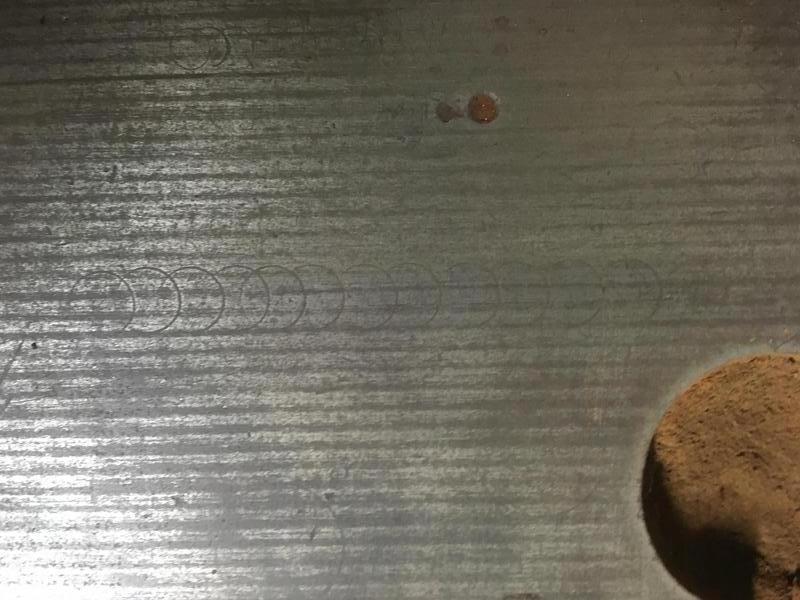
Seems someone followed the old engineer's pillar drill rule of thumb of "keep going until you see iron shavings" on this poor morticer.
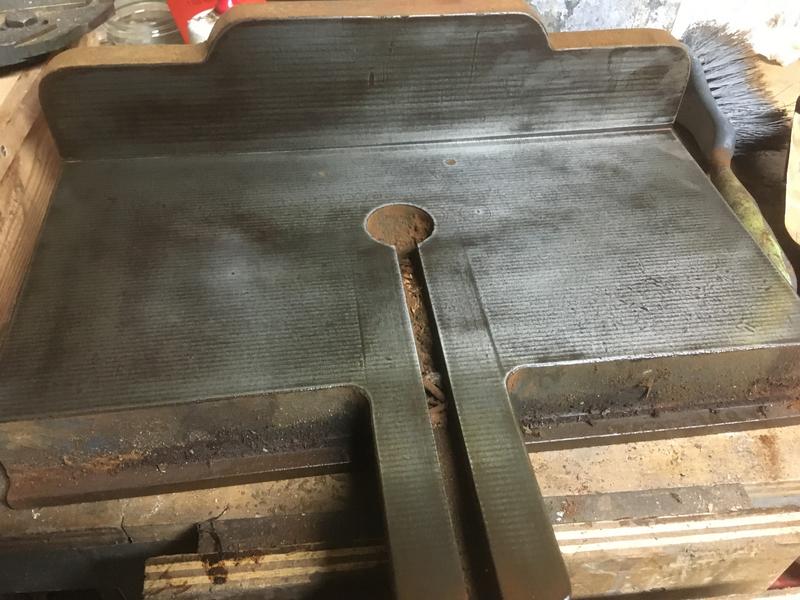
Considering how bad it looked initially it cleaned up very nicely.
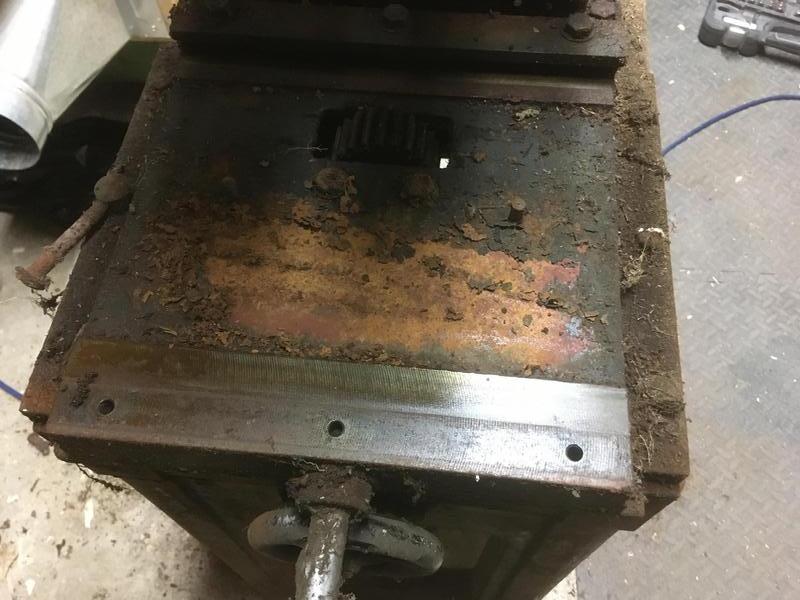
Everything is caked in this sorta baked-on greasy dirt, fortunately though it seems the oil or grease has kept the bed ways looking pretty good even after however many years in the dirt.
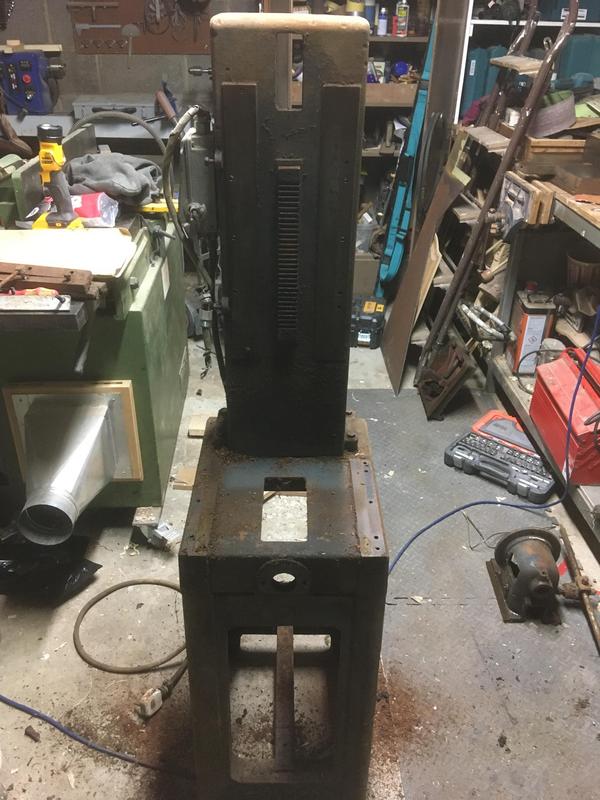
Mostly stripped down!
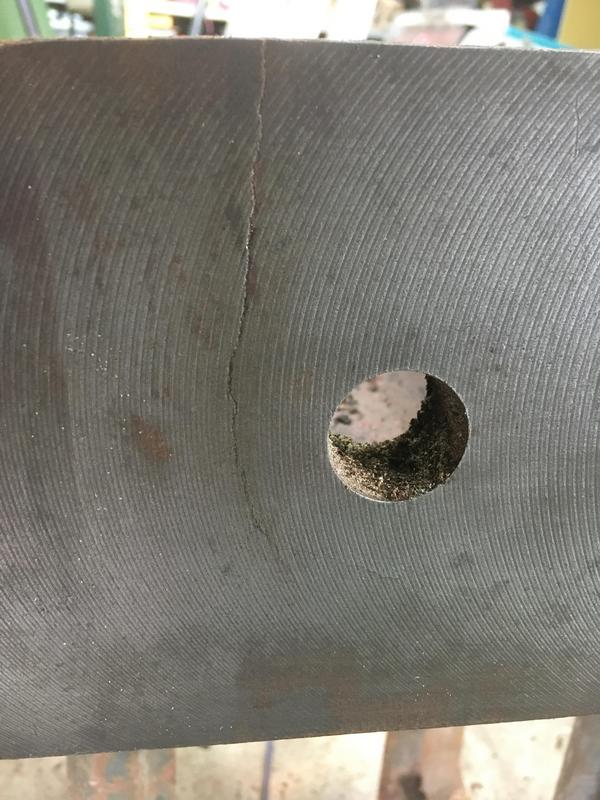
Oh dear, taking the column off has revealed this crack on the bottom on the casting, it looks a lot worse in the photo than it actually is. I don't really see how this could've happened unless the counterweight has come loose at some point and hit the bottom very hard as in theory this part of the casting shouldn't have any load if it was ever tipped over as the hole only locates the column onto the base casting and it's bolted on the four corners pretty solidly. I'll leave it be rather than trying to repair it as it won't actually affect anything either way since as I said, it only locates the column initially and is then bolted on the four corners.
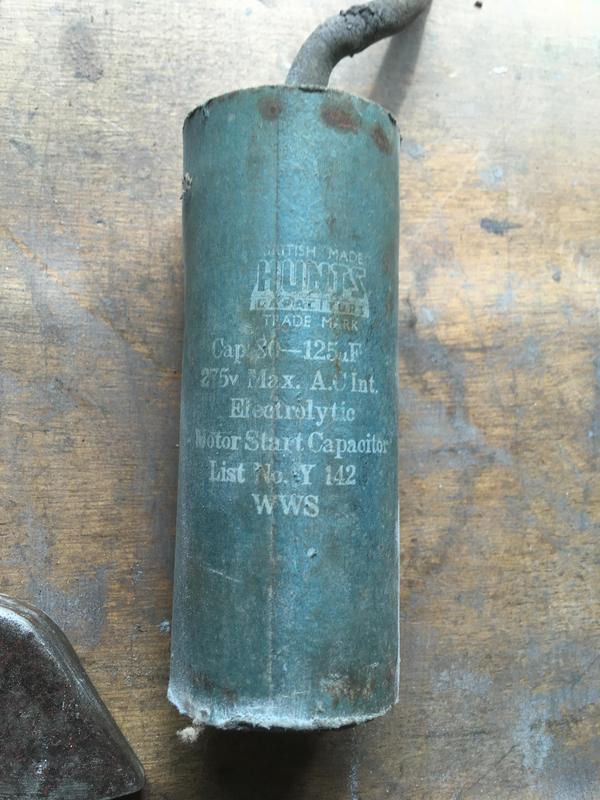
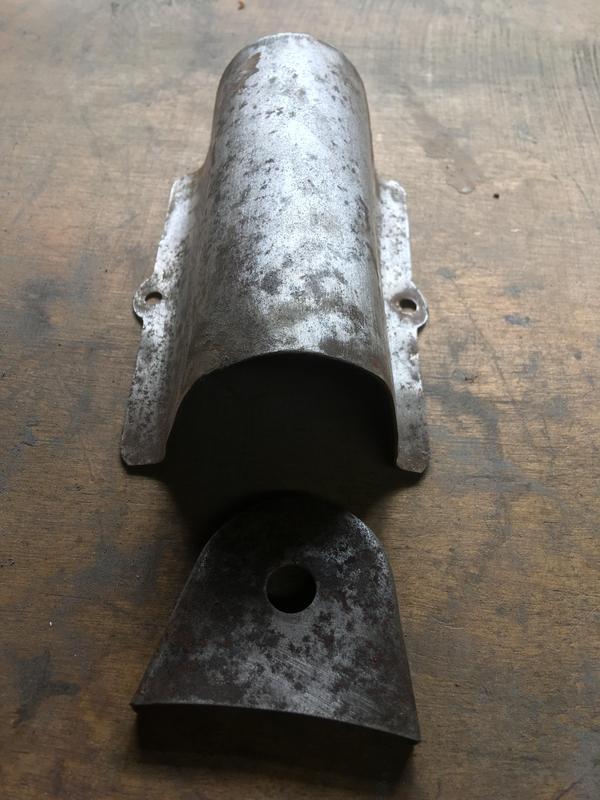
With the machine all in bits I got to working on said bits and making good what needed making good, the first start was the capacitor which whilst it did work the cable had become seriously perished and was crumbling away in my hands so I plopped a new one on order and thought nothing of it until it arrived and I discovered to my stupidity for not checking that it was much larger than the original one so it didn't fit in the original capacitor holder.
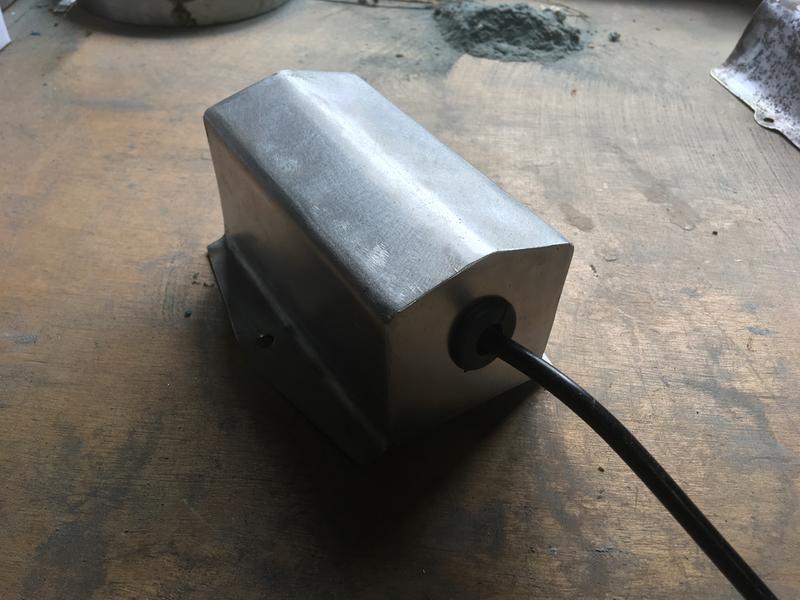
So I did what any reasonable human being would do and spent a day making a new capacitor box of course!
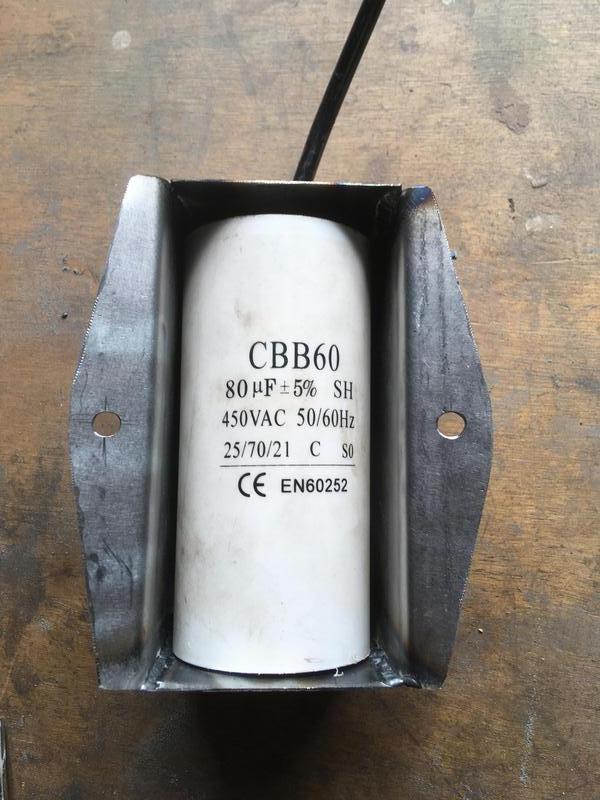
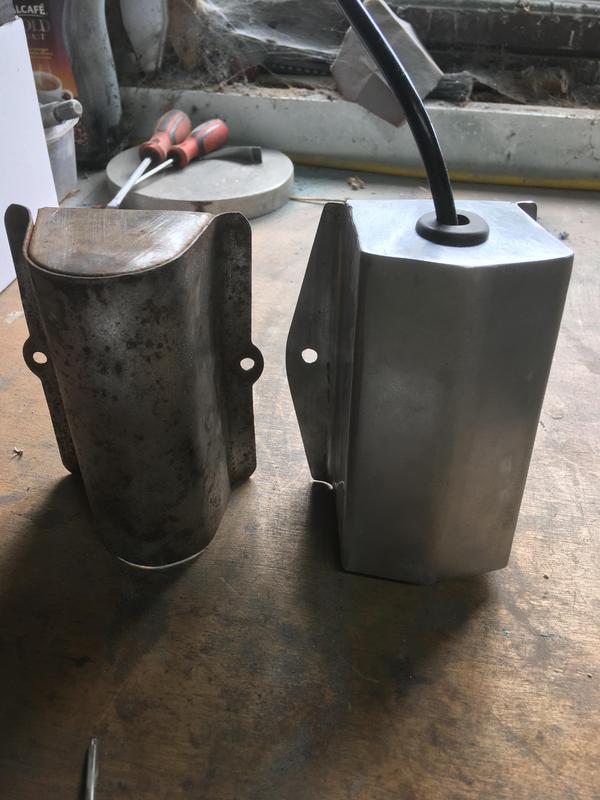
It's quite a bit larger than the old box but it doesn't look totally daft on the motor.
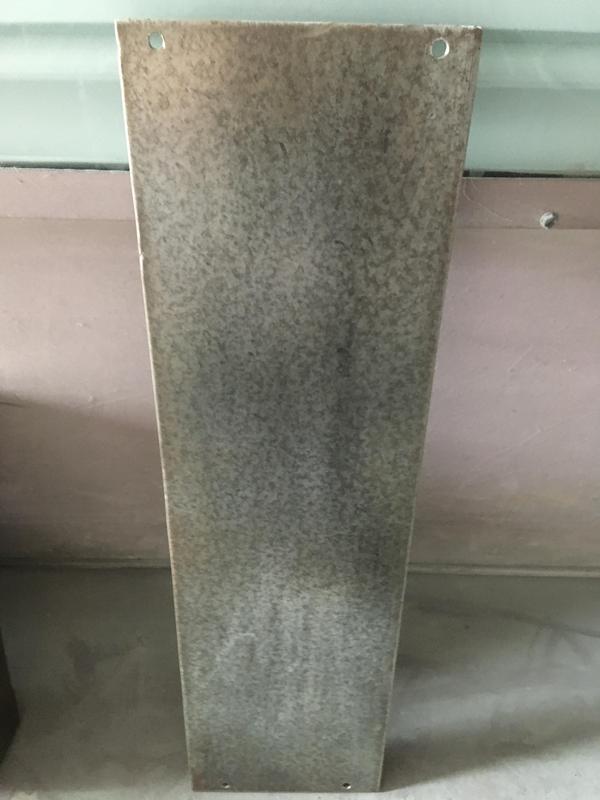
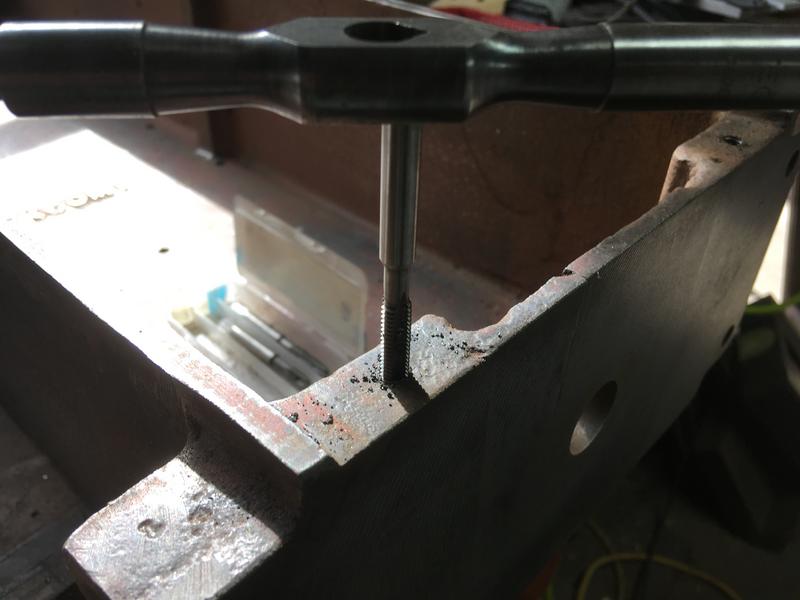
Made a new back cover plate to hide the counterweight since the original one was missing, I also re-tapped the holes in the back for M6.
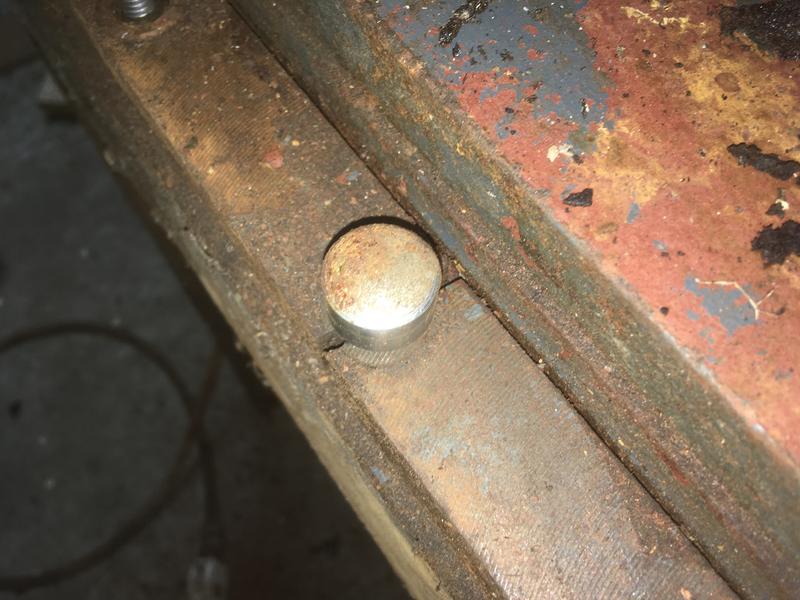
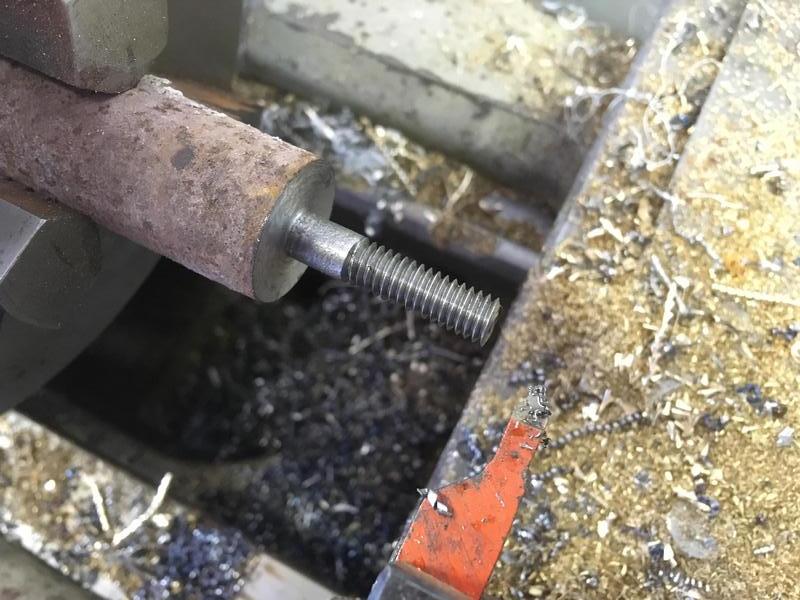
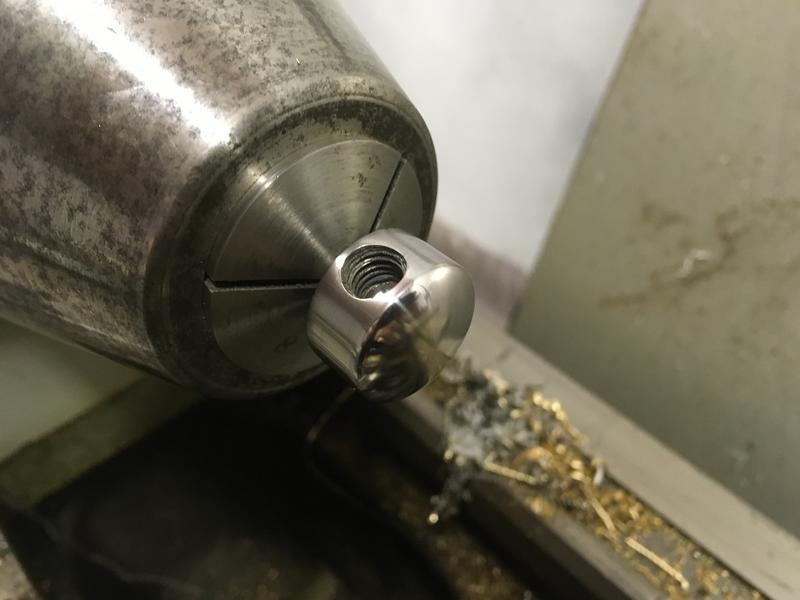
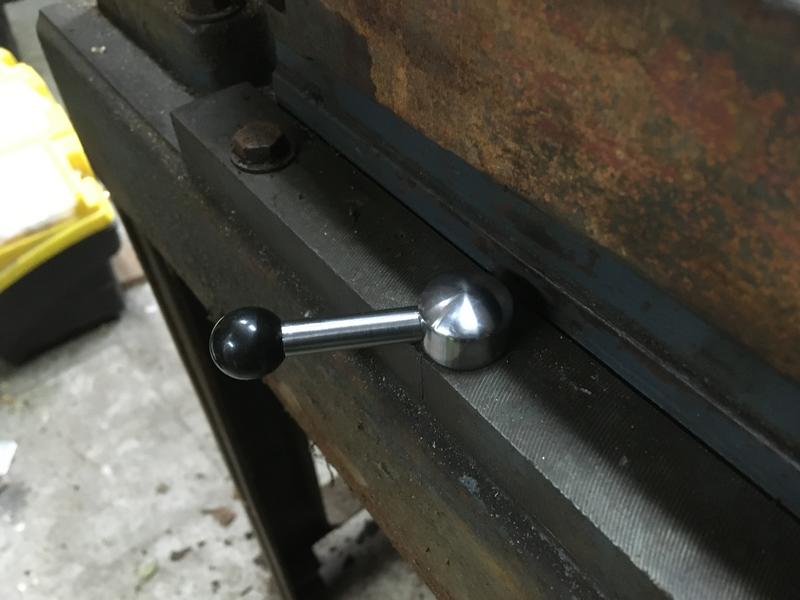
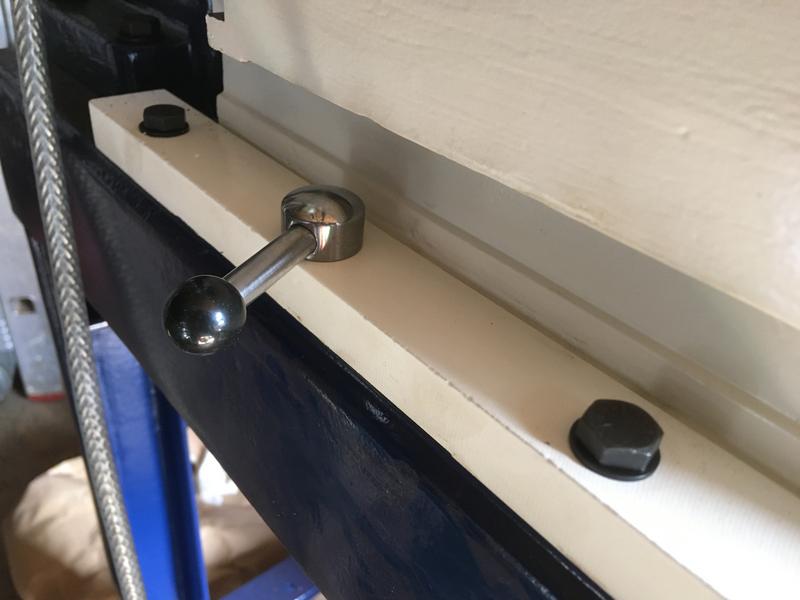
The bed clamping lever had seen much better days, rather than trying to bodge the existing one I just made a new one. Cut some 5/16" BSW threads, drilled a hole for a lever bar and threaded it M8, made a little bar and put a small 16mm ball on the end. You can see in the photos that the gib itself has snapped at some point, possibly from overtightening, I'll sort this out while I'm at it.
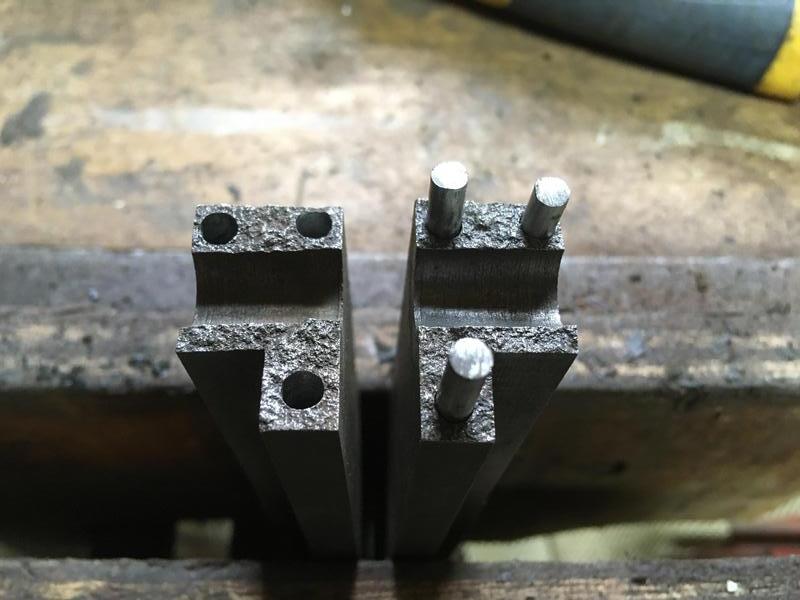
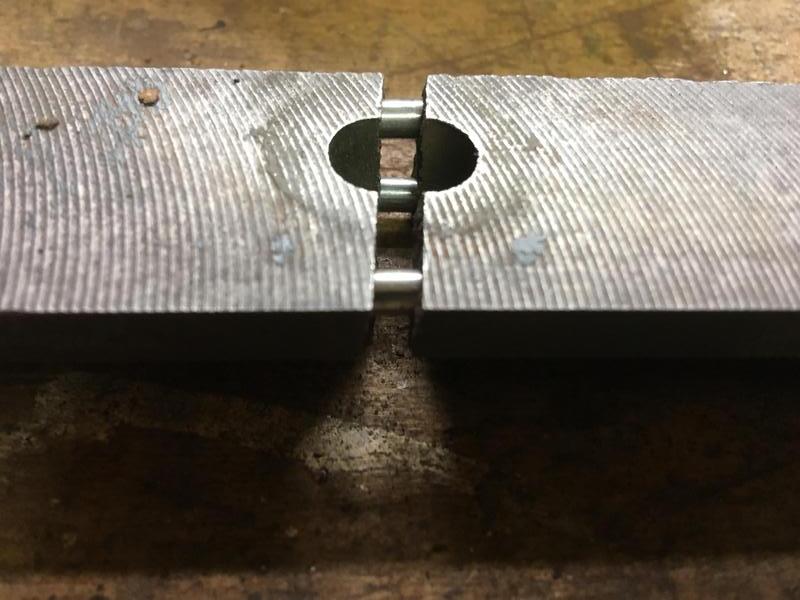
I wasn't really sure how to go about repairing the gib initially, I didn't really fancy brazing it so I came up with this idea. Three pins accurately put into the crack so that the parts come together perfectly and then epoxied them together, I reckon the repair will be good enough for the task.
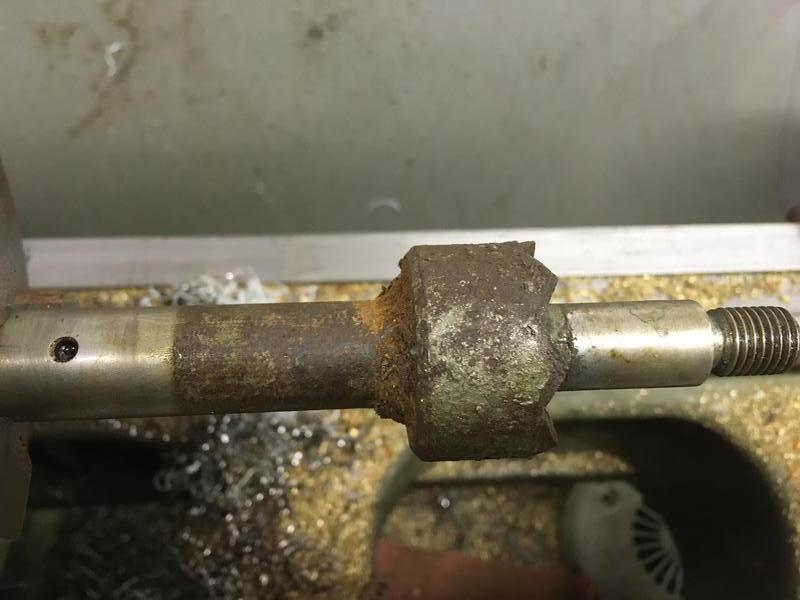
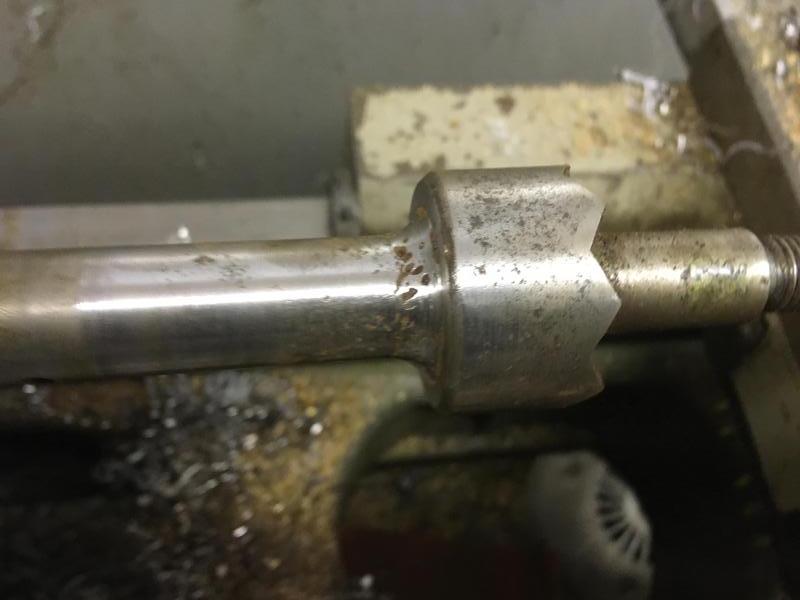
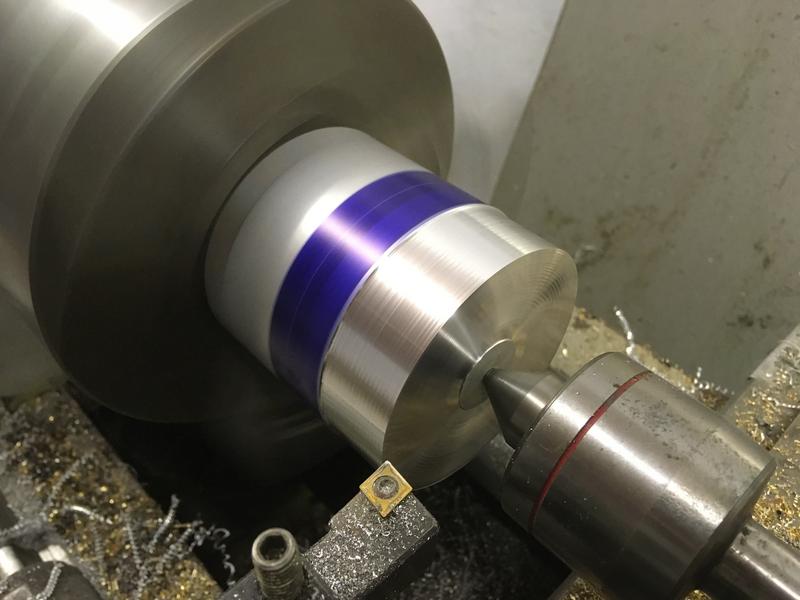
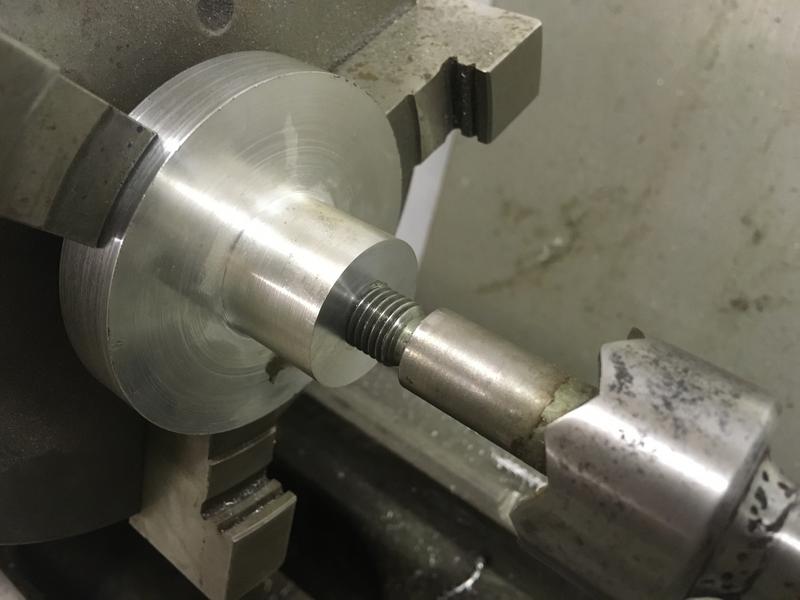
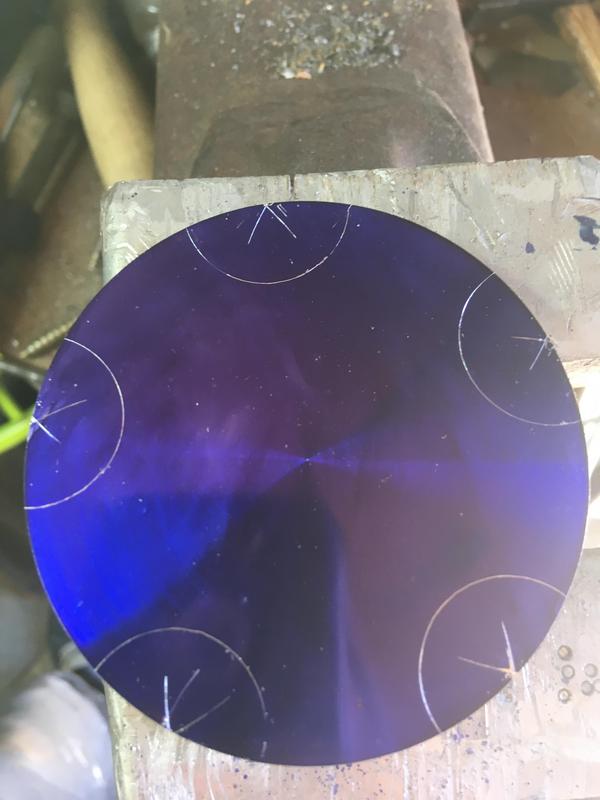
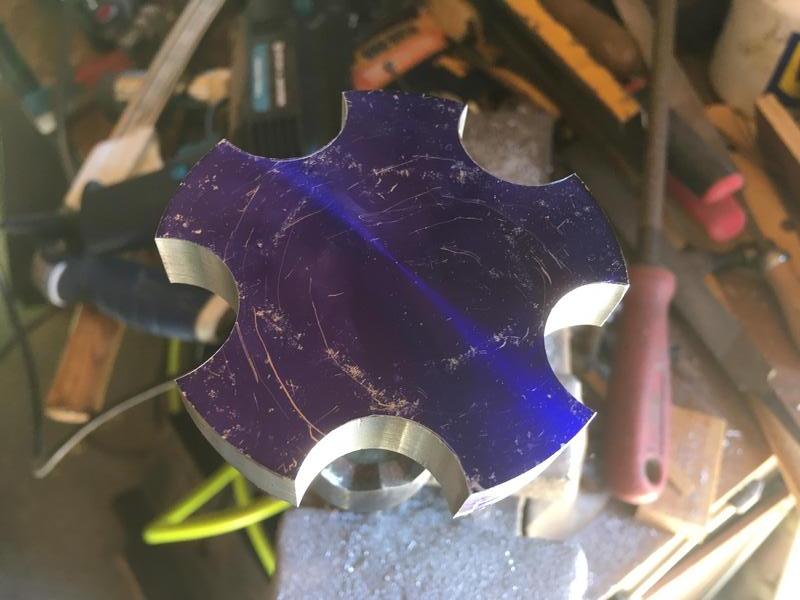
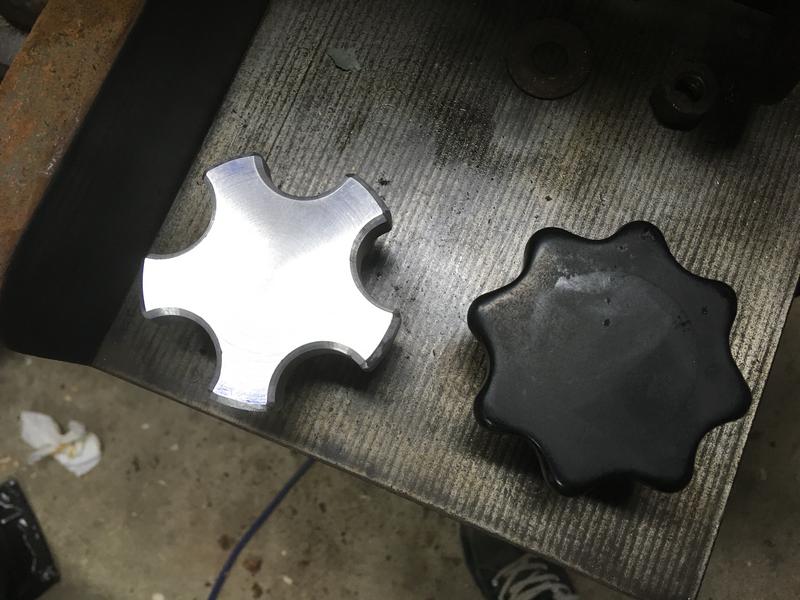
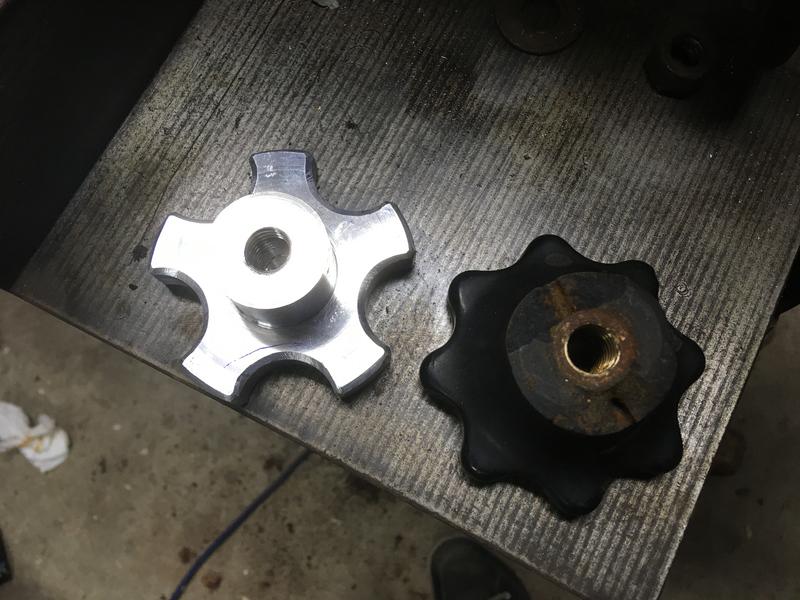
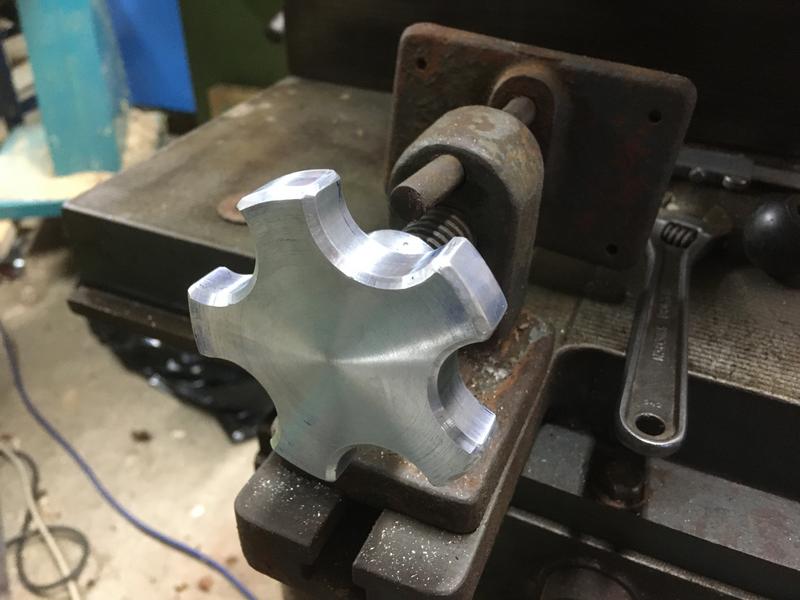
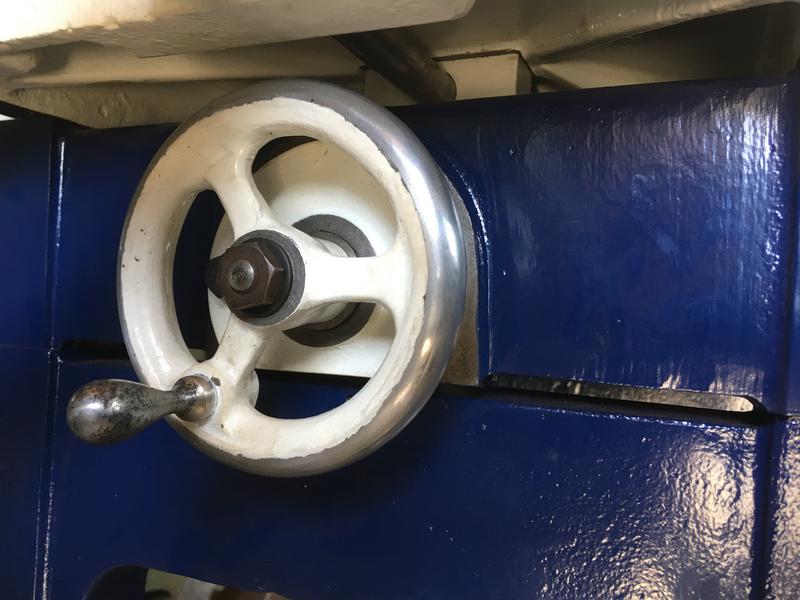
The original handwheels needed attention, the one for the lever handle was missing completely and the one for the bed clamp was brittle and on its way out. It's quite common for these to be missing or in poor condition so I assume the plastic they used was pretty rubbish or just didn't age well. I decided to push the boat out and make some scalloped wheels from some 3" aluminium bar, they're quite crude really as they're mostly shaped by hand but it's more function over form in this case. The lever handle used a left-handed 1/2" BSF thread which was a fun time finding a tap to match!
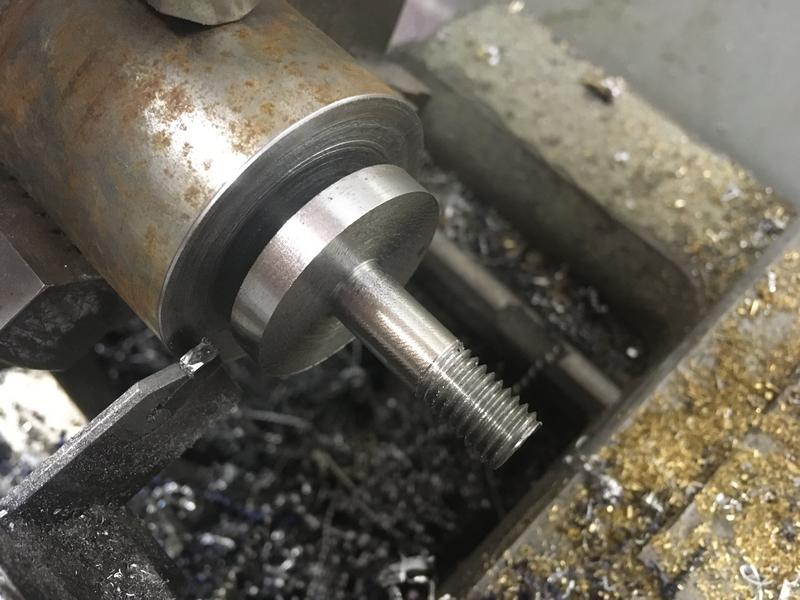
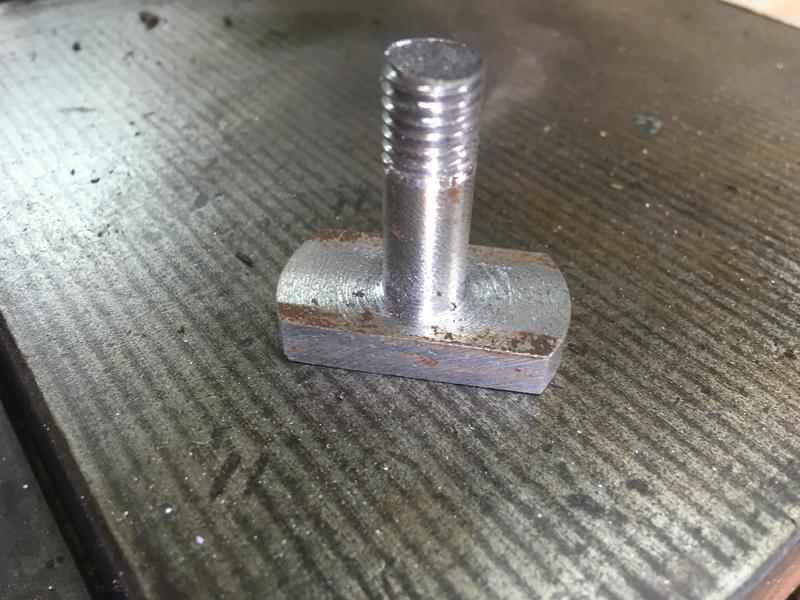
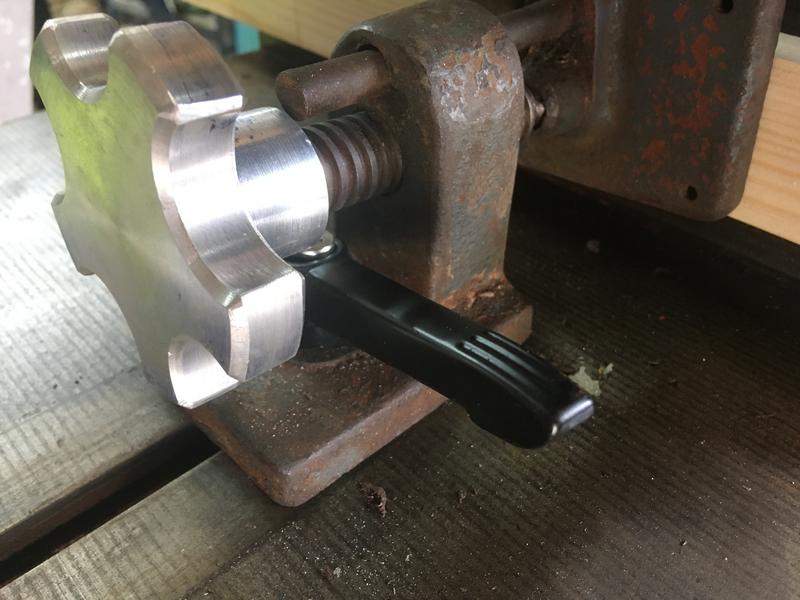
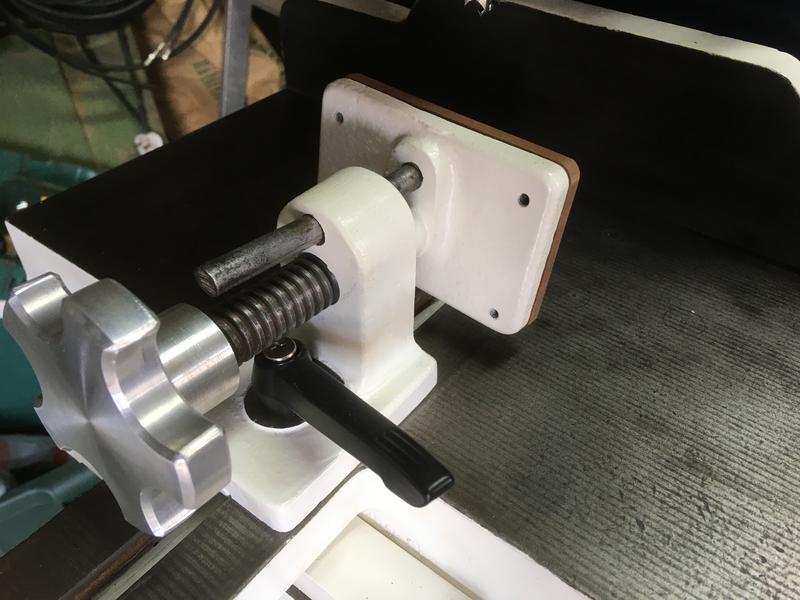
The original part to hold the bed clamp to the bed had seen better days and used a nut, I fancied making a replacement that used a locking lever instead.
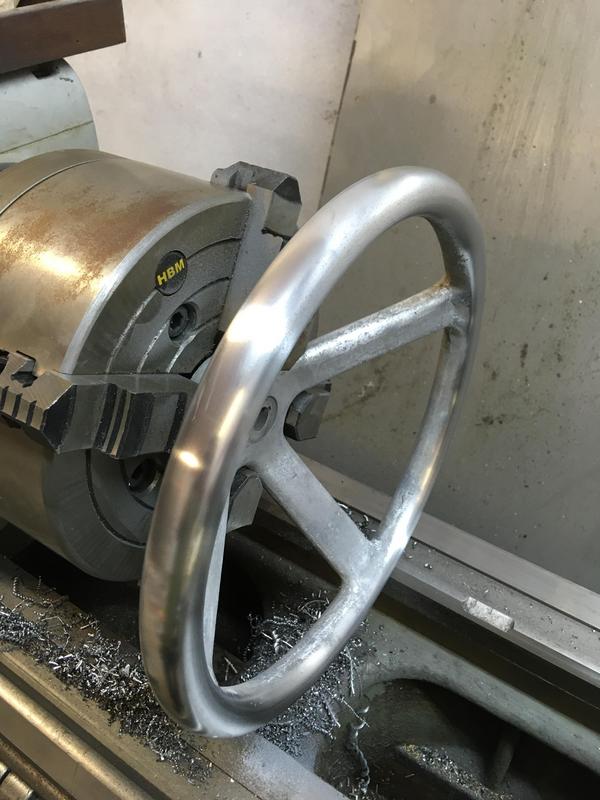
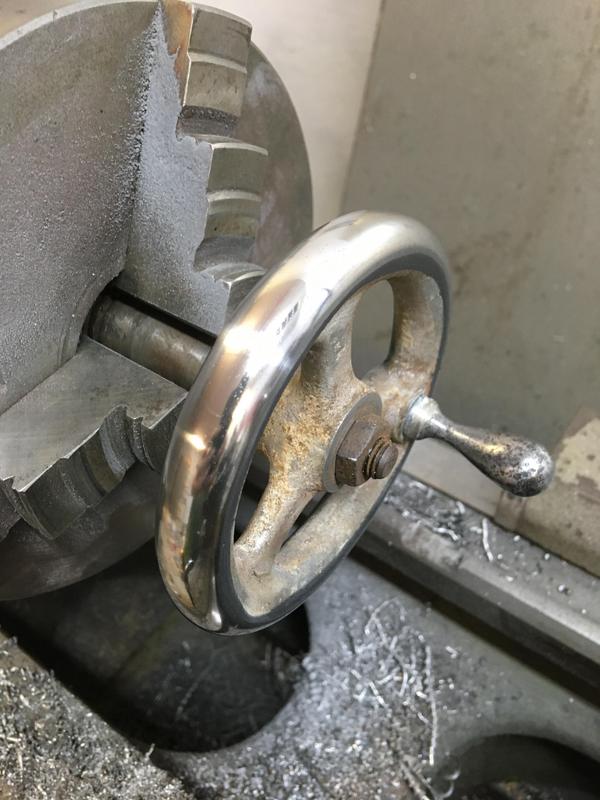
Cleaned the outside of the handwheels for the beds, these had some kind of dipped plastic coat covering them originally which looked pretty terrible so I pulled what remained off and turned the outer diameters concentric with the bores since they were pretty far out and then polished them.
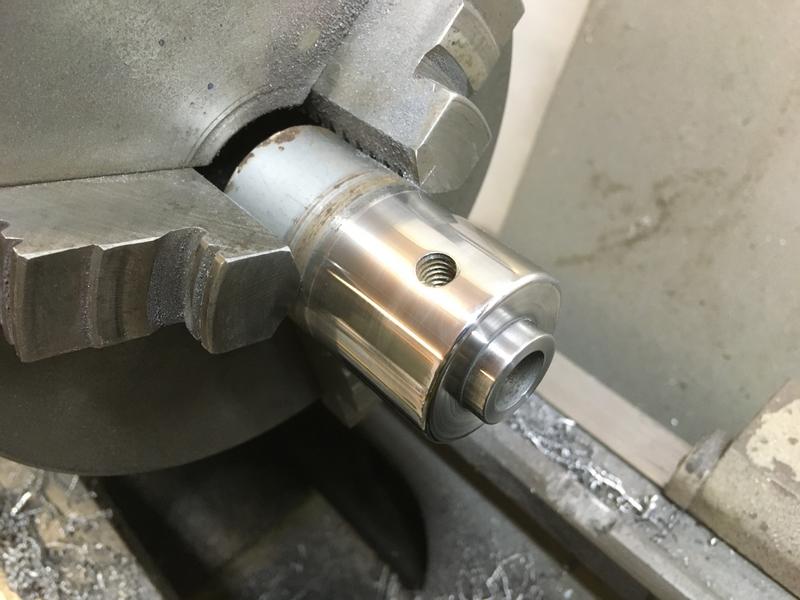
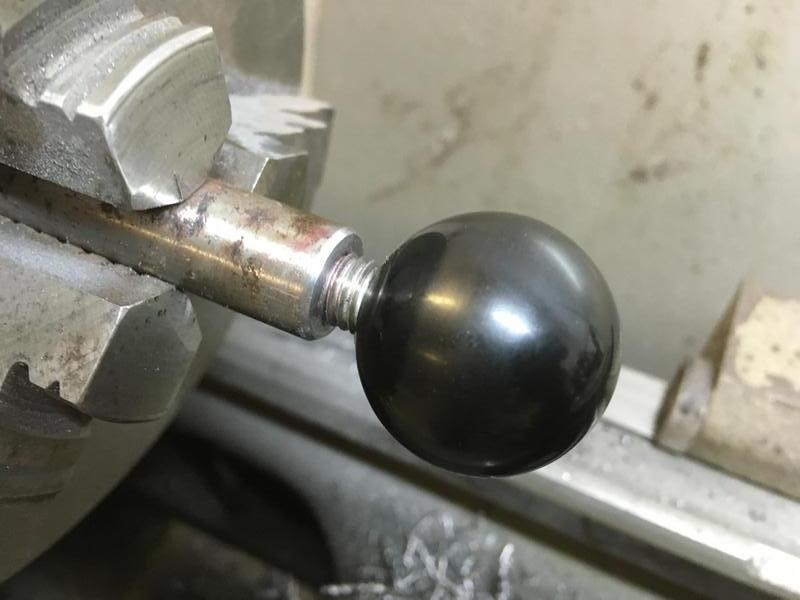
Skimmed the collet holder and polished it up since the chrome/nickel plating they used had gone pretty nasty. I also took the lever bar and drilled and tapped each end for m10, shoved a bit of stud in the ends to accept the new 32mm balls.
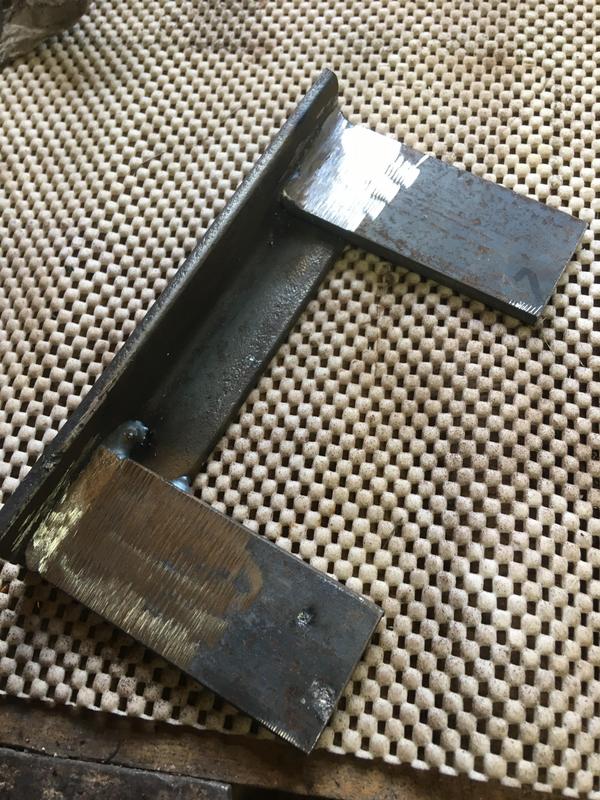
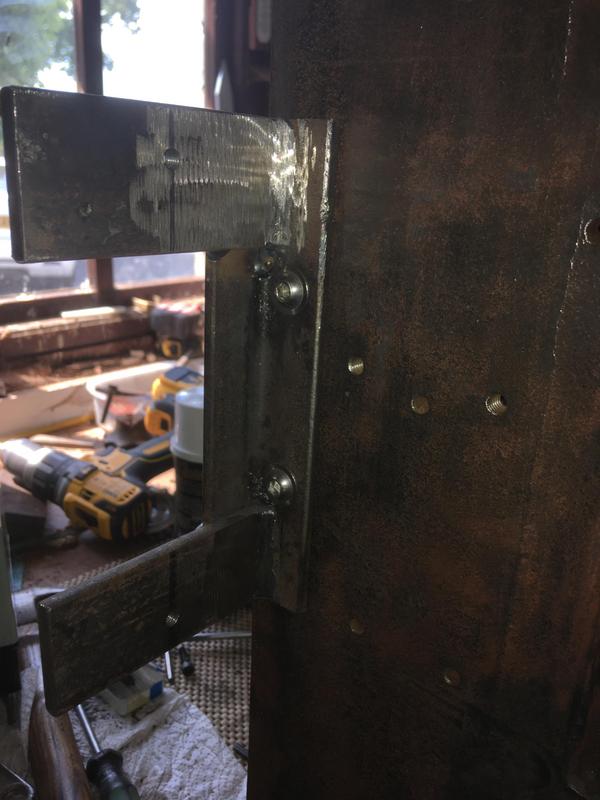
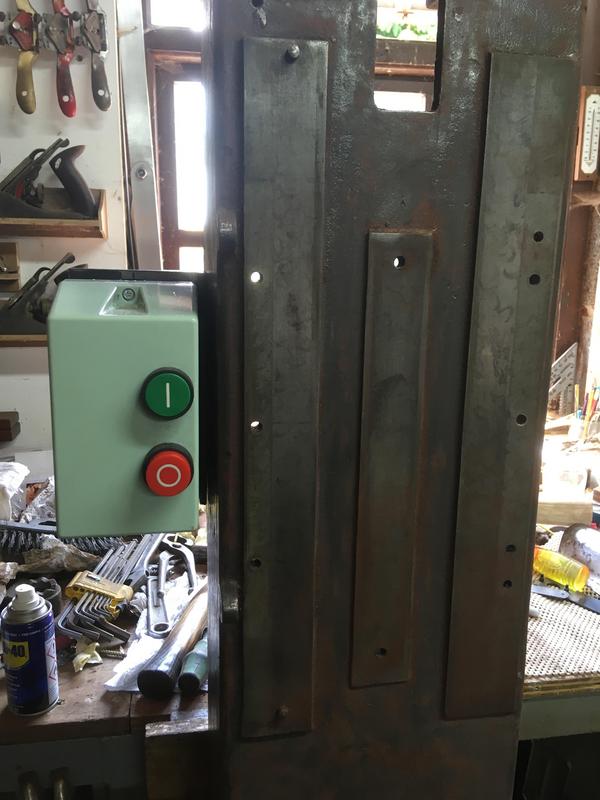
I made a bracket to fit the new switchgear to the side of the machine so that it's facing outwards towards the operator rather than just bolting it directly to the side of the machine.
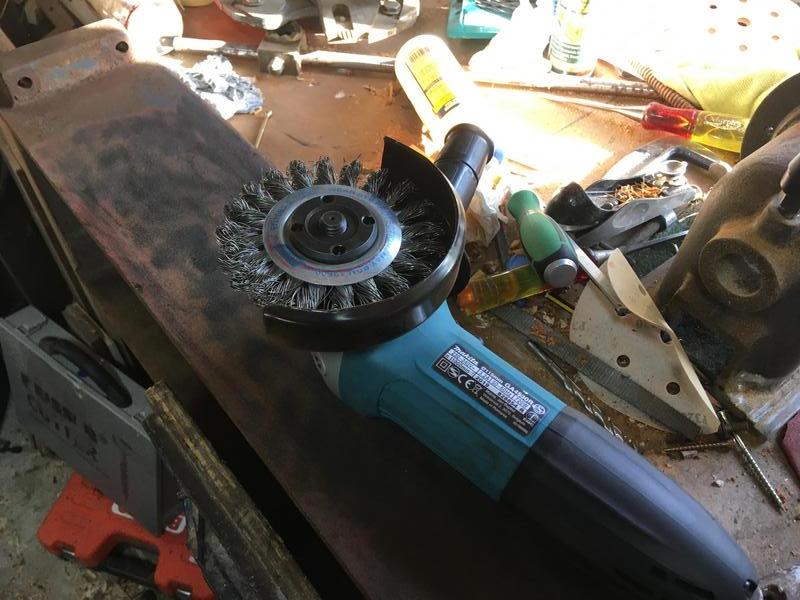
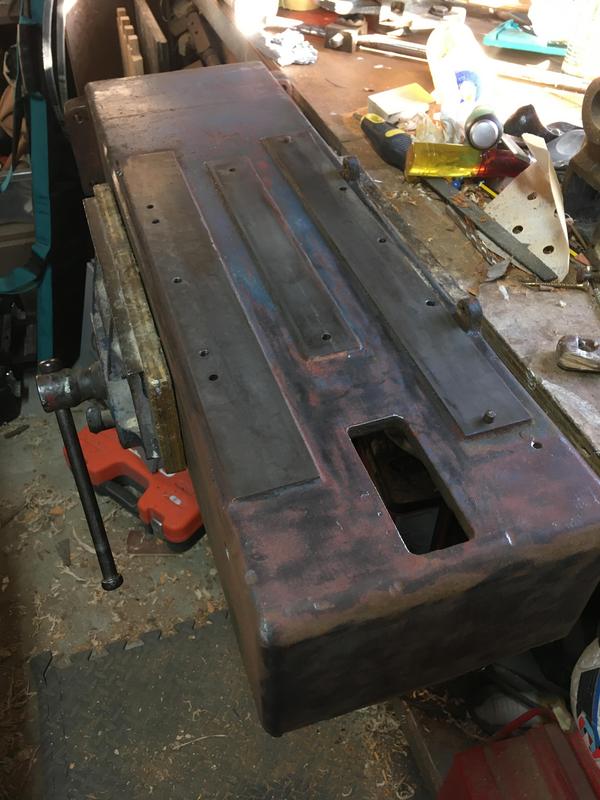
Attacking everything with a wire wheel to prep them for paint, careful not to touch the machined surfaces.
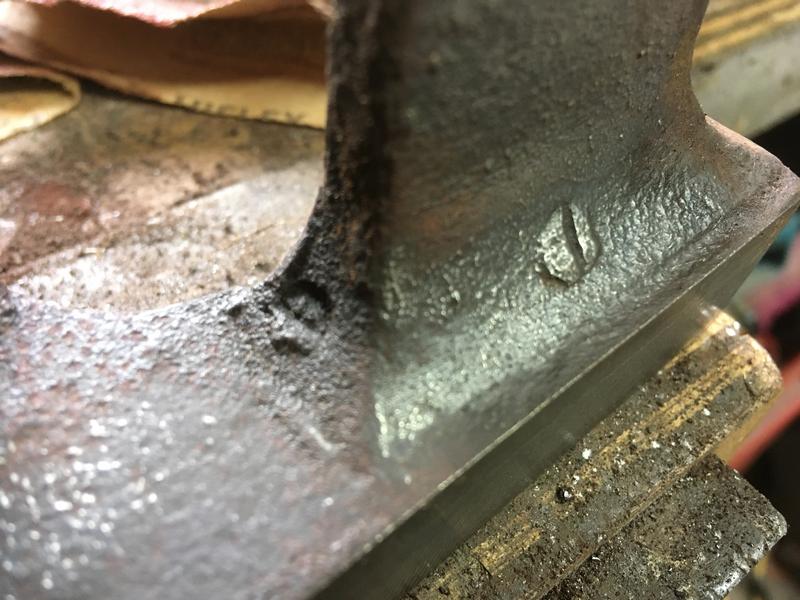
When cleaning up the castings I noticed these two screws, except they're not screws but actually a part of the casting. I can only guess they were holding the wooden pattern together when they were doing the moulds, pretty neat.
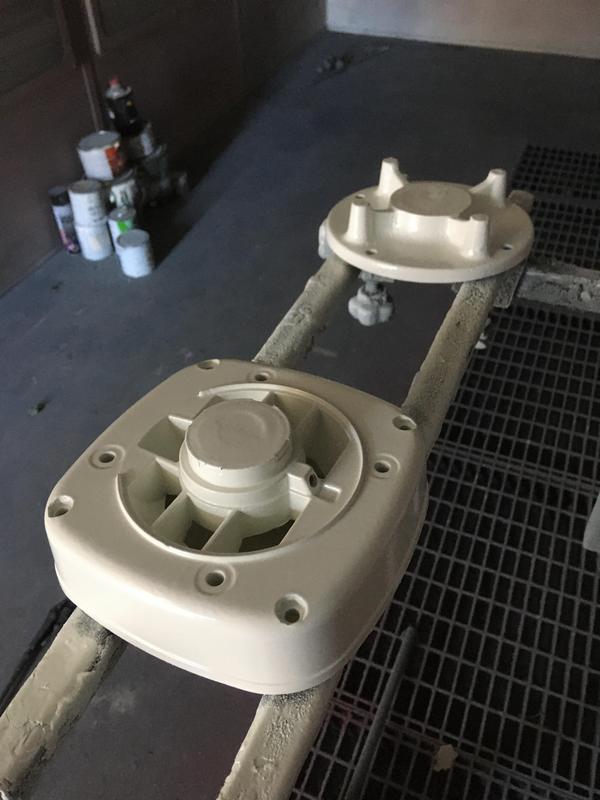
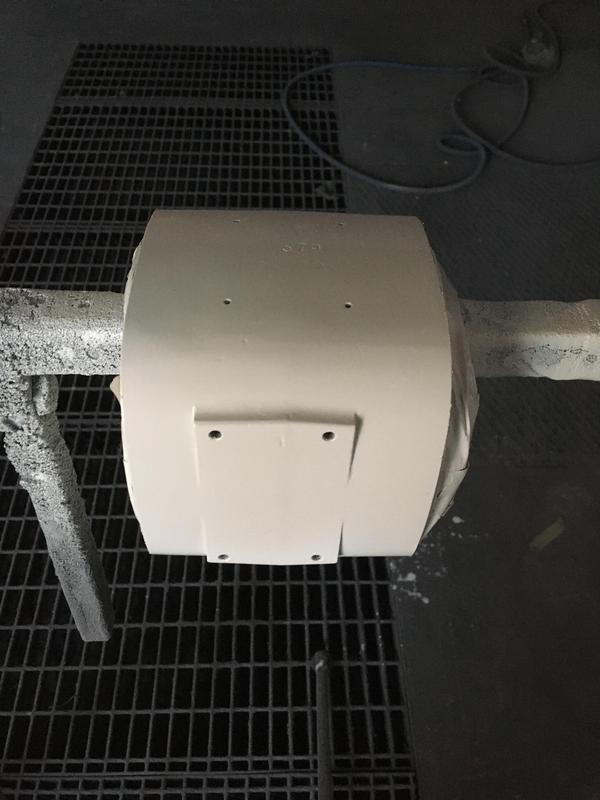
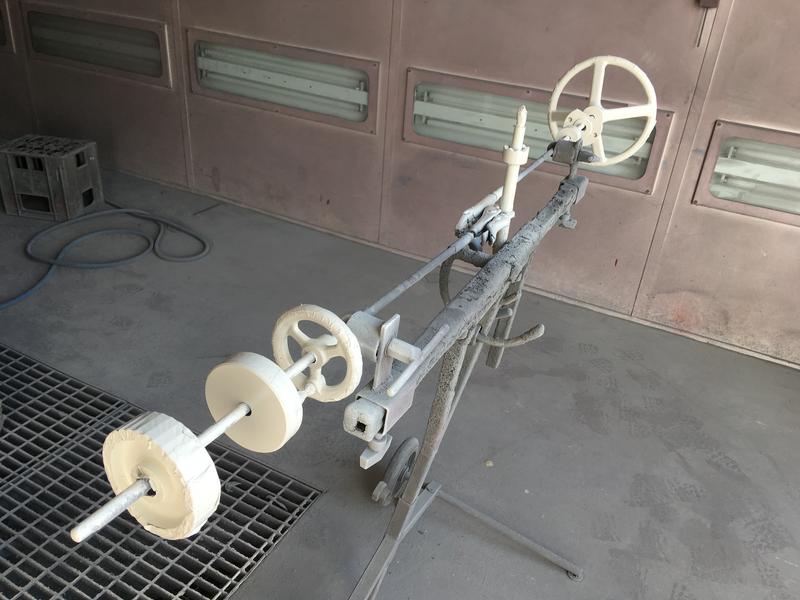
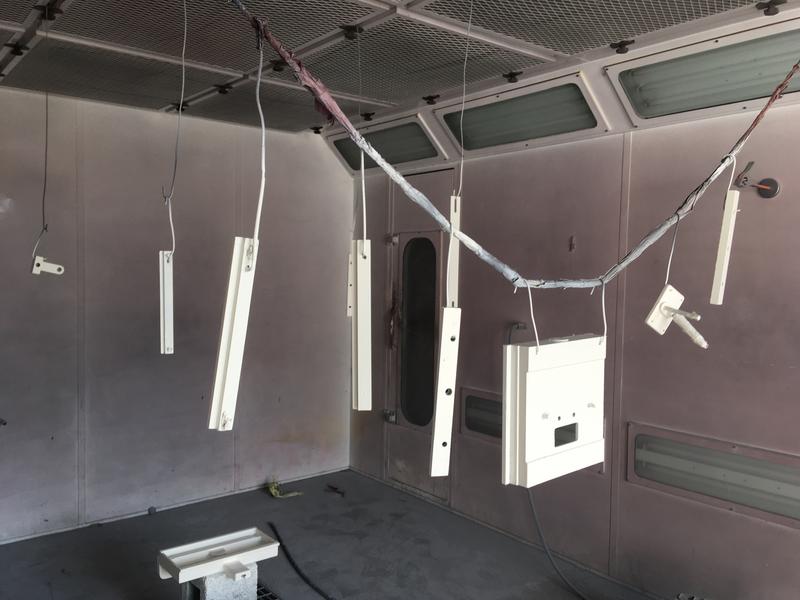
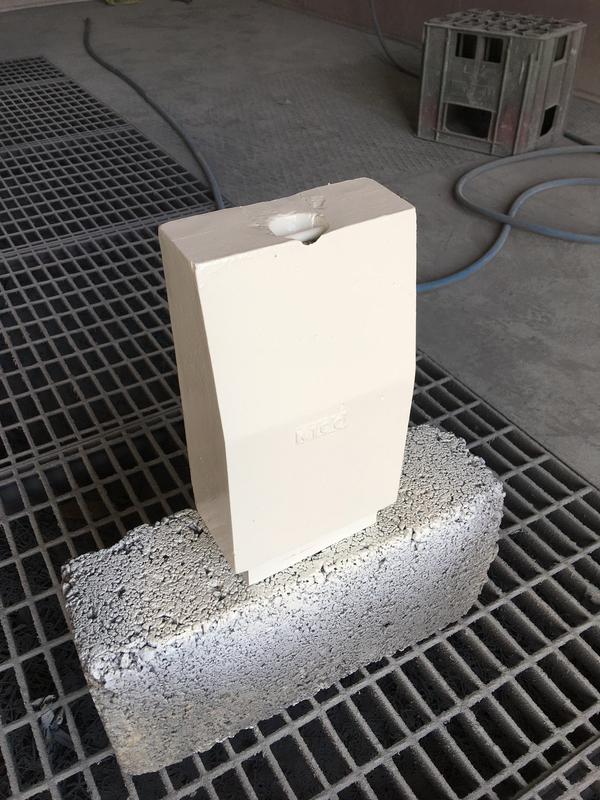
White paint on, even the counterweight!
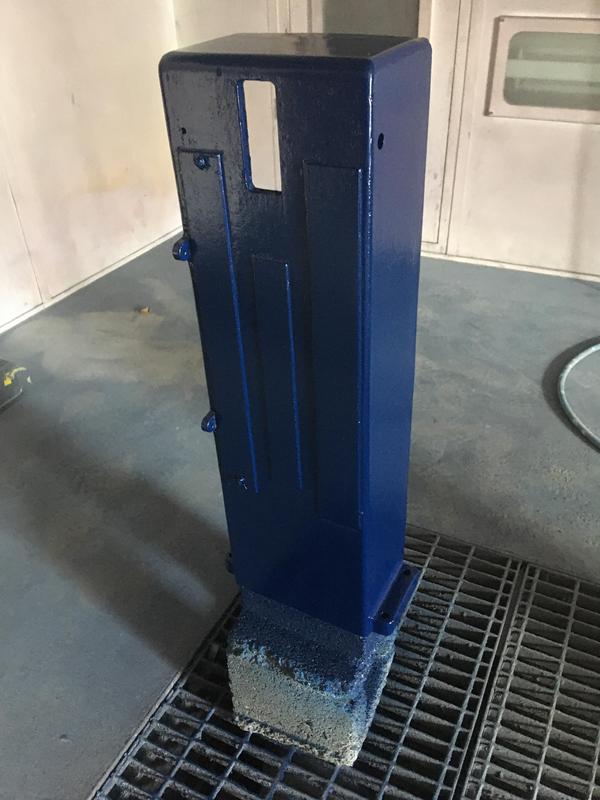
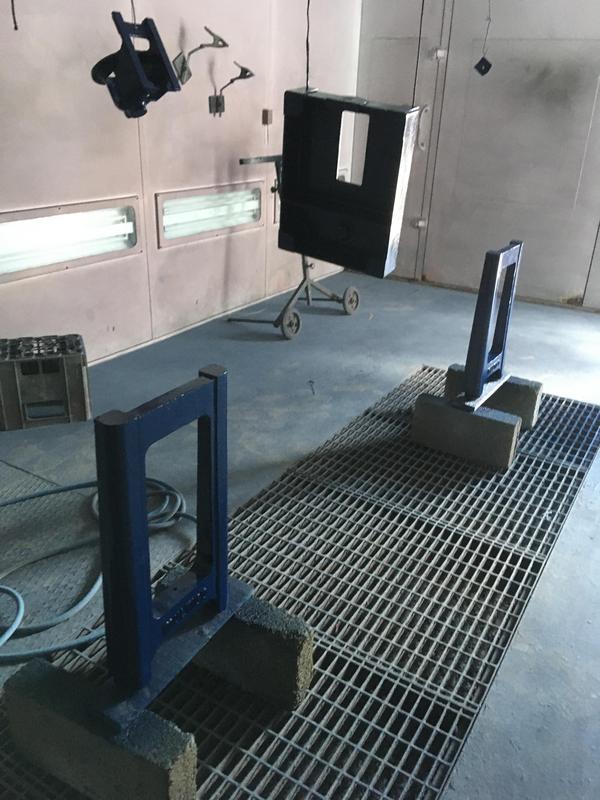
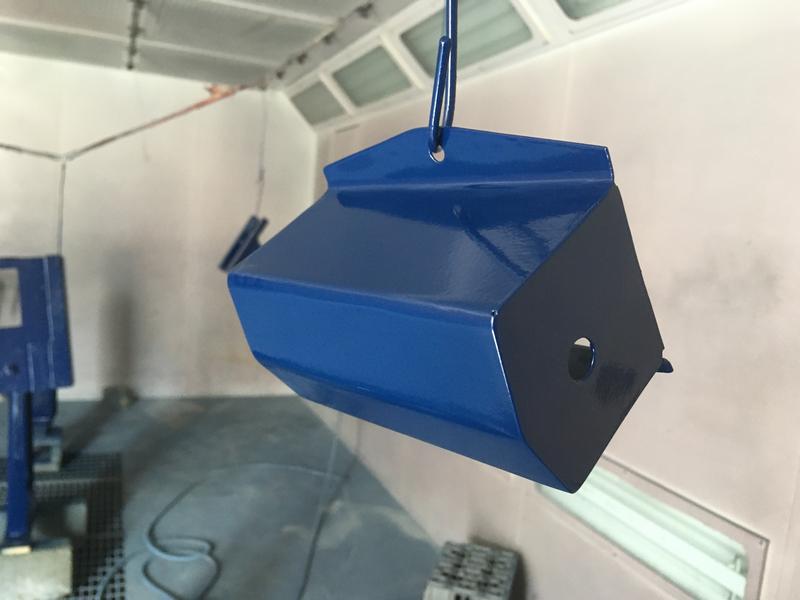
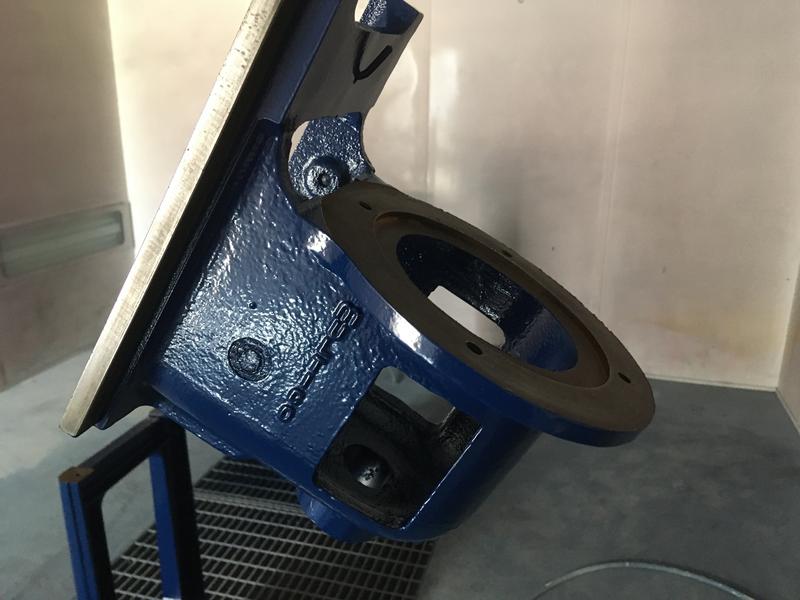
Blue on!
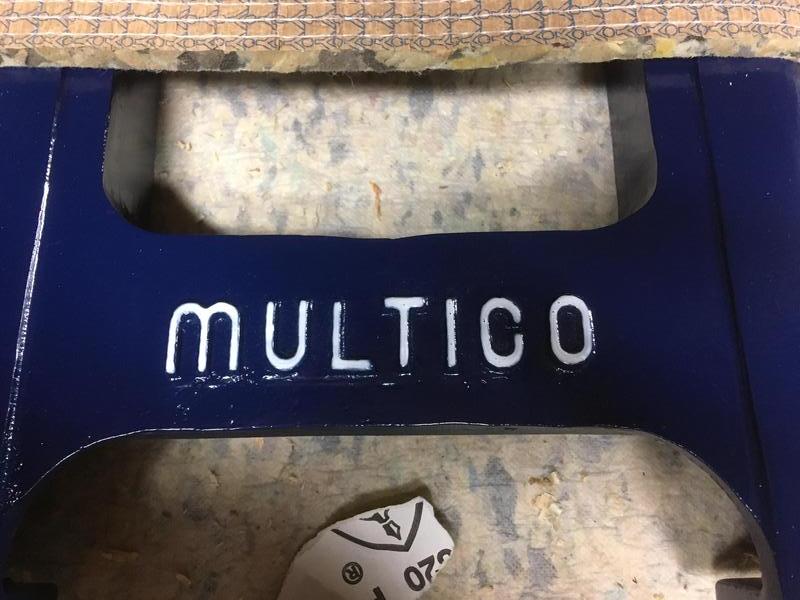
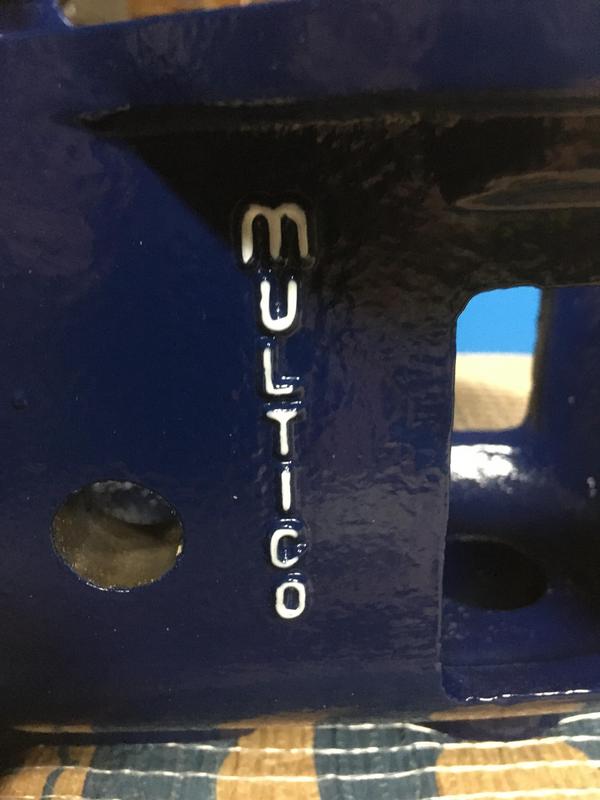
Lettering, a steady hand required, do not have!
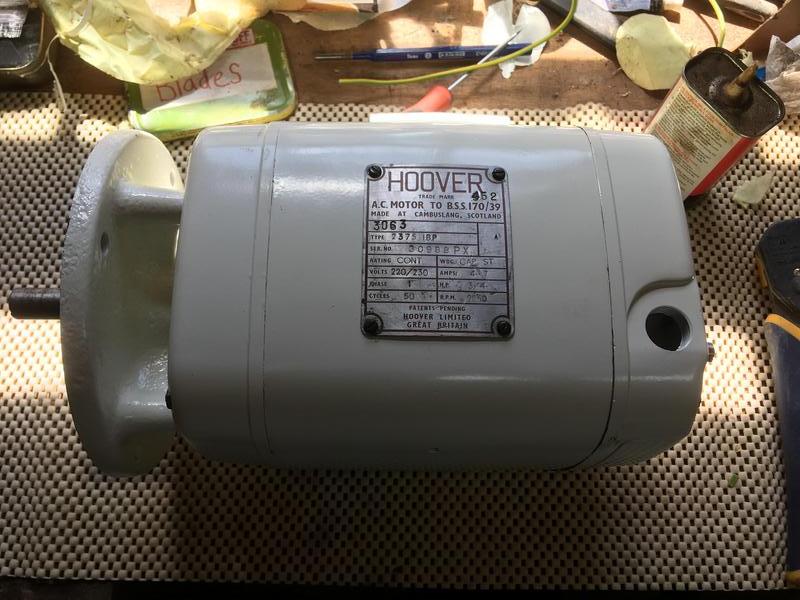
I put the motor back together, I didn't bother replacing the bearings as the ones inside were in really condition since they had been heavily greased but not over-used plus they were Hoffman bearings in the motor which are hard to match quality-wise.
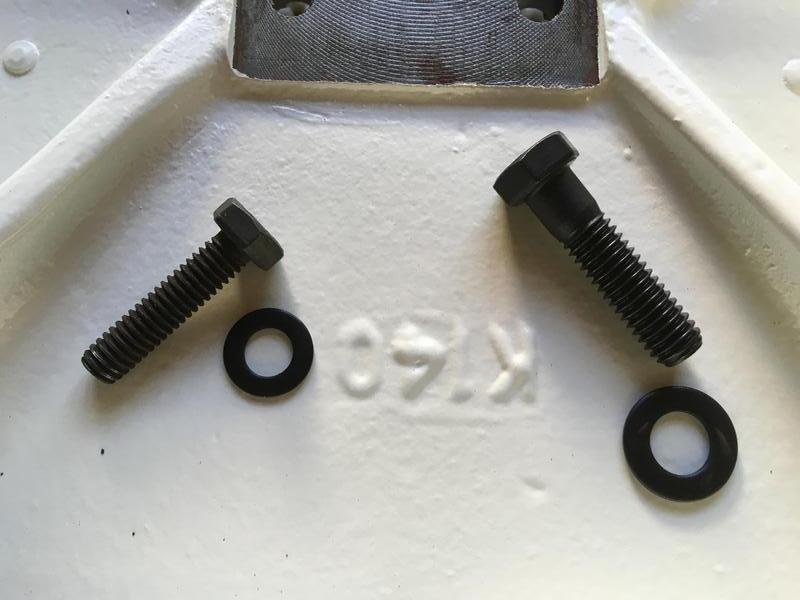
Now to put everything back together, I bought new hardware that wasn't overly cheap but will make the job look that much nicer. Black washers for extra fancy points!
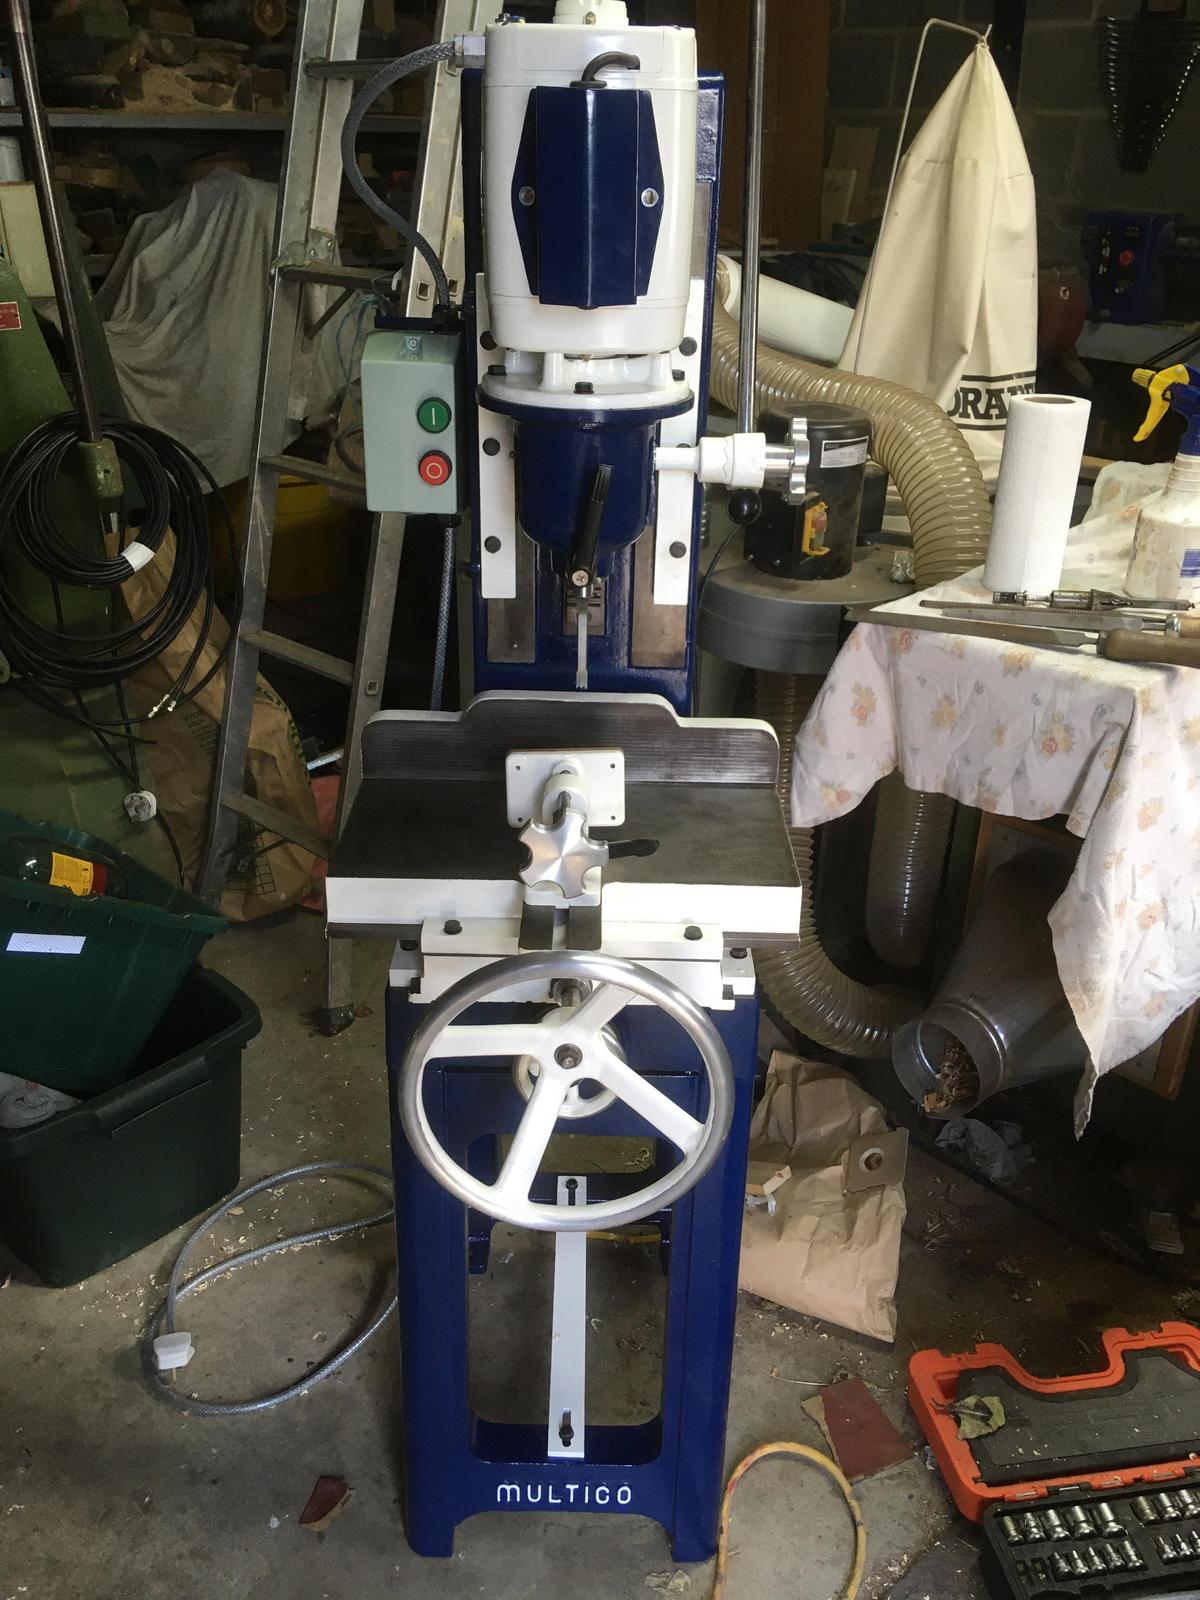
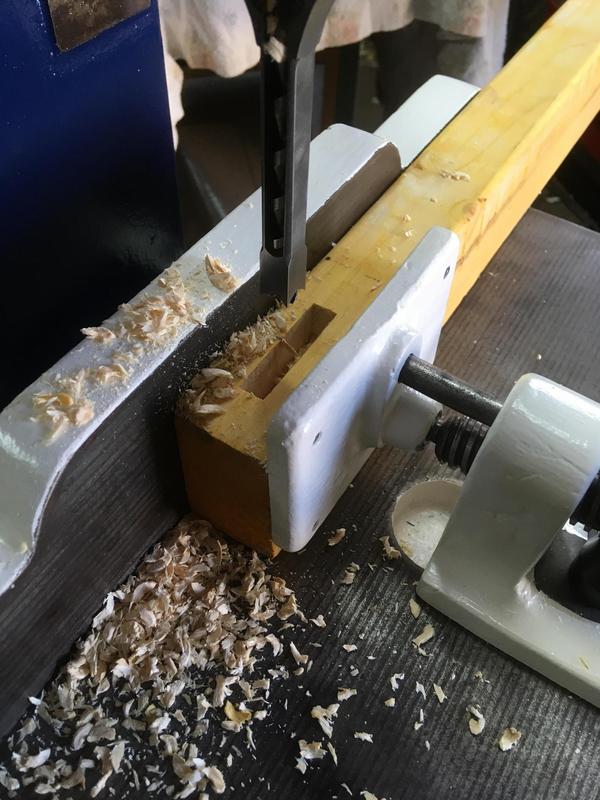
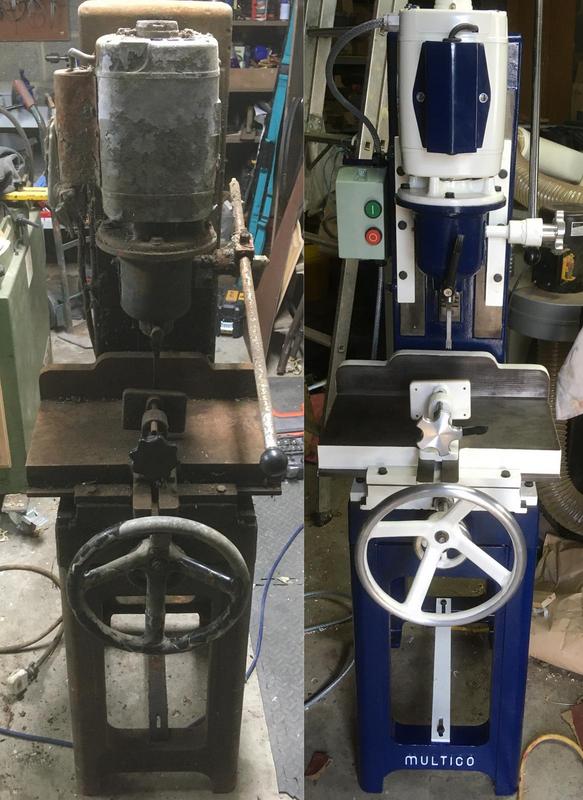
The finished article, something I neglected to mention before is that I put a locking lever handle in the head for holding in the chisels rather than the bolt that was there before. I've used SY control cable for the flex as I think it looks nice more than anything.
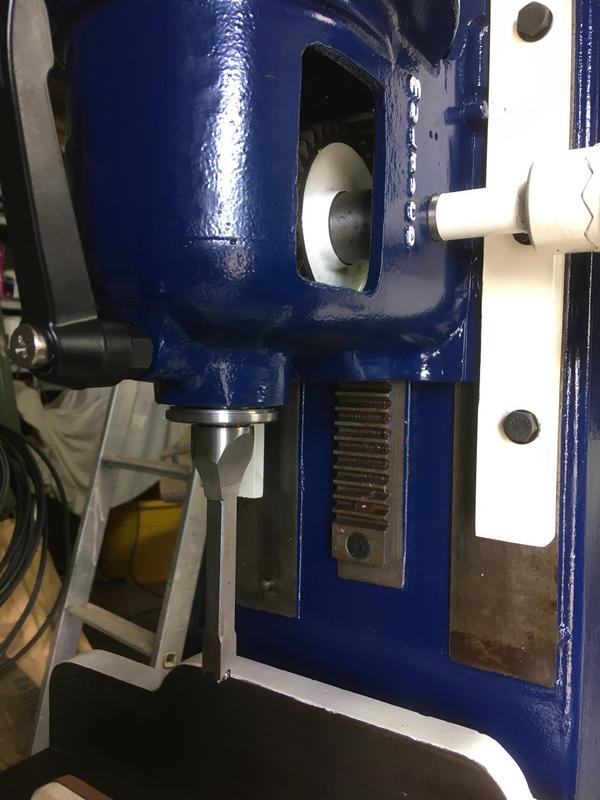
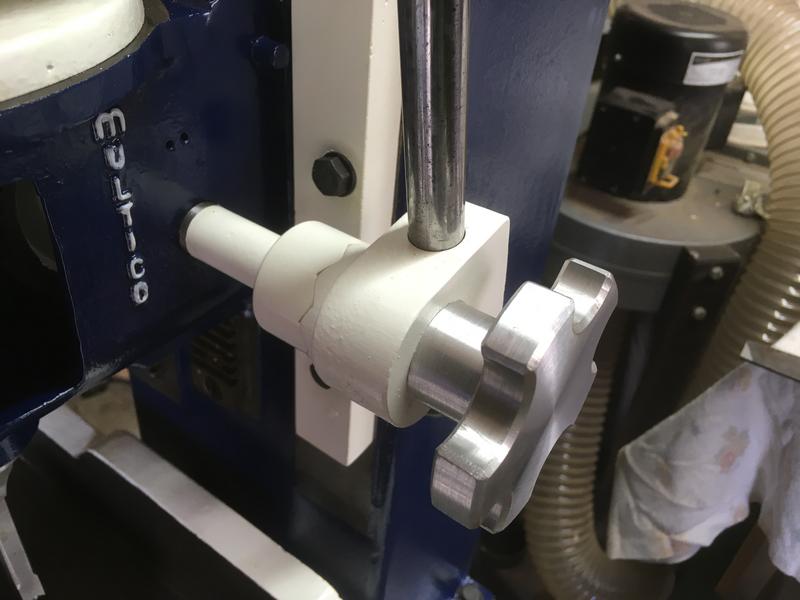
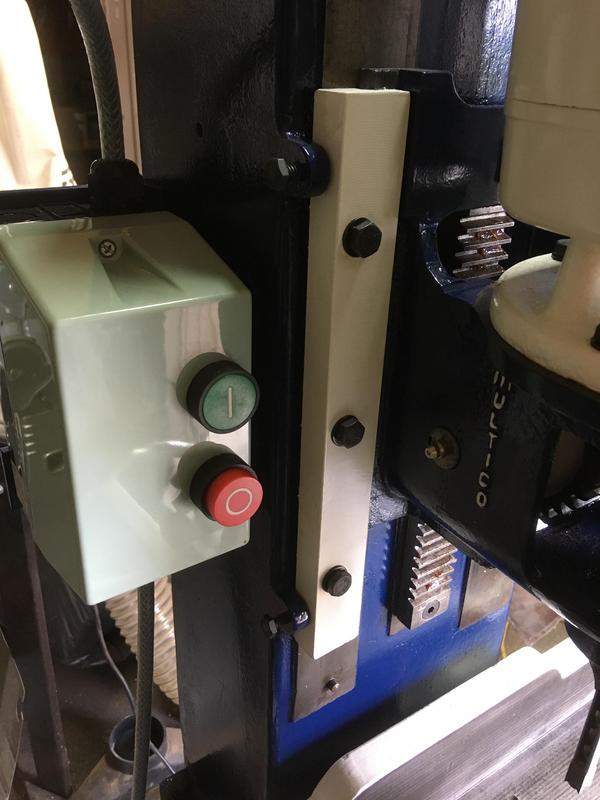
I hope you enjoyed reading and haven't minded the travesty and chaos going on in the background, I've enjoyed doing it up

I picked it up late at night in a cowshed with no lighting so I didn't really get a good look at it until I got home.


So... obviously she's a little rough around the edges but it does actually fire up despite the very dubious at best cabling and archaic switchgear.

Multico Model K, Serial number 524. I really do like these Multico badges, they clean up nicely too.


I know some will scream sacrilege but I'll swap this switchgear out for something a bit more modern, it is a nice switch though and probably better built than most anything that could be bought today!

A 3/4hp single-phase Hoover motor, there was a bit of speculation about the "3063" stamped on the tag meaning that it was made in the 30th week of 1963 but I wouldn't know.

Inside the top of the motor, the wires on the infeed power and capacitor have completely perished which isn't too much of a big deal since I'll be replacing these. Very fortunately, the wires from inside the motor itself are in very good condition comparatively, I really wouldn't even want to start trying to replace those.

Pulled the chisel and auger out of the head, definitely has seen better days...

The bed had a rather thick layer of rust and grime! I started to attack it with a block of wood with an 80 grit piece of sandpaper wrapped around it to try and get back to decent metal. Rusted cast-iron always looks worse than it actually is.


Revealing the planed/shaped finish on the bed.

Seems someone followed the old engineer's pillar drill rule of thumb of "keep going until you see iron shavings" on this poor morticer.

Considering how bad it looked initially it cleaned up very nicely.

Everything is caked in this sorta baked-on greasy dirt, fortunately though it seems the oil or grease has kept the bed ways looking pretty good even after however many years in the dirt.

Mostly stripped down!

Oh dear, taking the column off has revealed this crack on the bottom on the casting, it looks a lot worse in the photo than it actually is. I don't really see how this could've happened unless the counterweight has come loose at some point and hit the bottom very hard as in theory this part of the casting shouldn't have any load if it was ever tipped over as the hole only locates the column onto the base casting and it's bolted on the four corners pretty solidly. I'll leave it be rather than trying to repair it as it won't actually affect anything either way since as I said, it only locates the column initially and is then bolted on the four corners.


With the machine all in bits I got to working on said bits and making good what needed making good, the first start was the capacitor which whilst it did work the cable had become seriously perished and was crumbling away in my hands so I plopped a new one on order and thought nothing of it until it arrived and I discovered to my stupidity for not checking that it was much larger than the original one so it didn't fit in the original capacitor holder.

So I did what any reasonable human being would do and spent a day making a new capacitor box of course!


It's quite a bit larger than the old box but it doesn't look totally daft on the motor.


Made a new back cover plate to hide the counterweight since the original one was missing, I also re-tapped the holes in the back for M6.


The bed clamping lever had seen much better days, rather than trying to bodge the existing one I just made a new one. Cut some 5/16" BSW threads, drilled a hole for a lever bar and threaded it M8, made a little bar and put a small 16mm ball on the end. You can see in the photos that the gib itself has snapped at some point, possibly from overtightening, I'll sort this out while I'm at it.


I wasn't really sure how to go about repairing the gib initially, I didn't really fancy brazing it so I came up with this idea. Three pins accurately put into the crack so that the parts come together perfectly and then epoxied them together, I reckon the repair will be good enough for the task.


The original handwheels needed attention, the one for the lever handle was missing completely and the one for the bed clamp was brittle and on its way out. It's quite common for these to be missing or in poor condition so I assume the plastic they used was pretty rubbish or just didn't age well. I decided to push the boat out and make some scalloped wheels from some 3" aluminium bar, they're quite crude really as they're mostly shaped by hand but it's more function over form in this case. The lever handle used a left-handed 1/2" BSF thread which was a fun time finding a tap to match!


The original part to hold the bed clamp to the bed had seen better days and used a nut, I fancied making a replacement that used a locking lever instead.


Cleaned the outside of the handwheels for the beds, these had some kind of dipped plastic coat covering them originally which looked pretty terrible so I pulled what remained off and turned the outer diameters concentric with the bores since they were pretty far out and then polished them.


Skimmed the collet holder and polished it up since the chrome/nickel plating they used had gone pretty nasty. I also took the lever bar and drilled and tapped each end for m10, shoved a bit of stud in the ends to accept the new 32mm balls.


I made a bracket to fit the new switchgear to the side of the machine so that it's facing outwards towards the operator rather than just bolting it directly to the side of the machine.


Attacking everything with a wire wheel to prep them for paint, careful not to touch the machined surfaces.

When cleaning up the castings I noticed these two screws, except they're not screws but actually a part of the casting. I can only guess they were holding the wooden pattern together when they were doing the moulds, pretty neat.


White paint on, even the counterweight!


Blue on!


Lettering, a steady hand required, do not have!

I put the motor back together, I didn't bother replacing the bearings as the ones inside were in really condition since they had been heavily greased but not over-used plus they were Hoffman bearings in the motor which are hard to match quality-wise.

Now to put everything back together, I bought new hardware that wasn't overly cheap but will make the job look that much nicer. Black washers for extra fancy points!

The finished article, something I neglected to mention before is that I put a locking lever handle in the head for holding in the chisels rather than the bolt that was there before. I've used SY control cable for the flex as I think it looks nice more than anything.


I hope you enjoyed reading and haven't minded the travesty and chaos going on in the background, I've enjoyed doing it up


