tombo
Established Member
One sunday last summer SWMBO said that the kids need some organisation for their many toys something like a couple of toyboxes. The wood for that wont be very expensive i said.... lets go and have a look at B&Q :roll: ....well they are open on a Sunday.
nearly a hundred quid and three weekends later I had managed to make three lids and two of these ( the first design for the lid was abandoned ,more later)
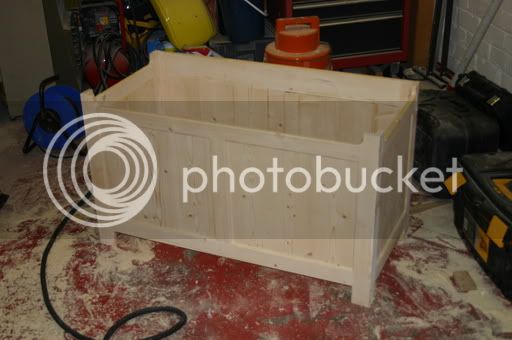
The construction is very simple, i used my new door making router cutter set for the rails and styles and glued up flat panels for the field. Its only when i started a task like this i realised what a mistake it was to use B&Q pine. The panels were very narrow so the glue-ups were tedious, and the non straightness of the wood in general makes it difficult to work with. Plus my mad design meant there was loads of waste.
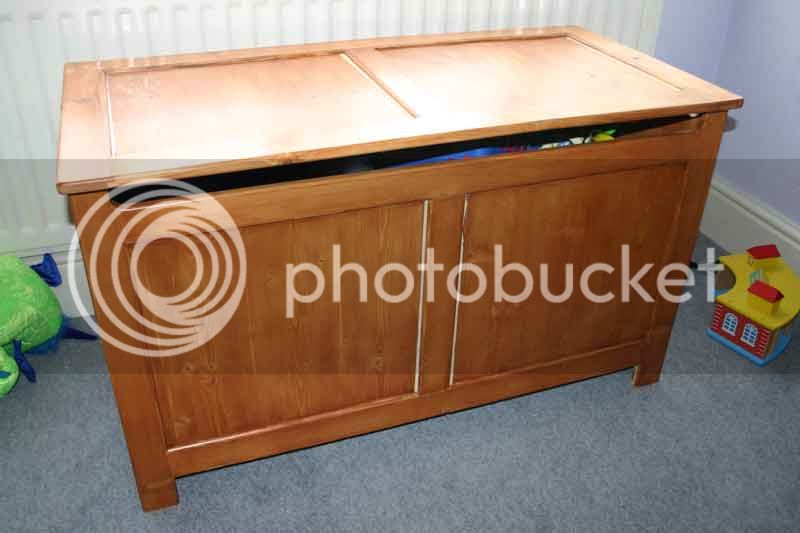
At the end though i had made two large toy boxes, and i was quite pleased. Then i discovered what an unforgiving material pine is to apply a finish to. I used a stain/varnish but try as i might i could not help the blotchy appearance. I was so disappointed with the results that i only had the heart to finish one of the boxes. I left the second one natural. Then i took them indoors and the wood shrank real badly :evil: :evil:
and
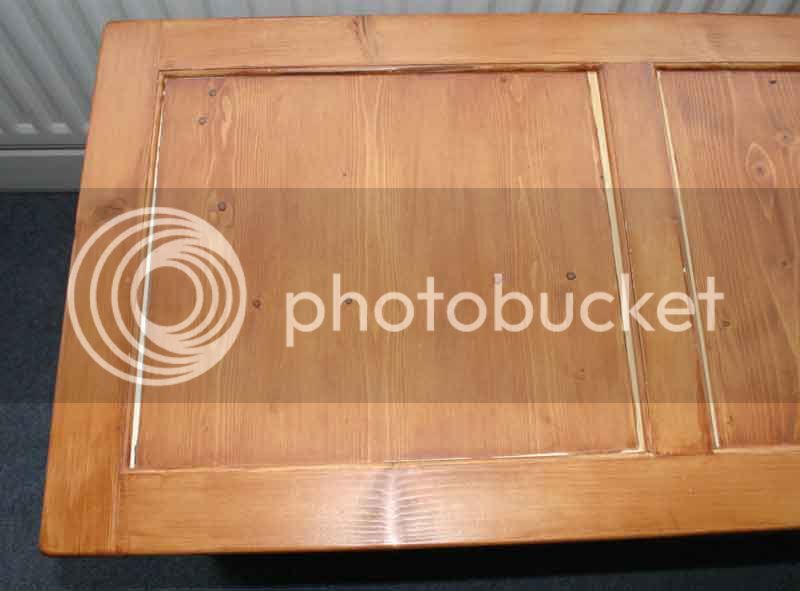
finally just yesterday one of my little cherubs jumped from his bunk bed straight through the top of the second toybox :?
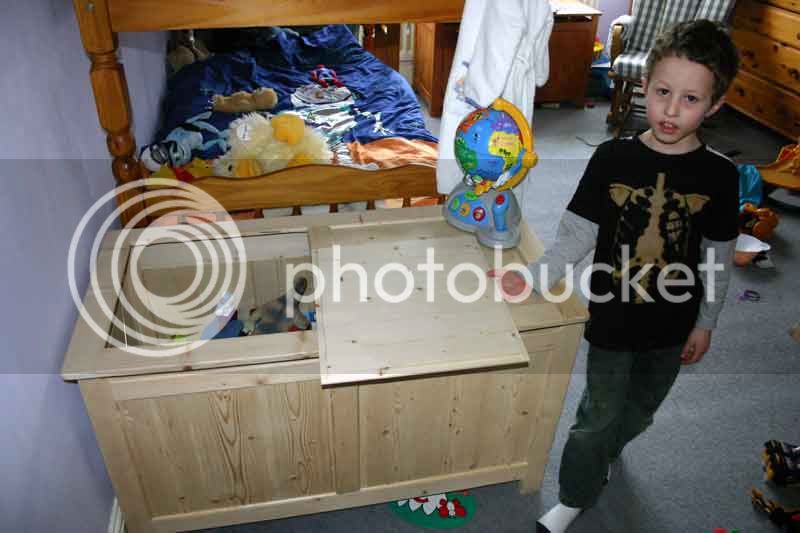
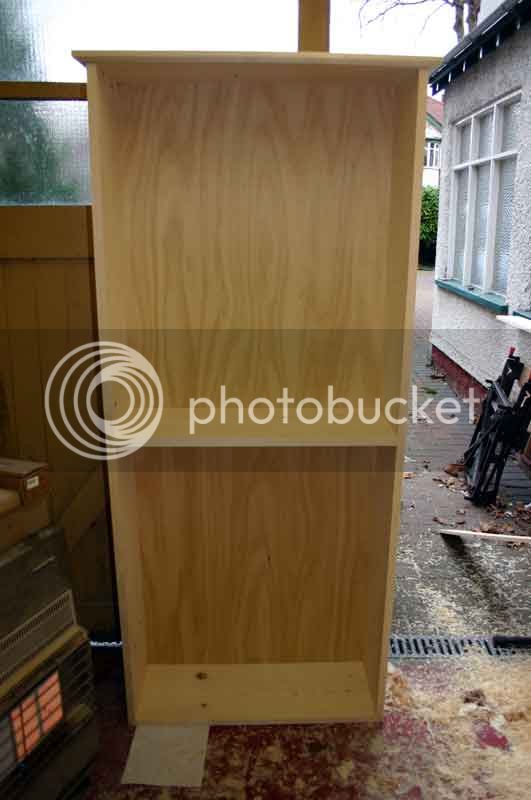
while the toybox was being smashed I was in the middle of another project from pine a bookcase for my mum this time i got the wood from travis perkins... what a difference flat straight and smooth.
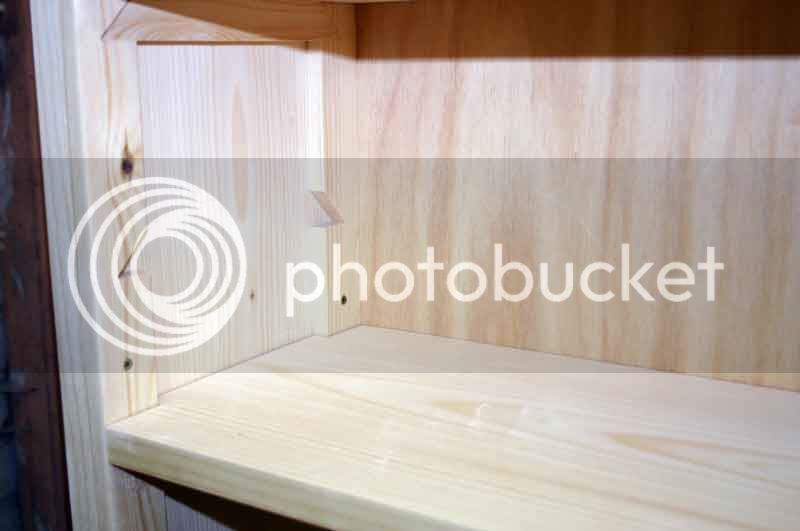
here are the shelf supports
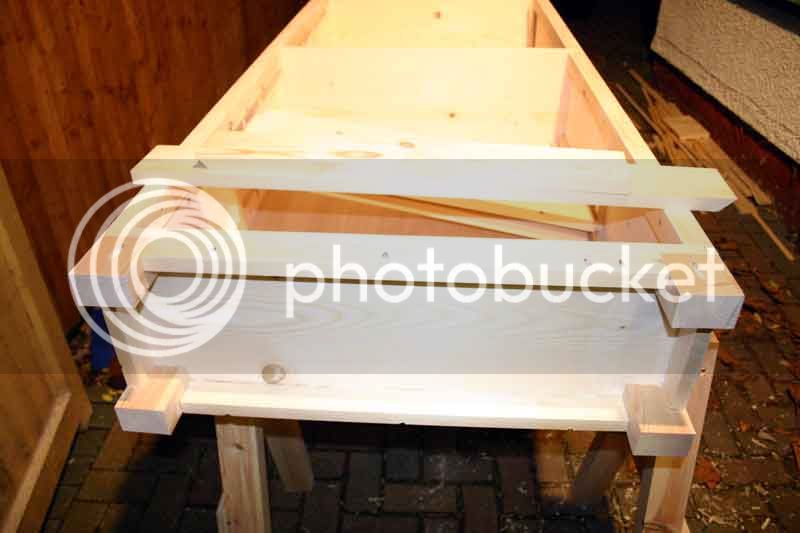
and fitting the legs and skirt
though i have just stained it a dark oak colour (no pictures yet) looks like i'm going to have problems with blotchiness again arrrrrg!
That it no more pine!! its just not worth the effort to be so disappointed with the finishing problems...
Simultaneous to this a friend visited me and was admiring the toybox lid i was about to scrap, saying it would make a nice coffee table so i knocked this together using pocket screws
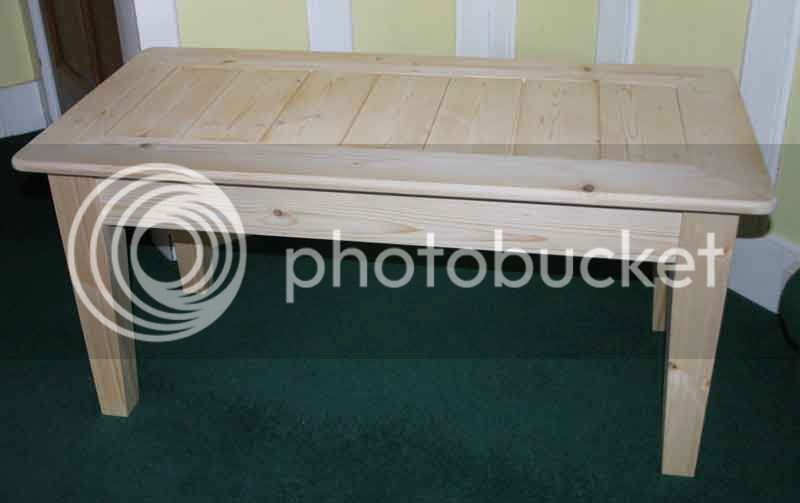
He is going to have to varnish it himself i've had it, but then he did get a free table.
nearly a hundred quid and three weekends later I had managed to make three lids and two of these ( the first design for the lid was abandoned ,more later)

The construction is very simple, i used my new door making router cutter set for the rails and styles and glued up flat panels for the field. Its only when i started a task like this i realised what a mistake it was to use B&Q pine. The panels were very narrow so the glue-ups were tedious, and the non straightness of the wood in general makes it difficult to work with. Plus my mad design meant there was loads of waste.
At the end though i had made two large toy boxes, and i was quite pleased. Then i discovered what an unforgiving material pine is to apply a finish to. I used a stain/varnish but try as i might i could not help the blotchy appearance. I was so disappointed with the results that i only had the heart to finish one of the boxes. I left the second one natural. Then i took them indoors and the wood shrank real badly :evil: :evil:

and

finally just yesterday one of my little cherubs jumped from his bunk bed straight through the top of the second toybox :?

while the toybox was being smashed I was in the middle of another project from pine a bookcase for my mum this time i got the wood from travis perkins... what a difference flat straight and smooth.

here are the shelf supports

and fitting the legs and skirt

though i have just stained it a dark oak colour (no pictures yet) looks like i'm going to have problems with blotchiness again arrrrrg!
That it no more pine!! its just not worth the effort to be so disappointed with the finishing problems...
Simultaneous to this a friend visited me and was admiring the toybox lid i was about to scrap, saying it would make a nice coffee table so i knocked this together using pocket screws

He is going to have to varnish it himself i've had it, but then he did get a free table.


