mitre board sled

UKworkshop.co.uk

Help Support UKworkshop.co.uk:

This site may earn a commission from merchant affiliate links, including eBay, Amazon, and others.

devonwoody

Established Member
Joined
11 Apr 2004
Messages
13,493
Reaction score
25
Location
Paignton Devon
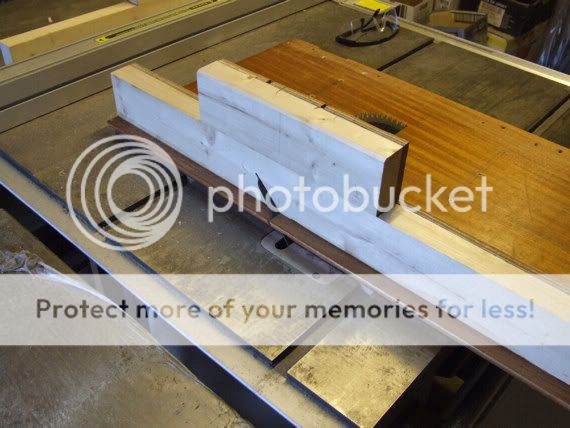
Having a break from the lazy susan for a few days but started a sled to cut mitres only with the new tablesaw.
I have some old laboratory doors which have been veneered over batten constructed boards, I cant recall what the correct term is at the moment, also edged with mahogany. These doors are over 50 years old but completely flat and corners are square.
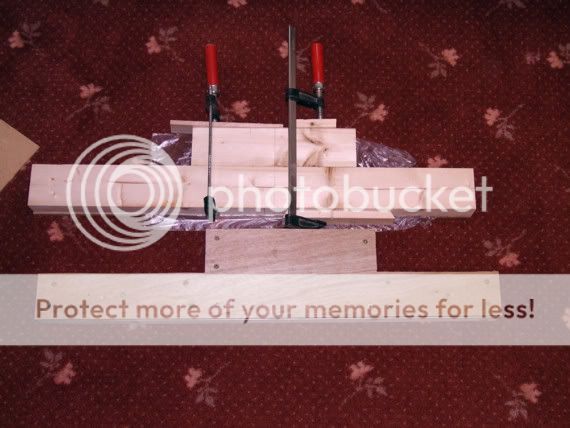
Some roof timbers are being used for the fence crossbars (again over 50 years and only needed cleaning up and also square.
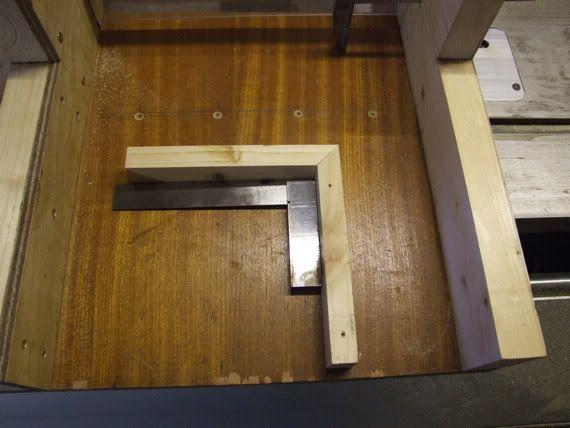
First picture shows a cross bar under construction
1w-2.jpg


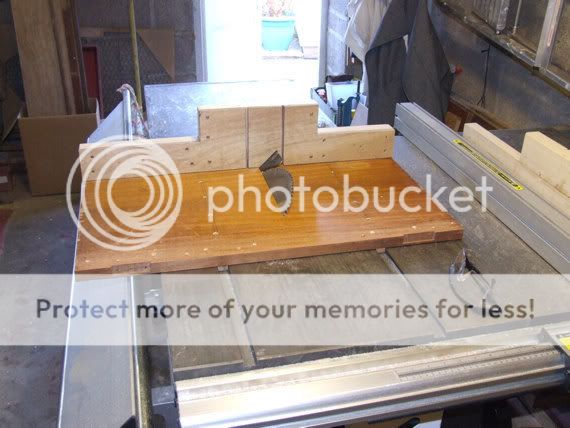
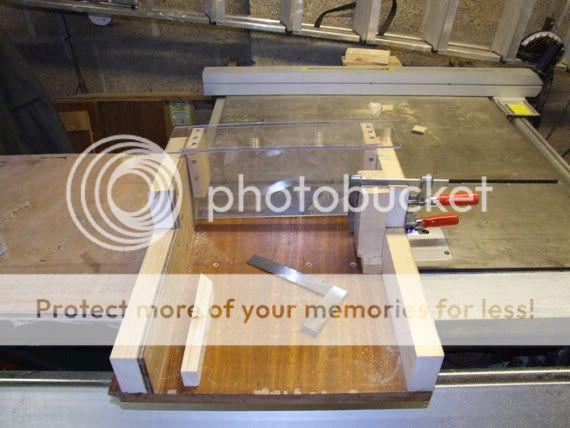
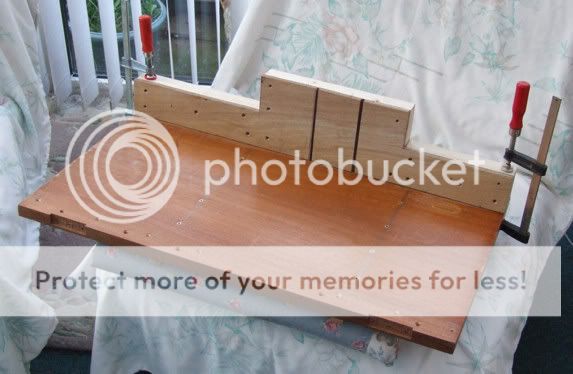
Second pic. I have attached the crossbar glued and screwed but leaving to cure in the conservatory because we have a cold snap down here at the moment and want the glue to mature.
2w-2.jpg


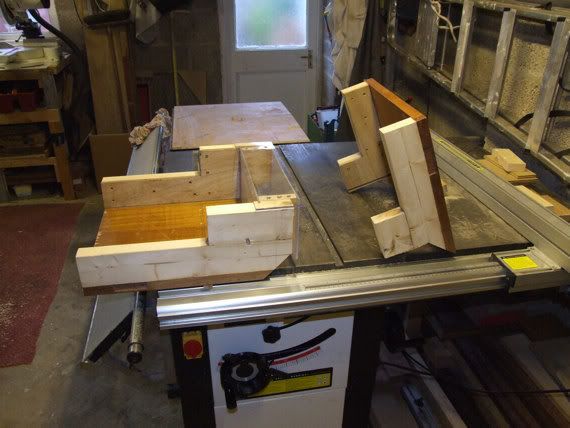
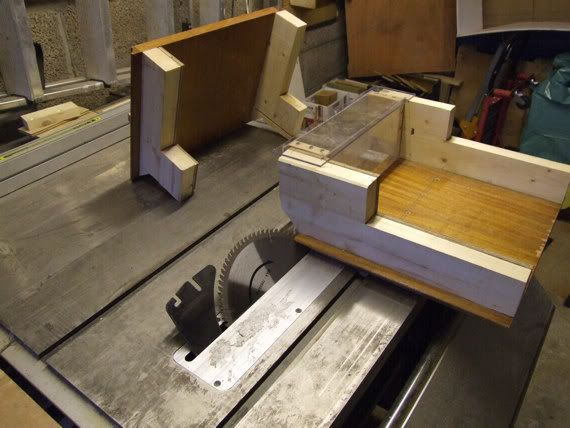
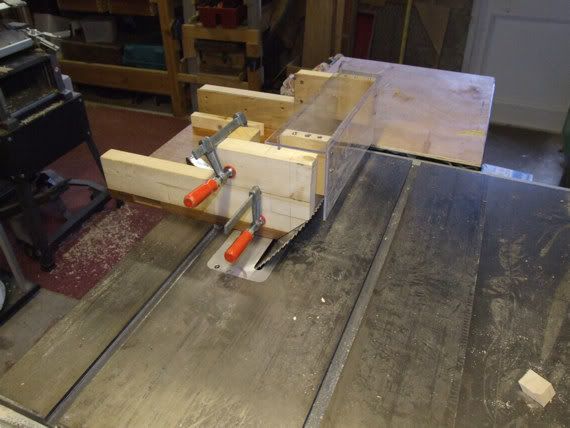
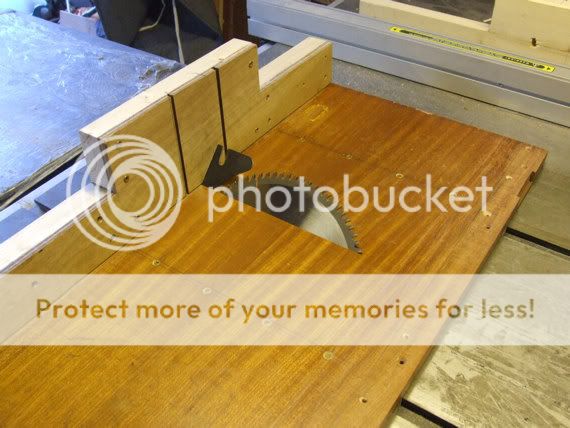
In the following photographs I have machined grooves for the Perspex guard and also run the tablesaw blade (80tooth perform freebie) 75% across the sled only.
The reason for this is so that I can set the second fence at 90% more accurately to the saw line, and will complete the cut at a later time when fence has been glued to the correct position.
3w-2.jpg


4w-2.jpg


5w-2.jpg


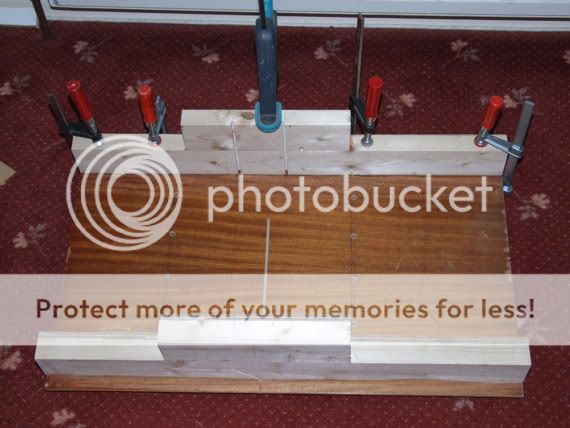
Main hold fence is now being glued into position with some screws also holding beneath board.
6w-2.jpg


I have made an addition to other sleds previously seen on forums by cutting a slot in the rear fence which will enable a bar cramp to be passed through when operating the sled I have removed the dimple at the end of a clamp so that the head can come away from the winder bar. This of course is as yet untried but will keep you informed if it is a success.
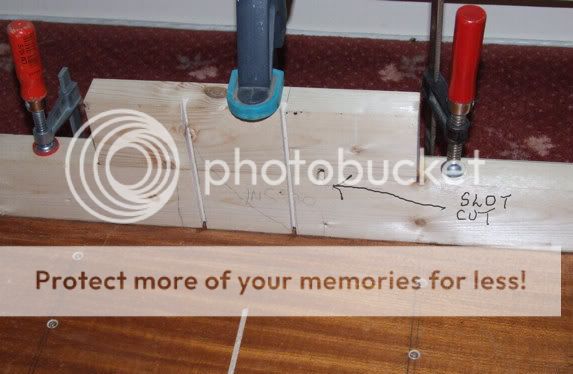
7w-1.jpg


To lubricate the somooth running of the sled across the c.i. table I have applied beeswax to runners/slots base of sled and ci table top, in fact the wax is so affective I am hanging on to the board to stop it flying out of the workshop door. Thank you Adam again.
 
Looks good,and useful,DW - you must have now recycled more timber than anyone lese on the forum,haven't you :lol:

Andrew
 
B+*G*r The base board has twisted, it rocks on the table.
Going to leave it a few days to see if it returns to original flatness, could be the weather today.
Heard and expression the other day in Oz. "its a three dog night" but down here it a ducks and drakes situation.
 
devonwoody":1t9v4tfn said:
Going to leave it a few days to see if it returns to original flatness, could be the weather today.

If it does return to it's orignial flatness, will you ever be able trust it in the future ? A jig you can't trust soon finds itself abandonned. Maybe worth thinking about changing the base to a manmade board with low movement (e.g. mr-mdf) before you put too much more effort in.
 
Fecn, I think the problem arose because the two cross bars have a 45% mitre cut and stress has released and pulled the baseboard.
Those laboratry doors have stood propped up in my garage 5 years and are stable'
I'm wondering if I fabricate the cross pieces with two times 3/4" ply bars if I would be better off.
 
When the second fence glue had set I then continued the cut across the entire board.
The next day the board had developed a twist.

If I glue up some 3/4" ply to make 1 1/2" thickness fences does the forum think I would have the same problem?
Or is it going to be suck and see?
 
Looking good DW - might just make one myself - keep being green :wink:
 
After I had finished swearing about my twisted sled, I got to thinking how I could cure the problem, so I did this.

8w-1.jpg


9w-1.jpg


Yes I cut it down the line to meet the mitre cut already formed on the jig.

Then I cut some mitres to see if I could get some accurate cuts. Used a template to set the tilted blade at 45% and started to get frustrated again, the cut was off. So I kept reducing the tilt down until I got a satisfactory mitre and would you believe the scale available on the machine was accurate not the templates placed at the blade. So there must be something those Chinese engineers know about slippage etc.

10w-1.jpg


11w-1.jpg


12w-1.jpg


I have then decided to put an additional runner that slides along the edge of the c.i. table together with a holding plate. The table edge believe it or not matches the mitre slot on the table. So somethings Chinese might be bit wishy washy but slots and table top/blade are spot on.

13w-1.jpg


Clamp through the fence works as well provided there is an additional clamp pushing down, otherwise timber is inclined to pull up with the through clamp.

So the next job is to get that lazy susan finished and then I can start cutting mitres again.
__________________
 
Looking good, but one observation..
devonwoody":39opncmr said:

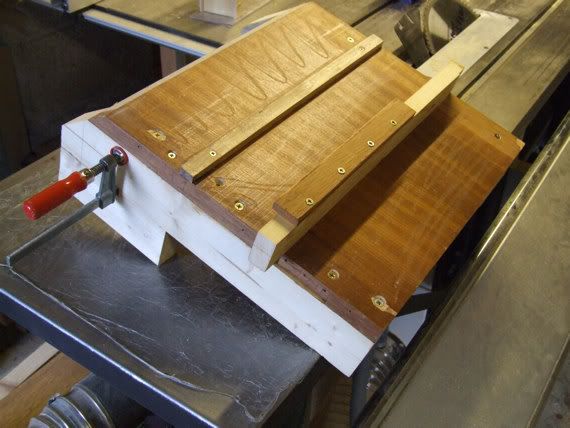
If i were to pick up this jig and start using it, I would probably stand to the side of the saw, and use one hand on the jig, and one on the clamps... whcih would put knuckles nastily close to the blade. Maybe worthwhile extending your protective guard out the back?
 
Yes to both respondents above.

I've got an idea for blade protection cover but just giving it some time to make sure that twist doesn't come back before I continue further. :oops:
 
Hi DW

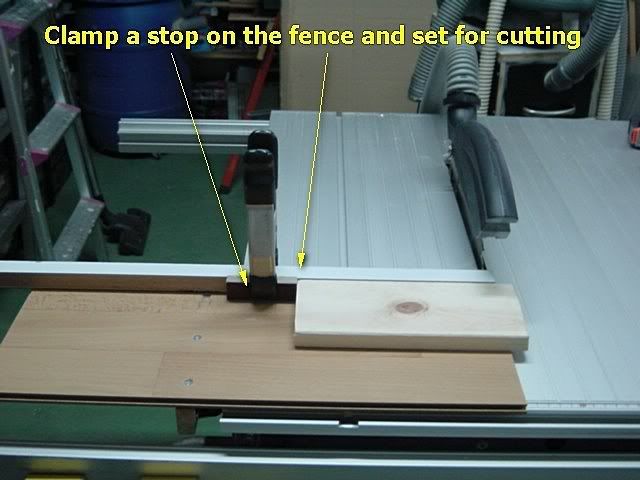
From looking at your "final" sled, I think that you could make and use much lower fence and use the original blade guard...something like this

S001.jpg


You could also use the "rollers" to ride along the table top side which will eliminate the need for "snugly fit" runner, give you smoother ride and eliminate any "play" after long time usage (the rollers are adjustable)

S008.jpg


This sled is made of 8mm floor panels so the loss of blade height is...8mm.

Regards
niki
 
Yes Niki, the next sled for a 90% cut I would most probably do that and include the mitre gauge as part of the setup.

But the item above is very stable and my experience so far with 45% cuts are that there must be no play at the cutting edge whatsoever.
I can get two clamps to the timber plus a stop and the side table holder with the under return feels like old English engineering. :wink:

BTW have you created an index listing of your jigs anywhere on the web?
 
Hi DW

I went to the garage and made this experiment.

The cut is not so clean because I used ripping blade.

One of the boards has rounded edges so it looks like there is a gap at the outer side (I used scraps).

The sled is the same one that you have seen on the previous pictures but, in the mean time, I covered it with sanding paper for better grip...also the fence is covered with sanding paper.


Setting the blade to 45°
01-2.jpg


Cutting the first board
02-2.jpg


Cutting the 2nd part
03-2.jpg


04-1.jpg


05-1.jpg


06-1.jpg


07-1.jpg


Regards
niki
 
Congratulations again Niki. :eek:

I wonder how it would work with one of those really hardwoods. I was constantly getting creep when using the SCMS saw cutting hardwoods and knowing and seeing Austrailan members were getting perfect mitre cuts with their hardwoods is what drove me to having a tablesaw and sled.
 
Hi, DW

It's already night here and the car is in the garage but, tomorrow morning I will try it with some scrape of Oak.

What is the width of the boards that you are working with...the one of the pics is 100mm wide.

I think that it's all about clamping and holding the boards during the cut.

Regards
niki
 

Latest posts

Back
Top