Miniature Traction Engine

UKworkshop.co.uk

Help Support UKworkshop.co.uk:

This site may earn a commission from merchant affiliate links, including eBay, Amazon, and others.
I made a flywheel for the Burrell from solid cast iron, but it looked too heavy
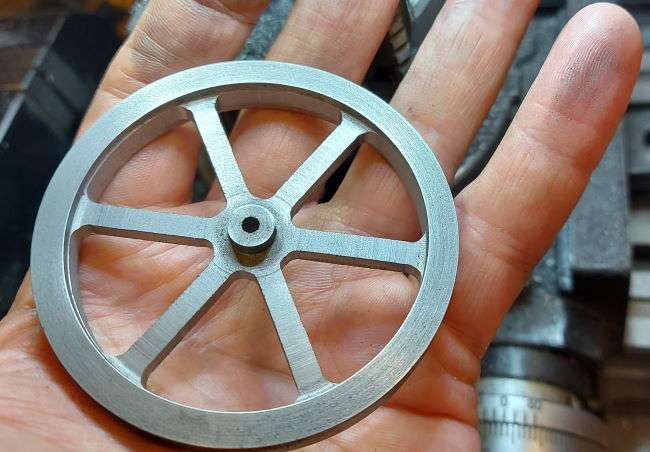
flywheel-07-1.jpg


so, back to the lathe and some more machining and then some milling. Finally some hand belt sanding to get to this
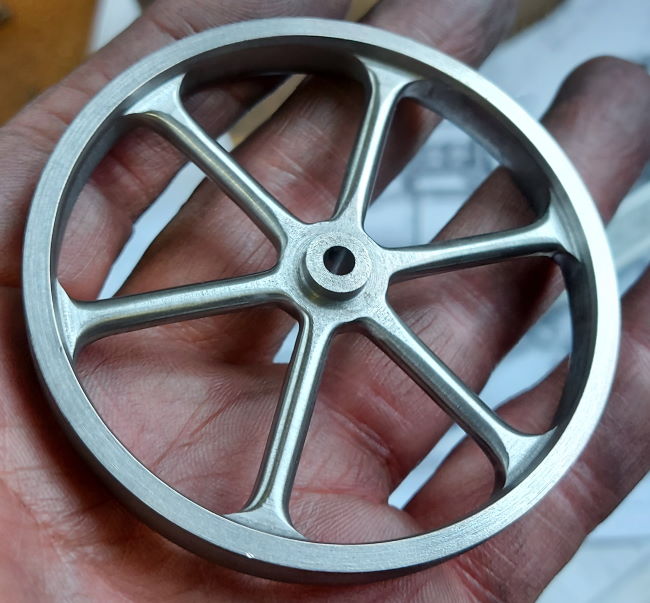
flywheel-17.jpg


I created a narrated video to show the simple steps to machining this from solid

 
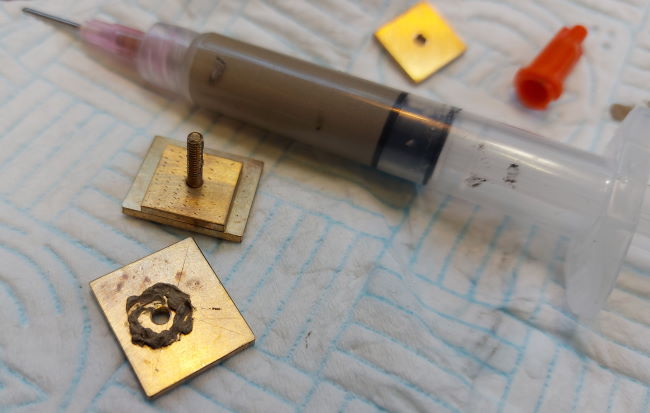
When I bought the silver solder paste I thought it was expensive, but as I've got to use it I've realised just how good it is. Plus you use such a small amount that just 10g goes a long way, it's actually rather a good price.

crank-bearings-03.jpg


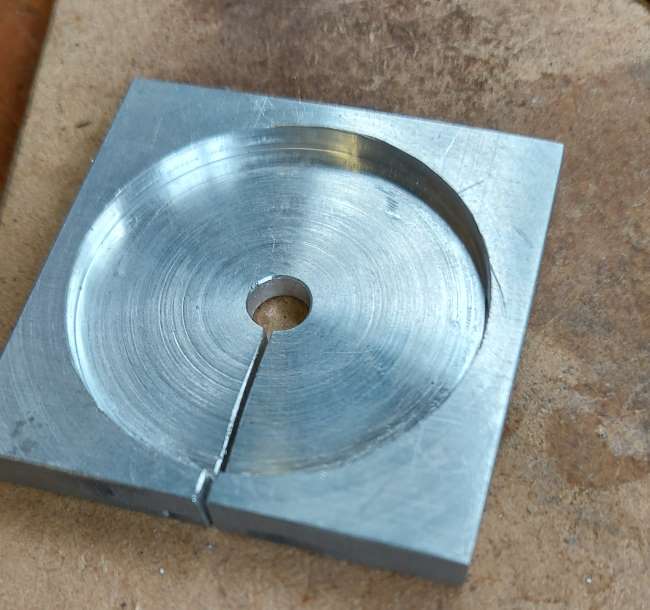
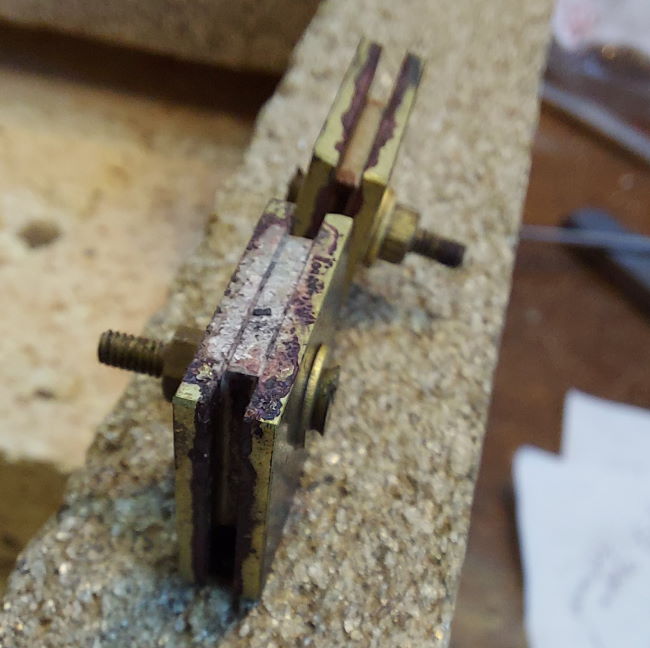
This has allowed me to build the bearing block up as a sandwich

crank-bearings-05.jpg


This is just after heating them up to temperature with a simple handheld butane torch. You see a small amount of liquid silver and it just flows. After this I machined them to the final size I needed.
 
Forgive my intrusion but I have been following this thread and have just read the "towbar for a very small traction engine." piece. You mention the use of permanent marker as a substitute for 'Engineers Blue', I don't think it is. Engineers Blue is a violent blue type ointment, slightly sticky, that we used to use when scraping bearings to fit and when 'frosting' slides on mating ground surfaces. It was a nightmare in use and seemed to get everywhere. On the other hand 'Engineers Marking Blue' was in a spray can and was sprayed on the surface to be scribed. It dried very quickly. We used it on the marking off of large valves where the casting was machined from scratch and had to be marked for machining to be started (setting up datums).
Just thought I would say.
take care and stay safe
Don W
PS I had noticed the comment earlier in this article as well but never connected in my wonky brain.
Hi Don, yes, sorry. For blue marking I still find a permanent blue marker very easy to use and it works great as a background for marking parts. I have to say I have a tin of the blue paste and it does go eveywhere. I remember years ago having a bottle of blue that you painted on and it dried quickly. The benefit of the pen is it only goes exactly where you want it. However, it is not as robust as the proper blue.
Thanks for pointing this out, Nigel
 
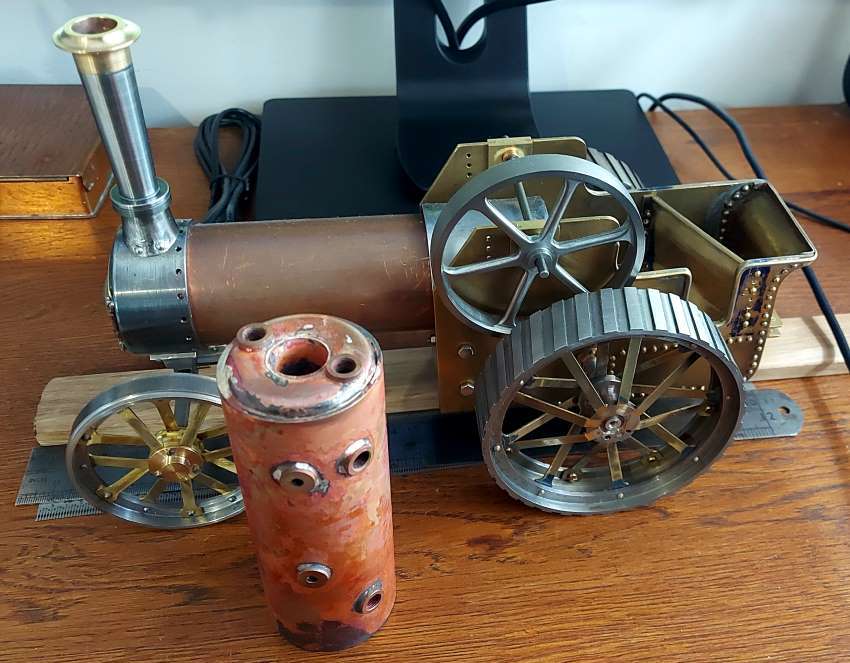
Before making the boiler I thought I should have a go at just making a standalone boiler - in fact my first boiler.

small-vertical-boiler-01.jpg


This tiny boiler is not that simple to assemble, even at 650°C for the lower temperature silver solder it's quite difficult to get the heat in with a smallish butane torch.
 
I was lighting the methylated spirit burner on the boiler and it was blowing backwards, so I took a slow-motion video of it:


I still have my eyebrows - Note: don't try this at home.
 
Have a feeling that my Fluxite tin actually had the price printed on the tin, in shillings and pence, as a permanent part of the label. Inflation must have been low then!
 
I might be able to help as I've slowly been creating a page listing different workholding techniques, I need this as my brain is like a sieve and I will just re-invent the wheel every time otherwise.
That is very useful. Interestingly I seem to have the identical clamp set in the red wall mount 😀.
I just rebuild my milling vice. It came with the mill and had 3mm, yes millimetres not thou, of vertical slack in the moving jaw with no adjustment possible. I machined 60 degree tapers on the slides and made gibs for it. It now clamps perfectly.
 

Latest posts

Back
Top