Steve Maskery
Established Member
After DiscoStu's excellent review of the Parf MFT system and PAC's subsequent recommendation of the RS CNC's jig, I bought the latter. I did not realise at the time that he also sells the dogs, otherwise I would have bought them, too, but by the time I found that out I'd already bought the Veritas Parf dogs from Axminster. Pricey at nearly £26 – more if you have to pay for delivery – but they are superbly made and come in a plastic tube for storage. Very excellent. They are also stainless steel rather than aluminium, and taller than the RS ones, so we are not completely comparing like with like.
The RS jig arrived in a cardboard box. Well not really a box, to be honest, more an assemblage of pieces of cardboard taped together. Once I'd opened it all up I no longer had a box in which to keep it! I'm trying to make a box out of the bits, but I'm finding that Duck tape doesn't stick to cardboard very well. I'll have to find my parcel tape gun.
The jig itself looks superb. It has, engraved on it, a reminder of the cutter required – 12.7mm with a 30mm bush – two plastic drill bushes and two plastic locating pegs for incrementally repositioning the jig.
The first task is to find out what size holes my router produces in reality. So on a piece of scrap I made a test hole.

It was not very clean in the wood and the dog did not go in at all. So I tried a different 1/2” cutter and used a piece of MDF instead of the wood and that was sloppy. The jig comes with a piece of aluminium tape, which you can use to wrap around your bush to increase the diameter slightly, and after a few test holes I got it good.

The jig has two long edges labelled A and B. We start with edge A. My workpiece is a sheet of MDF and, starting from the short edge, I clamped the jig leaving a few millimetres to be trimmed off.

The first row of holes is routed out.

I don't think I shall need them, but the jig also provides drill bushes for drilling fixing holes.

Then the jig is removed, turned through 180 degrees and the pegs used to set the jig in the right place to continue.

But. I had a problem. The pegs didn't fit, they were too tight. Furthermore, they would fit in some of the holes but not the ones necessary for the repositioning pegs. So I had to use a bit of sandpaper to ease them out. Feeling a bit miffed, I carried on but the dogs fitted some holes better than others. And then the penny dropped.
I do have dust extraction on my router, but the thickness of the jig means that the actual cutting is further away from the port than would normally be the case. I was getting some debris around the outside of the hole making the hole too small. Vacuuming out that debris and re-cutting solved the problem. So I strongly recommend that you test every single hole for fit before you reposition the template, especially on that first row, as you'll never get it back in the identical place once you've taken off the clamps.
And so I continued, two rows of holes, check for fit, reposition jig and repeat.

I created 15 rows of 11 holes, using about 2/3 of the sheet. That means that I can crosscut a whole 8x4 sheet if I want to. I'll probably use the remaining 1/3 to make a smaller one.

This took me a couple of hours. It was taking about 15 minutes between repositioning the jig, once I'd got into the swing of it.
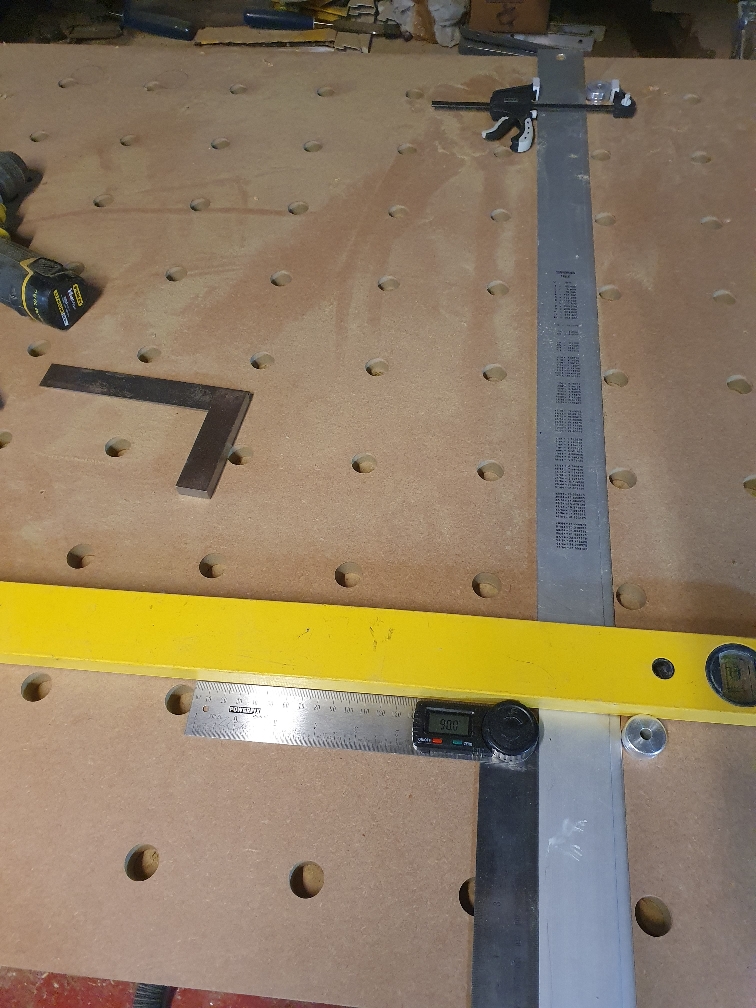
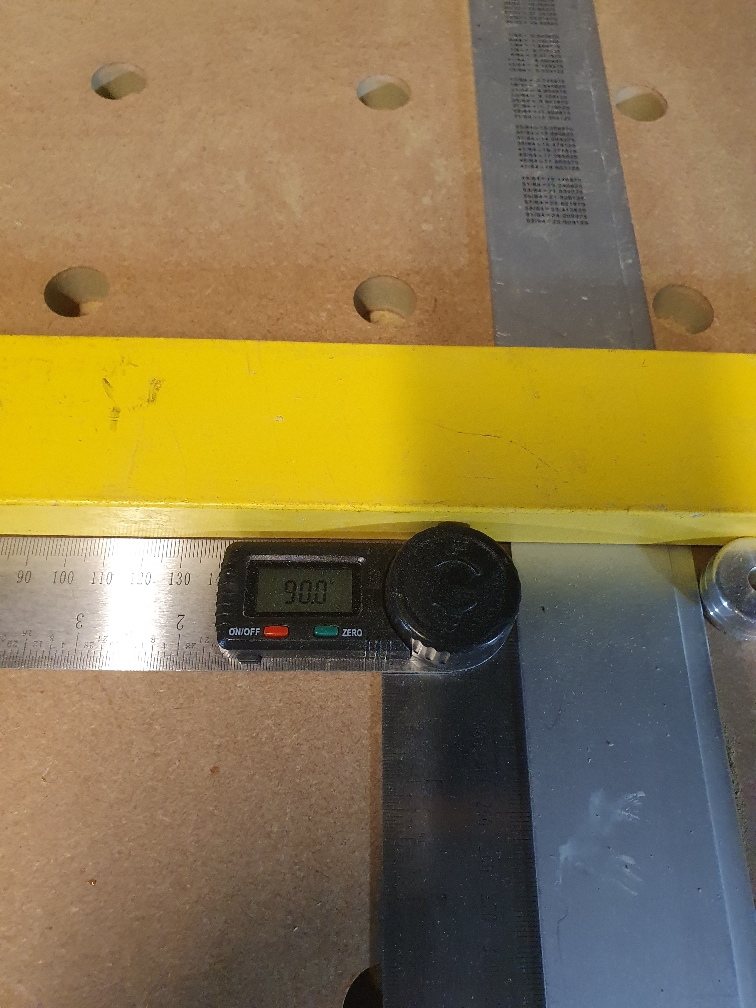
Verdict – it's a very good piece of kit at an affordable price. I have got on very nicely for many years setting up my track with either a roofing square or my Square of Thales, but I have to admit that this beats them both hands down.

If I were to be picky I'd say that I wish the packaging was more user-friendly and if the pegs had a chamfer on them it would be easier to locate the holes, but really that is all there is to moan about. I've just got to find somewhere safe to keep it.
I'm glad I bought it.
The RS jig arrived in a cardboard box. Well not really a box, to be honest, more an assemblage of pieces of cardboard taped together. Once I'd opened it all up I no longer had a box in which to keep it! I'm trying to make a box out of the bits, but I'm finding that Duck tape doesn't stick to cardboard very well. I'll have to find my parcel tape gun.
The jig itself looks superb. It has, engraved on it, a reminder of the cutter required – 12.7mm with a 30mm bush – two plastic drill bushes and two plastic locating pegs for incrementally repositioning the jig.
The first task is to find out what size holes my router produces in reality. So on a piece of scrap I made a test hole.

It was not very clean in the wood and the dog did not go in at all. So I tried a different 1/2” cutter and used a piece of MDF instead of the wood and that was sloppy. The jig comes with a piece of aluminium tape, which you can use to wrap around your bush to increase the diameter slightly, and after a few test holes I got it good.

The jig has two long edges labelled A and B. We start with edge A. My workpiece is a sheet of MDF and, starting from the short edge, I clamped the jig leaving a few millimetres to be trimmed off.

The first row of holes is routed out.

I don't think I shall need them, but the jig also provides drill bushes for drilling fixing holes.

Then the jig is removed, turned through 180 degrees and the pegs used to set the jig in the right place to continue.

But. I had a problem. The pegs didn't fit, they were too tight. Furthermore, they would fit in some of the holes but not the ones necessary for the repositioning pegs. So I had to use a bit of sandpaper to ease them out. Feeling a bit miffed, I carried on but the dogs fitted some holes better than others. And then the penny dropped.
I do have dust extraction on my router, but the thickness of the jig means that the actual cutting is further away from the port than would normally be the case. I was getting some debris around the outside of the hole making the hole too small. Vacuuming out that debris and re-cutting solved the problem. So I strongly recommend that you test every single hole for fit before you reposition the template, especially on that first row, as you'll never get it back in the identical place once you've taken off the clamps.
And so I continued, two rows of holes, check for fit, reposition jig and repeat.

I created 15 rows of 11 holes, using about 2/3 of the sheet. That means that I can crosscut a whole 8x4 sheet if I want to. I'll probably use the remaining 1/3 to make a smaller one.

This took me a couple of hours. It was taking about 15 minutes between repositioning the jig, once I'd got into the swing of it.
Verdict – it's a very good piece of kit at an affordable price. I have got on very nicely for many years setting up my track with either a roofing square or my Square of Thales, but I have to admit that this beats them both hands down.

If I were to be picky I'd say that I wish the packaging was more user-friendly and if the pegs had a chamfer on them it would be easier to locate the holes, but really that is all there is to moan about. I've just got to find somewhere safe to keep it.
I'm glad I bought it.


