Ironballs
Established Member
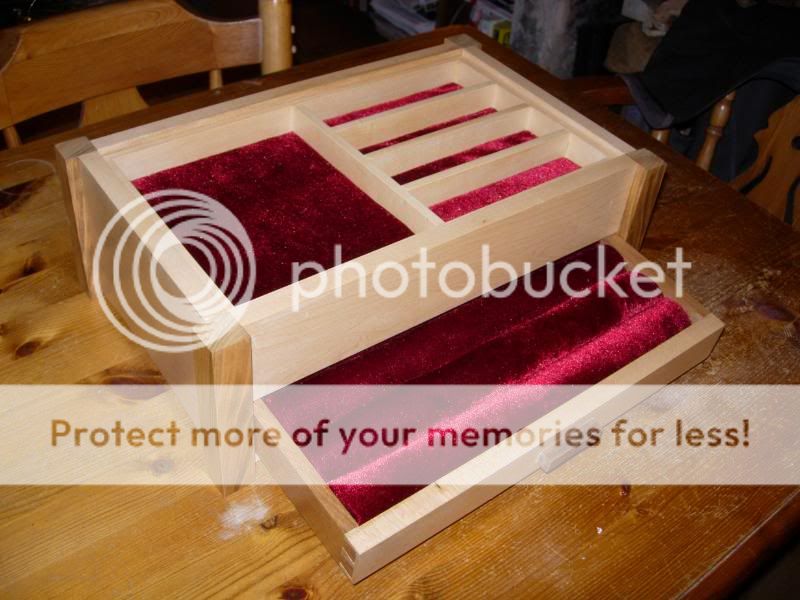
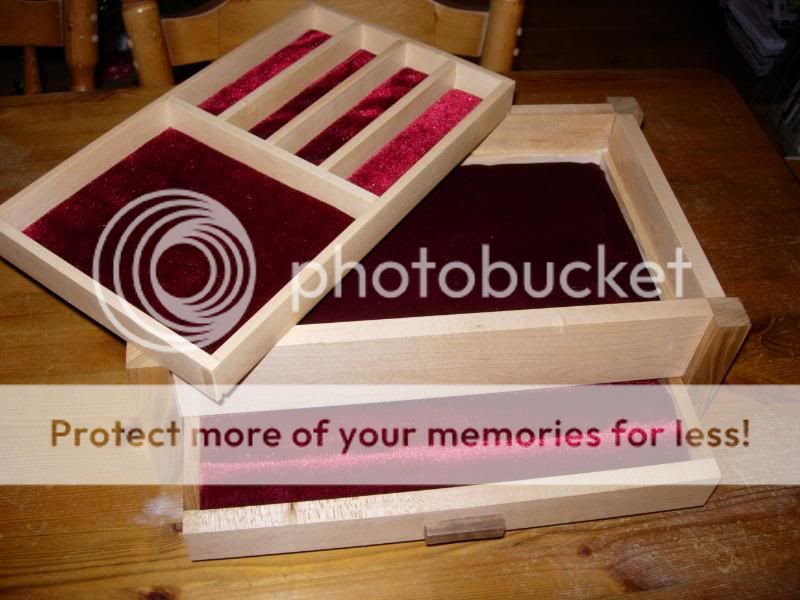
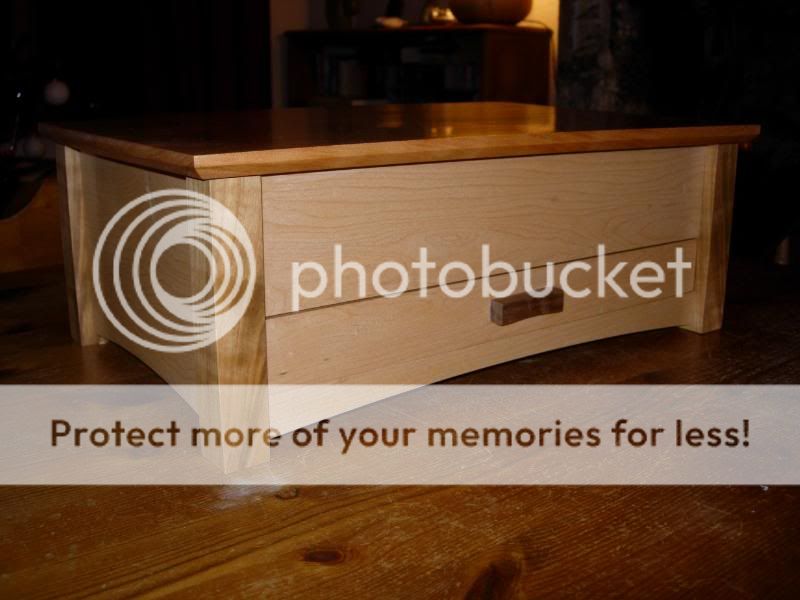
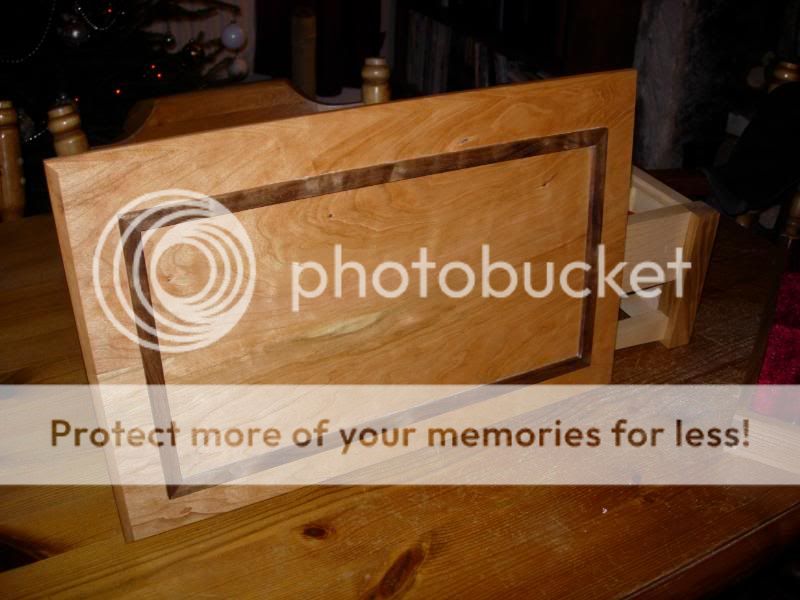
In between the other projects I've got on I've been working on a jewellery box, initially this was to be a (late  ) birthday present for my girlfriend and I'd planned to do one quite similar for my Mum's 60th in December. However, seeing as we were into November and I hadn't finished hers yet she kindly suggested that I make this one my Mum's and she'd wait for hers - she's very good to me, even brings me mugs of tea in the garage.
So, jewellery box with drawer, part inspired by the shaker style table I had done, in maple and cherry. Here goes....
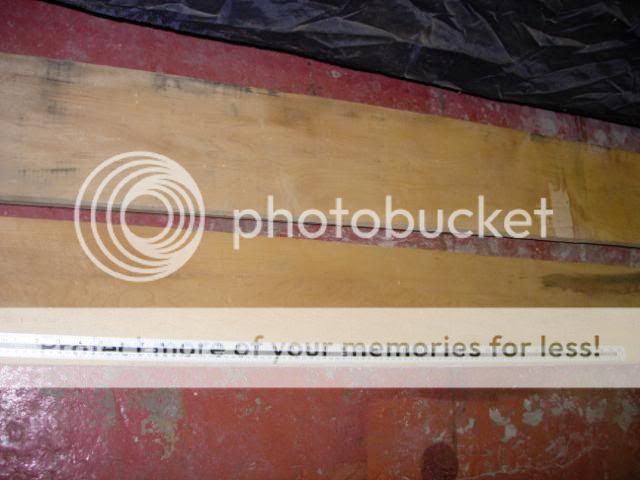
First up, get yourself a nice piece of maple board
Then clean it up a bit
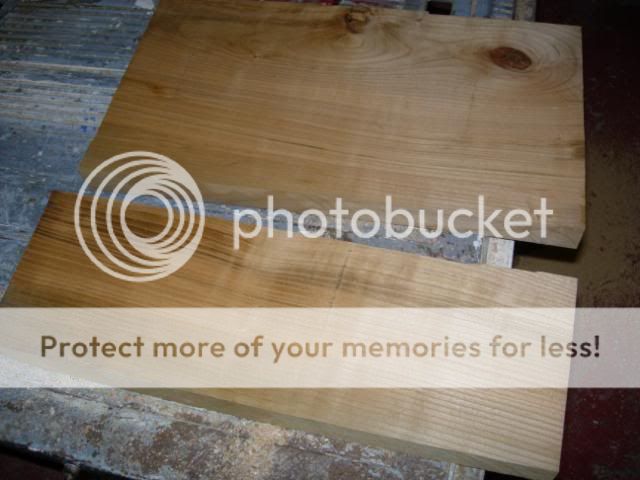
Then make some leg blanks from a thick piece of cherry and work around the dodgy bits
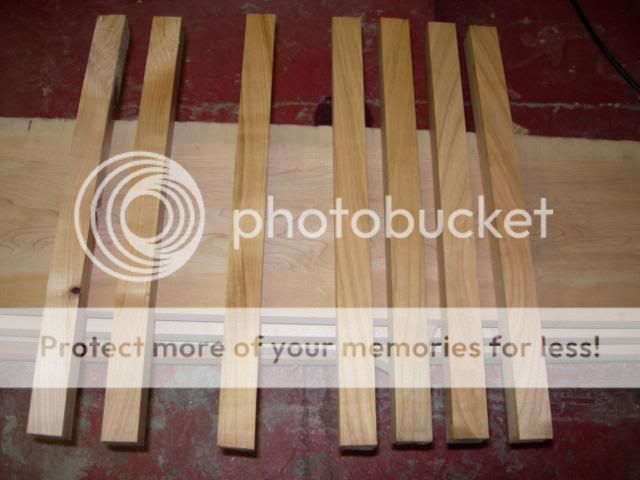
Do a bit of matching to get the best pairings for the front and rear legs and mark up
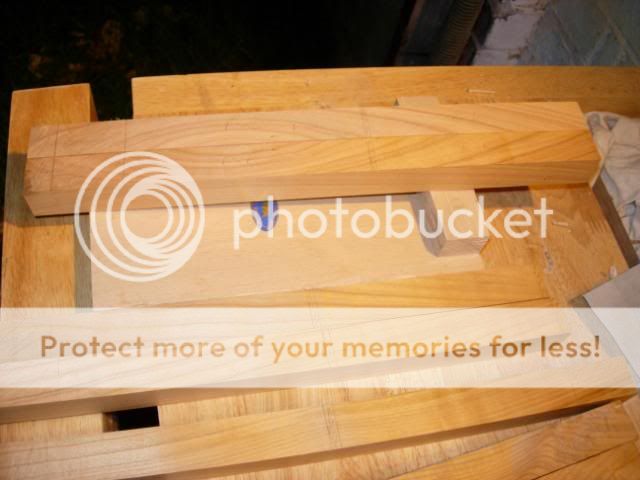
Then marked up the legs for the mortices, probably a bit overboard but it kept me busy

Cleaning up of the mortices, bit more than anticipated as I hadn't tightened up one of the bolts on the table of the morticer and it moved around a bit - arse...
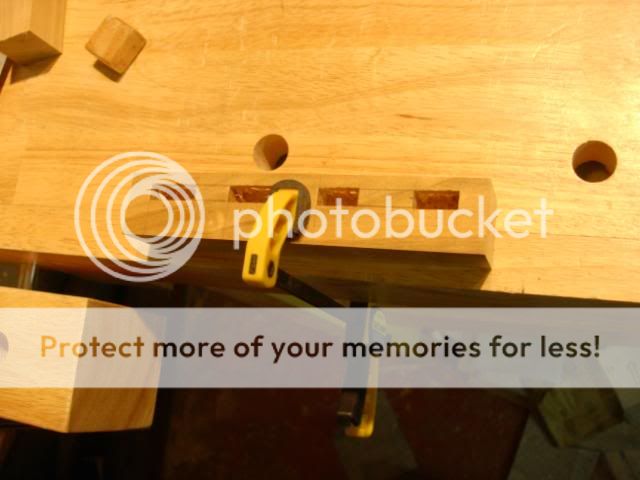
Didn't get a pic of the marking and cutting of the tenons, but you can see them here when I routed the rebate for the base - above the drawer
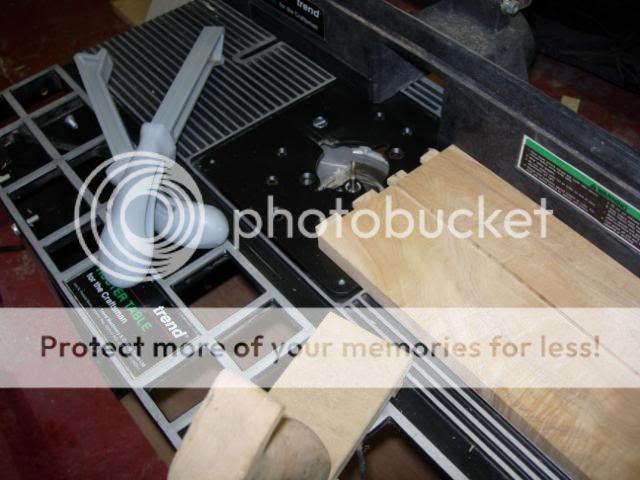
Once the straight edge stuff was done it was over to the bandsaw to rough cut the curve at the bottom of the rails
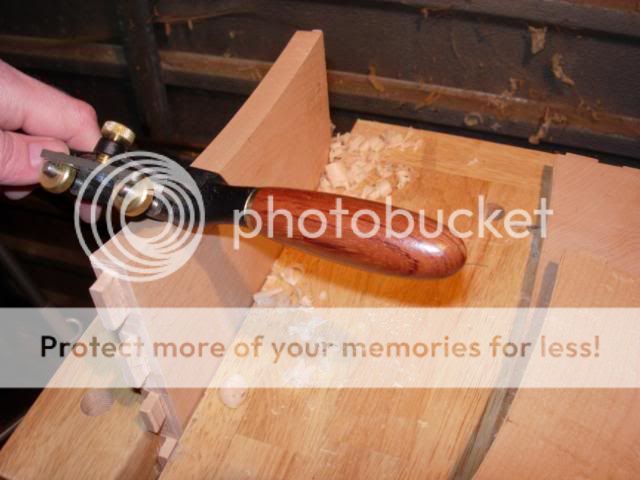
Any excuse to break out the LV flat bottomed spokeshave, I would happily curve rails all day long if I could use one of these little fellas
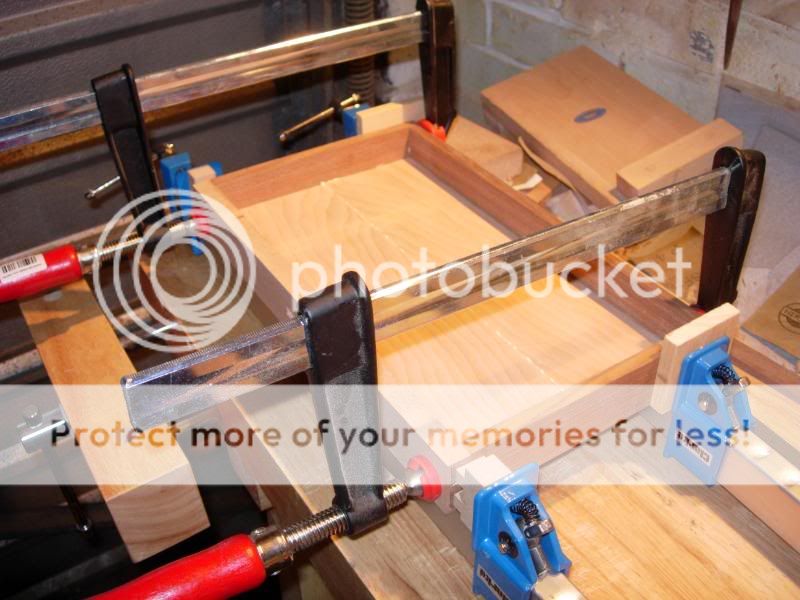
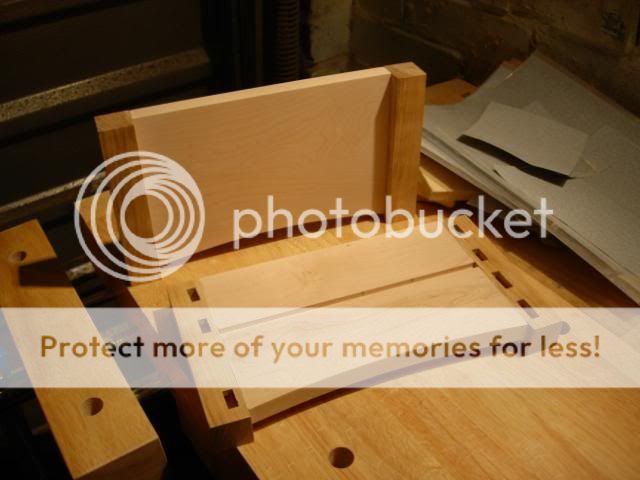
The ends glued up prior to full assembly of the carcass
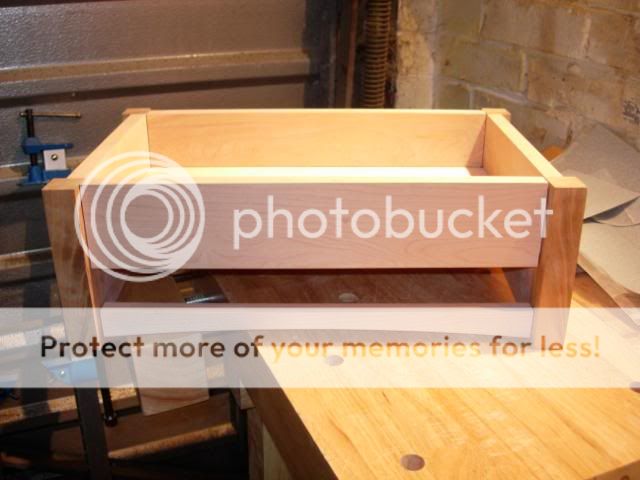
A pre-glueing fit of the carcass, so no comments that the fit is a bit loose...
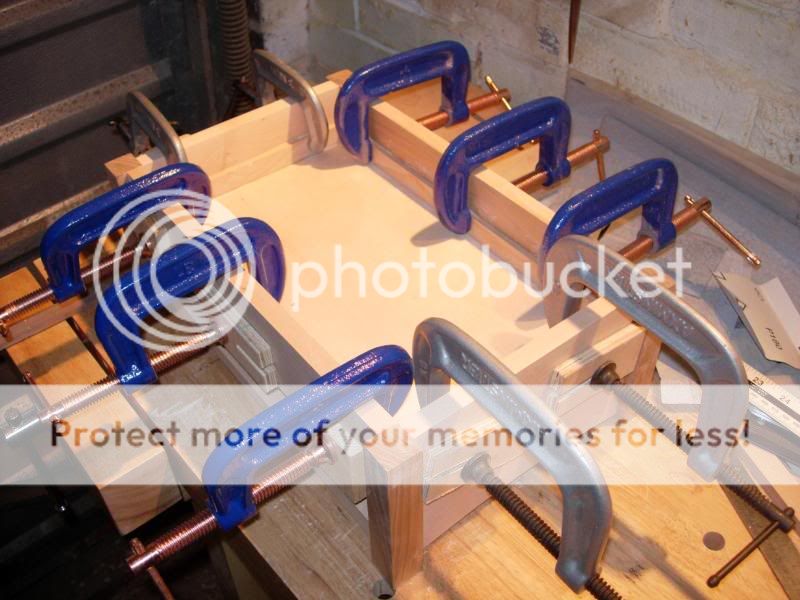
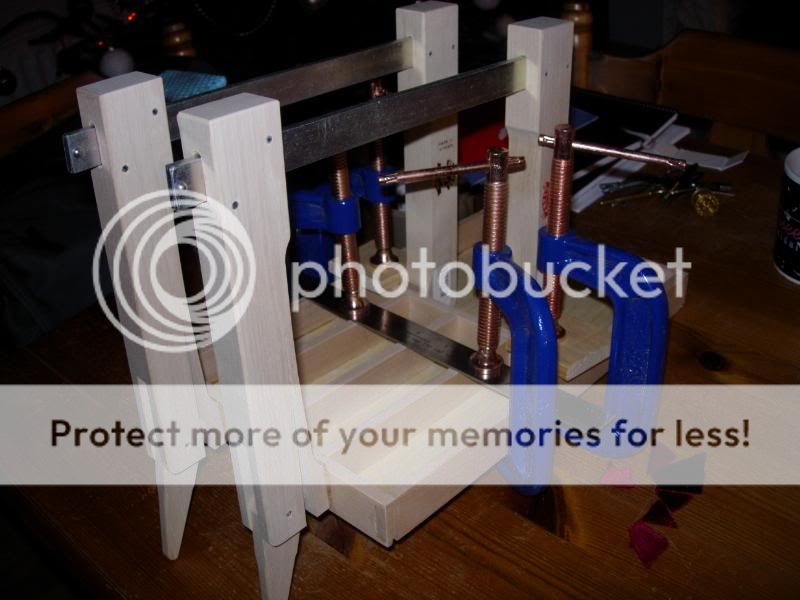
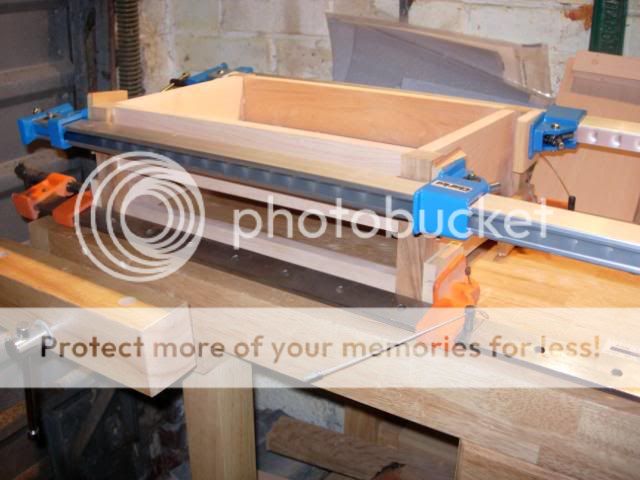
Glue and clamp up of the entire carcass, 6mm ply base has been inserted above the drawer aperture
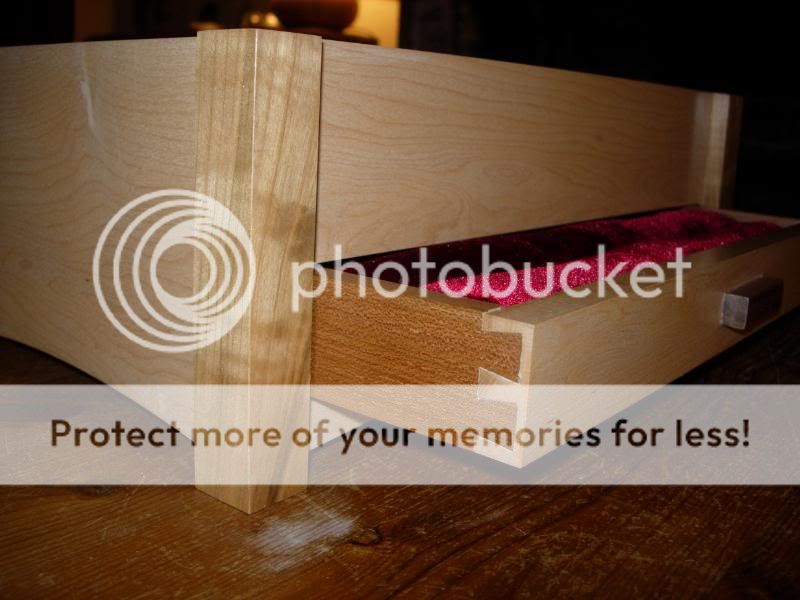
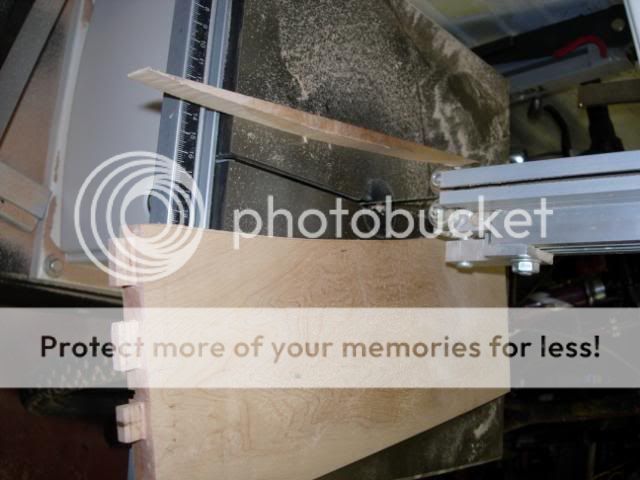
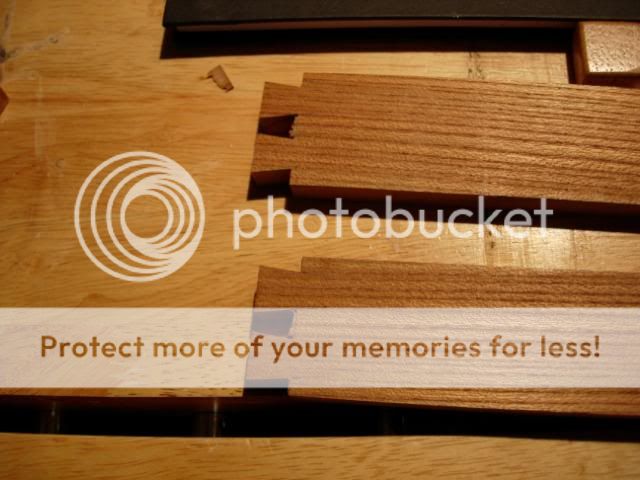
Now that the carcass is in one piece I can turn attention to the drawer, this is a matched piece from the same section as the top and bottom front rail. Sides are elm as I was chopping up some elm and the contrast looked good - see other post about smelly elm. Still smells like crap after a week. Simple dovetail joint, shown here after cutting on the bandsaw and a bit of work with the coping saw
Next time will be completion of the dovetails and a look at the lid version 2, version 1 cupped like a motherf****r and was too far gone to be used. Cue a much nicer replacement from Boddy's, everything always happens for a reason
So, jewellery box with drawer, part inspired by the shaker style table I had done, in maple and cherry. Here goes....
First up, get yourself a nice piece of maple board

Then clean it up a bit

Then make some leg blanks from a thick piece of cherry and work around the dodgy bits

Do a bit of matching to get the best pairings for the front and rear legs and mark up

Then marked up the legs for the mortices, probably a bit overboard but it kept me busy

Cleaning up of the mortices, bit more than anticipated as I hadn't tightened up one of the bolts on the table of the morticer and it moved around a bit - arse...

Didn't get a pic of the marking and cutting of the tenons, but you can see them here when I routed the rebate for the base - above the drawer

Once the straight edge stuff was done it was over to the bandsaw to rough cut the curve at the bottom of the rails

Any excuse to break out the LV flat bottomed spokeshave, I would happily curve rails all day long if I could use one of these little fellas

The ends glued up prior to full assembly of the carcass

A pre-glueing fit of the carcass, so no comments that the fit is a bit loose...

Glue and clamp up of the entire carcass, 6mm ply base has been inserted above the drawer aperture

Now that the carcass is in one piece I can turn attention to the drawer, this is a matched piece from the same section as the top and bottom front rail. Sides are elm as I was chopping up some elm and the contrast looked good - see other post about smelly elm. Still smells like crap after a week. Simple dovetail joint, shown here after cutting on the bandsaw and a bit of work with the coping saw

Next time will be completion of the dovetails and a look at the lid version 2, version 1 cupped like a motherf****r and was too far gone to be used. Cue a much nicer replacement from Boddy's, everything always happens for a reason


