Steve Maskery
Established Member
So there I was, minding my own business, settling down with a pint at the Folk Club, when Ray (you remember Ray) comes over and says, "Steve, I've got a job for you. Can you join 4 bits of wood together for me to make a gate to the vegetable garden?"
He produces a drawing.
"What kind of joints do you want?", says I.
"Anything. Lap joints will do. I've got the wood in the car".
Lap joints my eye, he'll get double bridles and be grateful. So I went with him to the car. What has he got? Some 25-year air-dried oak? Reclaimed mahogany, perhaps. Or even...
CLS. I ask you, CLS.
"No problem", says I, thinking, "Can I actually join this stuff at all?"
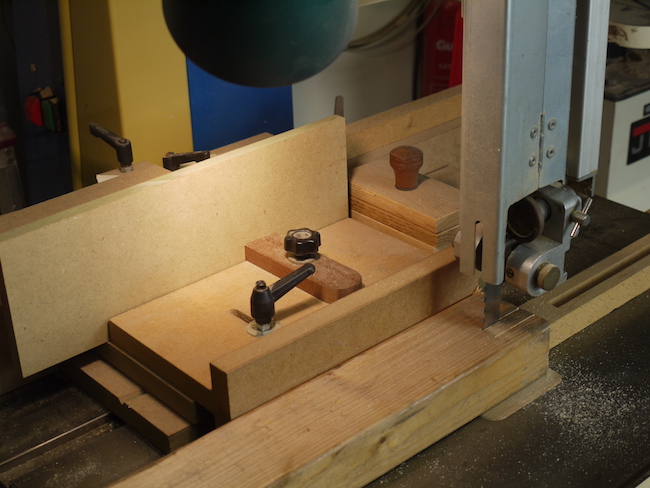
This is a job for the Ultimate Bandsaw Tenon Jig. After all, a bridle joint is just like a mortice and tenon except that the mortice is open-ended.
The UBTJ relies on a system of spacers for accurate repetition. If the spacer fits the mortise, the tenon will fit the mortice. The kerf of the blade is accounted for in the jig itself, it just has to be calibrated once, which takes about a minute if I don't rush, and thereafter it is set until I change the blade.
This timber is 70mm wide. Divide that by 3 and I get 14mm, which is not a very standard size, so I settled on 12mm tenons with a 15mm gap between them (27mm between centres). So I need two spacers for this job, 12mm and 27mm.
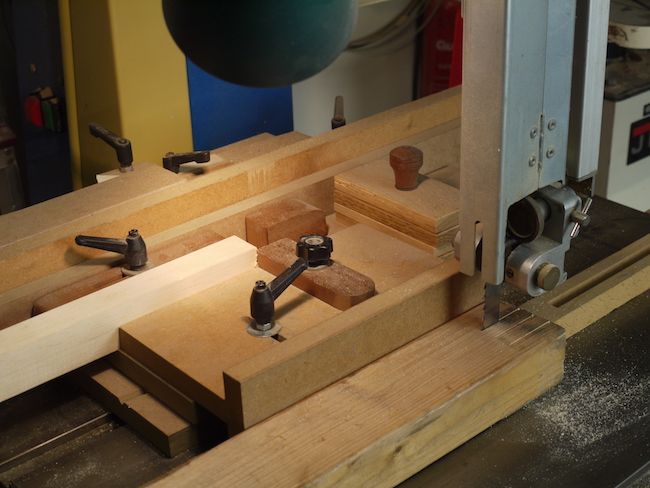
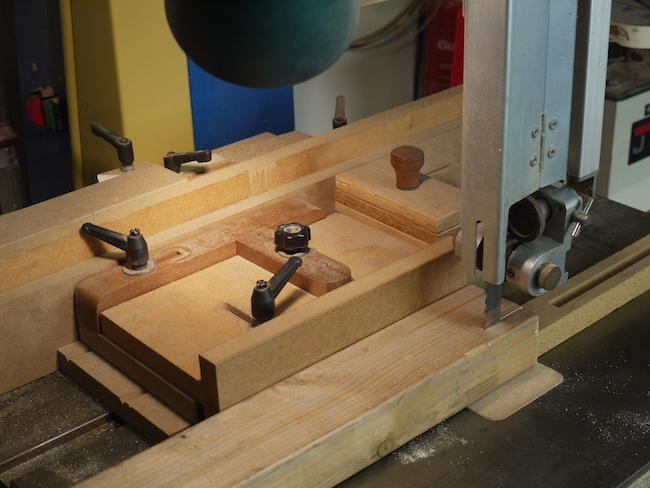
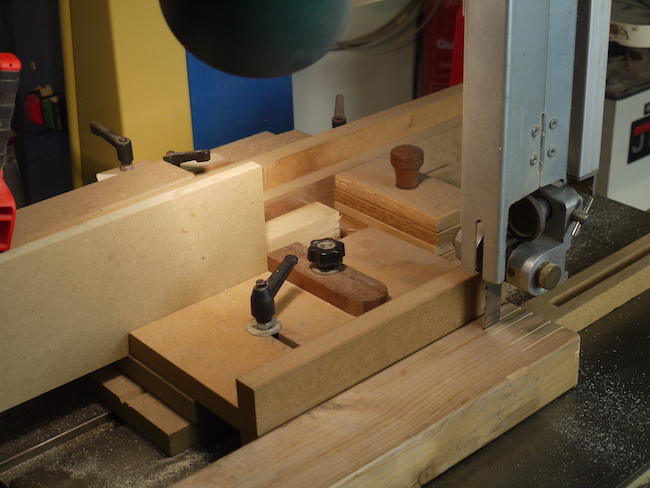
The UBTJ looks a lot more complicated than it really is. It's basically a sliding fence that can be moved to to any position by placing a spacer or two behind it. A Kerf Compensation Stop enables me to cut to the waste side of the line, whether it is a RH cheek or a LH cheek.

The back stop can be in one of two positions. Open for tenons, closed for sockets. I started with the tenons.
I positioned the fence so that I can cut the face furthest from the face side, which runs against the fence, and cut the first face of the cheek, using a stop to make sure that I do not over-cut.

The the 12mm spacer is inserted, which moves the fence over by 12mm plus the kerf of the blade. This cuts the other face of the first tenon.

The spacer is replaced by the 27mm spacer, but it goes only just up to, rather than completely behind, the KCS. So this moves the whole piece over by 27mm.

I make the first cut on the second tenon, then insert both spacers completely behind the KCS and make the final cut.

I mark which bits I need to remove, as it's the easiest thing in the world to cut out the bits I am supposed to be keeping.
He produces a drawing.
"What kind of joints do you want?", says I.
"Anything. Lap joints will do. I've got the wood in the car".
Lap joints my eye, he'll get double bridles and be grateful. So I went with him to the car. What has he got? Some 25-year air-dried oak? Reclaimed mahogany, perhaps. Or even...
CLS. I ask you, CLS.
"No problem", says I, thinking, "Can I actually join this stuff at all?"
This is a job for the Ultimate Bandsaw Tenon Jig. After all, a bridle joint is just like a mortice and tenon except that the mortice is open-ended.
The UBTJ relies on a system of spacers for accurate repetition. If the spacer fits the mortise, the tenon will fit the mortice. The kerf of the blade is accounted for in the jig itself, it just has to be calibrated once, which takes about a minute if I don't rush, and thereafter it is set until I change the blade.
This timber is 70mm wide. Divide that by 3 and I get 14mm, which is not a very standard size, so I settled on 12mm tenons with a 15mm gap between them (27mm between centres). So I need two spacers for this job, 12mm and 27mm.
The UBTJ looks a lot more complicated than it really is. It's basically a sliding fence that can be moved to to any position by placing a spacer or two behind it. A Kerf Compensation Stop enables me to cut to the waste side of the line, whether it is a RH cheek or a LH cheek.

The back stop can be in one of two positions. Open for tenons, closed for sockets. I started with the tenons.
I positioned the fence so that I can cut the face furthest from the face side, which runs against the fence, and cut the first face of the cheek, using a stop to make sure that I do not over-cut.

The the 12mm spacer is inserted, which moves the fence over by 12mm plus the kerf of the blade. This cuts the other face of the first tenon.

The spacer is replaced by the 27mm spacer, but it goes only just up to, rather than completely behind, the KCS. So this moves the whole piece over by 27mm.

I make the first cut on the second tenon, then insert both spacers completely behind the KCS and make the final cut.

I mark which bits I need to remove, as it's the easiest thing in the world to cut out the bits I am supposed to be keeping.


