Well your in for a treat now folks, well when I say a treat what I mean is a ruddy good laugh :lol:
I decided to convert my single integral garage into my wood workshop. So I started collecting bits of kit and tools and timber ready to make a go of it. But first I need a workbench. Needs to be solid and reliable but I'm not too bothered about it cosmetically looking like a £1000 bench.
Disclaimer :
1. Please be aware this workbench will be made COMPLETELY from reclaimed timber. It will have a ply top but this is only so I can replace it easily when it gets butchered.
So the quality of the finish will not be intended on been super smooth with lovely varnishing etc etc. It's gonna be built to be used. I dont want to be scared to scratch it.
2. Some of my methods for doing things may not be the 'correct' method but it worked for me at the time. Sometimes I probably use the wrong tool for the job and you'll all jump up and say "I wouldn't of done it like that!". I would however appreciate some input into how I could of done something differently.
Anyway, enough waffling and justifying what your about to witness...
On with the job!!
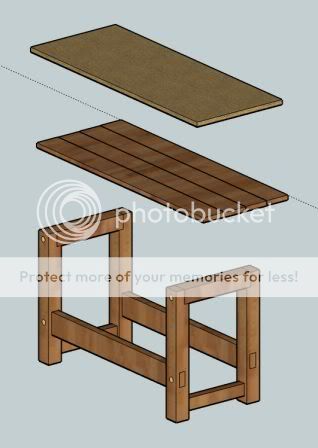
This is my 'sketchup' design...
This is the space I have allocated for my bench...

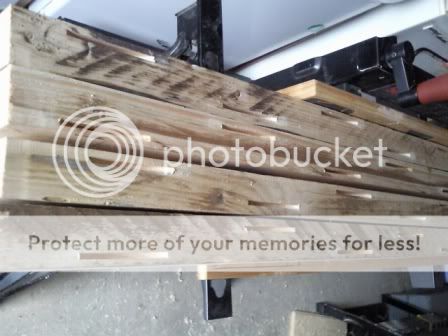
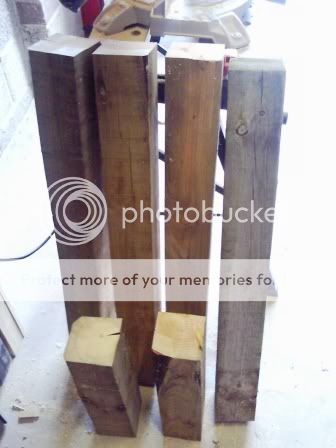
and this is my reclaimed timber, for the legs and bracing, 4"x4" posts ...
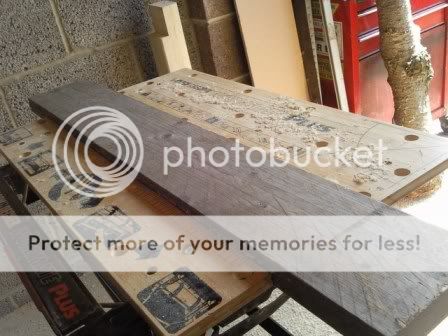
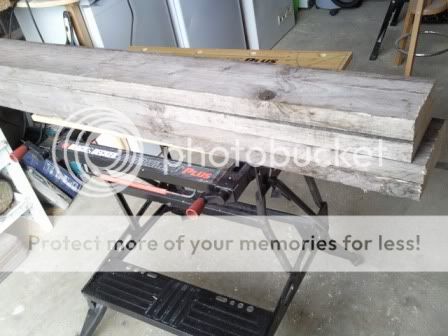
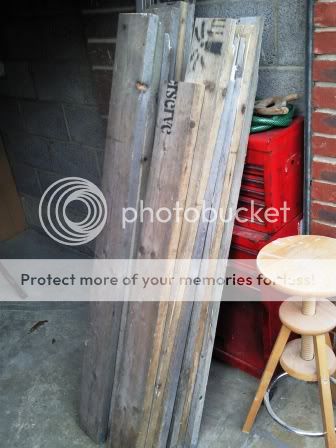
and for my top, reclaimed scaffold planks...
First job - pot of tea to weigh up the job
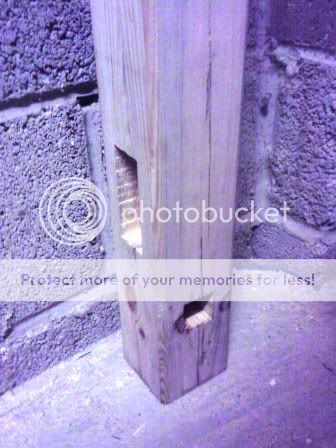
So cos these are reclaimed timbers they're very rough finished on the faces and some of them have defeats in, like splitting on the posts and slight warps but I intend to square them up a bit and planed the faces smooth.
So on with the posts/legs. Needed to square them up a bit and remove the slight twists/warping. I don't own a thicknesser as yet so I decided to knock together a jig so I could use the router as a thicknesser...
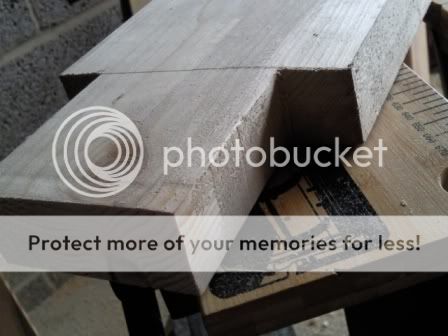
Took some flat boards and routed a rebate on one side...
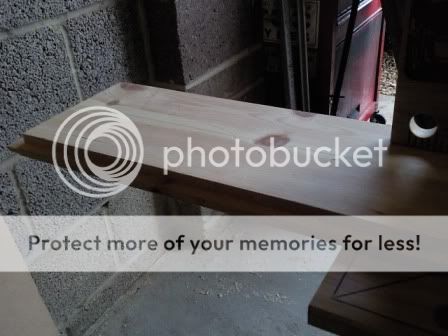
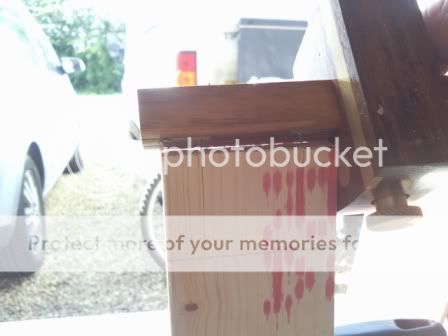
Cut some MDF sides and glued/pined into place at 90 degrees to the boards...

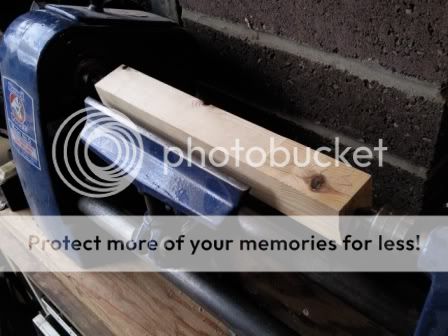
Next 4 picture shows me smoothing out a leg. I cut the legs to size then mounted them into my jig.
"But wait! this wont square them up cos you've got them resting on an uneven side!" - I realise this but remember this is supposed to be a rustic looking bench so I'm not too concerned.
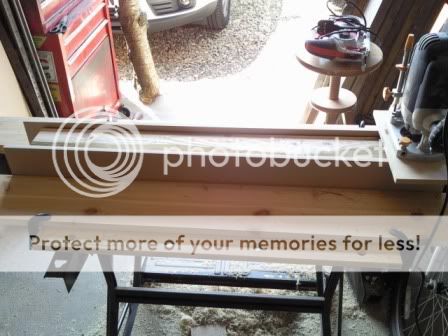
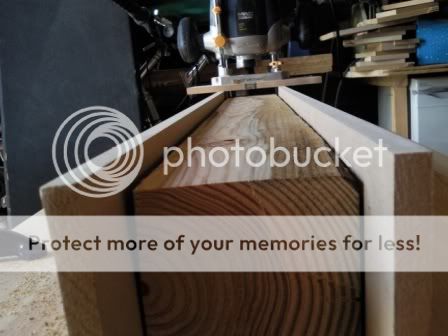

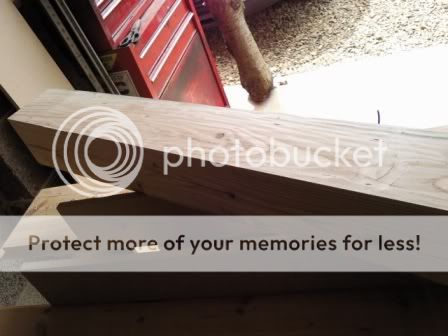
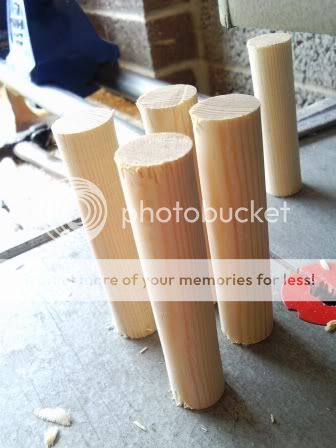
This was a looooong process. Took me ages but eventually I got each leg to a thickness off 90mm x 90mm. I finished them off with the hand held power sander.
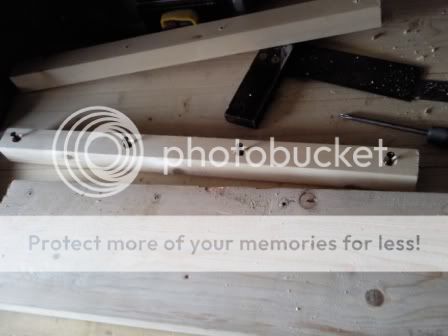
I also did the top bracing to as this is to be made out of the same timber...
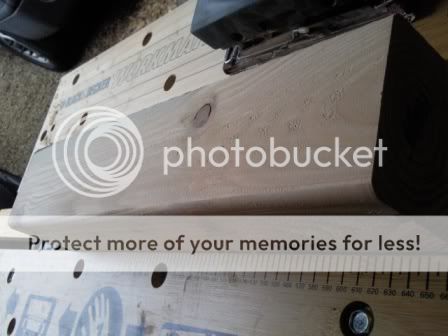
I took the opportunity to put a round over on all the edges.
End of day
I decided to convert my single integral garage into my wood workshop. So I started collecting bits of kit and tools and timber ready to make a go of it. But first I need a workbench. Needs to be solid and reliable but I'm not too bothered about it cosmetically looking like a £1000 bench.
Disclaimer :
1. Please be aware this workbench will be made COMPLETELY from reclaimed timber. It will have a ply top but this is only so I can replace it easily when it gets butchered.
So the quality of the finish will not be intended on been super smooth with lovely varnishing etc etc. It's gonna be built to be used. I dont want to be scared to scratch it.
2. Some of my methods for doing things may not be the 'correct' method but it worked for me at the time. Sometimes I probably use the wrong tool for the job and you'll all jump up and say "I wouldn't of done it like that!". I would however appreciate some input into how I could of done something differently.
Anyway, enough waffling and justifying what your about to witness...
On with the job!!
This is my 'sketchup' design...

This is the space I have allocated for my bench...

and this is my reclaimed timber, for the legs and bracing, 4"x4" posts ...

and for my top, reclaimed scaffold planks...

First job - pot of tea to weigh up the job
So cos these are reclaimed timbers they're very rough finished on the faces and some of them have defeats in, like splitting on the posts and slight warps but I intend to square them up a bit and planed the faces smooth.
So on with the posts/legs. Needed to square them up a bit and remove the slight twists/warping. I don't own a thicknesser as yet so I decided to knock together a jig so I could use the router as a thicknesser...
Took some flat boards and routed a rebate on one side...

Cut some MDF sides and glued/pined into place at 90 degrees to the boards...

Next 4 picture shows me smoothing out a leg. I cut the legs to size then mounted them into my jig.
"But wait! this wont square them up cos you've got them resting on an uneven side!" - I realise this but remember this is supposed to be a rustic looking bench so I'm not too concerned.


This was a looooong process. Took me ages but eventually I got each leg to a thickness off 90mm x 90mm. I finished them off with the hand held power sander.
I also did the top bracing to as this is to be made out of the same timber...

I took the opportunity to put a round over on all the edges.
End of day


