MikeG.
Established Member
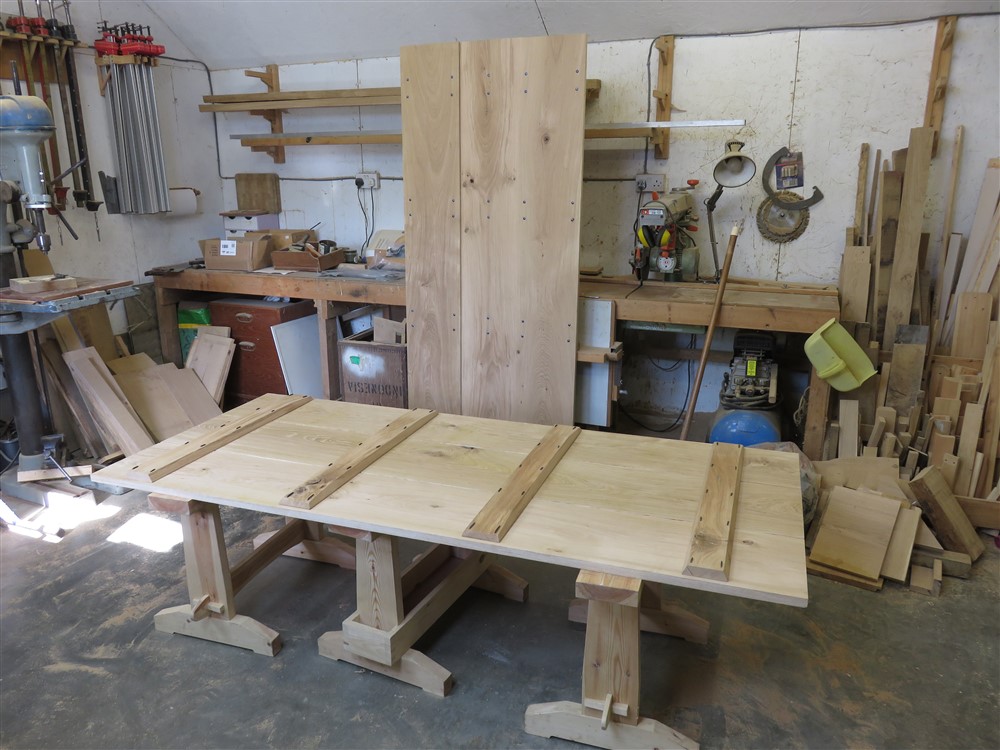
About five years into this house renovation project, and it finally comes time to have some internal doors. OK, we've got a loo door downstairs, but that's it. The first part of any woodworking job (once it gets to the workshop), is to allocate material. I spent quite a bit of time swapping boards around trying to make some very tight dimensions work within the encroaching sapwood, and making allowance for boards which were not properly flat:
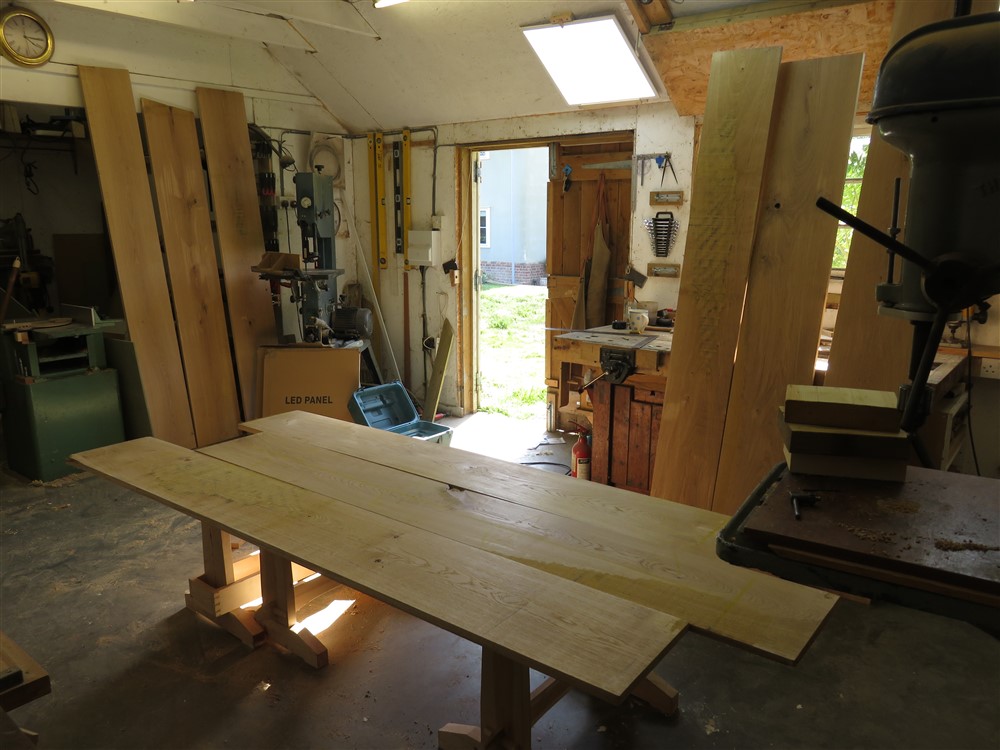
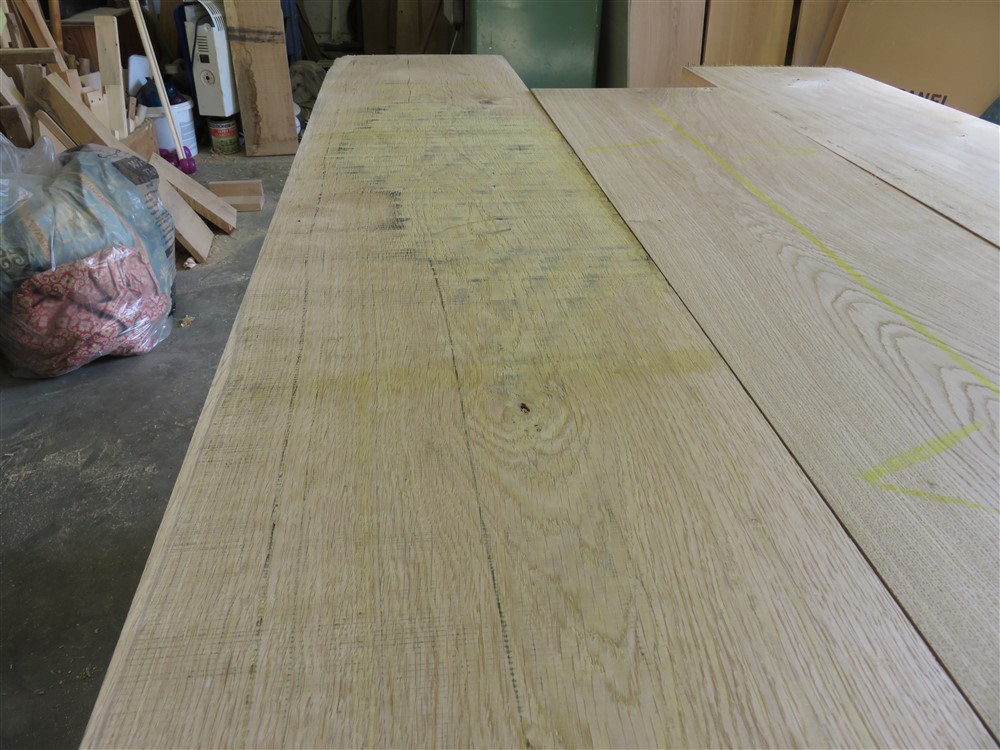
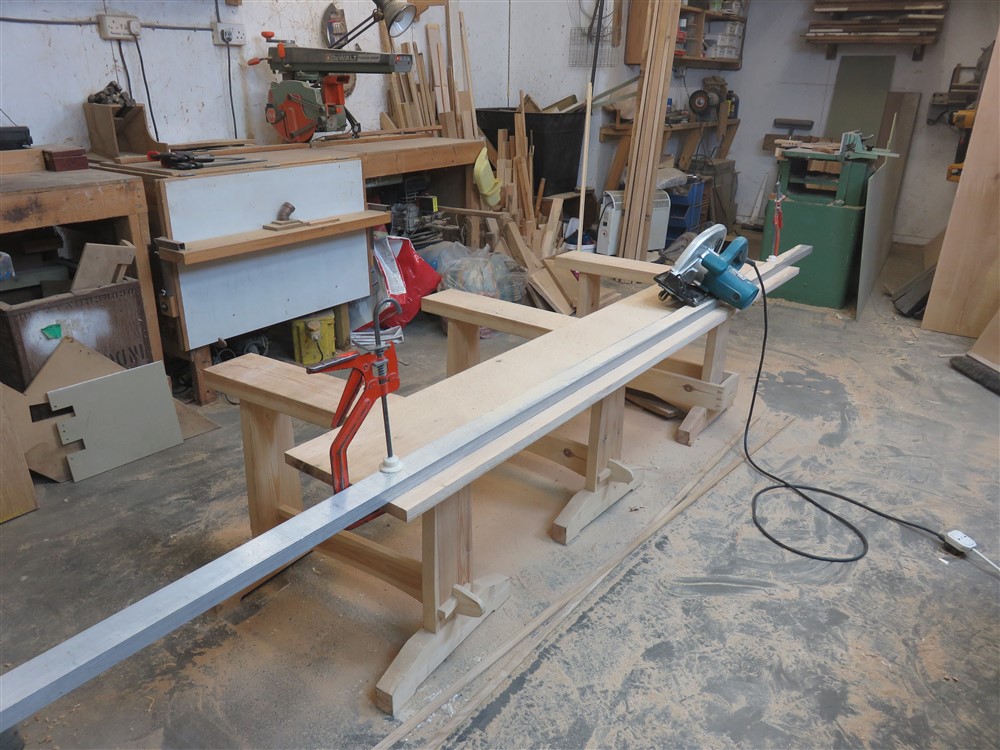
There are three doors in this batch, and 3 boards per door. So there were lots of boards to rip straight, trimming the least possible heartwood off whilst getting rid of all the sapwood:
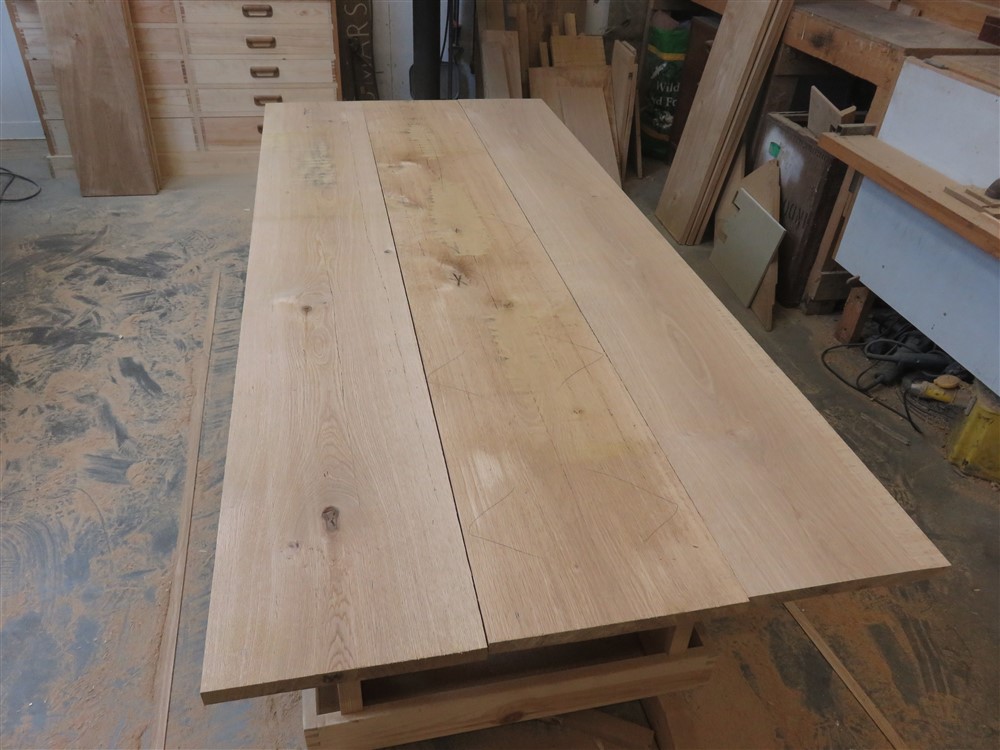
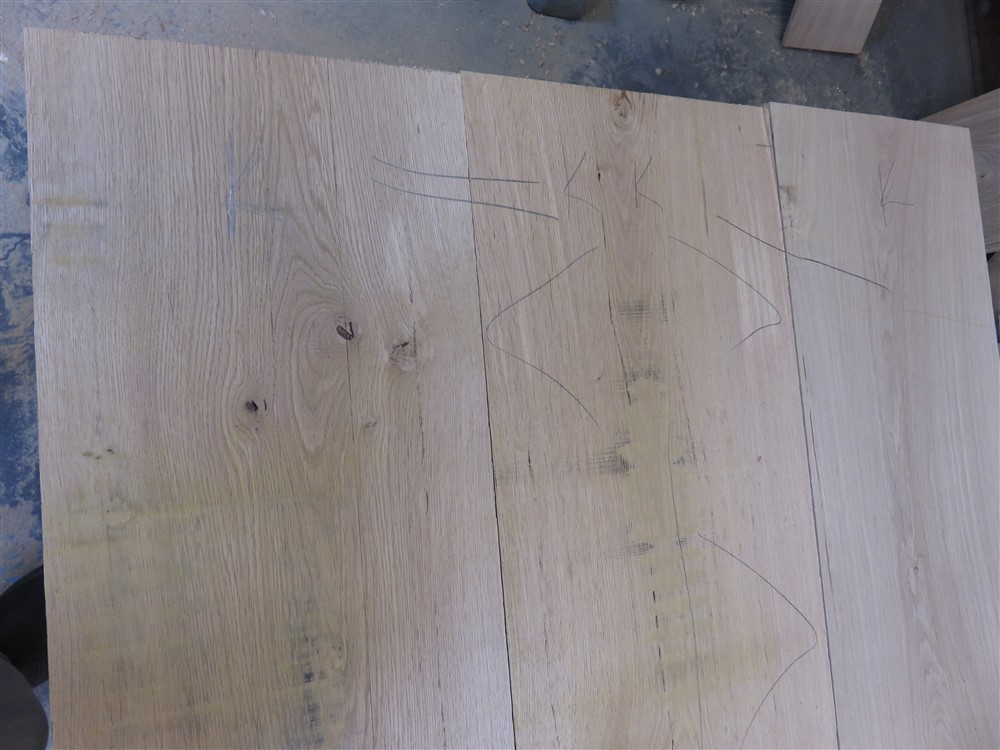
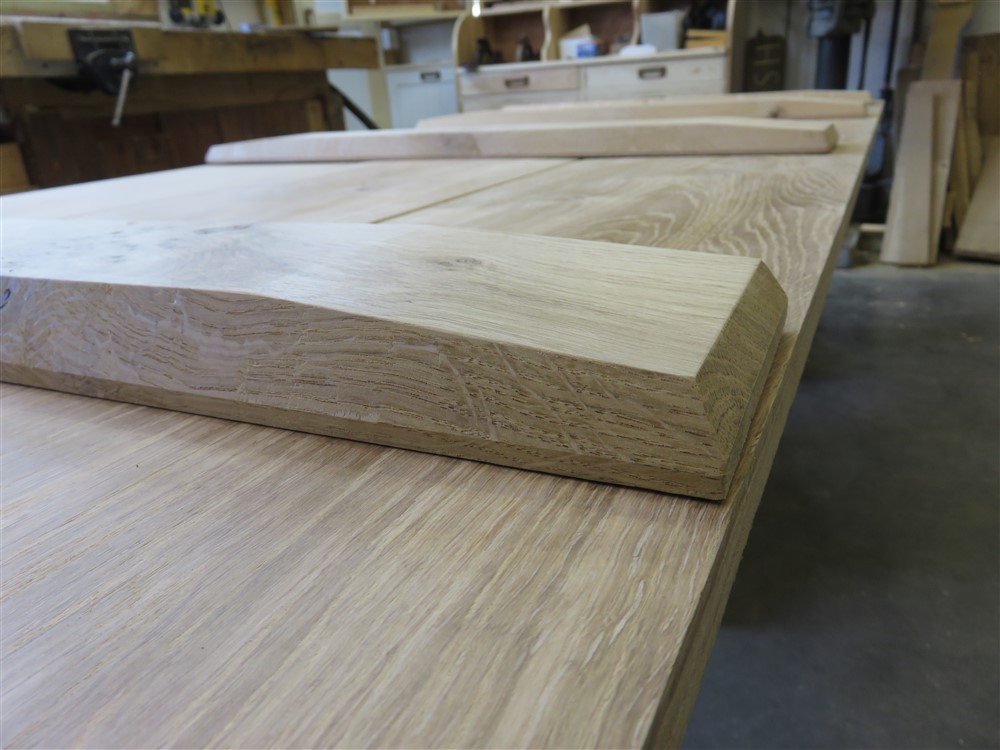
Note the marks on the middle board. These aren't going to be three flat boards.
I took a rebate out of all the meeting edges, because the boards are going to be half-lapped. Then using an electric planer as a scrub plane I removed quite a lot of wood from the middle board:
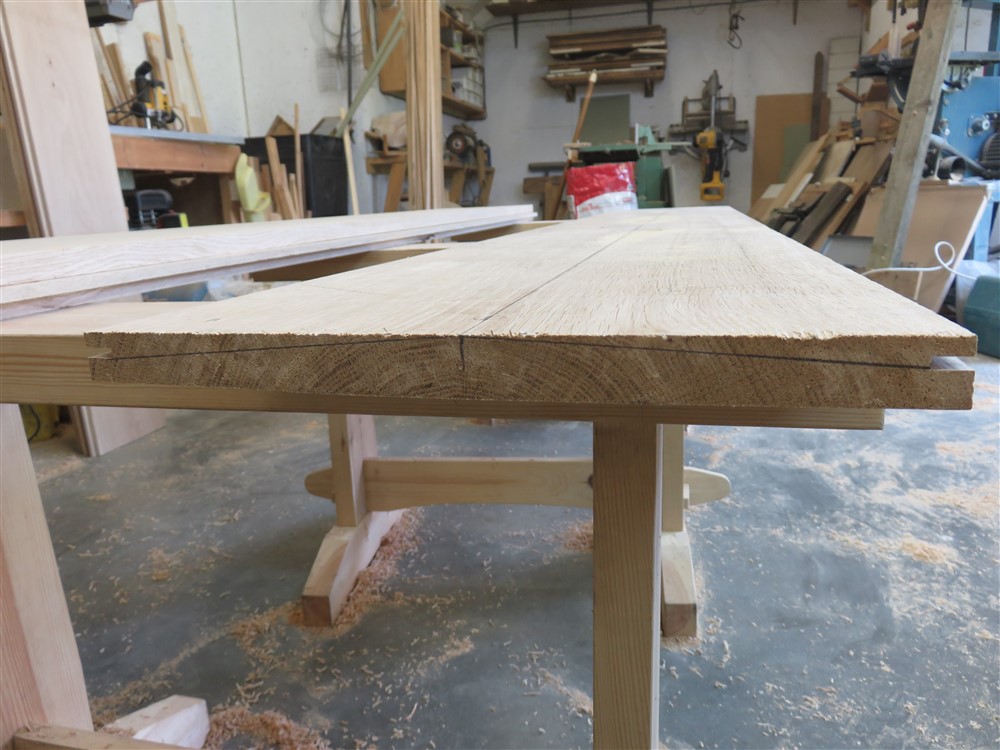
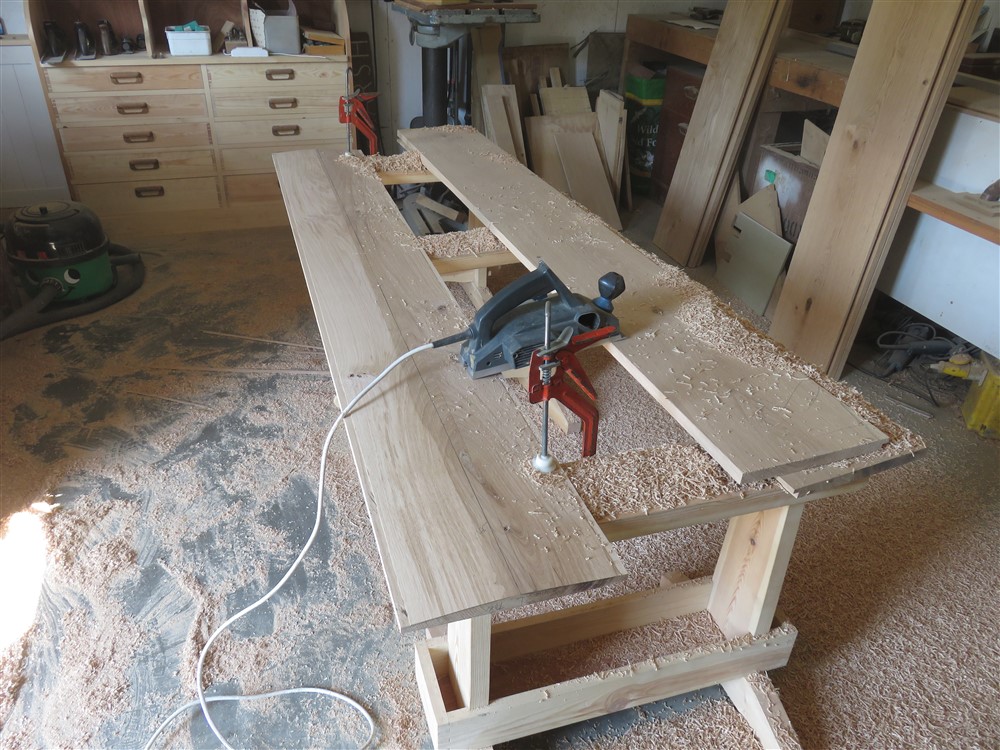
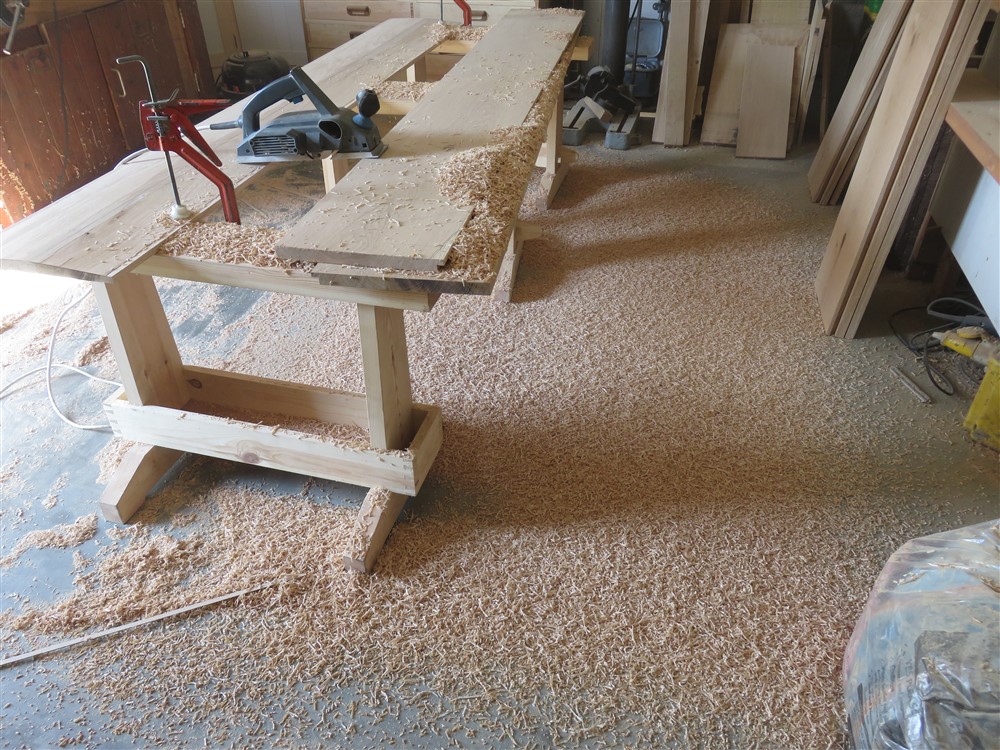
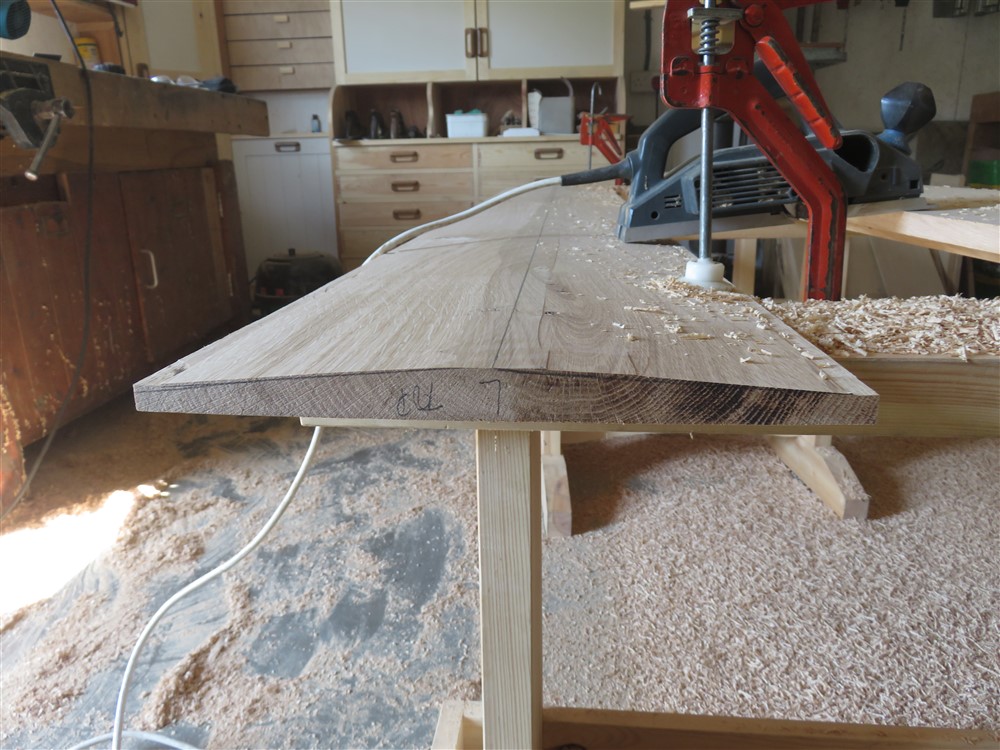
Then to the bench, and out with the hand planes to flatten the mess that the electric planer leaves, and to get to the final shape:
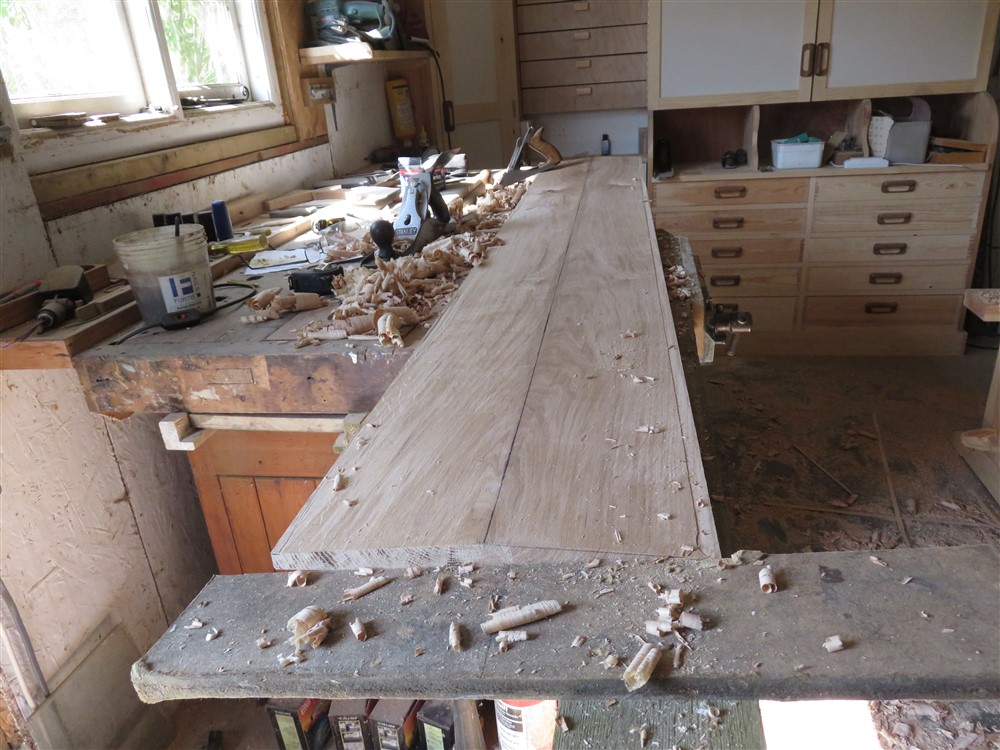
I dealt with the junction between the rebate (ie the flat bit) and the sloped bit, using a curved scraper:
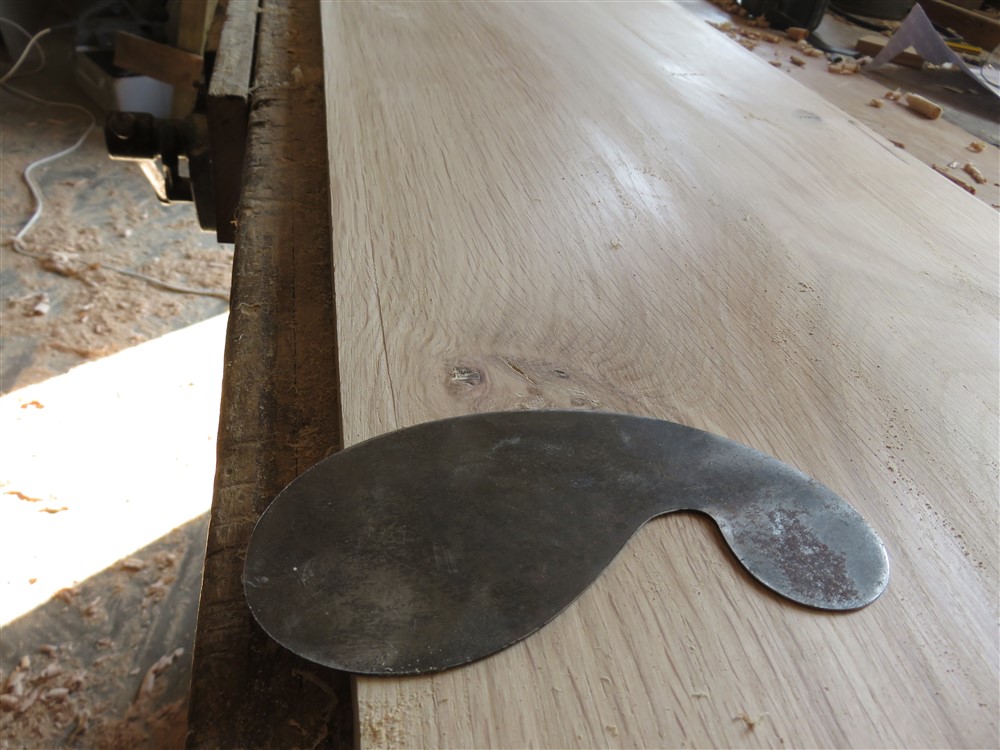
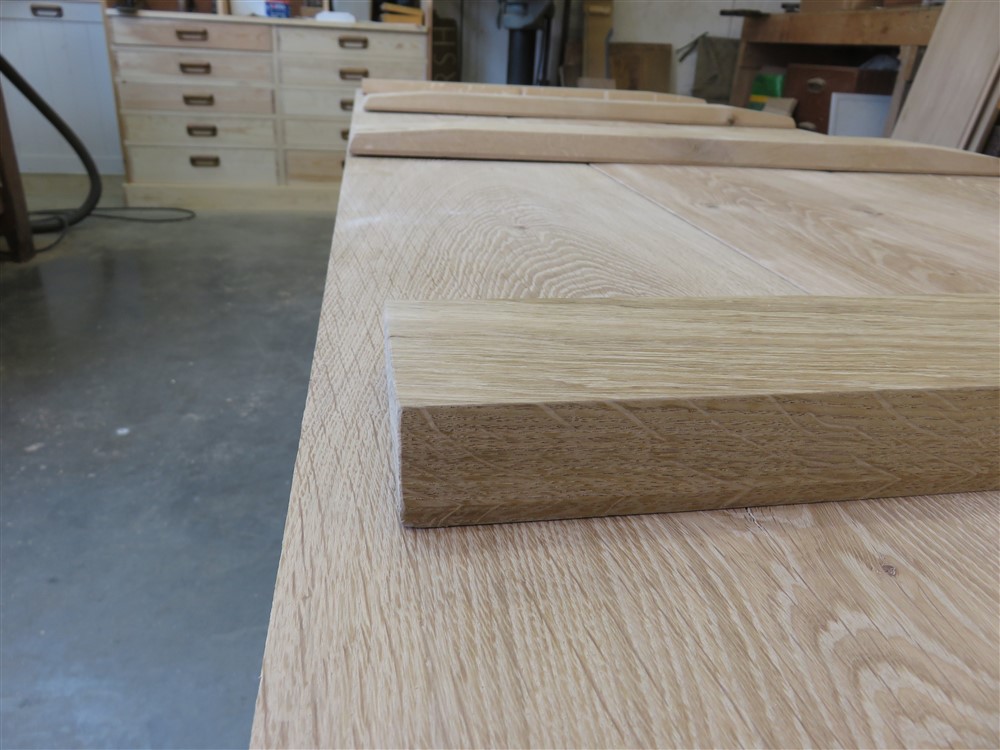
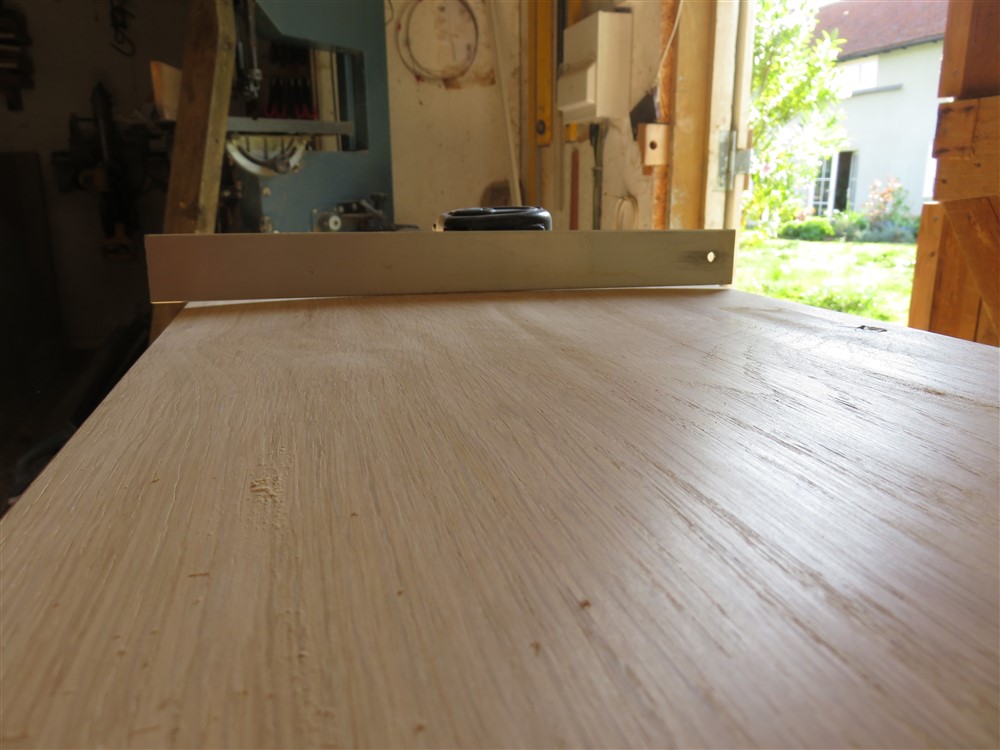
This board was absolutely flat before I removed all the material from the other side. When you hear people say "take an equal amount of material away from each side of a board", this is why :
I then skip over a couple of days of work repeating the middle board shaping, and the cleaning up and rebating of all the other boards. I also don't seem to have any photos of the preparation of the ledges. Ho hum... We're now on to assembly.
With a ledged door, the big danger is the outside of the door dropping in relation to the inside board. One of the ways I combat this is to embed a tight fitting rod into the edges of adjoining boards, so they can't change their vertical relationship with each other:
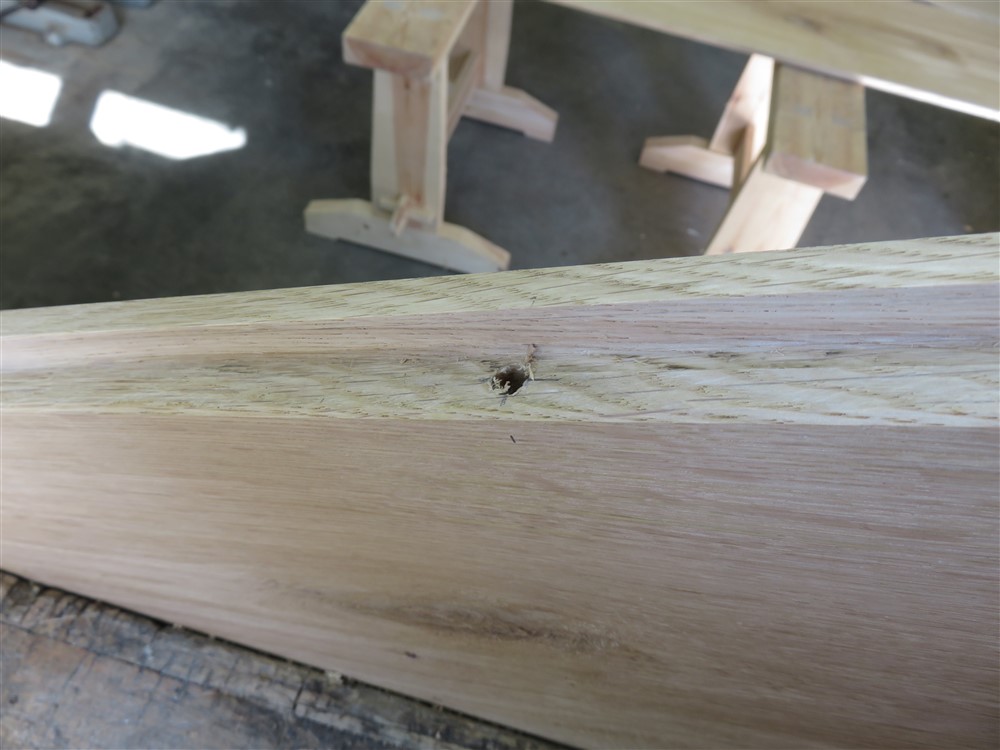
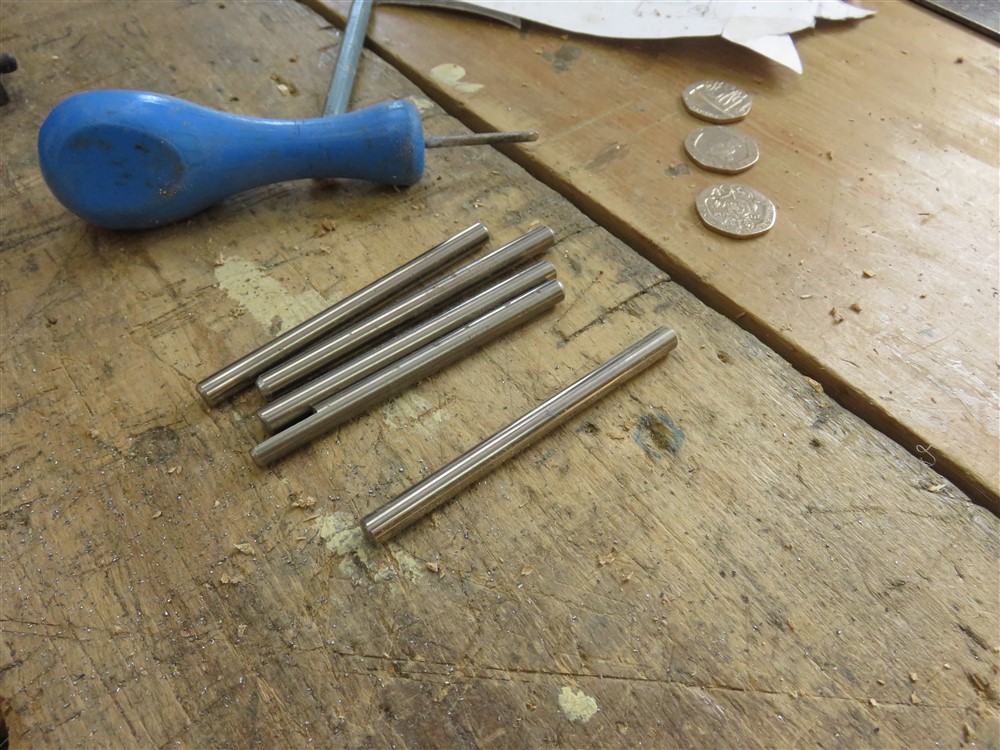
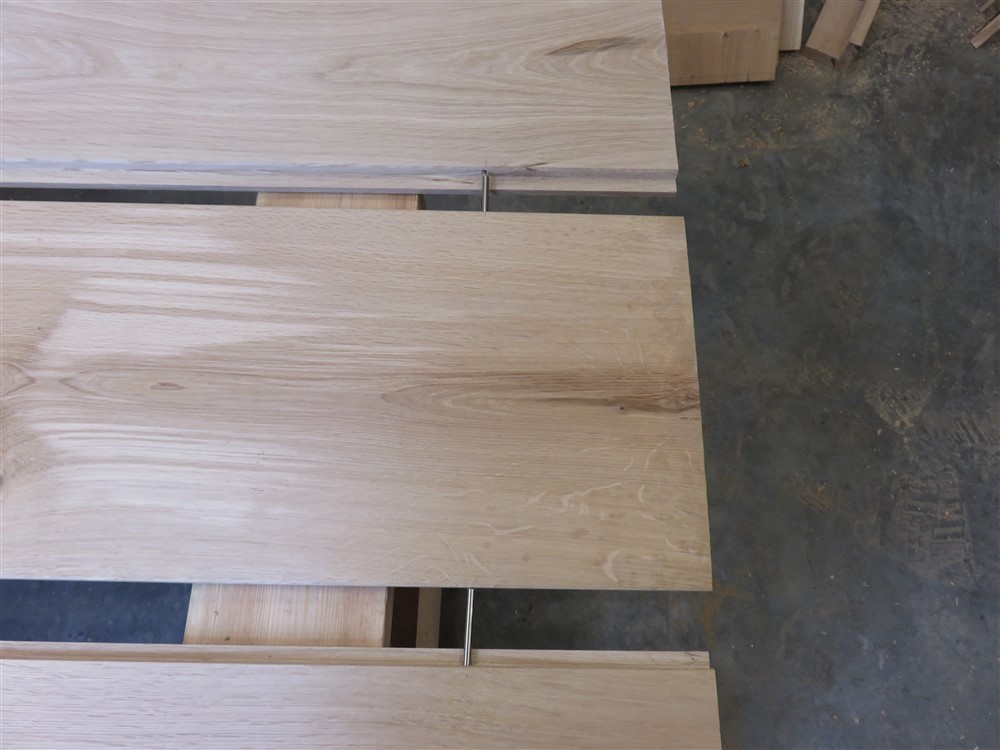
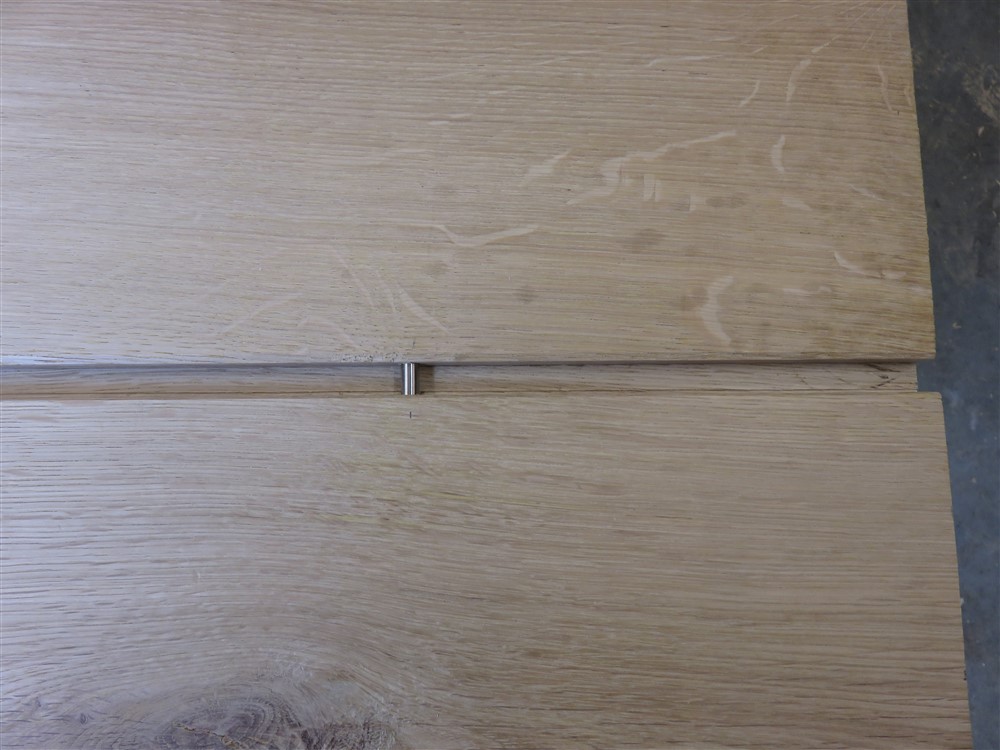
Leaving a "penny gap" between the boards to allow for movement, or in this case, a 20p gap:
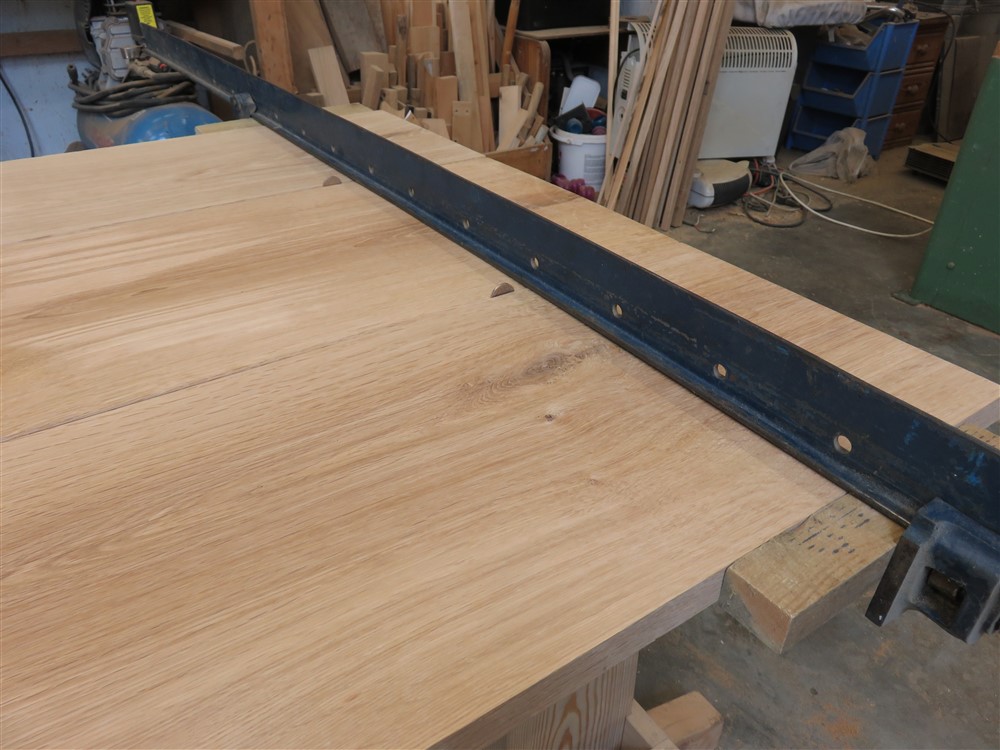
I received a delivery of 300 machine-made traditional nails. These are a good half-way house between a hand forged nail and the modern wire nails, and I line them up with some modern hand forged or cut nails, and a 300 year old nail. They're the two on the right:
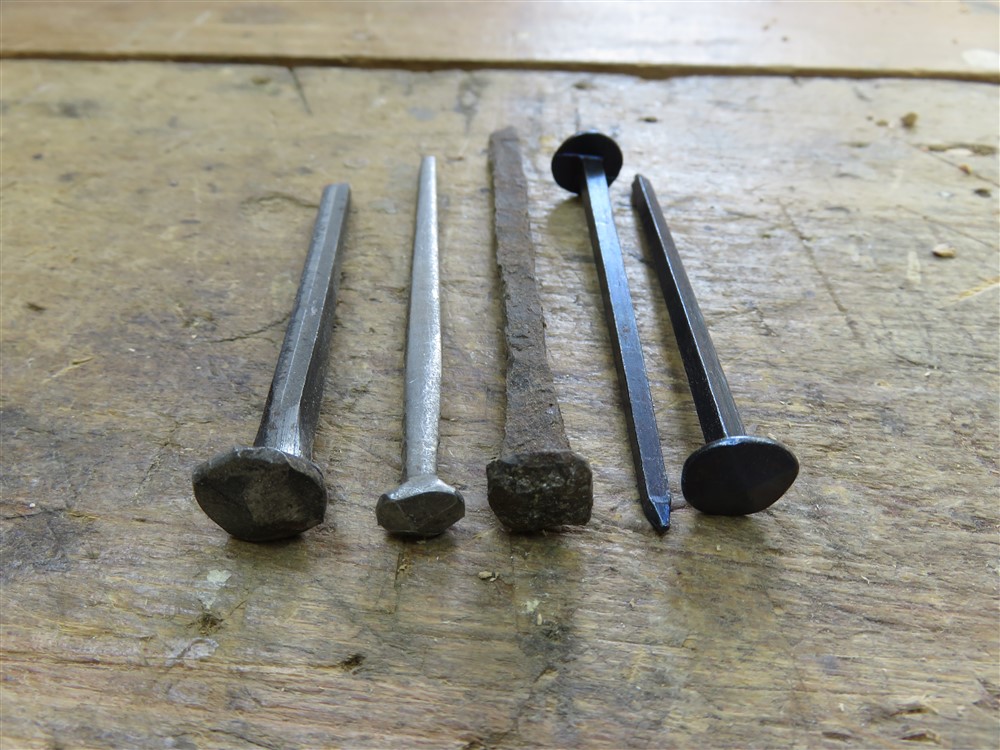
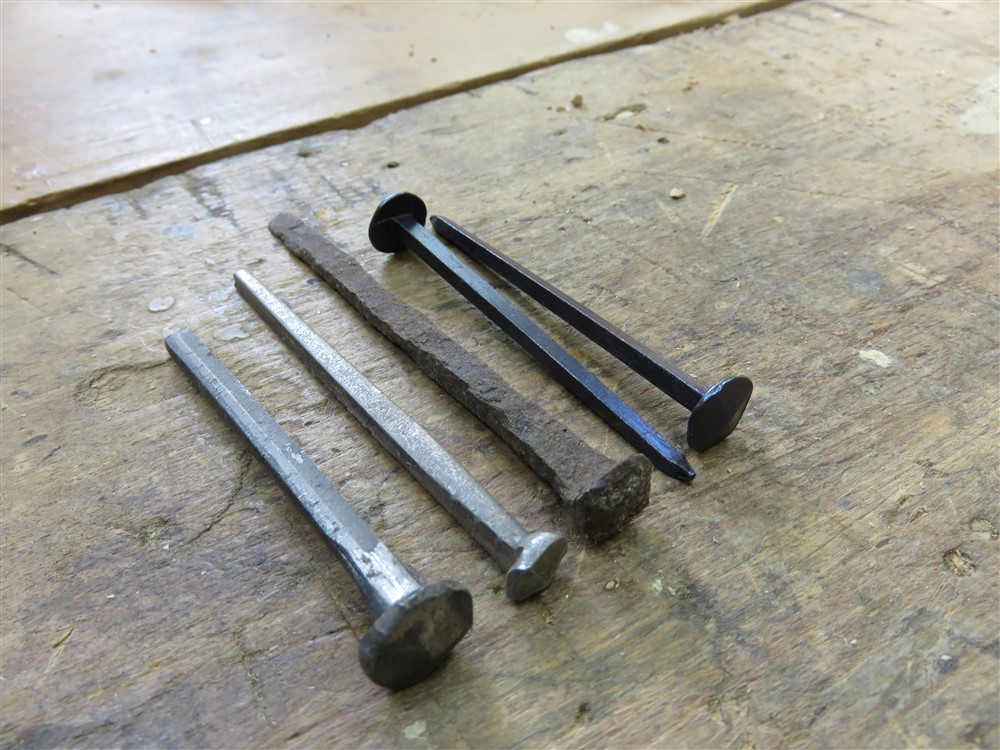
So they have a thinner and more uniform shank, but still square. The heads are similar to a hand forged nail, and have some variability. Anyway, time to find a use for them.
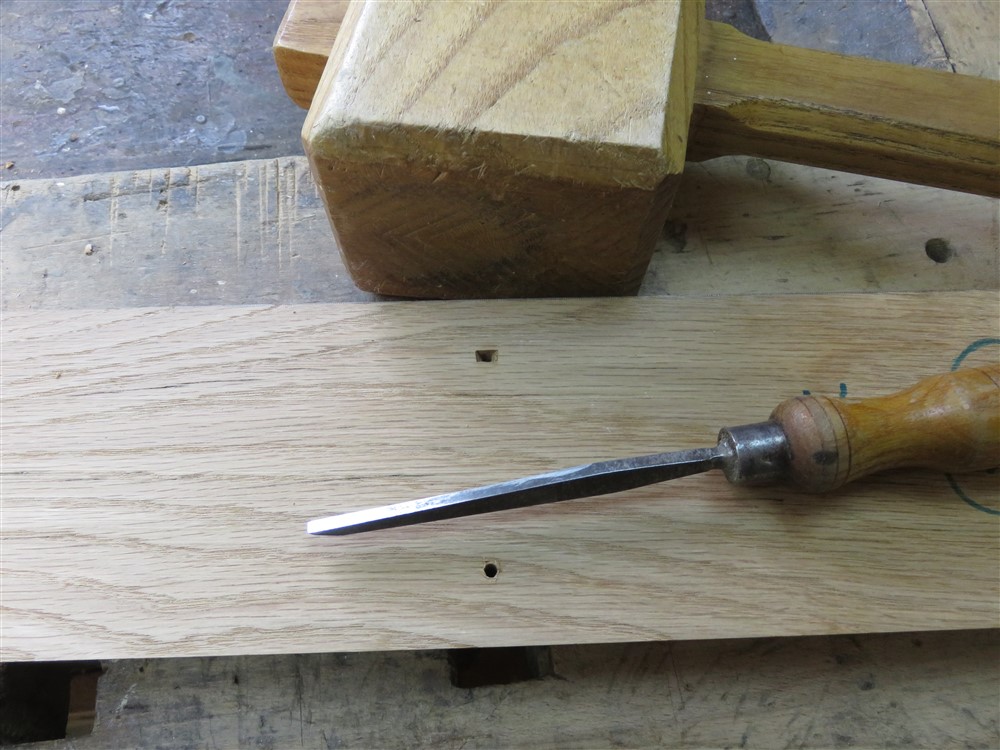
Nails in oak need pre-drilling. After marking up and drilling the holes in the ledges, I turned the boards over and elongated the inner holes with a 1/8th chisel. This will aid board expansion and contraction, which nails are great for anyway as they are flexible:
The glue gives a clue as to where I am allowing for movement. The outer sides of the door will remain fixed, as will the centre of the centre board:
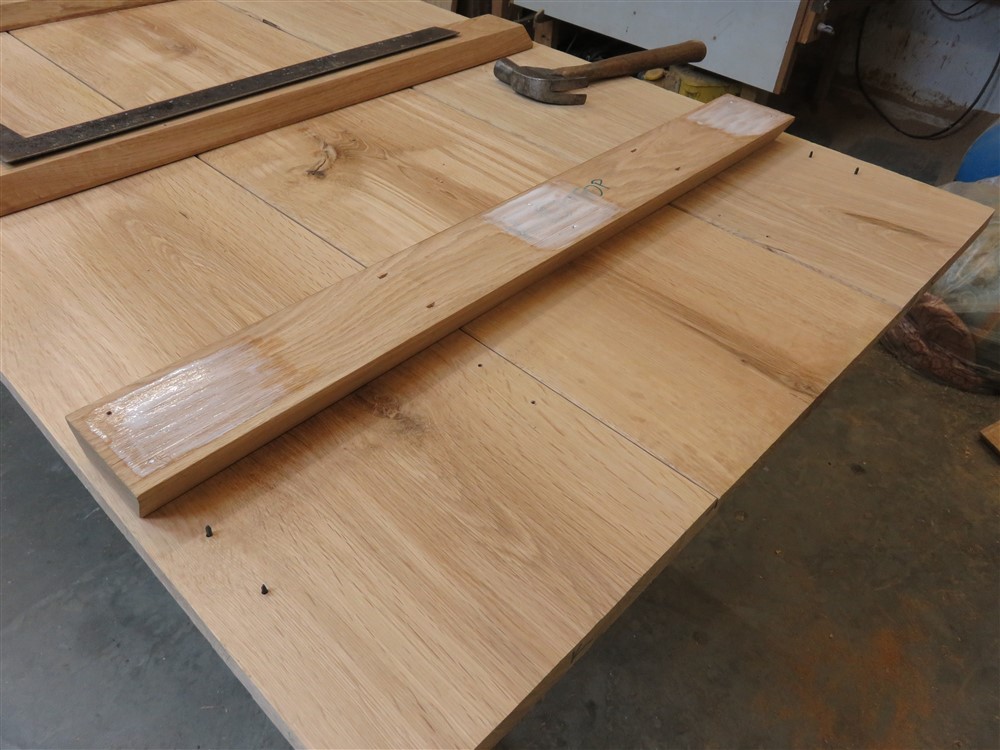
That photo shows another peculiarity of ledged and boarded doors made the traditional way. The nails are always nailed in from the boarded side, but to locate the holes properly you have to work from the other side of the door. So the initial nailing at least must be up from the underside of the door! Yep, you kneel on the floor hammering upwards, trying to hold everything down with your other hand:

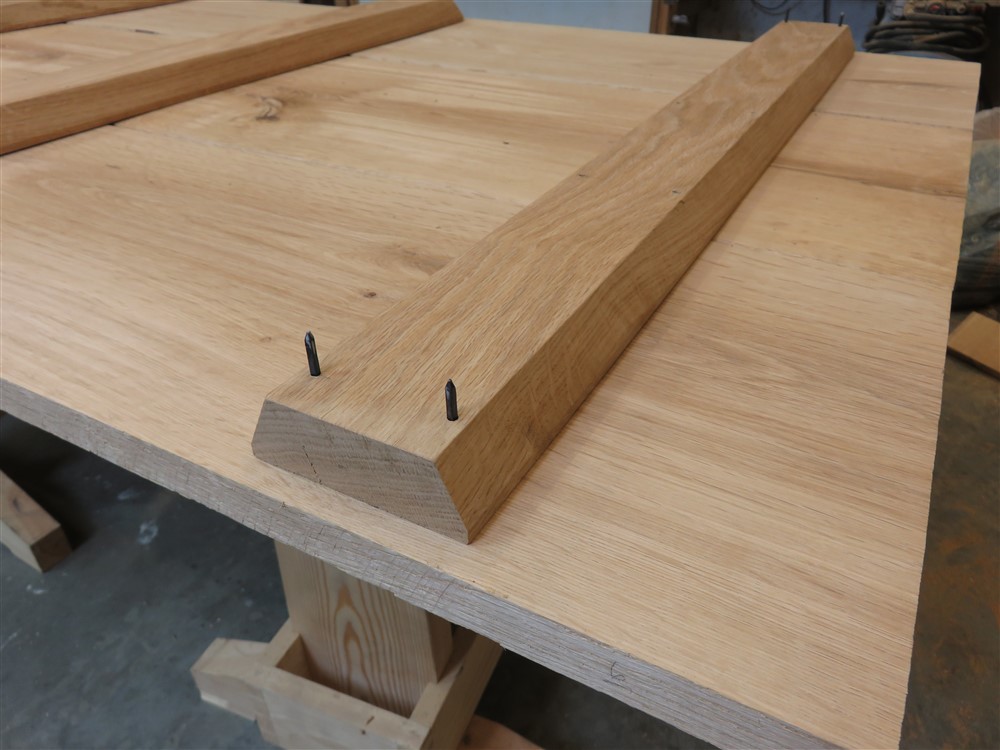
When all 4 ledges have the outer nails in and clenched over, I flipped the door to work from the other side. This is because I wanted to make sure the middle nails were on the apex of the triangle, the peak in the middle of the centre board:
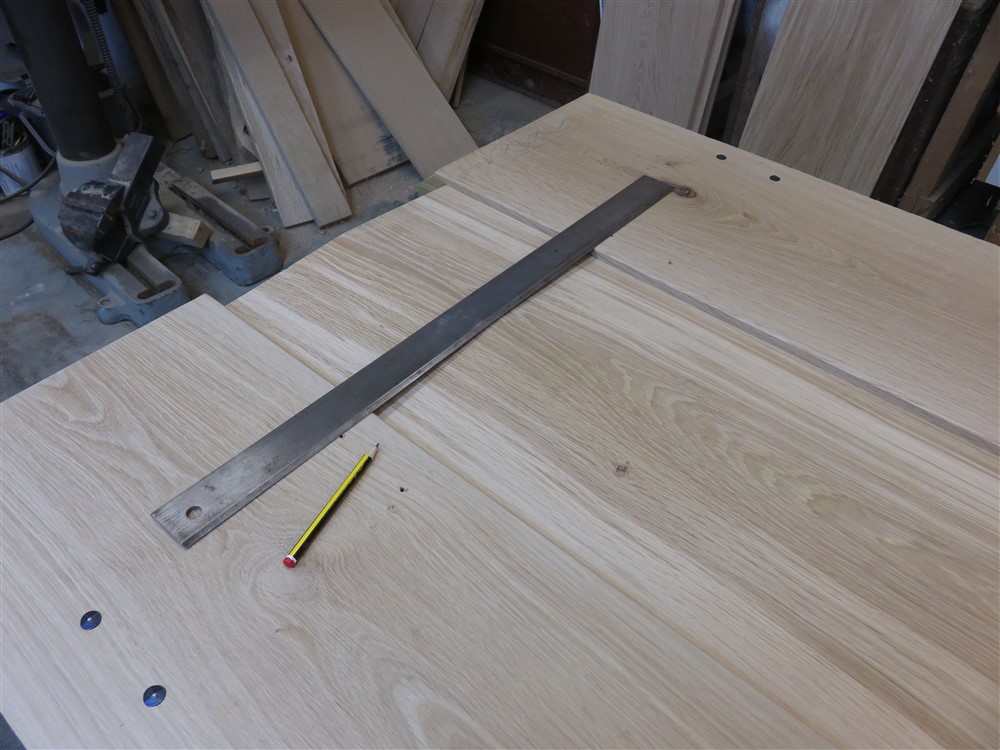
Clenching isn't 100% straightforward, because if you aren't careful you can start to knock the head of the nail away from the wood on the other side of the board:
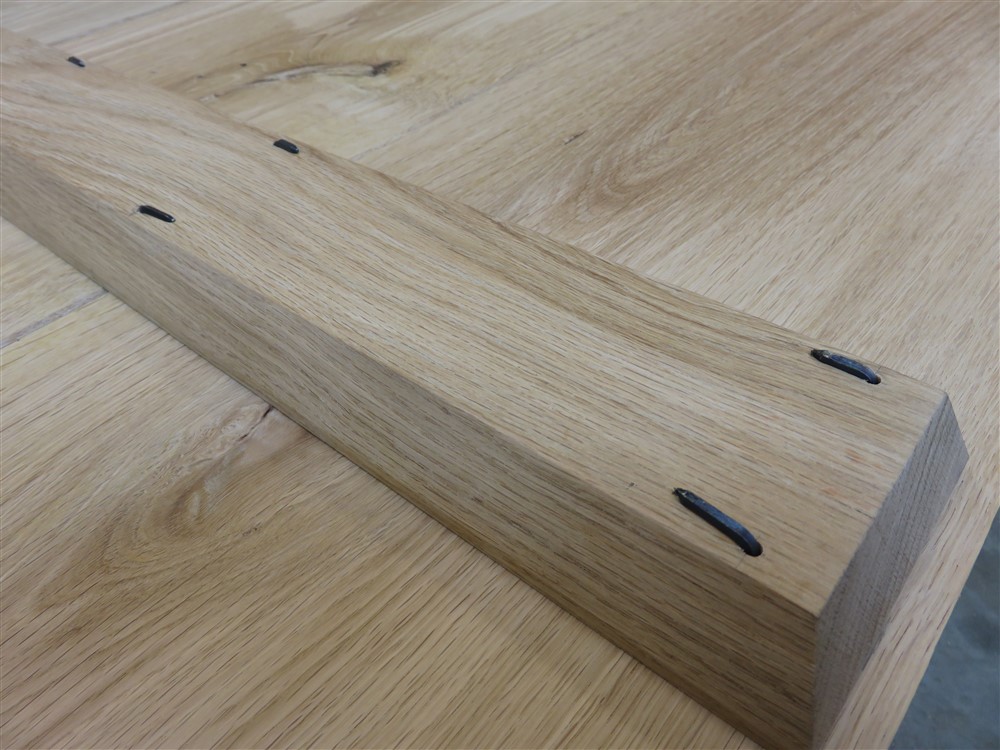
It's now a door:
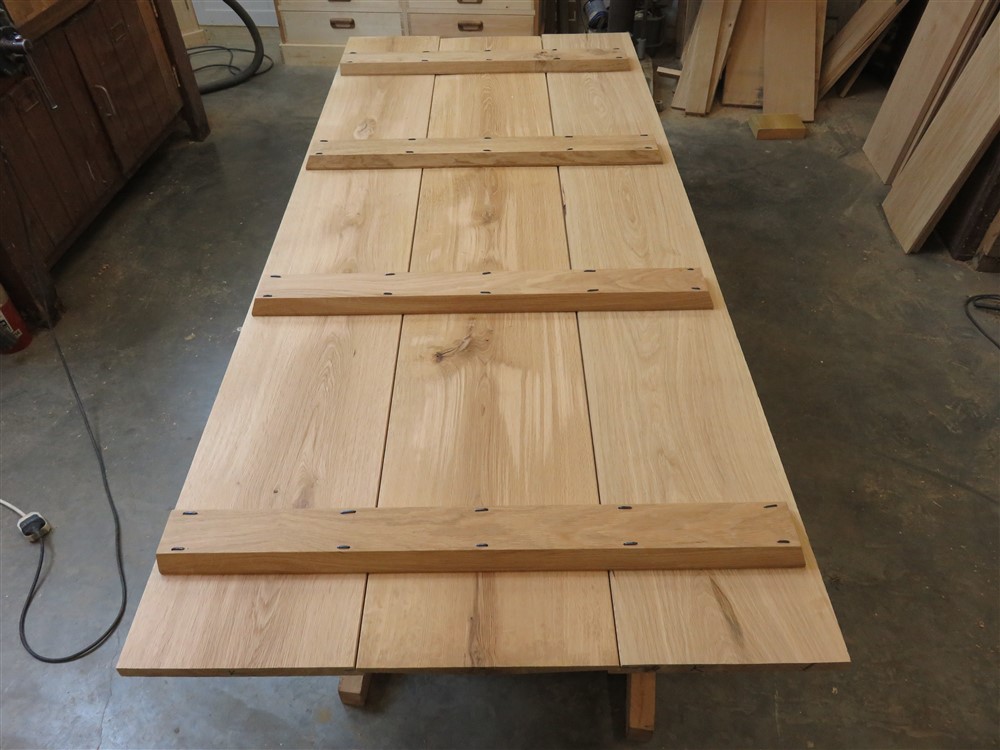
Incidentally, this is why I favour space over kit in my workshop. I want to be able to assemble on horses and still have room to work all round:
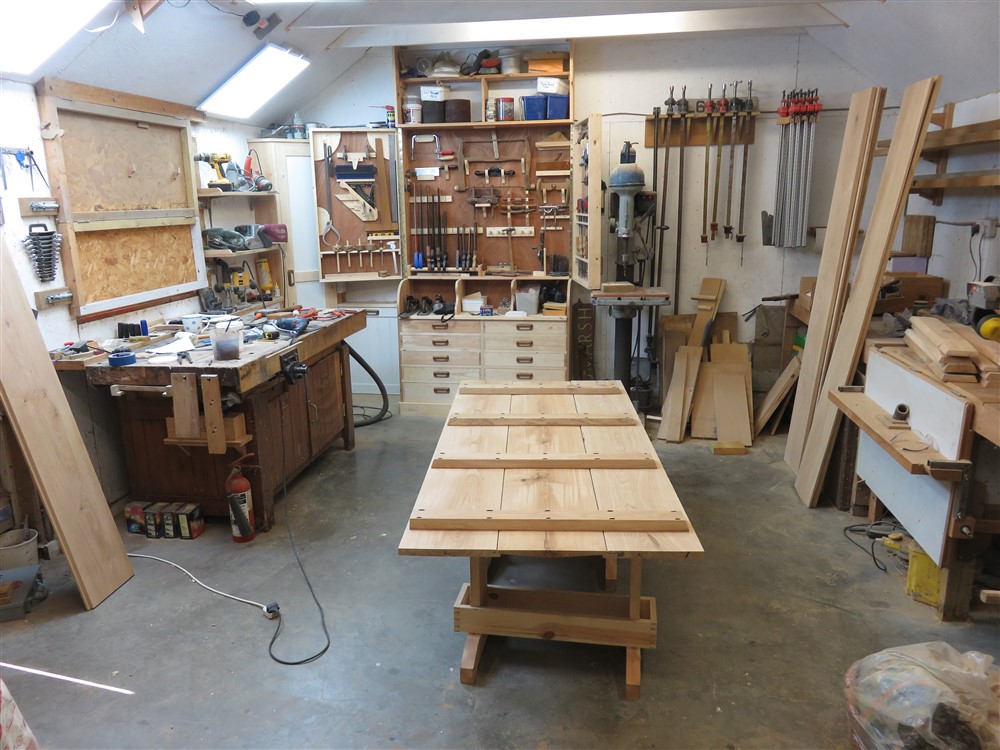
This is what the profile looks like:
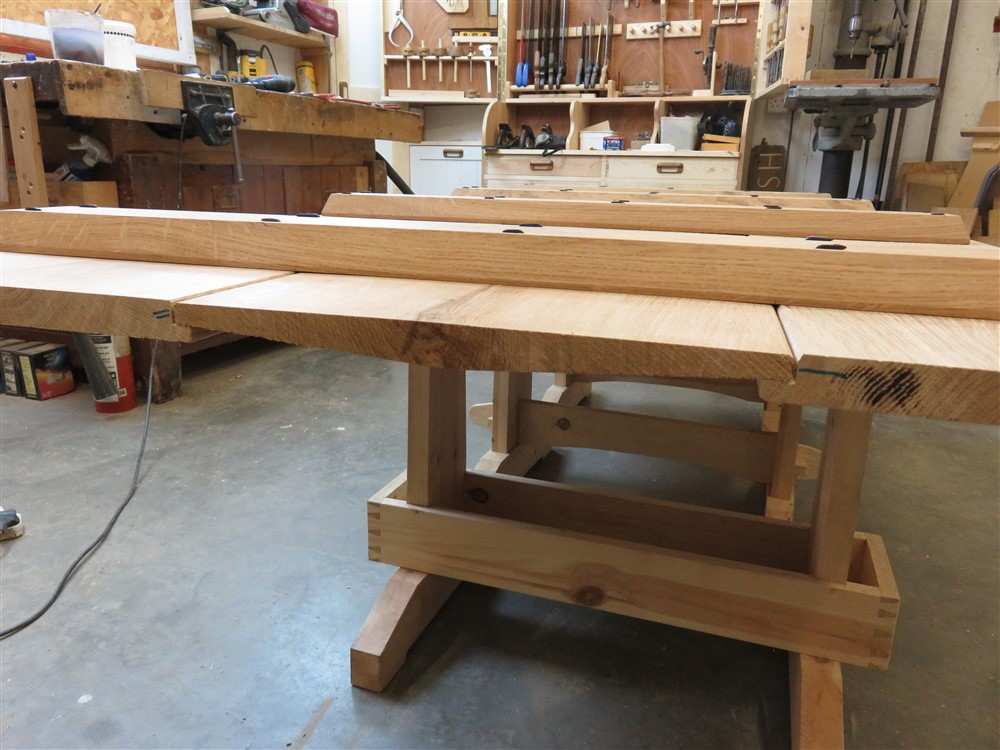
A quick trim to length:
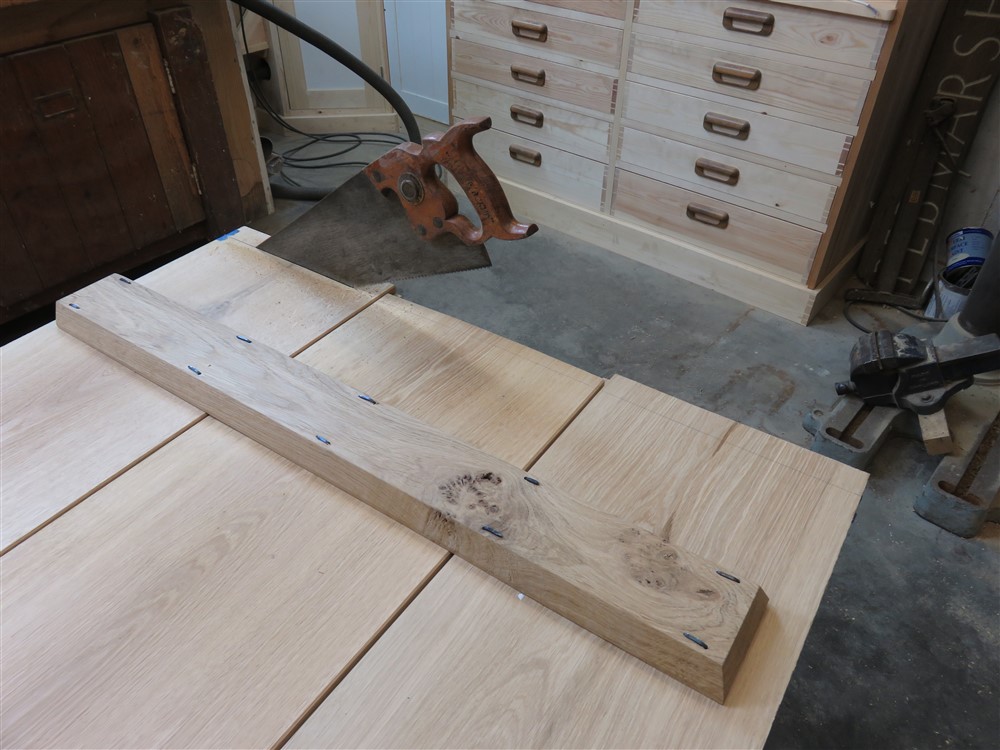
.....then into the kitchen, where I offered it up to the frame, marked up, and cut all four sides with a handsaw:
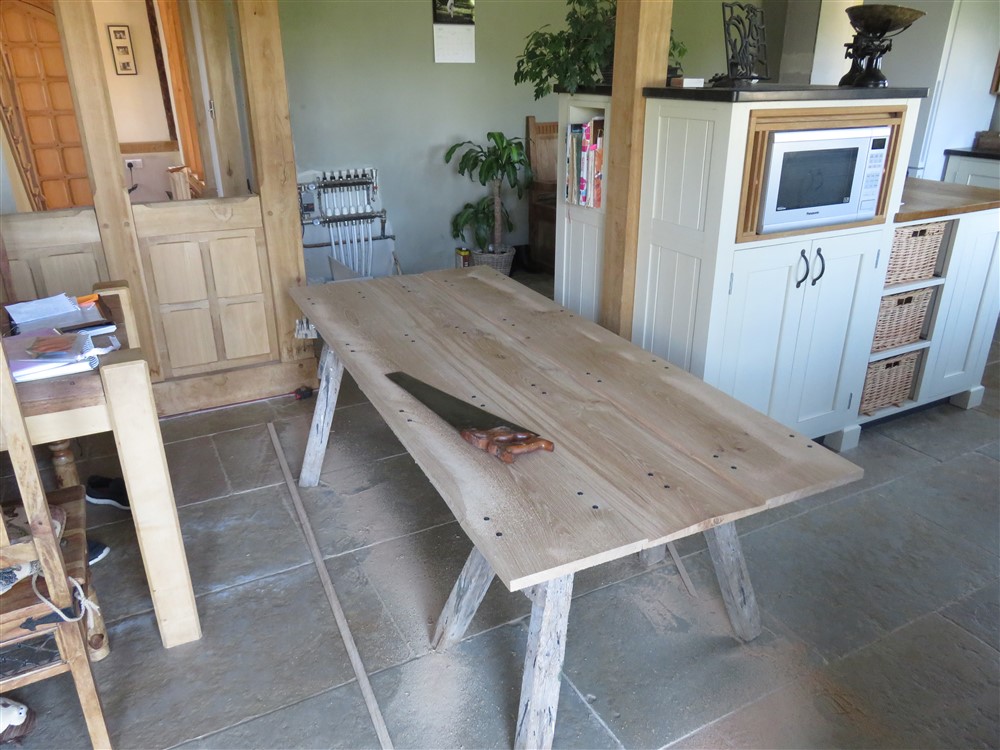
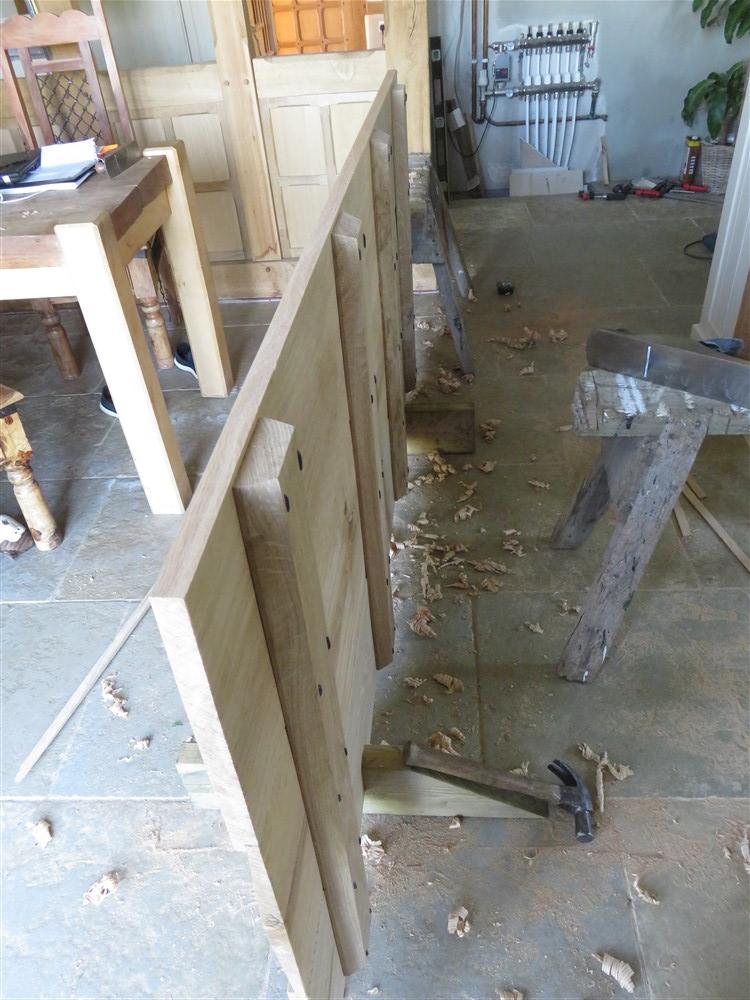
Then onto the hastily made door edge supports:
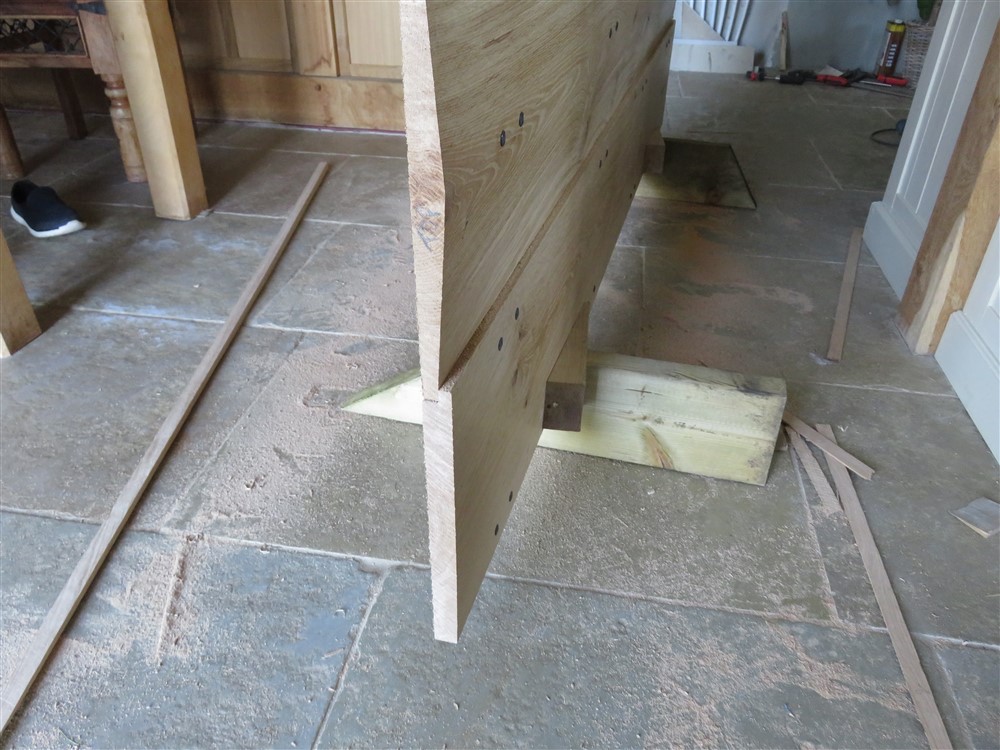
.......for planing:
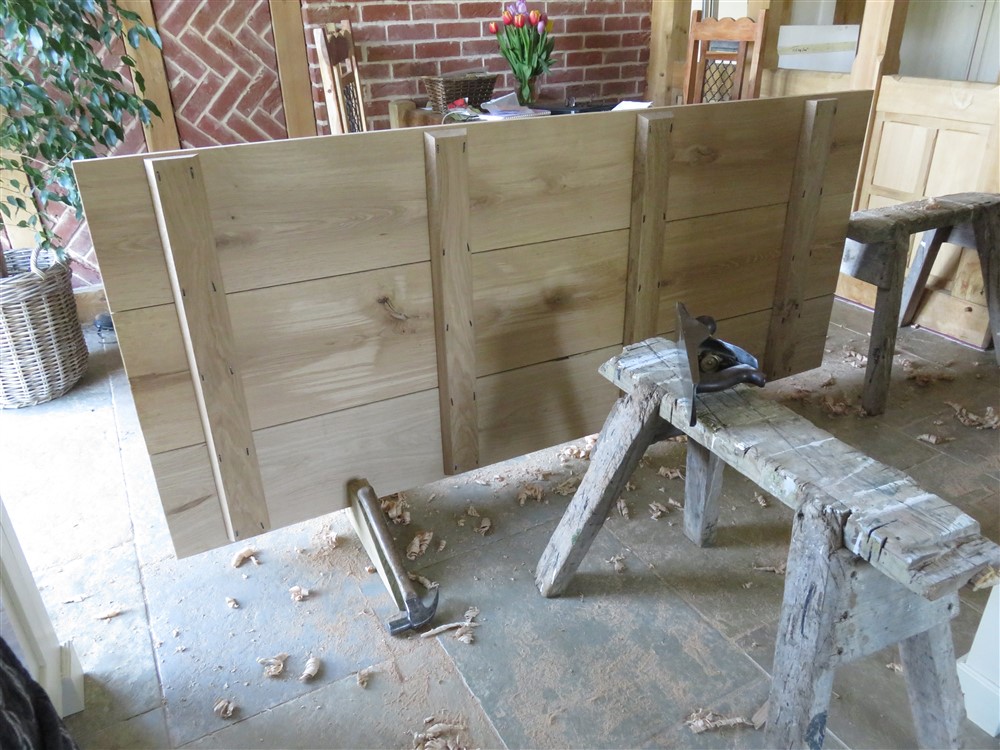
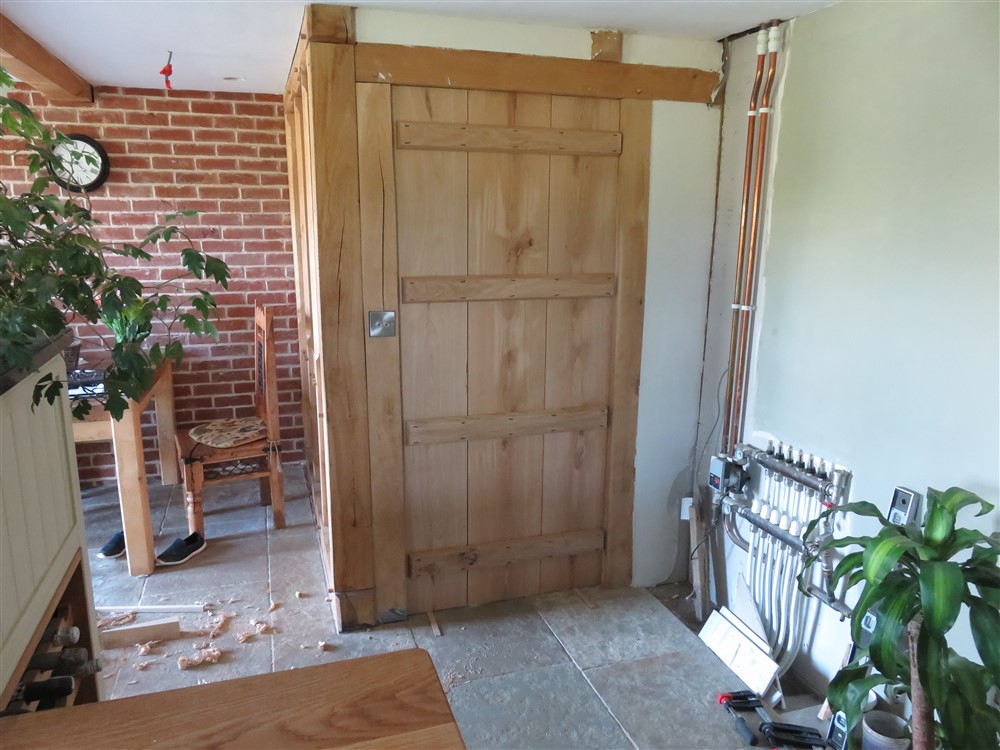
It fits!! What a piece of luck:
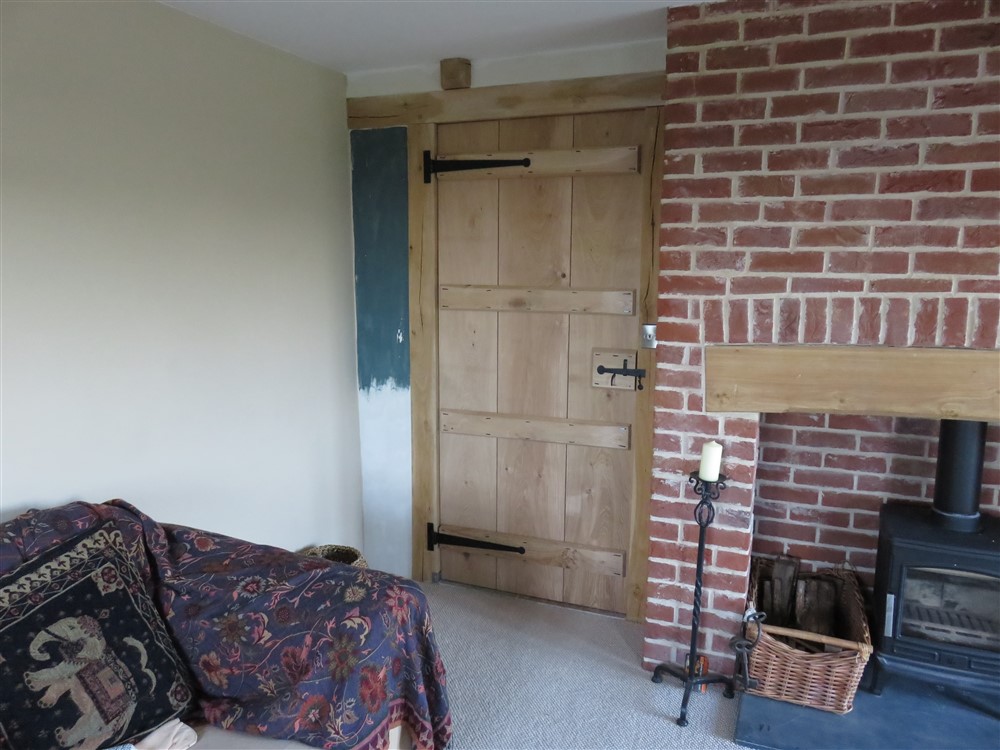
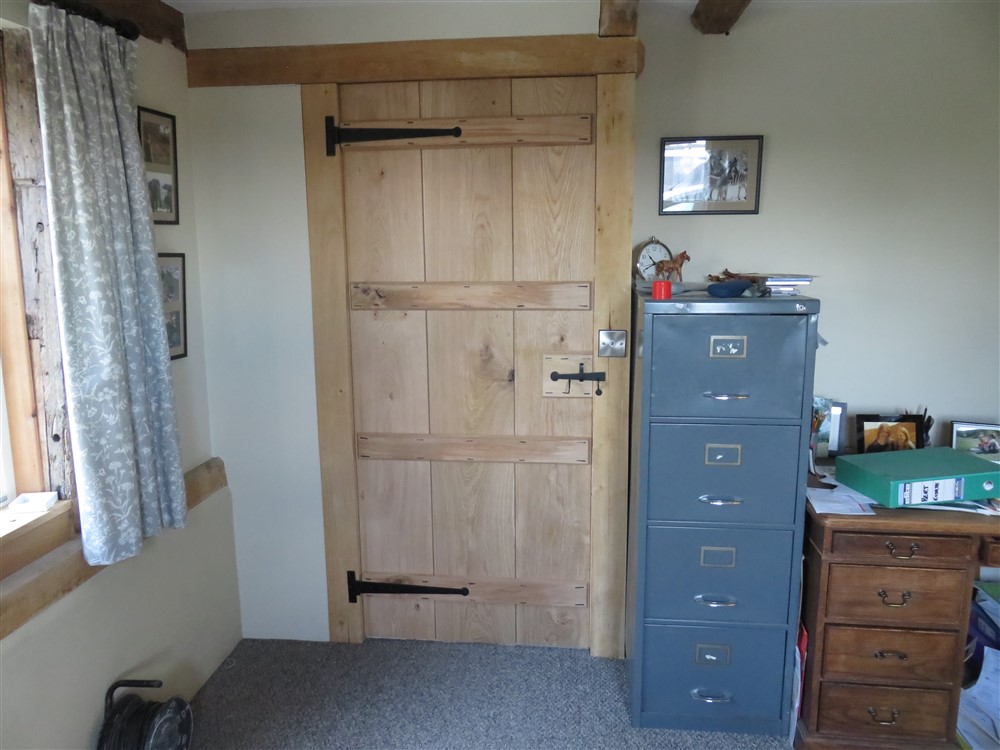
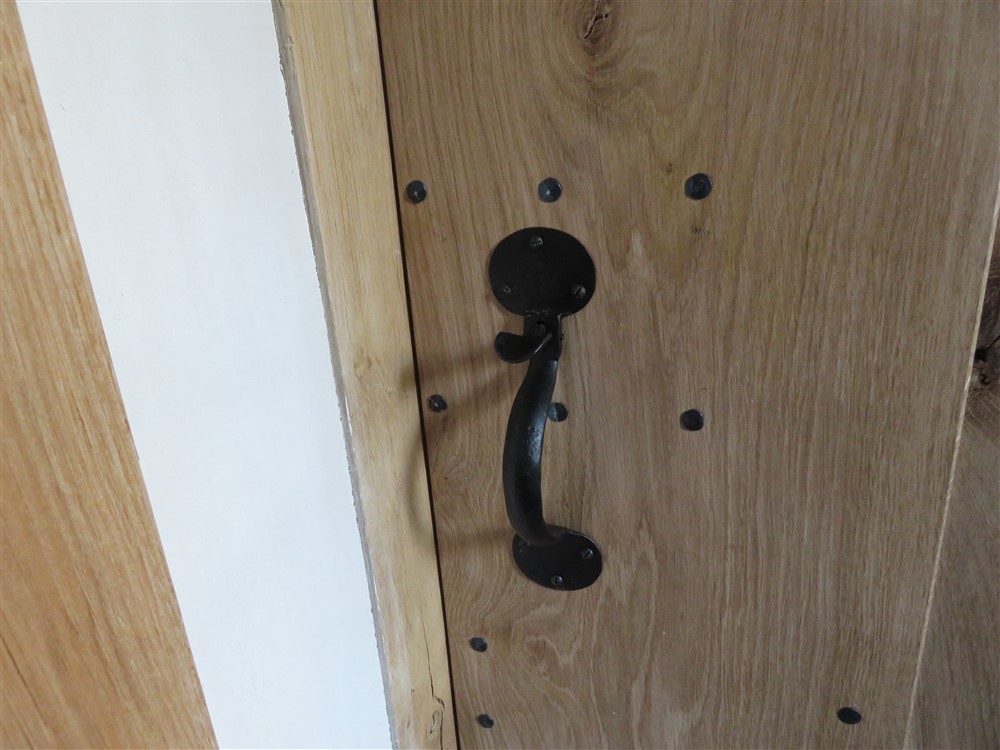
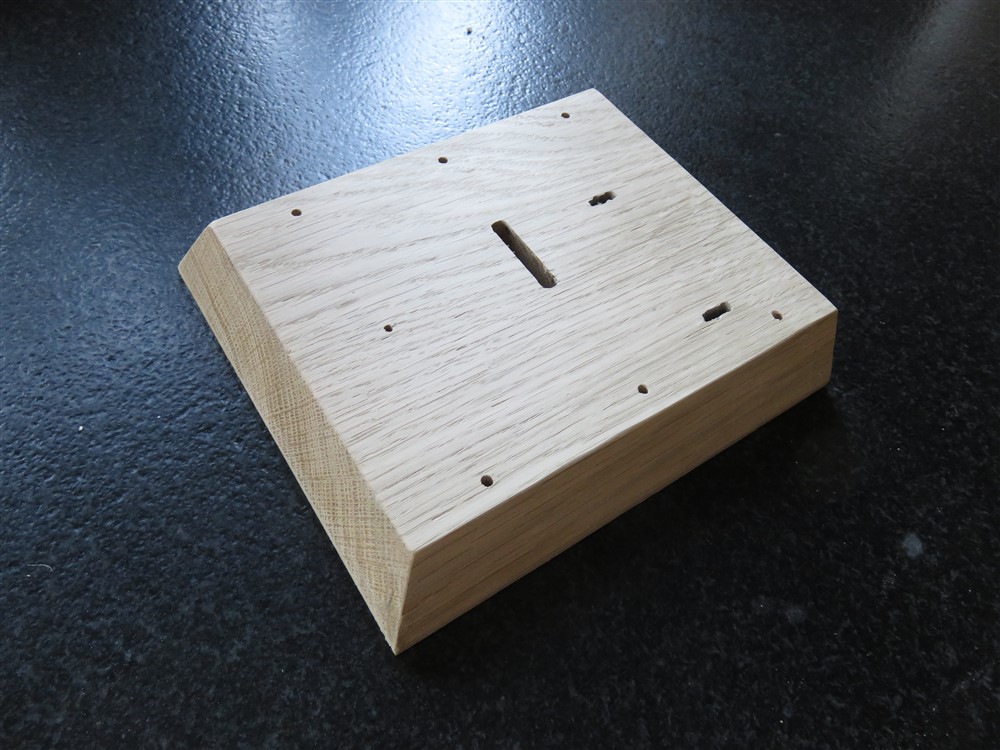
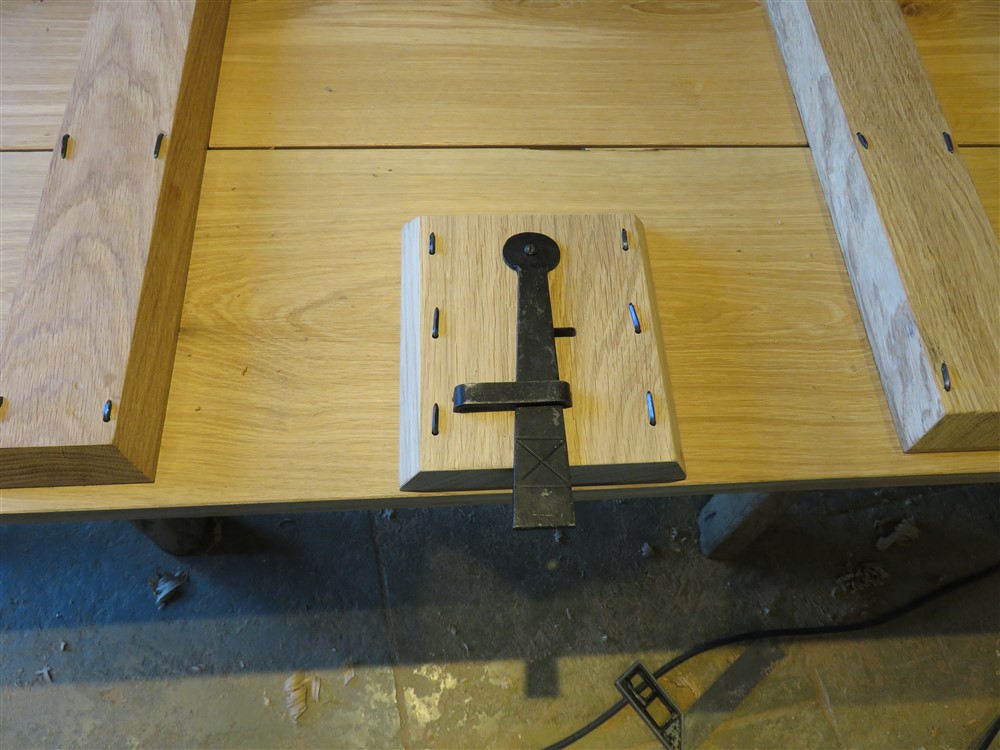
Down again, there's still work to do. Now that I know where the edge is I can fit the Suffolk latch. Because the hinges are going on the ledges, the latch needs to be mounted on a block to bring it up to the same level:
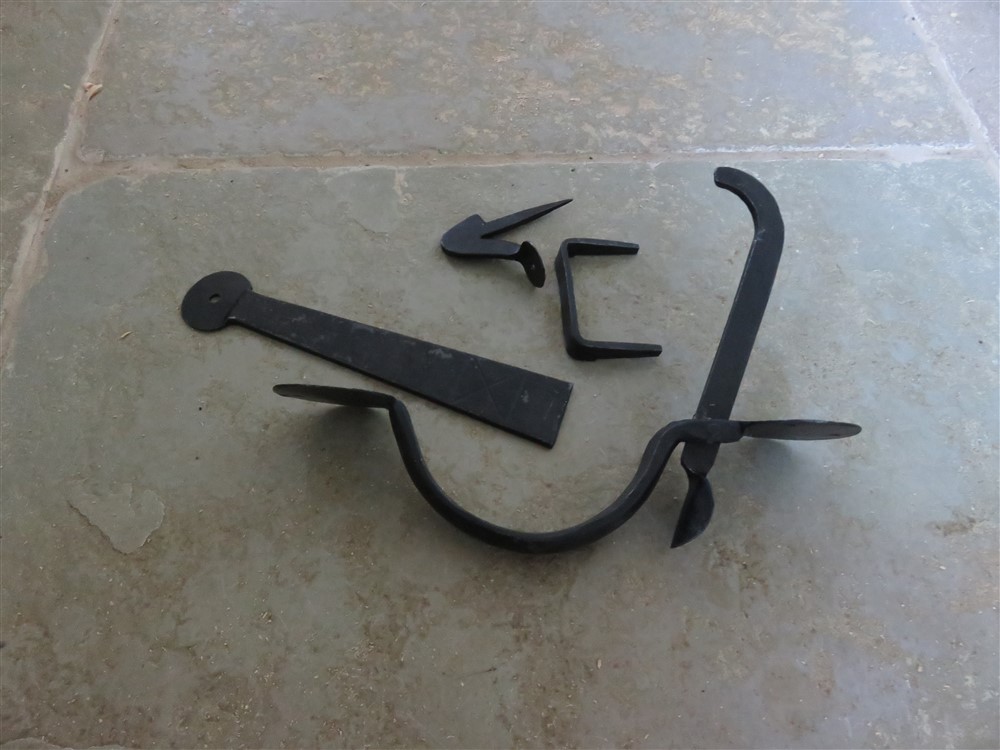
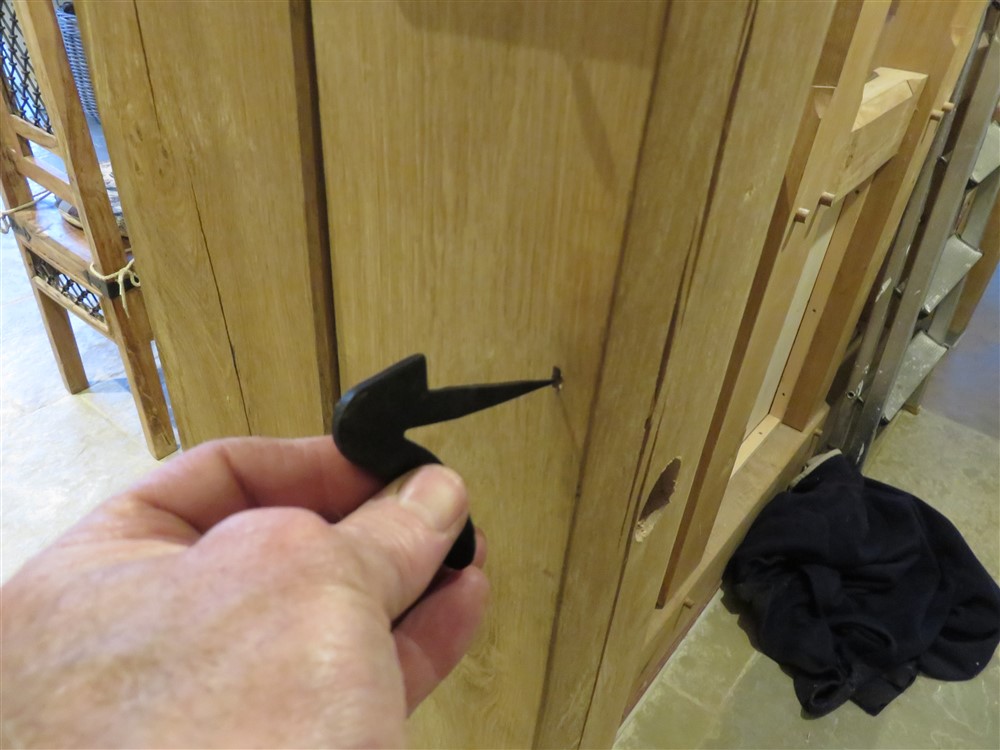
The T hinges were a doddle. The keep, though, has a big spike for bashing into the frame. This can make its final location something of a lottery:
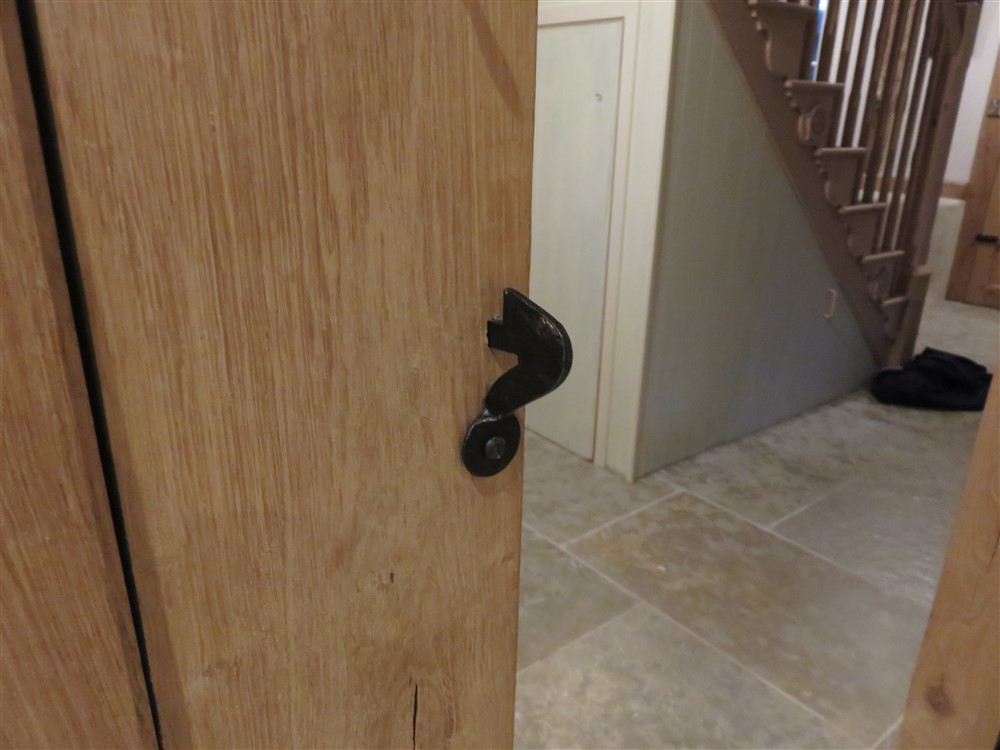
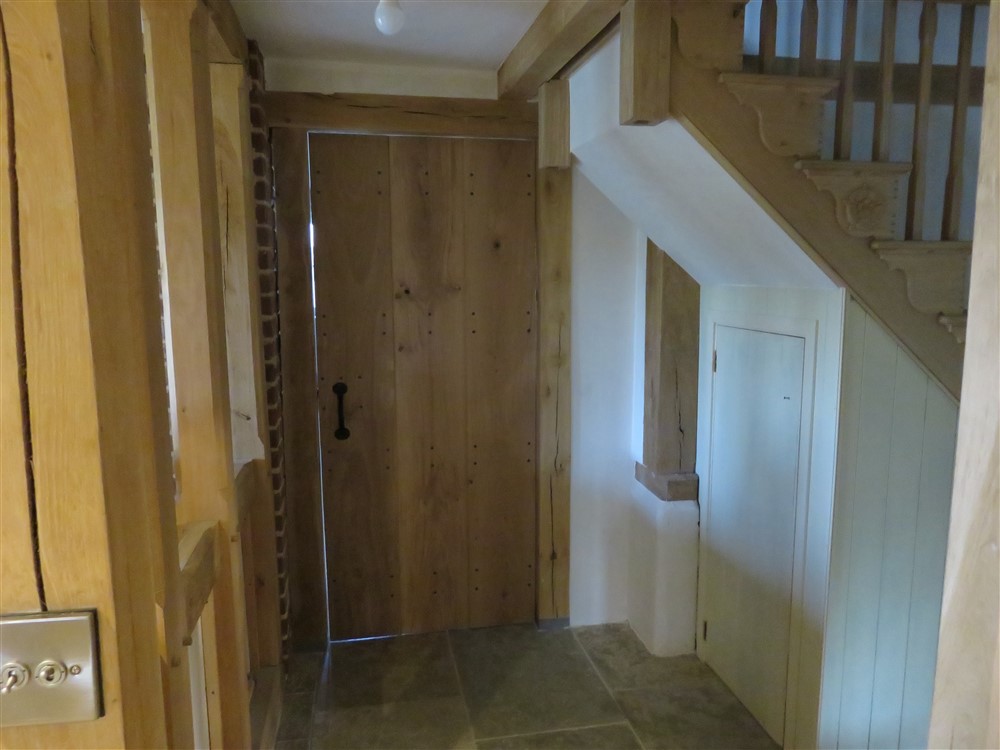
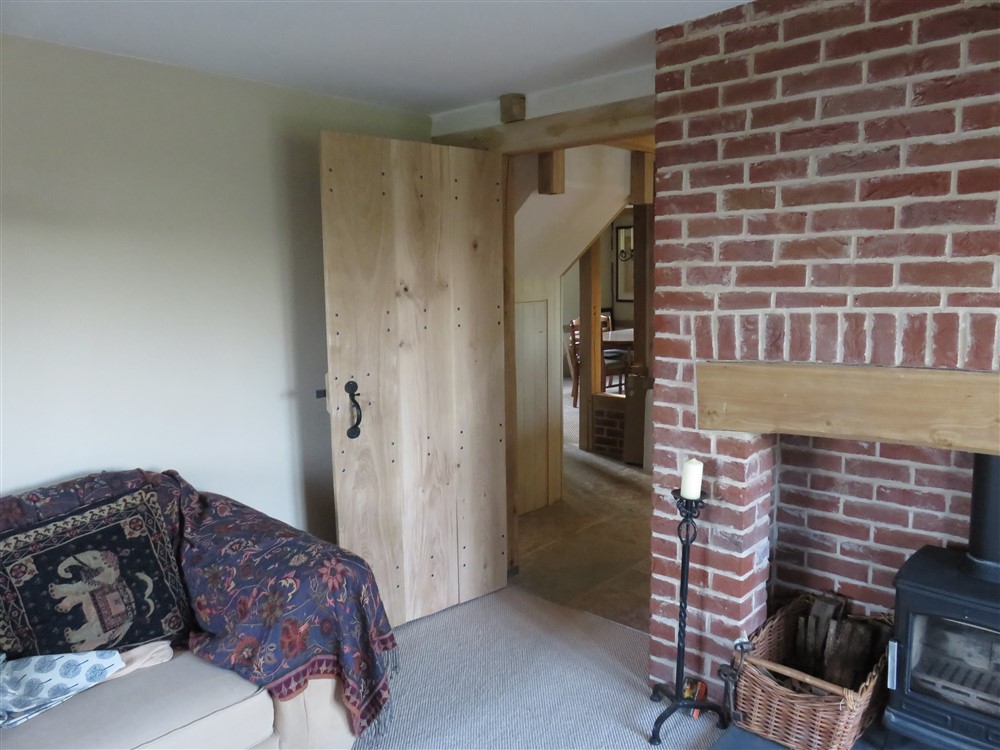
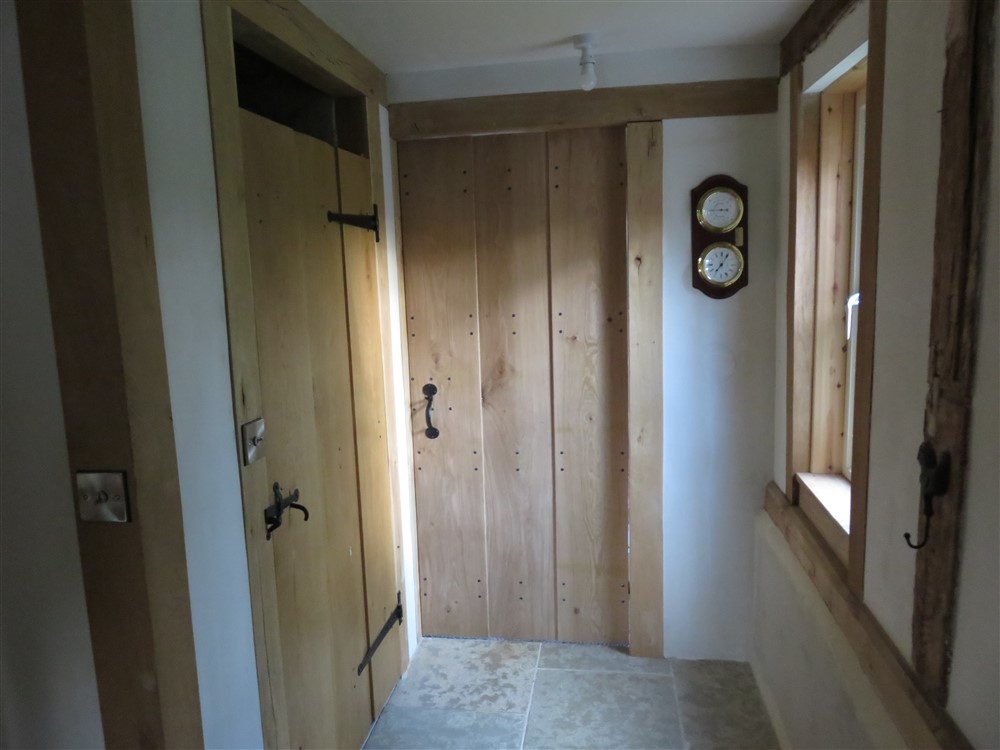
I had to adjust a little on the underside to allow for an uneven flagstone, but finally got the door hung just in time for supper:
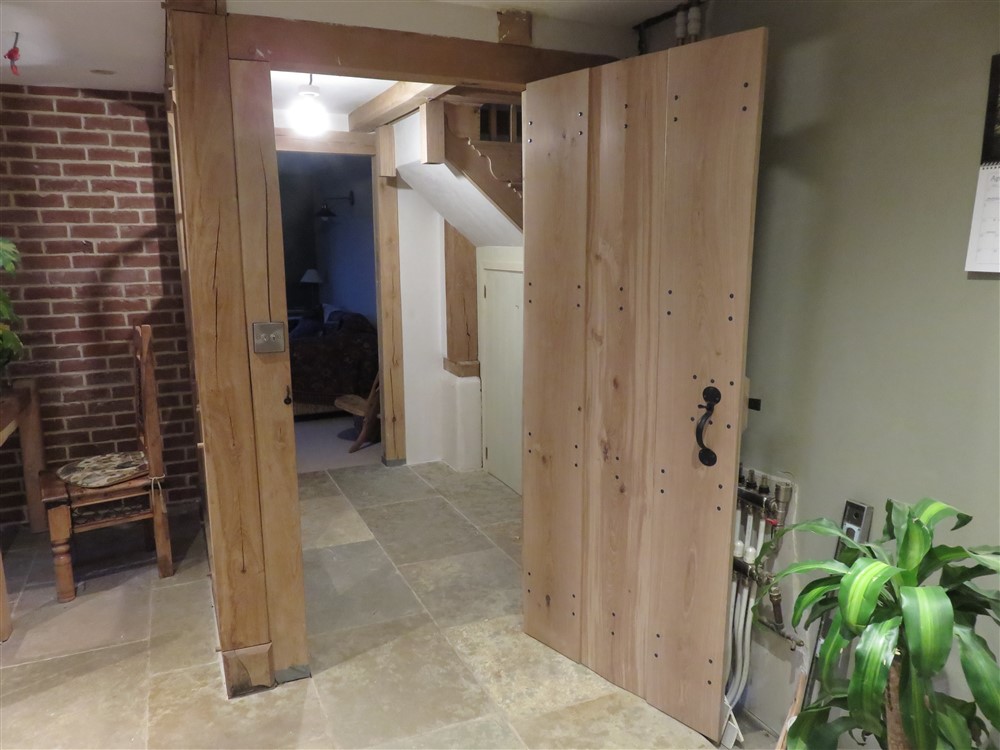
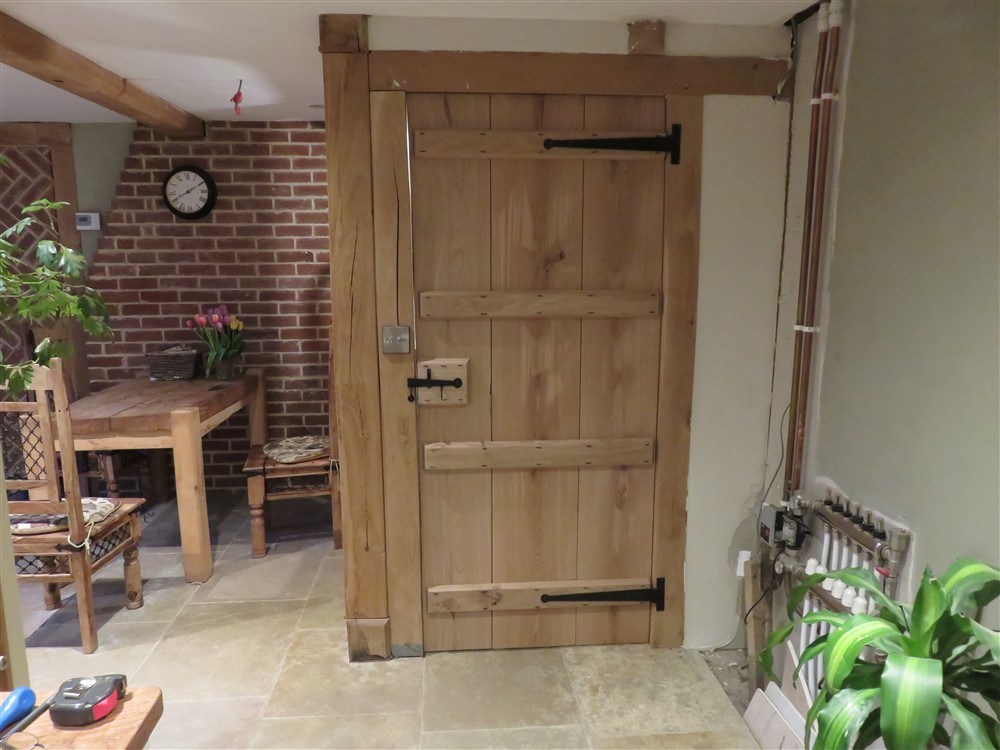
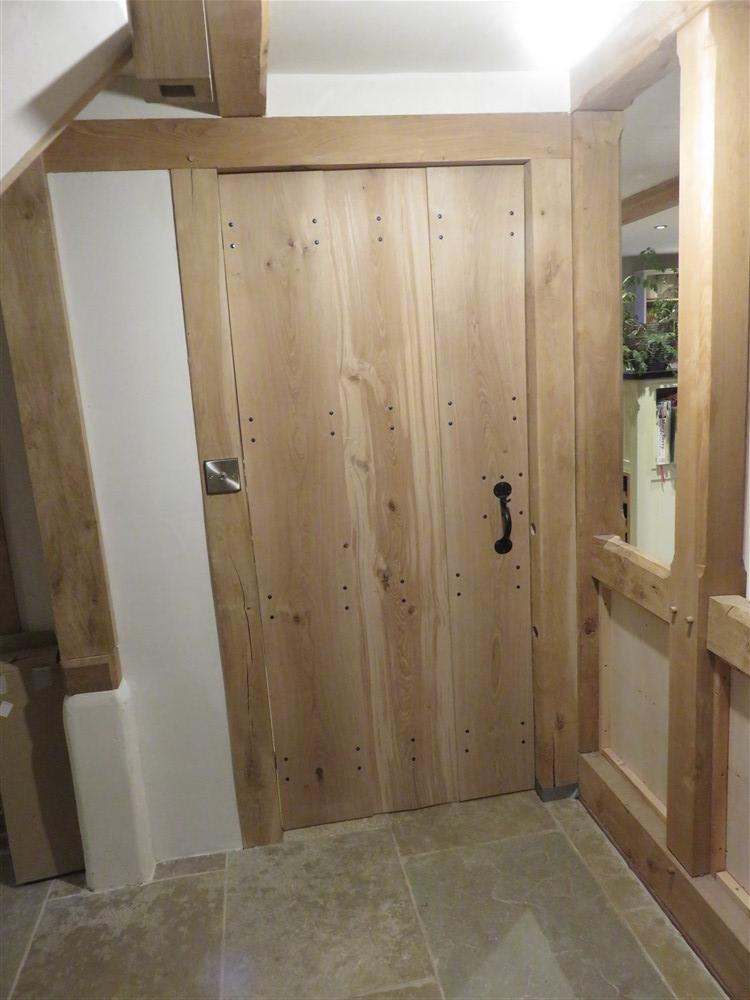
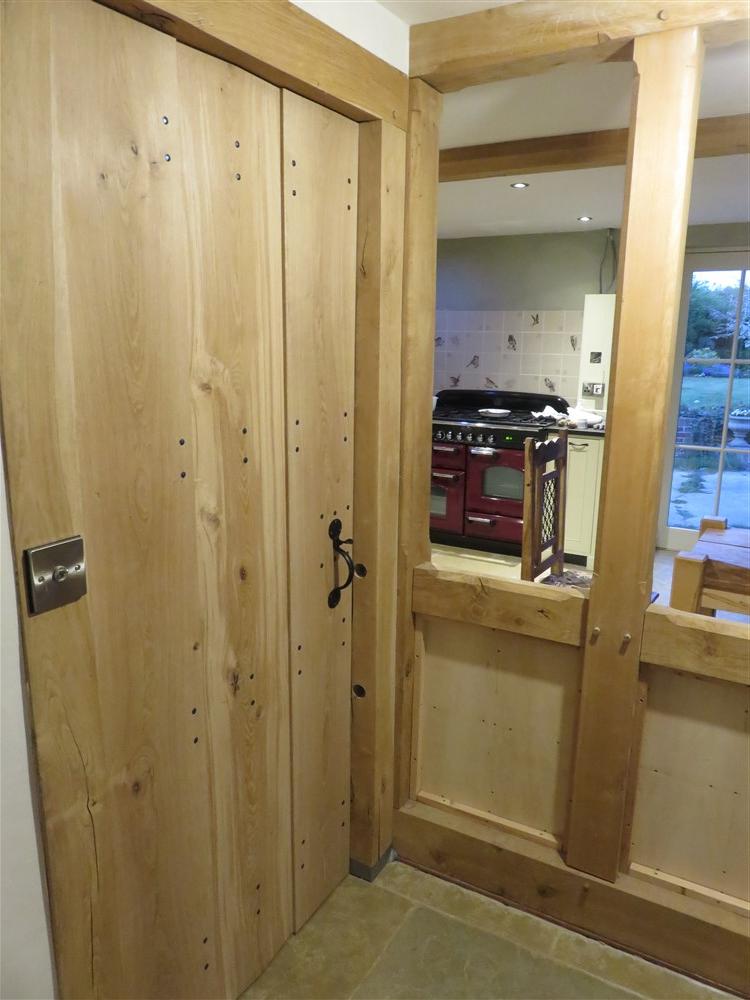
That's going to foil the pooch's foray into the lounge at night....but it also shows up the lack of paneling and leaded lights in that oak screen. Oh well, there's another job moving up the list. In the meantime, there are 2 more doors to make.


There are three doors in this batch, and 3 boards per door. So there were lots of boards to rip straight, trimming the least possible heartwood off whilst getting rid of all the sapwood:


Note the marks on the middle board. These aren't going to be three flat boards.
I took a rebate out of all the meeting edges, because the boards are going to be half-lapped. Then using an electric planer as a scrub plane I removed quite a lot of wood from the middle board:


Then to the bench, and out with the hand planes to flatten the mess that the electric planer leaves, and to get to the final shape:

I dealt with the junction between the rebate (ie the flat bit) and the sloped bit, using a curved scraper:

This board was absolutely flat before I removed all the material from the other side. When you hear people say "take an equal amount of material away from each side of a board", this is why :

I then skip over a couple of days of work repeating the middle board shaping, and the cleaning up and rebating of all the other boards. I also don't seem to have any photos of the preparation of the ledges. Ho hum... We're now on to assembly.
With a ledged door, the big danger is the outside of the door dropping in relation to the inside board. One of the ways I combat this is to embed a tight fitting rod into the edges of adjoining boards, so they can't change their vertical relationship with each other:


Leaving a "penny gap" between the boards to allow for movement, or in this case, a 20p gap:

I received a delivery of 300 machine-made traditional nails. These are a good half-way house between a hand forged nail and the modern wire nails, and I line them up with some modern hand forged or cut nails, and a 300 year old nail. They're the two on the right:


So they have a thinner and more uniform shank, but still square. The heads are similar to a hand forged nail, and have some variability. Anyway, time to find a use for them.
Nails in oak need pre-drilling. After marking up and drilling the holes in the ledges, I turned the boards over and elongated the inner holes with a 1/8th chisel. This will aid board expansion and contraction, which nails are great for anyway as they are flexible:

The glue gives a clue as to where I am allowing for movement. The outer sides of the door will remain fixed, as will the centre of the centre board:

That photo shows another peculiarity of ledged and boarded doors made the traditional way. The nails are always nailed in from the boarded side, but to locate the holes properly you have to work from the other side of the door. So the initial nailing at least must be up from the underside of the door! Yep, you kneel on the floor hammering upwards, trying to hold everything down with your other hand:


When all 4 ledges have the outer nails in and clenched over, I flipped the door to work from the other side. This is because I wanted to make sure the middle nails were on the apex of the triangle, the peak in the middle of the centre board:

Clenching isn't 100% straightforward, because if you aren't careful you can start to knock the head of the nail away from the wood on the other side of the board:

It's now a door:

Incidentally, this is why I favour space over kit in my workshop. I want to be able to assemble on horses and still have room to work all round:

This is what the profile looks like:

A quick trim to length:

.....then into the kitchen, where I offered it up to the frame, marked up, and cut all four sides with a handsaw:

Then onto the hastily made door edge supports:

.......for planing:


It fits!! What a piece of luck:

Down again, there's still work to do. Now that I know where the edge is I can fit the Suffolk latch. Because the hinges are going on the ledges, the latch needs to be mounted on a block to bring it up to the same level:


The T hinges were a doddle. The keep, though, has a big spike for bashing into the frame. This can make its final location something of a lottery:


I had to adjust a little on the underside to allow for an uneven flagstone, but finally got the door hung just in time for supper:


That's going to foil the pooch's foray into the lounge at night....but it also shows up the lack of paneling and leaded lights in that oak screen. Oh well, there's another job moving up the list. In the meantime, there are 2 more doors to make.


