L/D workshop dining table

UKworkshop.co.uk

Help Support UKworkshop.co.uk:

This site may earn a commission from merchant affiliate links, including eBay, Amazon, and others.
Excellent Doug, You are doing some lovely work here during the lockdown. I like the key cupboard, but I'm really looking forward to the table and chair build. Do you have a drawing?
 
MikeG.":1agxfhq0 said:
Excellent Doug, You are doing some lovely work here during the lockdown. I like the key cupboard, but I'm really looking forward to the table and chair build. Do you have a drawing?
I have instructions Mike but no drawing :shock: :lol:
The good lady wife has shown me photos of exactly the style of table she wants & the dimensions she wants it making, every detail has been covered believe me :?
Though to be fair she has done a lot of research more so on the chairs than the table as that is a very simple design.
She is currently finalising the chair design which has included reading the appropriate chapter in Joyce, when done I’m planning on making a prototype in larch.


marcros":1agxfhq0 said:
How thick will the finished top be, Doug?

The top will be 32mm thick Marcros which might seem a big reduction from 44mm but with the amount of movement in the boards whilst acclimatising I went down to 35mm Just to get them all flat & the same thickness.
 
Whilst the Ash for the table is settling I’d a few other jobs to do one of which involved cutting some dowel & another chopping board on the little bandsaw which was in desperate need of a new blade so first up I made a new one.

8617685D-1AC9-4C54-9A27-8E1570C7E28A.jpeg


The blade is from a roll of 3tpi HSS blade with quite a good set on it which makes it ideal for tight curves, here it is ready to go on the Elu.

445DB9CB-24D7-40D1-834C-A5D1476B70FC.jpeg


Another thing I needed to do was hone the blade on my No8, it doesn’t get anywhere near as much use as it used to but I will need it for shooting the edges of the boards that will make up the table top.

B4F9D736-3077-4A41-94FF-975853F6F339.jpeg


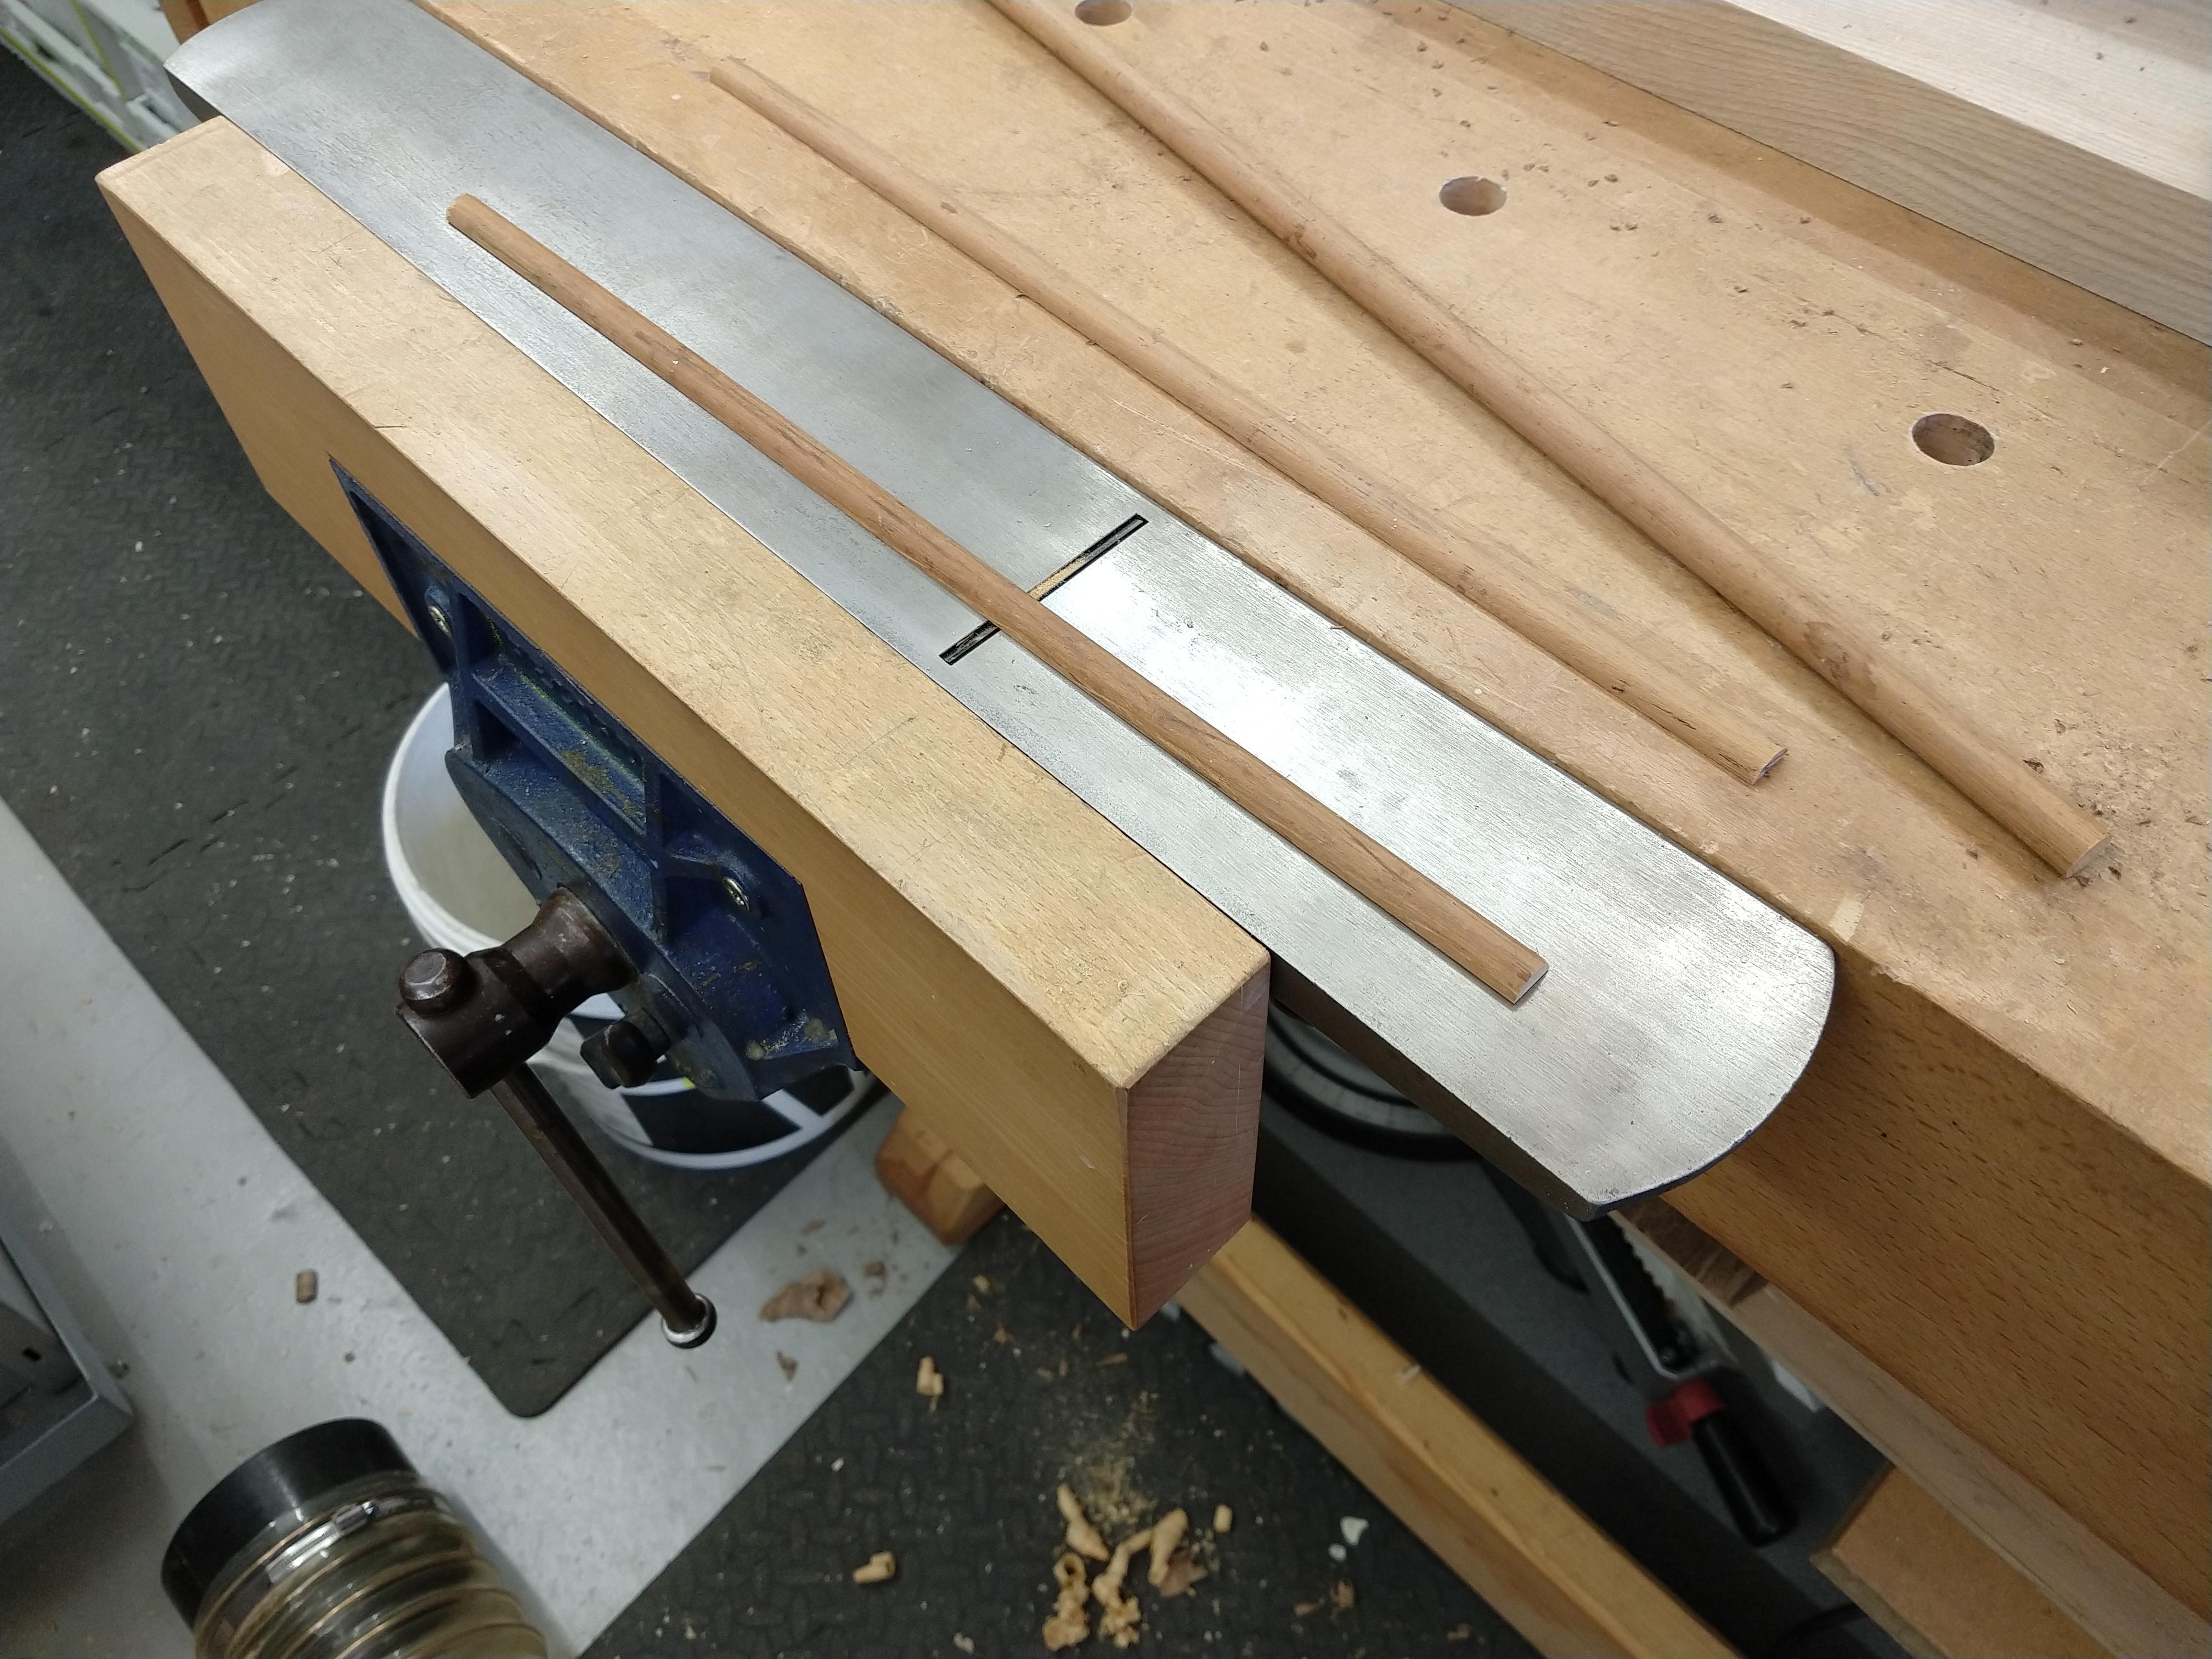
The blade is about as big as I can get in the Veritas jig but another reason for getting the No8 nice & sharpe was to clamp it in the vice to plane up the short pieces of quadrant I’d cut from the dowel

8A8B534F-EDFF-4CF6-B57A-32EB1183BBF5.jpeg


This was going to be used to repair a wheel from an old model gun carriage the pieces I needed were only 50mm long but needed an 8 degree slope on the ends so I cut these rather carefully at the chopsaw

03475111-5D6B-435C-AB57-ECEF02C3718B.jpeg


This is what had arrived so I needed 12 matching spokes.

8B9E307A-4A94-4D83-AF14-D8966626B3F2.jpeg


I managed to get the spokes all made & cut but need to clean up the hub on the lathe & before I got chance to do that I needed to get a chopping board made & oiled for the Mother in Law as she had seen the one I’d made recently & had put in a request for one & I know better than to keep her waiting :? :lol:

It’s the one on the left I took the opportunity whilst oiling it to give the original one another coat of oil.

48EA3747-BF56-4B8E-8A2A-75D247ABB110.jpeg


Hopefully the GLW can take this out of the way when she makes her weekly food drop to her parents.

G
 

Attachments

  • 8617685D-1AC9-4C54-9A27-8E1570C7E28A.jpeg
    8617685D-1AC9-4C54-9A27-8E1570C7E28A.jpeg
    195.6 KB
  • 445DB9CB-24D7-40D1-834C-A5D1476B70FC.jpeg
    445DB9CB-24D7-40D1-834C-A5D1476B70FC.jpeg
    1.1 MB
  • B4F9D736-3077-4A41-94FF-975853F6F339.jpeg
    B4F9D736-3077-4A41-94FF-975853F6F339.jpeg
    1.6 MB
  • 8A8B534F-EDFF-4CF6-B57A-32EB1183BBF5.jpeg
    8A8B534F-EDFF-4CF6-B57A-32EB1183BBF5.jpeg
    1.2 MB
  • 03475111-5D6B-435C-AB57-ECEF02C3718B.jpeg
    03475111-5D6B-435C-AB57-ECEF02C3718B.jpeg
    891.4 KB
  • 48EA3747-BF56-4B8E-8A2A-75D247ABB110.jpeg
    48EA3747-BF56-4B8E-8A2A-75D247ABB110.jpeg
    1.2 MB
  • 8B9E307A-4A94-4D83-AF14-D8966626B3F2.jpeg
    8B9E307A-4A94-4D83-AF14-D8966626B3F2.jpeg
    1.4 MB
I cleaned up the little hub from the wheel at the lathe first thing yesterday

C0A86F8E-F07C-413D-812B-72DF327A6DC0.jpeg


After which I spent oh so long fitting fiddly spokes into the old hub & wheel I wasn't sorry to see it finished & given a coat of finish to match it to the other


06B3EA58-FA6E-45CE-9F3E-9D4964DB3D02.jpeg


Finally I could get round to the table, I planed all the components to finished size & starting with the legs cut them to length at the table saw.

8BF08A68-128E-439D-86B7-06804F1FF59E.jpeg


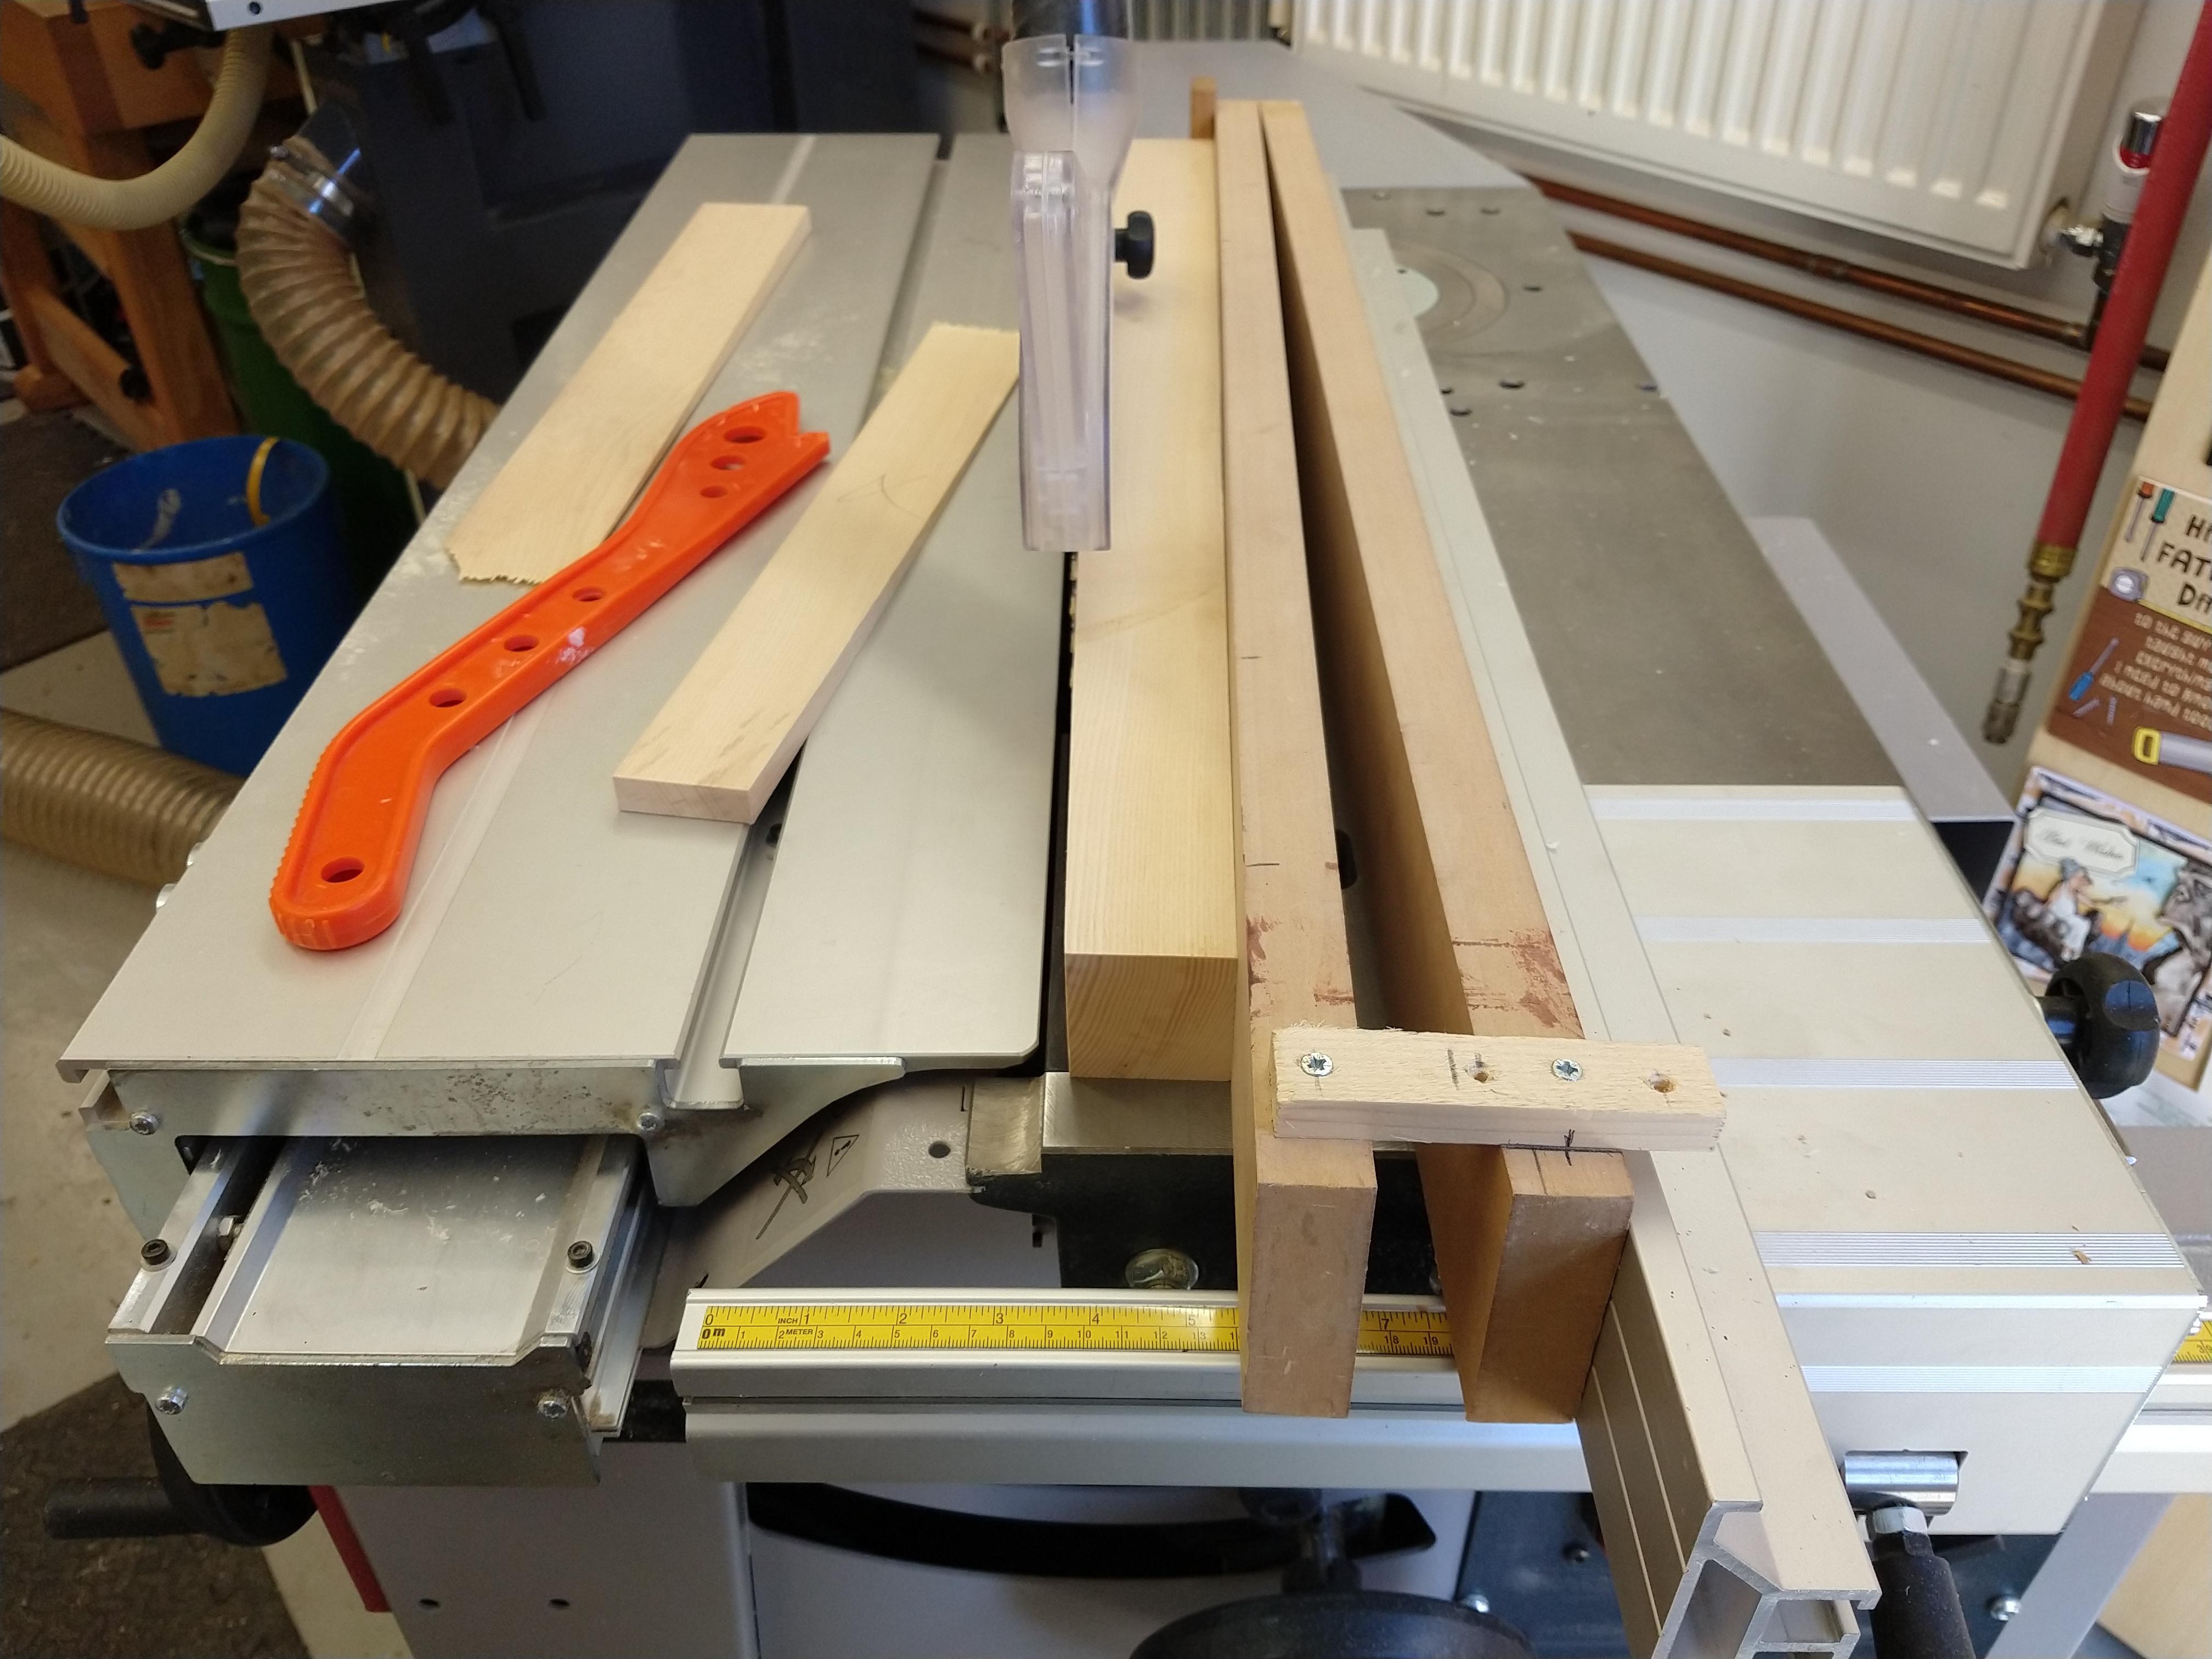
My tapering jig isn’t the most sophisticated a couple of pieces of 25mm MDF with a hinge & stop block at one end & a scrap of wood screwed to the other ends to give the desired angle but it works.

07460DEA-6D09-4B68-BA7C-6CA477D35D4A.jpeg


The frame is dominoed together to mark their positions rather than pencil on the Ash I masking tape & mark on that using a ruler & depth stop so all the dominos are in the same positions


15C2D627-D7BF-4846-BE80-1CA2DE282731.jpeg


I’m using 100mm long 12 mm dominos which I mitred on the ends where they meet in the legs

4255E543-642A-41AE-ABF1-4B8864E25527.jpeg


After 5 minutes of dominoing the frame was ready to dry assemble

D0EDB12D-E78B-49D9-B538-DF36E6470C95.jpeg


I want to round over a few edges at the router table & cut slots for the buttons that hold the top on but after that it’ll be time for a glue up

G
 

Attachments

  • 06B3EA58-FA6E-45CE-9F3E-9D4964DB3D02.jpeg
    06B3EA58-FA6E-45CE-9F3E-9D4964DB3D02.jpeg
    832.9 KB
  • C0A86F8E-F07C-413D-812B-72DF327A6DC0.jpeg
    C0A86F8E-F07C-413D-812B-72DF327A6DC0.jpeg
    848.3 KB
  • 8BF08A68-128E-439D-86B7-06804F1FF59E.jpeg
    8BF08A68-128E-439D-86B7-06804F1FF59E.jpeg
    748.2 KB
  • 07460DEA-6D09-4B68-BA7C-6CA477D35D4A.jpeg
    07460DEA-6D09-4B68-BA7C-6CA477D35D4A.jpeg
    810.6 KB
  • 4255E543-642A-41AE-ABF1-4B8864E25527.jpeg
    4255E543-642A-41AE-ABF1-4B8864E25527.jpeg
    830.6 KB
  • D0EDB12D-E78B-49D9-B538-DF36E6470C95.jpeg
    D0EDB12D-E78B-49D9-B538-DF36E6470C95.jpeg
    937.4 KB
  • 15C2D627-D7BF-4846-BE80-1CA2DE282731.jpeg
    15C2D627-D7BF-4846-BE80-1CA2DE282731.jpeg
    945.4 KB
Progress on the table, before gluing the frame I ran the legs & underside of the rails across the router table to give a small pencil round on the edges

E68F2FD0-1775-4D39-A2C4-A9D48621F9B3.jpeg


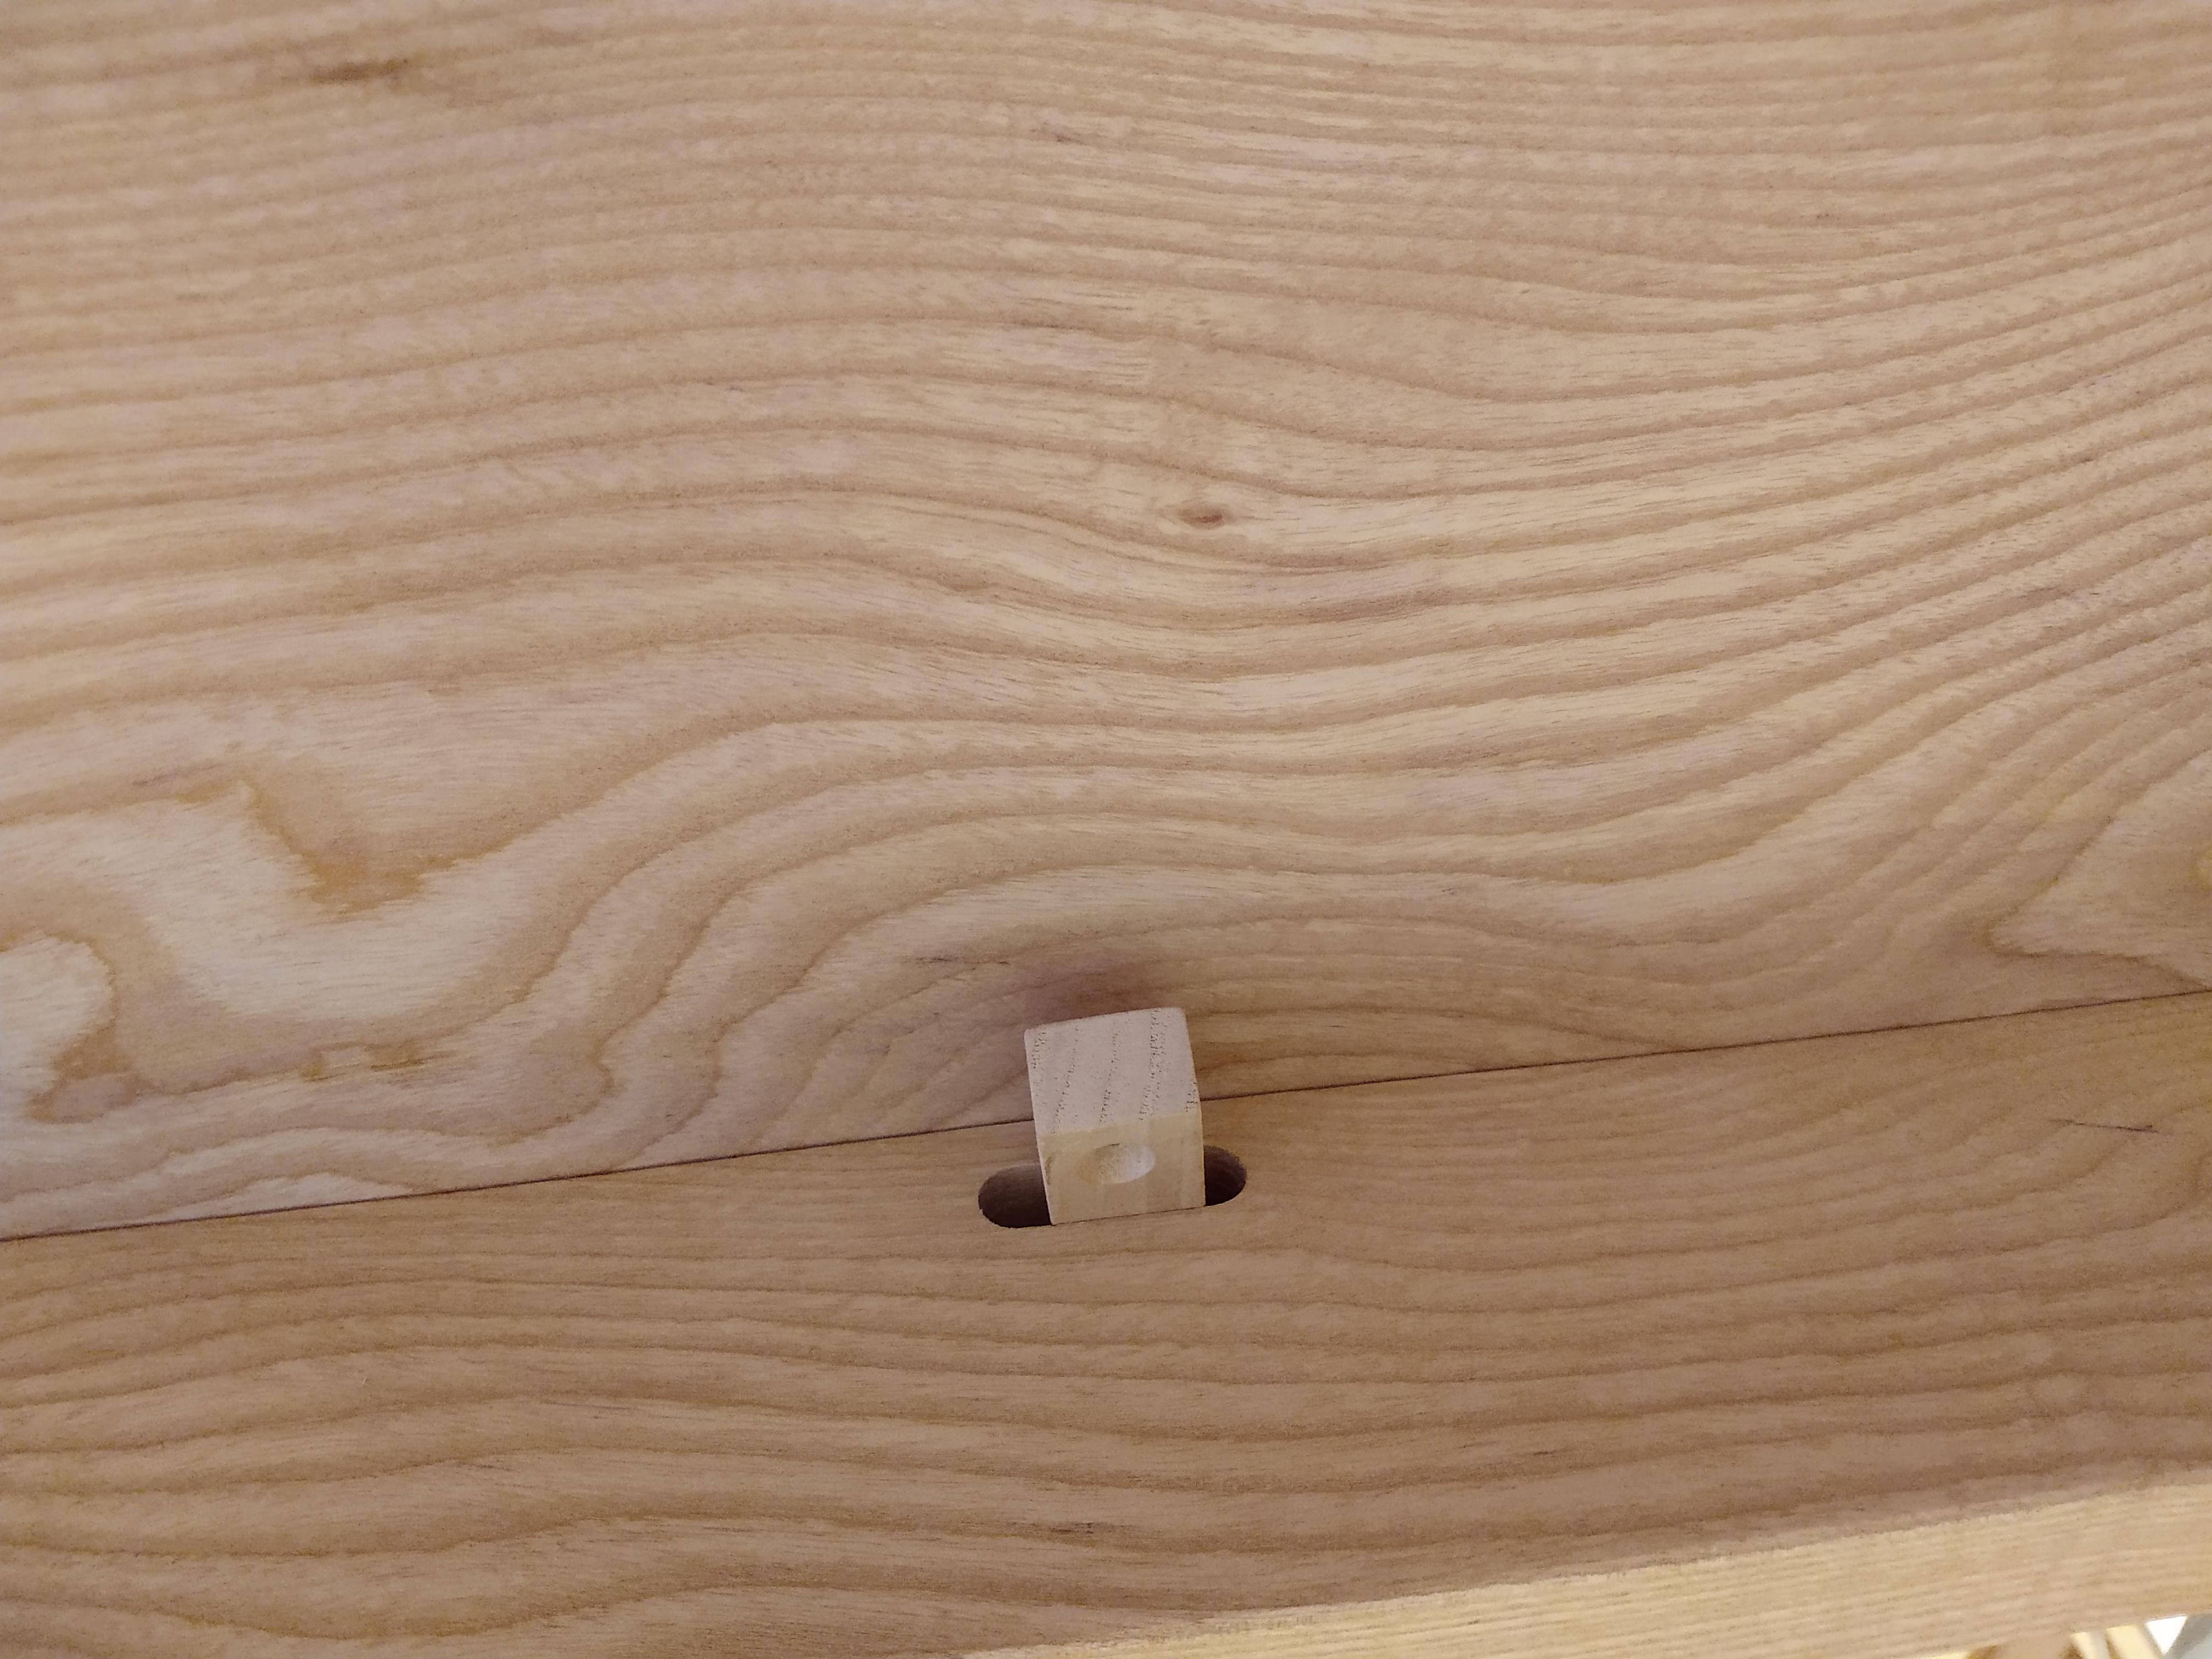
A few domino slots plunged on the inside of the rails for the buttons that will hold the top on then the frame was glued up, after which a fine sanding & here’s the frame ready for oiling.

EB91C753-0AE8-459F-B81C-DAEFB0939065.jpeg


Next up was joining the boards that will make the top, when making up panels I like to hand plane the mating edges so this was a job for my No8

F59A8A60-A1F9-4554-8DF2-E0D96F8F2124.jpeg


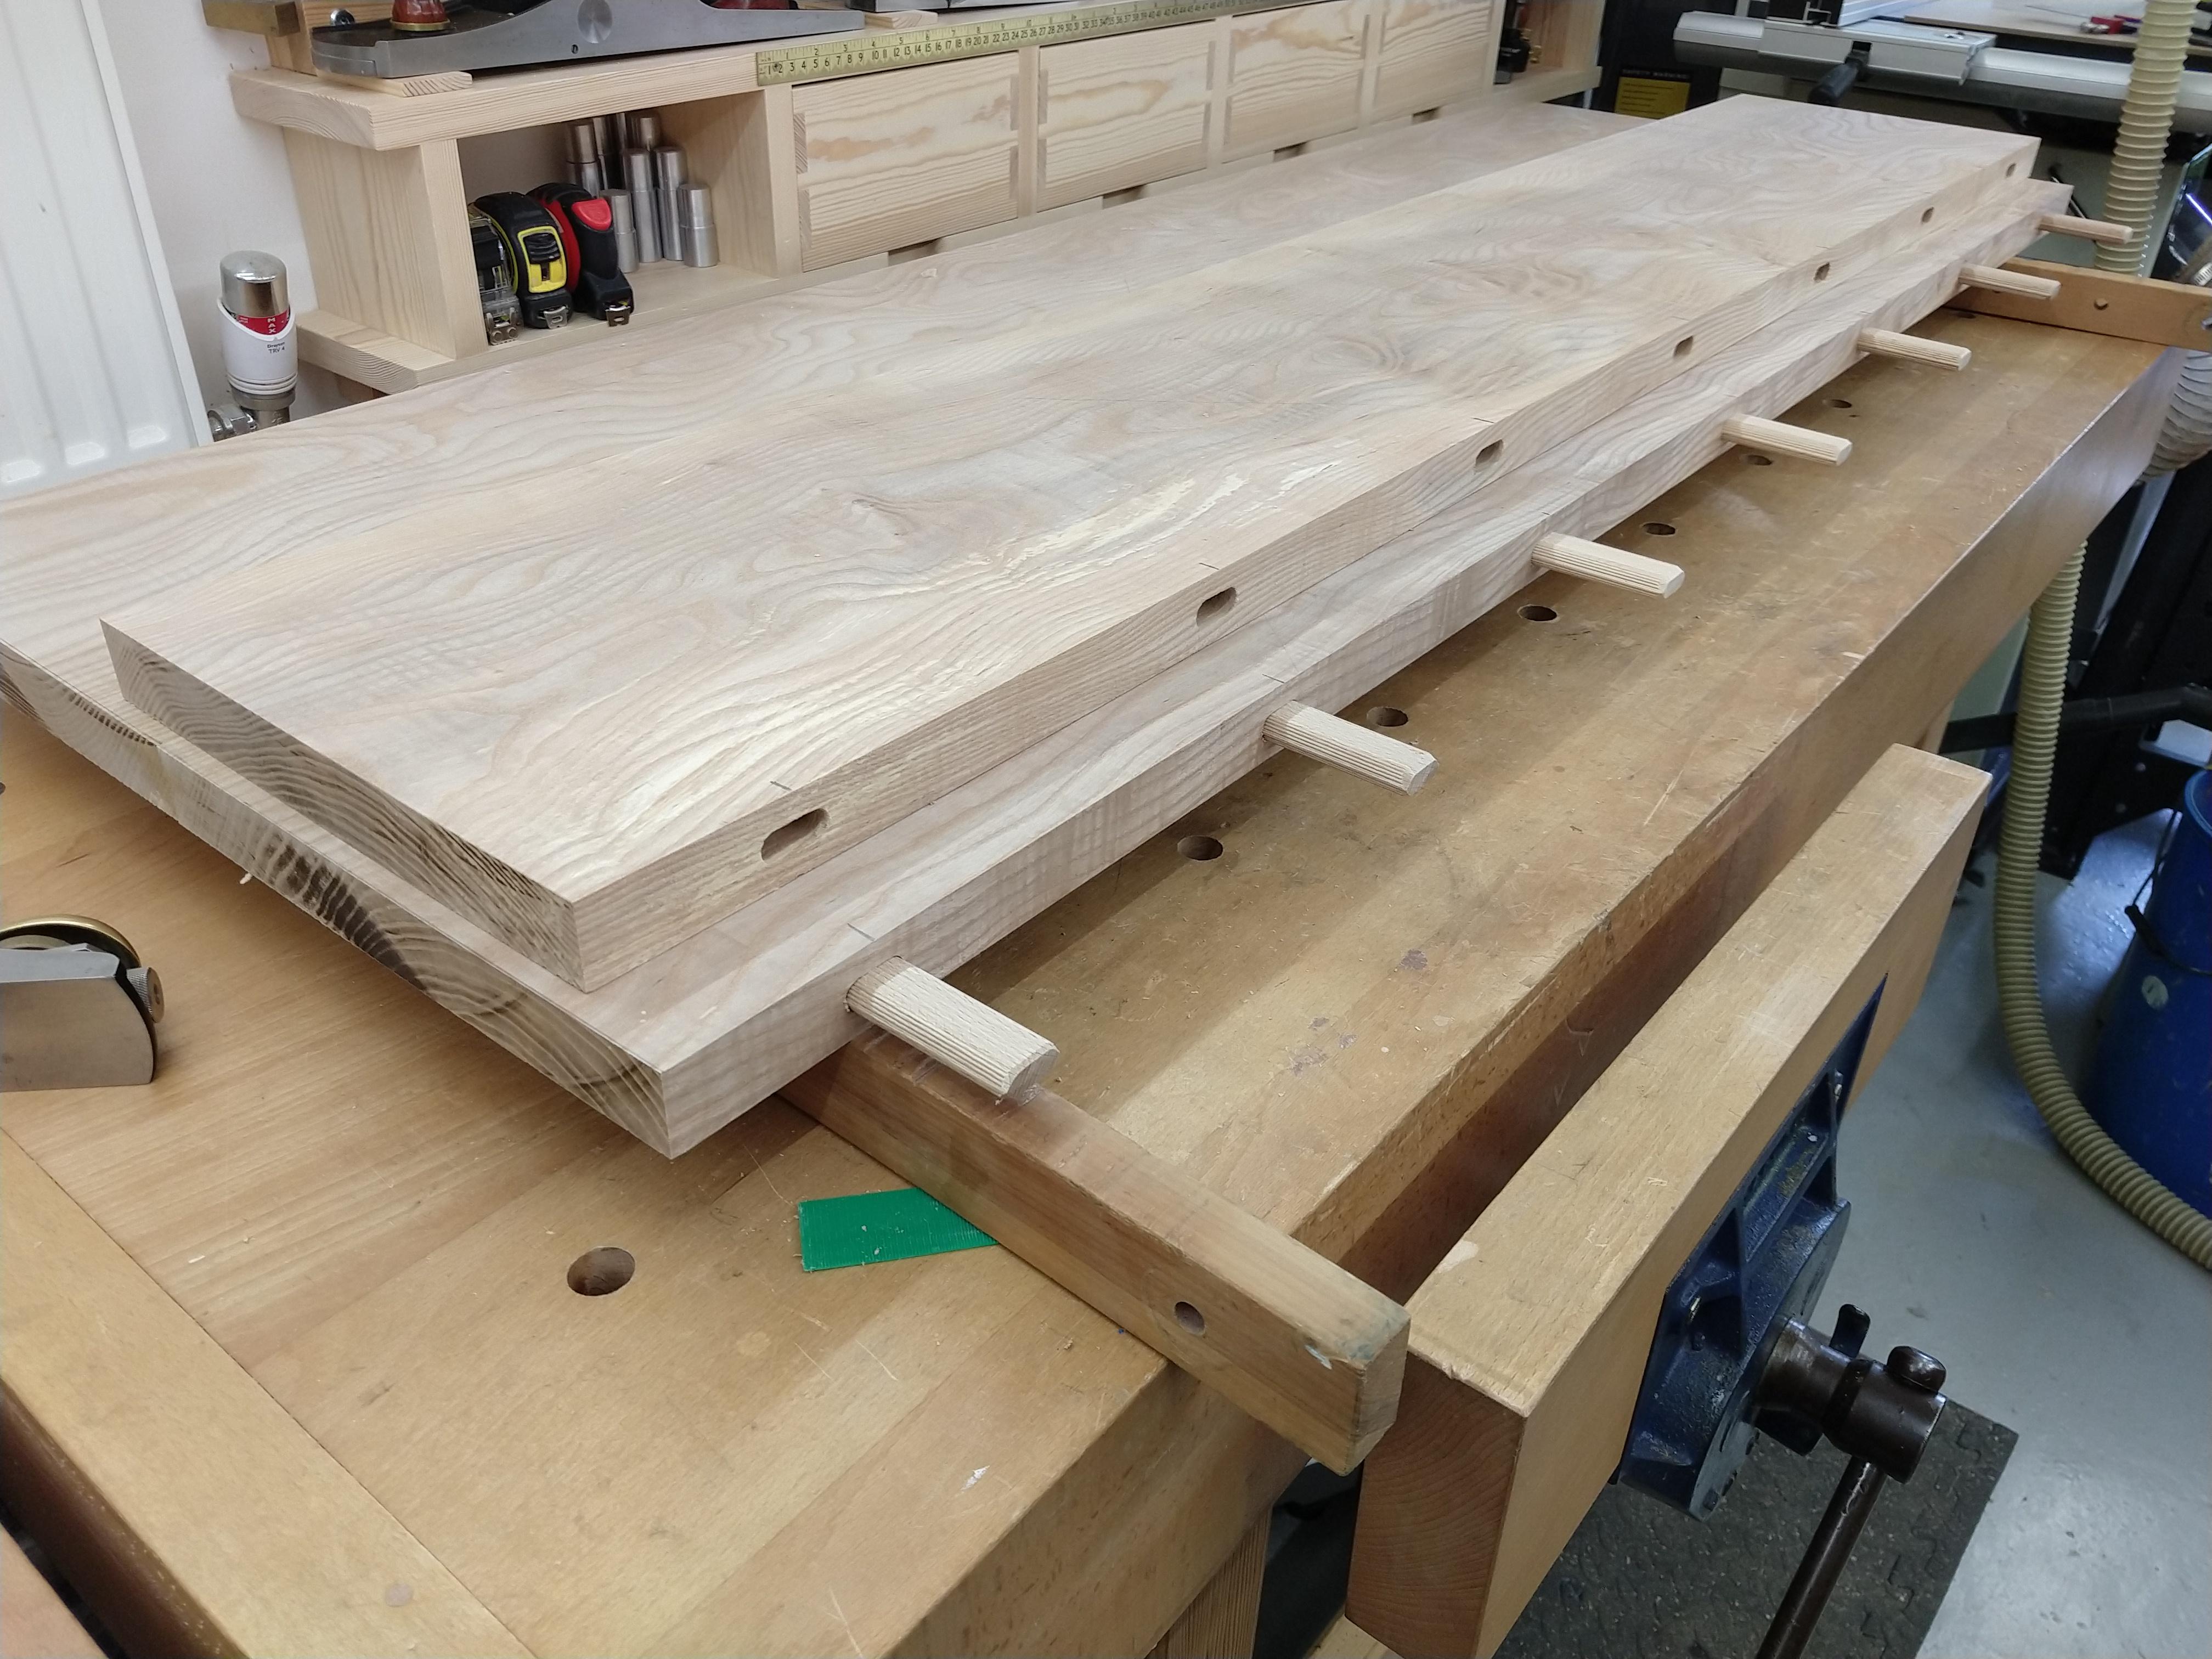
To aid alignment & reinforce the joints I added 140x12 dominos

C4B13E3F-DFB1-4569-8030-EF15FF5BAB88.jpeg


Although there are only two joints I wasn’t in a rush so decided to do each join separately so first the initial glue up

E532AE96-8FA4-492D-A5E9-C4702F38160B.jpeg


Then the second

5D5D4516-8B5C-4406-A525-D7EBFDABFE8D.jpeg


I was pleased I’d opted to glue it up this way as it became a fairly substantial weight when I finally got all 3 boards together.
 

Attachments

  • E68F2FD0-1775-4D39-A2C4-A9D48621F9B3.jpeg
    E68F2FD0-1775-4D39-A2C4-A9D48621F9B3.jpeg
    590.6 KB
  • EB91C753-0AE8-459F-B81C-DAEFB0939065.jpeg
    EB91C753-0AE8-459F-B81C-DAEFB0939065.jpeg
    820.3 KB
  • F59A8A60-A1F9-4554-8DF2-E0D96F8F2124.jpeg
    F59A8A60-A1F9-4554-8DF2-E0D96F8F2124.jpeg
    1 MB
  • C4B13E3F-DFB1-4569-8030-EF15FF5BAB88.jpeg
    C4B13E3F-DFB1-4569-8030-EF15FF5BAB88.jpeg
    1,008.9 KB
  • E532AE96-8FA4-492D-A5E9-C4702F38160B.jpeg
    E532AE96-8FA4-492D-A5E9-C4702F38160B.jpeg
    1,009 KB
  • 5D5D4516-8B5C-4406-A525-D7EBFDABFE8D.jpeg
    5D5D4516-8B5C-4406-A525-D7EBFDABFE8D.jpeg
    937.8 KB
Started the day taking the table top out of the clamps, cutting it to length then routing a pencil round on the top & bottom edges all the way round.


86857C12-5D64-4BCD-83D0-C3AA36A57C26.jpeg


After a couple of hours of cleaning up the top & frame both got a coat of Osmo raw.
Next up was to make some buttons to hold the top to the frame, I needed 8 so planed up a couple of pieces of timber big enough to yield 4 buttons each, onto the ends of these I cut a rebate.

04B1E8E6-06C2-4FEA-BB74-D79CDC25142F.jpeg


Four holes with counter sinks were drilled in each piece at the pillar drill

387E367C-CD86-473F-8F03-CBB510A5FC91.jpeg


These were then cut lengthwise at the bandsaw & then halved at the chopsaw.

DB3C79D1-74A2-4FD6-95D5-FA796EAAEFE1.jpeg


After which the cut edges were planed

8B9FD4F7-64FD-448E-9CC1-DBF9F09A1BC4.jpeg


Finally for today a quick test fit

8FB34F54-2A17-4F5B-B309-002028C84A7F.jpeg


I want to give the top & frame another coat of Osmo polyx satin before I fix the two together hopefully I’ll manage that tomorrow.
 

Attachments

  • 86857C12-5D64-4BCD-83D0-C3AA36A57C26.jpeg
    86857C12-5D64-4BCD-83D0-C3AA36A57C26.jpeg
    962.9 KB
  • 04B1E8E6-06C2-4FEA-BB74-D79CDC25142F.jpeg
    04B1E8E6-06C2-4FEA-BB74-D79CDC25142F.jpeg
    1 MB
  • 387E367C-CD86-473F-8F03-CBB510A5FC91.jpeg
    387E367C-CD86-473F-8F03-CBB510A5FC91.jpeg
    769.9 KB
  • 8B9FD4F7-64FD-448E-9CC1-DBF9F09A1BC4.jpeg
    8B9FD4F7-64FD-448E-9CC1-DBF9F09A1BC4.jpeg
    1.2 MB
  • 8FB34F54-2A17-4F5B-B309-002028C84A7F.jpeg
    8FB34F54-2A17-4F5B-B309-002028C84A7F.jpeg
    889.2 KB
  • DB3C79D1-74A2-4FD6-95D5-FA796EAAEFE1.jpeg
    DB3C79D1-74A2-4FD6-95D5-FA796EAAEFE1.jpeg
    921.3 KB
Nice bunch of jigs and fixtures.
I picked up one of the LV shooting board fences with the intention of putting it on a sled. Figured it might make nice mitres and other angled cuts with better control than the mitre gauges that come with the saw. If it doesn't work out I can always use it as intended. :wink:

Pete
 
Its been a slow day today so far after de-nibbling the table & applying another coat of oil I’ve been reading the forum & was inspired by this post combination-square-advice-please-t122567.html

I was given a Bacho combination square a good while ago & to be honest it was awful, in truth I’ve only ever used it as a depth gauge so after reading the thread I dug it out of the drawer it had been consigned to & offered it up to an inspection grade engineering square.

52C3ACD3-D580-4C99-9EE9-DC4D6C714443.jpeg


The camera does lie slightly as the light was a more pronounced taper but it was difficult holding the 2 squares up to the light & taking a photo but still I think it shows how bad it was.

The only file I could find that would fit in the slot was a little diamond file

99BE2F3E-62DC-4033-A7A7-33D65986B2BD.jpeg


It removed the material remarkably quickly as you’d expect & in no time at all the square was bang on

EA1B8657-4AF3-4577-93E6-B605520EA485.jpeg


So thanks to a little forum inspiration I now have a perfectly functional combination square. =D>
 

Attachments

  • 52C3ACD3-D580-4C99-9EE9-DC4D6C714443.jpeg
    52C3ACD3-D580-4C99-9EE9-DC4D6C714443.jpeg
    776.2 KB
  • 99BE2F3E-62DC-4033-A7A7-33D65986B2BD.jpeg
    99BE2F3E-62DC-4033-A7A7-33D65986B2BD.jpeg
    923.6 KB
  • EA1B8657-4AF3-4577-93E6-B605520EA485.jpeg
    EA1B8657-4AF3-4577-93E6-B605520EA485.jpeg
    781.9 KB
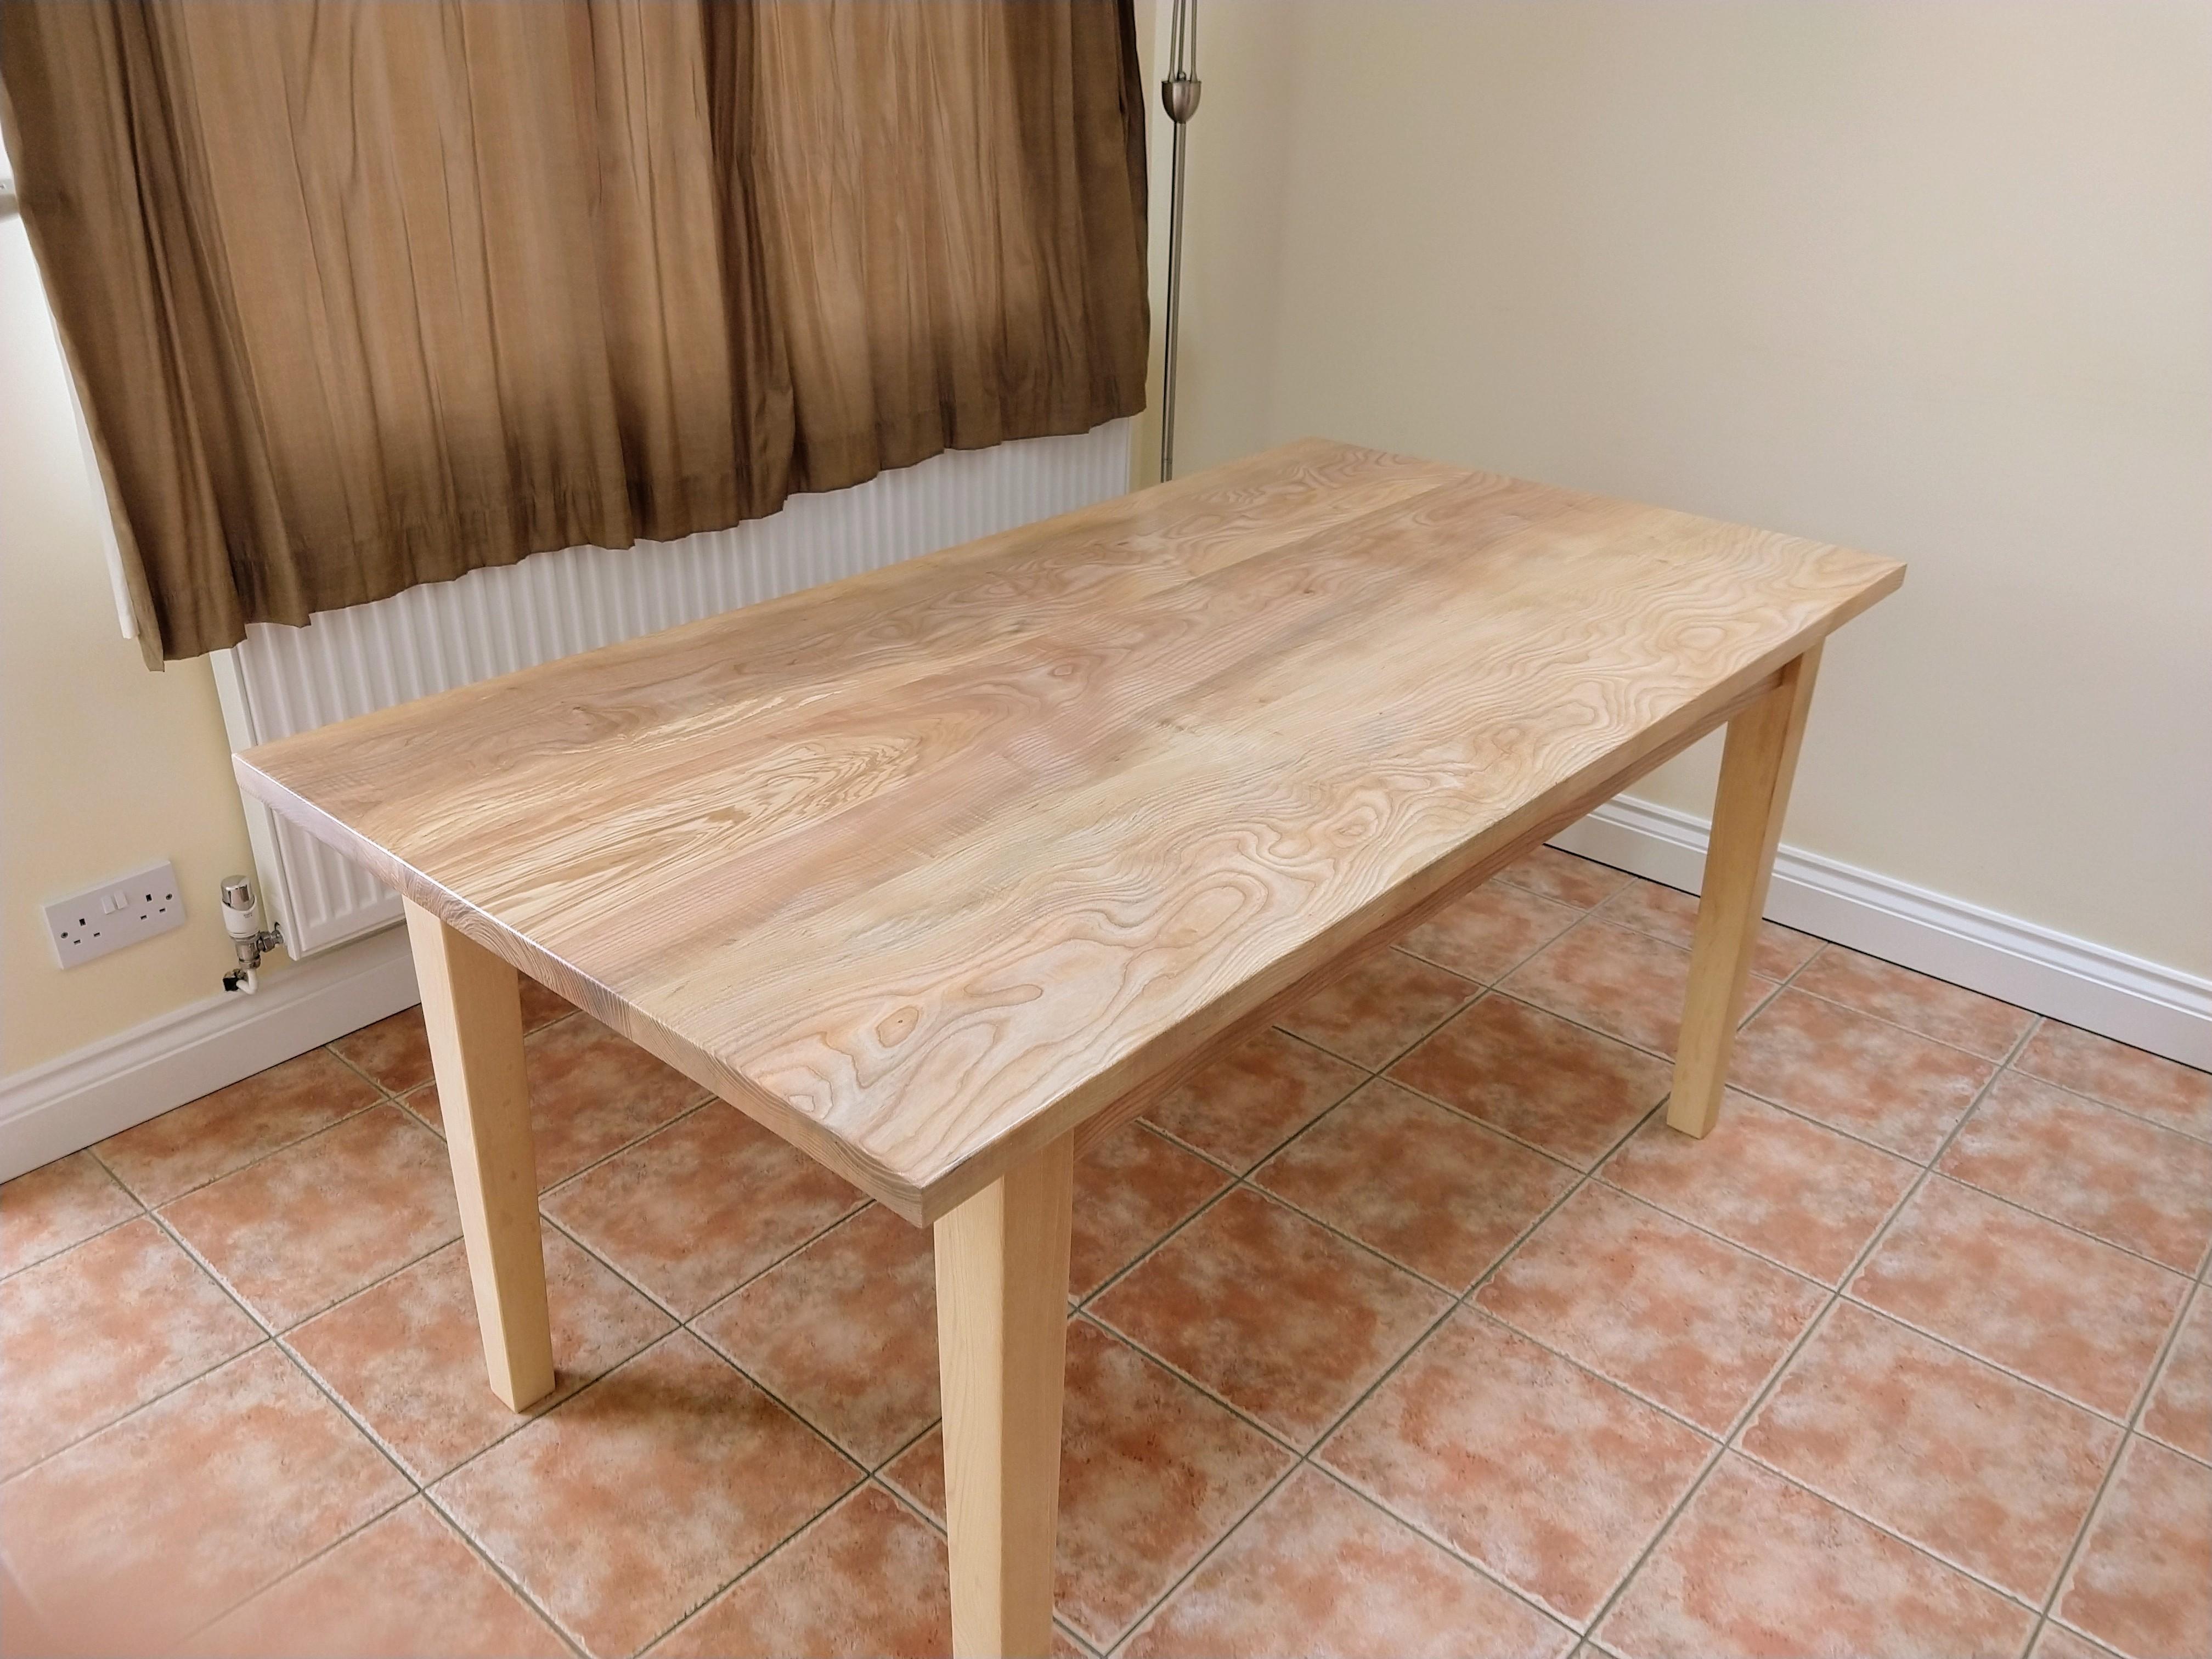
Finally got the table finished today, the top screwed to the frame via the buttons

B9383C19-4C58-4C35-8371-92BFC8217702.jpeg


Prior to assembly it has had a coat of Osmo polyx oil Raw followed by a coat of Osmo polyx oil original satin & finally buffed with Chestnuts Woodwax22

174D7498-1E13-4085-82C2-5A5F56D0475A.jpeg


I’m really pleased with the ripple & grain pattern it the top it come out better than I’d hope, shame my phones camera doesn’t do it justice or show up the beautiful rippling.

95A4534D-B1B3-4E0D-B2C5-1C11F735DF33.jpeg


That said senior management is pleased with it so that’s all that matters, just hope me dinners will taste better now :D
 

Attachments

  • B9383C19-4C58-4C35-8371-92BFC8217702.jpeg
    B9383C19-4C58-4C35-8371-92BFC8217702.jpeg
    863 KB
  • 174D7498-1E13-4085-82C2-5A5F56D0475A.jpeg
    174D7498-1E13-4085-82C2-5A5F56D0475A.jpeg
    787.5 KB
  • 95A4534D-B1B3-4E0D-B2C5-1C11F735DF33.jpeg
    95A4534D-B1B3-4E0D-B2C5-1C11F735DF33.jpeg
    849.7 KB
Thanks Mike, I seem to remember you saying you liked Ash.

Not much workshop time the last two days what with chair reasearch, gardening & shopping which seems to be a major operation these days.
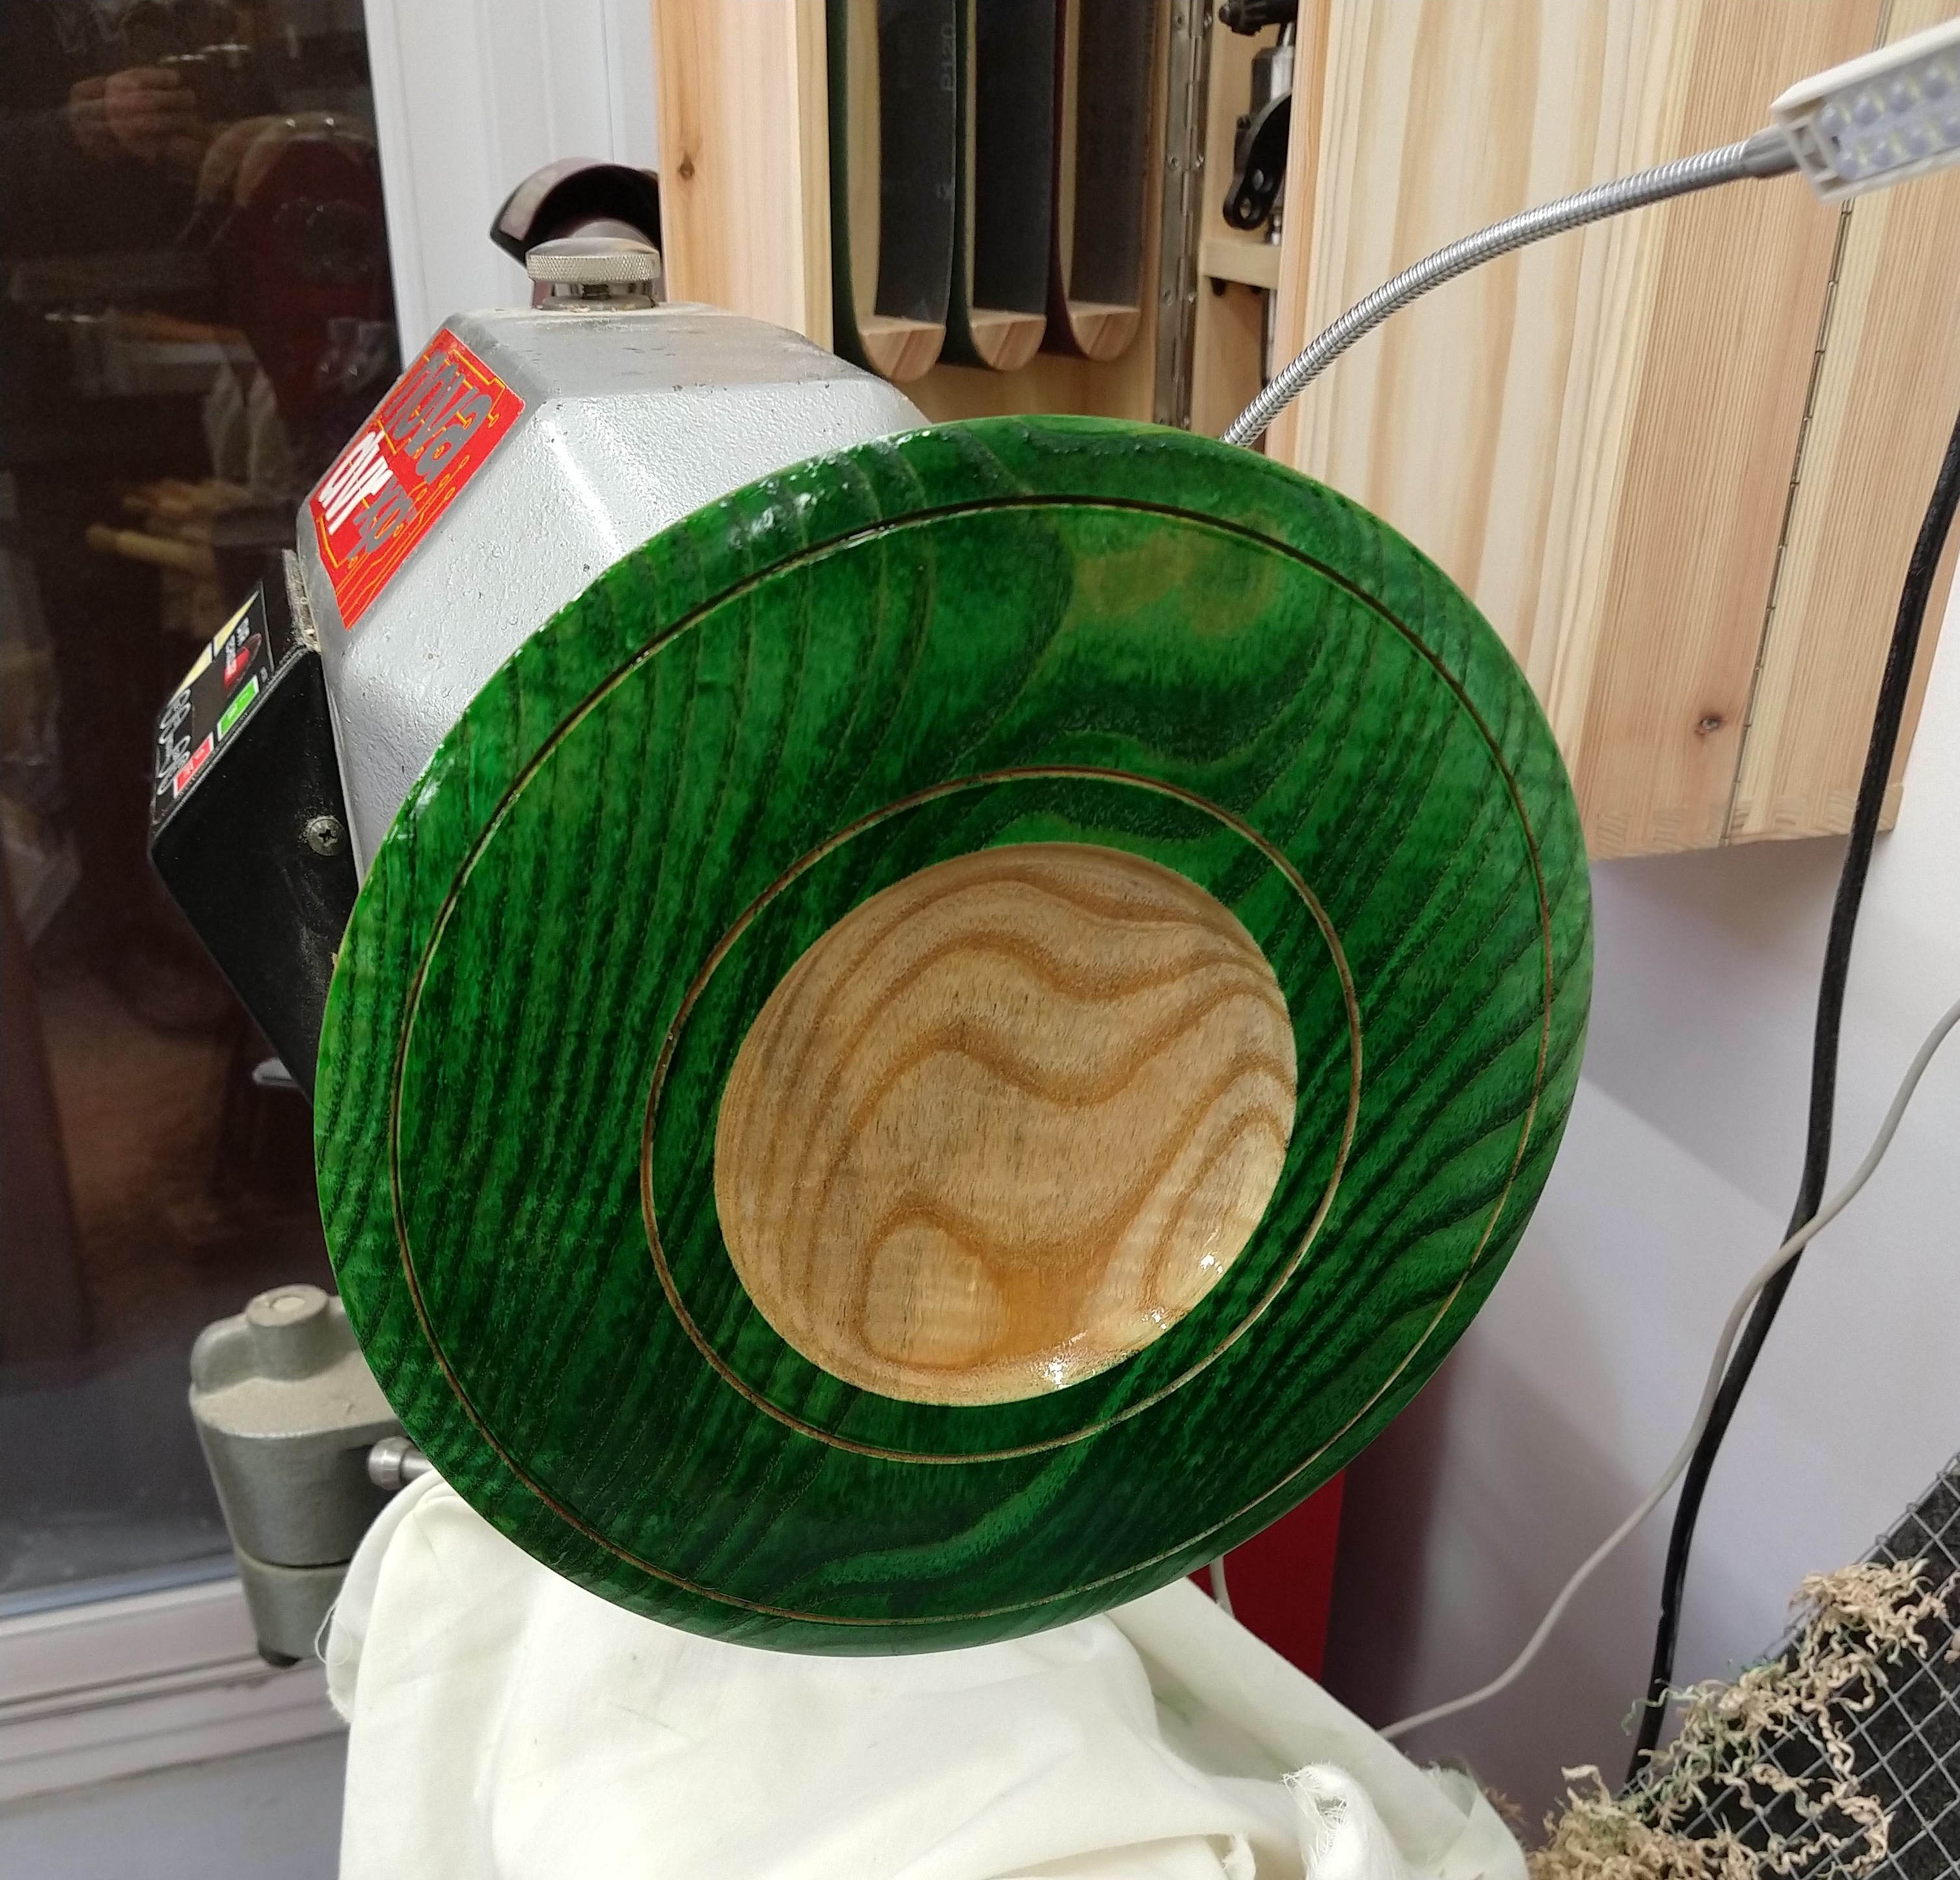
I did manage a little time in the workshop this afternoon & after a good clean up decided to have a bit of r&r at the lathe with an off cut from the table.

A3775A3F-883E-4178-8975-5725D2CC4C05.jpeg


I don’t do much colouring but thought I’d try some spirit stain out as this seems popular these days, lacquered & burnished I don’t think it will be a keeper but it was good doing something different for a change.

C599895D-9205-4BB1-92A8-9660A49EC7C1.jpeg
 

Attachments

  • A3775A3F-883E-4178-8975-5725D2CC4C05.jpeg
    A3775A3F-883E-4178-8975-5725D2CC4C05.jpeg
    2 MB
  • C599895D-9205-4BB1-92A8-9660A49EC7C1.jpeg
    C599895D-9205-4BB1-92A8-9660A49EC7C1.jpeg
    1 MB

Latest posts

Back
Top