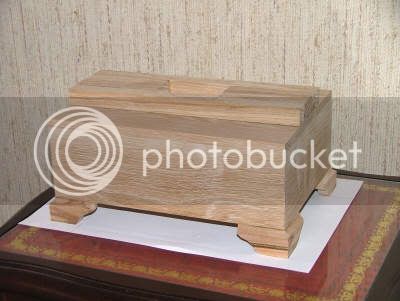
Jewellery box saga from unowho

UKworkshop.co.uk

Help Support UKworkshop.co.uk:

This site may earn a commission from merchant affiliate links, including eBay, Amazon, and others.

devonwoody

Established Member
Joined
11 Apr 2004
Messages
13,493
Reaction score
25
Location
Paignton Devon
--------------------------------------------------------------------------------

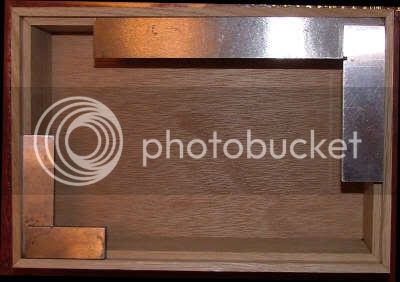
Started the New Year (Sunday) and making a jewellery box and I am hoping this time it doesn't have to become another screw box for my workshop.

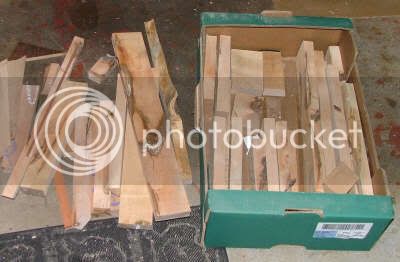
The timber being used is English Oak offcuts purchased from a local timber outlet and photographs attached.
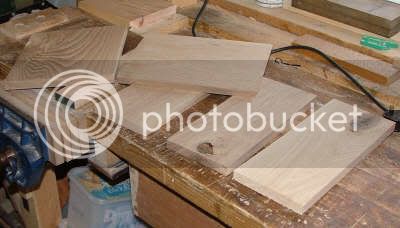
offcutsw.jpg


This time I am going to be meticulous in preparation and also at the gluing up stage want 100% accuracy.
After preparing the timber around 90 minutes work with the P/T and bandsaw. The table saw was useless in effecting a resaw at 80mm height when wanting to reduce the timber from 16 mm to 12mm. However the bandsaw was in a good mood and cut the pieces without any hiccups. Went to the P/T again and cleaned upto 10mm thickness on all pieces.
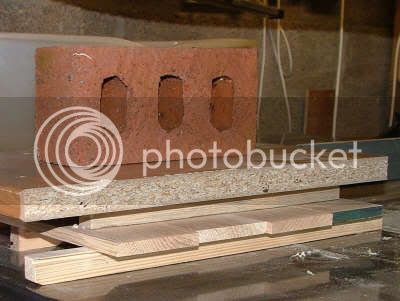
Pictures show how I stacked the prepared timber overnight with a brick loaded for good measure, I didn't want any stressed boards breaking out on me the next day.
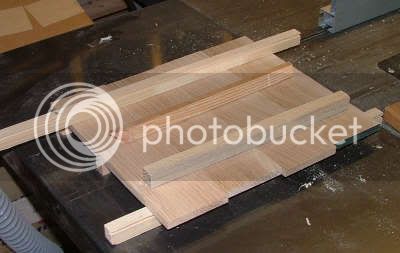
preparedw.jpg


brickw.jpg


Monday:-
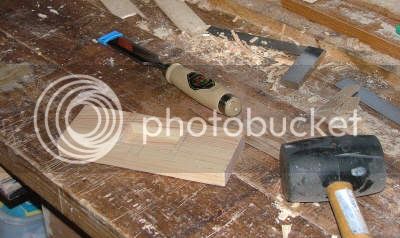
The timber was then put to the tablsesaw and a 3.2mm (kerf size) dado was cut at the bottom edge, 4mm deep, for the base piece to be fitted later using 4mm ply.
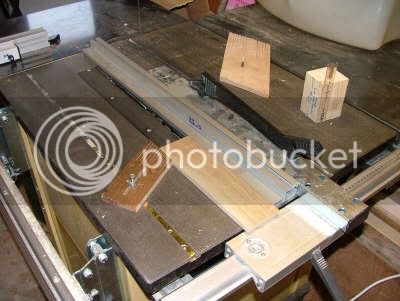
cuttingdadow.jpg


The mitre corners was the next job and I used the tablesaw again with its ripping blade attached, NOT A GOOD IDEA the small offcuts flew around the workshop in a very dangerous manner, also would not cut mitres cleanly as per this picture.
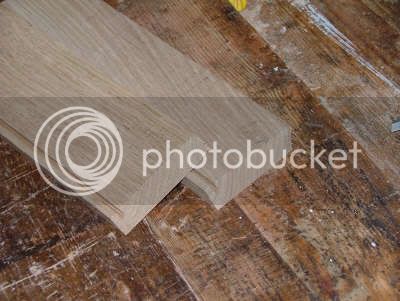
damagedmitres.jpg


I decided to take the CMT blade (60T and 1.7mm kerf) off my mitre chop saw and put it on the tablesaw knowing in the past that this provides a much nicer cross cut at the table. Naturally I would not attempt to do any ripping with this type of blade, but I wanted some mitre cuts that would be good looking for a jewellery box. Pleased to say they cut well.

A rebate was then necessary for the top edge of the box which I performed on the Triton router table using a dedicated rebate cutter. This top edge is going to take a drop on lid which I think might be a first with the design I have got in mind, so as they say watch this space.

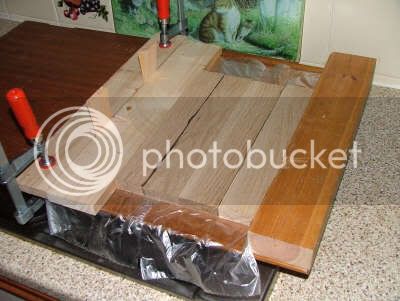
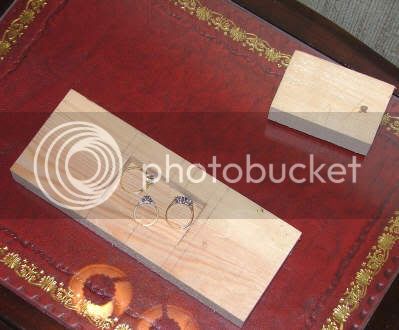
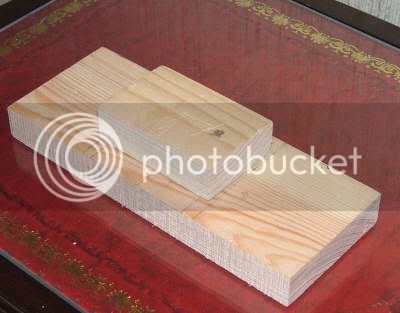
Next I did a trial setup gluing run as per these pictures.
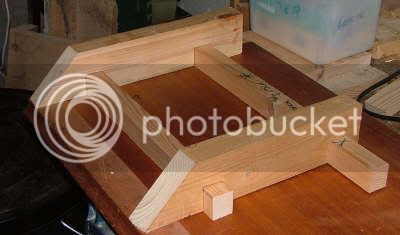
gluingupjig.jpg


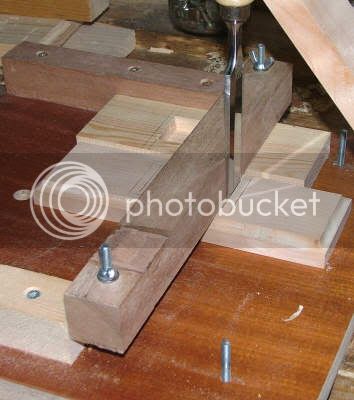
I have knocked out a jig with sliding bars ( did think of putting some on the top edge as well but they didn't seem to be needed for this occassion) A 4mm ply base was then cut and edges cleaned up to fit the dado mentioned above. Another trial run and some adjustments needed to get the base to fit,
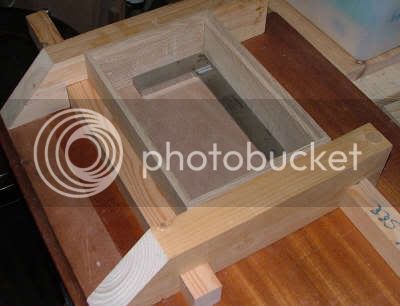
trialruninjigw.jpg


but then worked out OK as per final pictures showing the glue up stage in the usual Brittish gluing room during our winter time.
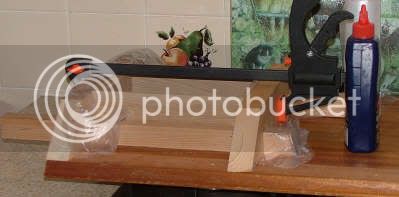
gluedupw.jpg


So that was one hours work new years day and around 4 hours yesterday and looking forward to taking the box out of the jig.

Then comes the LID!!!!!!!!!!!
 
Pleased to say the jig has worked and box is coming up to spec.

The left hand jig bearer has been screwed to the base plate and the right hand bearer floats and pulls up when the clamp is stressed.
 
I too like the simplicity of the jig (why are the best ideas always the simple ones?!!).

Any ideas how it could be modified for variable width as well as length? Would make it even more useful. Or would it just be a case of using packing for narrower boxes?

DW, - do you reinforce the mitres at all? Have to say that generally I don't and haven't had any failures yet but I'm still looking for a foolproof way of doing it (splines or 'wedges') just to add that extra bit of insurance.
 
Stuartpaul,
The jig you no doubt can see means that the length is easily variable, as regards width I think one side opening can always be enlarged and then held in position with a screw put in through the top bearer or as you mentioned packing could be introduced.
The jig was so successful for me that I have to be careful handling the corners of the box at present owing to the sharp edges that have been formed.
 
Day 3;
Not a lot to show for the day, I introduced myself to our new neighbour and enticed the lady of the house into my workshop. The reason for this invitation is that the lady is a carver and I was pleased to donate a box of spalted sycamore offcuts that were not suitable for carpentry but might work out for carving spatulars etc. The lady was very appreciative of the offcuts and thought her husband would also like to get a viewing of my workshop.

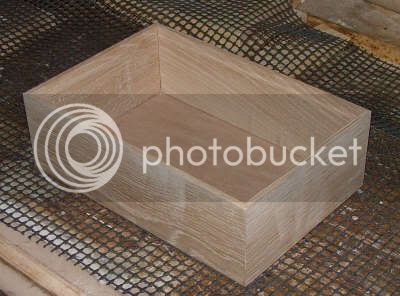
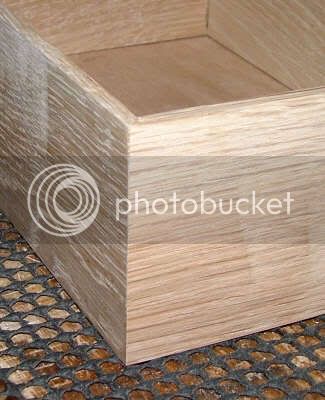
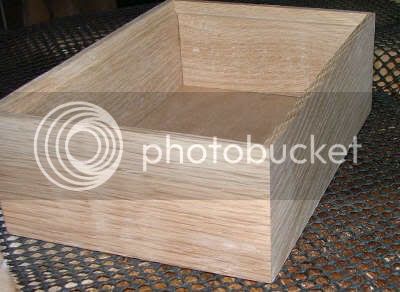
Well the jewellery box was removed from the gluing jig and I am pleased to report that the jig for me was a great improvement when setting up the mitred corners as per unadulterated photographs below.

gluedupsauqrew.jpg


boxedglued1w.jpg


boxglued2w.jpg


boxglued3w.jpg


I have started the process of preparing the timber for the lid, the first of these is my usual glue up in the kitchen of some more Oak, the centre portion has not yet been glued because I will need to thin down the thickness on my bandsaw which has a maximum cut of only 6"., after thinning down they will be glued up and then cut to appropriate dimensions.

lid1w.jpg


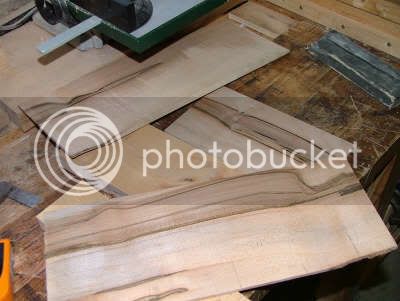
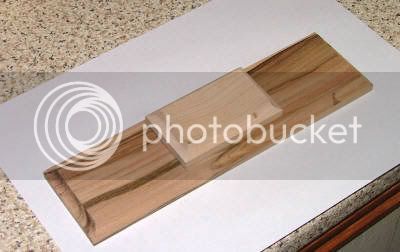
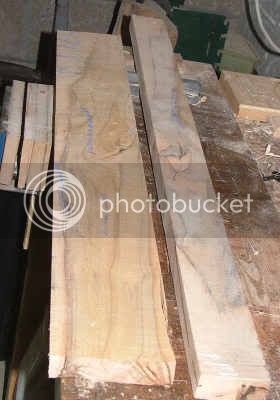
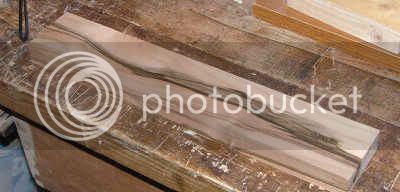
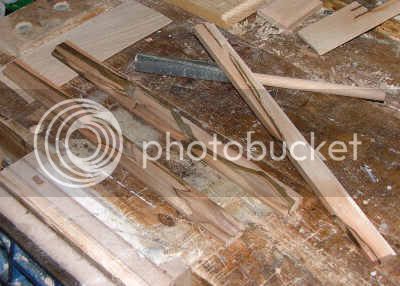
The next two photographs are pictures of some spalted sycamore which is also going to be prepared later for additional lid decoration.
offcutsspalted1w.jpg


offcutsspalted2w.jpg


.
 
Looking forward to the lid DW. That jig looks seriously useful for boxes and I just have to steal that idea :wink:
 
StuartPaul

When I made this box
http://img.photobucket.com/albums/v325/ ... k/box1.jpg
I added splines on the corners by holding the glued up box at 45 degrees and passing over the TS blade.
To hold the box at the right angle I used a lump of 3"x3" also cut 45 degrees and held the box againt it passing both peices over the TS blade. I then cut thin pices of walnut to insert in the resulting kerf.

These look good asthetically as well as structually.

A TS blade that leaves a flat bottom kerf is required.

Andy
 
Day 4
The first part of lid has now been prepared which consists of 4 oak battens reduced down to 16mm. These were glued up over two sessions, the glue that had seeped from the seams on the first glue session was sanded off on the belt sander and then and then thicknessed down to the 16mm mentioned.

The second session glued the two sections together and a little sanding cleaned up the job very efficiently. The base lid ( called base lid because I intend to build more decorative layers above) was then rebated around the four edges to enable the lid to drop into the box prepared earlier.

I can boast that when the lid is dropped on the box a thin bladed knife is required to prise off the lid. However this will only be a passing option because I feel that any wood movement might burst the box apart so a chamfered clearance will be given to the lid shortly.

Unfortunately progress might be interrupted over the near future after hearing weather forecasts of low temperatures and dull and windy conditions coming in.

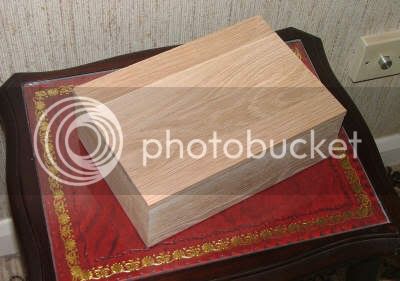
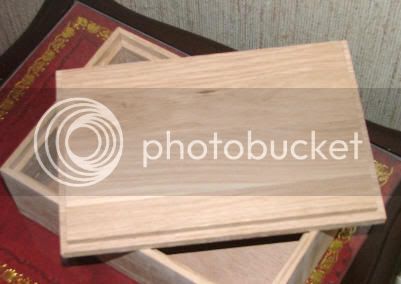
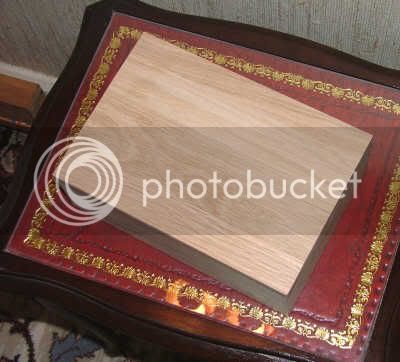
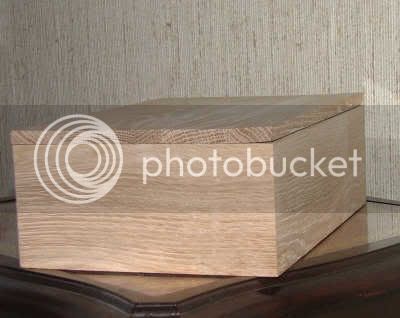
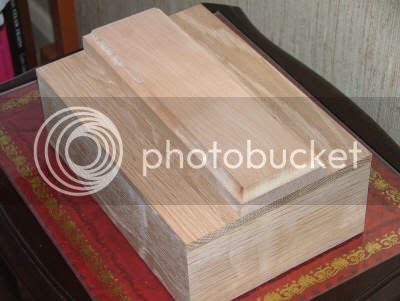
Two pictures attached giving a preview of the project so far.

jboxfri1w.jpg


jboxfri2w.jpg

.
 
Bad, bad day (5)

Went out the workshop at around 10am very pleased with the box progress and the lid having a nice tight fit, but thought I would take a smidge off one end at a corner.
I thought it being such a small amount I would lay the edge on my belt sander,
DISASTER, this oak seems to have soft spots buried in the grain and also hard spots, anyway my touch on the sander took of more that it should. I can only say that I know my blood pressure did a double take and depression set in.

The result being that I cut the piece in half down the centre line area and then rebuilt up to the original size together with a rebate. This operation meant that it was past 5.30 pm to regain the happy condition of the morning.
A photograph has been taken again showing the first part of this jewellery box project is remaining on course, and any thoughts of another screw box are definitely a no no.

Looking forward to a postman calling this morning!

newlid1w.jpg


.
 
B**g*<>r Day 6.


Please forgive the expletives but look at my new lid. The b????? thing has warped, or cupped.
satlid1w.jpg


So it’s back to the wood pile again and machine up another replacement piece for the lid. I am fortunate that I did not take out the rebate bit from my router table so at least I know I can at least remain on course with that setup.
However whilst waiting for the glue to set I decided to do a trial run on some waste timber for the secret compartment I have in mind for this jewellery box.
Pictures below will perhaps explain better than words. Although I still need to design the setup for attaching a wind down knob.
satlid2w.jpg


satlid3w.jpg


satlidw4.jpg


This morning I am pleased to say the new fitted portion to the lid is stable and photograph is available for viewing together with the first portion of the secret compartment laying on the lid awaiting the chopping out to be done.

satlid5w.jpg


.
 
Day 7.

I think this thread should be renamed and called "the disaster movie".

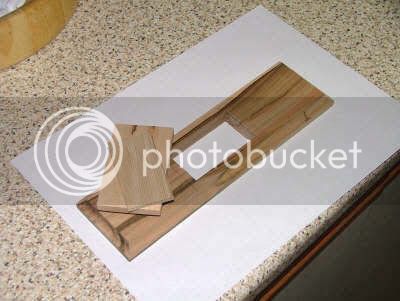
The compartment on the lid top has been cut successfully using the shoulder jig given us by David Cohen over in Perth and used as per picture below.

hole1w.jpg


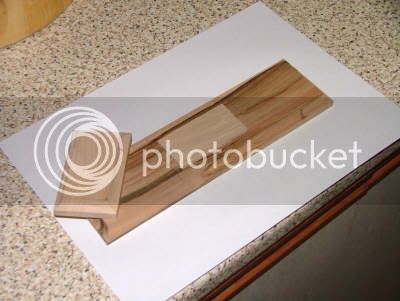
A further picture showing completion of the compartment which was chopped out with chisels.

hole2w.jpg


But now comes the disaster bit, I commenced making the lid for the above piece and started by using the router in the triton router table. However the piece was too small to control and skidded off the router bit into the void. I tried to recover this situation by dropping the block on the belt sander, whilst holding the small piece of timber but it snatched and dragged one of my fingers on to the belt AND the result is that at the present time I do not have any skin on the tip of one of my digits and lost a small amount of flesh as well.
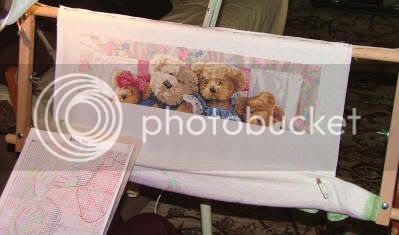
So I have decided to report sick for a few days and let SWMBO keep the thread going with her embroidery which has reached almost the half way stage.

teddysunw.jpg


.
 
Day 9

Definitely a disaster project.

Returned to the workshop today but with some trepidation, I m able to touch things with that finger without any pain but the digit did collide with a pencil point and gave me a stabbing, reminding me that my name is not Hercules.

Examined the portion of lid that had previously had the aperture made for the secret compartment and have to say it has become u.s. the reason being that some of the spalting has split and in fact I can see daylight through the compartment when held up to the light. In addition the closure portion of the compartment (the piece I sustained the earlier mentioned injury) will also need to be remade owing to the sanding not being a success in more ways than one.

So I found another piece of sycamore which I felt might be attractive, lots of grain and spalting, however it proved very difficult getting a useable portion and I had to come to the decision that a piece will need gluing beneath to give sufficient thickness to create a compartment. The piece was prepared and the two photographs following show the outcome but waiting the under piece to be glued on.

newlid1aw.jpg


newlid2w.jpg


The removable portion was next undertaken and this was obtained by salvaging the previous lidded compartment piece and cut down accordingly. This time I did not attempt the rebate owing to the very small size needing to go through the router set up, so I have cut a small piece to be appended under this raising portion and picture hopefully explains this episode.

newlid3w.jpg


.
 
Day 10.


That top lid and compartment are still proving troublesome, it's warped again and that's the third failure, (some I have kept a dark secret).

Whilst waiting the glue to set on the replacement lid I thought I would put some feet on the box, so I found some more of that spalted sycamore (rubbish really) and prepared the timber as the following pictures show. The feet are made up with a small moulding on 10mm thick strips which were then mitred on the chop saw and finally cut down to 50mm pieces and glued up. The final picture shows the feet positioned under the box but I intend to remove the square leg effect later today with my old fret saw and do some shaping.

feet1w.jpg


feet2w.jpg


feet3w.jpg


setup1w.jpg


Although that picture above gives the impression that things have progressed rather quickly, it is not the case, nothing is glued, and in fact the top lid today has a bow effect (study photograph) and is going to need a fourth remake.
 
After writing the above posting on thread I got back in to the workshop early this morning and planed off the underside of the lid compartment and found that because an aperture has been made in this piece it has caused the wood to distort at this central position and caused the bow end to end.
I am therefore going to remake another compartment lid in ply and when prepared I am going to attempt a veneer finish to this piece. So I am joining the ranks of fellow woodworkers and learning that a waste bin does have a purpose.

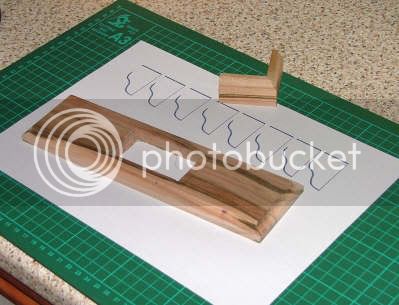
The picture below shows the offending piece, but under are templates I created earlier this morning on the computer for sticking to the corner legs and then going to attempt a freehand fret shaping.

toplegw.jpg
 
Day 11.
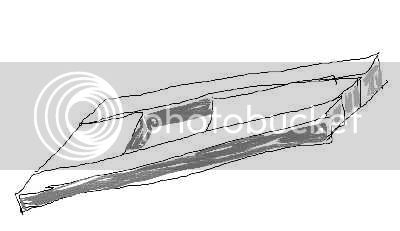
I eventually came to the conslusion that a veneer to the top compartment would be to austere for this project, (I'm wanting some moulding to take away some of the tight square corners) So I have prepared some oak as per picture below and then I am going to prefabricate this compartment lid as per the sketch also attached. This morning the oak has rested overnight and seems stable so hopefuolly this time things will go well.

oaktopcomp1w.jpg


sketch1w.jpg
 
Day 12

Pleased to report in with a good day after all that depressing stuff over the past few days.

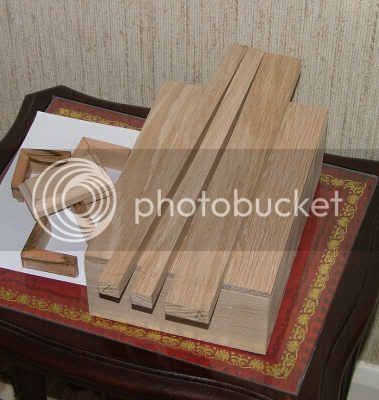
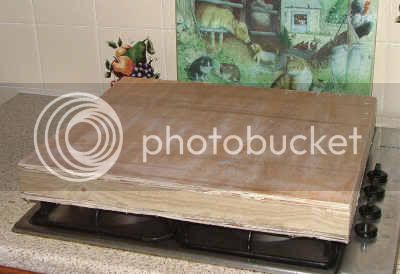
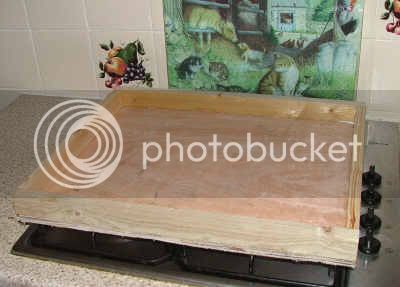
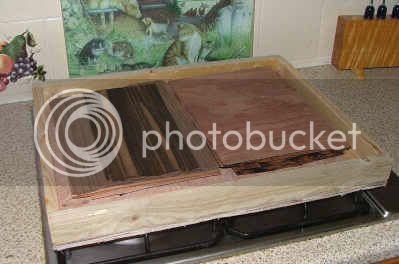
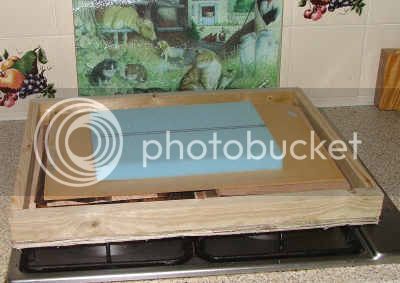
The day started off with a delivery by the postman bringing a selection of some lovely exotic veneers. This meant I had to make some storage for keeping veneers in good condition whilst working through this stock. Believe it or not I knocked up a box in about 60 minutes, hammer and nail job (screws actually) as per the four pics below, the picture with the piece of foam is to keep the veneers from floating around in the box and being a real economy job, the lid has 4 screws keeping it shut. In addition I am going to screw another removable section on the present battens so height in the box will be adjustable.

Does this box mentioned above need ventilation?

veneerbox1w.jpg


veneerbox2w.jpg


veneerbox3w.jpg


veneerbox4w.jpg


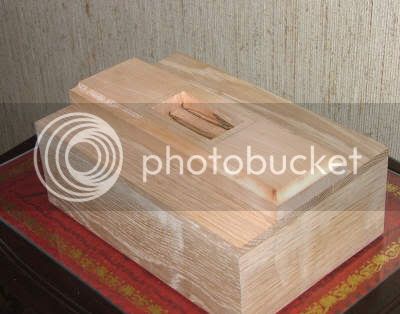
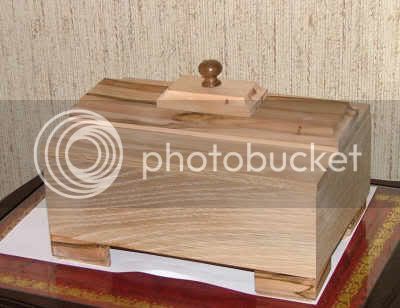
The jewellery box feet were shaped with a hand fretsaw using those paper templates displayed earlier and later in the day glued and clamped in position. With regard to the top compartment this has been glued up and looking good but awaiting some mouldings to be done on the router table. The photograph of the jewellery box shows this compartment lying in place and displays the feet arrangement described above.

gooddayw.jpg

.
 
I have heard of people using the micro wave to dry wood but not four gas rings :shock: :shock:

I would put a few holes in the sides of your veneer box just to stop the air getting stale and allow for conditions within the box to equalise with those in the room.

Where are you going to keep the veneer, I keep mine inside the house. I also place any wood for special jobs like boxes inside as well to let the wood aclimitise to a centrally heated enviroment for at least a month before final dimmensioning and construction, don't tend to get the problems you are having that way.

Jason
 
Day 13

Went into the workshop just after 10 am and was getting the compartment lid sanded and then put through the router for a moulding when my workshop door opened and my friendly neighbour from next door tapped and walked in. He said "I have come to ask a favour" and I immediately replied "Oh dear, have I been making to much noise", "no he said, I was going to ask if you could cut down some boards I have got, I want to make a CD carrier & stand" (Two actually). Well it was 4 o'clock (pm) when he left, that was twelve shelves and 4 sides with rebates and channel for backboard plus two top plates and 2 bottom plates later and then I cleaned up the workshop floor so have to write that there will be no progress report today.

However whilst we were happily chatting away he said "I owe you one", and I reckoned it was about a days worth, so I told him that I needed a new leanto roof. No problem he said, and we settled on Easter hoping the weather will be set fair. Who got the bargain?
 

Latest posts

Back
Top