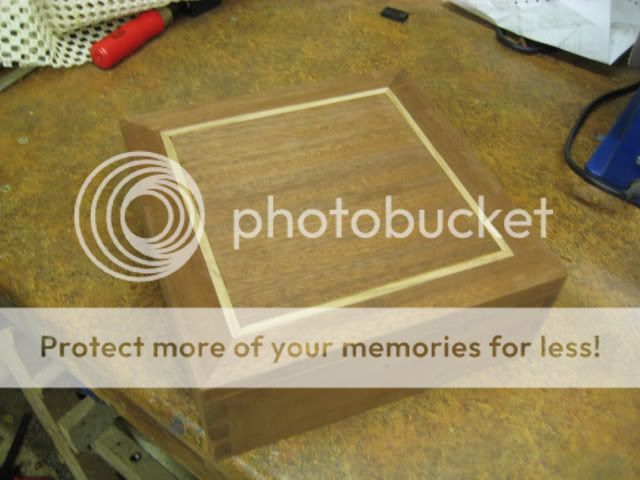
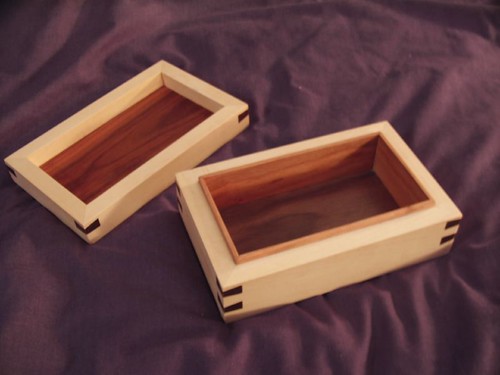
Jewellery Box - mothers 60th present - NEW PHOTOS

UKworkshop.co.uk

Help Support UKworkshop.co.uk:

This site may earn a commission from merchant affiliate links, including eBay, Amazon, and others.

LarryS.

Established Member
Joined
20 Nov 2007
Messages
1,072
Reaction score
24
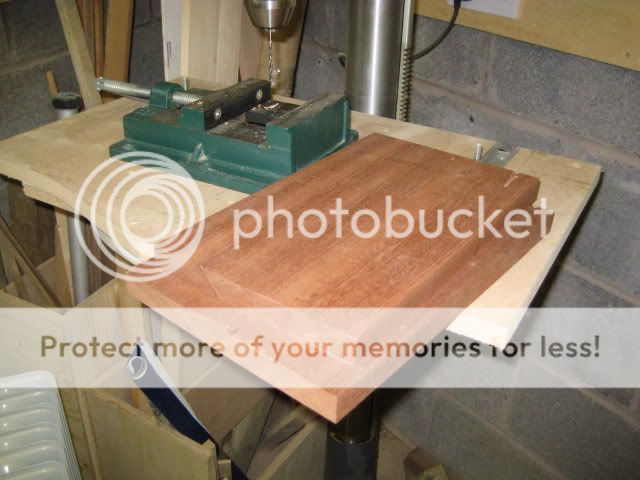
My mothers 60th is due in mid november so have decided to go for a special present AND try to develop my skills a bit. So I decided to make a jewellery box and to try incorporating dovetail joints. So on to the photos :

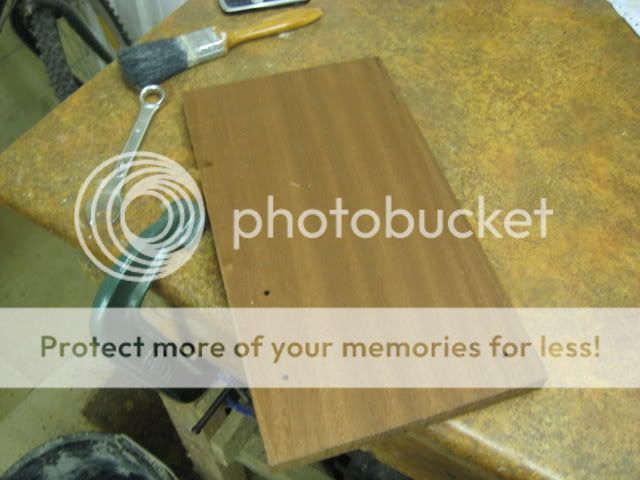
Original wood which was the counter-top in my mothers post-office which I think is mahogany :
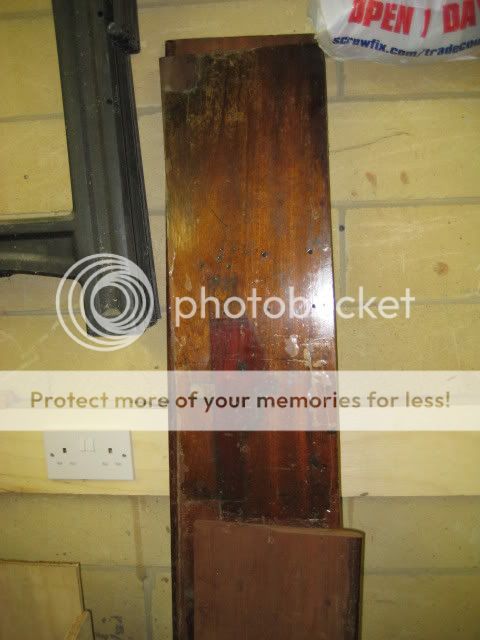
IMG_2115.jpg

planed & thicknessed :
IMG_2116.jpg

cut the sides, nd then shot them on the shooting board :
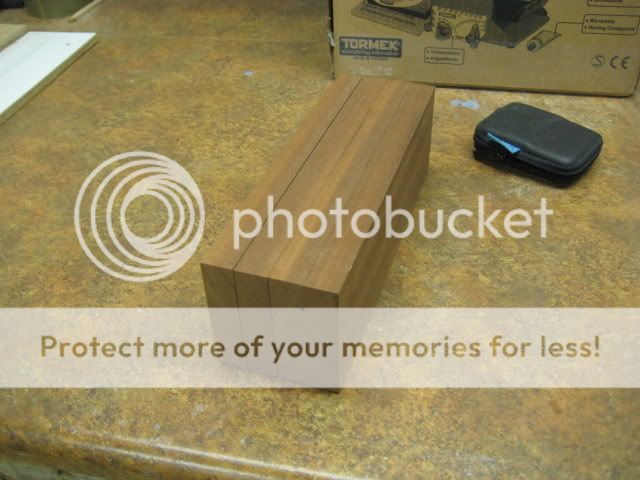
IMG_2125.jpg

IMG_2125.jpg

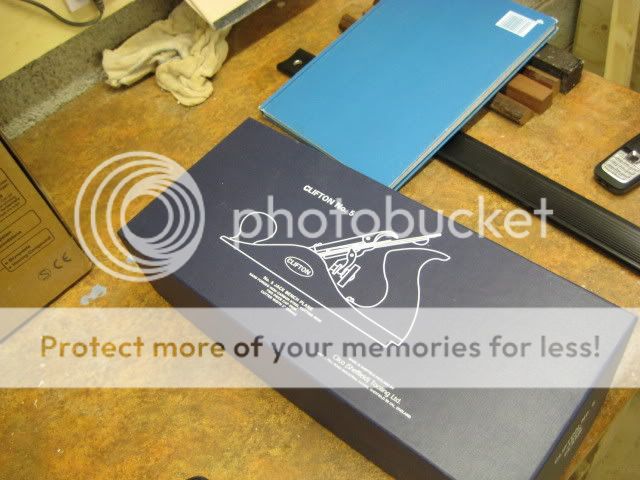
with the new piece of kit :
IMG_2123.jpg

girlfriend told me that pieces looked too chunky, so ran them through the bandsaw :
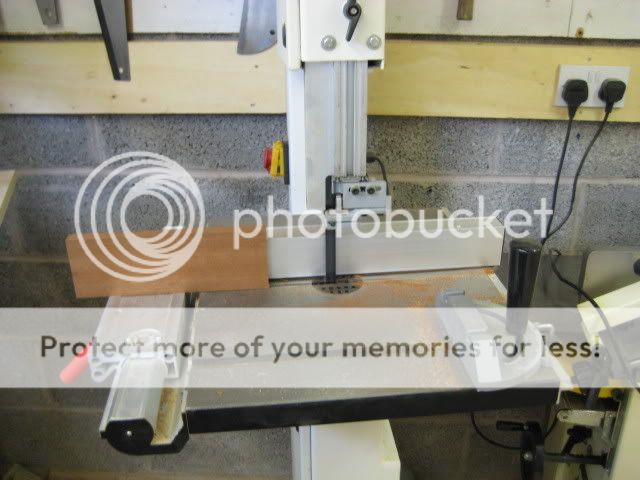
IMG_2130.jpg

the results, slimmer sides and the side-effect (literally) of some handy veneer :
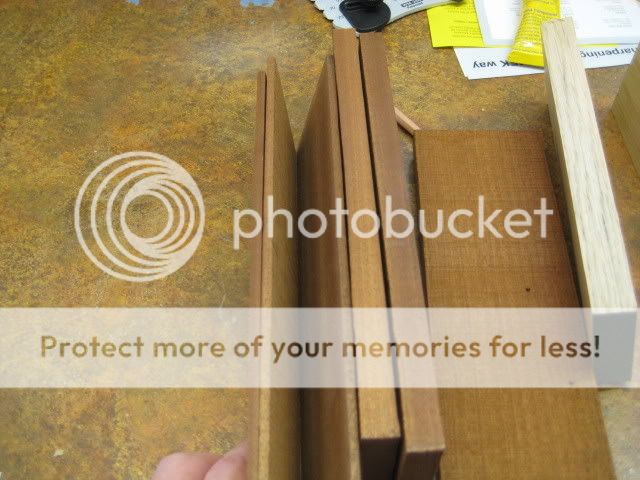
IMG_2129.jpg


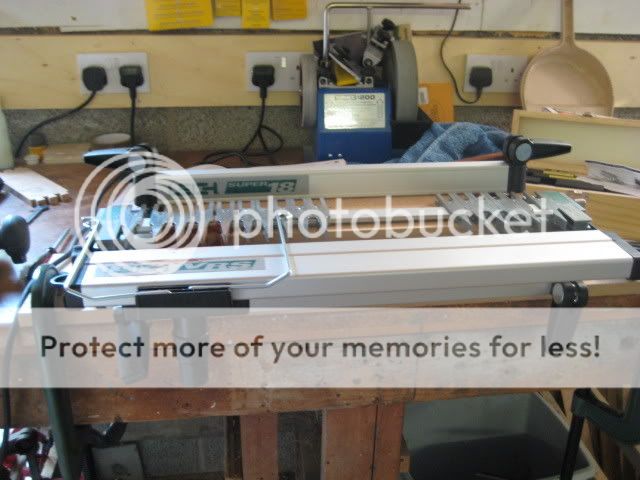
now to the scary bit, bought this :
IMG_2238.jpg


tried a test run on a scrap:
IMG_2242.jpg


now the really scary bit :
IMG_2246.jpg

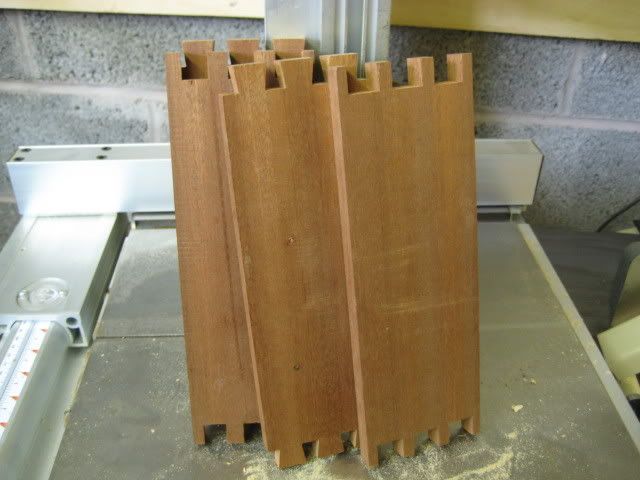
so what happened ?? :
IMG_2243.jpg

my god its worked!! Couldn't believe how well they came out

then made a rebate in the top and bottom using the router table :
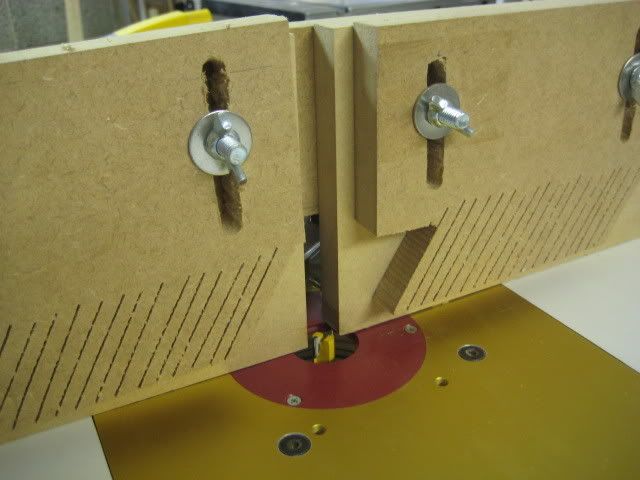
IMG_2247.jpg


had to tidy up the corners with a chisel :
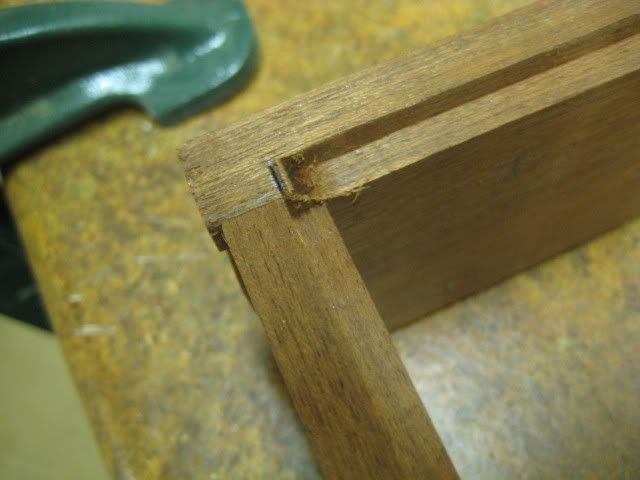
IMG_2250.jpg


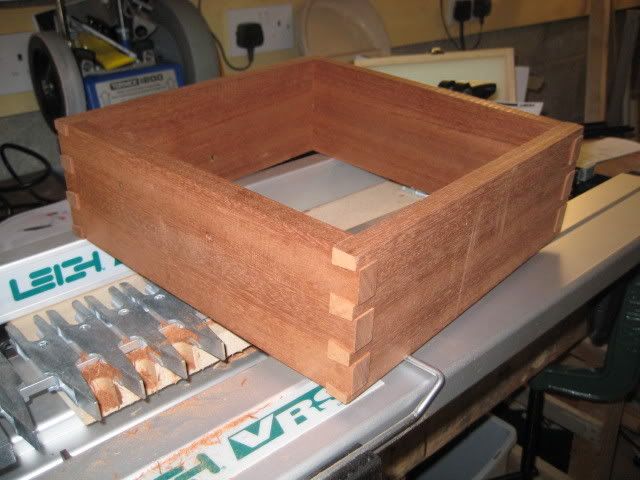
then decided to glue it up, made a temporary base to keep everything square :
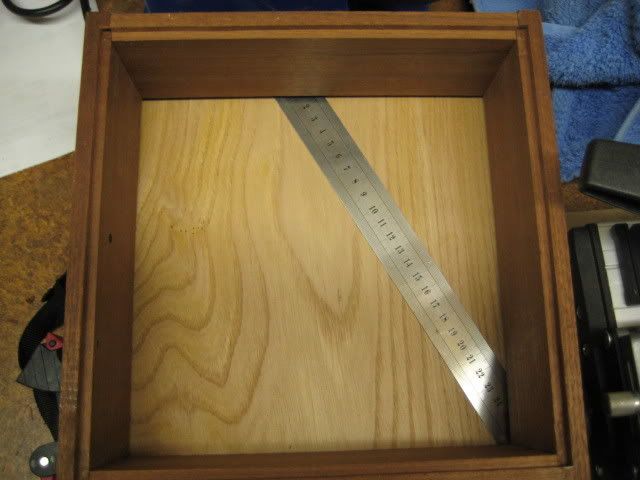
IMG_2254.jpg
(mdf base, photo taken when it was sat on a piece of Chestnut, which is going to become inlay in the top

My plan for the base is to veneer the MDF base underneath with the pieces cut from the sides earlier, hopefully the MDF will stop anything moving as the veneer is only 3 mm thick.

Tomorrow got to start thinking about making a top, and how to hinge it (any hints / ideas or suggestions appreciated):D
 
Hi Paul, glad to see you've got the Leigh jig working well - I'd still rather cut them by hand, personally, as one minor slip with a router is often all you'll need to ruin an entire job! :?

I reckon the hardest part must've been deciding what timber to use! :D

Whenever you cut a groove or rebate, it's best to glue-up and prepare your lid, base or panel ready for finishing, first. It's like the opposite of cutting a mortise and tenon joint. Otherwise, particularly with grooves, you can end up with an ill-fitting panel. :? You should be able to deepen the rebates if you need to later. :)

What bandsaw blades do you use - did I recommend Dragon Saws to you?? :wink:

People on here seem to like Brusso hinges - but, they're VERY expensive! :shock: I'm not sure what to suggest as I've yet to make a box myself with a hinged lid...

What are you thinking of using for the finish? I recently finished my box with a couple of Chestnut's products - shellac sanding sealer and Wood Wax 22 - the finish is incredible and doesn't take a lot of work!

You know, looking at the second photo', I'm inclined now to say this is possible sapele... If the flip the board from end to end, the dark stripes become light and vice-versa! :wink:
 
Paul,

why did you go to the trouble of putting the cut ends through a planing-up excercise on a shooting board? You are now going to plane or sand them again to remove the overhang of the dovetails, so none of your original work will remain.

I don't make boxes (unless you count drawers as boxes), so you can discount this comment .......but I reckon you could reduce the width of the box walls even more. They still look chunky to me.

I like the look of the chestnut inlay, and I reckon it will go really well with the timber you are using (whatever that is!). Is it solid chestnut, or a veneer? (I've not yet used chestnut..........criminal really!)

Why veneer the base onto MDF? Those offcuts look plenty thick enough to do the job on their own. Just do a tiny half-lap joint between them so that any shrinkage doesn't leave a gap. Indeed, with decent dry timber and such a small area, I would probably glue the joints.

Good luck with this

Mike
 
wow Paul, you're a few steps in front of me. I have just got the leigh super 18 and was considering a jewelery box as my first project! :shock: :D

So crack on, I'm taking notes... :wink:
 
Mike, I think Paul went to the effort of making and using a shooting board because he has the same mitre saw as me - and it isn't always accurate enough for perfect 90º cross-cuts. I'm not sure how the Leigh jig works but, with some of Trends jigs, it seems to be pretty important that the ends are all cut accurately.

On top of all that, it's a lot safer when working with shorter lengths - and, I suppose he had to try out his shiny new Clifton plane!! :D

...Speaking of which, Paul, not only have you omitted any photo's of your shooting board but, when you buy a new tool, it's customary to show it out of the box for a proper gloat! :roll: :wink:
 
The box i'm sure will look great Paul. Some fine cut dovetails would have in my opinion made it. Hand cut (time) or Ratted (quicker), stand back and admire delicate fine dovetails. Look forward to the end result.
 
OPJ":38ff9hys said:
...Speaking of which, Paul, not only have you omitted any photo's of your shooting board but, when you buy a new tool, it's customary to show it out of the box for a proper gloat! :roll: :wink:

Complete with shavings, of course....

Paul - project is looking good, keep us posted!

Cheers

Karl
 
Mike,

Ends need to be at 90 degrees and the rest of the boards needs to be square for the jig to line everything up. I made the joints slightly too proud so that I can then plane / sand back flush (no risk of being too shallow).

Olly,

Will do some pictures fo the shooting board tomorrow, I can't believe how much use I've had from it - only built it two weeks ago and must have used it more than any other jig in the shop since. And yes I did buy the dragon blades

Wizer,

The jig is excellent, have to admit to having been amazed at how well the joints came out.

All,

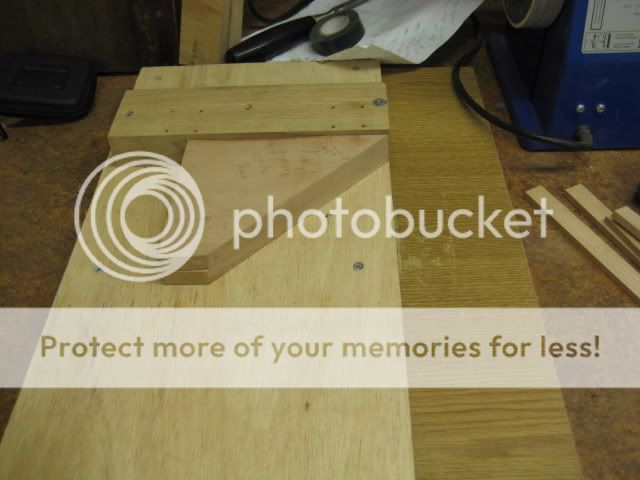
Been working on the box again tonight and struggled to cut some thin strips for inlay on the bandsaw (too rough a cut) but just checked the jigs forum and found the jig for cutting strips on the tablesaw, so will try again tomorrow
 
What sort of blade are you using, Paul? I wouldn't go for anything less than 6tpi really, provided it's fresh out of the box, nice and sharp! Saying that, I've been using one of their M42 blades for a few weeks now and the finish from that is excellent, because of the variable pitch (mix of coarse and fine teeth). They're a bit pricey though but, I had to cut some 3mm strips of walnut recently and I could glue them on with the sawn face down, the finish was that good! :shock: :)

About time you used the table saw though, it must be getting lonely, you did say you haven't used it much since you bought the bandsaw! :wink:
 
So progress has been painfully slow through a combination of work but mostly because I was running out of inspiration.

Main thing I couldn't work out was how to do the top. This was what I eventually came up with :

copied idea:
IMG_2261.jpg


ash strips from that :
IMG_2262.jpg


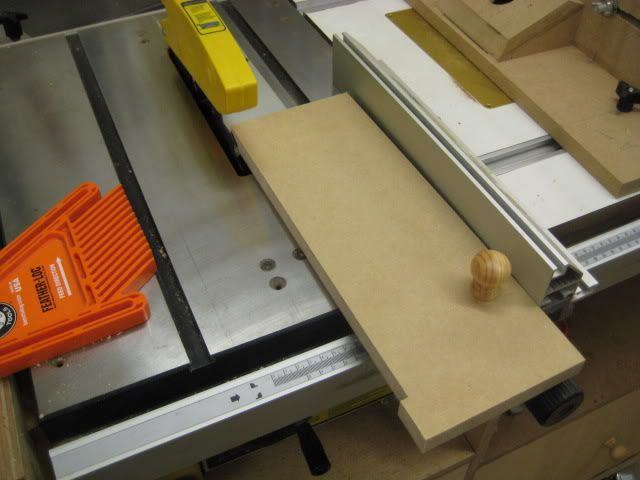
used my new shooting board :
IMG_2265.jpg

IMG_2264.jpg


After a lot of fettling on the shooting board and on my SCMS got to this :
IMG_2266.jpg


Then planed up a single piece of wood to go into the centre :
IMG_2267.jpg


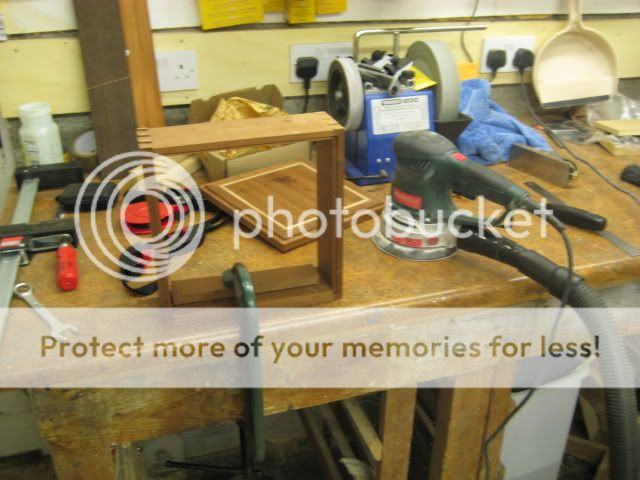
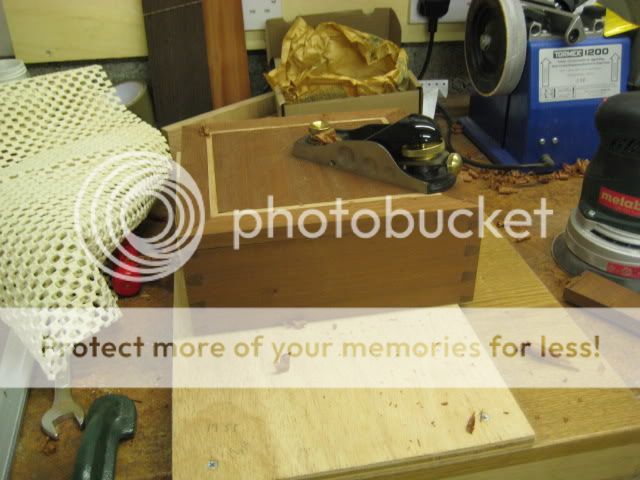
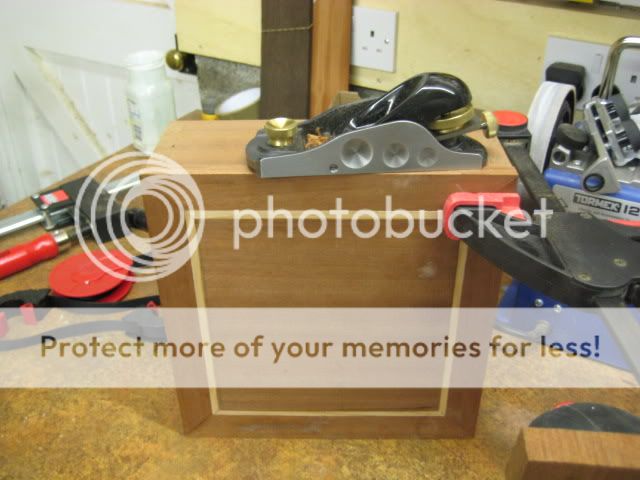
then time to start planing and sanding the box :
IMG_2269.jpg

IMG_2272.jpg

IMG_2271.jpg

Perfect time to use my new piece of kit which turned up yesterday, weird how a tool suddenly becomes indespensible :D
IMG_2274.jpg


Learning points :

Building the top - I did it the wrong way round. Should have made the centre piece first (as it was a nightmare trying to make the centre fit the frame).
Also when making the frame I should have joined the ash and mahogany and then cut them mitres rather than doing them individually and trying to get them to match

My original plan was to build the top into the sides, but when it came to it I couldn't work out how to do it ! Hence why I've ended up with a bit of a compromise.

I am thinking of re-making the box and trying to fix my errors, anyone got any tips on making the top ?
 
I wish you lived nearer to me Paul, you could give me a lesson or two in use of the Leigh jig. :wink: I've had a D4 for several years, I've read the book and watched the video countless times and no amount of test pieces later I couldn't get it right, then when I built a drawer unit I knackered up the cutter by chopping into a finger :oops: So It's sat on a shelf ever since :(
 
tbh my first results wern't perfect on the Leigh Jig. I think it just takes a lot of practise and then marking your results in the manual to make them repeatable. As MarkW rightly put it, By the time you've done all that you could have done it by hand! ;)

I think your box looks nice Paul, the route you have taken to get there might not have been the norm, but you've learned along the way.
 
LarryS

re the jewellery box , Did the " Original wood which was the counter-top in my mothers post-office which I think is mahogany : " have sentimental values :?:

Its a cracking piece of work that I would be proud to make :lol:

BUT , For me and probably only me , it seems such a shame to make a lovely gift " WITH SCREW HOLES IN IT " ?

If it has sentimental values please ignore my comments

All the best

Hope mum loves it
 
I like it Paul, the top looks good. Shame about the screw holes but, I certainly wouldn't try to fill them with anything as you're more likely to make a huge mess of things! :? If they do bother you and you have more mahogany "offcuts", you could enlarge the holes and fill them with wooden plugs. Don't drill straight through, or else you'll get breakout on the insides!

The jig for ripping the thin ash strips looks a bit dangerous, to be honest - regardless of where you hand would be, there's a chance the ash could become trapped between the blade and MDF. As long as you still count to ten without taking your shoes and socks off... :wink:

This is an example of another way you could've done the top:

2133259761_1a33f578e5.jpg


(For the rest of the build, click here. Be warned though, some of the photo's are poor! :oops: )
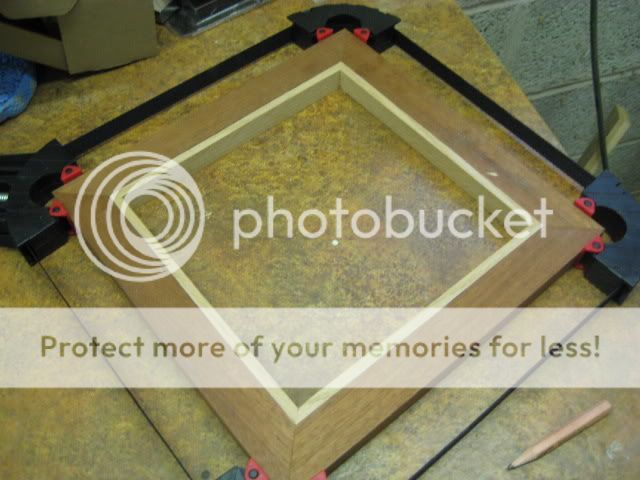
The lid and base are set in to grooves, top and bottom while all four sides of the lid and box were assembled as one, later cut away first on the router table. I then added a 3mm thick lipping around the insides edges of the box and the lid fits snugly over it. No need for hinges, etc.

Sounds like you've learnt a lot though! :D
 
Blister":bmdtaw3u said:
LarryS

re the jewellery box , Did the " Original wood which was the counter-top in my mothers post-office which I think is mahogany : " have sentimental values :?:

BUT , For me and probably only me , it seems such a shame to make a lovely gift " WITH SCREW HOLES IN IT " ?

That made me laugh ! :D. Yes Blister, the counter was taken out 15 years ago, (a couple of years after she started running her own business) and wanted to have a new counter to make the place look more professional and 'up to date'. I've deliberately placed some of the holes so they are visible as I think she'll appreciate it. Then again knowing my mum she may ask me to plug them later !
 
OPJ":9zklaa99 said:
I like it Paul, the top looks good. Shame about the screw holes

The lid and base are set in to grooves, top and bottom while all four sides of the lid and box were assembled as one, later cut away first on the router table.

Olly,

Do you mean that the lid and base are floating in grooves cut into the sides (so they were all assembled together) ? The part I was struggling with was making the top fit perfectly into space between the sides, but I wanted it to be flush with the top.

You lot are starting to make me paranoid about those screw holes ! :D
 
Paul, the grooves were about 6mm deep (IIRC) and the panels cut to fit inside them - yes, they were assembled together with the box sides before parting the lid.

I think you were right to work on the sides first before fitting the central piece to the top. Did you rebate the edges, as you did with the bottom?

You could've probably done things in a similar way to what I did; make extra allowances for the thickness of a router cutter to remove the top and glue the box up as one, adding the base and top later.
 
Lord Nibbo":3hiuc9cv said:
I wish you lived nearer to me Paul, you could give me a lesson or two in use of the Leigh jig. :wink: I've had a D4 for several years, I've read the book and watched the video countless times and no amount of test pieces later I couldn't get it right, then when I built a drawer unit I knackered up the cutter by chopping into a finger :oops: So It's sat on a shelf ever since :(

Nibbo,

The main things I learnt to use the jig were :

1. For my box the wood is 16mm thick, that meant I needed a dovetail cutter that didn't come with the box (needed a smaller one) - otherwise wouldn't be able to get a tight joint. According to the instructions the cutter that came with the jig should have done 16mm but I couldn't get it close to tight. Then tried the smaller bit and nailed it first time

2. Need to have the ends at 90 degrees to the sides, otherwise it just won't work

3. Cut the tails first on the 'ALL' setting, as you don't vary the size of them at all - so no tweaking required.

4. Then when doing the pins, start off with a piece of scrap identical to the wood you are using (in terms of thickness) - I just made an extra side for this whilst I was making the rest. With that piece, first set the jig so that it doesn't cut out enough (so the joint doesn't fit). Then I just cut sliding the jig out bit by bit, making the pins smaller and smaller (by shaving off more and more) and creeping up on a tight fit.

5. Once I had the setting right then I just whacked all the sides through in a couple of minutes.

Probably took me about 25 mins in total to do the sides. One learning point was that to do 2 boxes would have probably taken me 30 minutes - if you see what I mean.
 

Latest posts

Back
Top