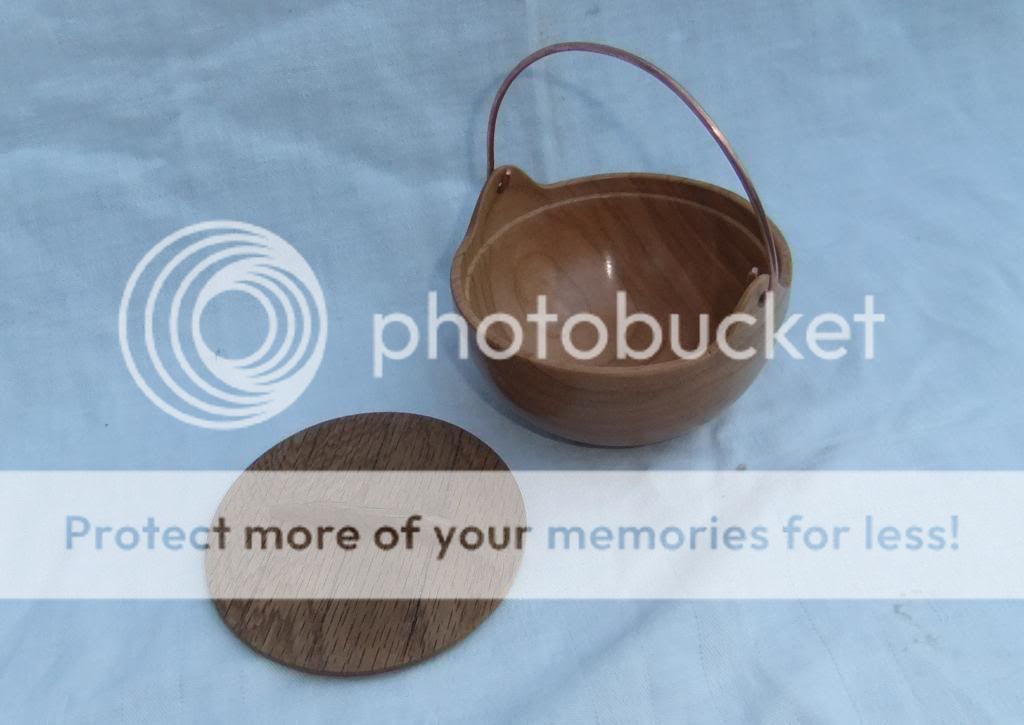
Japanese style bowl

UKworkshop.co.uk

Help Support UKworkshop.co.uk:

This site may earn a commission from merchant affiliate links, including eBay, Amazon, and others.

Dalboy

Established Member
Joined
18 Sep 2008
Messages
3,936
Reaction score
310
Location
Canterbury United Kingdom
I have always liked the Japanese style bowls and have never really tried to make one, so this is the first attempt at one.
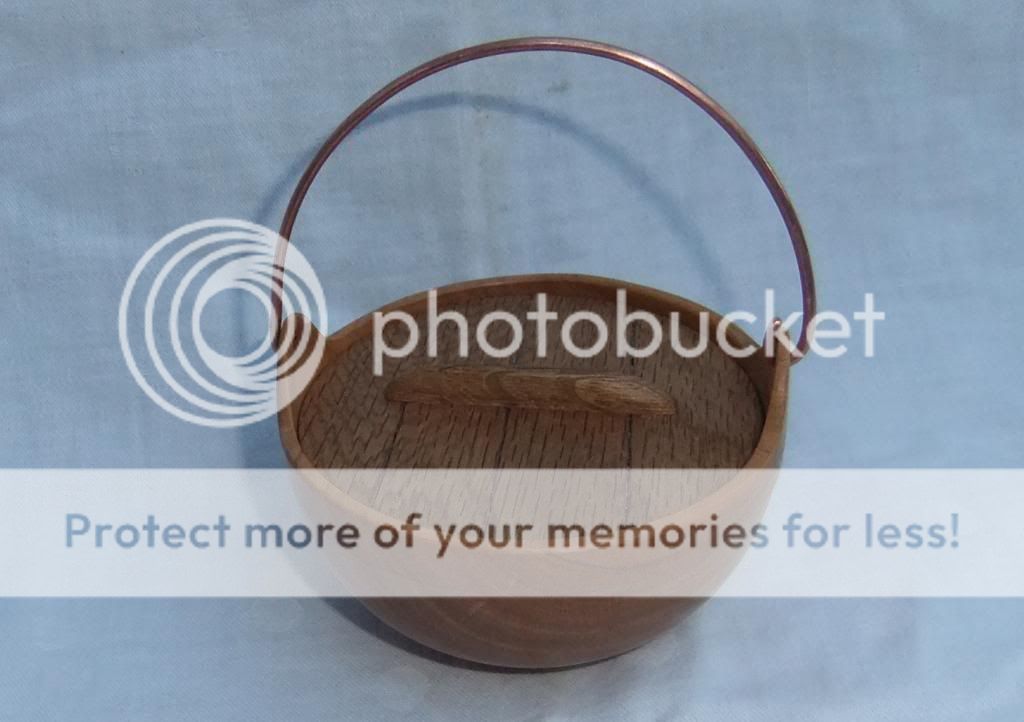
Made from cherry and oak and a piece of copper wire from the workmen that are trying to repair the street light.
It measures 4" across and 4 3/4" tall the bowl section is 2 3/8" tall to the top of the handle brackets.
The copper handle on the left does not look right in the photo's but I have now sorted that out(did not notice until I reviewed the photo's)

C & C most welcome


That's a beaut! Very nice, something different, exciting!
 
Great to see something with a 'constructed' element as opposed to just plain turning.
 
Thank you KimG and CHJ, glad you both liked it

CHJ":2hb0t0ks said:
Great to see something with a 'constructed' element as opposed to just plain turning.

With only three pieces of wood in the whole thing there is not much constructed :lol:
 
Yep does it for me too, really like the form, colour, wood contrast and finish, Nice one !!
 
Again thank you all, My photographic skills did not realy bring out the rich colour of the cherry or show the finish to its best. The outside has the same finish as the inside maybe I will treat myself to a light tent one day.

nev":18qws744 said:
simple yet elegant. =D>

I think I can guess, but... how did you do the 'ears' (the bits the handle are fixed through)

When I reversed the bowl part in my cole jaws to complete the base and remove the chucking point, I ran a pencil line around the bowl where I needed the lower portion and also marked two points for the "ears" lugs at 180 deg to each other made a paper template for the lug and drew them in at the two points.
With a Japanese saw I cut along the lower line to a point just clear of the lugs. This was done on both side before removing from the chuck (it was only held with a light grip).
Once removed I cut down to the already cut lines all that remained was to finish shaping and sanding the lugs and a light sand along the lower portion.
Completed using 2 coats Danish oil and when dry some clear wax.
I just hope that made sense
 
Back
Top