If you think you haven't tuned your stanley enough...

UKworkshop.co.uk

Help Support UKworkshop.co.uk:

This site may earn a commission from merchant affiliate links, including eBay, Amazon, and others.

D_W

Established Member
Joined
24 Aug 2015
Messages
11,241
Reaction score
2,658
Location
PA, US
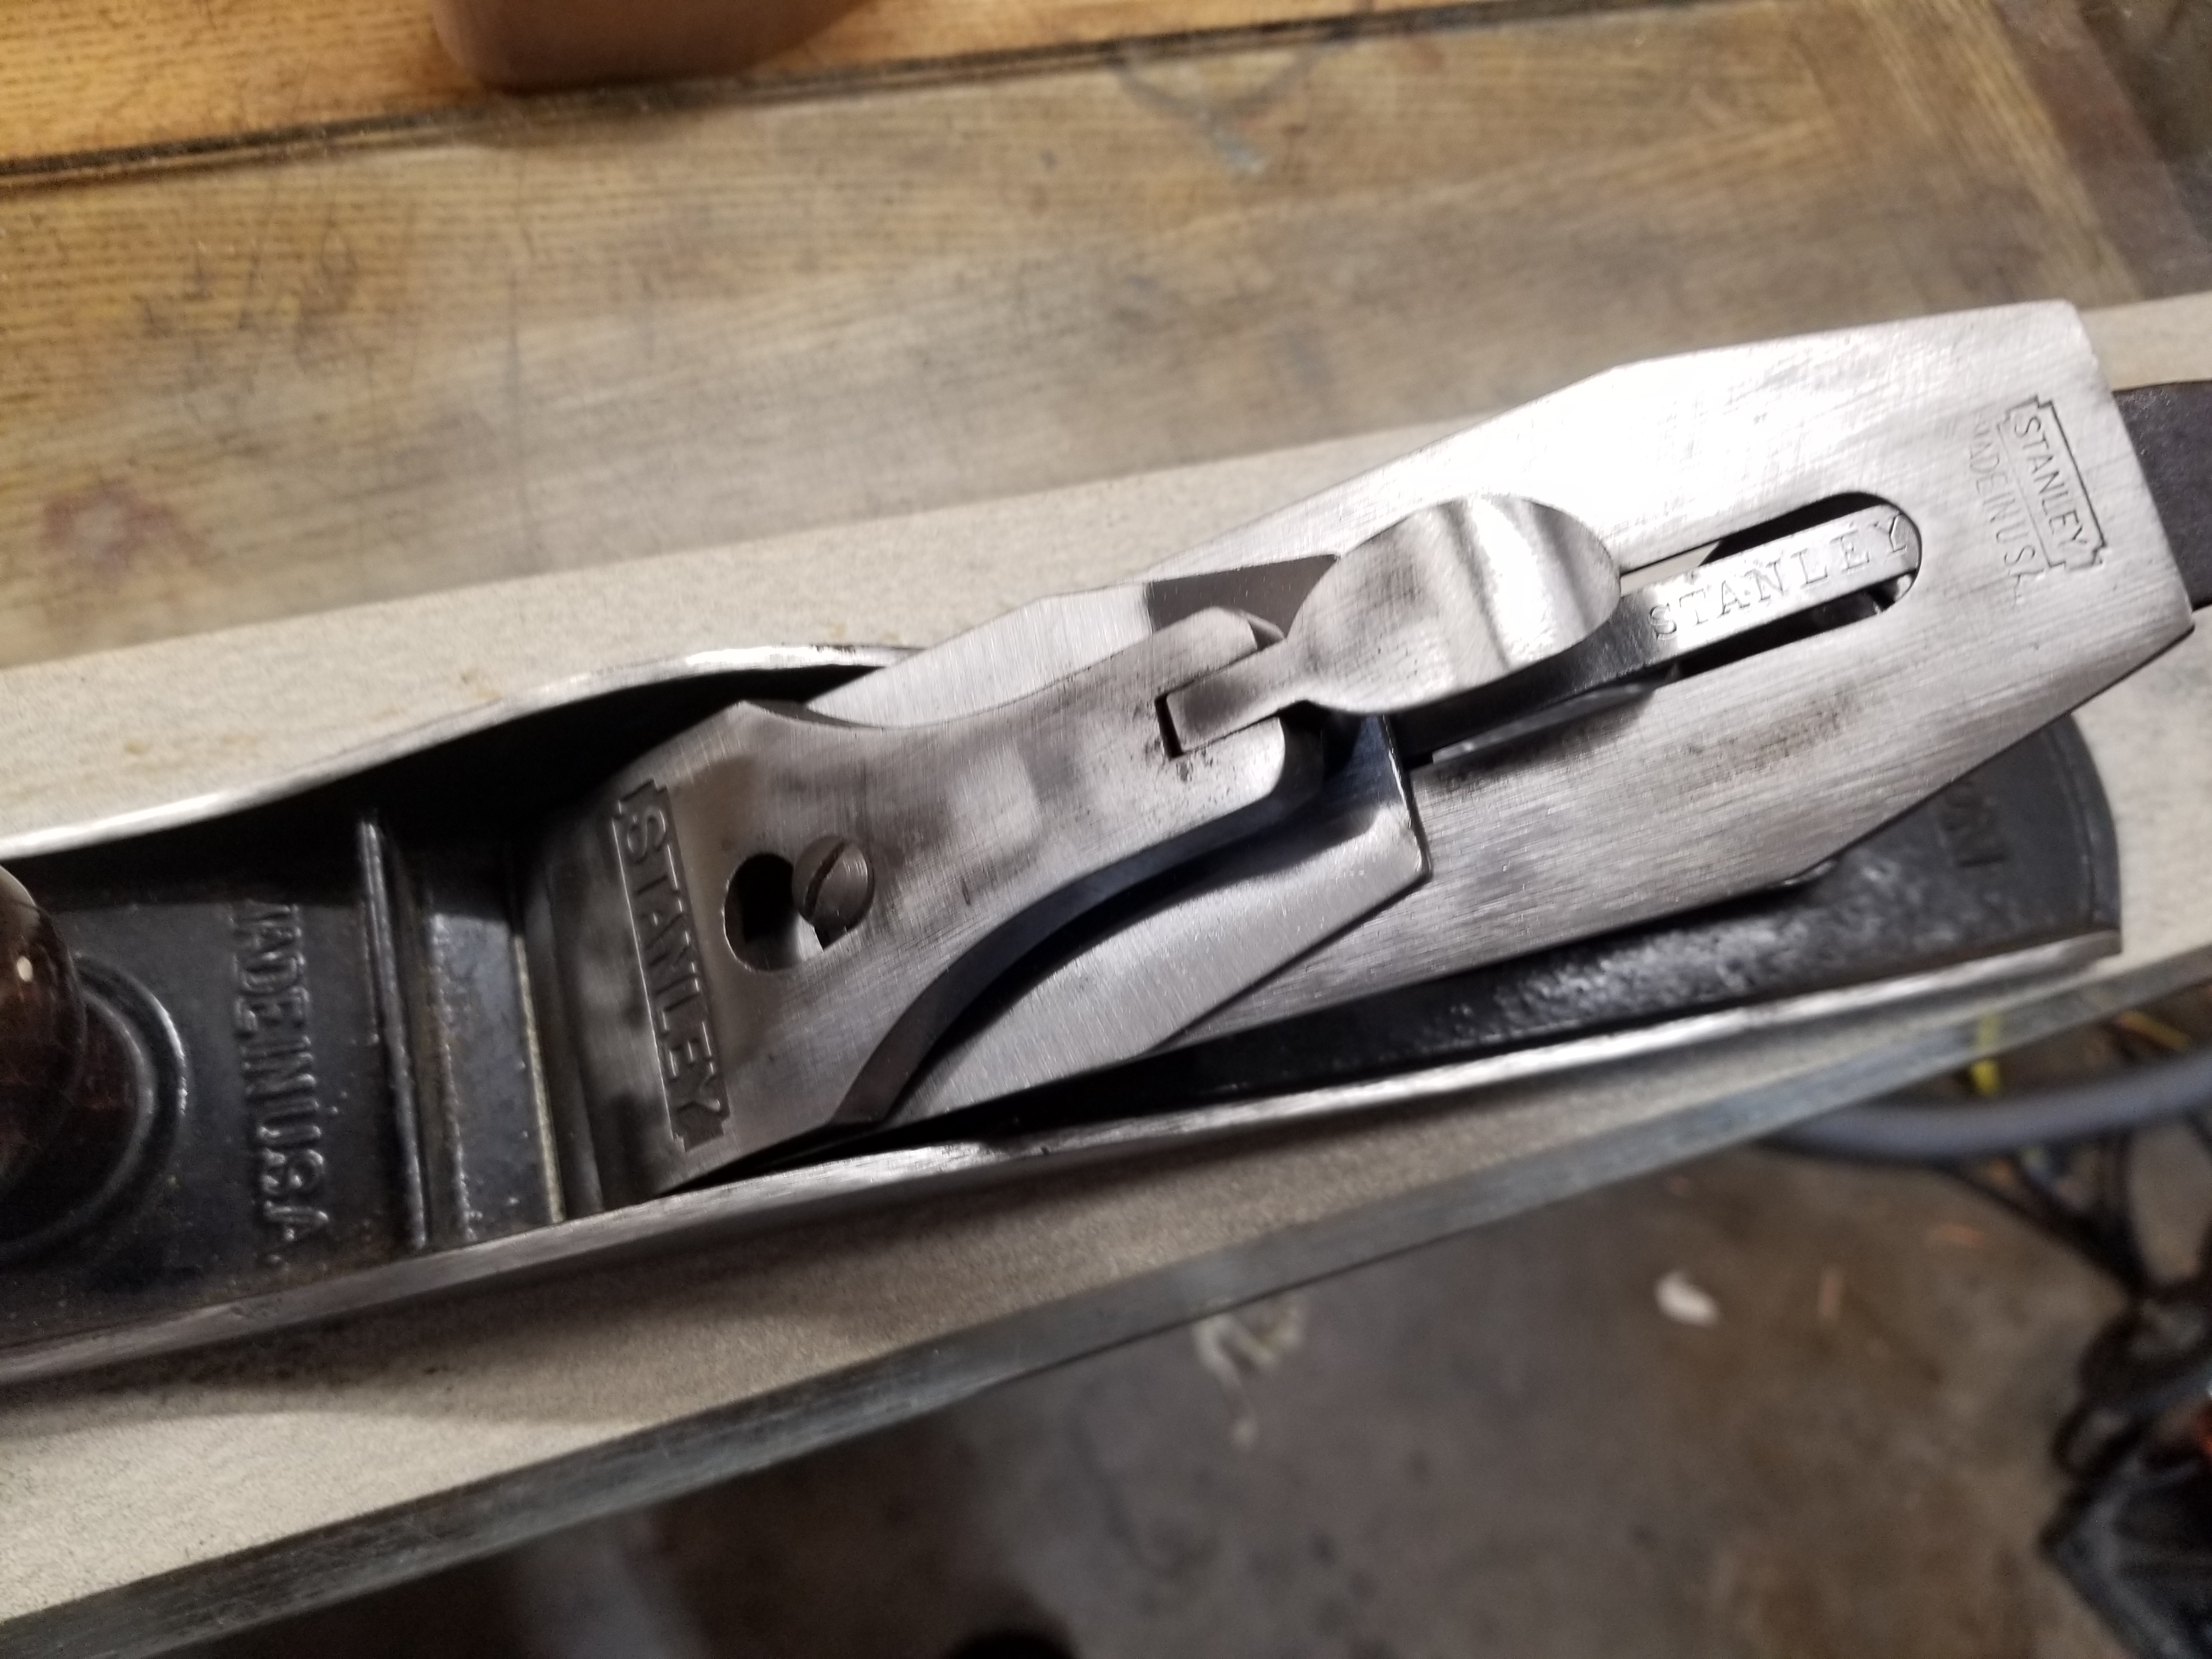
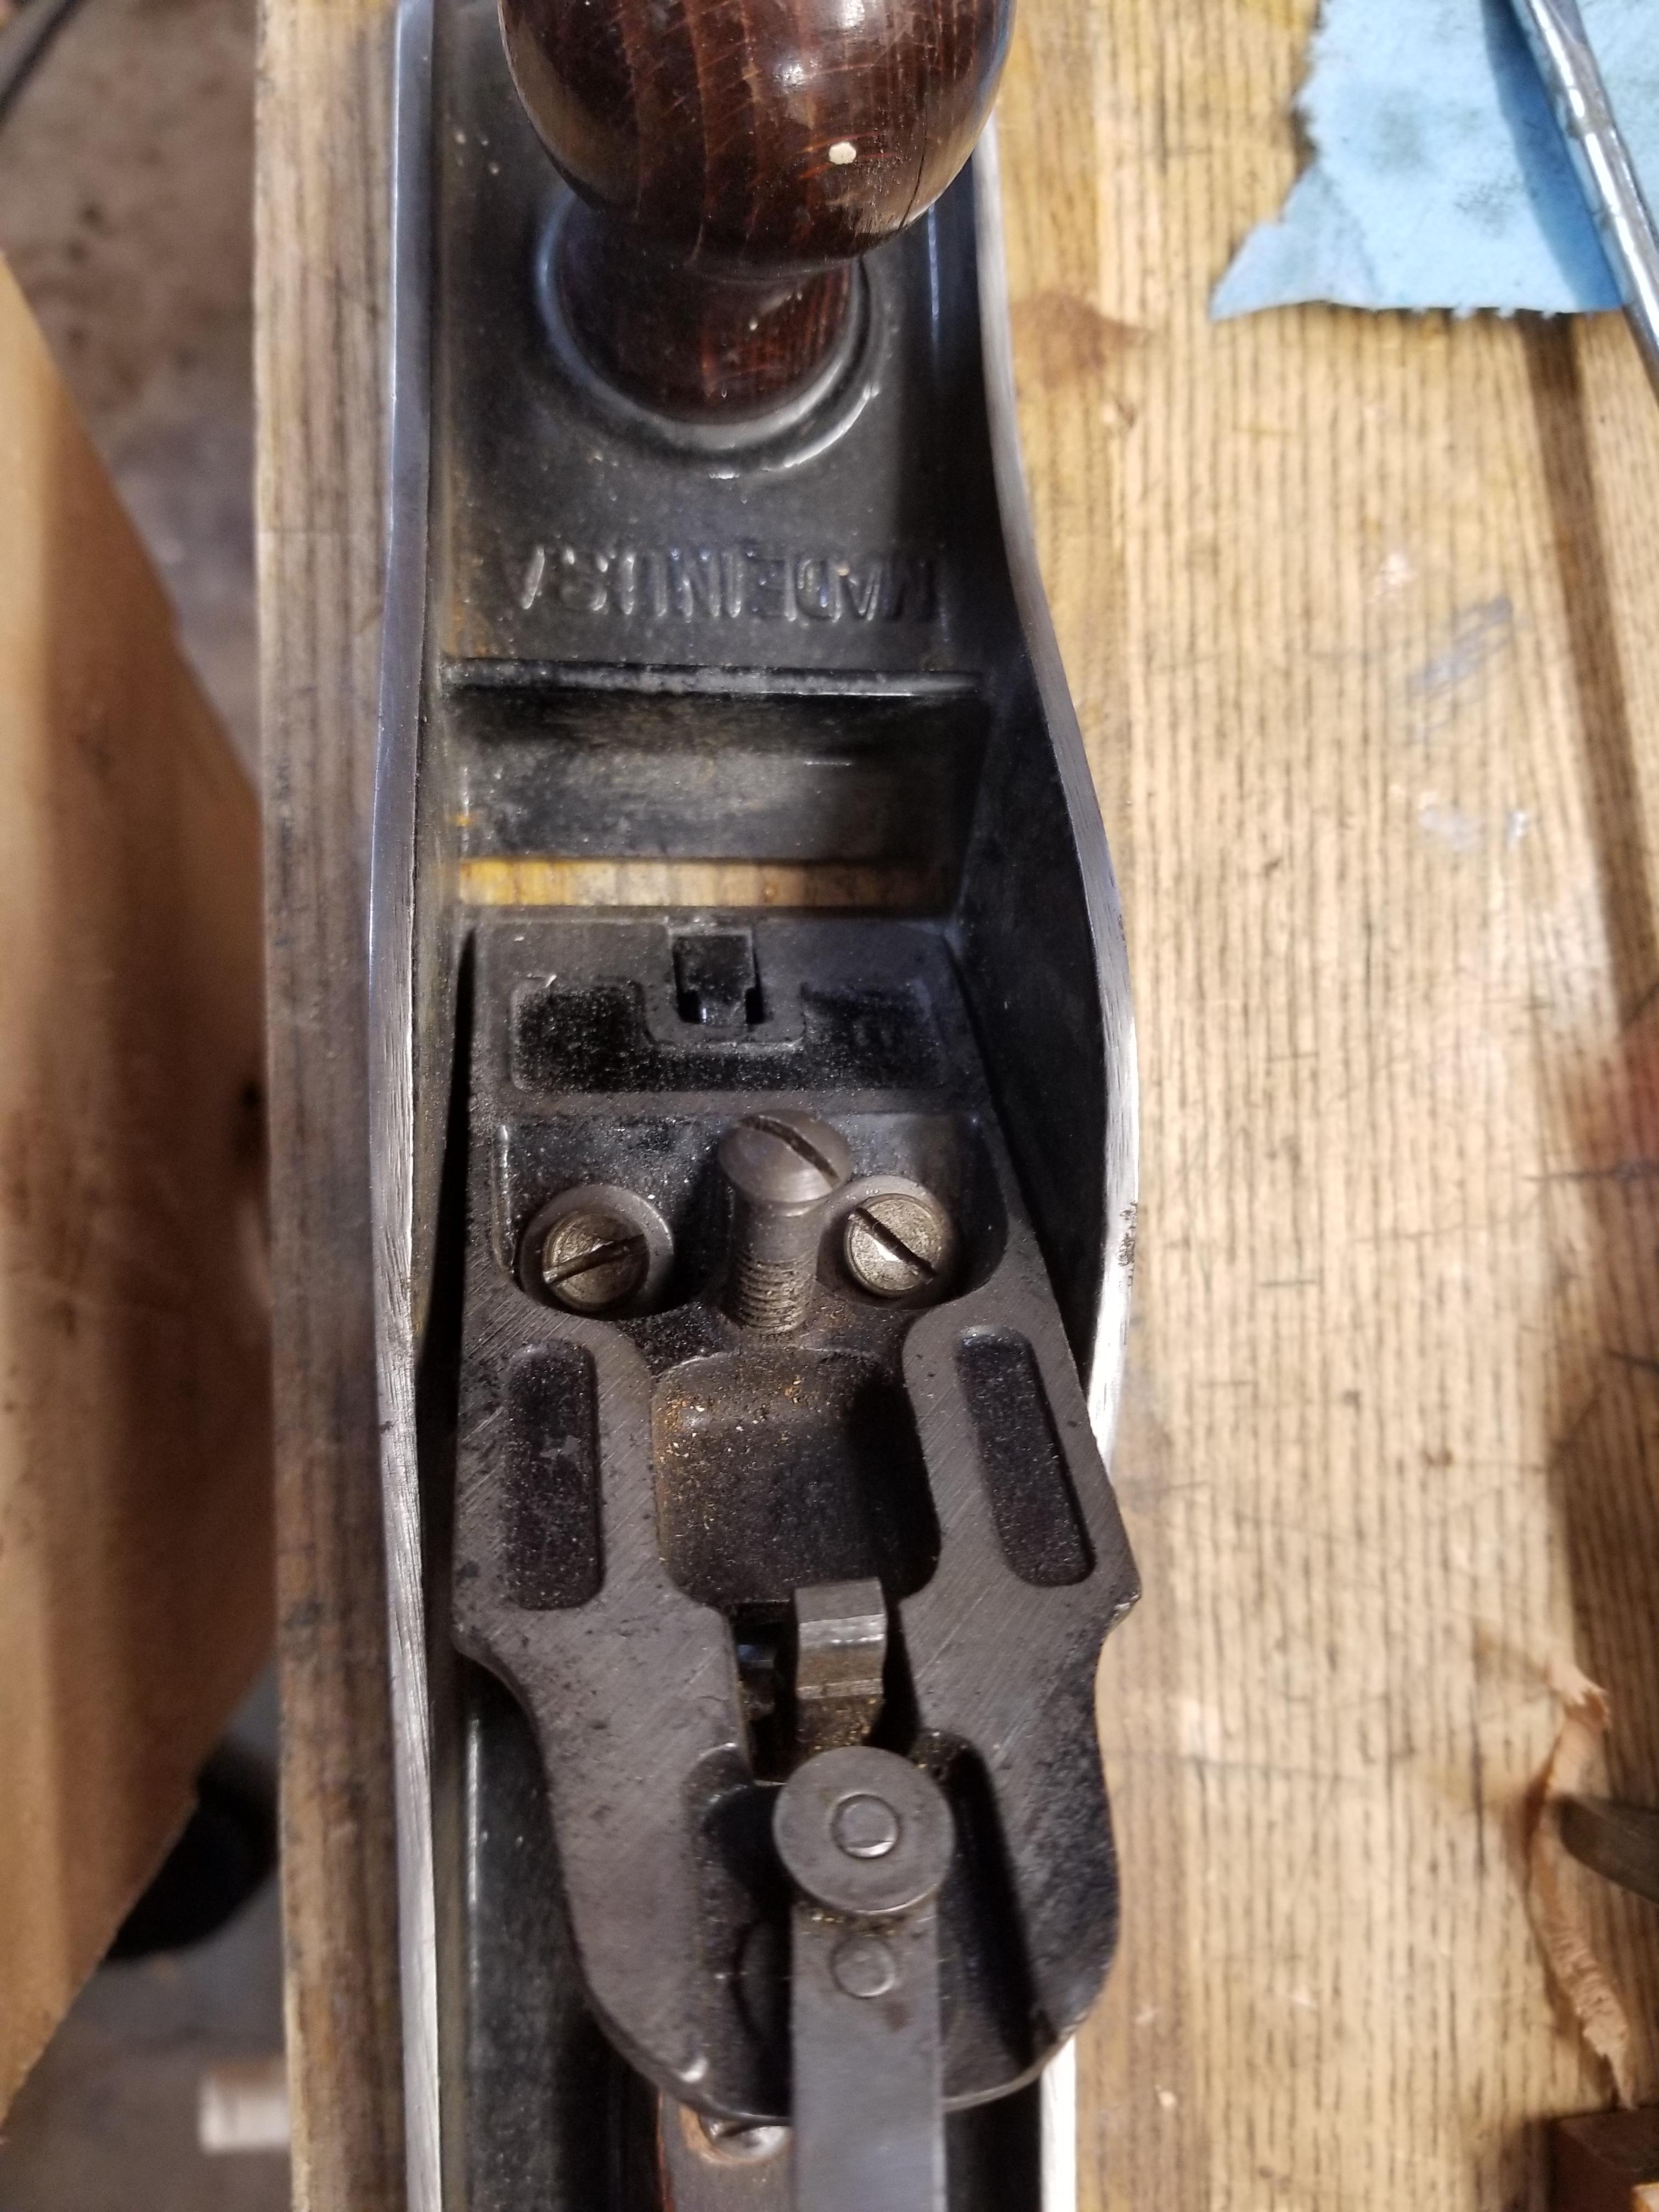
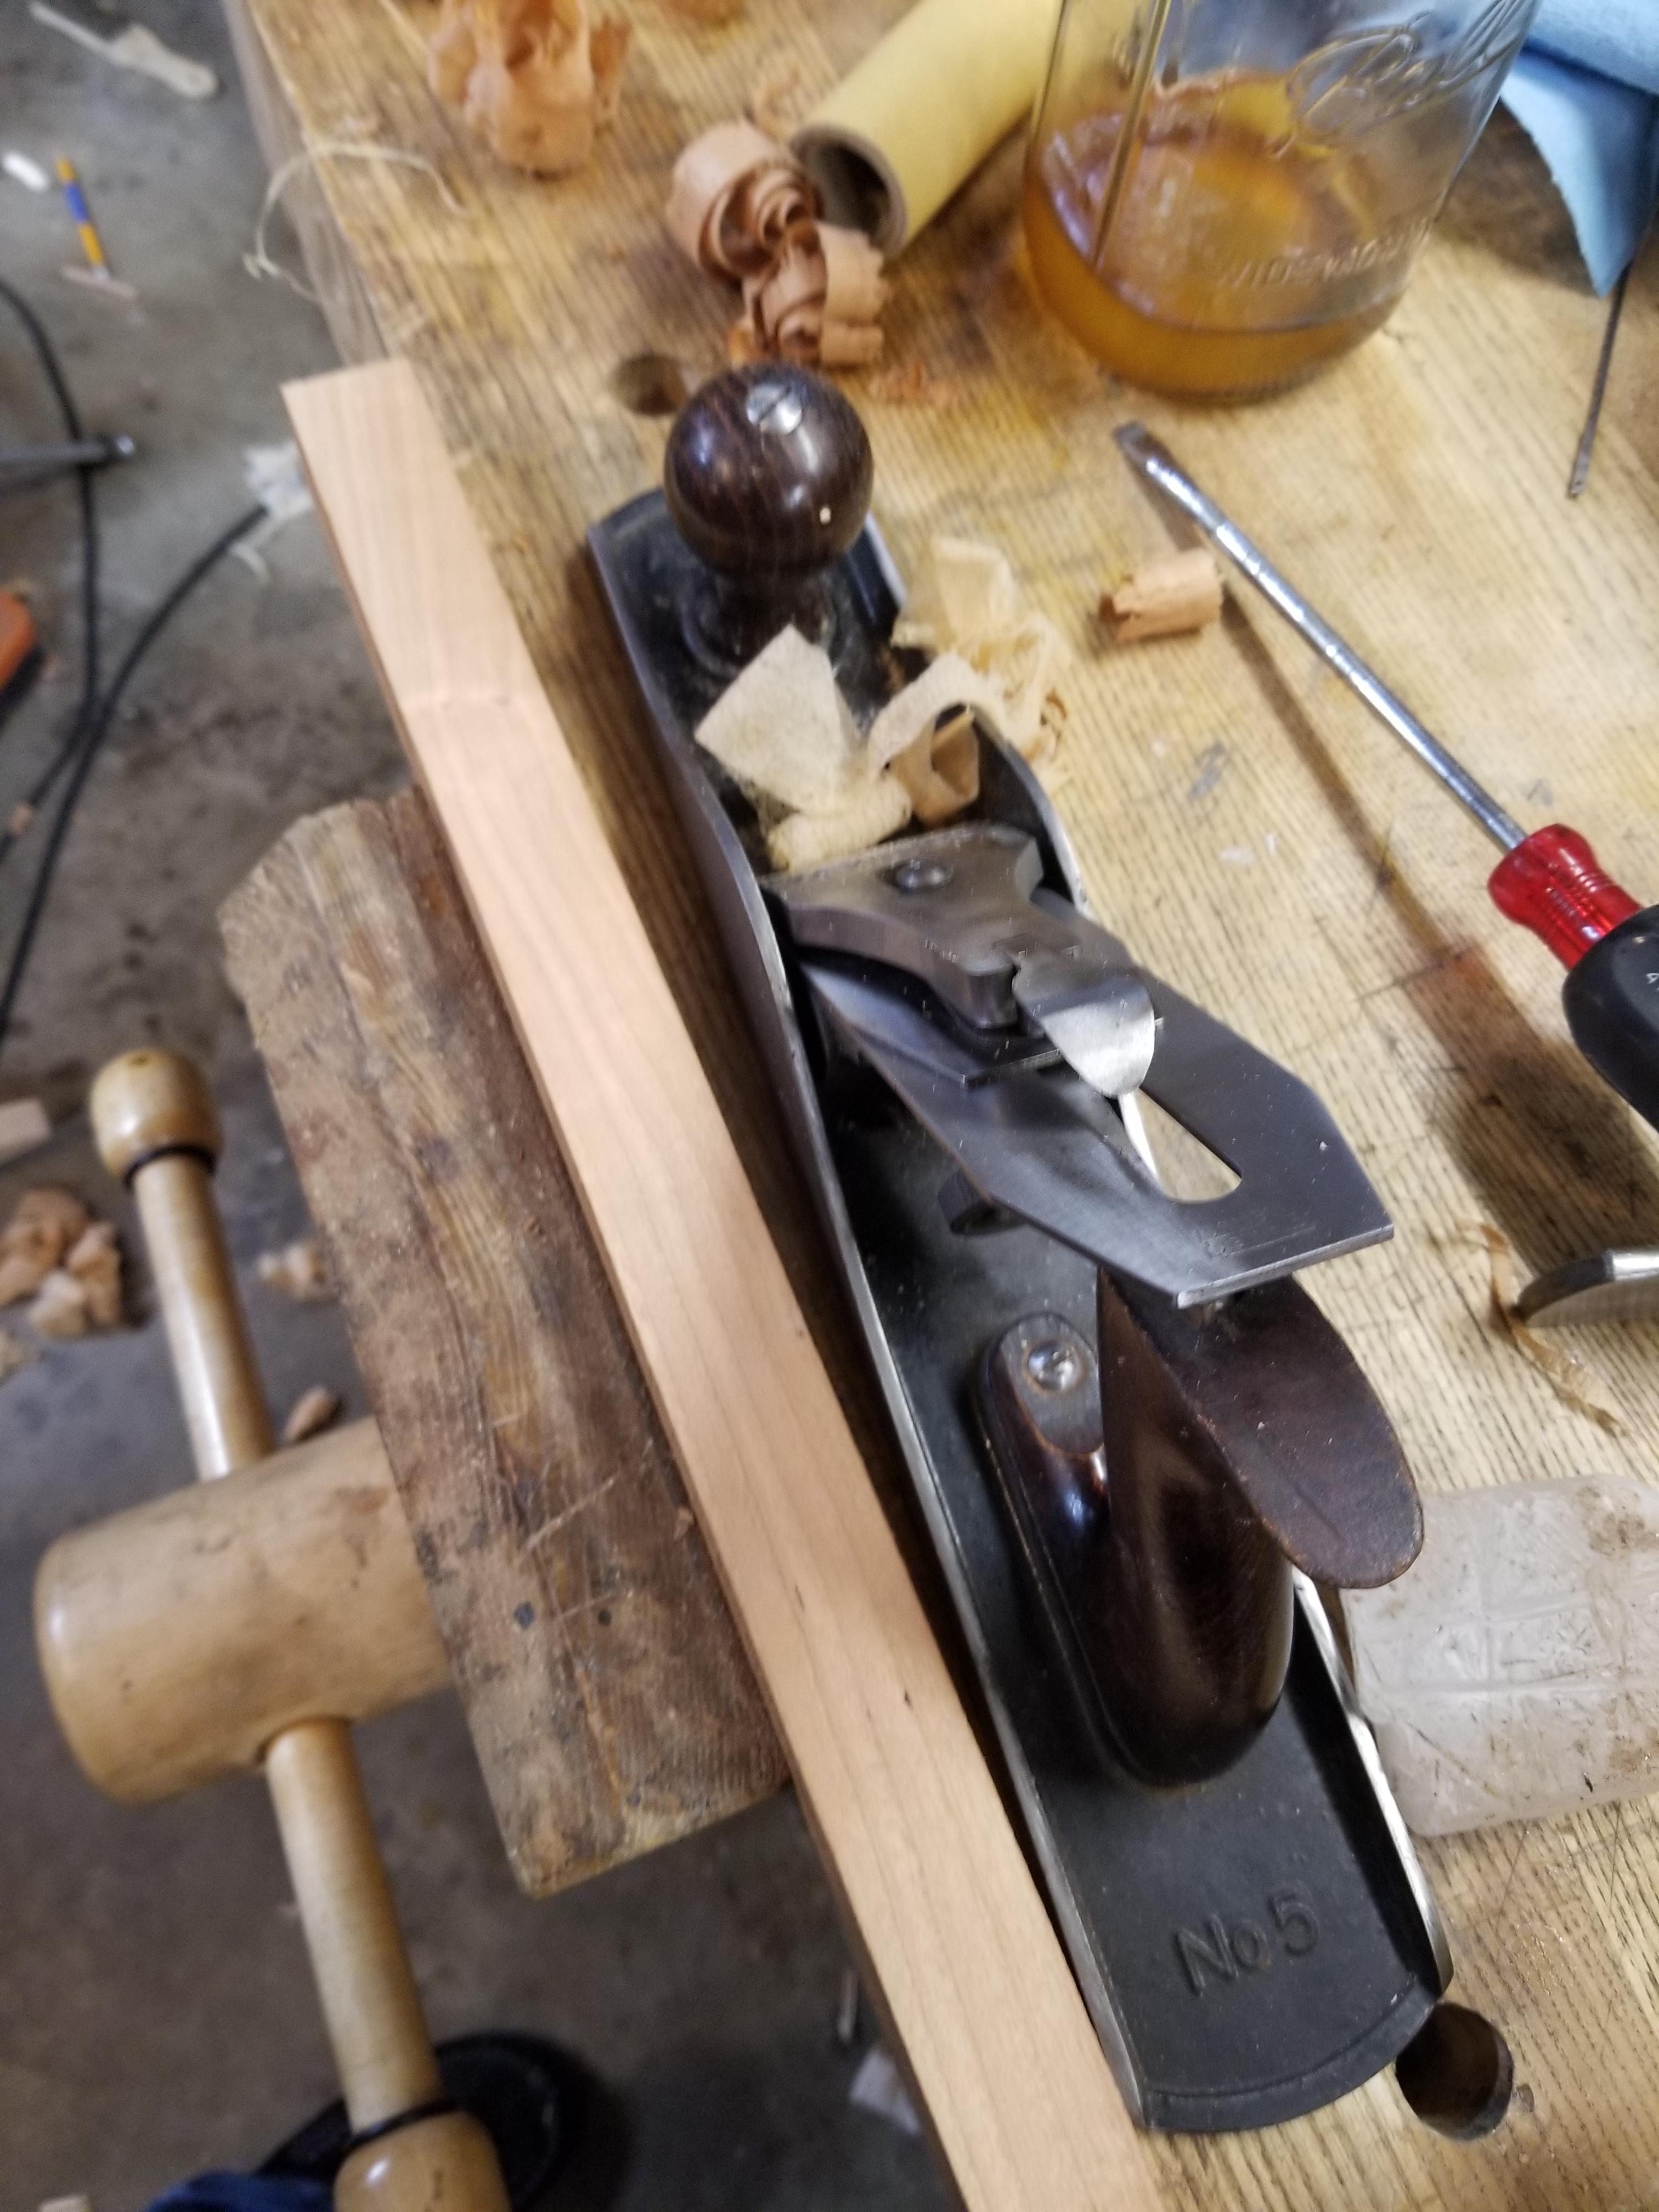
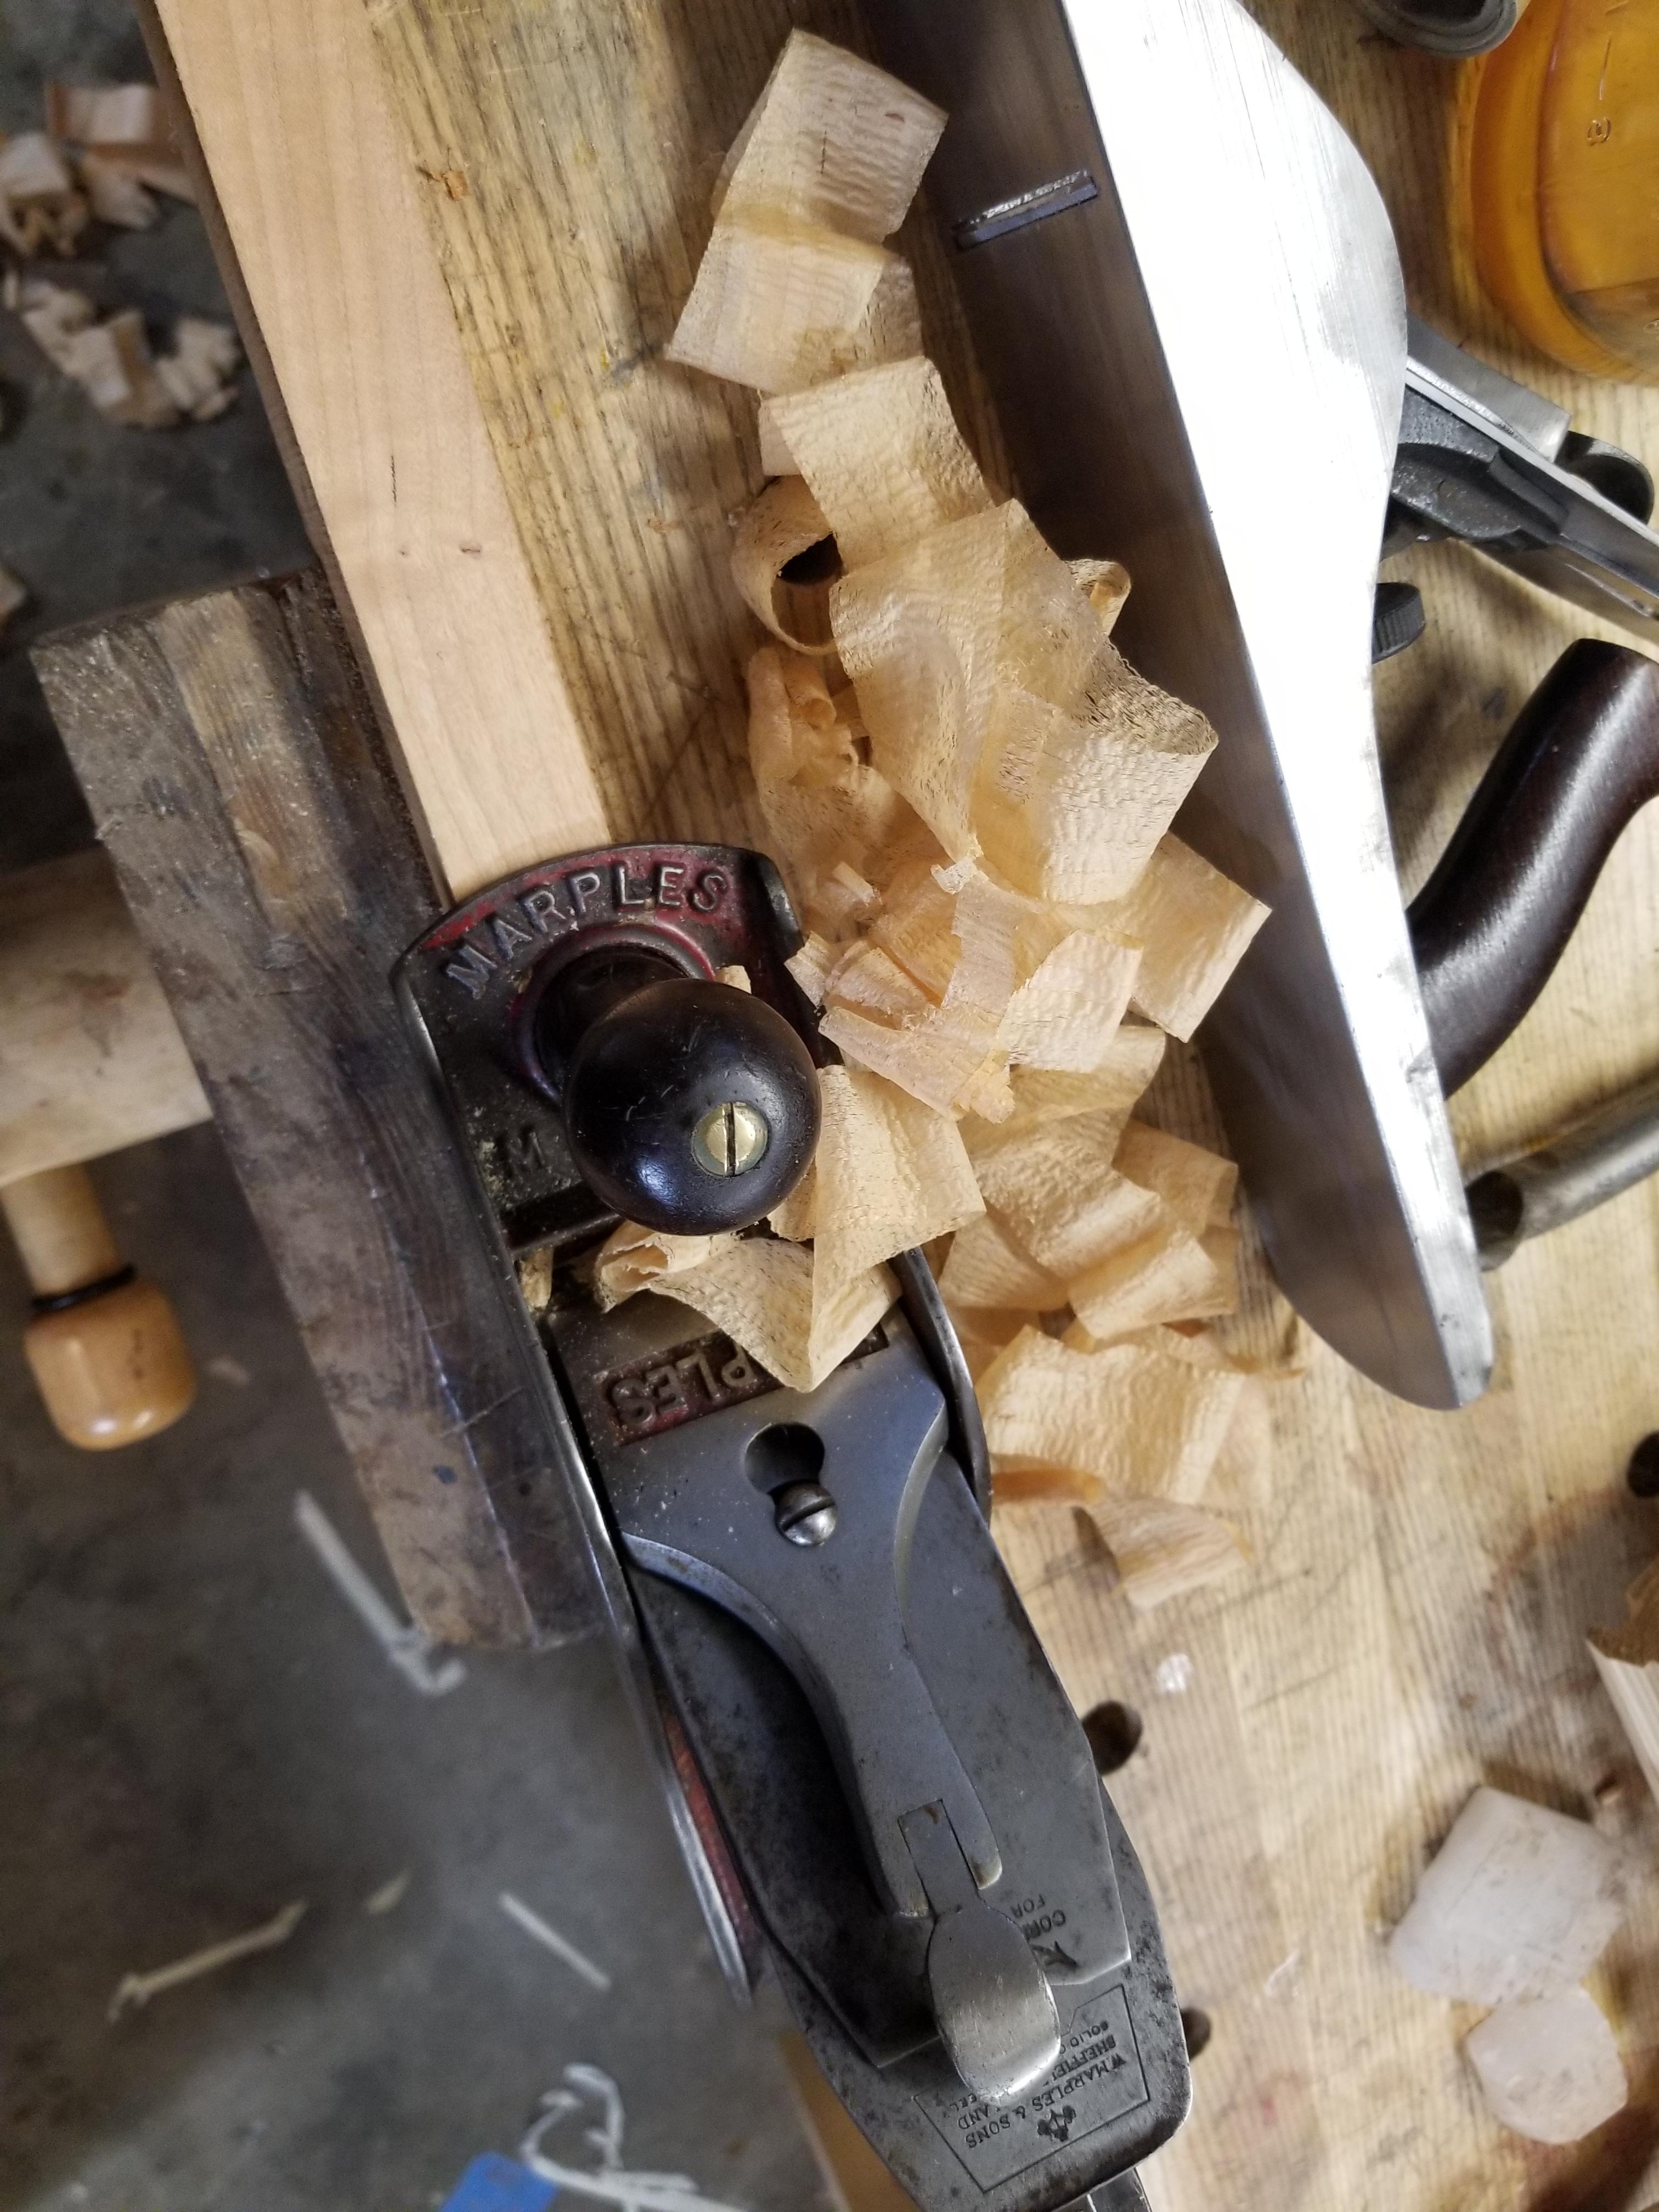
I bought this later #5 last year to test a bunch of plane irons. I ended up using a different plane, so it sat on my racks. I like these planes - the later type with the inexpensive frog (these were cast and then the contact area was finished at the factory a belt sander - they work wonderfully) type and the large adjuster wheel.

I figured I'd time what it takes to get it ready - no matter what you read about truing frog feet or any such things, you will not be able to better the function vs. what I've done here. In 20 minutes.

you know why that is (the cap, that's why)

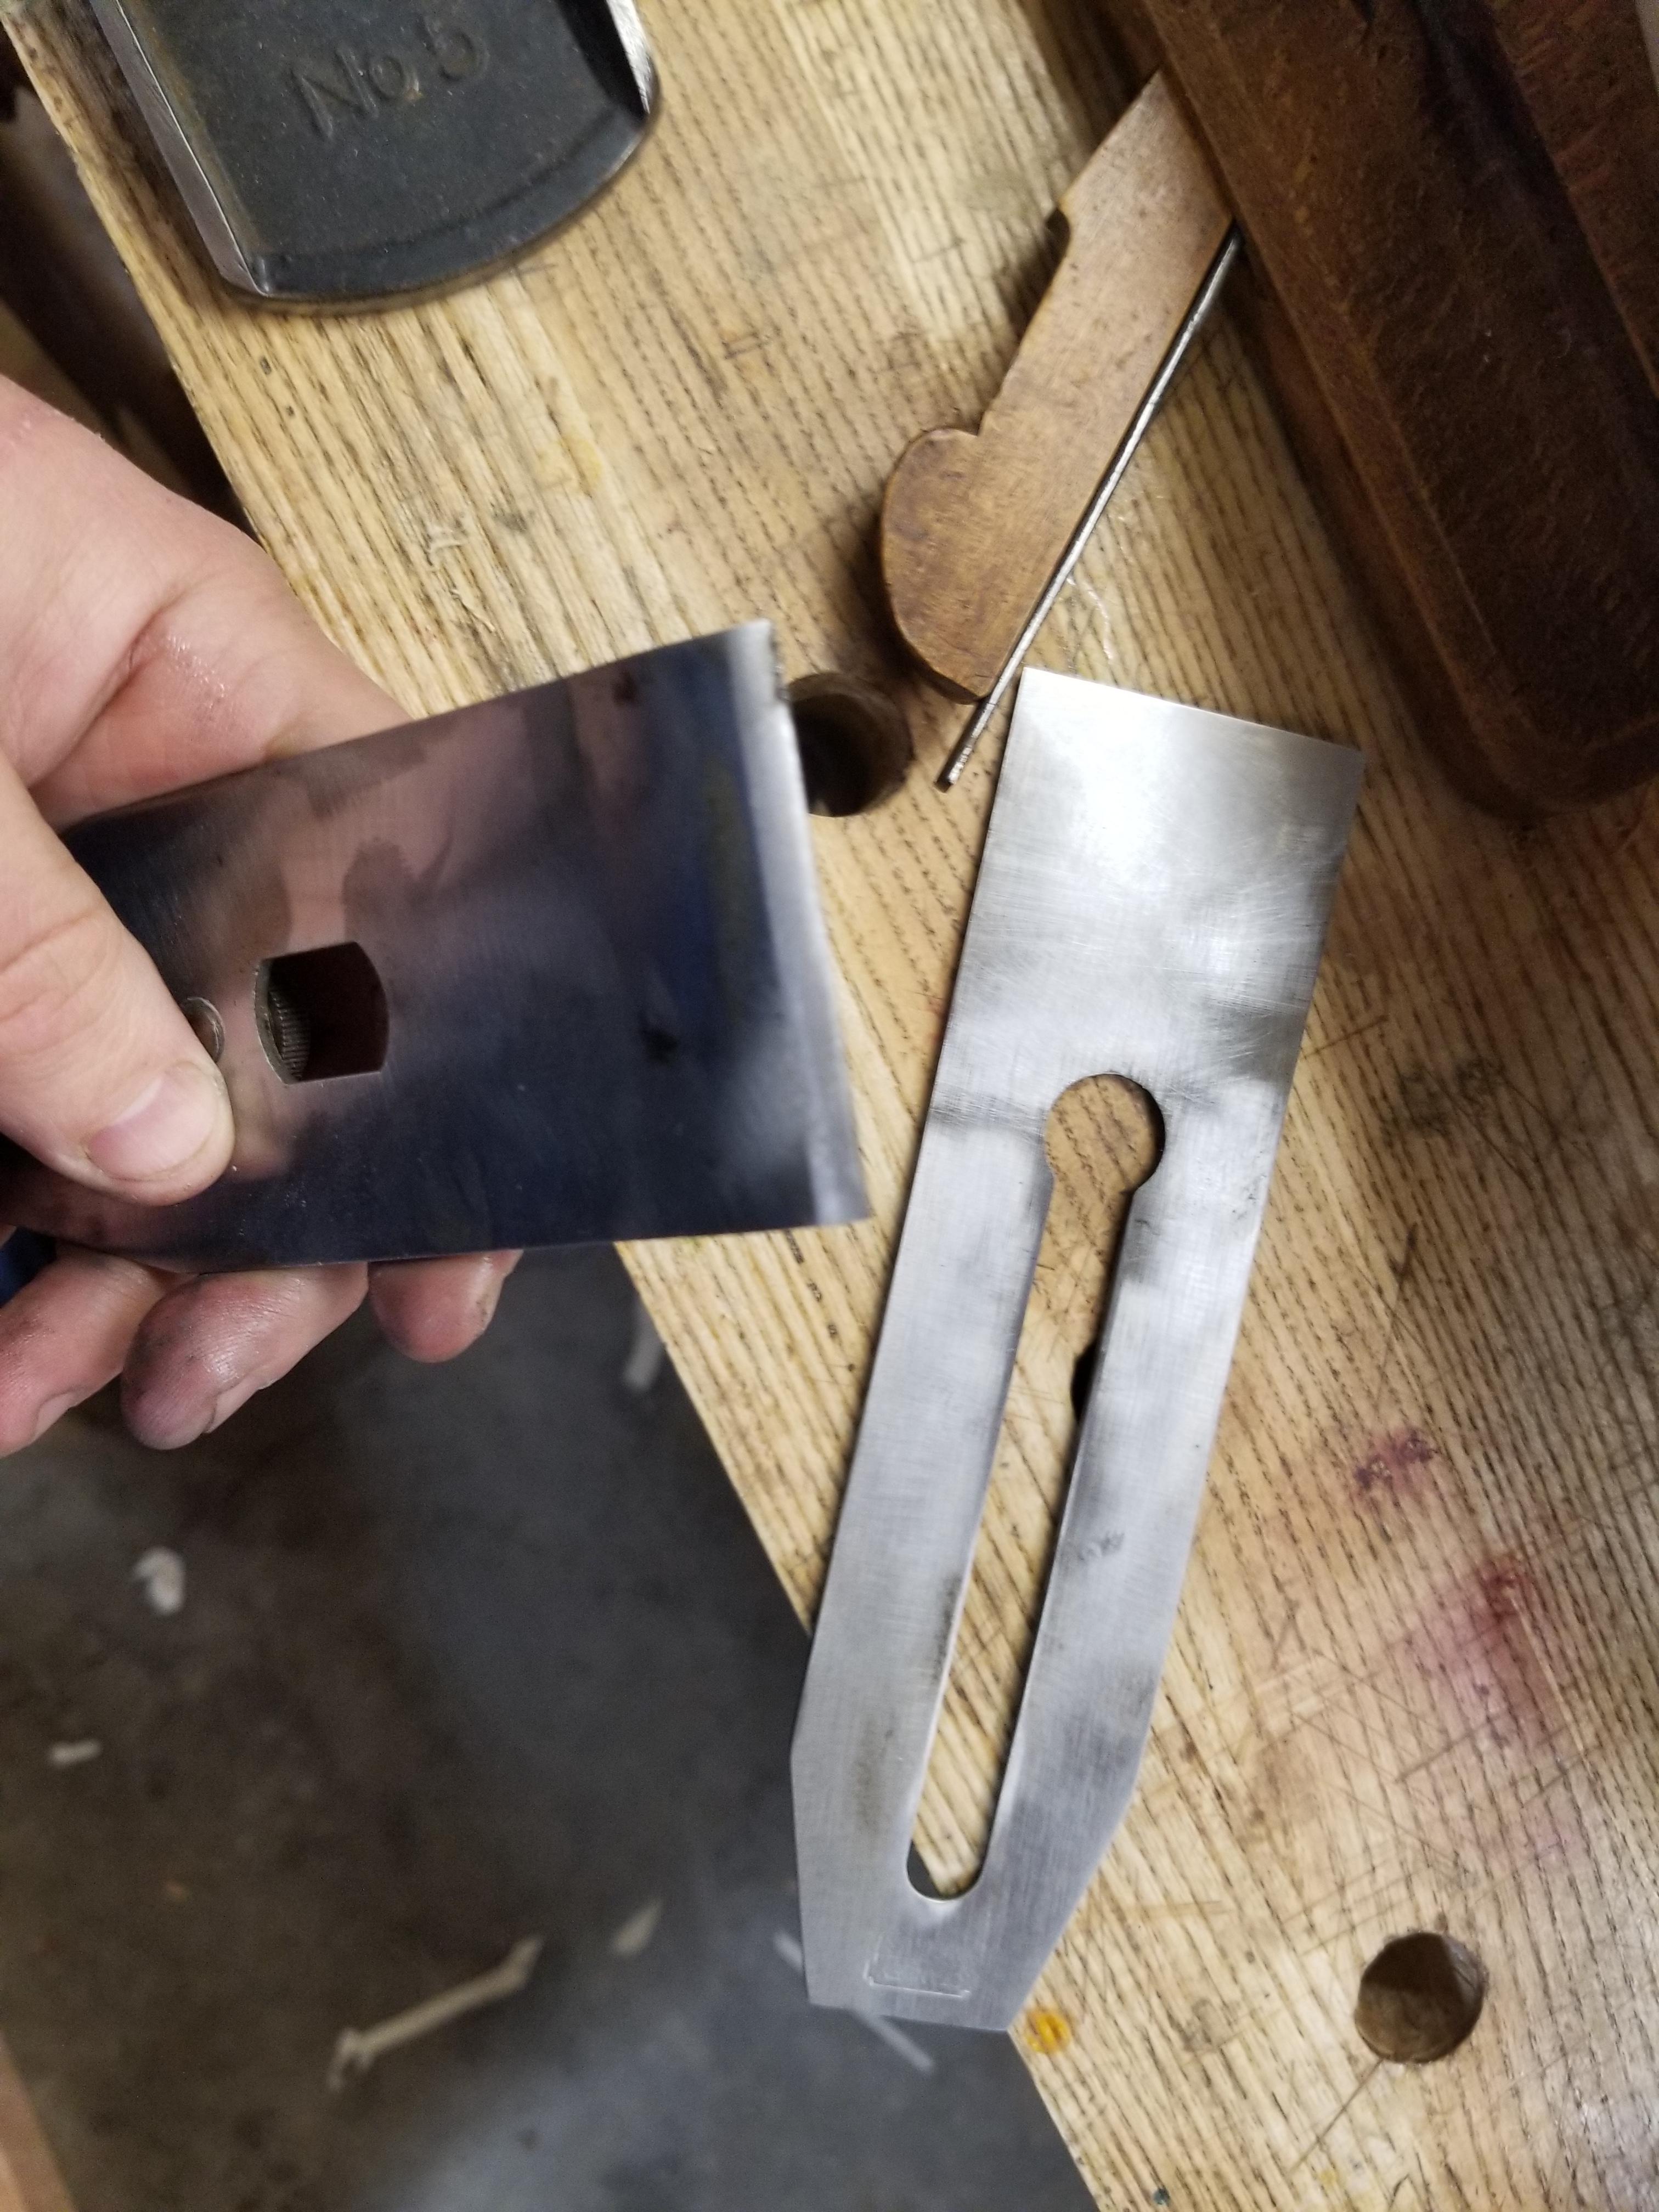
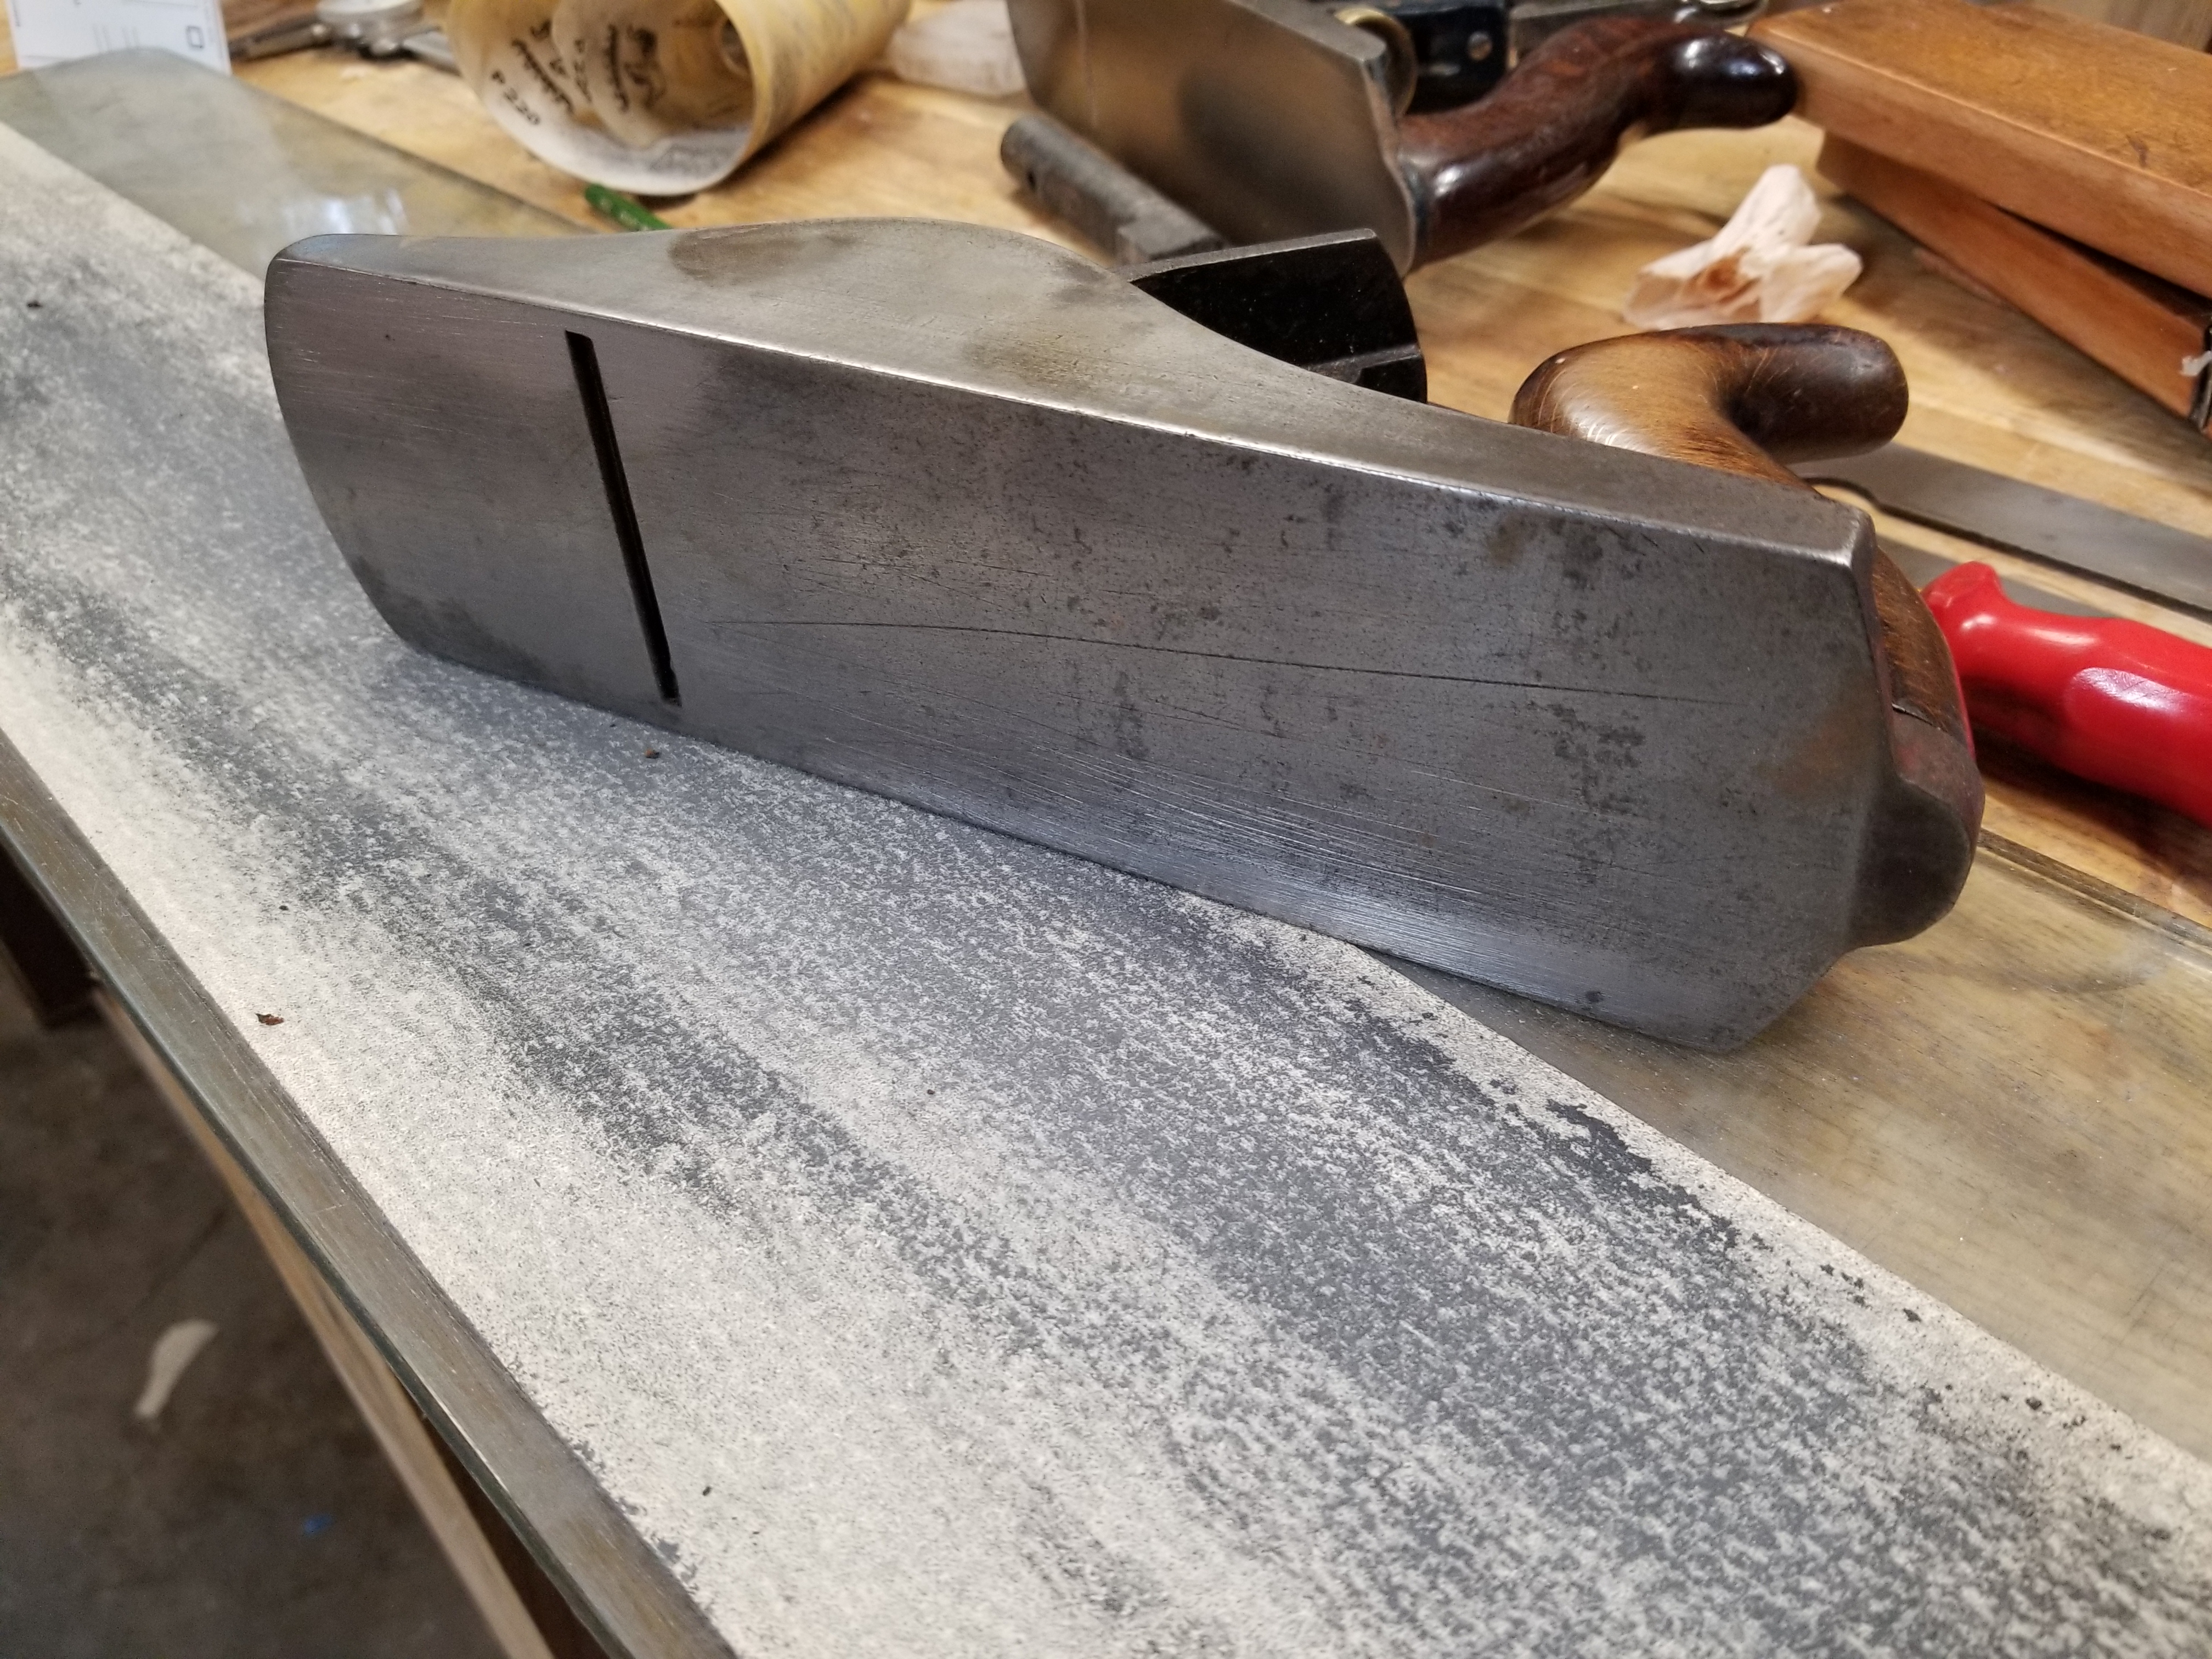
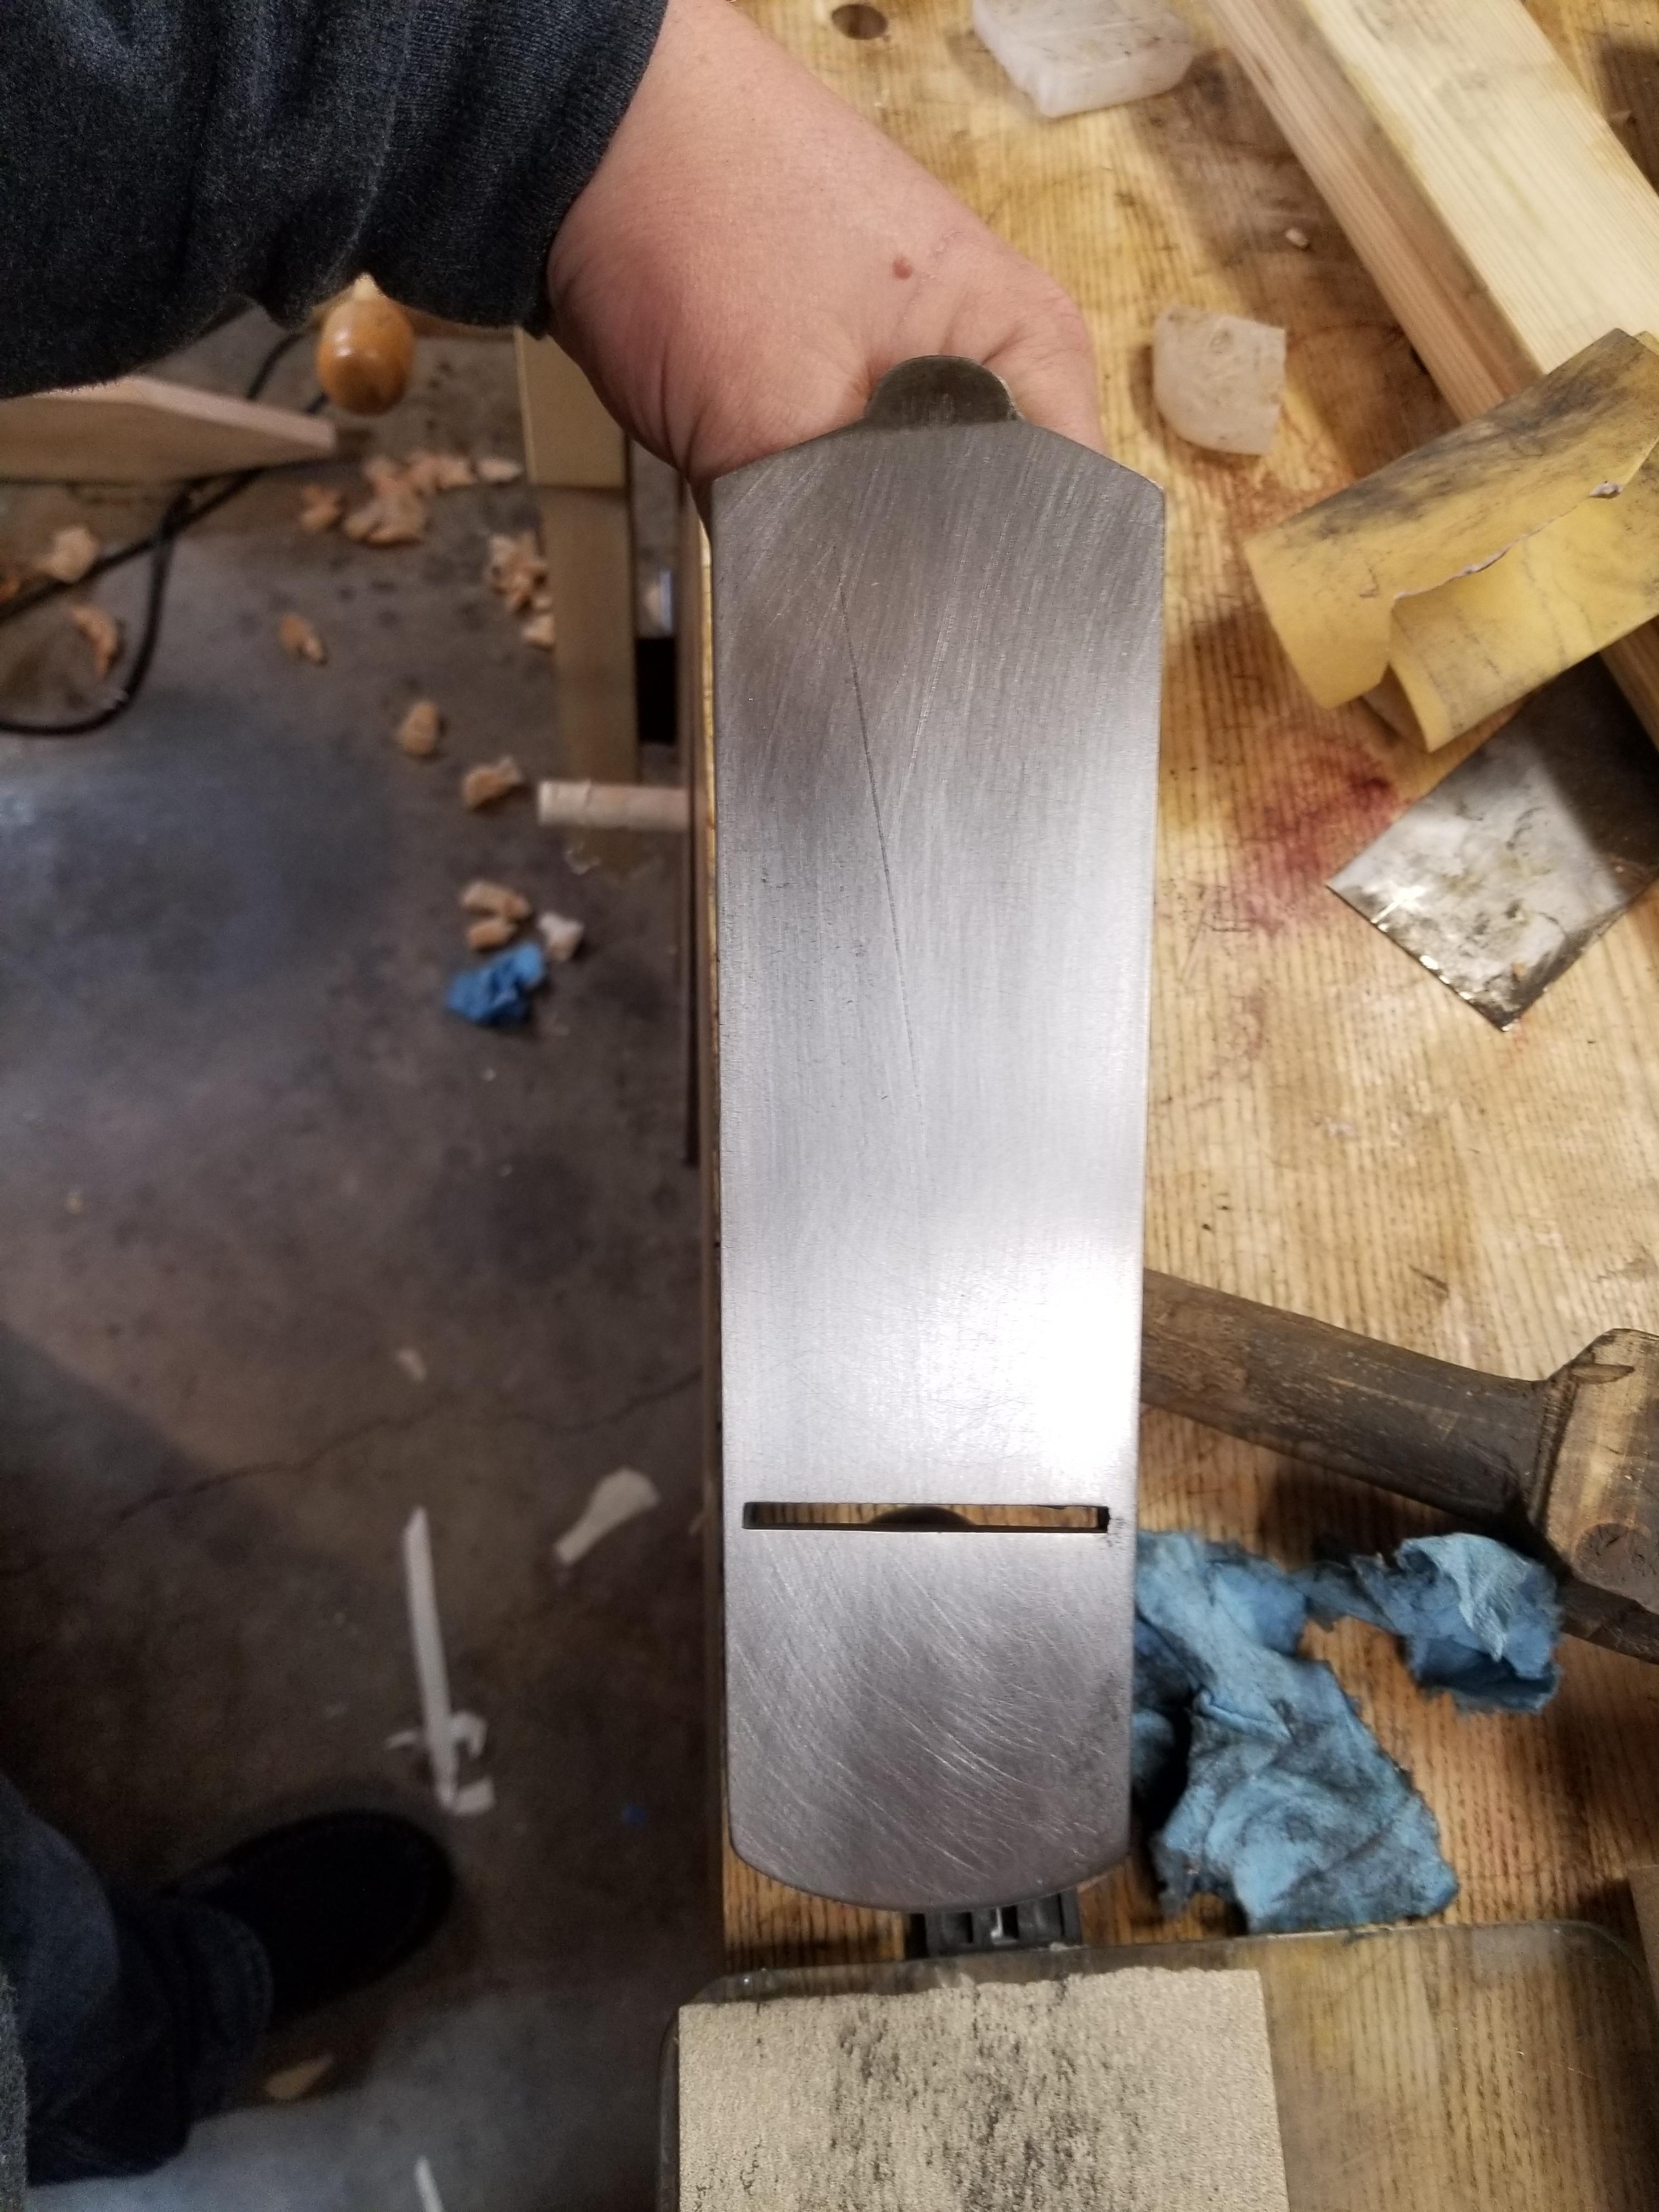
starting at 5:42 - some dealer went over everything on this plane with a deburring wheel. I'm not a collector, so I don't really care. I guess at this point in life, I would do the same thing in 10 minutes if the seller hadn't, but they were smart enough to know that they'd get more for it like this than if it was rusty.
ANi9hct.jpg


pnWccQe.jpg


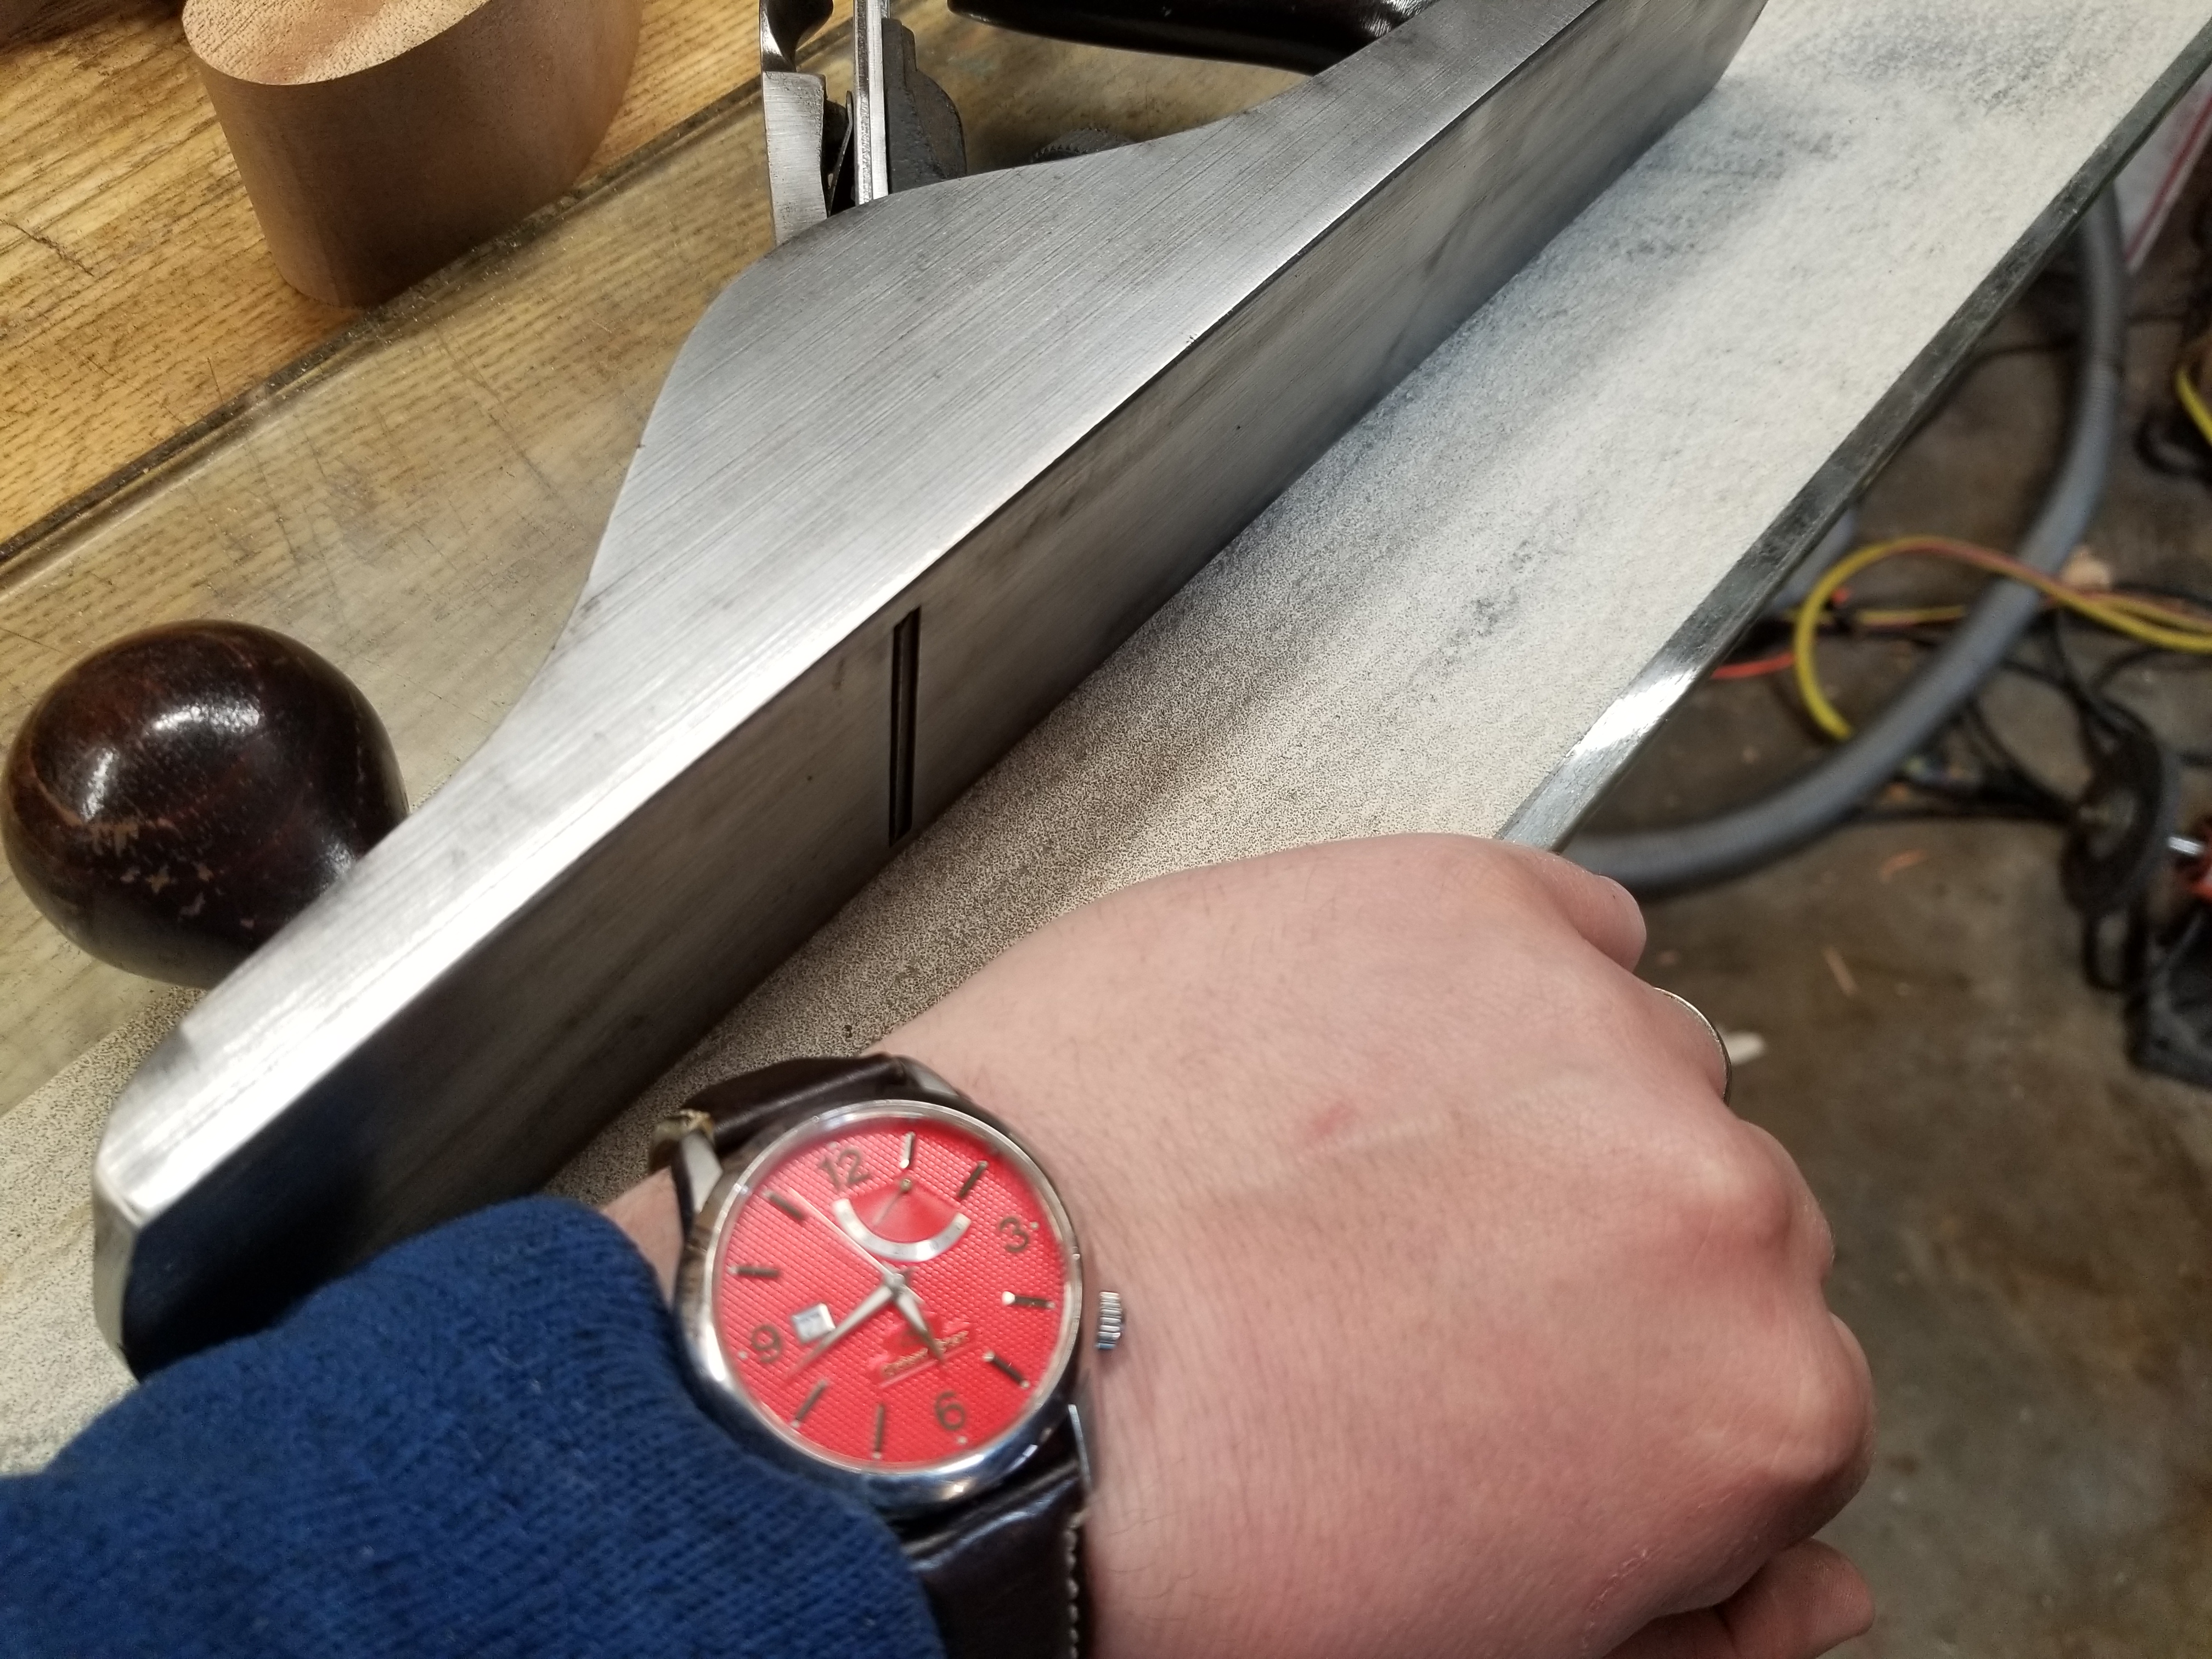
The lap is just a glass shelf ($20). You know already i'm an amateur toolmaker. The bench under it is flat - truly flat - in the front right corner, it's where I true planes. 80 grit psa roll.

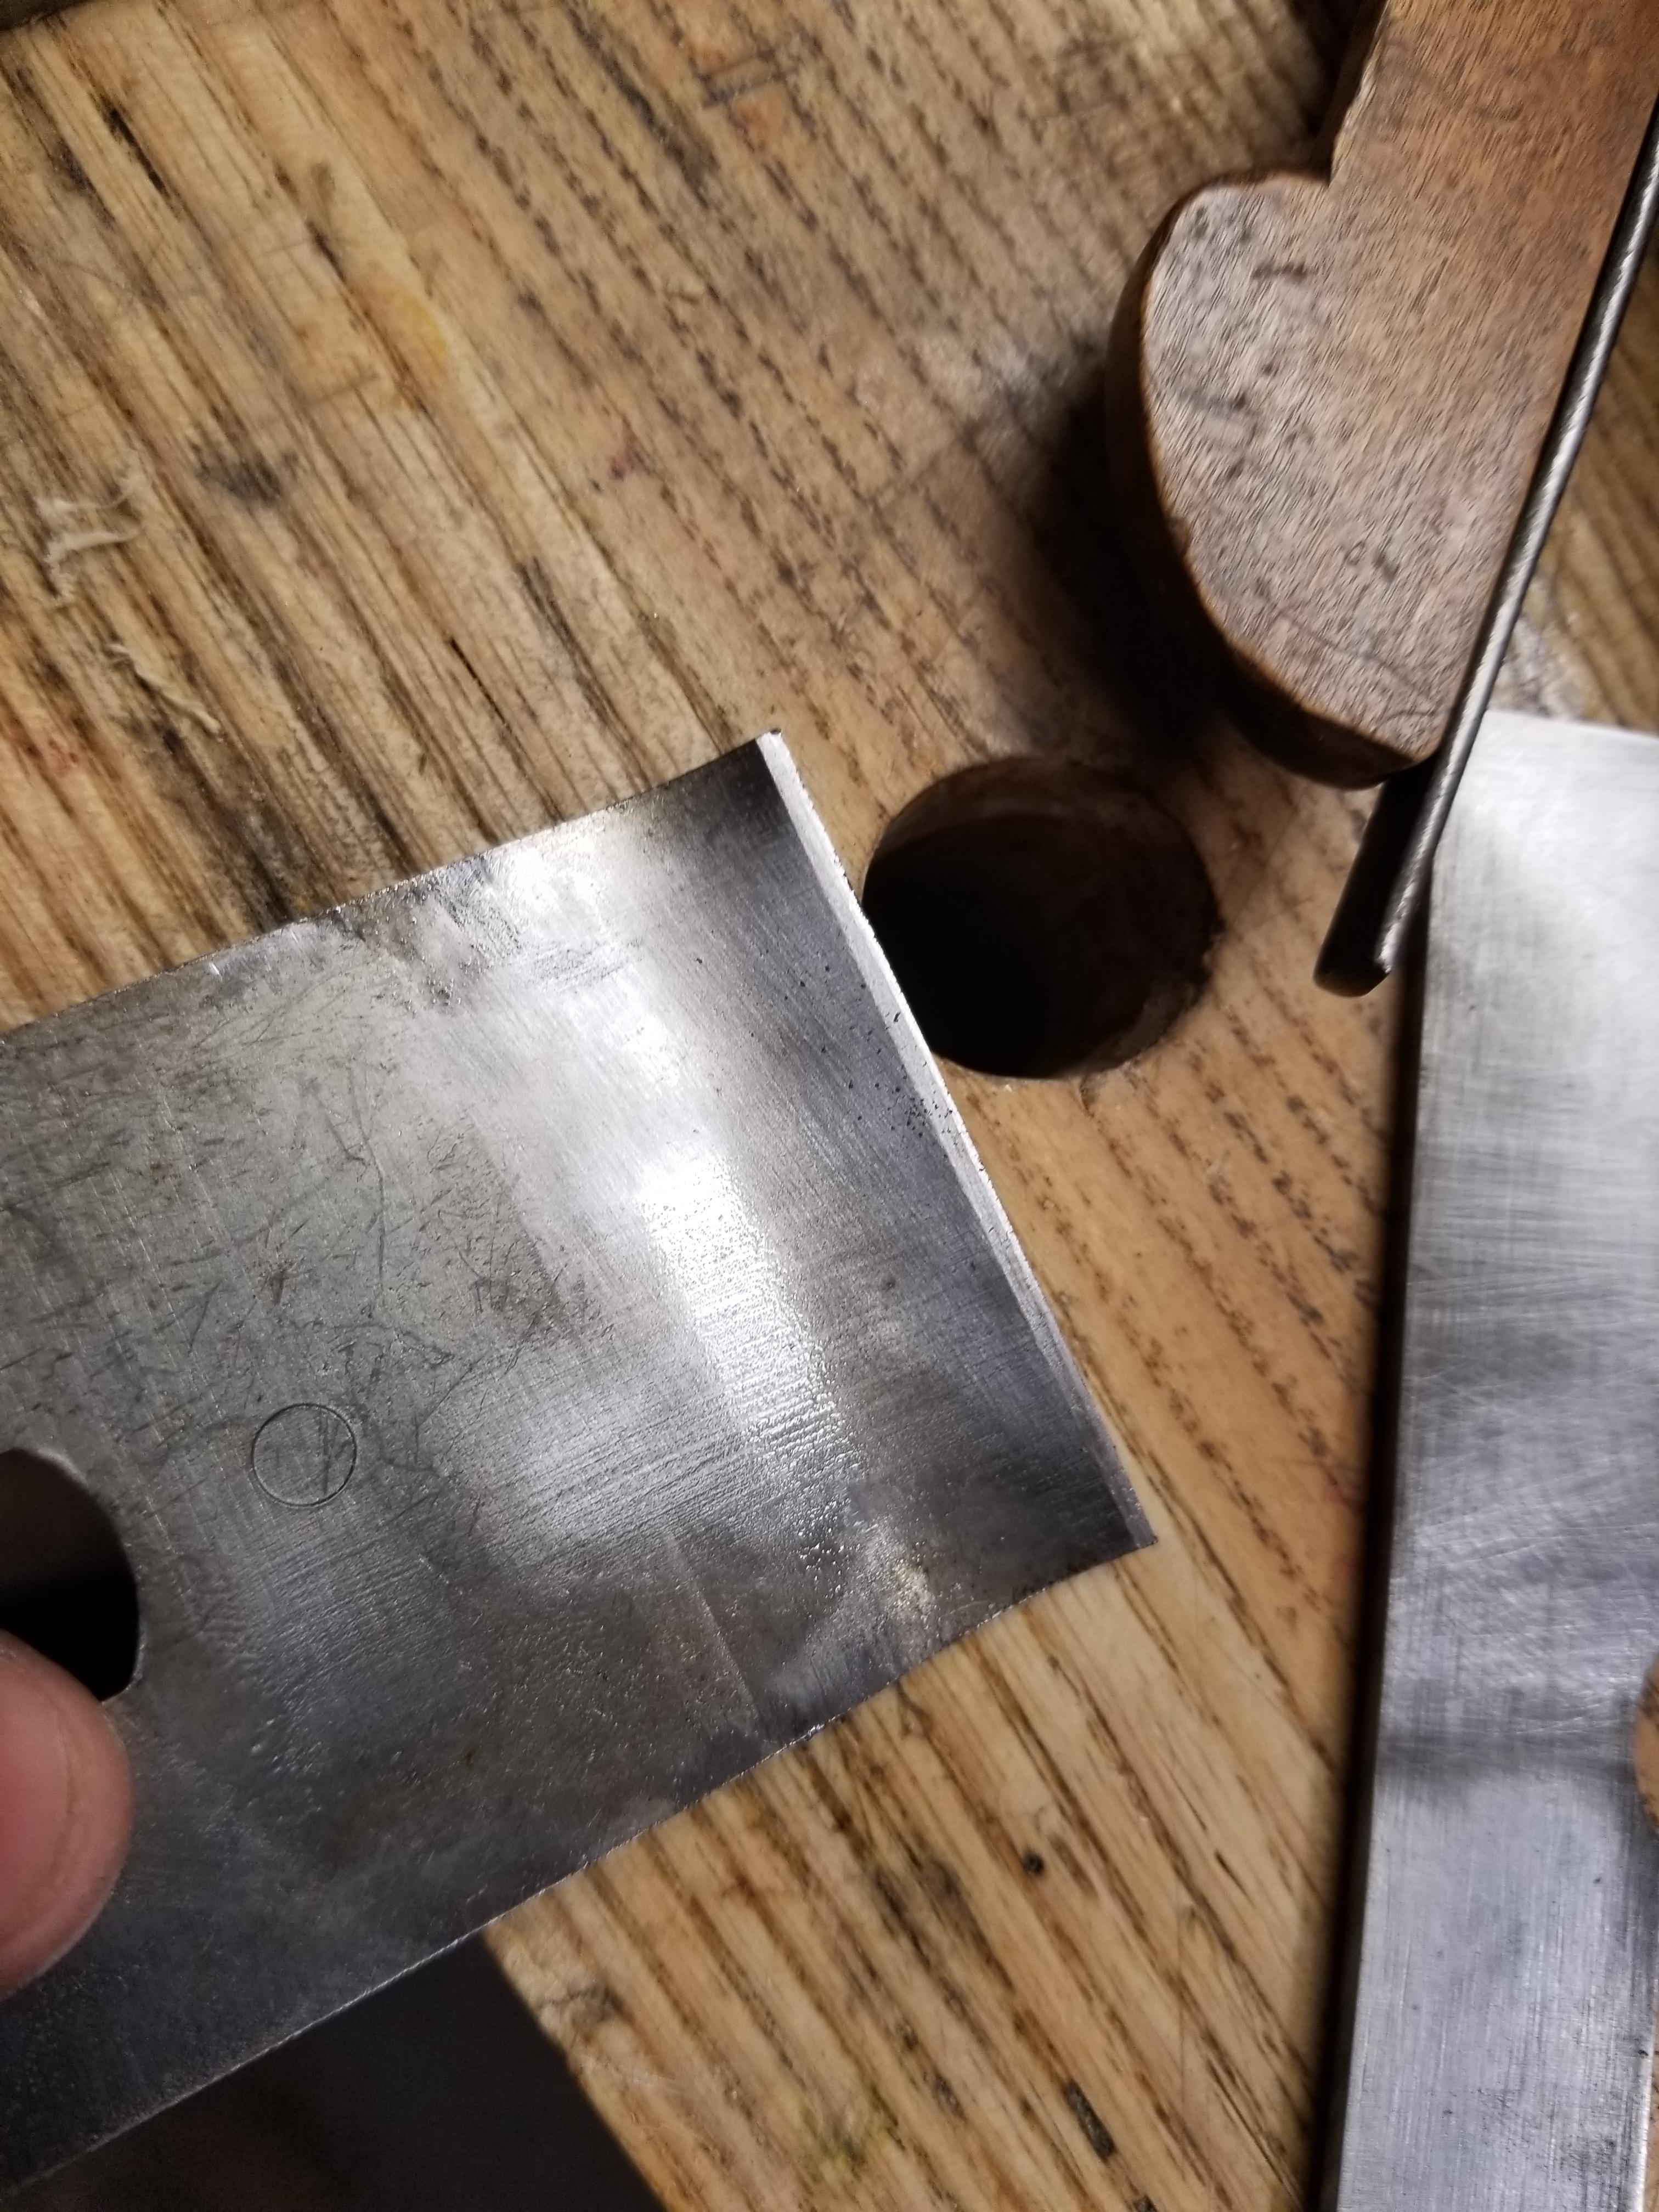
I start lapping the iron. It gets hot fast. It's not boutique flat, but I'll get most of the wonk flattened out of it. This paper is extremely coarse, so the last step is to move it in a circular motion on the paper (remember, it's PSA - there will be little or no dubbing because the paper can't lift). I have a tool that I use to hold irons, but this one isn't bad enough to get it out.
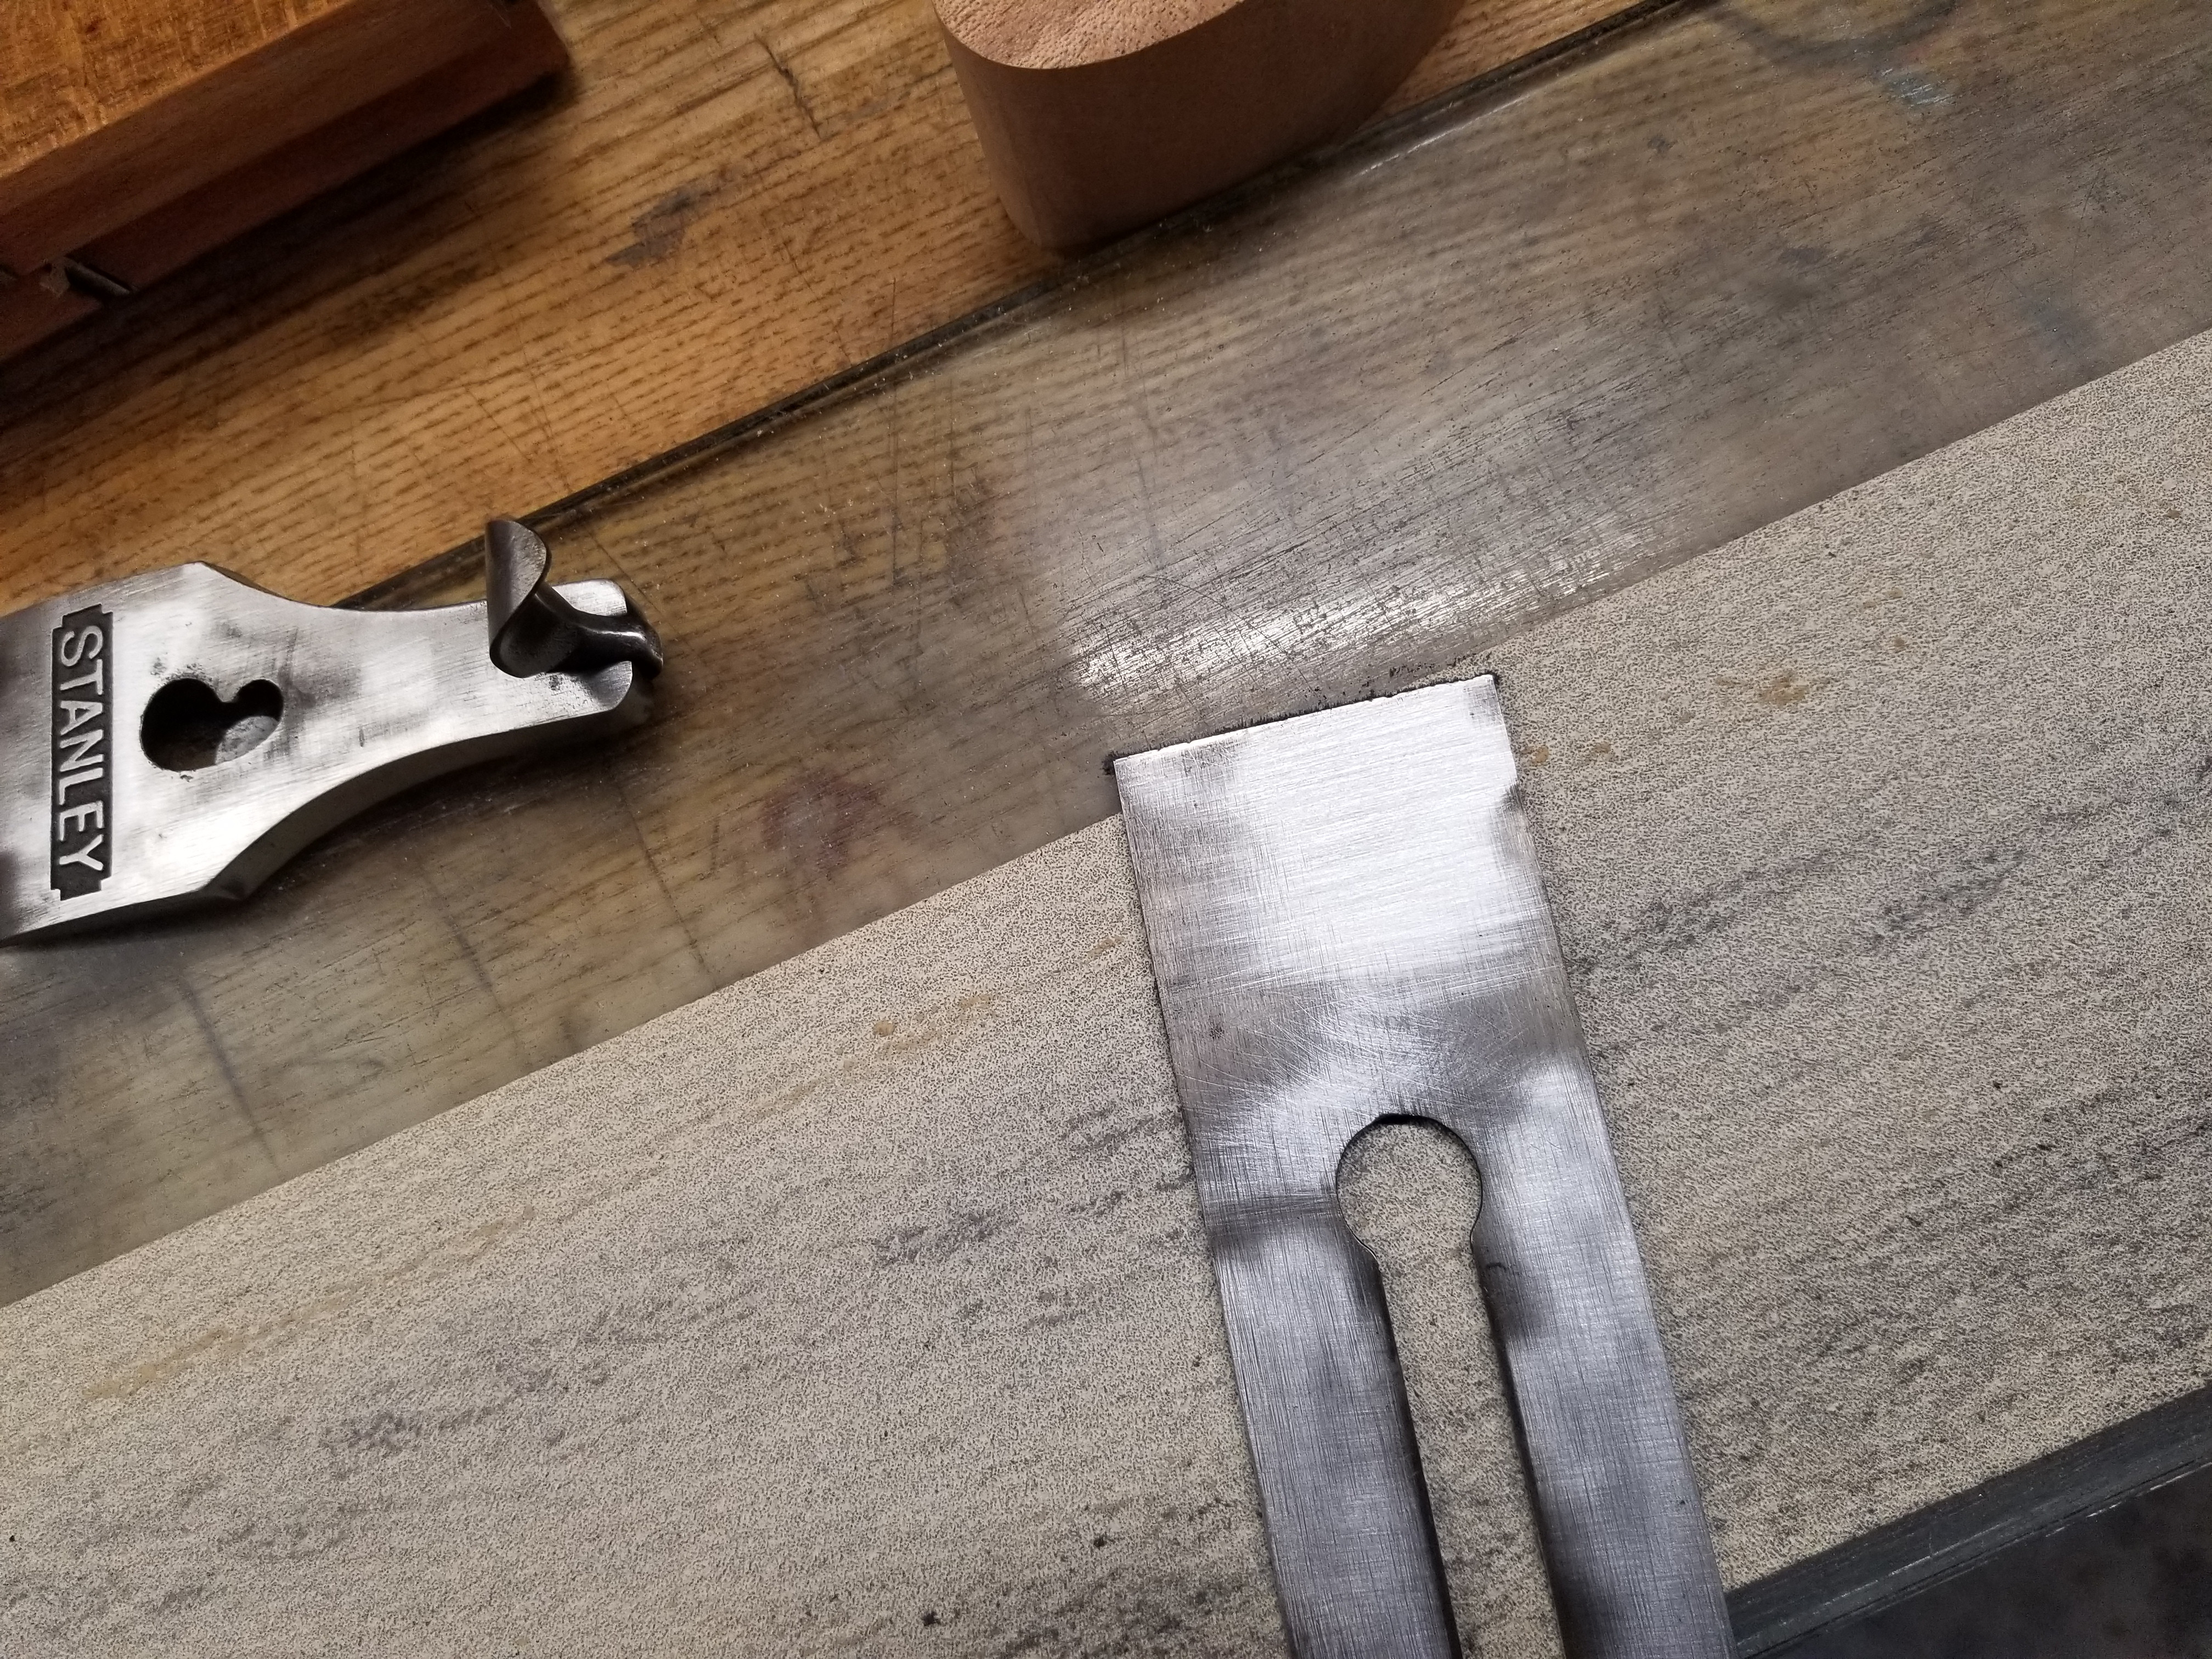
ycdhsuR.jpg


Once i'm done, I flip it over and regrind the bevel so that it's fresh (it had some relatively gross nicks in it - like grain of sand size, not huge).

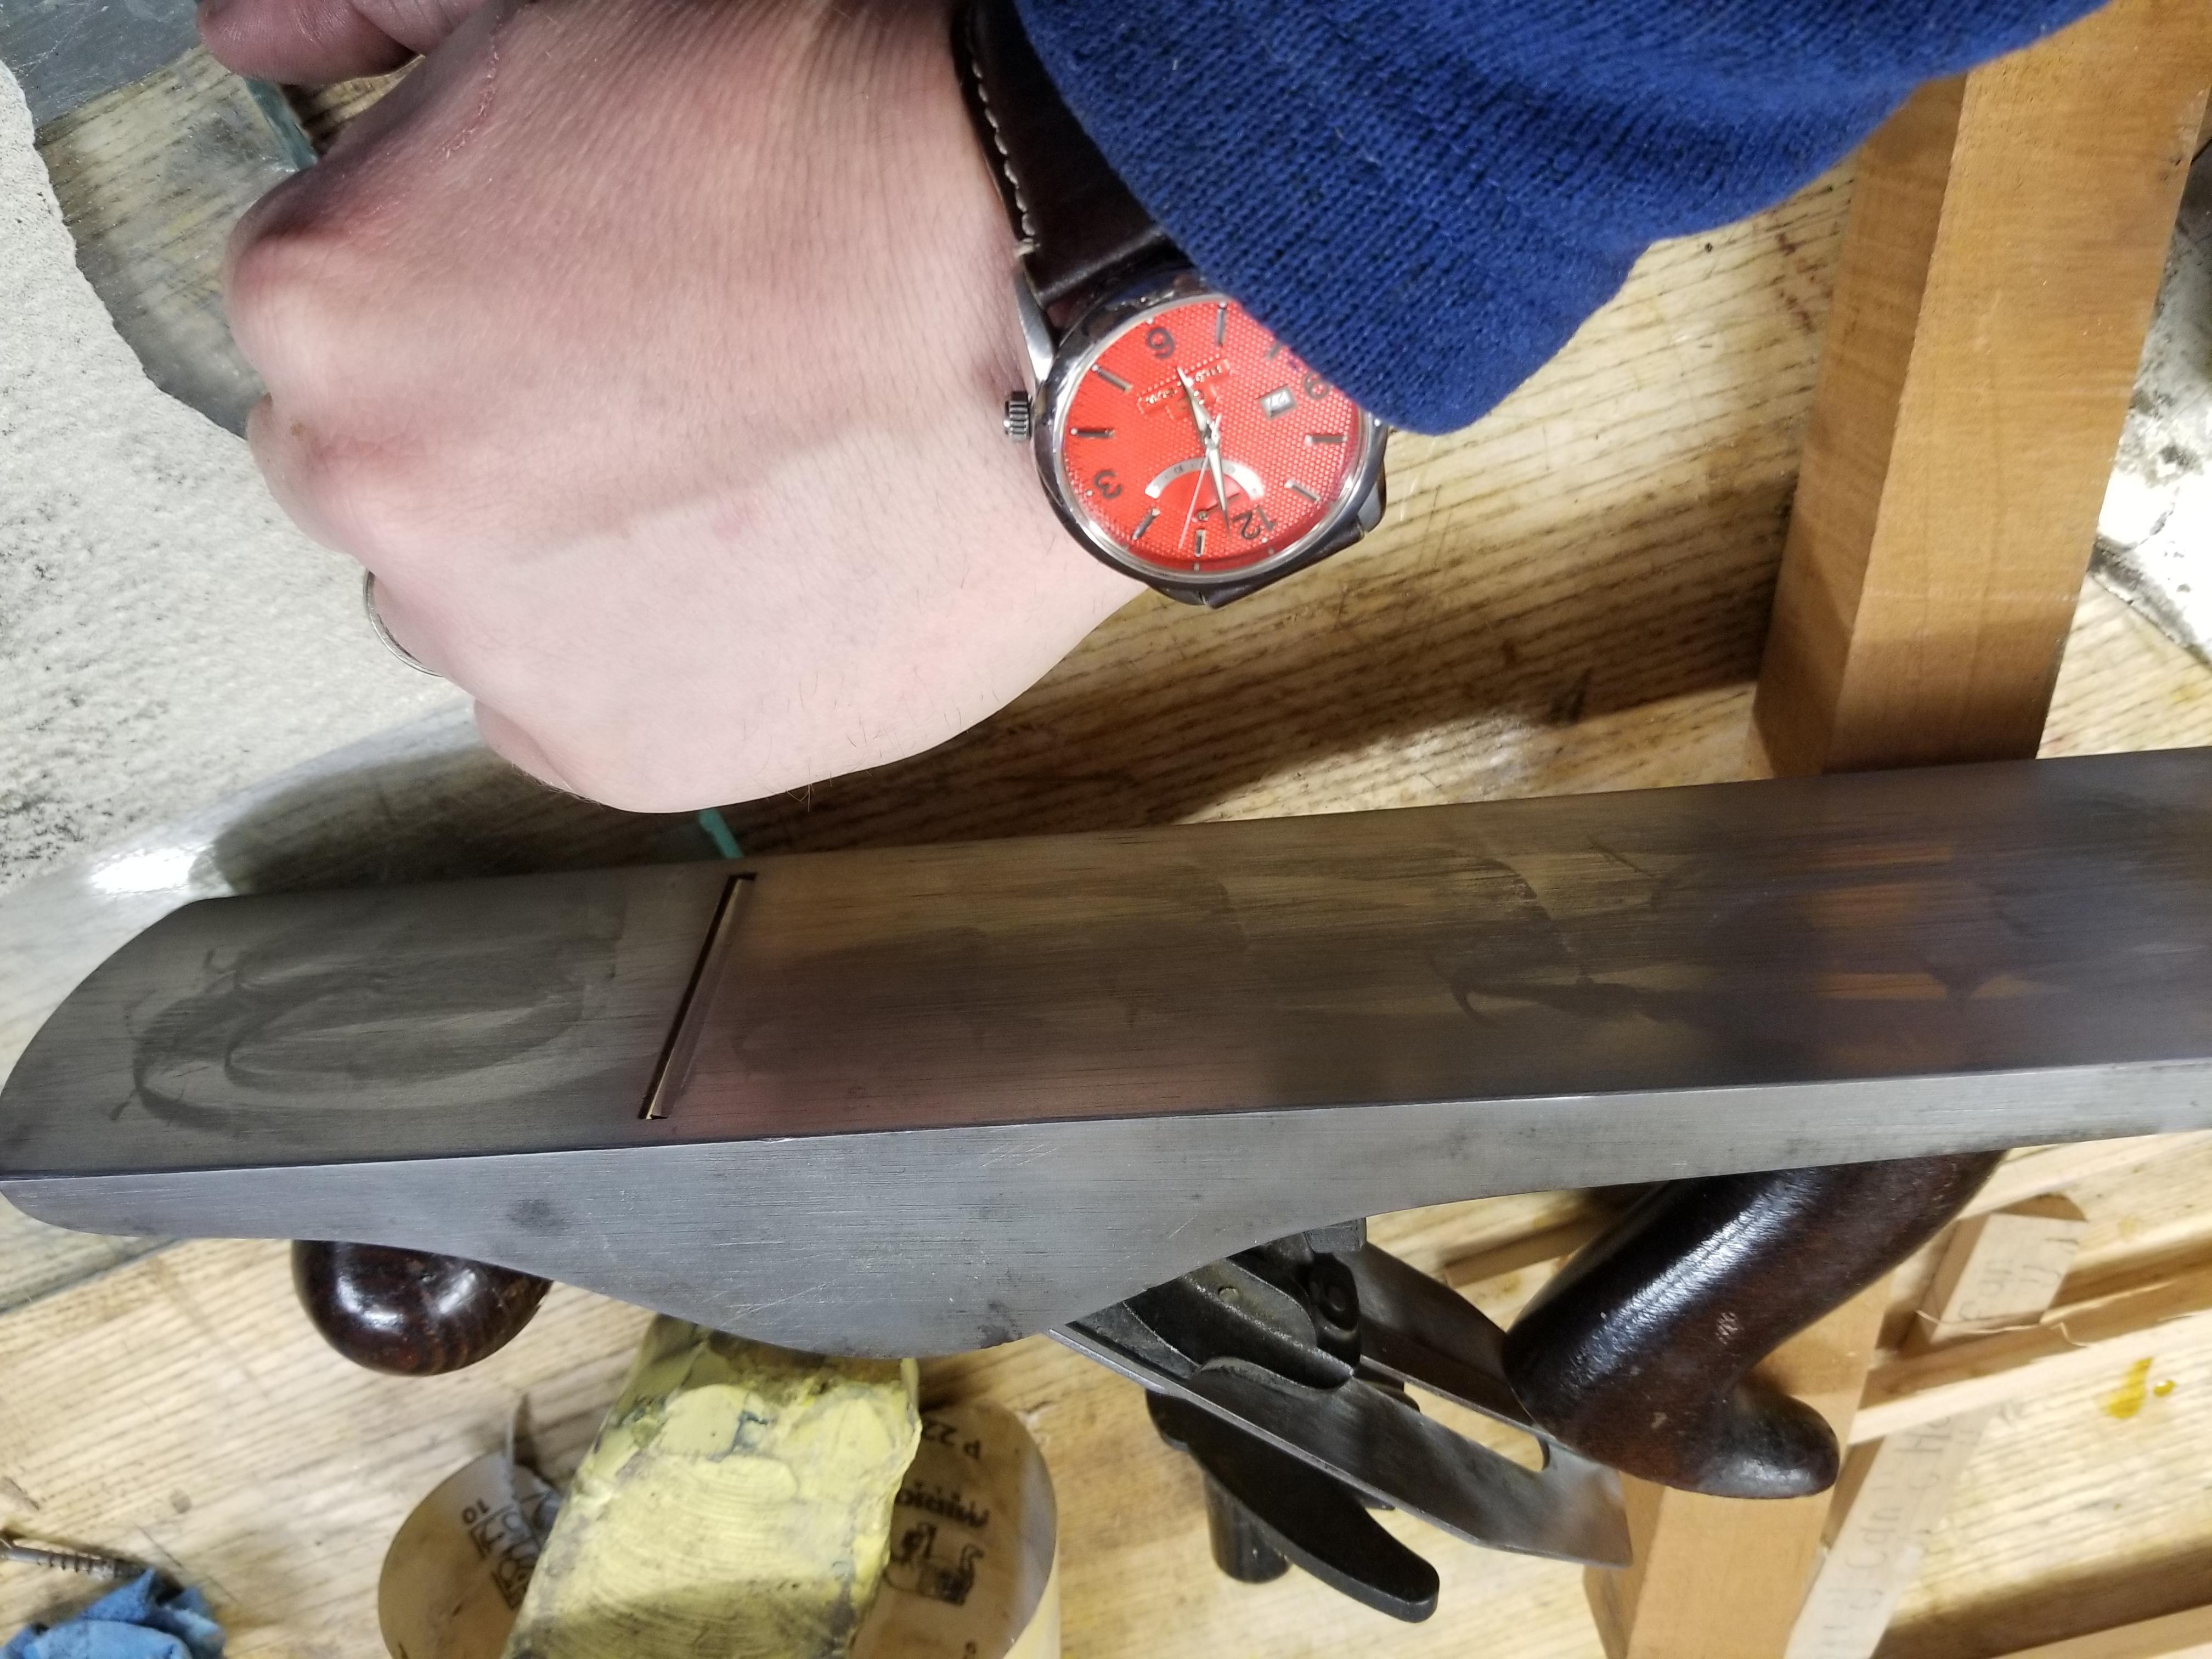
lapping the sole is next. It was hollow in center along its length. I"ll stop at this point, going toward cosmetics from here will just result i less flatness. That's solvable by sectional work or filing and then doing a final lap after that, but I"m not going there on this plane. It would probably take at least half an hour. This is awfully close to dead flat.
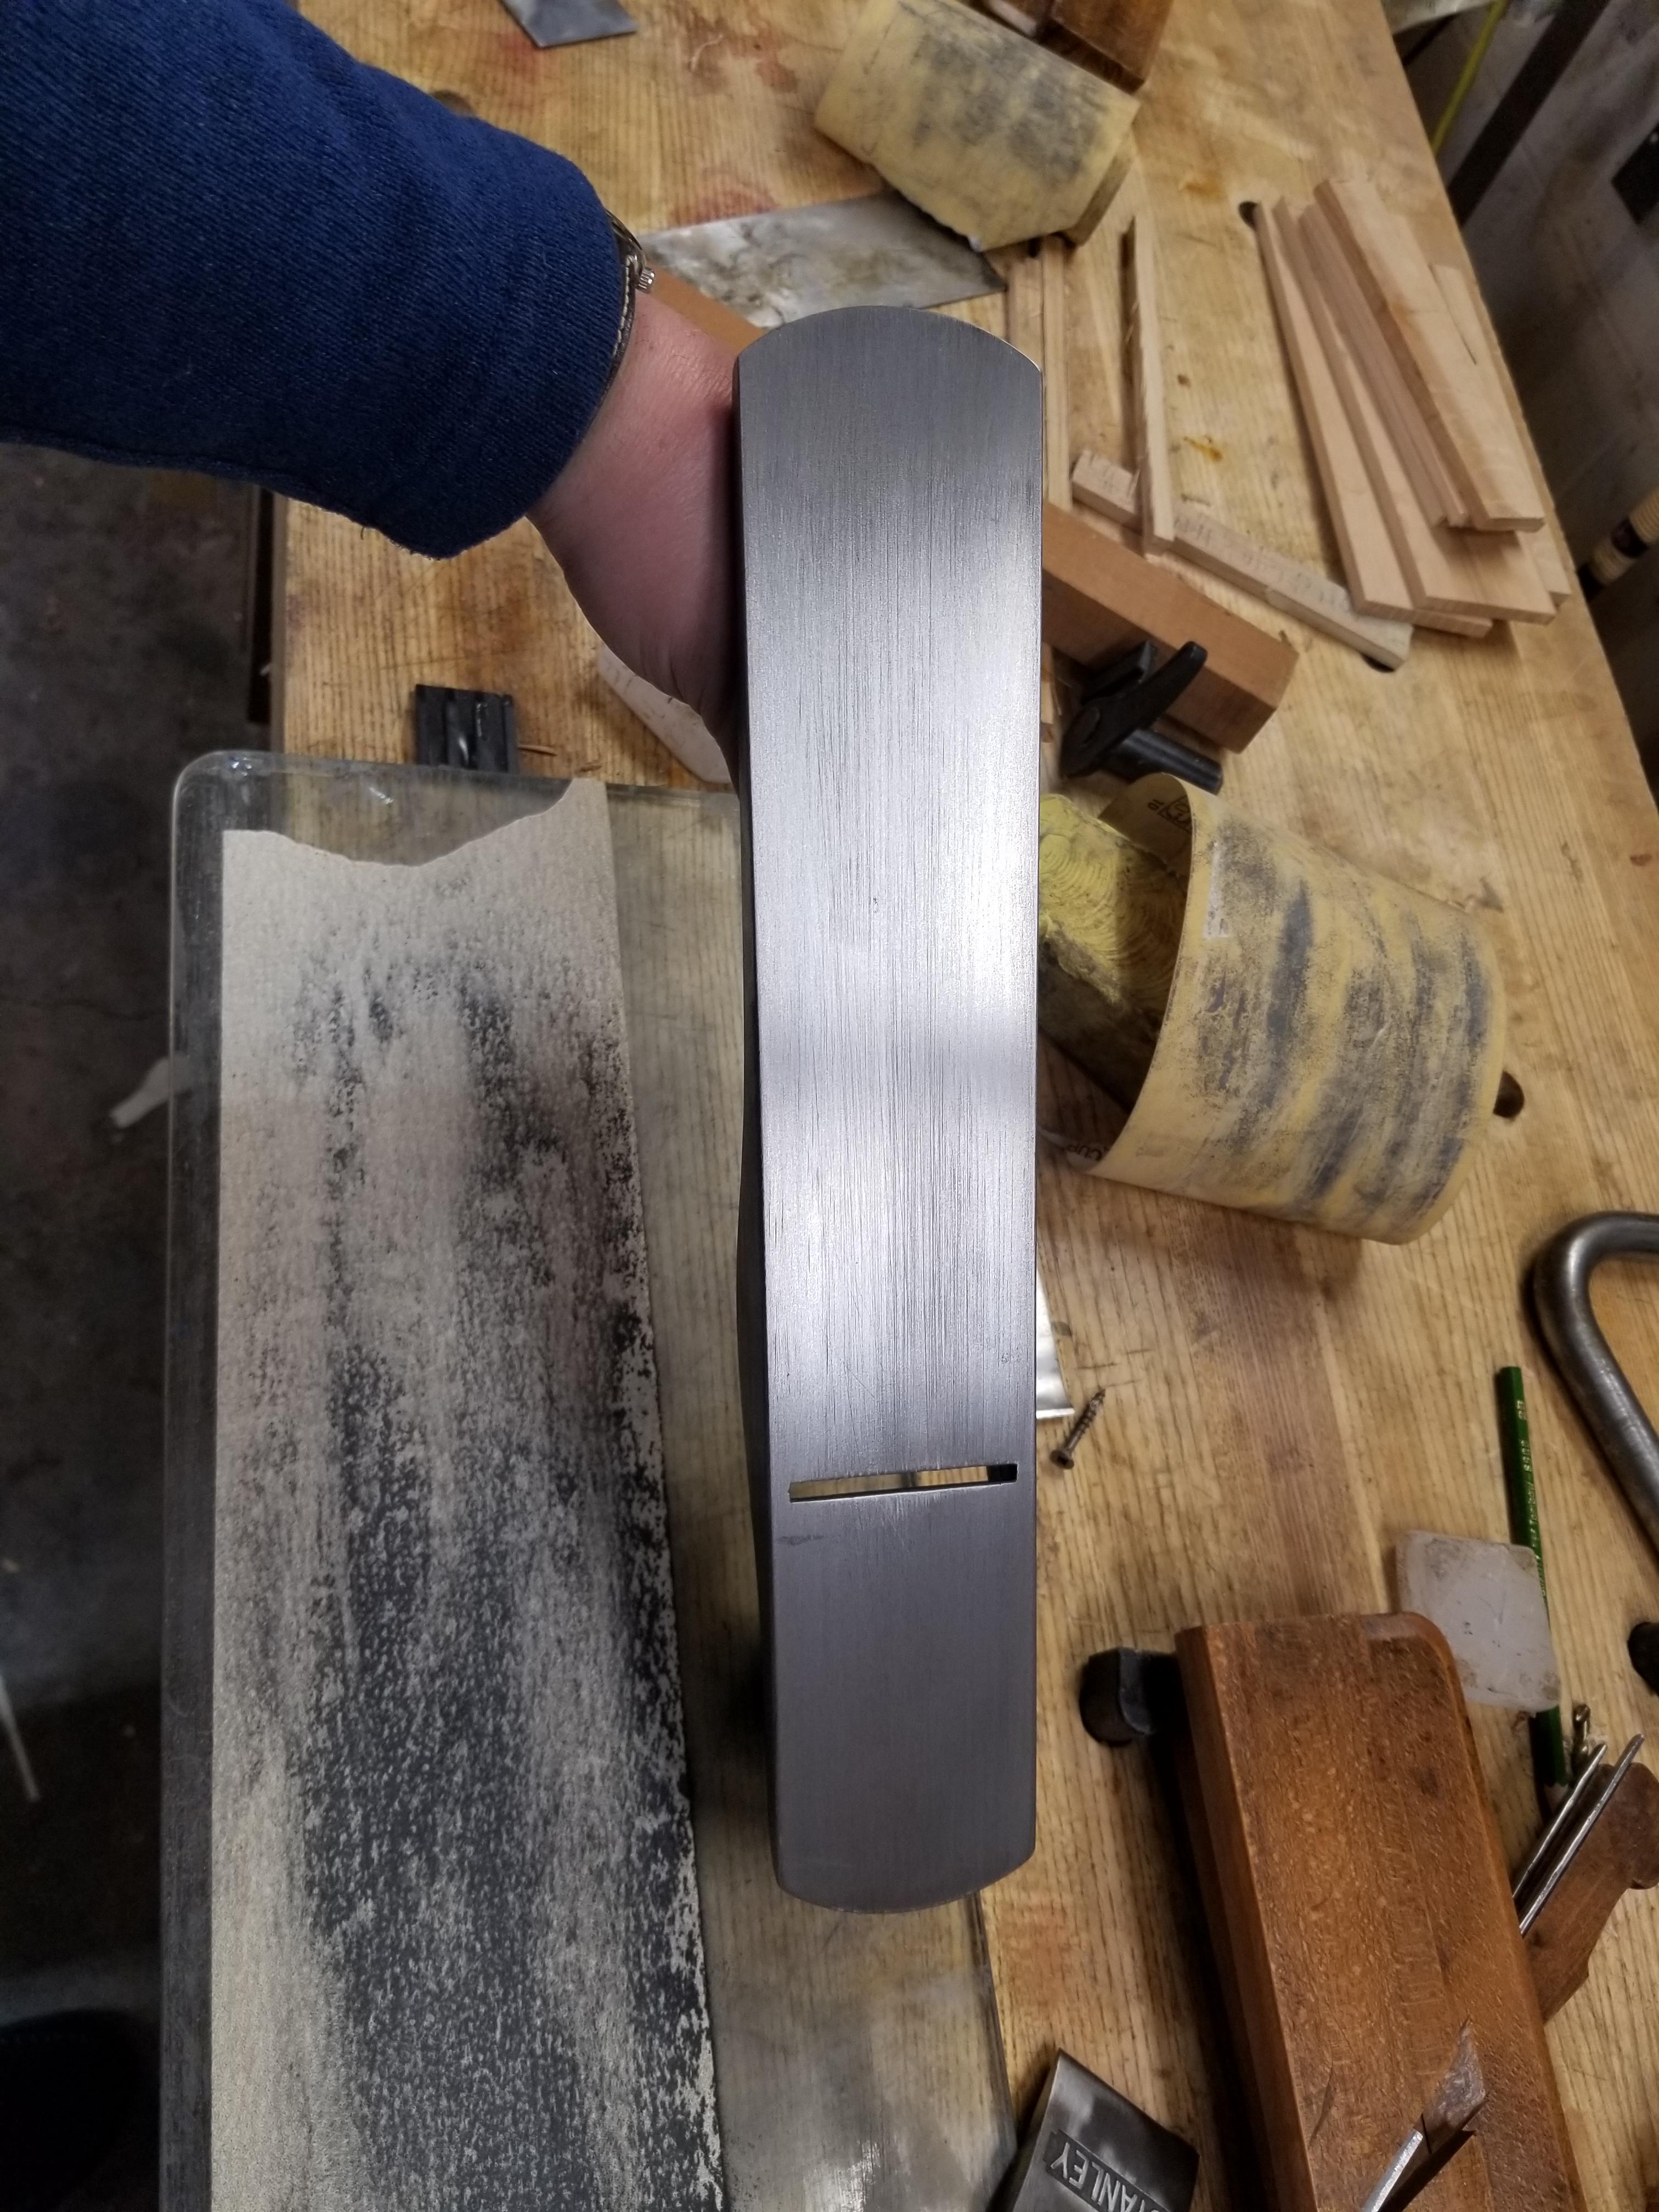
rSfLzRz.jpg
 
The coarse lap makes this part of the process fast. It's 2 or 3 minutes. there's a different method for really long planes that are more than a tiny bit out of flat, and old steel infills can be a bear doing this, but anything up to a 5 1/2 or so works well with just the lap. you're aiming to make the toe and heel ever so slightly higher than the mouth for the plane to work well (convex sole - but we're talking a few thousandths). This is a natural side effect of lapping if you don't lap too much.

I hand sand the sole briefly with 220 grit paper - the 80 grit grooves will have grip and need to break in/wear otherwise. Don't worry about flatness, just hand sand the grooves for 10 seconds or so and then wipe off the sole several times (or you'll plane the metal dirt when it ends up in your test piece and get to resharpen early).

Set the frog on your plane flush. It works best set like this. If stanley wanted you to close the mouth really tight, they'd have filed the front of the mouth like norris does.

zyPMFiu.jpg


Tighten every screw on the plane at this point to make sure that nothing is loose. if anything doesn't tighten (if the handle has shrunk) address it - shorten the handle post if you need to to get a good solid fit. Just grind a couple of threads off.

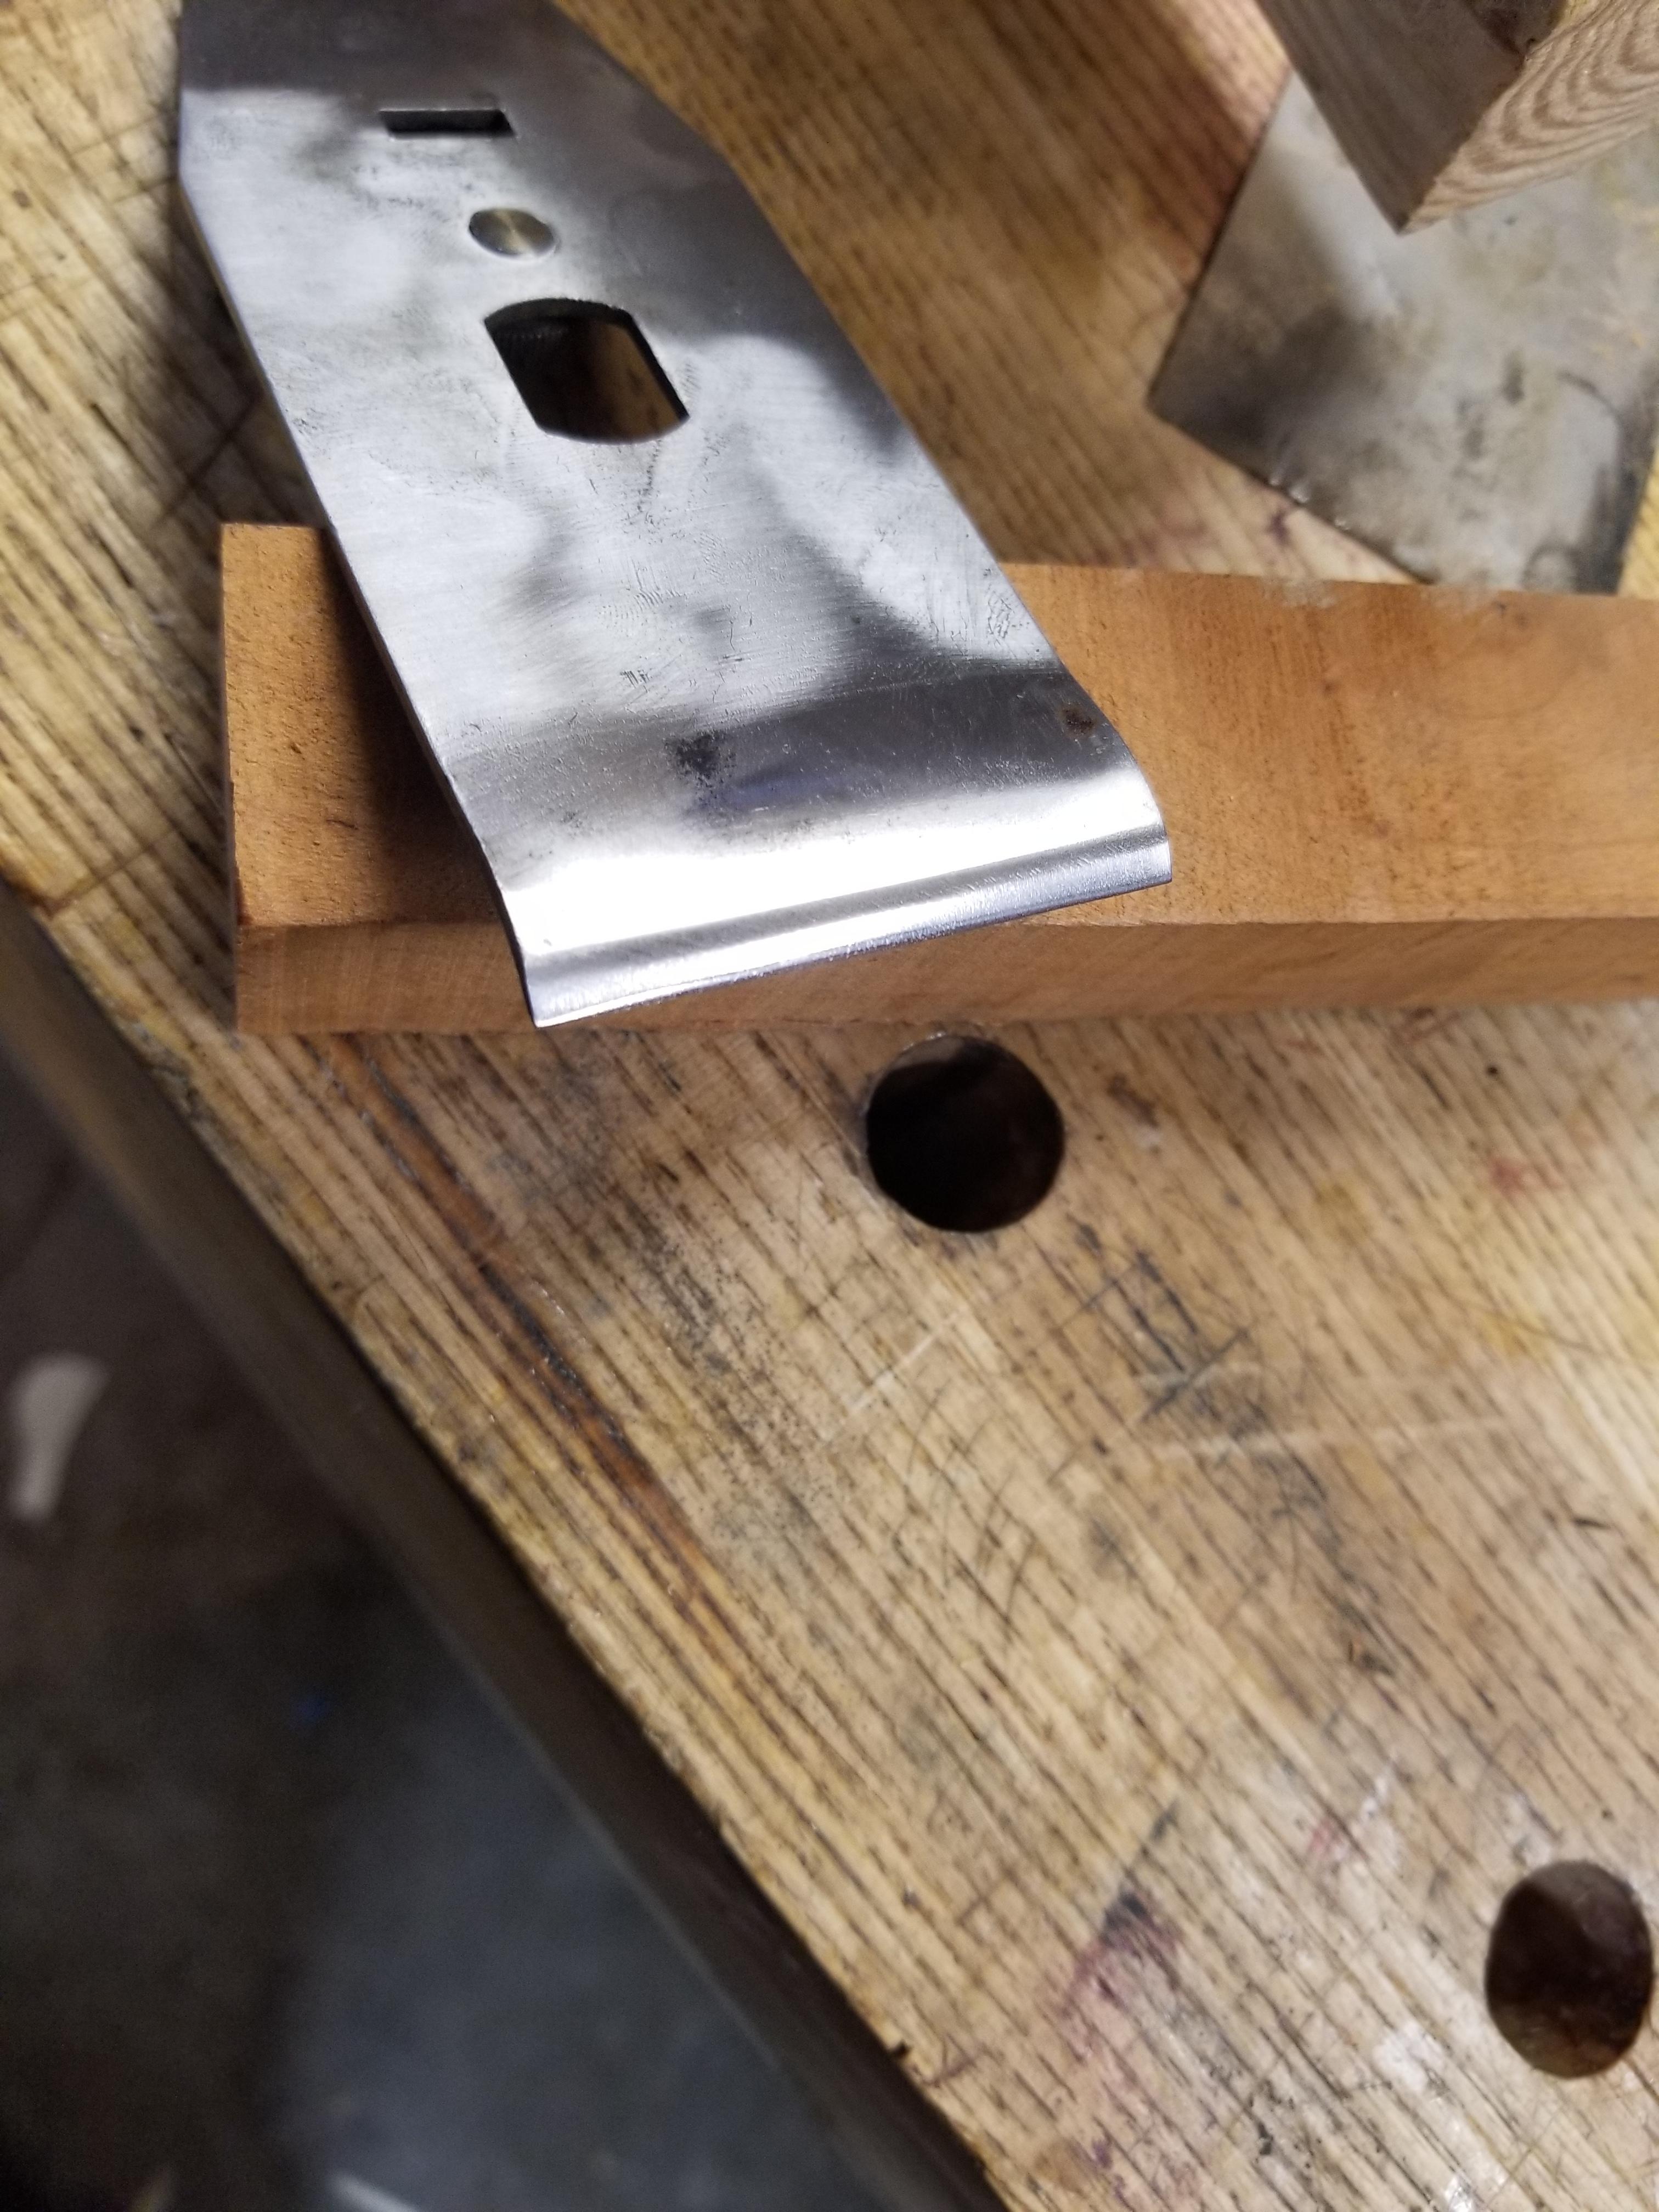
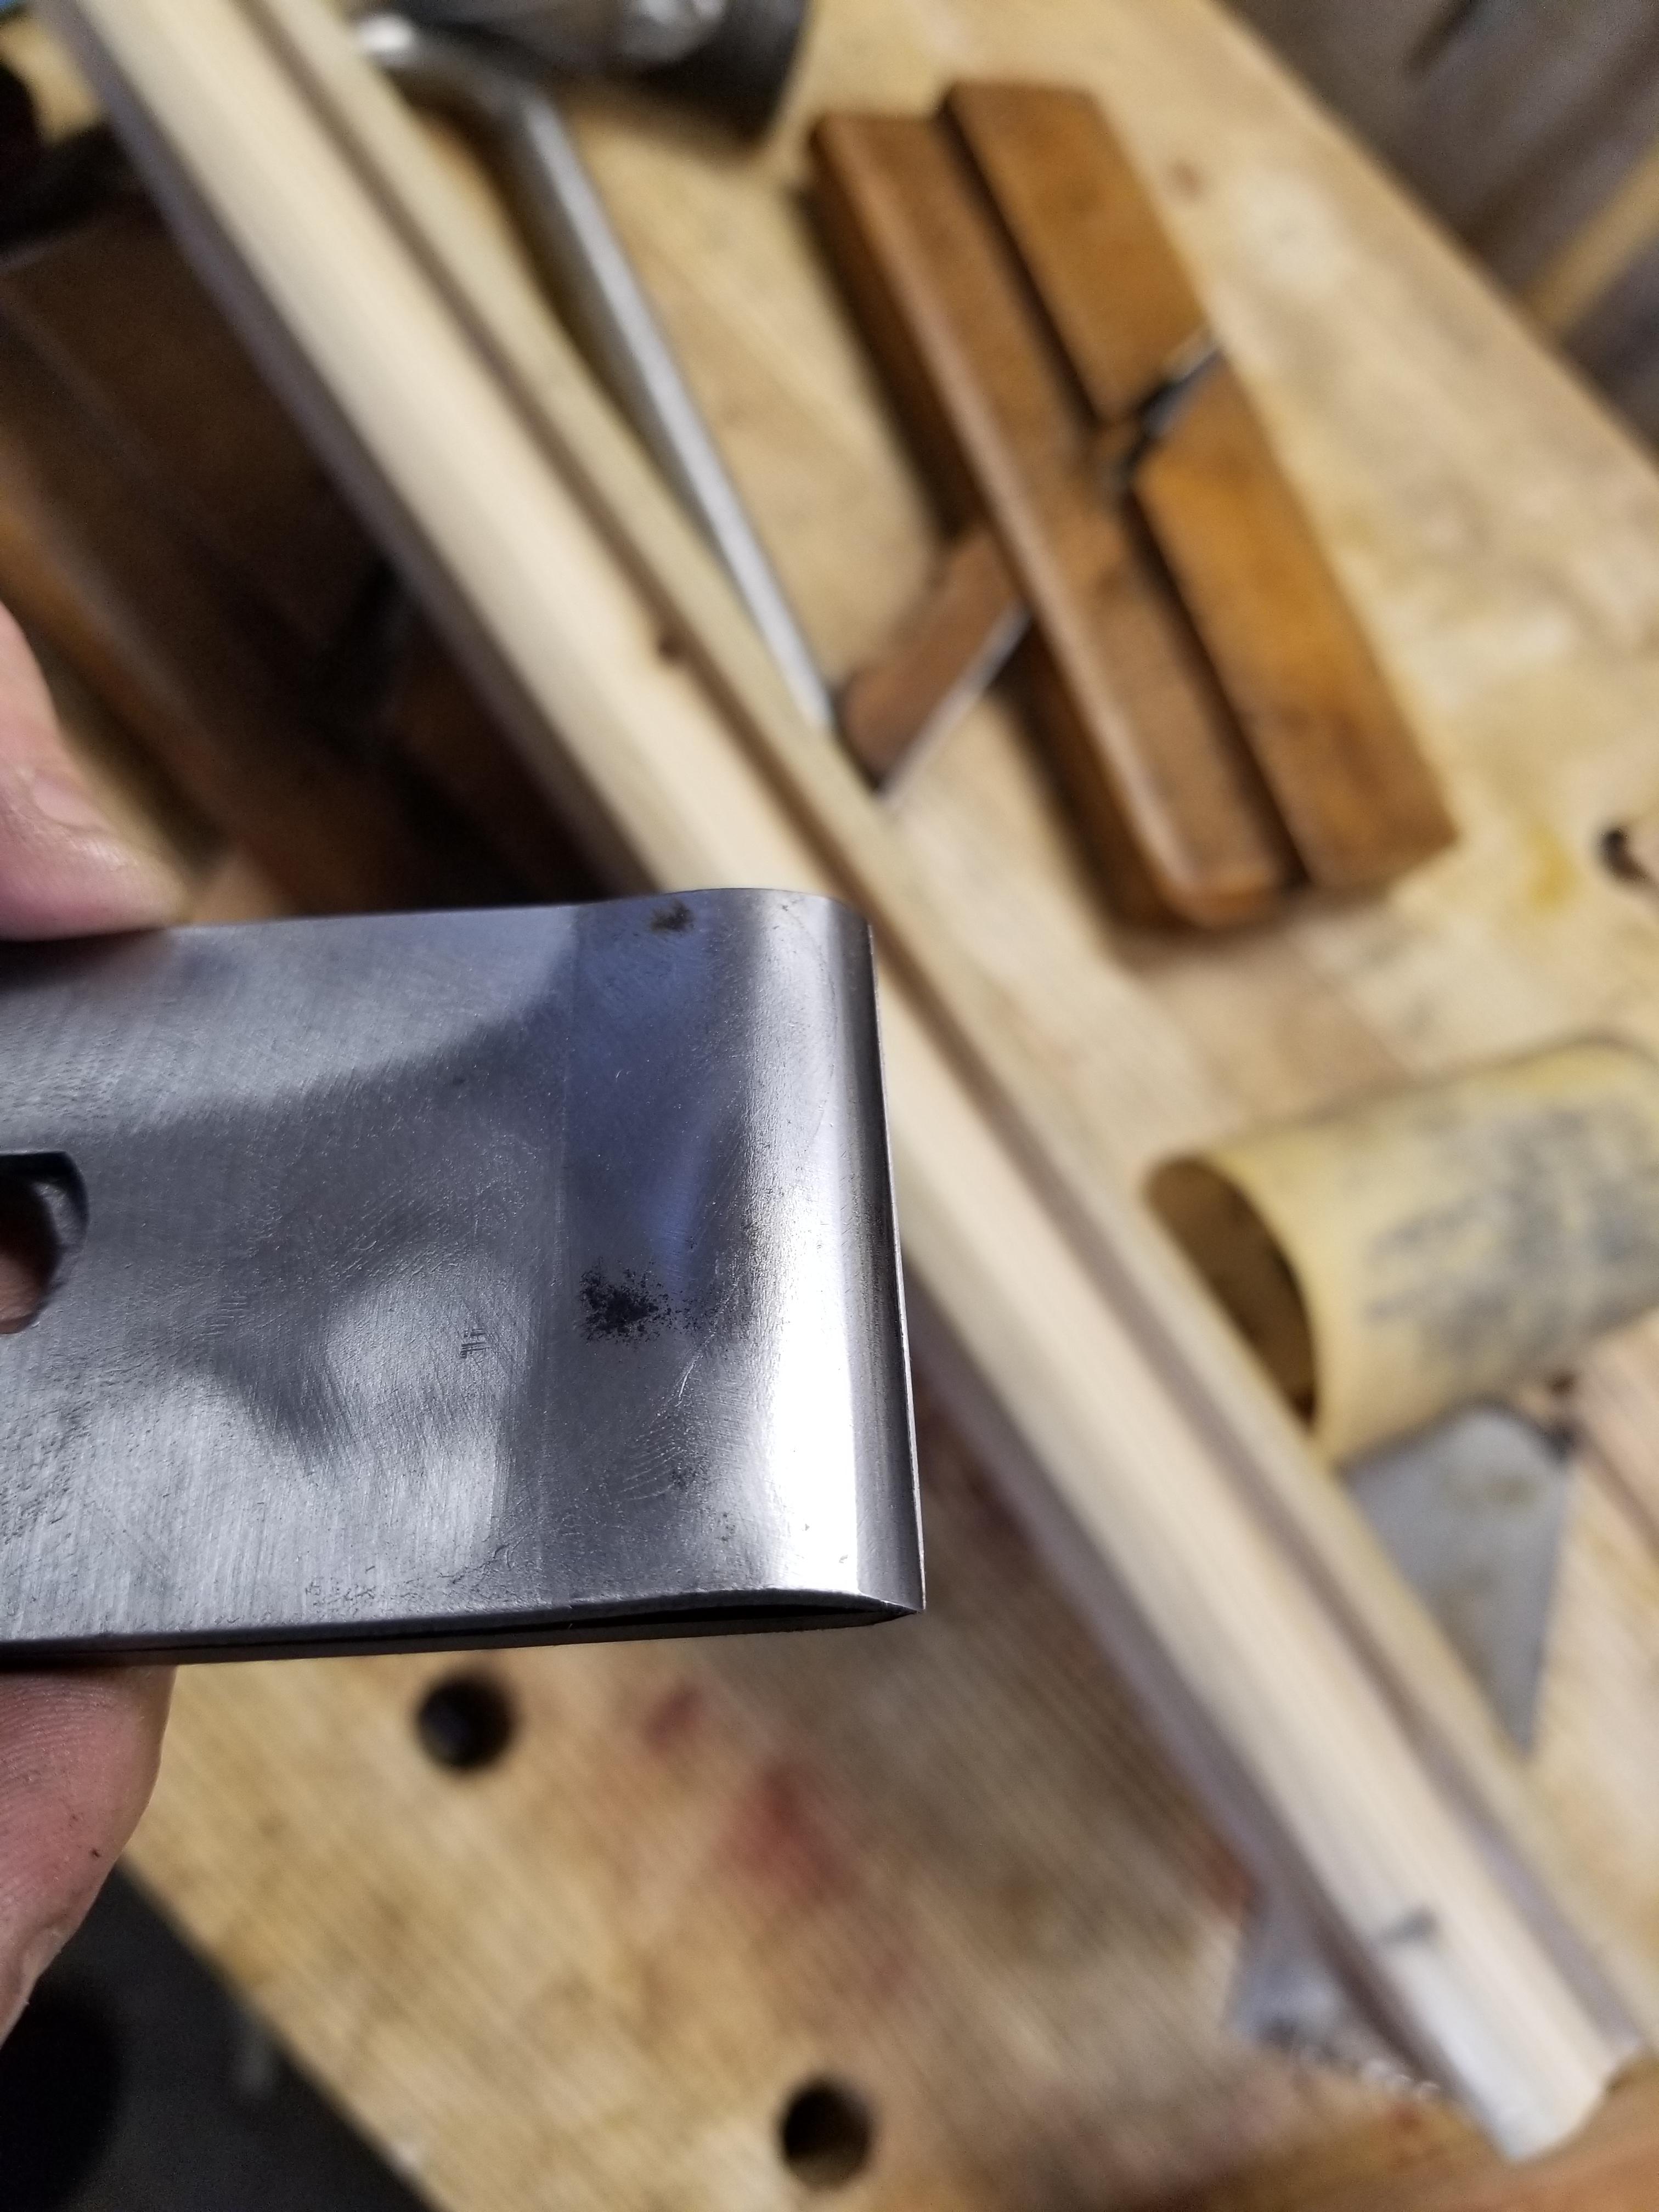
rough grind (on a stone or medium sandpaper) the front edge of the cap iron, just clean it up and make it uniform, follow what's there rolling the cap iron as you pull it down the stone. No ultra steel final anything.
dLpdMTN.jpg


true the bottom edge of the cap without eliminating the relief angle.

no16t6r.jpg


polish the front edge that you stoned earlier with a medium stone, and then there will be a tenacious wire edge (mild steel is like rubber compared to hardened steel). I use a deburring wheel and a buff to remove that, but you can just use a fine stone if you don't have any of that stuff. I'm lazy.
VOSZyvY.jpg


If you want to test your plane on unfriendly wood, set the cap iron something like this:
LWRcZy8.jpg


iVT03dA.jpg


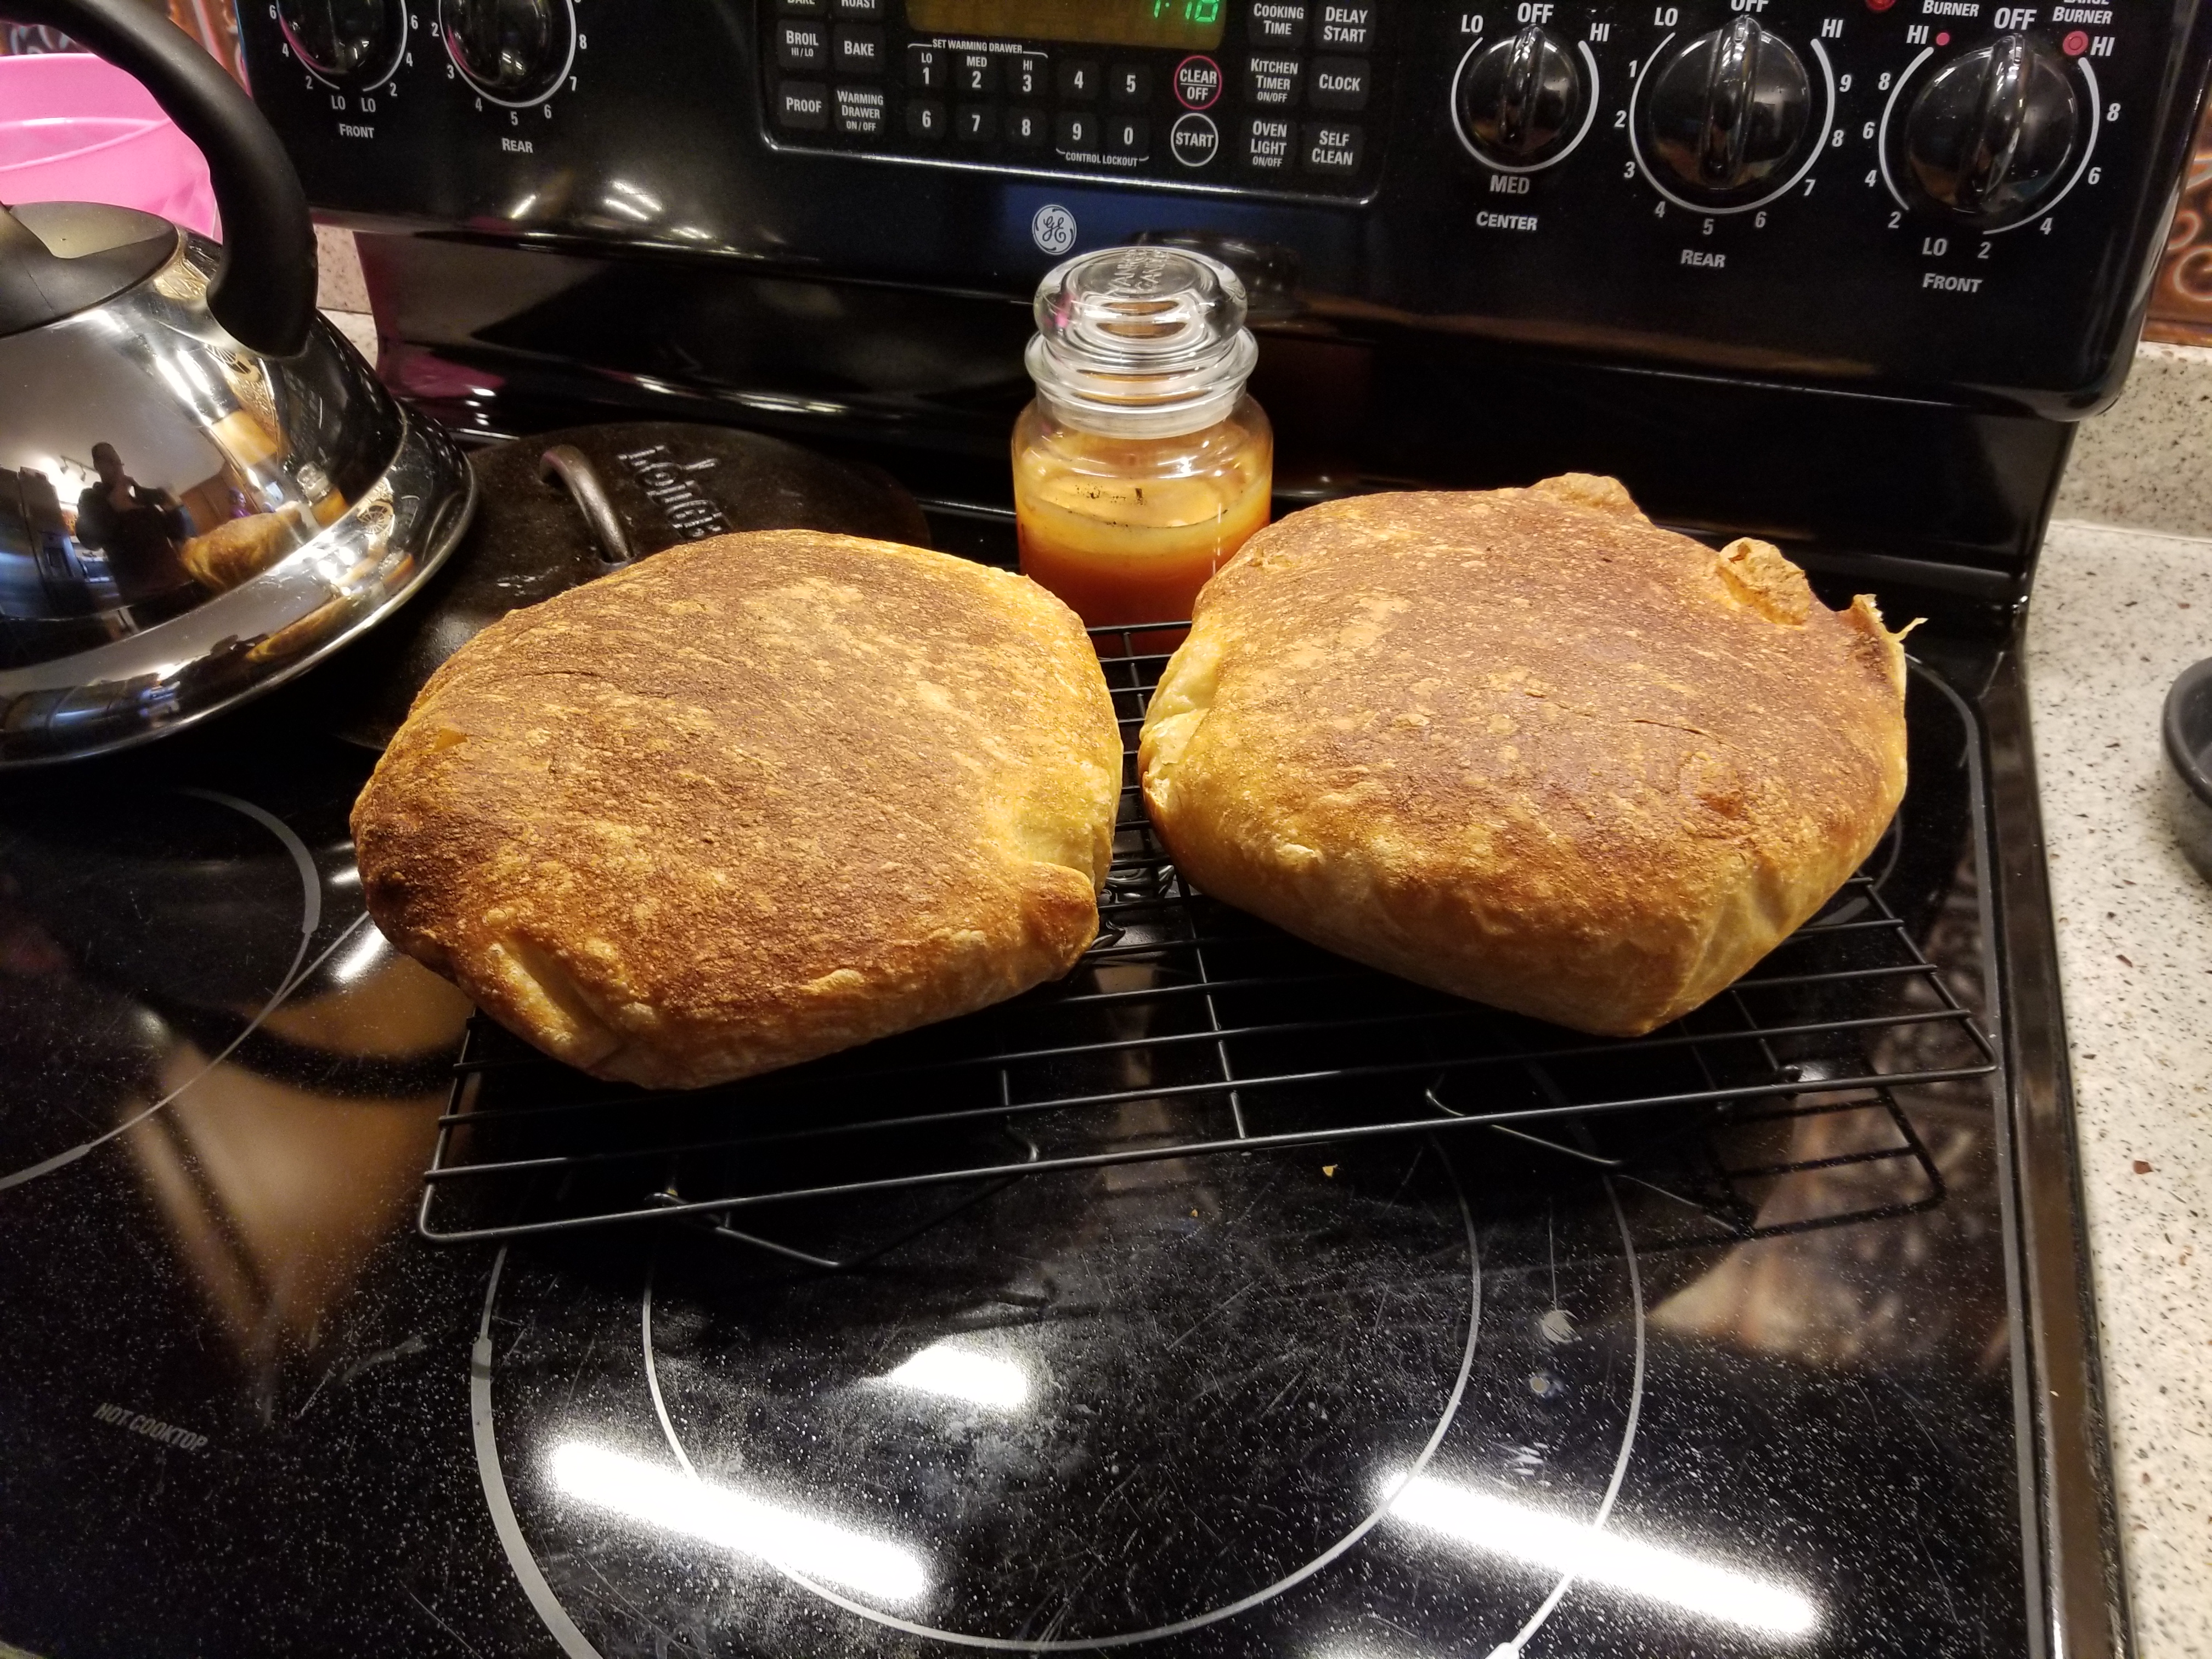
we've got paraffin on the sole and we're ready to go. 20 minutes total, including a short diversion to get two loaves of bread out of the oven.

3ZtCXM4.jpg


I didn't plan that well.
 
Ok...i fibbed. I got bread out of the oven, but those aren't the loaves. Those were from Monday, I didn't take a picture of it but it looks like that.

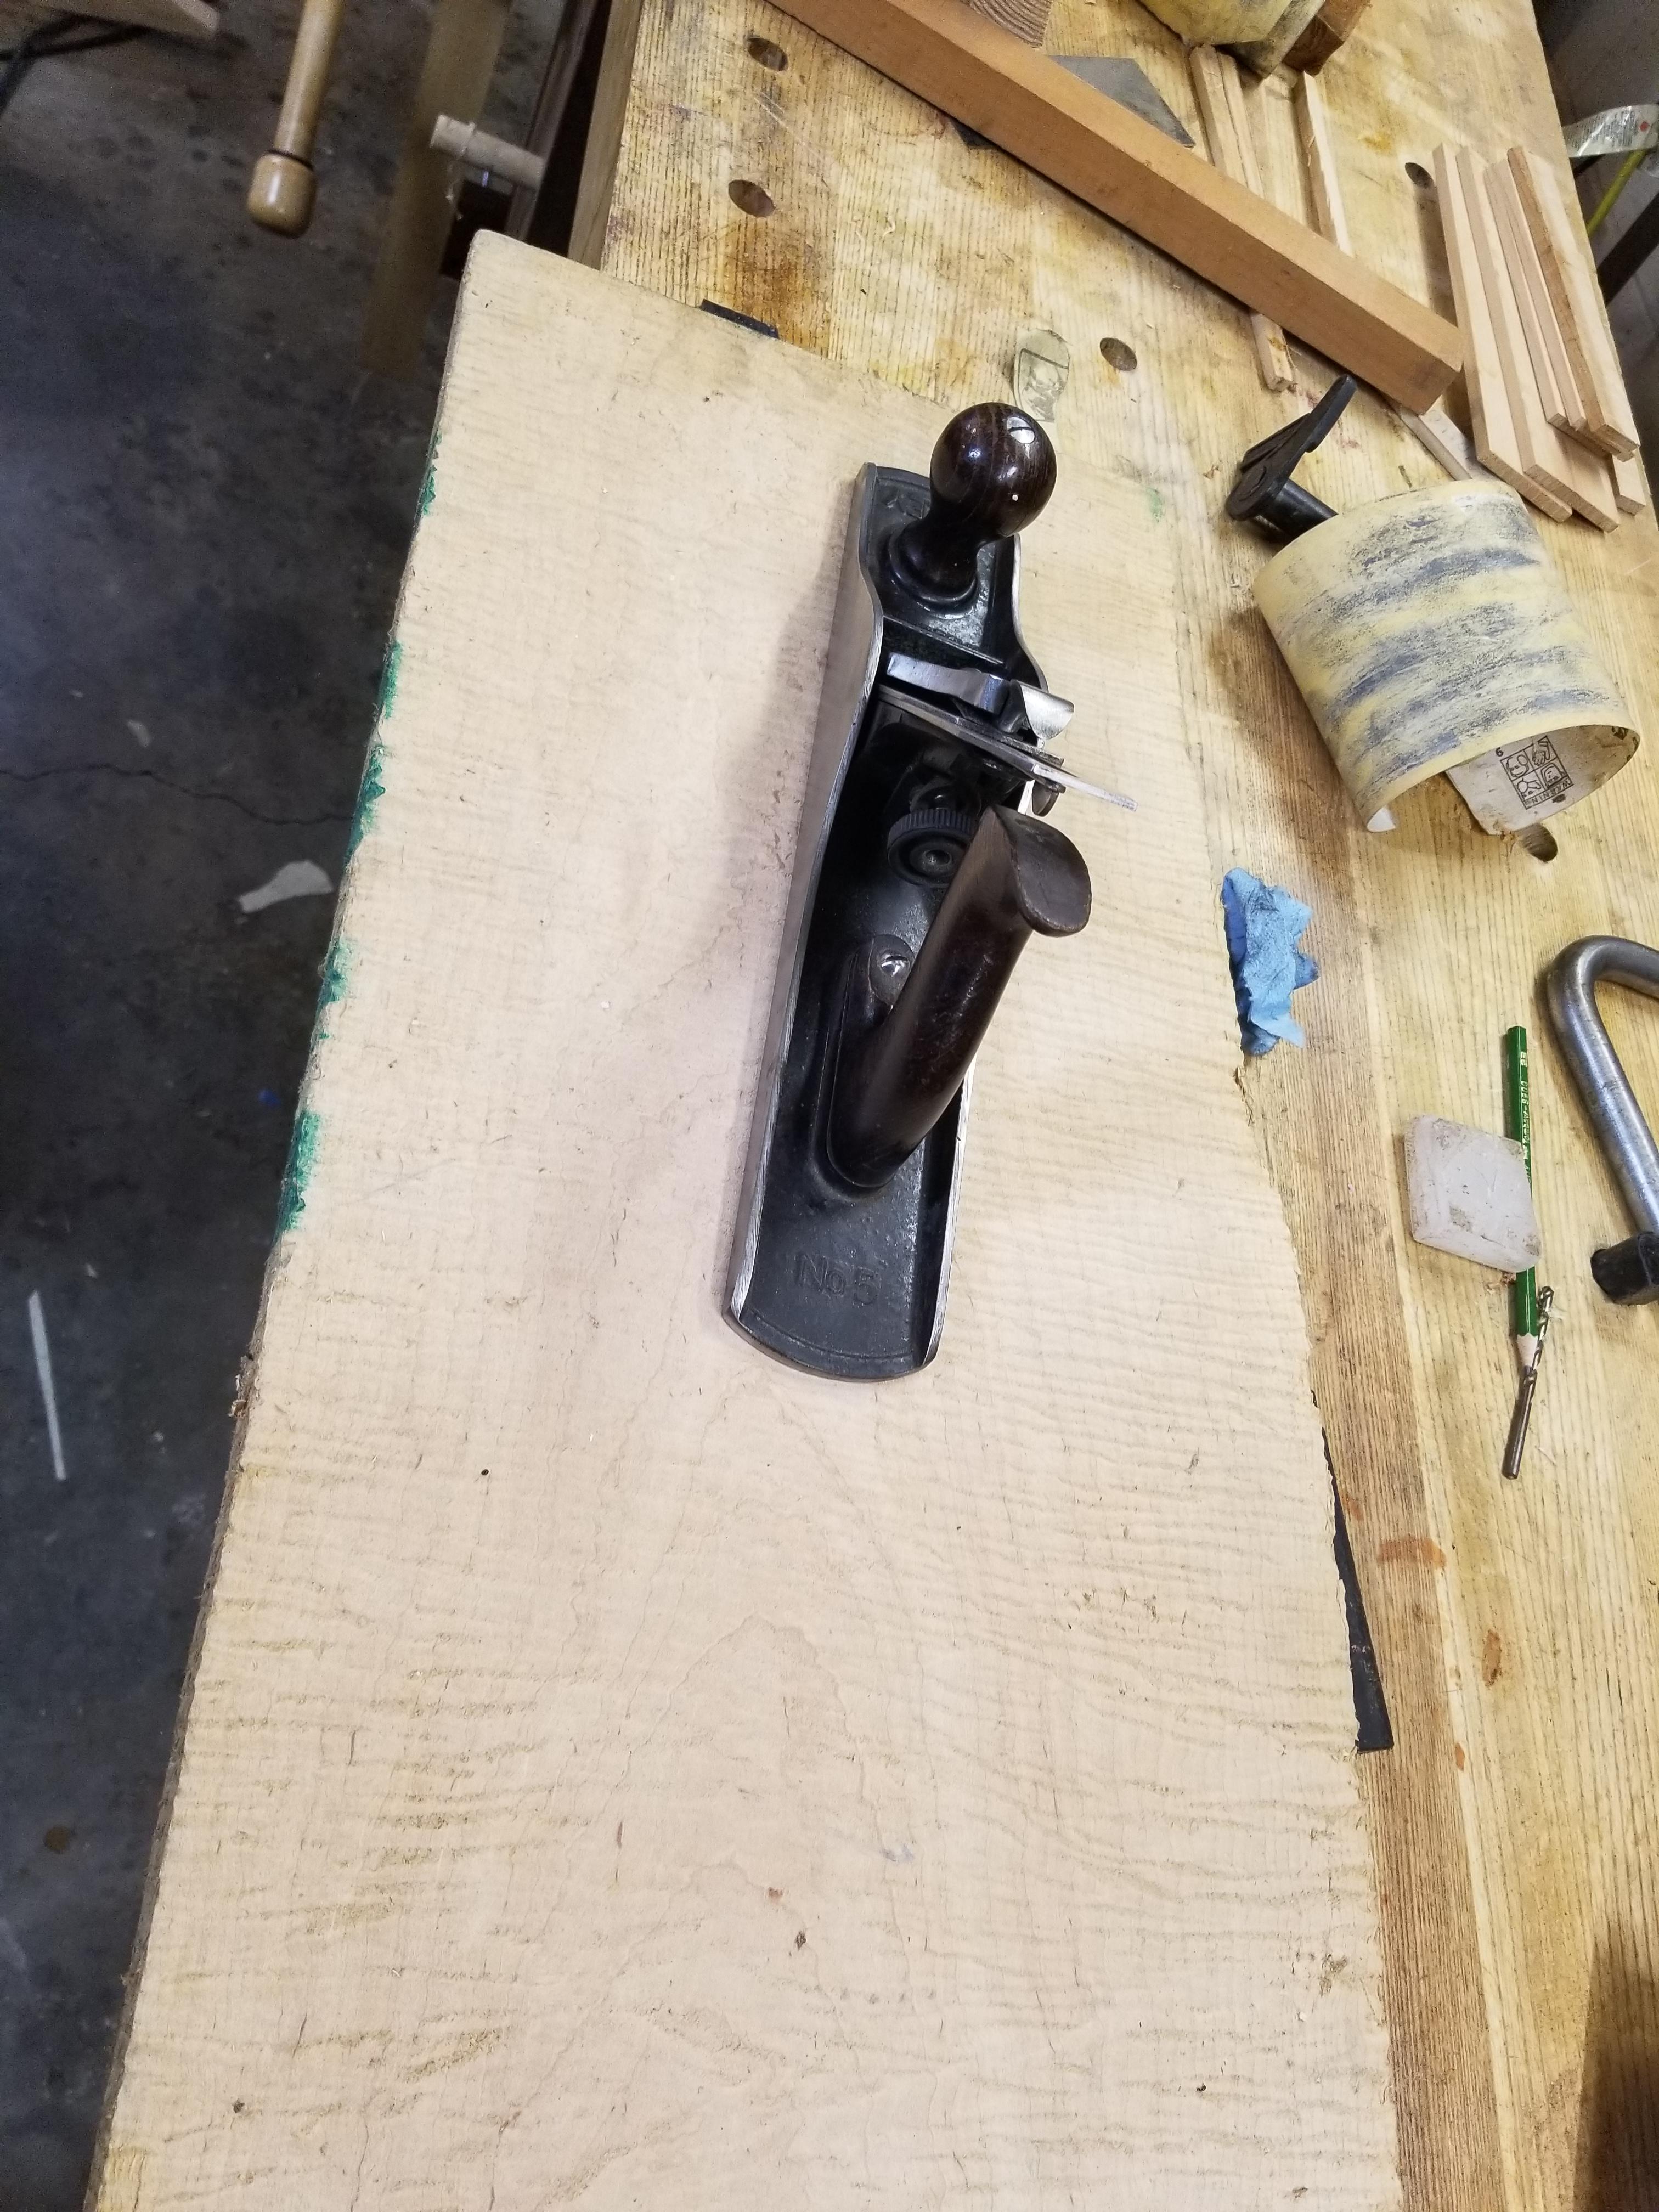
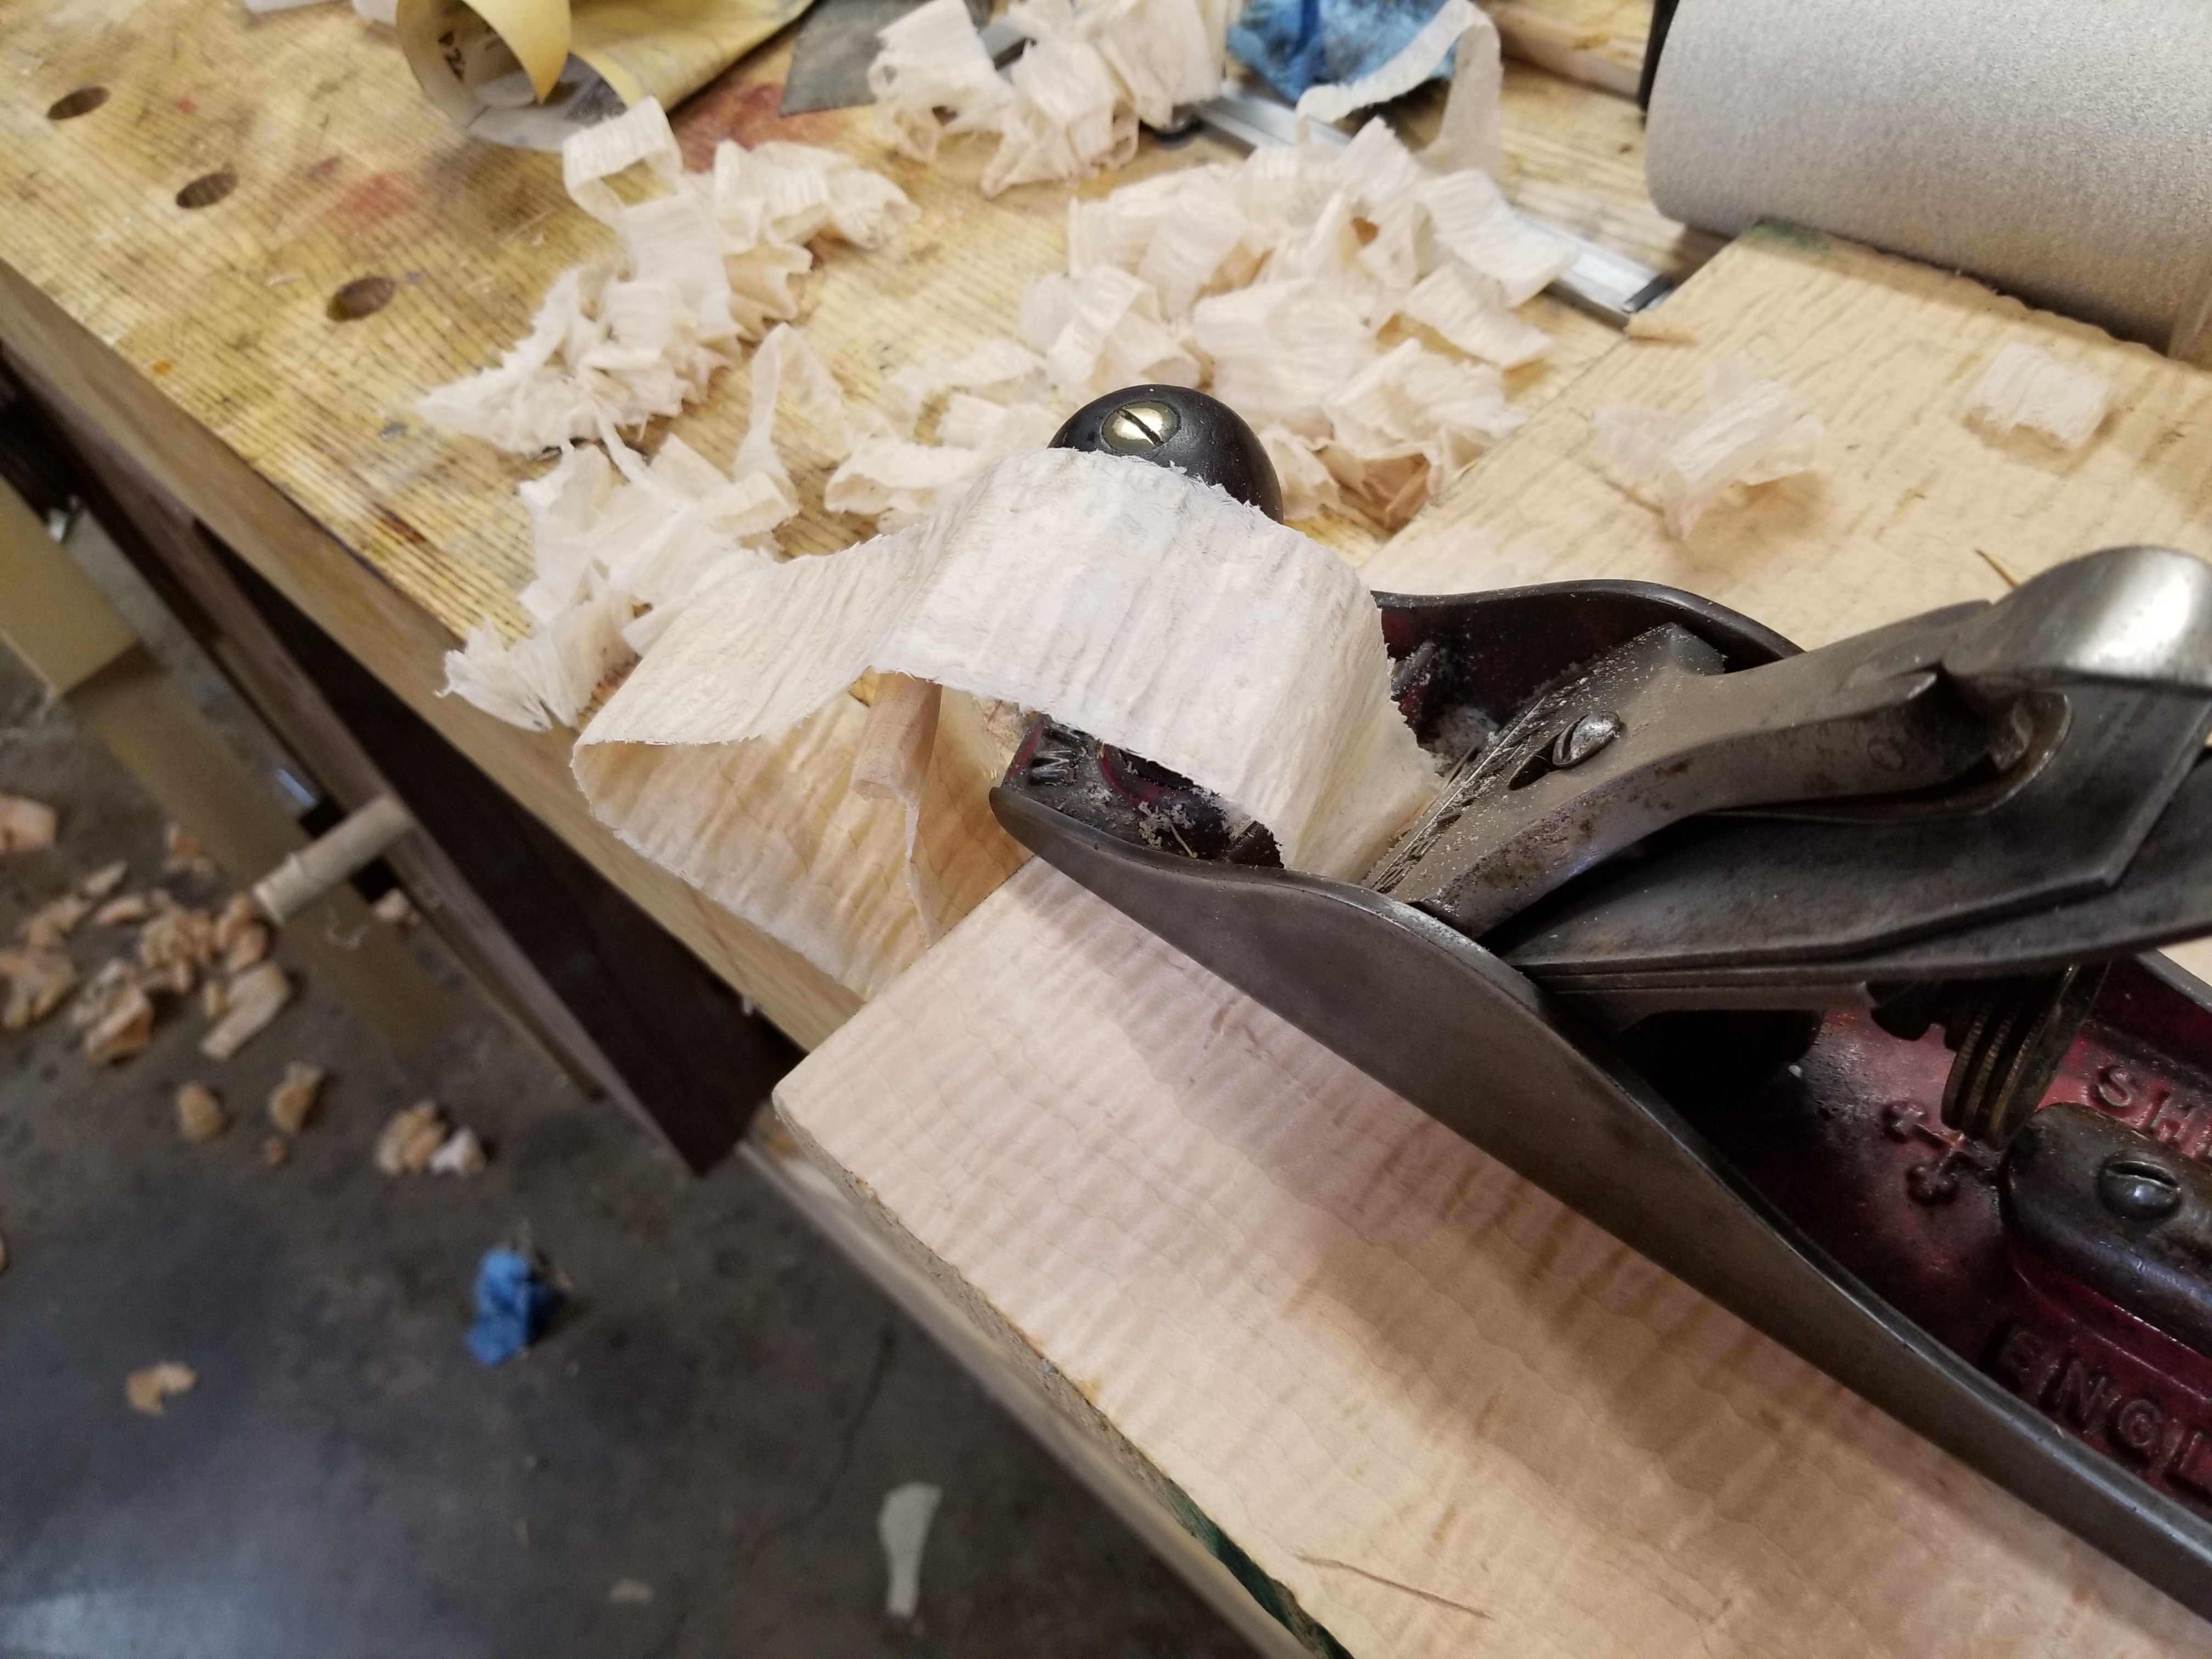
We'll test our setup by removing the rough off of a rough curly maple board. If this board had deeper saw marks or we wanted to take a hundredth or so of an inch at a time off of a good quality board, we'd set the cap iron about twice as far away.
eIkTHwp.jpg


The setting that we showed above will straighten a 4 or 5 thosuandth shaving. More than that, you'll find resistance, less than that, you won't have any problem. it's almost impossible to create a real issue with it.

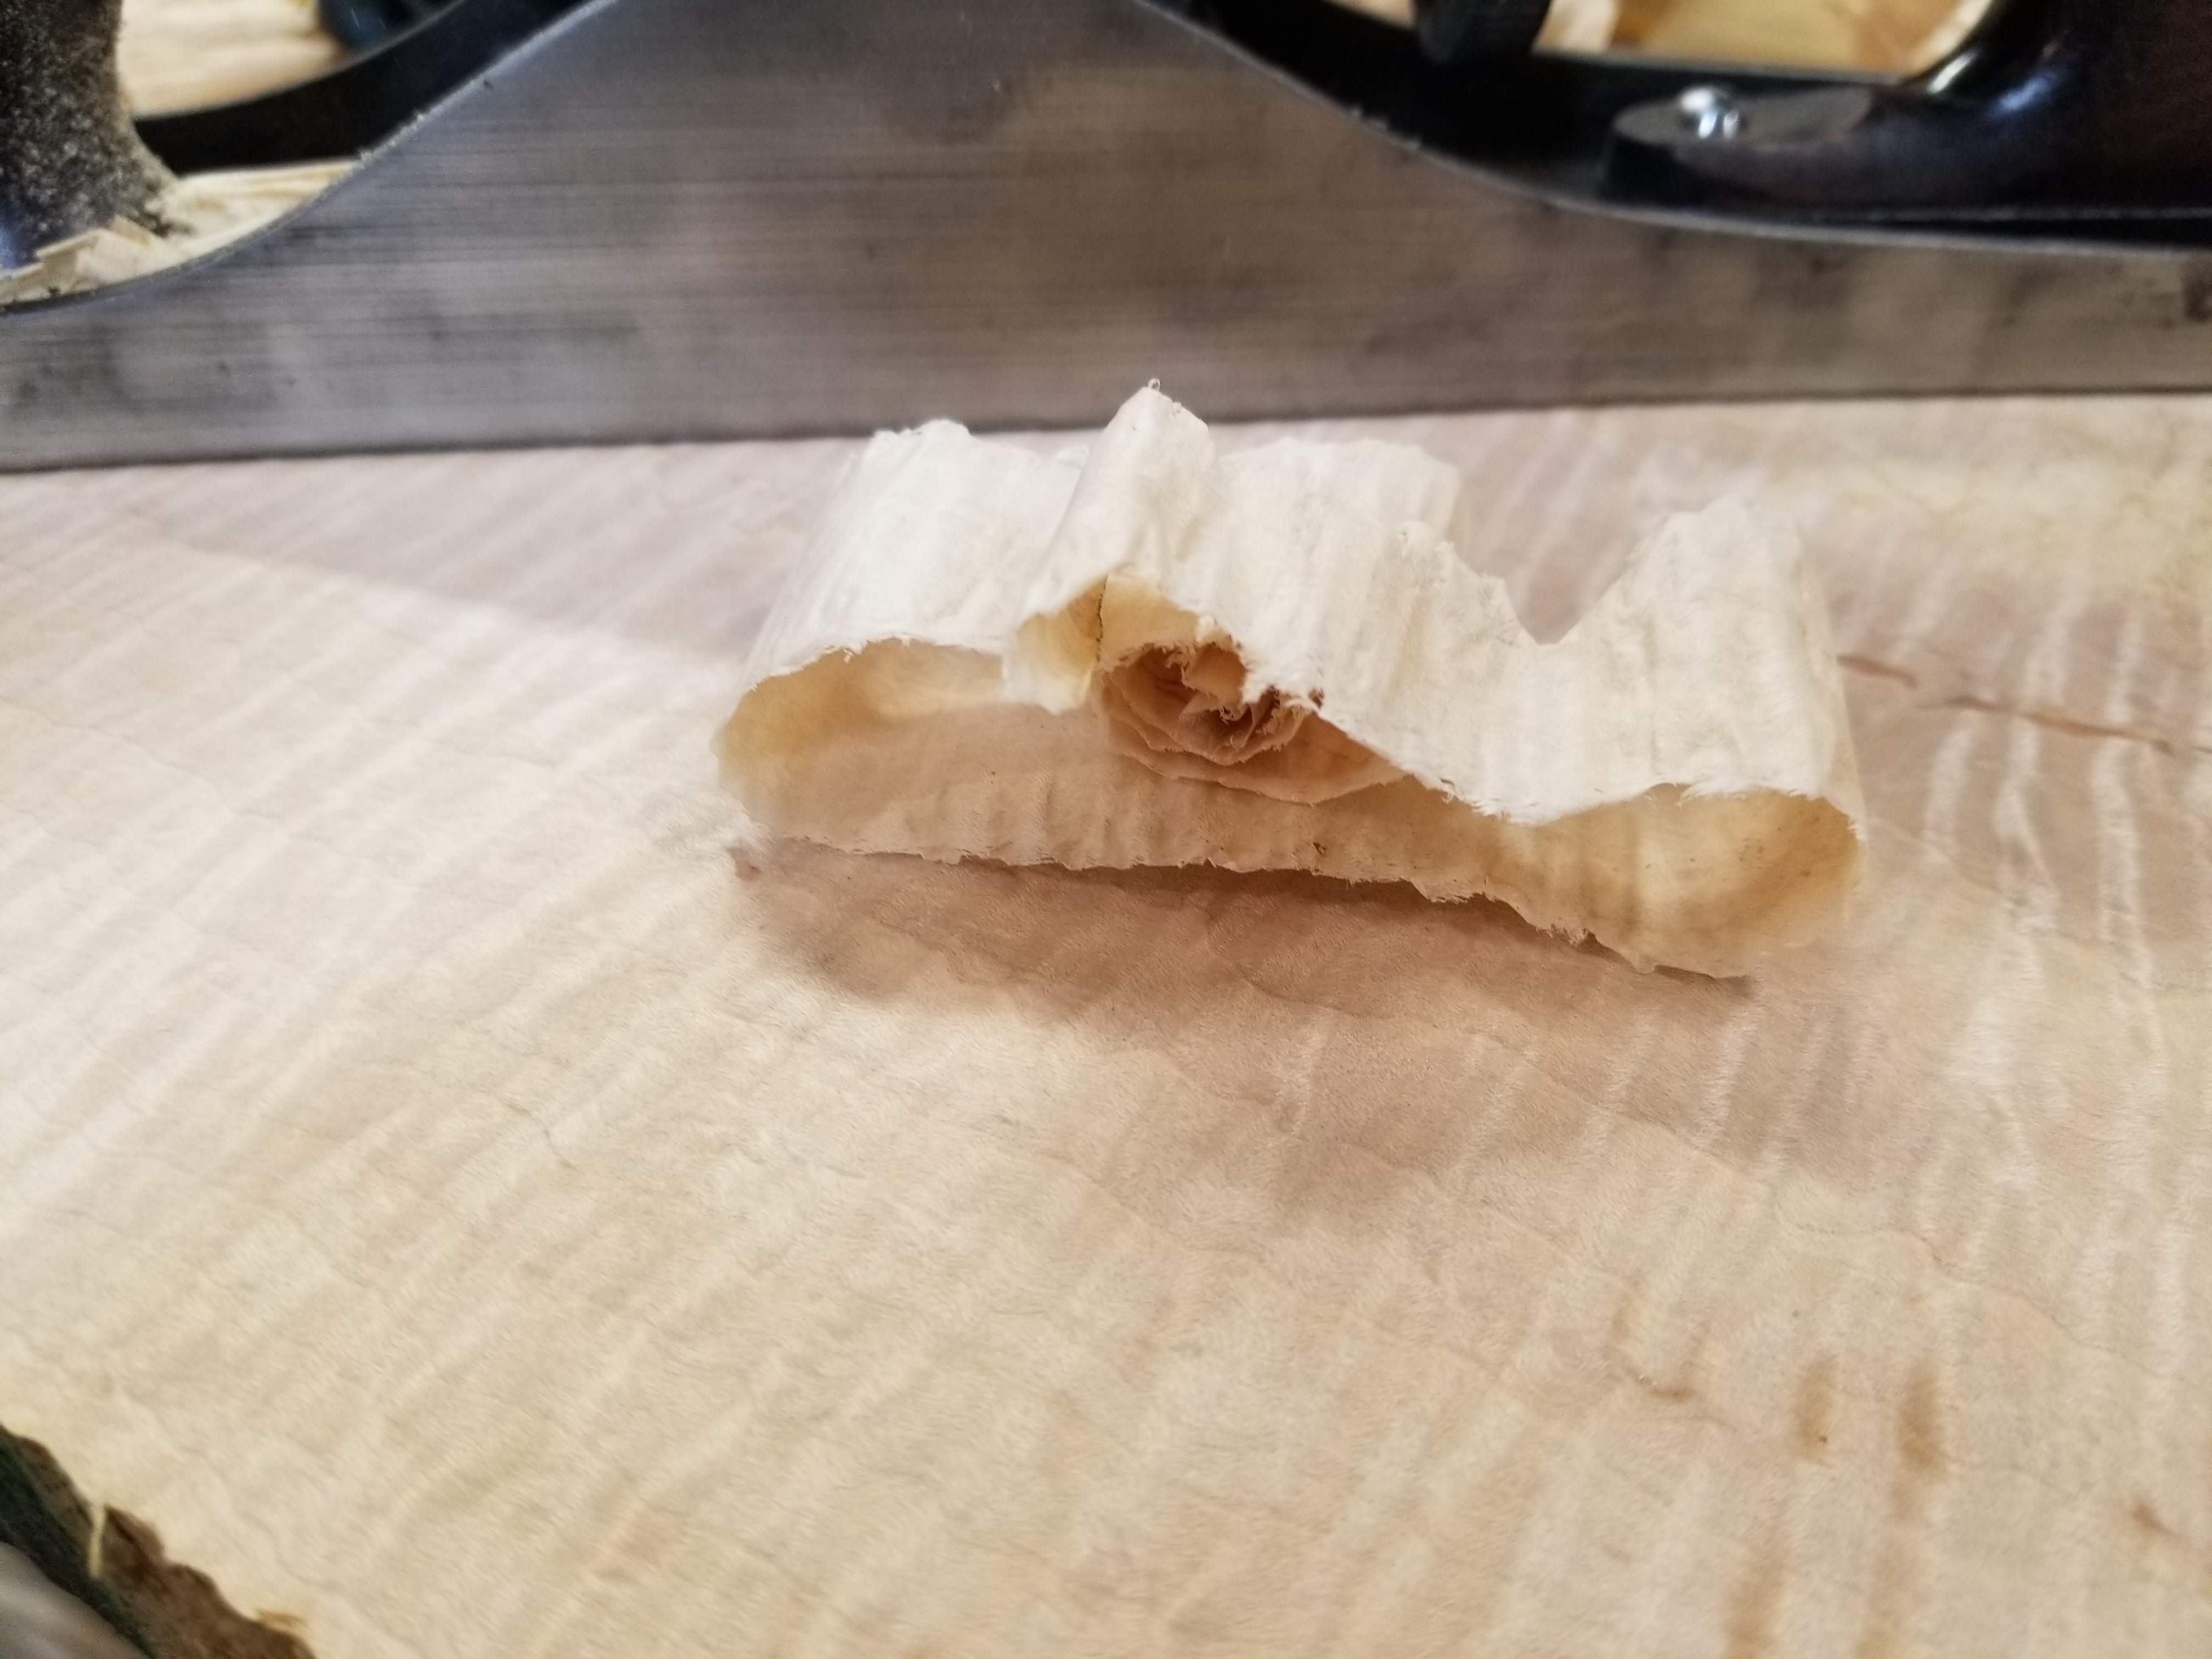
After less than a minute, I've planed all of the rough out of the front corner of the board. It's just a test board. The shavings look like this - they're partially straightened by the cap. The fact that they're solid lets us know there's no tearout.

NQpi3E0.jpg


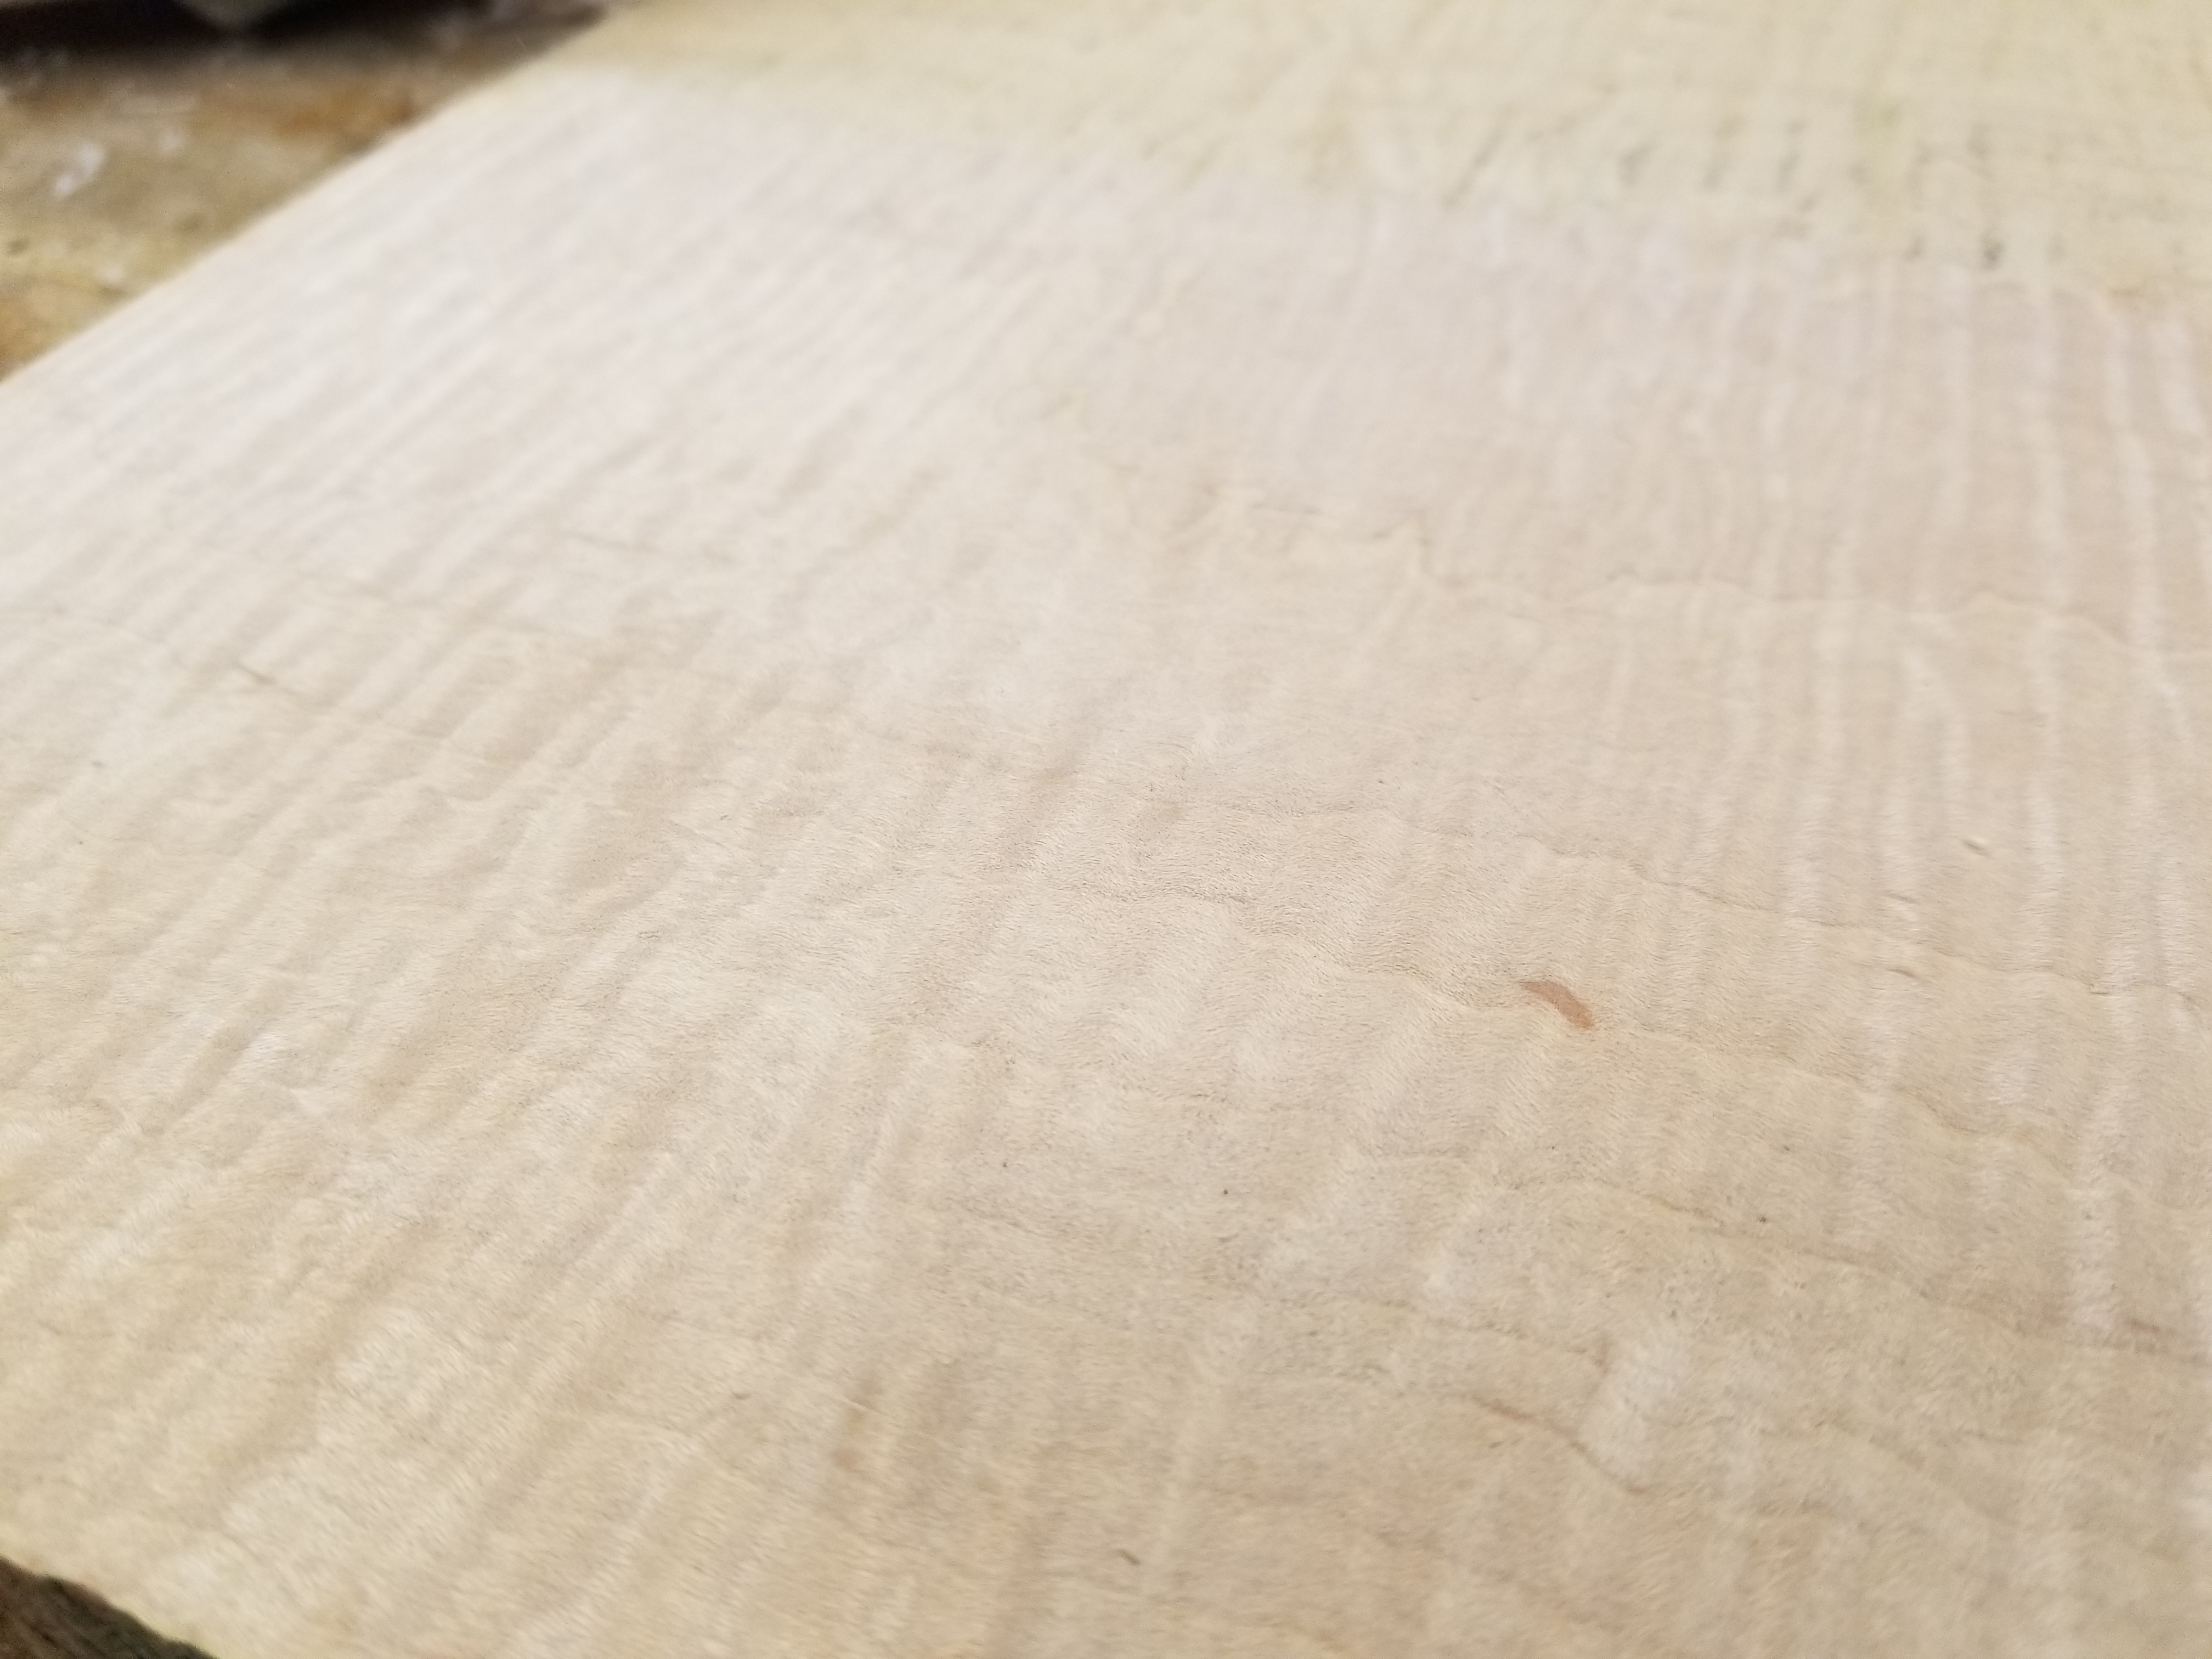
After those shavings (nothing finer) - the initial edge used is from a turkish oilstone (it's a lot like a washita, but rarer) - the wood is ready for finish planing at some point. It's not quite there yet, but it's ready for it - no extra steps needed to prep it for that. No tearout, just a little bit of surface fuzziness.

hmryZ6B.jpg


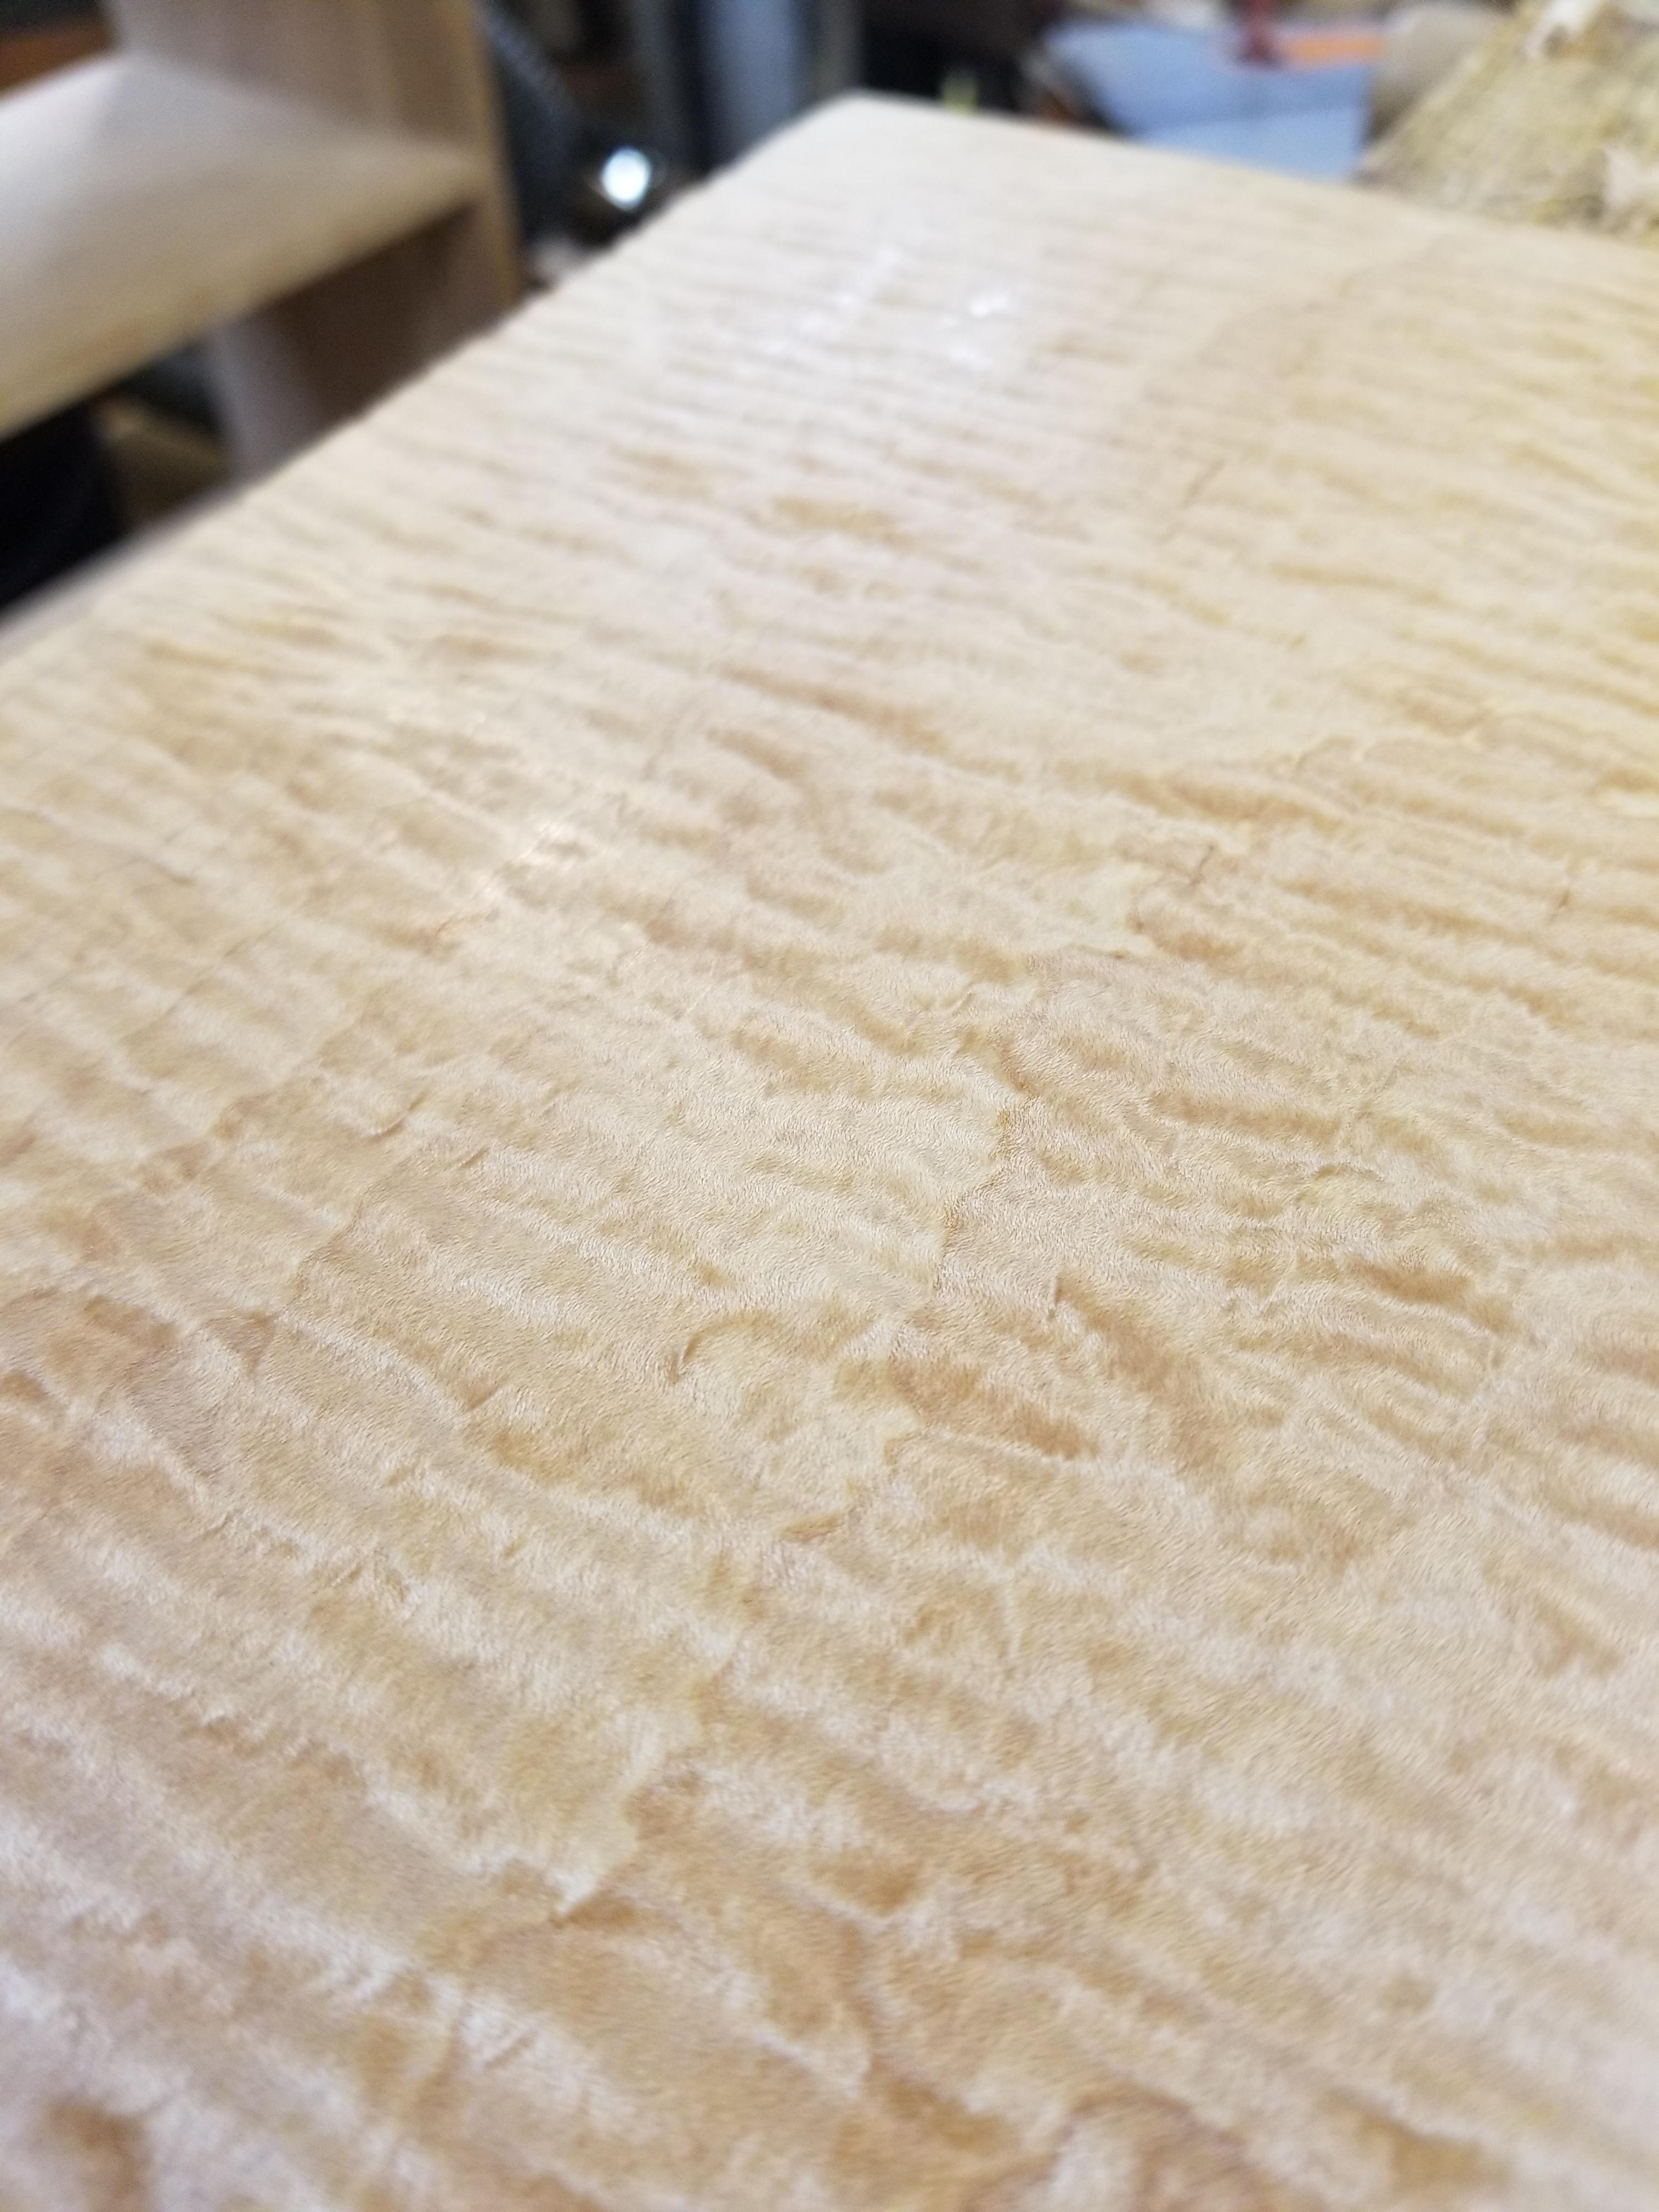
I wiped some oil on the wood so you could see the level of figure. Curly maple has a reputation for being difficult to plane, but you have to go out of your way to make it that bad. Ribboned interlocked wood is FAR worse.

PwCukXz.jpg


This board (if I were actually using it), would be ready to be built with in this condition and then final smoothed when out of the danger of getting hangar rash from handling the project. Sand it if it pleases you. You could probably sand it from this point, too, without any scraping.

There's dirt on that board - it nicks the iron a little bit. I posted this on imgur - any time i ever post a thick shaving, someone always says "heyaw....what yalll need is like a shapton 16k glasstone or something and some honing compound on leather and you can take whisper shavings with it".

Yeah, I get that. It's like the last 1/2 percent of wood prep. coarser shavings get you to the point that you can do that and it's a non-event.

To check if the sole is flat, I joint a board and then take a smoother shaving off of it with this plane after resharpening with a washita:
aAlaZsh.jpg


I never fully prepared the back of this iron, just 80 grit lap, and then some time on the turkish stone. novaculite stones are great at removing ridges, and then they slow down. In a few sharpening cycles, they'll do the ridge removal thing pretty quickly and it'll only get better from here.

That's cherry:
w1maJL0.jpg


Don't ever let anyone tell you that you need any of the more recent (and more expensive) gimmicks to do fine work. They may be easier to use at first, but they'll stunt your growth. you also don't need extreme sharpness to prevent tearout. This whole cap iron deal is a mechanical thing - sneaking up on a tiny shaving and trying to trick it off of the board is kind of senseless when you can just hold the shaving down and shear it off. Quality of finish work (after this) with smooth planing is generally dictated by lack of defects in an edge (uniformity) rather than extreme sharpness.
 
Did you try the plane first, before any "tuneing"?
Sharpening of the blade before starting to test would be acceptable.
Not to lessen what you have done, a very useful demonstration of technique. This plane was not a factory fresh item, rather a previously owned and presumably used example.

Bod
 
David
Not that anyone is gonna change my mind, but noticed you mention the extra resistance
of the Lie-Nielsen sole compared to a convex profile not so long ago.
Have you been experimenting with workholding and made a choice to stick to one plane (sole profile) for a given operation, as I seen you nip off the ends with a no.4 after using a panel plane before?

I noticed this happening to me and caught me out recently resulting in a thin hairs gap.
Coulda have been clamped out, but was fatigued at the time.
I'm asking as you seem adamant on your opinion, use the cap, and have had a few LN's before.

Tom
 
Ttrees":1fslz6np said:
David
Not that anyone is gonna change my mind, but noticed you mention the extra resistance
of the Lie-Nielsen sole compared to a convex profile not so long ago.
Have you been experimenting with workholding and made a choice to stick to one plane (sole profile) for a given operation, as I seen you nip off the ends with a no.4 after using a panel plane before?

I noticed this happening to me and caught me out recently resulting in a thin hairs gap.
Coulda have been clamped out, but was fatigued at the time.
I'm asking as you seem adamant on your opinion, use the cap, and have had a few LN's before.

Tom

The resistance thing is separate. If you can stop with lapping right at dead flat because a plane starts off with toe and heel low, that's great. But toe and heel low is a negative bias . In a fine cut, it will always nip the ends off of a board (on a jointer, it's practically toxic, on a smoother it's also bad as you can't go from a flat planed board without taking some off of the ends).

The resistance is just a fatigue problem, and then it's compounded in some LN planes by using bronze. That said, I think a beginner will find them easy to use (along with LV) because you don't have to have a concept of all of this stuff and resistance isn't a problem until you're competent enough to work in rhythm. As to this fatigue, though, unless you wax an LN or LV constantly, they will catch you doing things of fatigue once you're good with planes. stanley type planes will do this to some extent greater than wooden, too. But stanley planes in heavy work (and across end grain on panels) don't seem to have the same grab and are less needy for wax.

As far as planing a board too sprung, you can do it with a flat plane, as well as one where the toe and heel are a few thousandths high. It's very very hard to do with a jointer that has the toe and heel even 2 thousandths low. I've mentioned before that a beginner or someone who hasn't mastered planing flat things will run the ends off of boards with through shavings, but someone good will planes will plane them hollow (I demonstrated that in a video a couple of years ago). The reason I use a smoother if something is either high on the ends or a joint match planed is sprung a bit too much is that you can take a relatively precise flat bit of something off with a smoother without going back to bigger planes. If it's a match planed joint, I will usually have the joint sprung a little bit (flat plane or slightly convex, the result is the same) as I don't tend to true the joint with dainty shavings. The joint is, at that point, matching in squareness due to the match method, but the ends are a little high. I'll take one out of the vise and clip the ends off of the one in the vise a little at a time until most of the spring is gone and then glue.

I don't know if that answered the question properly, but if not, give it another go. I'm slow.
 
Bod":y96n8xri said:
Did you try the plane first, before any "tuneing"?
Sharpening of the blade before starting to test would be acceptable.
Not to lessen what you have done, a very useful demonstration of technique. This plane was not a factory fresh item, rather a previously owned and presumably used example.

Bod

In this case I didn't. If this plane were to be used for jack work, it wouldn't need anything (I didn't test it, but I'm relatively sure of that). Where the older planes often come up a little short when they're just sharpened is fine work. I don't know that I"ll ever use this one for fine work, but it's capable of it now.

I almost - without exception - will run through this procedure on a plane when I get one (jointers, the flatness issue is a bit more critical if the toe and heel are low, they take more time - I could cover that at some point because you can go through $20 of sandpaper and many hours trying to make a bad one flat when you can use another method in an hour - but it's only important if it's a concave sole). The reason I do that with my planes is that it's probably an extra 10 minutes to do the cap iron work and the sole flattening and who knows what else...maybe less than that - and then I know they're all in relatively the same shape. When a smoother follows a try plane, there's no funny business to distract.

For this particular plane, it does have little bit of erosion in front of the mouth, but the cap iron wasn't worse for wear and the iron is in good shape. I could do another setup bring a basket case back from the dead, but it's more important to just not buy them given the price of old planes.

Your point is a good one for other folks. Here's why:
* my aim was to show the critical parts of what makes a stanley plane work with anything in the world. There are a lot of tuning videos that show "fettling" all kinds of things on a plane that don't improve performance and can be a complete waste of time (or worse, have someone filing feet off of a frog or something and ruining a plane). Also, there are folks who have said that their stanley planes won't work that well compared to other trick planes, so I wanted to show the setup and the set of what it takes to use these planes on hardwoods the way they can work
* but - to your point, it may not even be necessary. So this shouldn't be taken as a minimum required work, it's all that's required to make one of these planes work their best and it gives me 20 minutes to look a new plane over. At some point, I'll sell this plane to a beginner and do this again (I don't use a metal jack much, but beginners do). They may smooth with it and may never know why it works well, but they'll appreciate a working plane

At a minimum, i would sharpen a plane and tighten the screws
 
one other side comment for the folks who have something like a lunchbox planer or any other planer that snipes a little or can result in a little tearout.

The reason I drum on and on about the usefulness of the cap is the set that I used and showed here. If you have a little bit of tearout, planer chatter or snipe, you can take a plane set up like this and work from one side of the board to another and it'll pretty much be ready for sanding around a 180 grit level without further smoothing. It's quick, and one more way that you can use hand tools to avoid spending big dollars to make machine work quicker.

When you take a board from your planer, you can just plane it like you're mowing the lawn - cover everything once (of course, do another lap around the yard if there's something left in the board) - you don't need to worry about grain direction or doing damage - it won't happen, and you won't get stuck sharpening that often or worrying about tiny nicks - at 4 or 5 thousandths, you will be able to plane a lot of wood before resharpening.
 
I can't say I agree with you on getting a good enough surface from a bigger lap
as some shorter planes can be too much out of whack to get a result.
On the same point, on a few of my planes I've done the same and left it.
On a few this method didn't work for me.
The only other person whom I've seen lap a plane in a way that "may be" more foolproof is Klausz
lapping off a large square of abrasive.
Not tried this nor going to.

You mentioned match jointing thin edges, this is where I think that a flatter sole on a panel or no 5 1/2 plane may have its advantages.
This because I often notice when jointing an edge that I end up repeating the same process on thinner stock , more noticeable on shorter 3 or 4 foot lengths that are particularly dense and have some wild grain at the start of the cut, sometimes a bit of chattering occurring whilst using a bit less camber than shown for this stock I'm working with ATM.

Do you notice any difference for more challenging pieces?
I think of the resistance as stopping that whole railroad scenario of errors creeping up
throughout the length.
I look forward to doing some of my own experiments on this soon.

Tom
 
DW would it not be easier to slice the loaves with a bread knife?
 
nice....I don't own a bread knife...

...not that I use a plane iron.

a thin chef's knife really sharp with a narrow bevel is nicer for bread. bread knives are hard to sharpen any other way than a deburring wheel and a buffer (anyone who is thinking that they have a bread knife that won't get sharp, the deburring wheel and buffer will threaten the perfect look of the edge a little bit, but they will leave all parts of sharp and meeting at a thin line.
 
maybe it should be the new test of sharpeness, Can you slice bread, if not keep going :p
 
Ttrees":1pxn9evt said:
I can't say I agree with you on getting a good enough surface from a bigger lap
as some shorter planes can be too much out of whack to get a result.
On the same point, on a few of my planes I've done the same and left it.
On a few this method didn't work for me.
The only other person whom I've seen lap a plane in a way that "may be" more foolproof is Klausz
lapping off a large square of abrasive.
Not tried this nor going to.

You mentioned match jointing thin edges, this is where I think that a flatter sole on a panel or no 5 1/2 plane may have its advantages.
This because I often notice when jointing an edge that I end up repeating the same process on thinner stock , more noticeable on shorter 3 or 4 foot lengths that are particularly dense and have some wild grain at the start of the cut, sometimes a bit of chattering occurring whilst using a bit less camber than shown for this stock I'm working with ATM.

Do you notice any difference for more challenging pieces?
I think of the resistance as stopping that whole railroad scenario of errors creeping up
throughout the length.
I look forward to doing some of my own experiments on this soon.

Tom

If a plane can't be controlled, a bigger plane may be in order (something heavier), and if the stock gets small and thin, the stock and plane on their sides is OK, and if it's really small, pulling it across the plane instead of the plane across it is wise.

I just did another plane - one in worse shape. It turned out fine, but took closer to a half hour than 20 minutes as this one, and the extra 10 minutes were heavy work and getting fresh paper on the lap.

I have two starrett straight edges that allow me to check this lap for flat - I think that starting point is important. pressure on the lap is important to check, too, as this is glass and will flex. I planed the bench dead flat under this and then it's actually important for the lap to be clean and nothing on the bench (not even a few foreign wood bits or large abrasive particles). If the lap has a 60 grit piece of abrasive under one end, a 1 1/2 thosuandth feeler will pass under a starrett edge pushing down on the center of the lap. without it, not close.

But, as you say, you can get out of control if you can't see it happening and keep going. I've done a lot of these, so I probably have better "luck" than most people would, but when a plane starts convex (too convex) then it's necessary to do something else. that something else is as follows:

either make a small wood block and put coarse paper on it (it needs to be flat on one side - small is like 2x3 inches. same psa roll...

...or find a file that has good teeth all the way to the end (a mill file) with some flex. I like the simonds black max for this - i'm sure they're foreign made now, but they're good and they're cheap over here ($8 each with shipping). flex the file a little bit and put finger pressure in the file and run it diagonally over high spots sectionally until a bottom of a plane is flat enough to lap to finish. It's nice to make the sole ever so slightly hollow like this so that you can lap it to flat. concave is easy to lap into flat, but convex isn't. I don't think I ever made a video of this file method, but it's necessary if you come across a steel plane (or make an infill) as they file far easier than they lap.

This may not make sense yet, because how do you know where to remove material. With your initial lap, take a couple of swipes and see where the lap is cutting. Those are your high spots. file or sectionally work them. set up some kind of counting routine, like 25 draw filing strokes and then check on the lap again. Just put the plane upside down in the vise to file it, but keep it low in the vise (relatively) so that you're not sqeezing the cheeks in. You're working in tiny amounts of flex/bias, so the fact that the file will bend a little bit, but it's just a tiny bend so that the end is cutting in the area you're working, but no other part is cutting other than the part under your fingers.

At any rate, after you've done your set, color the sole of the plane (if necessary) with a marker or something and then run it across the lap, work the high spots again - no heavy work is done on the lap like this so you can't rock the plane out of shape lapping it. When you no longer have dominant high spots, then you can lap the plane to finish. If your last filing was just a bit hollow with the outsides forming a contact ring on the lap, it'll lap to a very flat sole.

i hesitate to make videos on something like that for two reasons:
1) people will do it for planes where it's not necessary
2) I don't often have a plane that's convex to need it.

so, pictures on that marples - this is borderline on filing.
mfWbmkN.jpg


See the bright spots on the two corners - there's either a lot of twist or a lot of wear, and this marples is hard cast - the hardness of cast in planes varies a lot - some by brand (millers falls planes are soft) and some by era. I like the softer castings, but it's not like you can make requests!

This plane is severe and I should sectionally file those spots, but fresh paper on the lap and 6 or 8 minutes of filthy work took care of it.

FTRleJD.jpg


It's not cosmetically perfect, but chasing that would be a big mistake and take at least an hour.

The cap iron was beat up on this plane, and the iron required me to get out my trick iron holder to flatten it. It was just a hard used plane and someone abused parts of it. One of the reasons I like buying planes of the more modern stanley type above (maybe this marples is just as new), or at least with less wear. The other odd thing about this marples is it has the most slack in the adjuster that I've ever seen, but then it adjusts smoothly but coarsely. It's a real odd duck. you can hardly feel the adjuster engaging and then it adjusts very quickly when it does.

at any rate, the results with this plane (42 inches of paper is about $2, so there's no reason to fight taking off the prior paper - lapping is not an efficient use of sandpaper because of the large contact area - as soon as the paper has lost its tooth, it's got to go unless you have some small things to prepare on it). Paper comes off of the lap with a bevel down chisel to take it off and remove the adhesive at the same time or it will build up.

Fine shaving (80 grit paper prep on the iron, then just short work with a turkish oilstone - there is room for improvement yet, but not too much more - it'll occur if I continue to use the plane and refine the polish on the iron - see comment above about how well the turkish and washita do removing this initial sharp ridged preparation left by the 80 grit paper).

Oqdoh0C.jpg


and in heavy work
1IYrMh6.jpg


same fine results after slacking off the cut and removing any fuzziness left from the drastic heavy cut:
https://i.imgur.com/WZNPQll.jpg
 
Droogs":16aks65f said:
maybe it should be the new test of sharpeness, Can you slice bread, if not keep going :p

Nice!

Someone else was talking about sharpness tests on another forum (this is beside the point of a joke) - they talked about cutting card stock.

I could suggest bread to them.

I may shave hair off of my arms once in a while as a reflex but I find the sharpness test thing kind of odd (it's really out there in spades in the knife world, because apparently, people sharpen a knife and have nothing to do with it, so they can't test the edge by working with it!!).

But I've got a new jab now any time someone insists a sharpness test is necessary "can it cut a fresh loaf of bread without tearing, if not....it's not sharp!! You must prepare fresh bread, still warm from the oven. Anything else is not purist material".
 
ttrees, the separate issue of starting a cut on small pieces. If the piece is large enough for the plane to sit on, pull it off of the edge toward you rather than pushing it on.

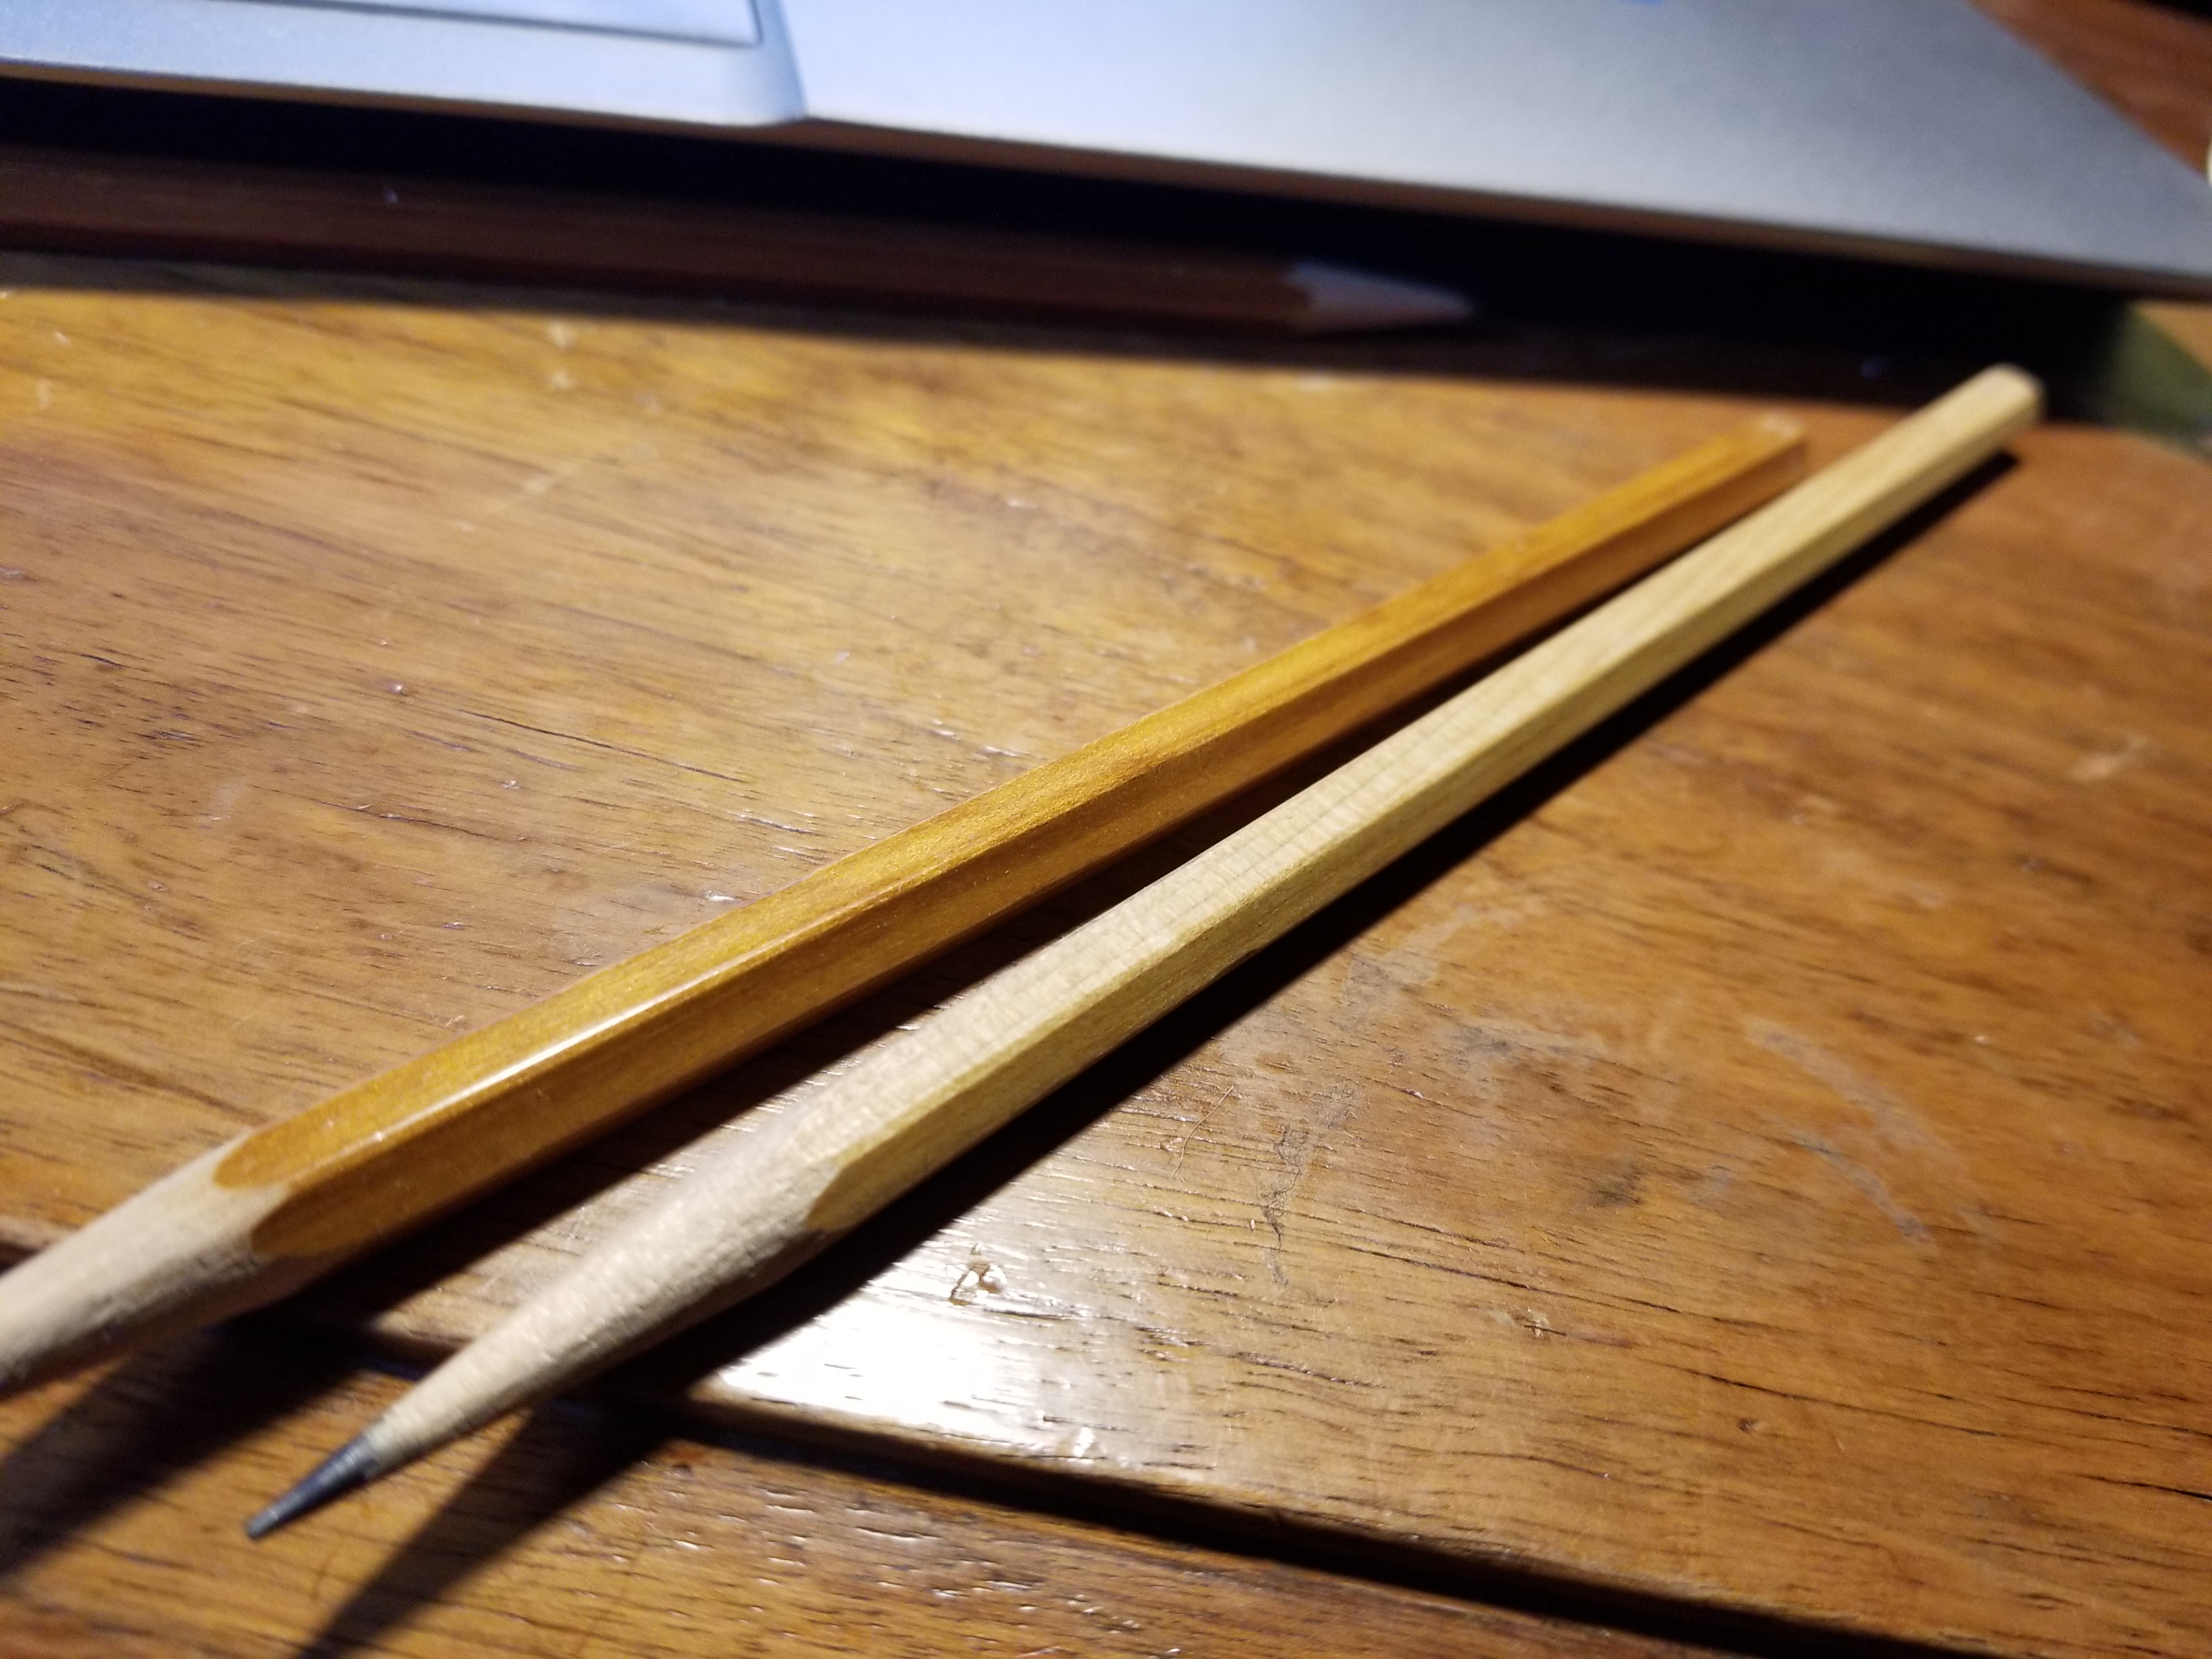
As you say, sometimes a longer plane is easier to use for starting a cut, but longer planes are hard to use on little pieces - like making pencils and match planing the cedar board that they're made from:
dZye4VT.jpg


This is a deliberate thing (this snipping of the edges) - the plane needs to be under control and cut whatever you're removing evenly, so you do whatever you need to do to facilitate that. I think it's as simple as getting the plane on the work piece and then taking an even cut, but certain things can make that easier than others.

For all of this truing work, if you had a pretty good amount of spring, taking a slightly coarser shaving is going to facilitate more accurate work. Two coarse shavings are far more geometrically accurate in practice (and then maybe a fine one or two) than 30 fine ones, which will end up being all over the place.
 

Latest posts

Back
Top