How can I make a 'rustic' oak worktop

UKworkshop.co.uk

Help Support UKworkshop.co.uk:

This site may earn a commission from merchant affiliate links, including eBay, Amazon, and others.

RobinBHM

Established Member
Joined
17 Sep 2011
Messages
9,130
Reaction score
3,618
Location
Wst Sussex
I am making a kitchen and the client doesnt want a nice clean flat oak worktop 'too much like a showhouse'.

He wants a rustic oak worktop, not too flat, maybe with joints not flush etc.

I know I can get square edge sawn oak boards, but the finish on the surface cant be rough sawn, more like undulating and smooth!

My concern is ending up with a worktop tat just looks badly made rather than rustic......

Any ideas? :D
 
What colour? You could try wire brushing, or scorching and wire brushing on some scrap. Get it sandblasted, or scorched then sandblasted?
Just running up a flag to see if anyone salutes. :D
 
RobinBHM":1b4p0iwv said:
... maybe with joints not flush etc.

They'd be cursing that within 10 seconds.


Take it outside, throw a bucket of gravel on it and put a garden roller over it, or take it outside and batter it with a length of rusty chain.
 
Take your client outside, throw a bucket of gravel over him and put a garden roller over him.

More seriously, take a scrub plane to it, and maybe a 4 inch belt sander to add a few valleys. Then sand it smooth.
Or maybe you could purchase some reclaimed oak floorboards(if he doesn't mind the odd nail hole).

I guess some people like different things, some year back I bought a couple of packs of "Hand scraped rustic oak" flooring. For £1 a pack they were used for all sorts of projects were appearance wasn't important. Bike racks, for example.
 
John Brown":30jjwpdw said:
Or maybe you could purchase some reclaimed oak floorboards(if he doesn't mind the odd nail hole).

I made some for a client a few years ago from 17th century reclaimed oak floor boards, the were cupped, bowed, twisted and full of nail holes, I managed to domino them all together gave them a good going over with the belt sander.
I finished them with several coats of osmo acacia top oil,
My client was more than over the moon.
I am actually working there tomorrow so I'll post a couple of pics at tea break in the morning.
 
RobinBHM":1s3a4v04 said:
I know I can get square edge sawn oak boards, but the finish on the surface cant be rough sawn, more like undulating and smooth!
Any ideas? :D

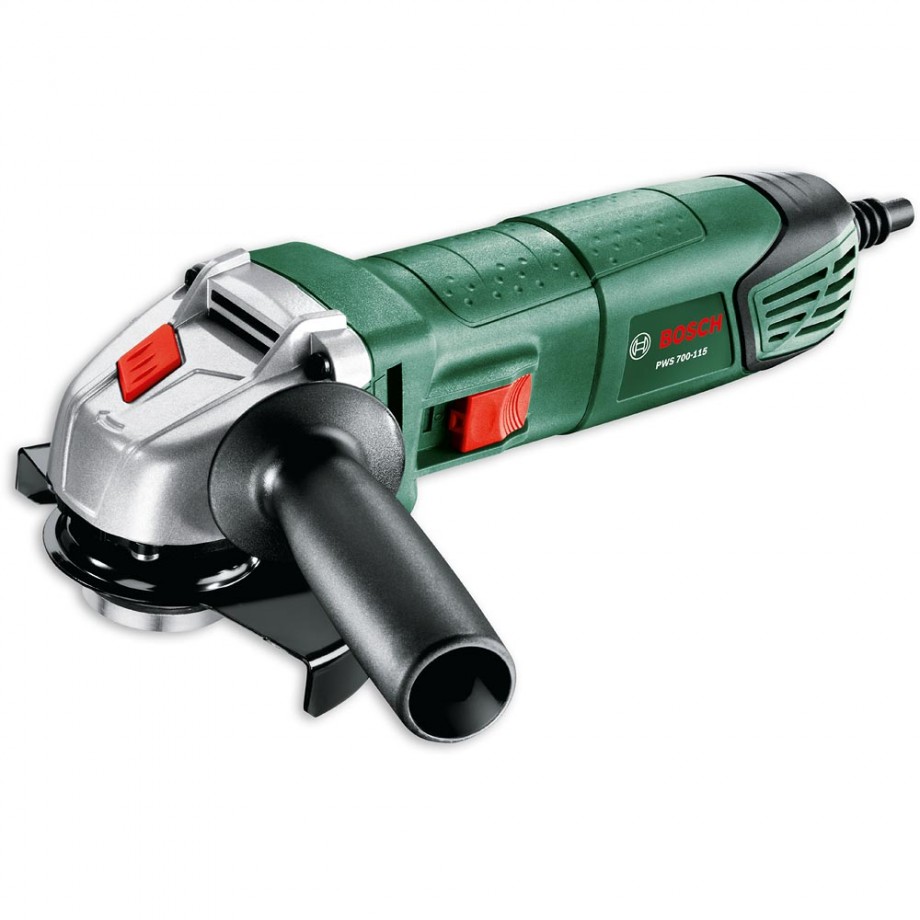
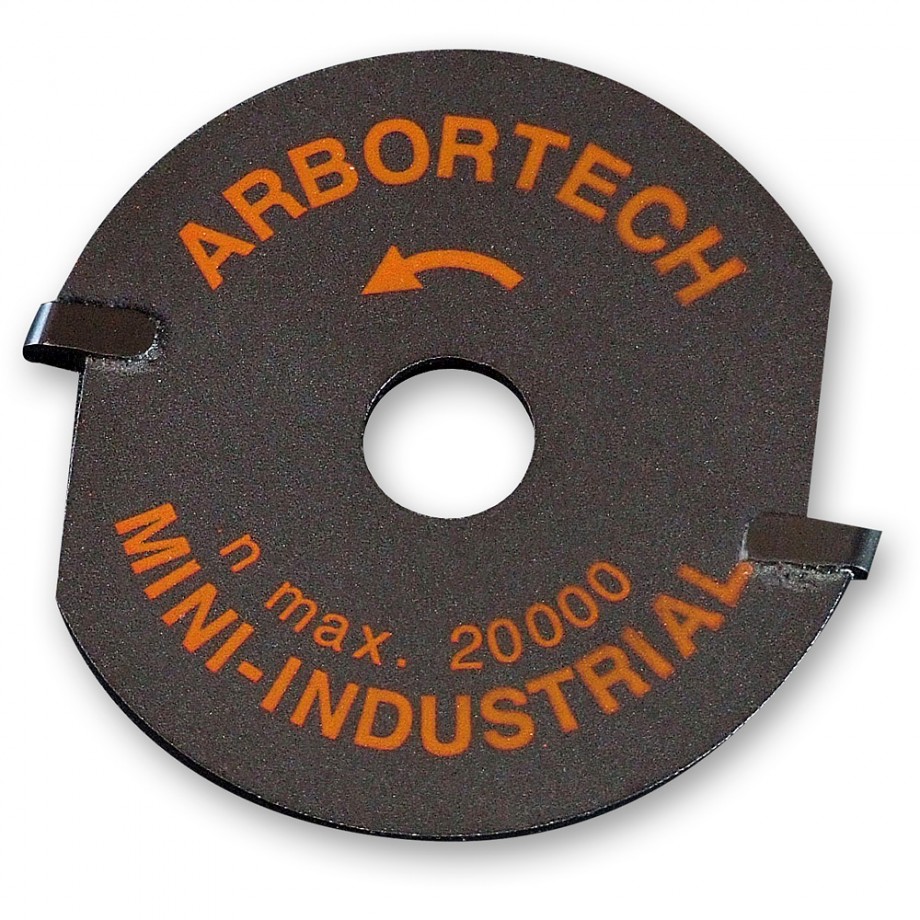
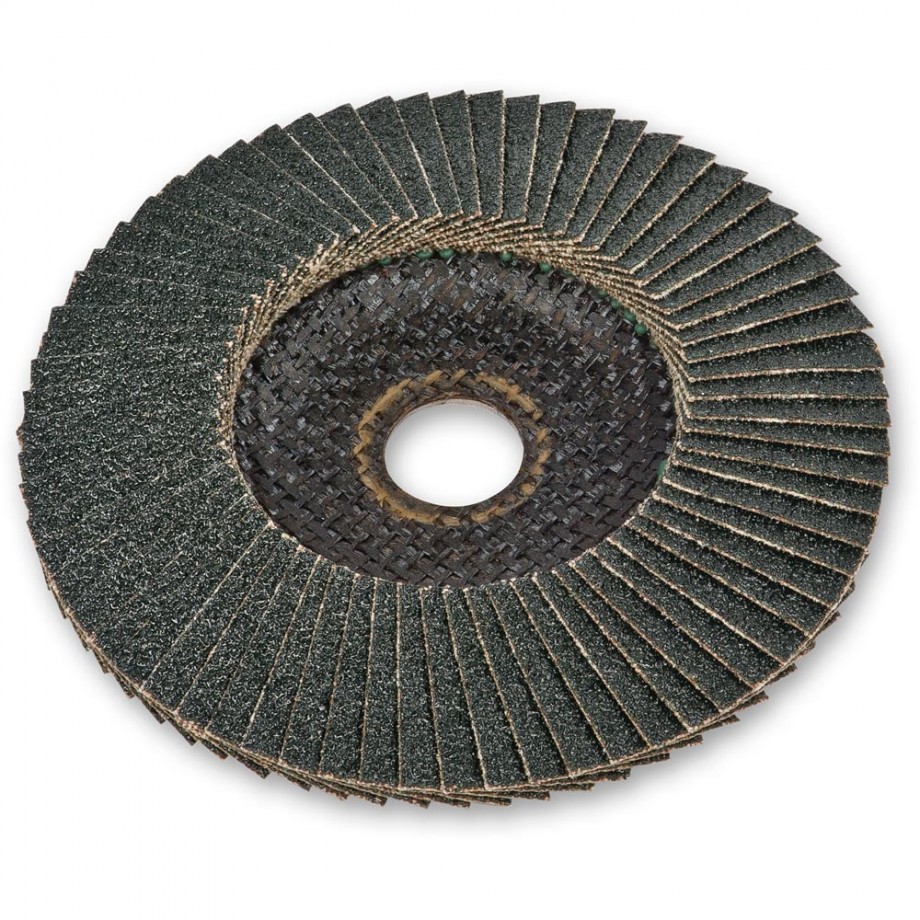
Join your panel out of trued boards as normal, and then go for equipment like that shown below to modify the surface. All equipment shown is from Axminster's website, although there are other suppliers. I suspect you might be quite happily surprised at the effectiveness, and speed, this type of kit can be for sculpting although, all the same, I'd be a bit generous on the time you allow for the job after you've practiced a bit and got the general hang of the technique. This ex-student of mine uses tools the same or similar to these in quite a bit of his work, as I believe does Joseph Walsh. Slainte.

506023_xl.jpg


600495_xl.jpg


300034_xl.jpg
 
Many thanks for all the advice.

[quoteI am actually working there tomorrow so I'll post a couple of pics at tea break in the morning.[/quote]

If you a chance that would be much appreciated.

[quoteJoin your panel out of trued boards as normal, and then go for equipment like that shown below to modify the surface[/quote]

Many thanks, Ill have a play with doing that.

Cheers Robin
 
I have done exactly this, to create a large rustic kitchen table with a 2" thick top. The rim was mitred planks (think picture frame) about 8" wide, and infiill with wide, thick oak boards. The idea was to raise the grain and that was done by wet sandblasting. This gives a sort of driftwood weathered surface. Everyone loved that table, and I will be making another next year. It was left unfinished, apart from being bleached.

Unfortunately the table is now in the home of my ex.....
 
festool rustofix ... or chance your arm with a burnisher with a brass wire brush wheel
 
Sounds like he really wants it rustic, which really gives you scope to play around.

To help with the aged look being oak I'd suggest drilling some undersized holes 3 - 4mm at odd angles but not quite going all the way through then banging a stout nail thru from the underside so it spelches out the "top" and then adding a generous amount of black dye or homemade ebonizer so it forms a bead so it can really soak and for the "old nail hole effect"

Depending on the finish it might also be good to go a bit Jackson ******* and flick the dye or homemade eboniser over the top before you final sand it (so some stays and others are reduced) and add some black grain filler here and there to make it look like the boards were covered in that old creosote then cleaned off.

The brass wire drill attachments won't actually do that much, I've used it to clean out old liming in oak and apart from opening the grain a bit more it's hardly touched the actual wood itself, but the opened grain especially on the cathedrals looks very good when re limed, a much more significant effect.
 
Better late than never.
Here are some photos of the worktops I made out of reclaimed oak floor boards
 

Attachments

  • IMG_0592.JPG
    IMG_0592.JPG
    114 KB
  • IMG_0591.JPG
    IMG_0591.JPG
    75.1 KB
  • IMG_0590.JPG
    IMG_0590.JPG
    72 KB
RobinBHM":11cxn3lw said:
Many thanks, Ill have a play with doing that.
Cheers Robin
Interestingly Robin, I see that Rutland's (as well as other suppliers including importing through Lee Valley) are now offering the American madeKutzall carving discs. Not especially economically priced, but might be worth a look at as a complement and/or alternative to the flap sanding discs, plus maybe something like a random orbital sander. Never used one myself, but I've heard/ read a few people extol their virtues. Just a thought. Slainte.

77J6210s3.jpg
 
Back
Top