scholar
Established Member
Hello
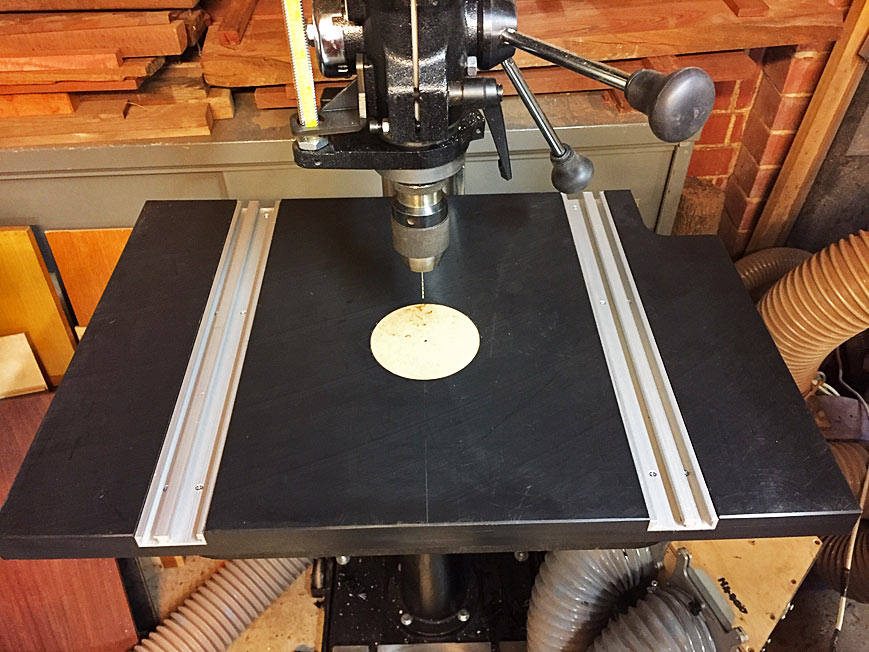
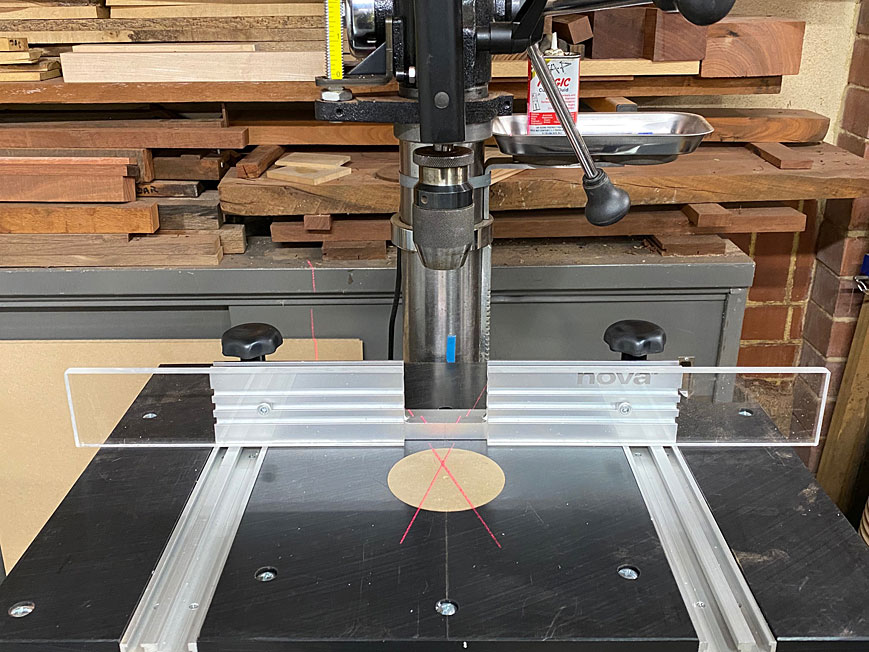
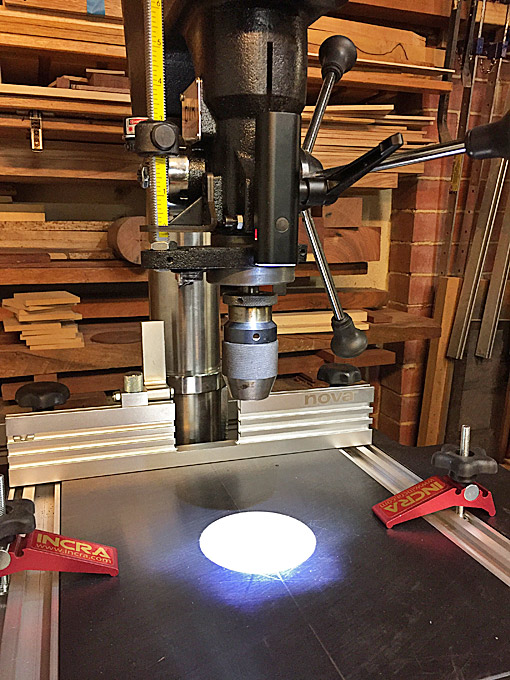
I have treated myself to a shiny new drill press - a Nova Voyager dvr - that is very nice (and clever).
My previous drill press was a Record Power model that I was happy with for years.
The Voyager has more power and lots of electronic wizardry that is great, but one change I am less attuned to is the table height adjustment - on the Record, this was a simple clamp on the column that was very quick to adjust, whereas the Voyager has a hand crank driven rise and fall mechanism - this is awkward for my situation, and so I want to add a powered linkage so that I can raise and lower the table.
(I have done a similar thing on my large planer thicknesser where I can drive the thicknesser height adjustment with a cordless drill and 13mm socket, so it will be most convenient to have a corresponding 13mm hex spigot to adjust the drill press table).
I have assembled bits that work, including a right angle adapter that will bring the 13mm hex spigot out through the (yet to be built) supplementary table (which will avoid reaching around/underneath.
I now want to rationalise the linkage assembly which will shorten it and should reduce any slop. This requires some machining that I don’t have the capability to do, so would like to know if anyone could do this.


So the ideal (if feasible) would be to:
a) turn the 1/2” socket in the large lower socket into a 19mm hex socket that would take the 19mm hex spindle on the right angle adapter; and
b) make the hex bit at the top fit in the 1/2” socket of the small upper socket. The hex bit is 13mm on the top end and 14mm on the bottom; it is the 14mm I want to reduce down into the square 1/2”. The 14mm hex is not big enough to fill the corners of the 1/2” square, and I am hoping that this would not matter if it was machined down to a tight press fit - alternatively, I guess a 1/2” square x 13mm hex would need to be machined out of some bigger stock - I have looked for such a thing but have failed to find it.
what do the experts think?
cheers
I have treated myself to a shiny new drill press - a Nova Voyager dvr - that is very nice (and clever).
My previous drill press was a Record Power model that I was happy with for years.
The Voyager has more power and lots of electronic wizardry that is great, but one change I am less attuned to is the table height adjustment - on the Record, this was a simple clamp on the column that was very quick to adjust, whereas the Voyager has a hand crank driven rise and fall mechanism - this is awkward for my situation, and so I want to add a powered linkage so that I can raise and lower the table.
(I have done a similar thing on my large planer thicknesser where I can drive the thicknesser height adjustment with a cordless drill and 13mm socket, so it will be most convenient to have a corresponding 13mm hex spigot to adjust the drill press table).
I have assembled bits that work, including a right angle adapter that will bring the 13mm hex spigot out through the (yet to be built) supplementary table (which will avoid reaching around/underneath.
I now want to rationalise the linkage assembly which will shorten it and should reduce any slop. This requires some machining that I don’t have the capability to do, so would like to know if anyone could do this.


So the ideal (if feasible) would be to:
a) turn the 1/2” socket in the large lower socket into a 19mm hex socket that would take the 19mm hex spindle on the right angle adapter; and
b) make the hex bit at the top fit in the 1/2” socket of the small upper socket. The hex bit is 13mm on the top end and 14mm on the bottom; it is the 14mm I want to reduce down into the square 1/2”. The 14mm hex is not big enough to fill the corners of the 1/2” square, and I am hoping that this would not matter if it was machined down to a tight press fit - alternatively, I guess a 1/2” square x 13mm hex would need to be machined out of some bigger stock - I have looked for such a thing but have failed to find it.
what do the experts think?
cheers


