You are using an out of date browser. It may not display this or other websites correctly.
You should upgrade or use an alternative browser.
You should upgrade or use an alternative browser.
Have I picked the wrong hobby?
- Thread starter Garno
- Start date

Help Support UKworkshop.co.uk:
This site may earn a commission from merchant affiliate
links, including eBay, Amazon, and others.
Blackswanwood":p8jxwcw0 said:
It looks so easy
Ttrees
Iroko loco!
An example of a well tuned saw.
You don't happen to have an awfully unlevel floor, and using sawhorses or something like that by any chance?
That's one thing that won't be in many woodworking videos
I find that is very difficult to saw on a floor like that, but was grateful for the slant
when the water pipe burst in the big freeze of 2010 and all went out the door. :shock:
Tom
MikeG.
Established Member
Andy Kev.":2wapbbqr said:I wouldn't worry about your saw cuts all leaning a bit off. I tend to cut a bit to the right so I always make sure the waste is on the right.
You can easily practice to reduce the amount of drift. I've found that the following helps a lot (assuming you're doing a cross cut):
a. Mark the upper surface from back to front and the near surface from top to bottom with a knife (several knife strokes on the top cut).
b. Chisel a knife wall into the top cut and just mark the vertical, near one with a pencil.
c. Start sawing gently with your body position correct (see numerous youtube clips for the latter). To help keep the saw vertical, look at the reflection in the blade: the edges of the wood need to maintain straight lines with their reflections in the blade.
d. Once you've made your way to the near edge you're trying to make sure that you're sawing in both marked lines simultaneously while glancing at the reflection.
It sounds like a lot to do but you do improve. I don't think I'll ever completely get rid of the drift to the right but by doing the above, I have reduced it significantly with practice.
As I've said many times, there are umpteen ways to skin any particular woodworking cat........but I advocate a different approach to sawing which doesn't require the ability to saw vertically. Essentially you establish a cut across the top, as you describe. Then you either rotate the wood and establish a cut down what was the front of your timber, but is now your top, before rotating back and connecting the two in a triangle........very important.......don't cut straight down, cut diagonally down..........or, you drop the heel of the saw but keep the wood where it is, and cut down the front face before completing the triangle. Then, after you've done your triangle, you then return the saw to the horizontal and cut down vertically, following the vertical cut line you'e already established.
I've developed that through cutting countless hundreds of shoulders on big lumps of green oak with a cross cut handsaw, but the principal works brilliantly for work on the bench hook with a tenon saw. It's one good reason to have a short bench hook, by the way, so that dropping the heel of the saw to cut down the front face is achieved without sawing through your bench.
As I say, each to their own, and no way is wrong. but that is my preferred method, and I find beginners achieve good results quickly if they stick to it. It cuts out a skill (cutting vertically).
Garno":175ocema said:Blackswanwood":175ocema said:
It looks so easy
It is - it'll just happen that way, but you have to power through the bad results and improve a little at a time.
I can promise you that laziness will direct you to the easiest way to do everything. I posted this in the HT forum, it might make a few people on this side hurl.
I have 8/4 stock to deal with (rough) to make the base for a cabinet. I prefer to cut bases with mouldings from one piece rather than build them up - it's more expensive stock wise, but a lot easier conceptually. The rebate that the cabinet sits in can go on the back of this and there's still thickness for a nice moulding on the front.
I don't have a circular saw that would cut through this (and wouldn't use one accurately, anyway - especially on rough), and the TS that I have (a jobsite saw), isn't particularly good for working with 50- 60 pound boards. This will need to be trued from rough, so there's no need for extreme accuracy. You get to this point quickly - especially if you can learn about the tools (people who just want to have nice tools without knowing much about why they work are always going to get punished in the long term with indecision about whether or not something is working right).
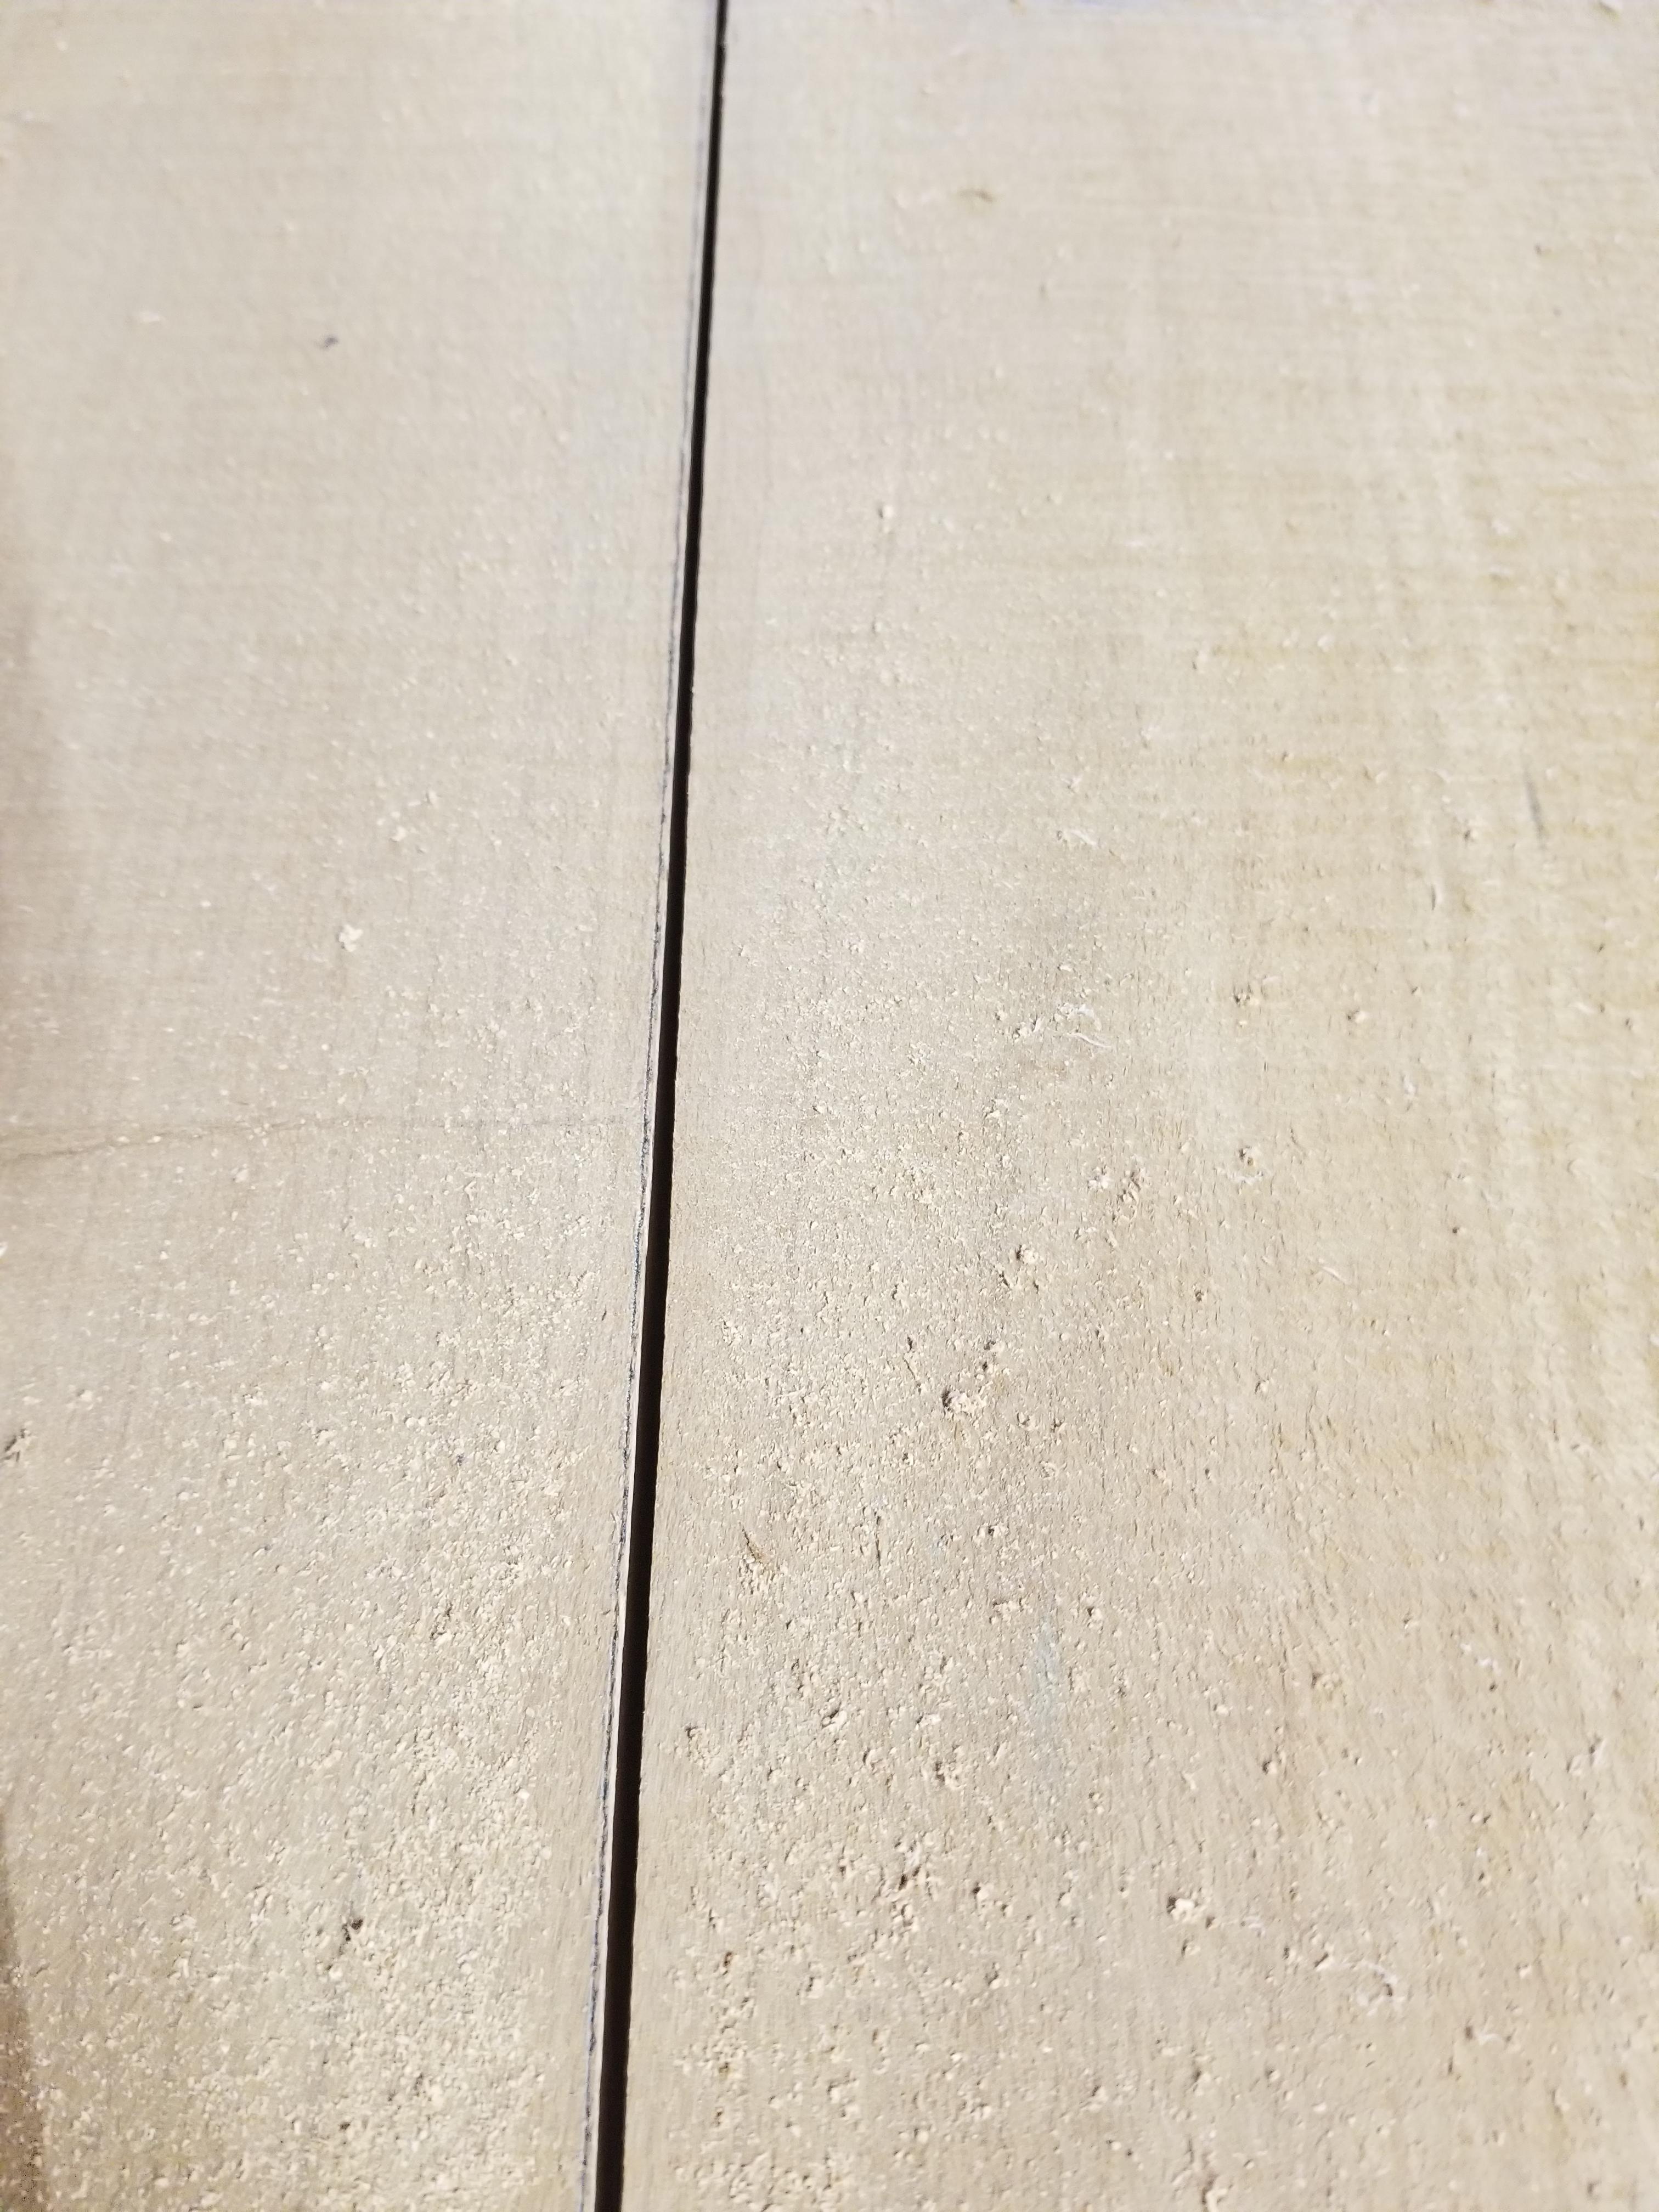
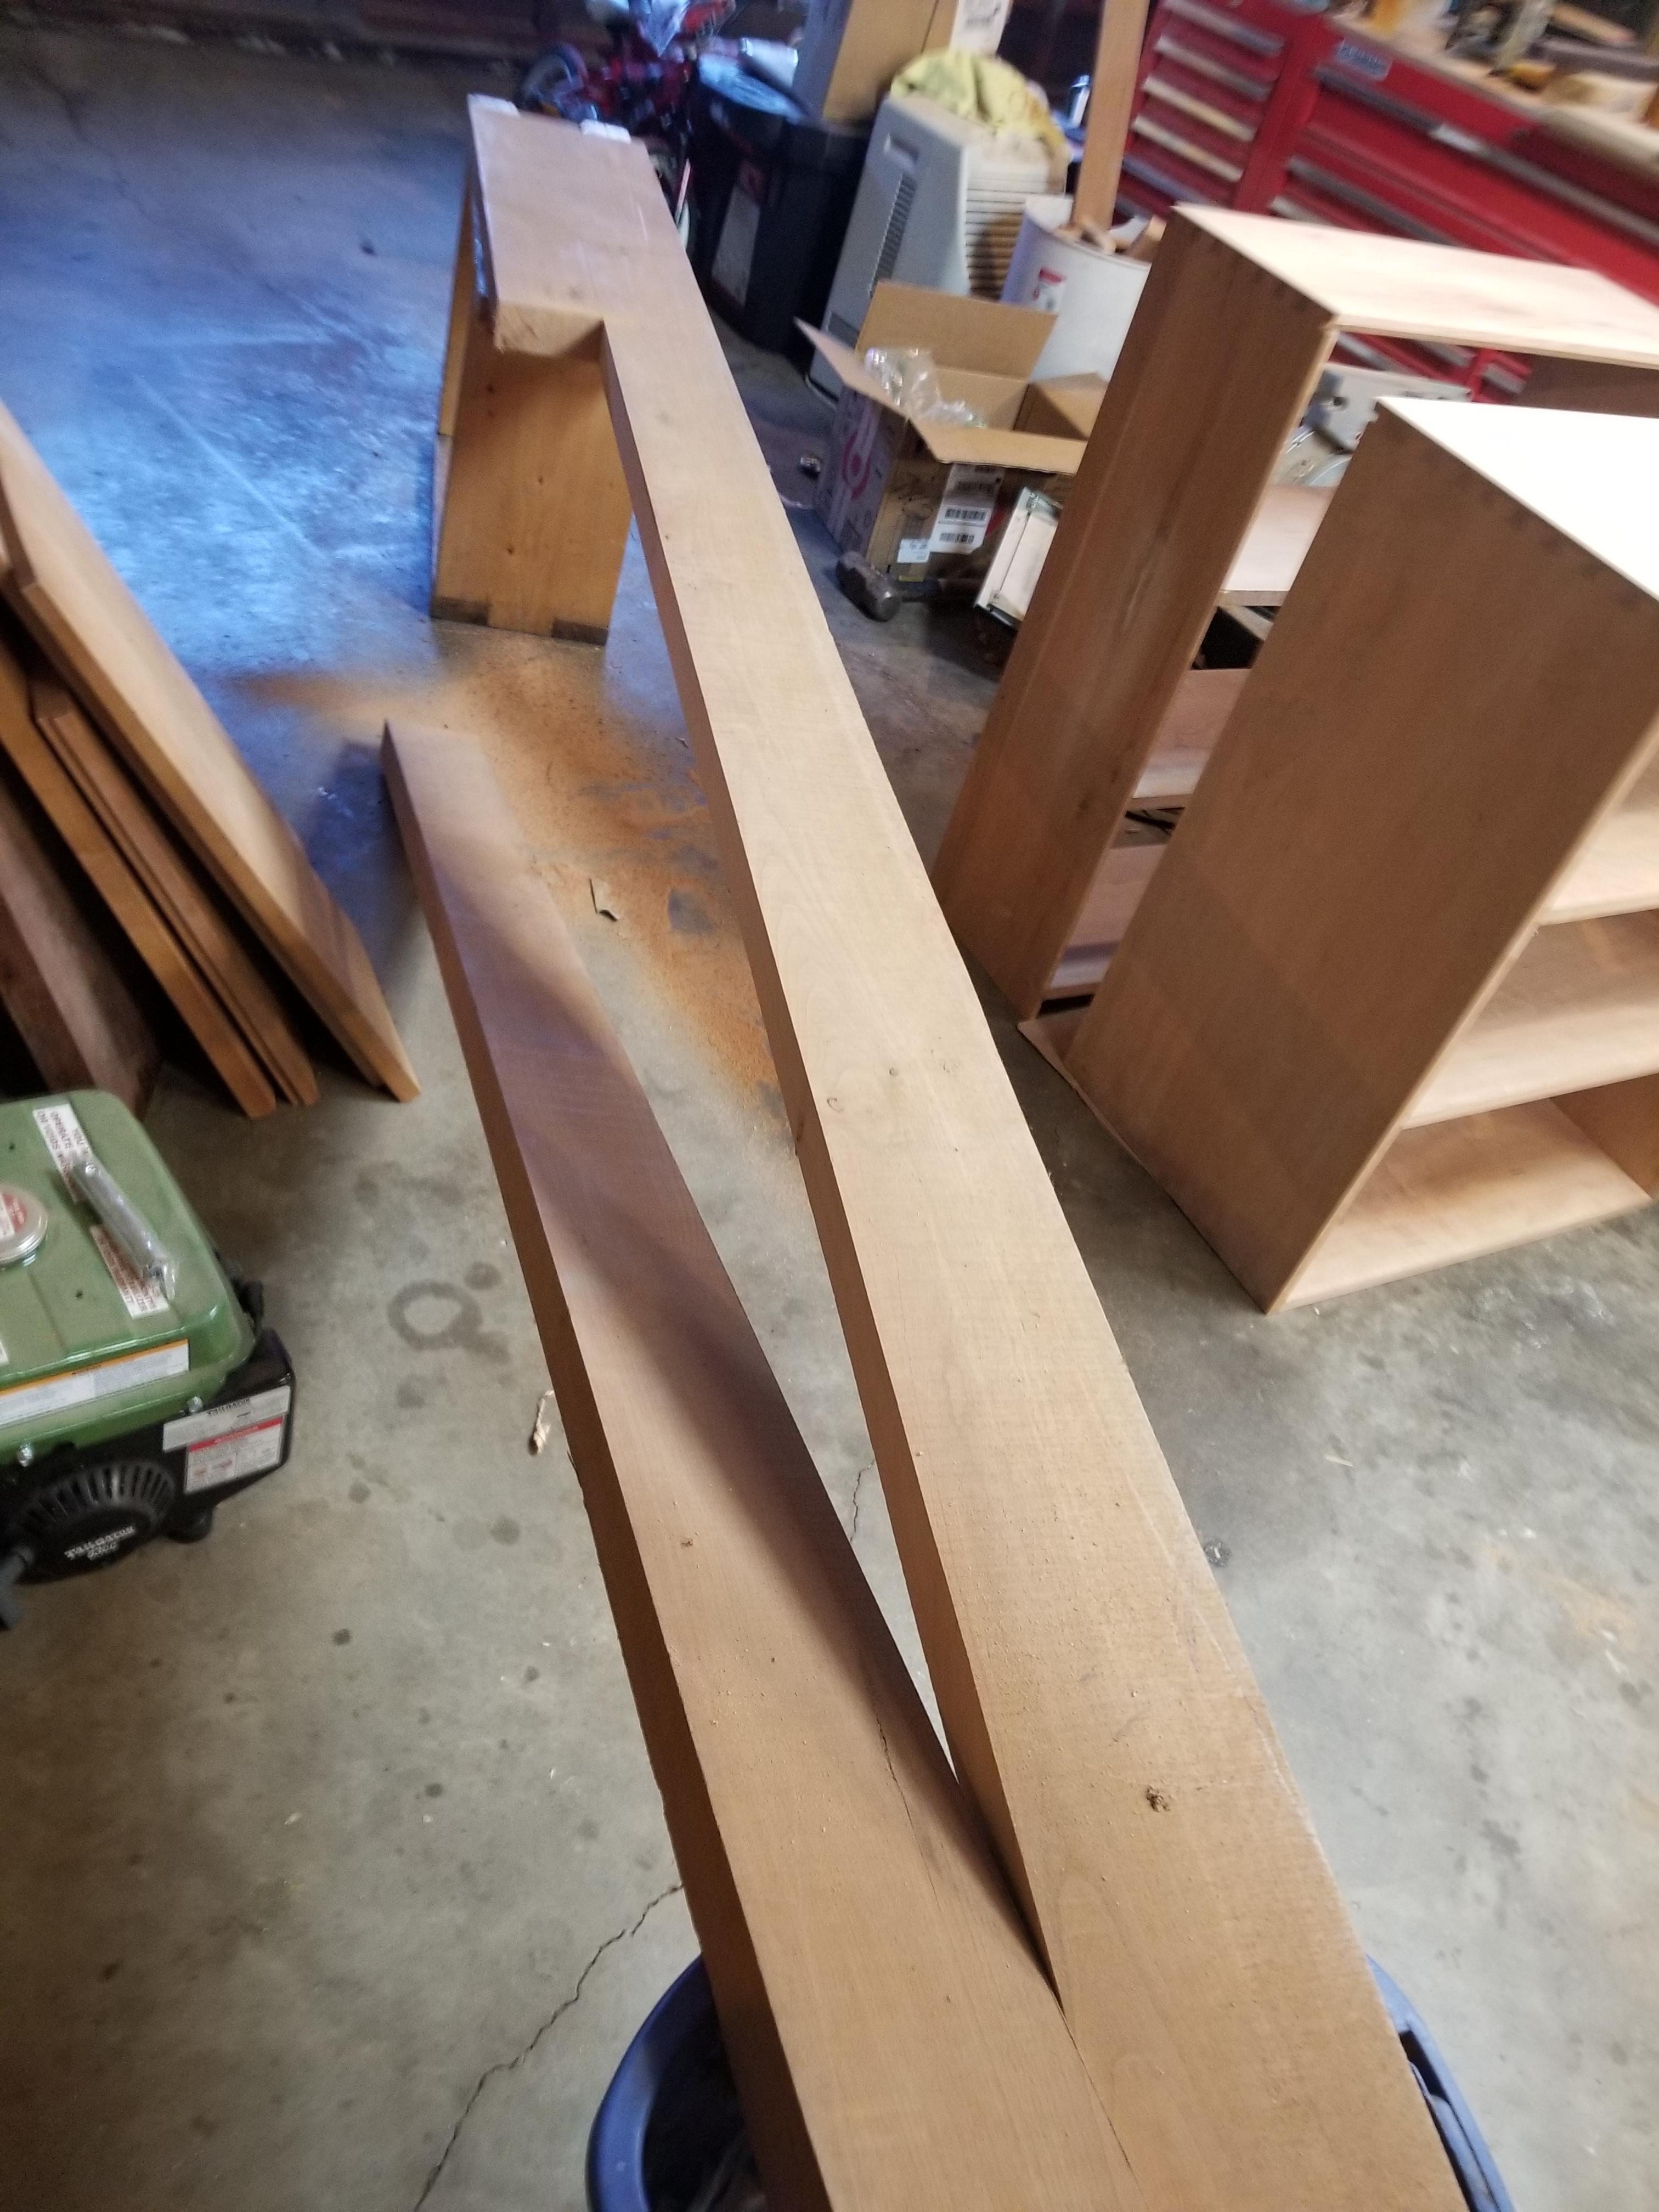
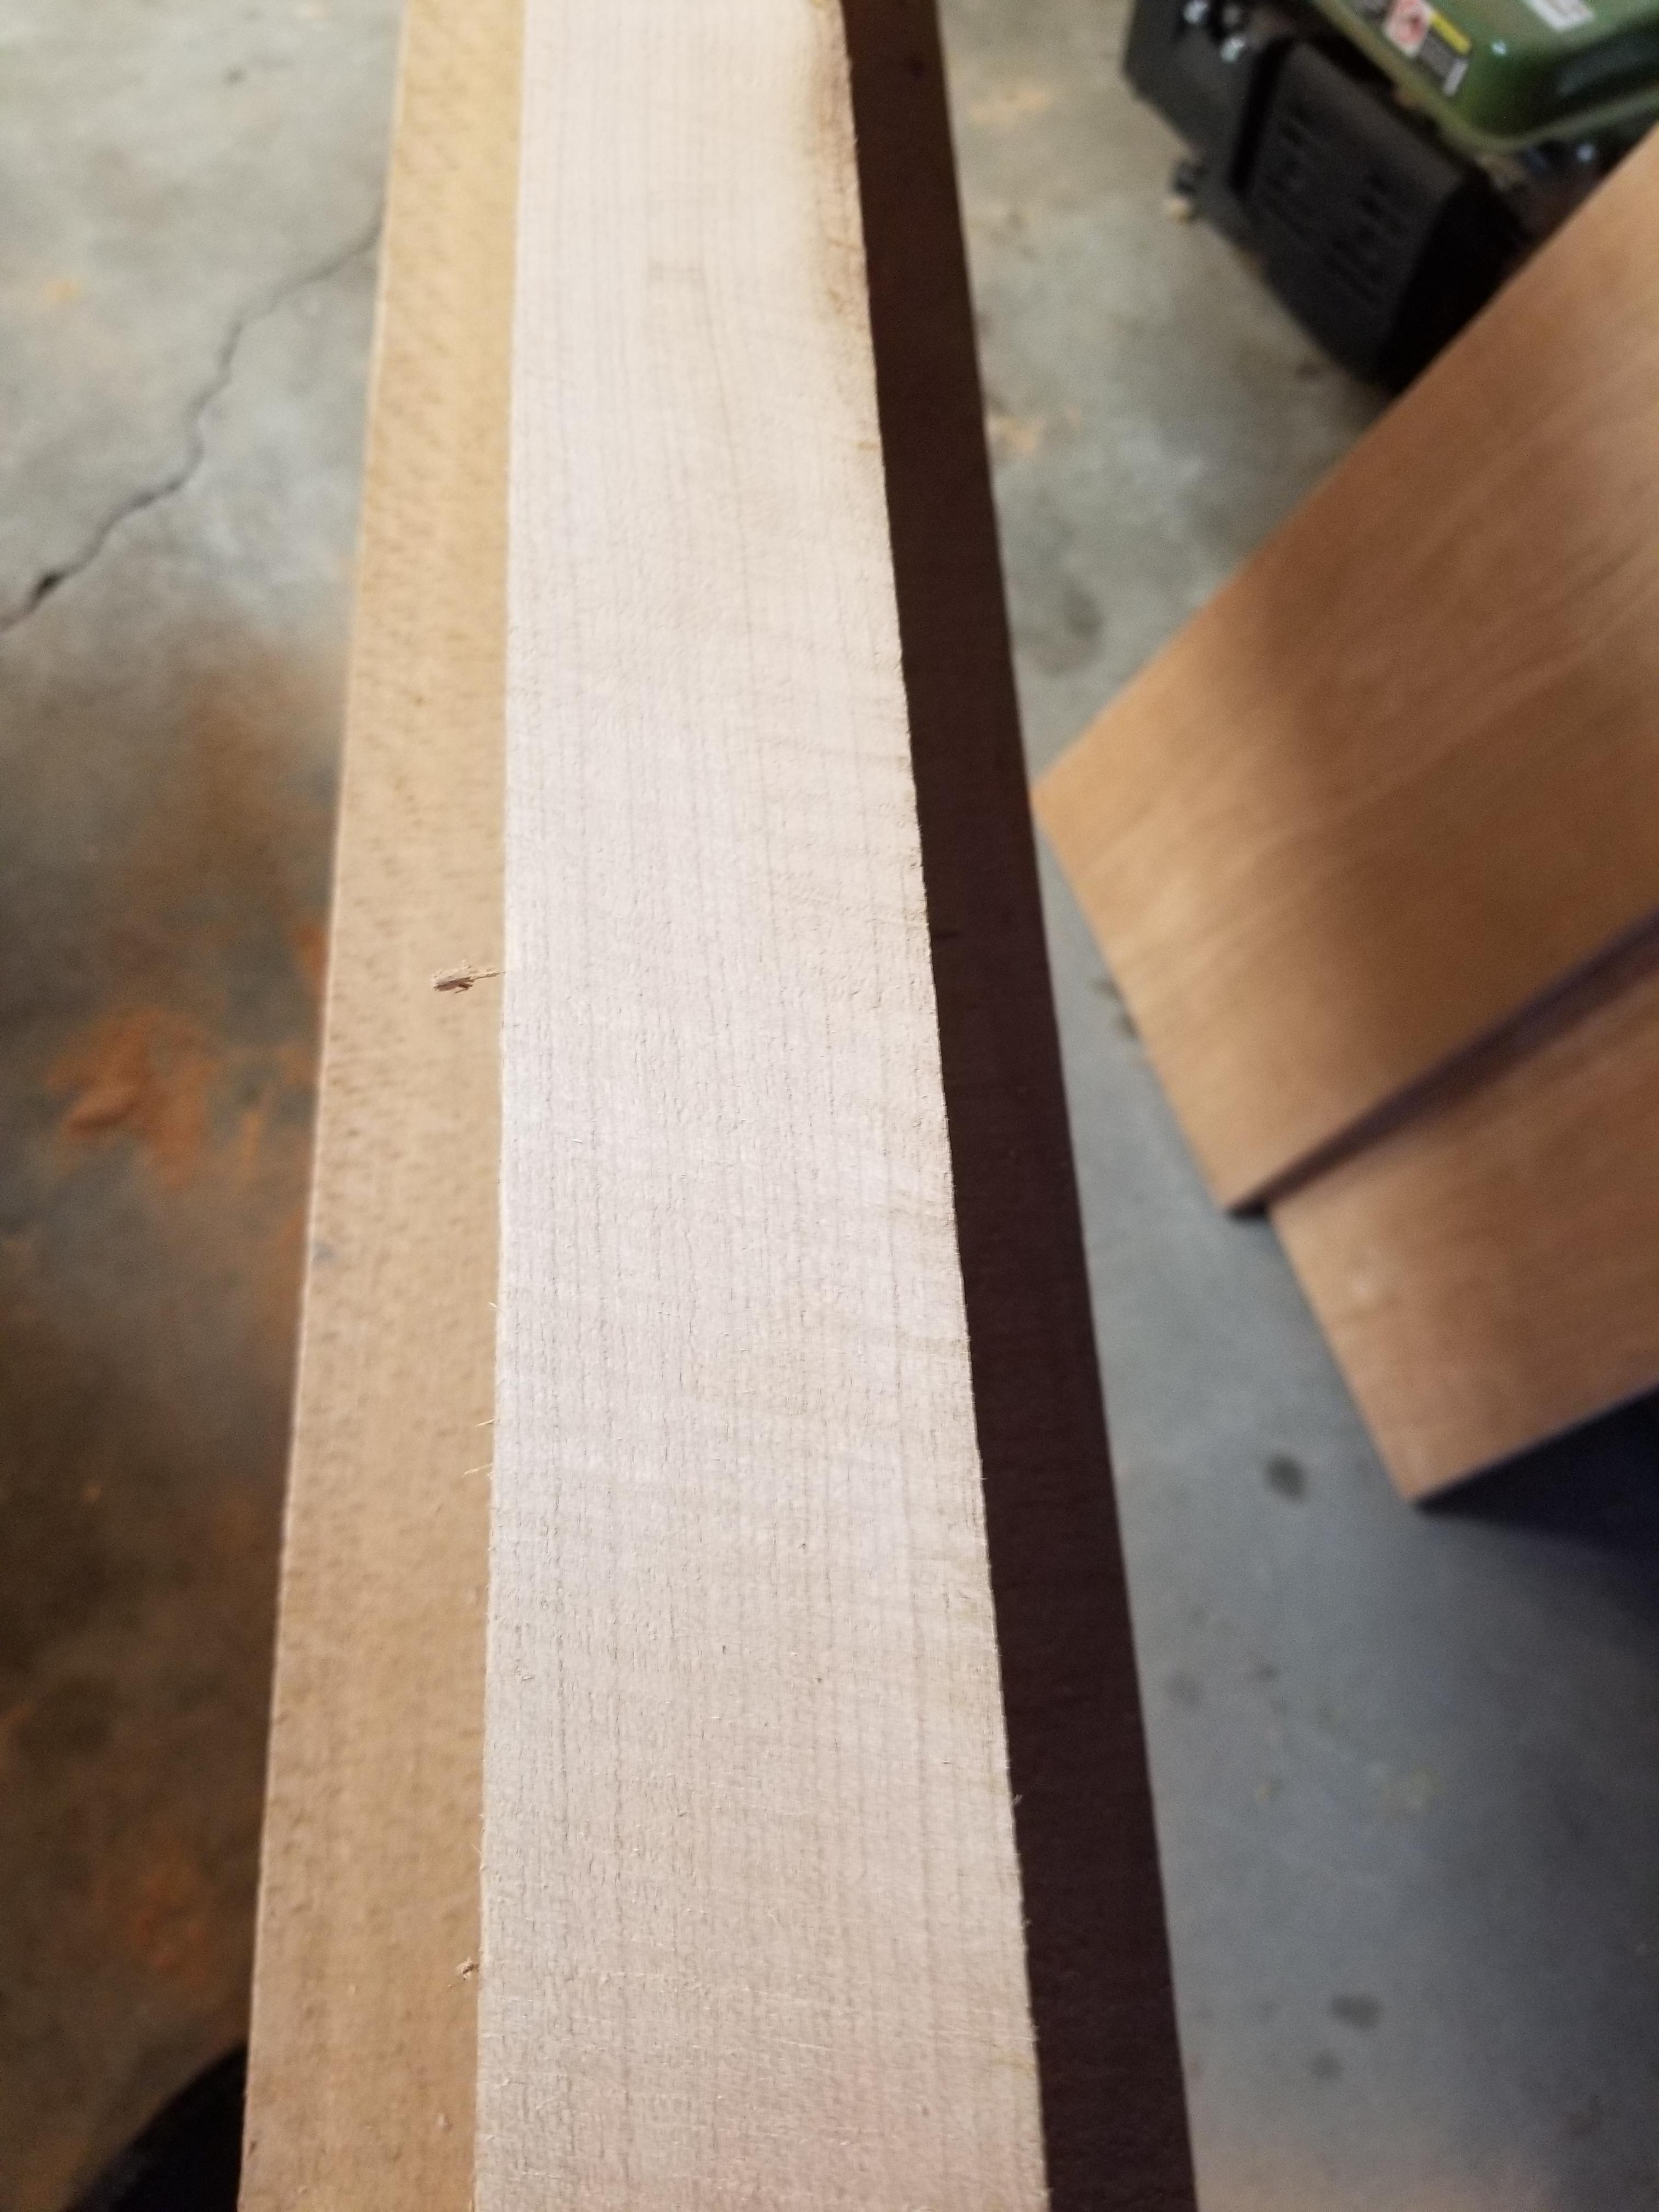
This might not seem much like sawing dovetails, but there's little difference except for the amount of sweat. Once you can saw with one arm, it takes little time to learn with the other - same with planing. Once you're there, you can go as long as your back works.
As mike says, there's 15 ways to do everything. The dogmatic teachers like sellers and sometimes our David C here who will assert accurate work can't be done a certain way are teaching a group things that they think will be most likely to succeed, but if you went to colonial williamsburg, I doubt you'd find people in the instrument shop cutting dovetails the same way that people do in the cabinet shop, let alone people at the North Bennett street school. I doubt any of the three get much different results (or take much more or less time) if they're working to the same standard.
There's another way to look at this, too - if you feel like you're bad at sawing, then you have two possible outcomes:
* quit
* do as much of it as you can all over the place, learn what you can about the saws, pay attention to what's going on and be as lazy as possible getting results
You can learn all of this in a vacuum. Nobody ever taught me to do any of this - except at the very outset, I learned to sharpen from the charlesworth "sharpen a plane" video, or whatever it was. It was mentioned earlier not to be hamstrung sharpening tools at the outset, but I can't see it being a better case to put it off. I followed charlesworth's directions exactly and my first plane blade was sharper that most that I've received from other people to repair (I make and sometimes will repair planes if people get exasperated - not for pay, but as a courtesy).
Just make a standard for yourself to work to and figure out how to meet it. Some of it just happens, if I saw someone doing something unproductive, I could probably point it out, but most of the little tiny things that you do become "craftsman's sense". They feel right, feel easiest and it's not dogma or rigid requirements in most work. You'll just do it naturally.

£34.99 (£3.50 / count)
£39.99 (£4.00 / count)
VonHaus Chisel Set - 10pcs Woodworking Tools Set - Wood Carving Tools, Wood Chisel Sets with Sharpening Stone, Honing Guide and Storage Case
VonHaus UK

£49.91
£58.33
Mefape Mortise and Tenon Jig Tools for Woodworking Routers, Tenon Cutter, Manual Mortising Machine, Invisible Slotting Machine Jig Stand, 3-Axis Guide Rail for Adjust Trimming Length and Width
wangshijuntianjinhongyuegongyipin

£9.99 (£1.00 / count)
£14.45 (£1.44 / count)
JSP M632 FFP3moulded Disposable Dustmask (Box of 10) One Size suitable for Construction, DIY, Industrial, Sanding, dust protection 99 Percent particle filtration Conforms and Complies to EN 149
Amazon.co.uk

£15.99 (£1.60 / count)
£27.44 (£2.74 / count)
3M 8822 Disposable-fine dust mask FFP2 (10-pack)
Amazon.co.uk

£10.10
£15.48
Portwest Browguard with Clear Visor, Size: One Size, Colour: Clear, PW91CLR
Amazon.co.uk

£16.99
£19.99
Respirator Mask,Safety Dust Face Cover,Dust Face Cover Paint Face Cover,Gas Mask With Filter,For Paint,Dust And Formaldehyde,Sanding,Polishing,Spraying And Other Work
ShenZHEN CIRY MINGYANG LITIAN ELECTRONIC ECOMMERCE

£10.19 (£0.39 / count)
£11.99 (£0.46 / count)
Nicpro Carpenter Pencil with Sharpener, Mechanical Carpenter Pencils Set with 26 Refills, Case, Deep Hole Marker Construction Pencils Heavy Duty Woodworking Pencils for Architect (Black, Red)
NicproShop EU

£199.00
£360.17
Trend Portable Benchtop Router Table with Robust Construction for Workshop & Site Use, 240V, CRT/MK3
Amazon.co.uk
I can’t help you with technique but I can say don’t give up! I can’t cut straight to save my life, I’ve ended up working around it which means shooting boards for ends, and good marking and chisel work for shoulders etc. It does mean I dovetails are off my agenda but I keep practicing sawing at each opportunity and I’m getting there very slowly. I think I have also made the mistake of blaming my tools and keep trying different saws as the next one will fixit for me.
Fitz.
Fitz.
My first reaction to your post was to think that it never occurred to me to rotate the wood but then I remembered that when for some reason (forgotten) I had to saw some 4" x 4" pieces, that is precisely what I did. I'll give it a bash with smaller pieces, to see if it gives me better results than what I described above. I do sometimes make a point of getting to the near edge quickly and then saw right down it as you describe although I've never particularly had a reason for doing it - I probably just wanted to break up the routine!MikeG.":3npepfyy said:As I've said many times, there are umpteen ways to skin any particular woodworking cat........but I advocate a different approach to sawing which doesn't require the ability to saw vertically. Essentially you establish a cut across the top, as you describe. Then you either rotate the wood and establish a cut down what was the front of your timber, but is now your top, before rotating back and connecting the two in a triangle........very important.......don't cut straight down, cut diagonally down..........or, you drop the heel of the saw but keep the wood where it is, and cut down the front face before completing the triangle. Then, after you've done your triangle, you then return the saw to the horizontal and cut down vertically, following the vertical cut line you'e already established.
I've developed that through cutting countless hundreds of shoulders on big lumps of green oak with a cross cut handsaw, but the principal works brilliantly for work on the bench hook with a tenon saw. It's one good reason to have a short bench hook, by the way, so that dropping the heel of the saw to cut down the front face is achieved without sawing through your bench.
As I say, each to their own, and no way is wrong. but that is my preferred method, and I find beginners achieve good results quickly if they stick to it. It cuts out a skill (cutting vertically).
Sooner or later, you'll run into something that you have to hand saw (due to size or whatever) where you can't tolerate any blown out grain and you'll end up cutting around the outside (or cutting triangles until there's no outside grain left).
I vaguely recall early on with dovetails cutting the front part of the dovetail as a triangle (you can see both lines at once, it's a little confusing for beginners maybe because they will want to look at one or the other instead of not really looking directly at either with much concentration), but when I'd cut down the backside of the cut, somehow, there would be wander, so I would turn the board around and work down the other side to the remaining line. It's not horrible policy.
The finest maker I ever talked to stressed working to a standard more than I ever remember hearing him talking about any given method.
Same is true for tenons, too - OK to cut them from both sides - sooner or later, laziness will lead to cutting them without switching sides.
(I always have to cut from strategic sides on planes as sawing through square will cause some kind of blowout on one or sometimes two sides. There's nowhere to get rid of it without removing a whole bunch of wood, which doesn't really fit in the whole laziness thing. an electric chop saw with an expensive forrest blade will not leave this chip free, either, but establishing cut lines and then cutting triangles in will. What's left is easy to plane off with a smooth plane and clean up with a nicholson shear file).
https://i.imgur.com/VwbO2RQ.jpg
Today I tried using a different saw A Ryobi japanese saw and it made a big difference, So I attempted to make a halving joint ........... note the word attempt. The thing I was worrying about the most has probably ended up being the most succesful part of the joint, that was the depth of the cut and chiseling out, I have put a rulers edge along the joint to show how flat it is.
One side of the joint I am happy with but turn it over and gaps show, I could of sworn I cut on the inside of my marking so I suppose I got the markings wrong. I have one image of a square and the gap it shows where the joint has not been cut straight. Onwards and upwards I suppose


One side of the joint I am happy with but turn it over and gaps show, I could of sworn I cut on the inside of my marking so I suppose I got the markings wrong. I have one image of a square and the gap it shows where the joint has not been cut straight. Onwards and upwards I suppose


Attachments
Blackswanwood
Still Learning
Garno, how did you mark out your lines - with a pencil or marking knife?
Blackswanwood":j5mvp8pf said:Garno, how did you mark out your lines - with a pencil or marking knife?
With a pencil and square.
Blackswanwood
Still Learning
Okay - give me half an hour and I’ll post a couple of pictures which may help.
MikeG.
Established Member
I'll bet that's where most of your issues lie. A knife is just so accurate. Here's a long tenon shoulder:
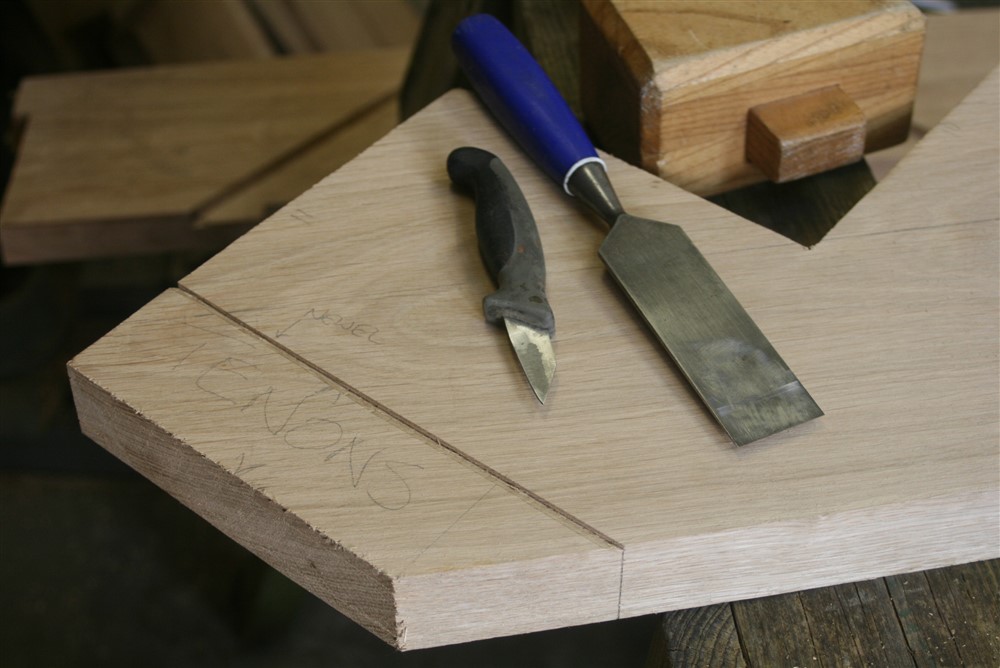
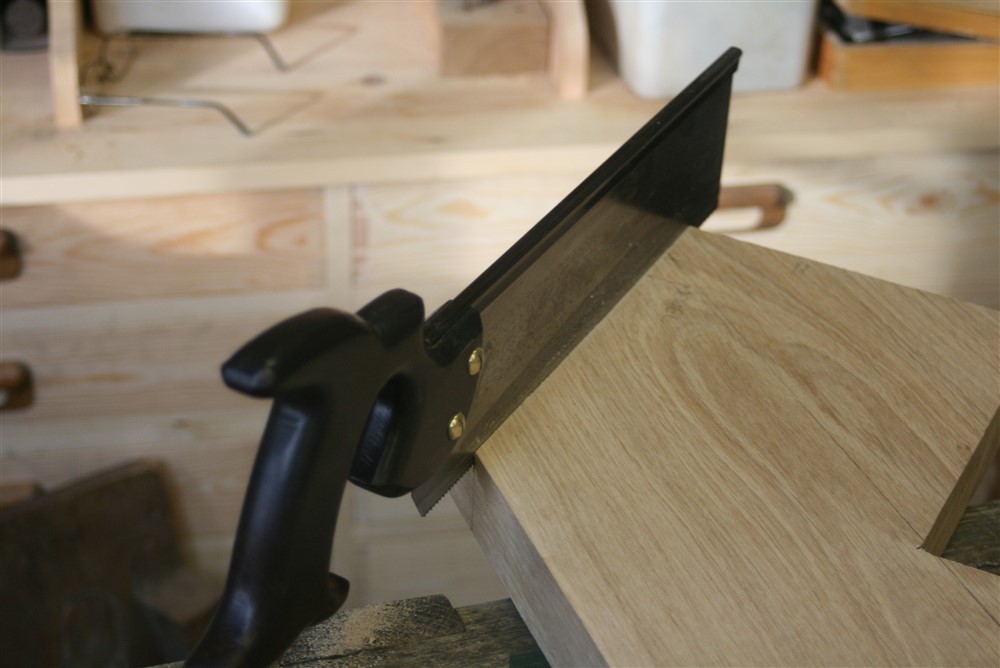
The saw can't go anywhere else other than hard up to the knife line. Any old knife will do. That's an old vegetable knife from the kitchen.


The saw can't go anywhere else other than hard up to the knife line. Any old knife will do. That's an old vegetable knife from the kitchen.
Droogs
Not the Sharpest Moderator in the box
Garno":1ocs82a2 said:Blackswanwood":1ocs82a2 said:Garno, how did you mark out your lines - with a pencil or marking knife?
With a pencil and square.
have you tried marking out using a knife instead of the pencil. Draw the knife so that the bevel against the square is vertical and then once again at a 45 deg angle away from the vertical and the square to give you a small groove. If you have difficulty seeing it then run a pencil down it to see better. This will also give you a physical reference edge to place the teeth of the saw against.
as pics above show/posted as i wrote
MikeG.":1r20cd6x said:I'll bet that's where most of your issues lie. A knife is just so accurate. Here's a long tenon shoulder:


The saw can't go anywhere else other than hard up to the knife line. Any old knife will do. That's an old vegetable knife from the kitchen.
Is that groove done using just the knife or is it a combination of knife and chisel?
Who would of thought something as simple as not using a knife could cause so many problems.
Seeing you pictures it makes total sense why I should use one.
Thank you for taking the time to do so, I am looking forward to testing it tomorrow.
Blackswanwood
Still Learning
Mike got there first with the picture for marking the line before sawing.
One other point - when you have knifed the first line mark the second by direct reference to the cross member. All you need do is line it up precisely with the knife line and stab a mark with your knife for the second line. Remove the cross member and finish the line with your square.

One other point - when you have knifed the first line mark the second by direct reference to the cross member. All you need do is line it up precisely with the knife line and stab a mark with your knife for the second line. Remove the cross member and finish the line with your square.

Attachments
Droogs":1z4x6p79 said:Garno":1z4x6p79 said:Blackswanwood":1z4x6p79 said:Garno, how did you mark out your lines - with a pencil or marking knife?
With a pencil and square.
have you tried marking out using a knife instead of the pencil. Draw the knife so that the bevel against the square is vertical and then once again at a 45 deg angle away from the vertical and the square to give you a small groove. If you have difficulty seeing it then run a pencil down it to see better. This will also give you a physical reference edge to place the teeth of the saw against.
as pics above show/posted as i wrote
Thank you Droogs,
I have never marked out with a knife and always used a pencil and more often than not a pencil in need of sharpening
Blackswanwood":mgqcq10e said:Mike got there first with the picture for marking the line before sawing.
One other point - when you have knifed the first line mark the second by direct reference to the cross member. All you need do is line it up precisely with the knife line and stab a mark with your knife for the second line. Remove the cross member and finish the line with your square.
View attachment 18
I really appreciate this great advice, Thank you
Blackswanwood
Still Learning
Similar threads
- Replies
- 3
- Views
- 204


