Harlequin side table

UKworkshop.co.uk

Help Support UKworkshop.co.uk:

This site may earn a commission from merchant affiliate links, including eBay, Amazon, and others.
I'd use a plane, with a tiny bit of finishing with sandpaper.

None the less the file suggestion is an interesting one. The recommended method at the Barnsley Workshop for rounding the short, vertical arris of, say, a table top (in other words the edge between the end grain side and the long grain side) is with a fine file rather than abrasive paper. The reason being it's too easy to dub over a corner with sandpaper, but with a file you'll be more likely to execute a clean roundover.

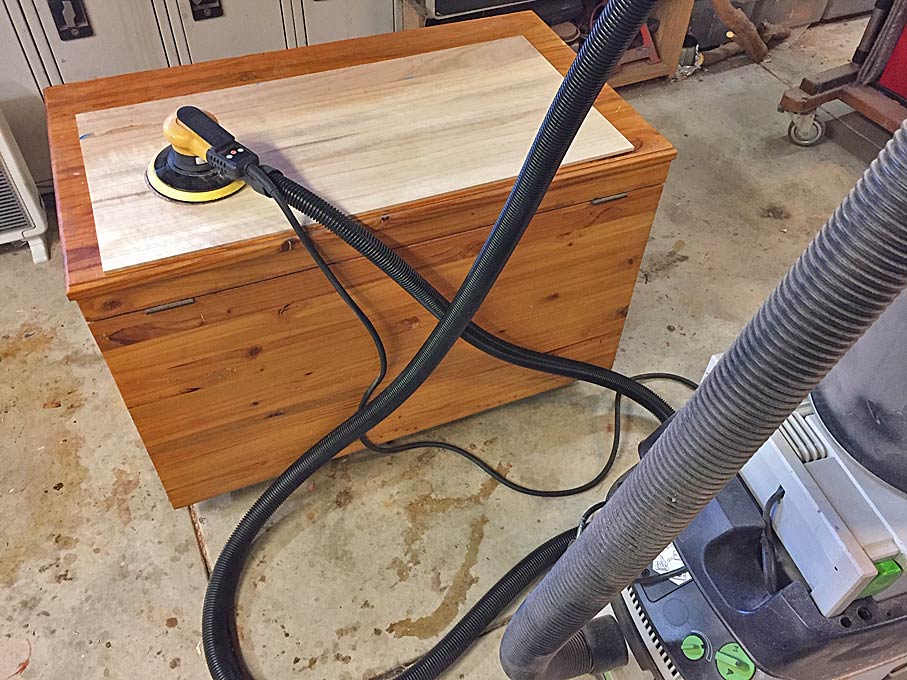
Another interesting thing about the Barnsley way of working is that they generally look for the hardest, flattest possible backing for abrasive paper. So before buying a random orbit sander check that it has a hard pad option, and keep a stock of adhesive backed abrasive paper and stick it to MDF then trim it precisely.
 
By the way, I have a really great sander, a Mirka Ceros and use Abranet mesh. Hard pad, as you say, Custard. This ROS is the closest to using a plane ... small and fits in one hand, light, and terrific dust control.

Regards from Perth

Derek
 
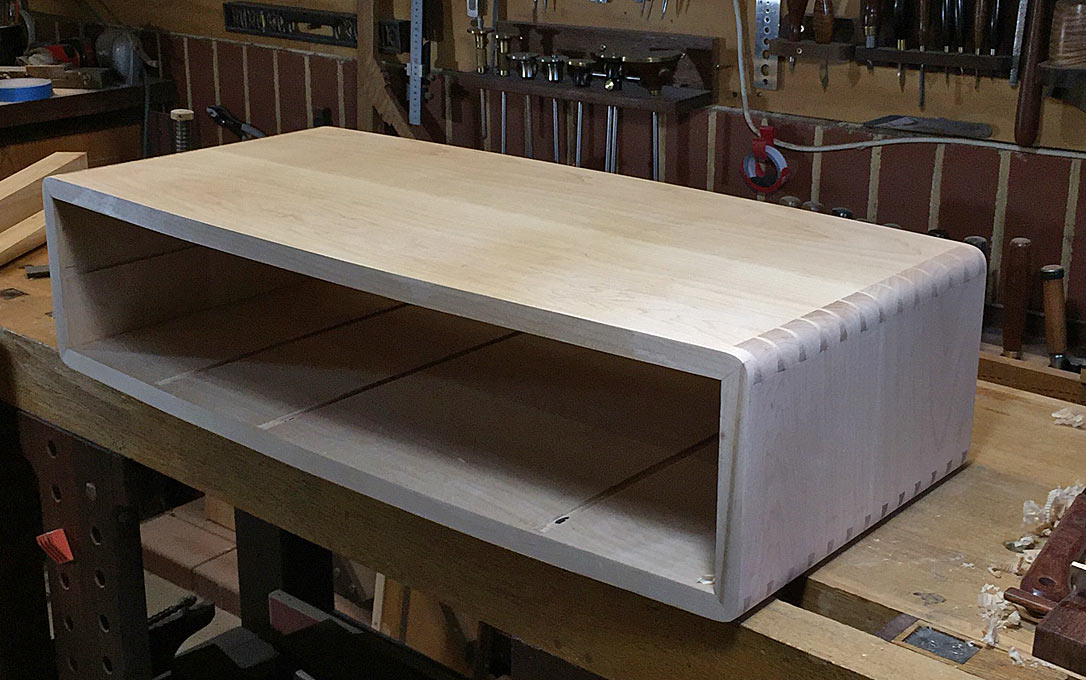
The case was completed last time ...

48.jpg


... but before the drawer dividers can be permanently installed, the legs need to be made and attached.

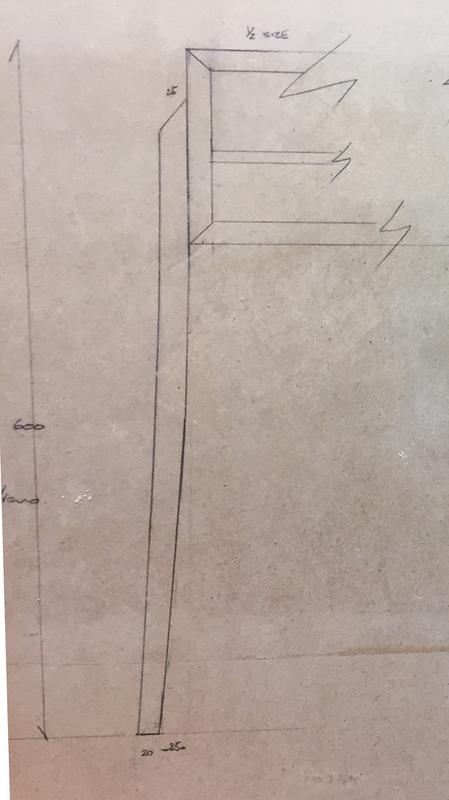
This was the original drawing ...

HarlequinTable_html_3164fb49.jpg


Some has been retained and some has been changed.

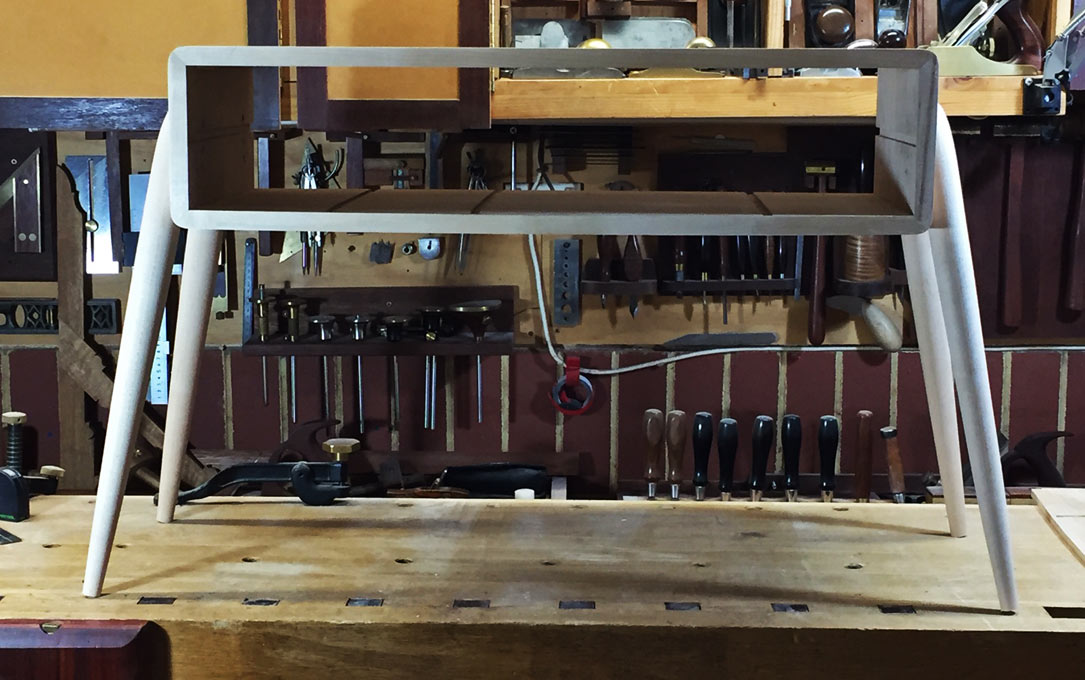
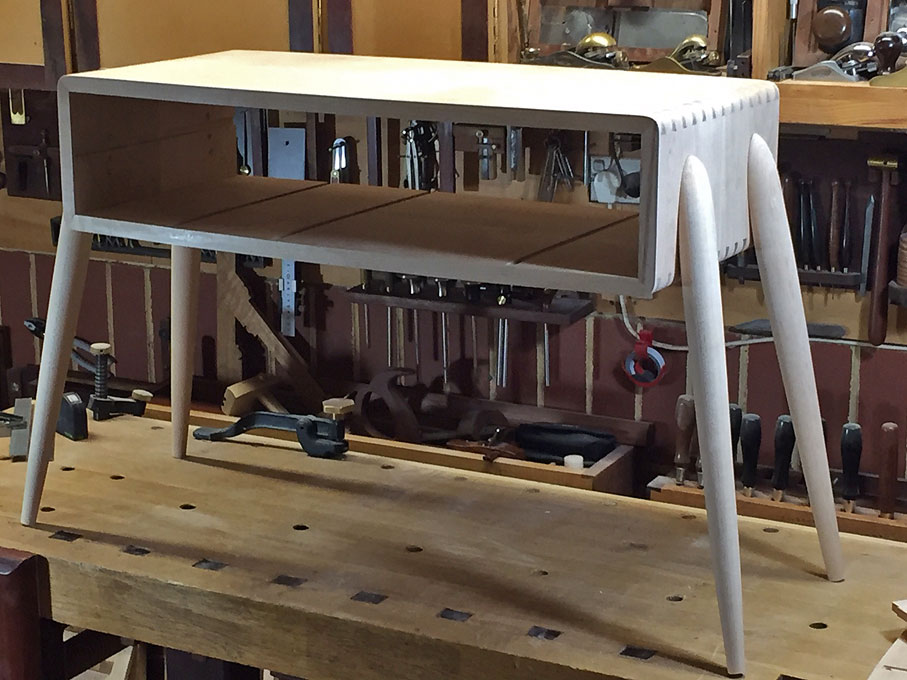
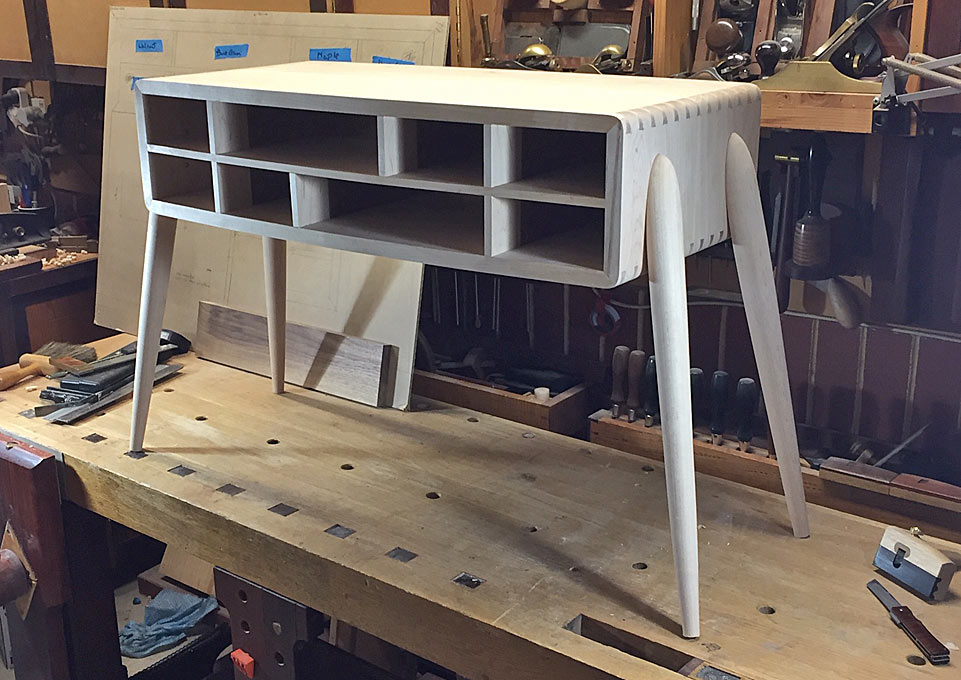
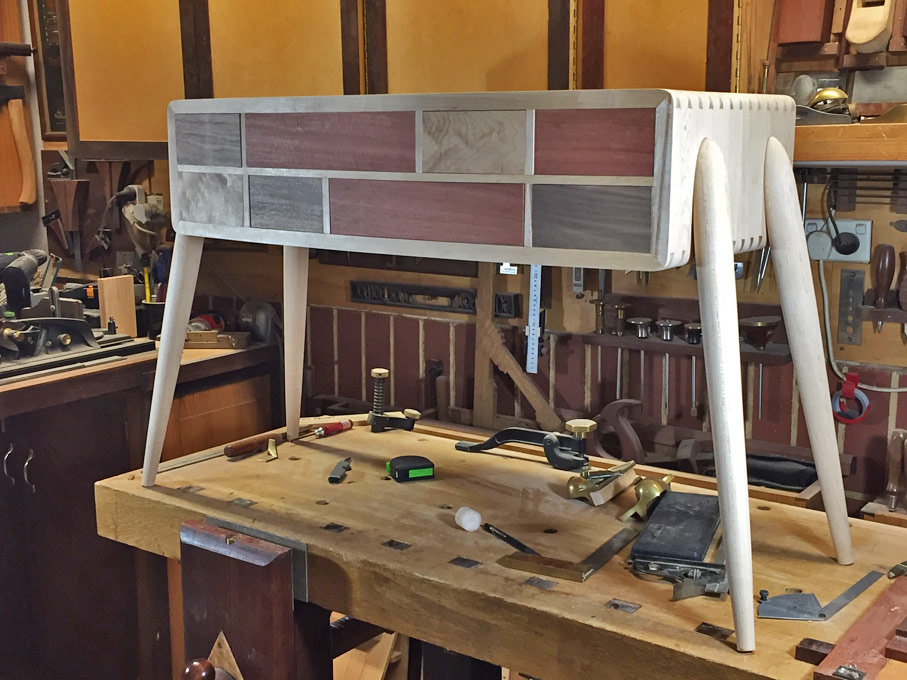
Instead of curved legs, which I later decided did not match the overall style, I decided on round, tapered legs that will splay out from the case.

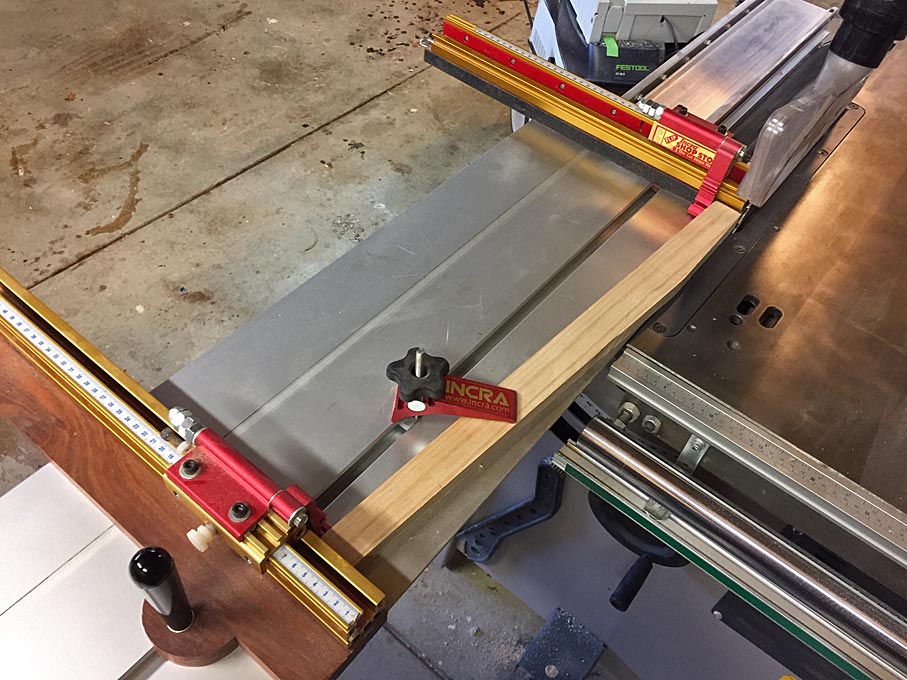
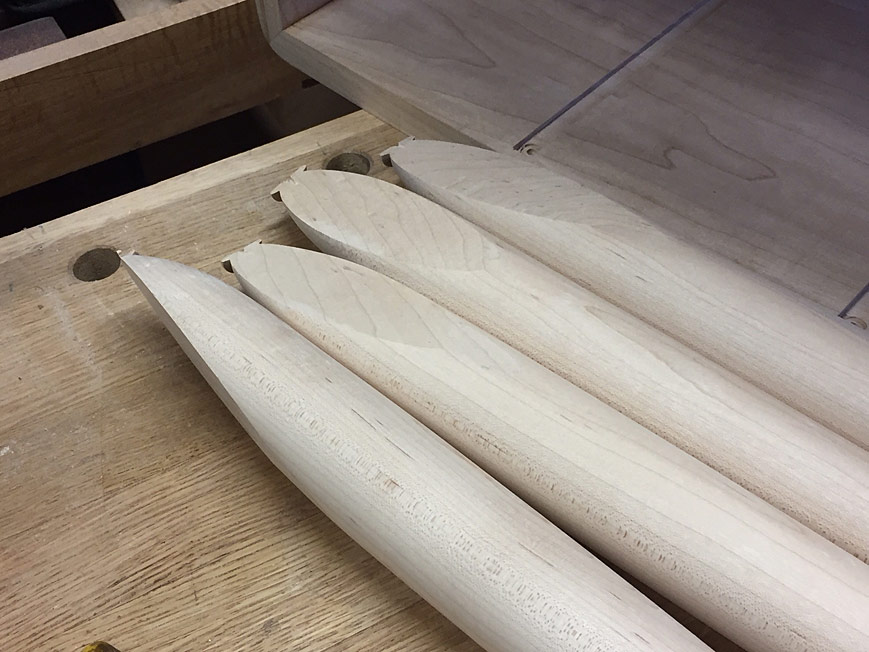
Before turning the legs, the splay was created by tapering the top of the legs on the table saw. The slider uses a Fritz and Frans jig to rip the end at the chosen angle (8 degrees). This ensured that the splay angle would be the same for all legs.

49.jpg


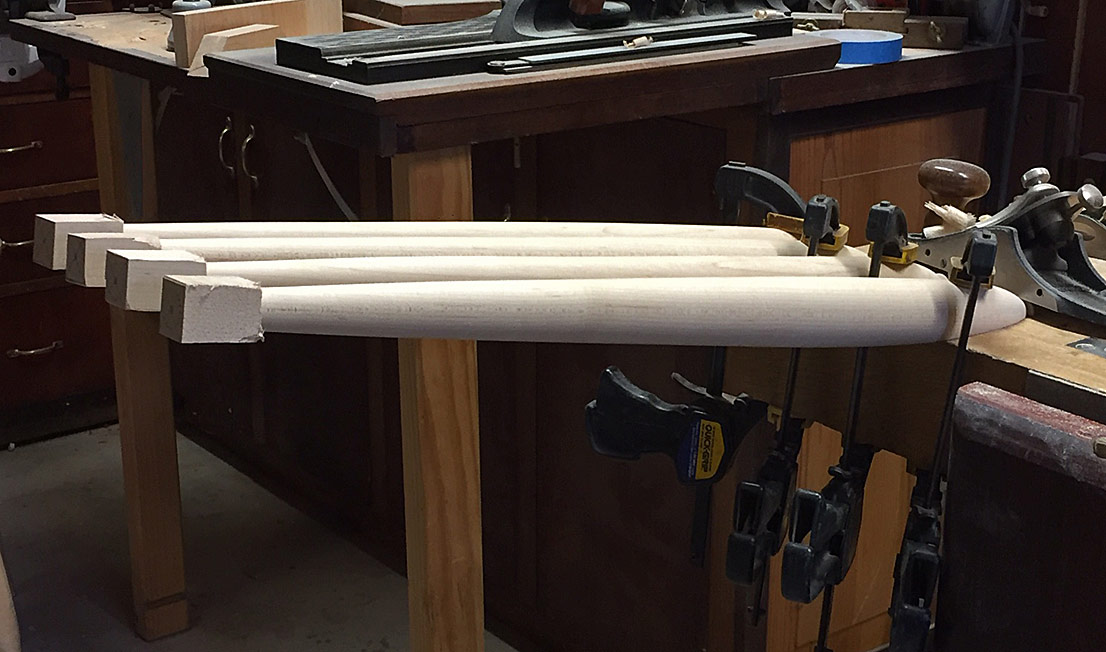
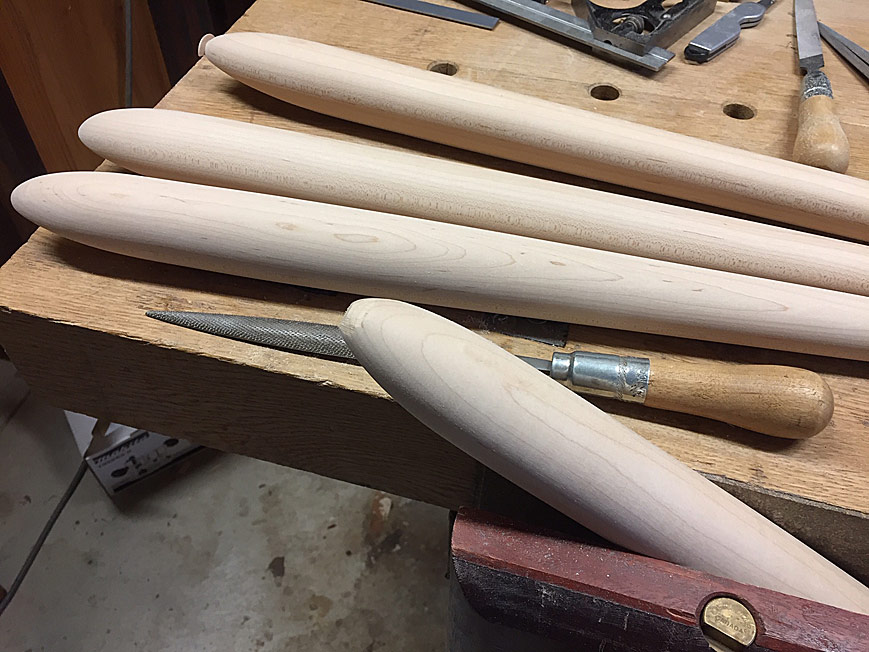
The blanks were then turned to shape. Here I am checking that the near-to-finished legs are the same dimensions and have the same taper angle ...

50.jpg


The ends were then cut off and the top was shaped with rasps and sandpaper ...

51.jpg


Edit to add this picture of the taper on the legs ..

58.jpg


How to attach the legs? Well, that had given me a real headache. I was thinking along the lines of a loose tenon ... overcomplicating matters (as usual). A number suggested simply glueing and screwing. I was skeptical, but of course, a glue joint alone is generally stronger than the wood ... and reason prevailed :)

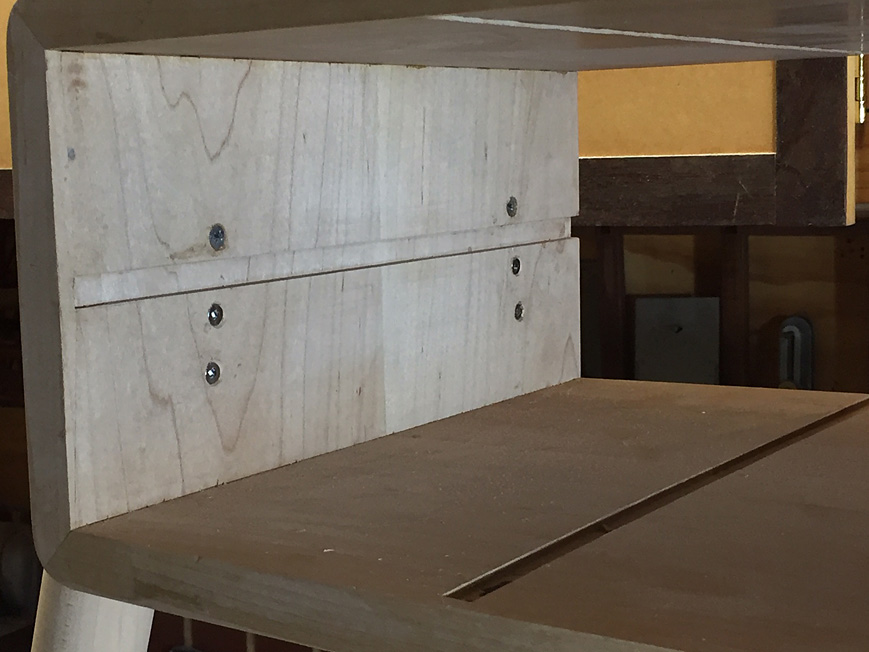
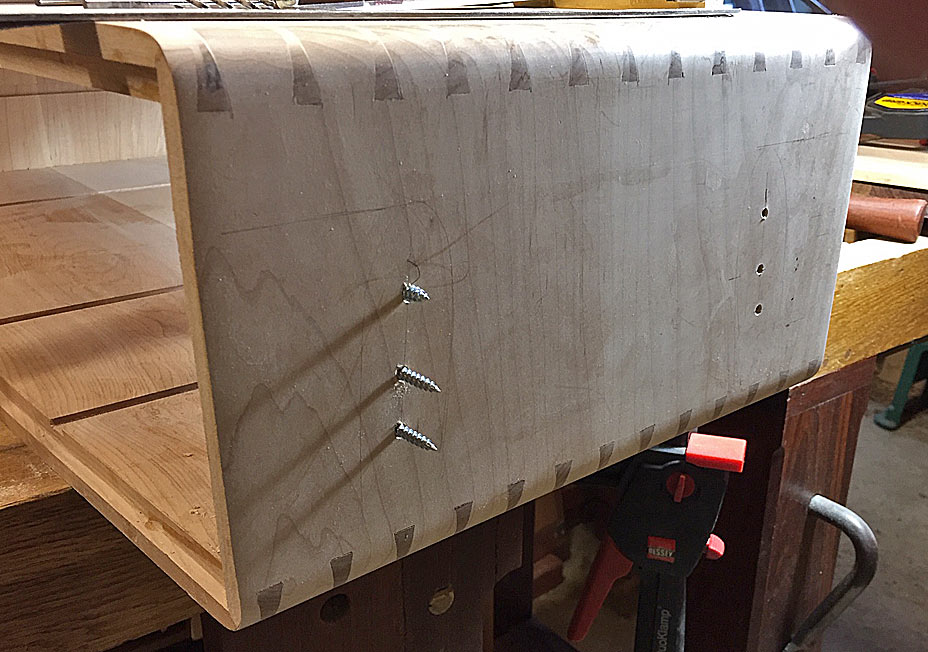
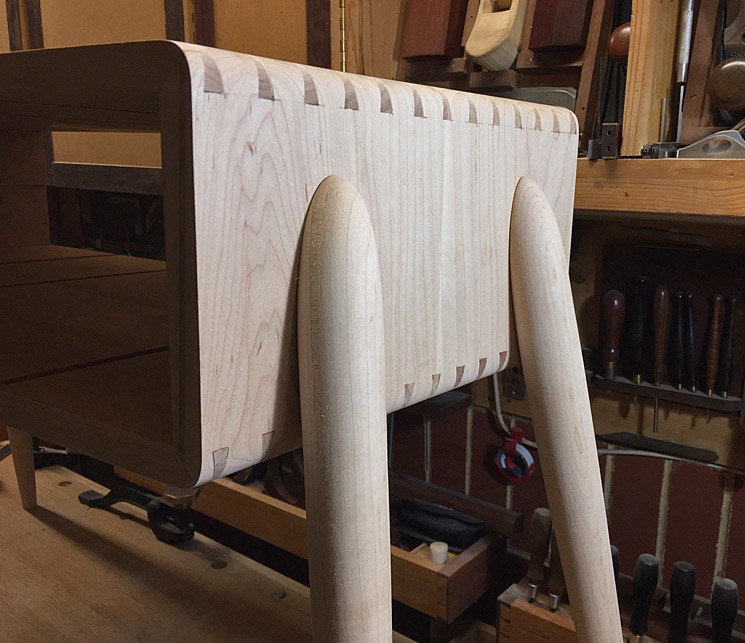
There are three screws per leg, which were countersunk for the drawers. The glue chosen was Titebond III.

52.jpg


53.jpg


All cleaned up, this is what we have (drumroll) ...

54.jpg


55.jpg


56.jpg


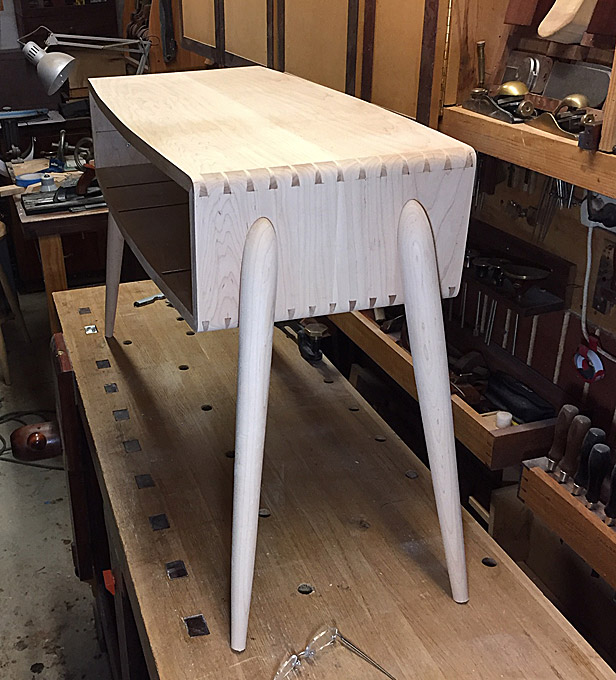
The splay to the side is 8 degree, and from the sides, the legs are aligned with the front and rear of the case.

57.jpg


Drawers next :)

Regards from Perth

Derek
 
Wow!

Those legs are absolutely amazing. I've never seen a design like that before (which is rarely a good thing!), but in this case it just all comes together and works beautifully.

Seriously, with those legs you've taken this piece from "extremely competent" up to something that screams for first prize in any competition you cared to enter it in.
 
Thanks Custard. That means a lot to me coming from you.

Getting the legs done successfully is a big relief. Now I'll try my best to **** up the drawers :) They are all compound angles, being as they curve at the front.

Regards from Perth

Derek
 
I can accept that you sawed the legs consistently, using a jig. I can see that you turned them to match perfectly, that's what you do.

But then you get them all fitted in place, at the right angles, with no easy shoulders for alignment (which wouldn't work, onto a case with a rounded corner.) All nicely matched for length onto a flat floor.

So what was the extra black magic on this step? Or have you just scared the bits into submission? #-o :wink:

Please tell me there was a special leg alignment jig somewhere along the way!
 
I'll be interested in the answer, the way I'd do it would be have a trial assembly of the legs before they were turned. That way you still have flat reference surfaces.

There's an old cabinet making adage, "joint first shape second" that applies here!
 
Andy, you do make me smile. Thanks. :)

First, measure that the legs are the same length.

Second, determine the height from the top of the case (50mm).

Third, decide (after a couple of trials) how far in the legs will be from each side (turned out that 3 1/2 dovetails in was the best balance in leg angle).

Fourth, place a straight edge alongside the front and rear sides of the case (to align the legs).

Now attach the legs with a clamp, and run a pencil around the top of the legs where it will be glued.

Mark the position of the screw holes in the case, making sure that you avoid the dado for the drawer divider. Drill these from the outside, and countersink on the inside.

Seven. Glue the legs in place, using the pencil marks as a guide, but ensuring the straight edge is used again. Clamp and leave to dry for 45 minutes.

Eight. Drill for the legs from the inside of the case, making sure that you mark the drill bit for depth ... you do not want to spoil everything by drilling through the leg!

Nine and Finally: insert the screws. The top one is into the shallower section and is 30mm long, while the lower two go into the meat, and are 40mm long.

Done. Not so tough. :)

Custard, I spend a while trialling the angles I liked, and then shaped the splay before turning the legs. As you say, it is vital that there is a reference surface, and the splay was it.

Regards from Perth

Derek
 
next level stuff this =D> I love your posts, always learn a lot from them.
 
Derek makes it sound "Oh, SO easy -peasy"! Probably was for him.

I don't what to even think about the result if I was to try something like that. And I don't have either the skill or the knowledge to "criticise" the overall design (the "look" of the piece) either. But as many here know, I've spent a large part of my life around aeroplanes where - on the best designs - you see such a pleasant blending of round, curved, and straight line shapes pretty often. Not so much on the furniture that I've taken much notice of though - except here. To my(very) untutored eye it "just" looks very pleasing to the eye indeed. (And Oh, yeah, I forgot, so simple to produce too). :D

My gast is well & truly flabbered.
 
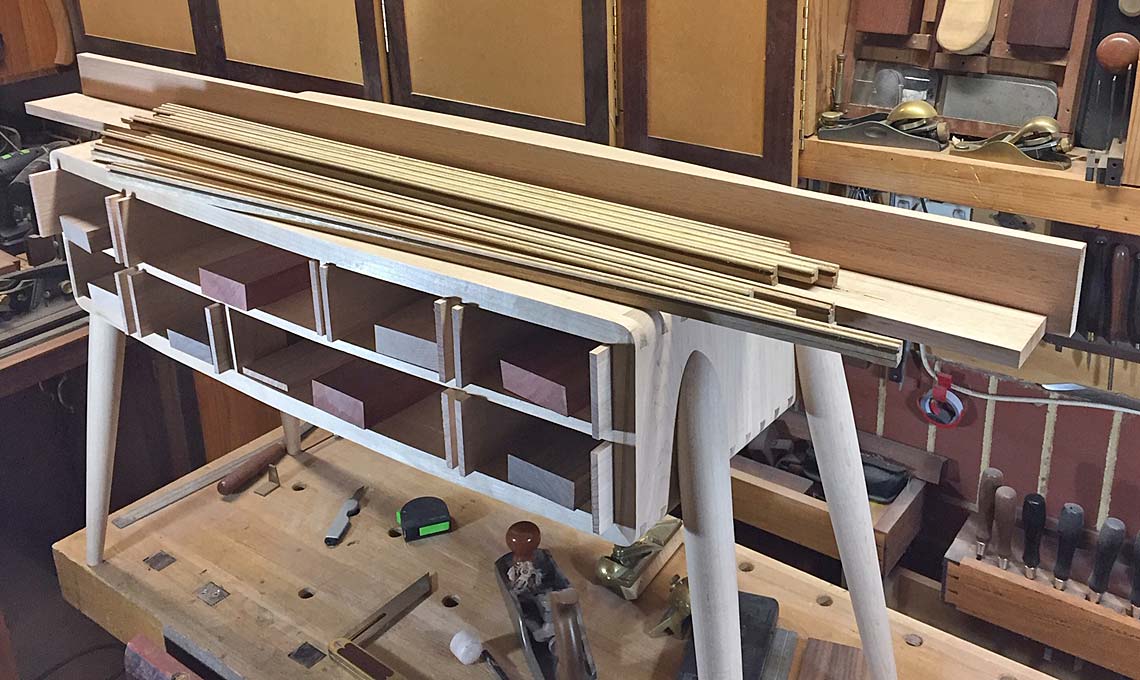
A frustrating Sunday: I began installing the horizontal divider/drawer blade, and my spatial confusion (or lack of concentration) kicked in. In went the divider ... upside down! Well, fortunately it jammed half-way and could not be glued in ...

Knocking it out, however, caused the rear section of the panel (it is made of three boards) to break off. It was glued back again, but the panel needed to dry before starting again, and so I lost my Sunday afternoon. This table is destined for the Perth Wood Show at the start of August, and I am already battling with time as weekends are generally all that are available for woodworking.

Fortunately, I had this afternoon (Monday) off from my practice, and had a couple of hours to try and catch up a little.

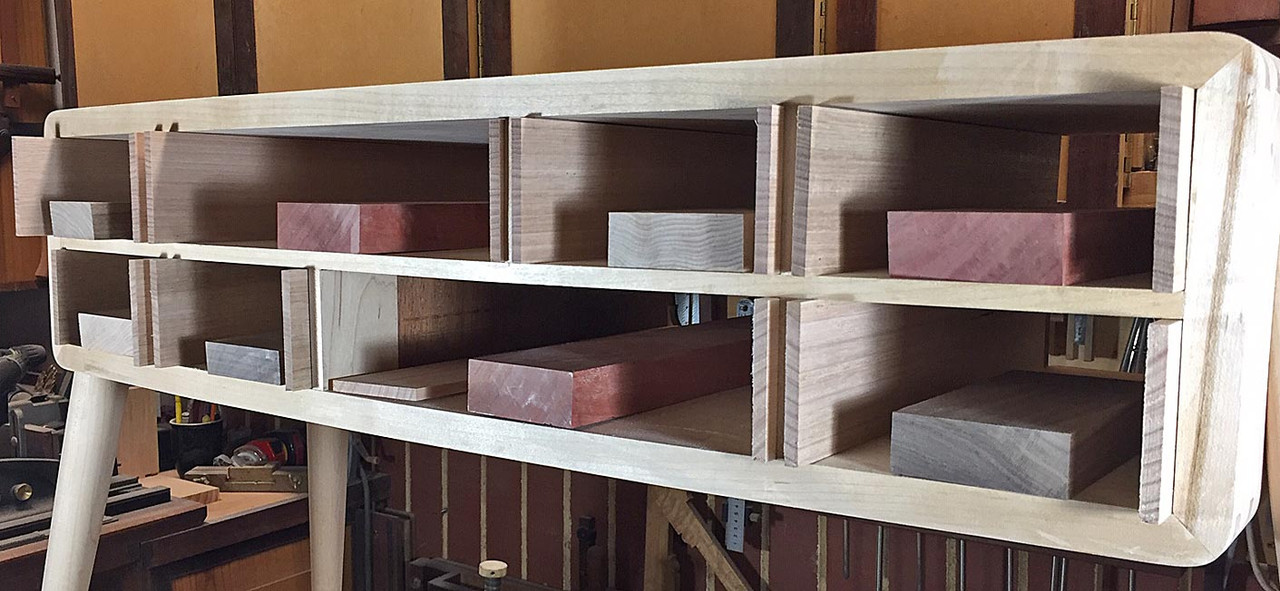
The glue dried, and the panel was fine. It was sanded to 240 grit, and then installed. Ditto the side dividers. All went smoothly ... all lined up and everything is square. Clearly I have been a good boy :)

Dividers.jpg


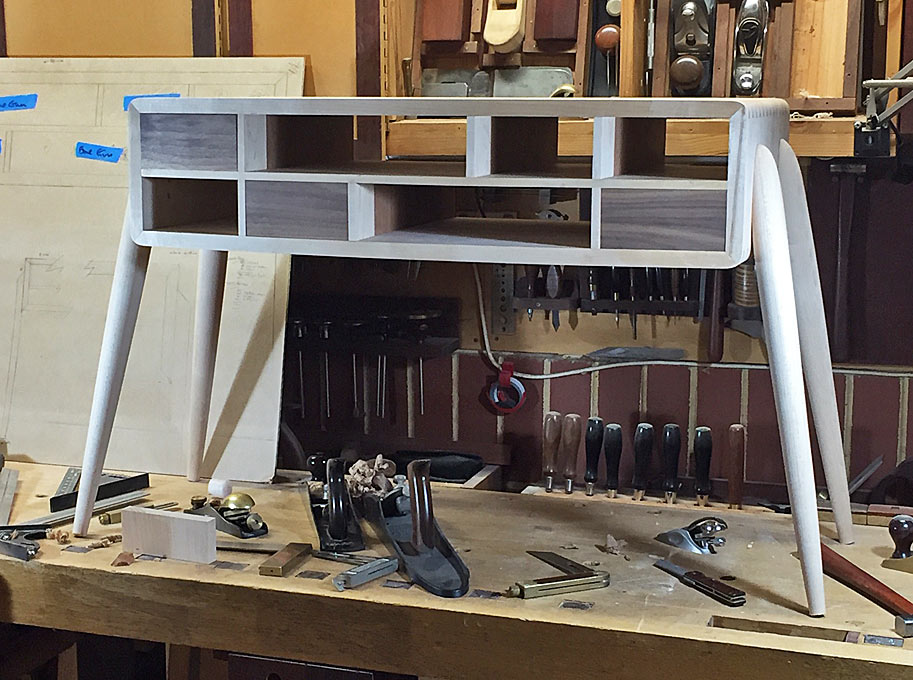
The reason why the table is termed "Harlequin" is that the drawers will be a mix of different timbers: Black Walnut (x3), Figured Hard Maple (x2) (both from the USA), and Tasmanian Blue Gum (x3) (which is local, of course).

The drawer fronts all curve, and I spent the last part of the afternoon cutting out the Walnut blanks. This will will give you an idea of the effect ..

First-drawer-fronts.jpg


Unless someone is interested in a walk through in dovetailing on the curve (which I have posted here previously), the next images will be the completed table.

Regards from Perth

Derek
 
I was planning to next post with the completed Harlequin Side table, however it has been two steps forward and one back. Selecting the drawer fronts .. well, I've cut and recut them a few times, and only now satisfied with the result. It is no small deal each time since a drawer front has to be fitted into a recess that is shaped like a parallelogram. And if the fit is not good enough ... well, a few would-be drawer fronts were discarded.

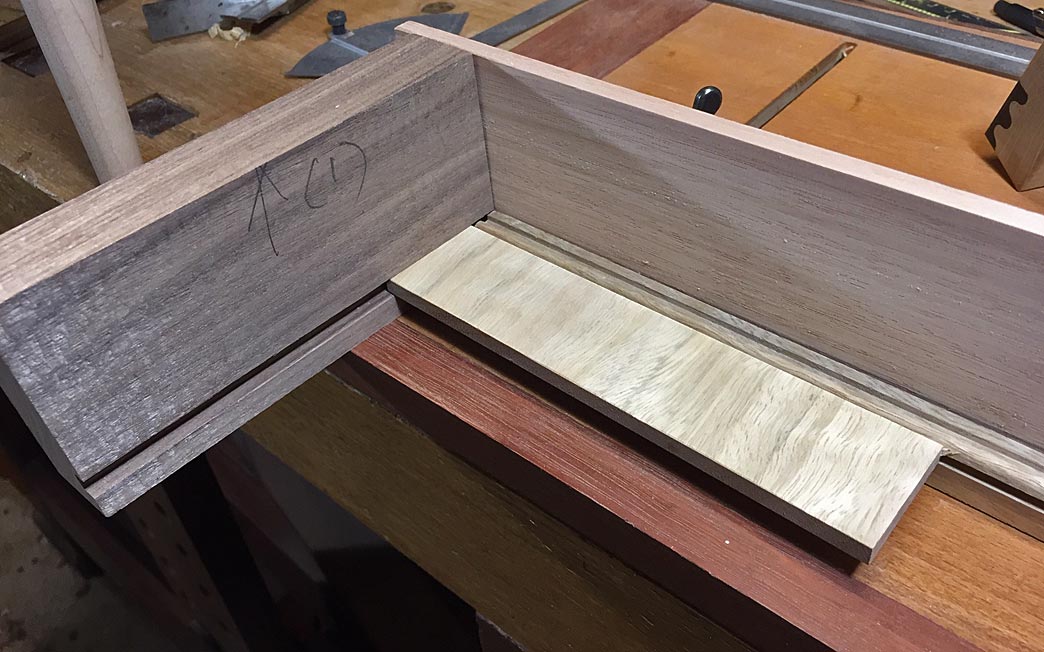
What parts are needed? Well, the drawer sides are 1/4" thick - too thin for grooves, so there will be slips to support the drawer bottom.

The drawer sides are Tasmanian Oak, which I use frequently, as it is a light wood that allows the drawer fronts to be shown to their best, and it is available quarter sawn. The drawer back will also be Tassie Oak.

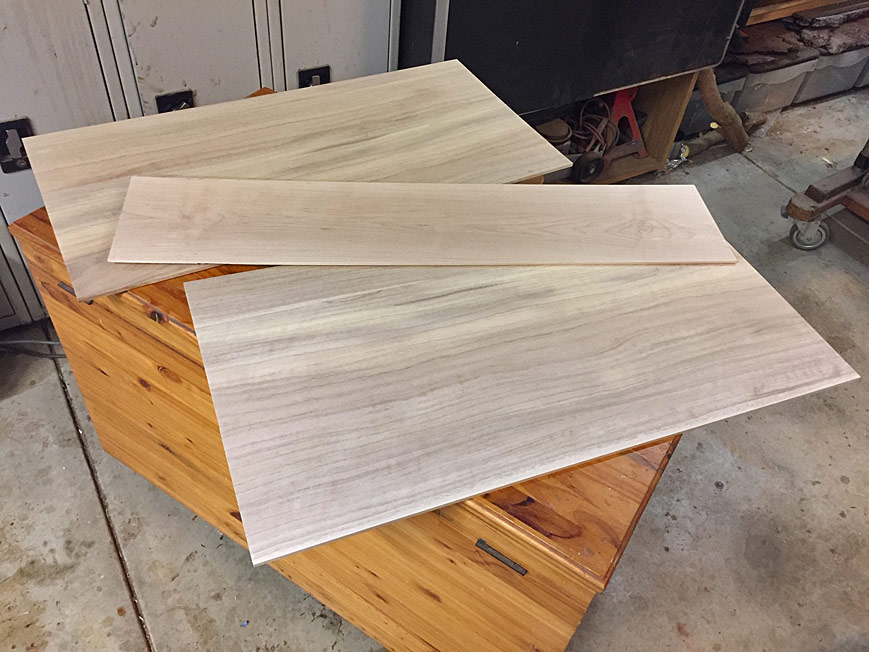
The drawer bottoms are solid wood and 1/4" thick. Rather than use Tasmanian Oak, I thought I would add a little life with Tasmanian Blue Gum. It is quite similar is texture and tone (although the photos here do not show this), but has more figure.

Enough here for 8 drawers ...

prep3.jpg


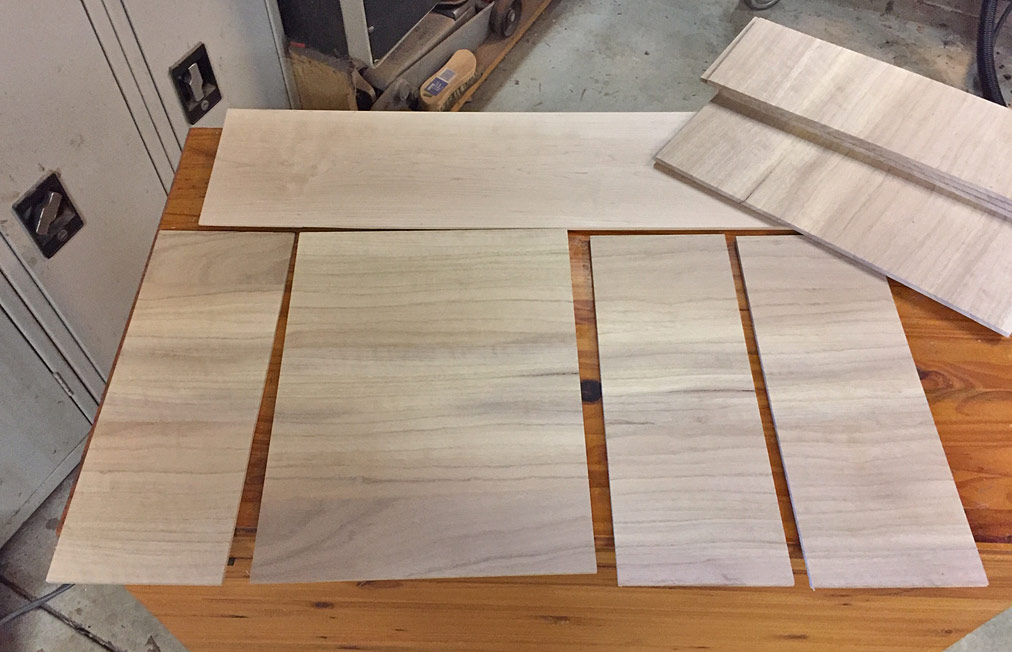
Drawer sides and drawer fronts ...

prep2.jpg


Great sander ... Mirka Ceros ...

prep4.jpg


These will be the drawer bottoms. The board in the centre is the Hard Maple case back ...

prep5.jpg


Do you think anyone will notice that the drawer bottoms run sequentially? :)

prep6.jpg


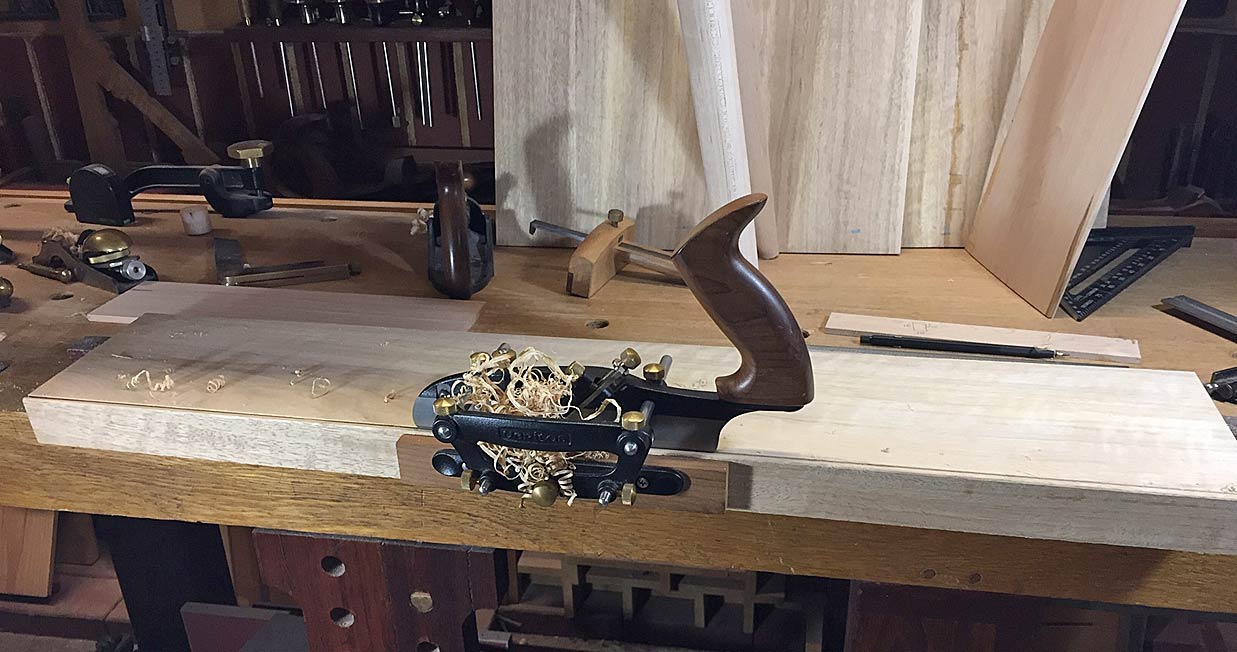
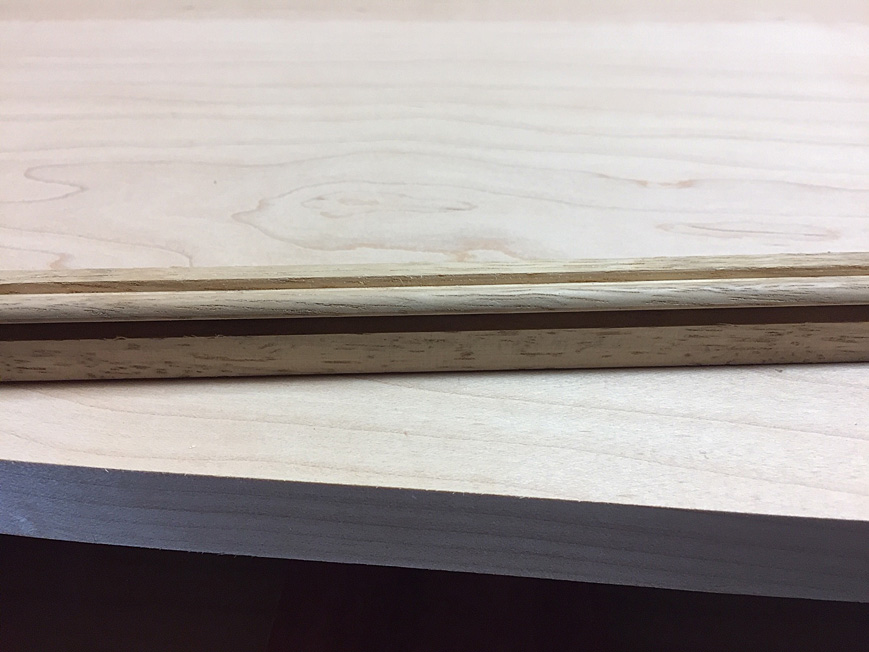
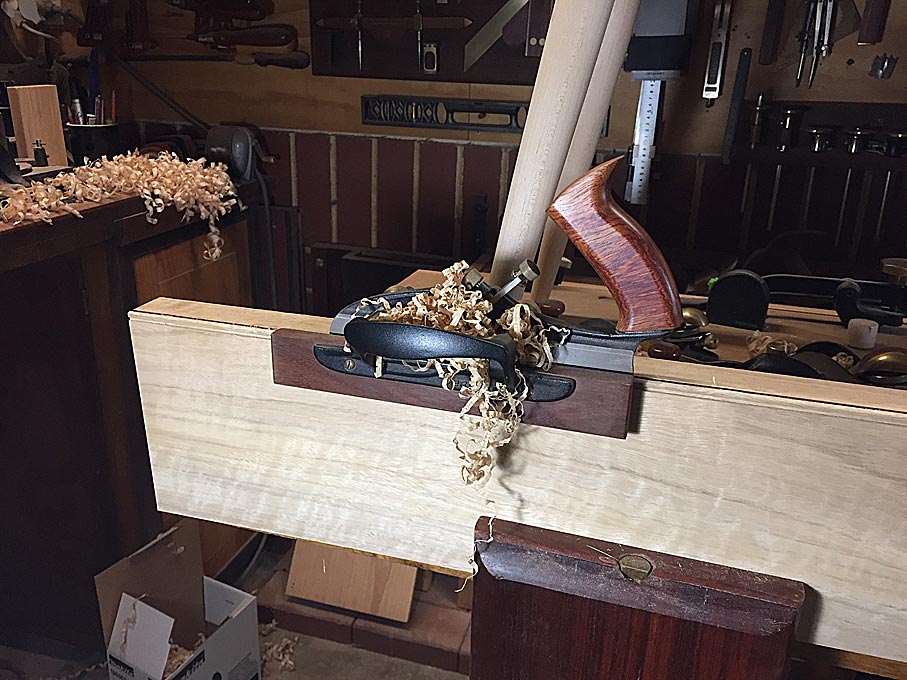
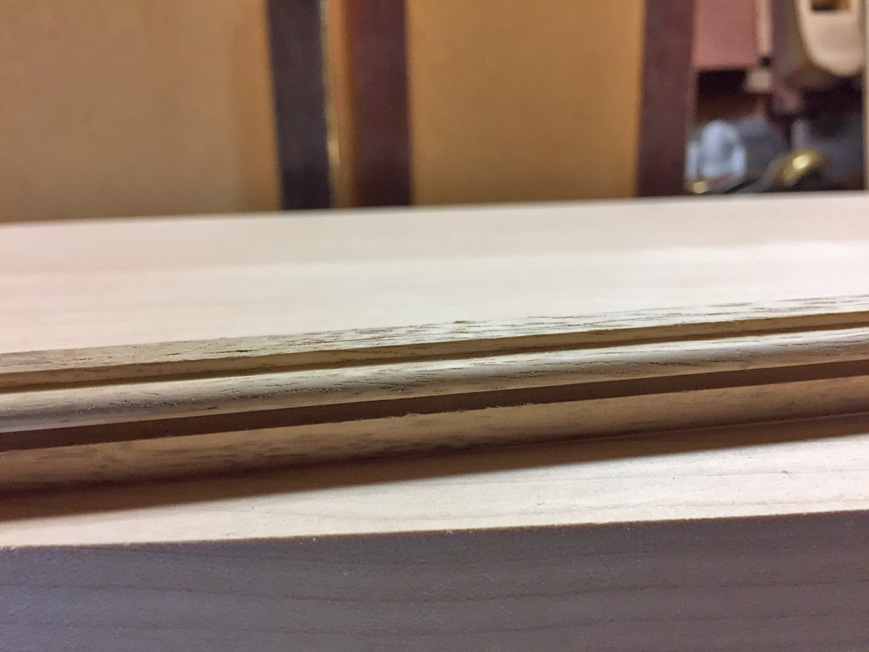
The making of the drawer slips may have some interest. I used Tasmanian Blue Gum (because it links to the drawer bottoms). This is quite interlocked and any planing with a plough to form either grooves or beads would be expected to end unhappily, with much tearout. I have posted this tip before: add a 15 degree backbevel to all plough blades to create a high 60 degree cutting angle.

The 3/16" beads were ploughed with the Veritas Combination Plane ...

slip8.jpg


Brilliant finish ...

slip1.jpg


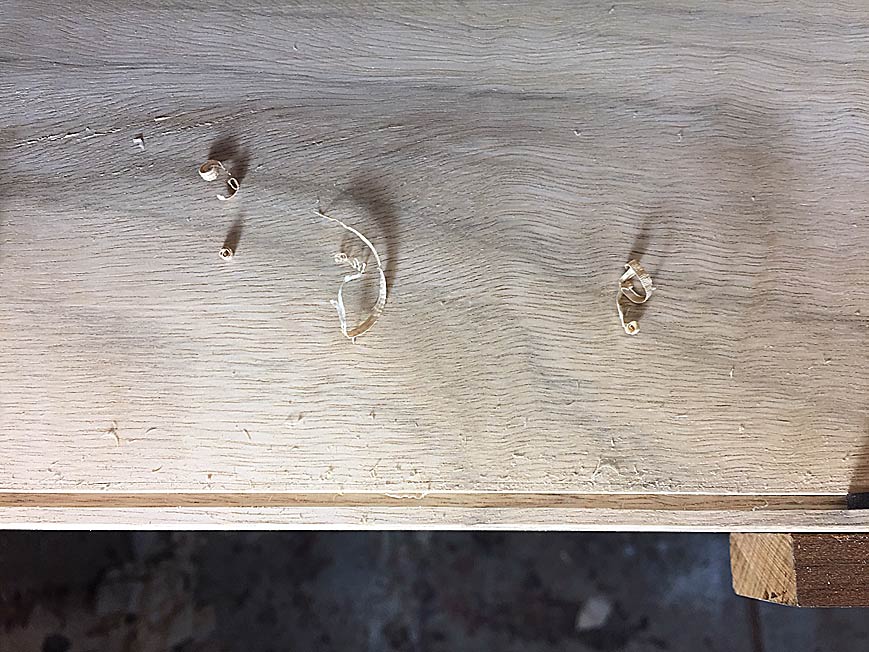
... and a 1/8" groove for the rebate in the drawer bottom was ploughed by the Veritas Small Plow ...

slip5.jpg


Again, tearout free ...

slip6.jpg


slip2.jpg


This is a mock up of the intersection of the drawer front (back), drawer side into drawer slip and against a drawer side ...

prep1.jpg


Note that the drawer front is straight/flat at this stage but, once dovetailed, they will be shaped to curve along the bow front of the case.

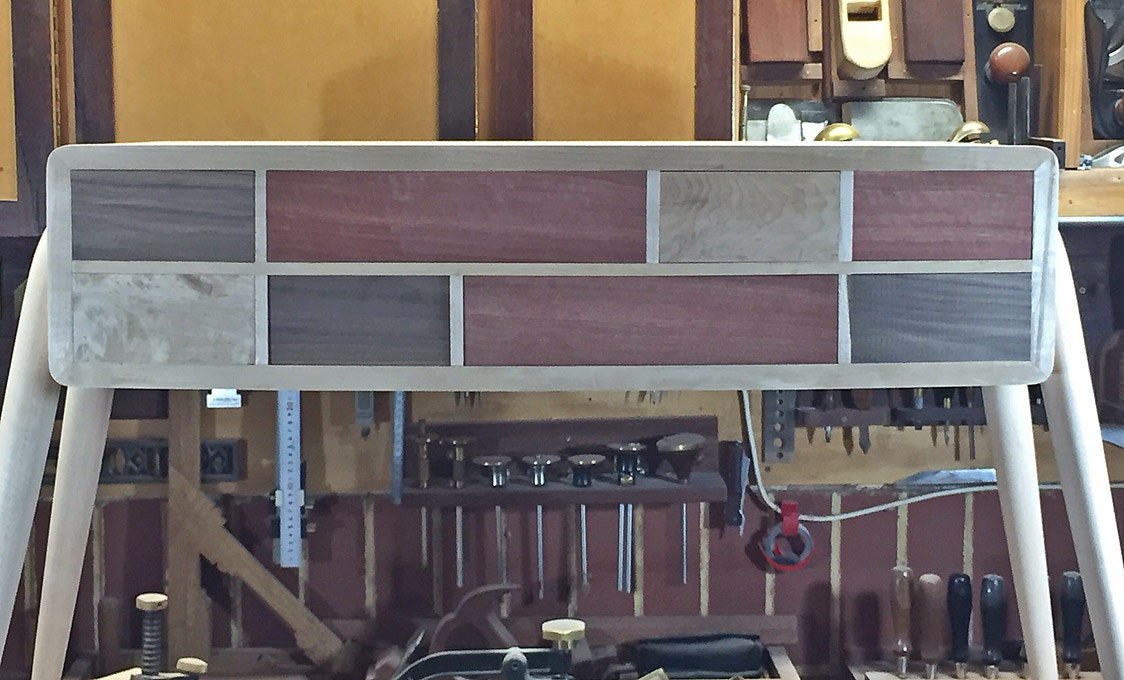
These are the timbers I have chosen for the drawer fronts. This is what gives the side table the harlequin name. Three timbers: Black Walnut, a pink Jarrah, and figured Hard Maple. Keep in mind that there is no finish at this stage ...

prep7.jpg


prep8.jpg


Next time hopefully with everything completed.

Regards from Perth

Derek
 
I am in the process of completing the Harlequin Table. I will post the finished piece in a couple of days. Here are a few pictures of making the drawer bottoms for the slips, which may interest a few.

Bill was not enamoured with the slips as they has this ruddy great groove down one side. That was a too-wide quirk from the beading blade. Not to worry Bill, I cut that section away, leaving just the bead.

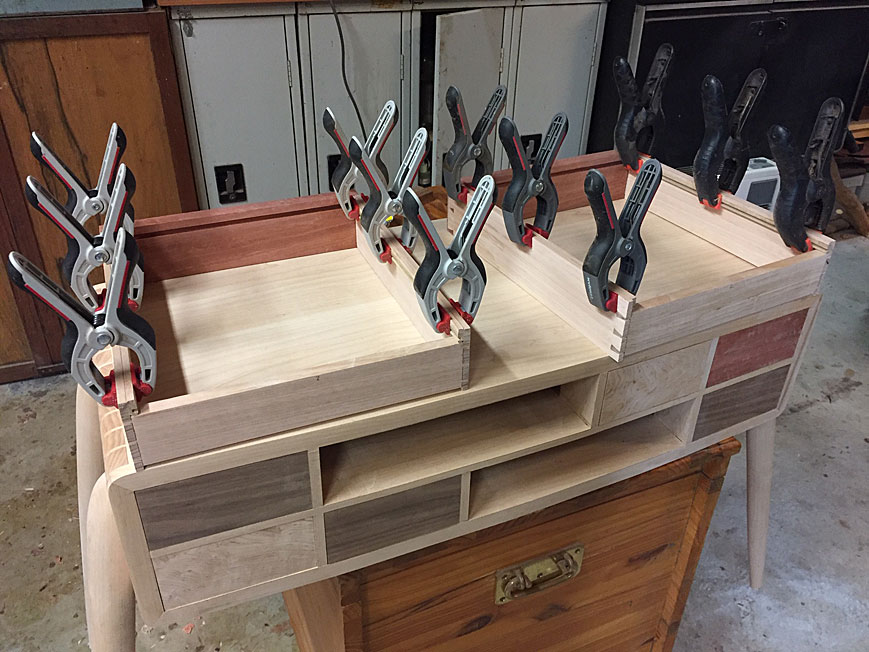
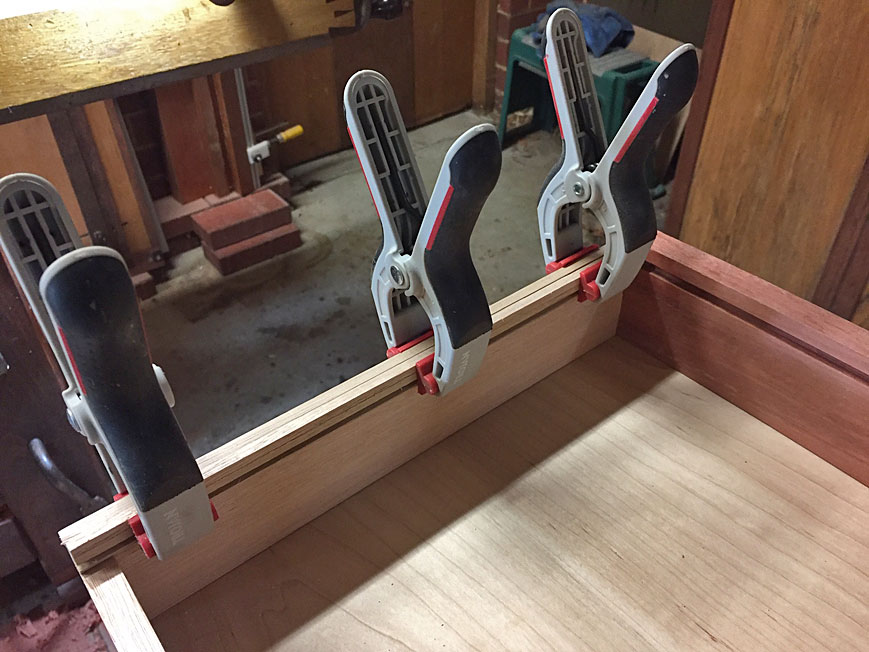
Here are the slips being glued in ...

Slips1.jpg


Slips2.jpg


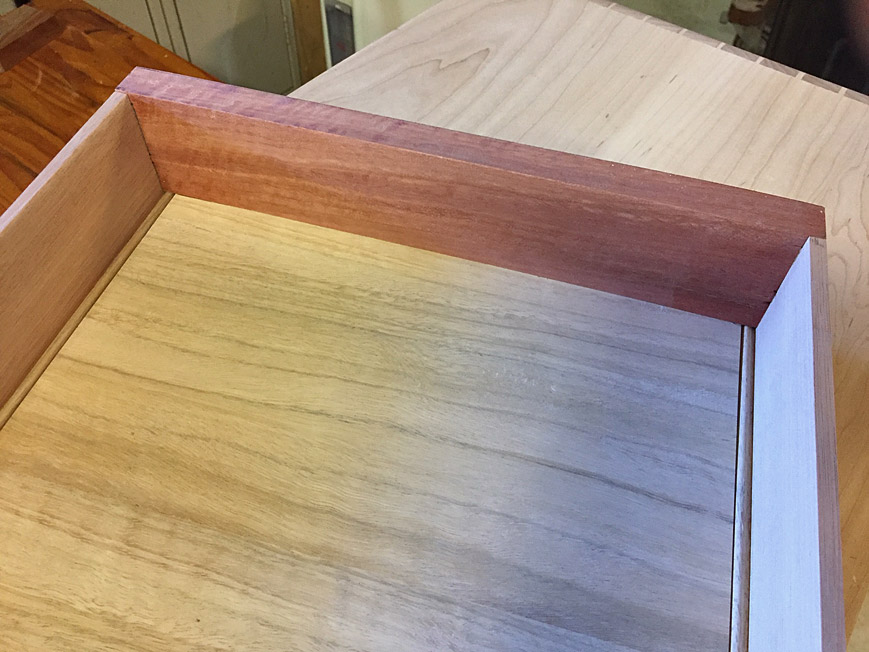
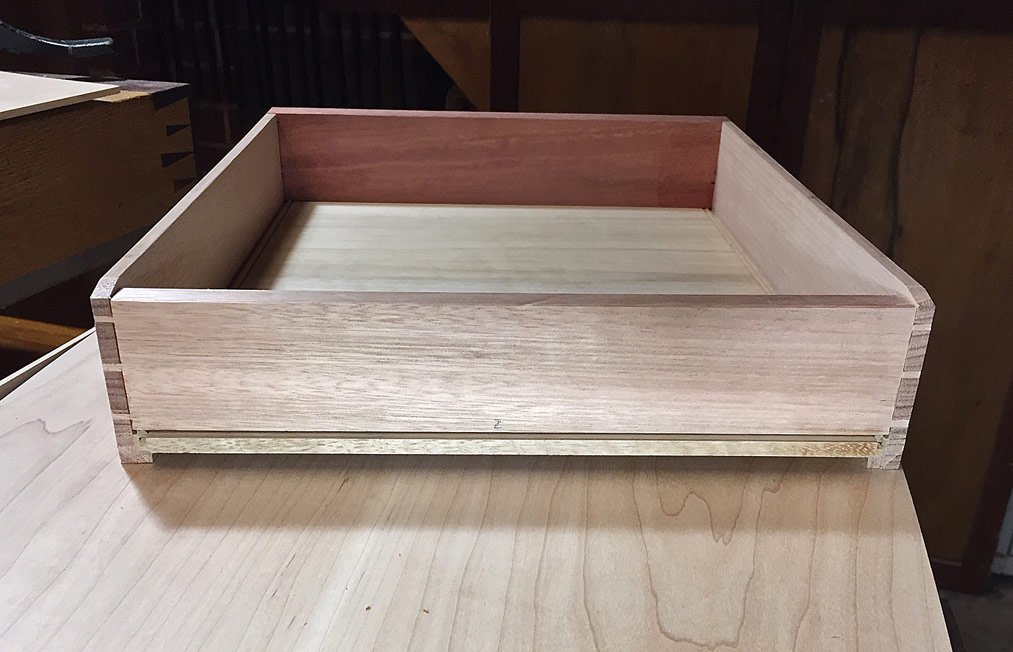
The drawer slips and bottoms are Tasmanian Blue Gum. The drawer sides are Tasmanian Oak. Both are 1/4" thick.

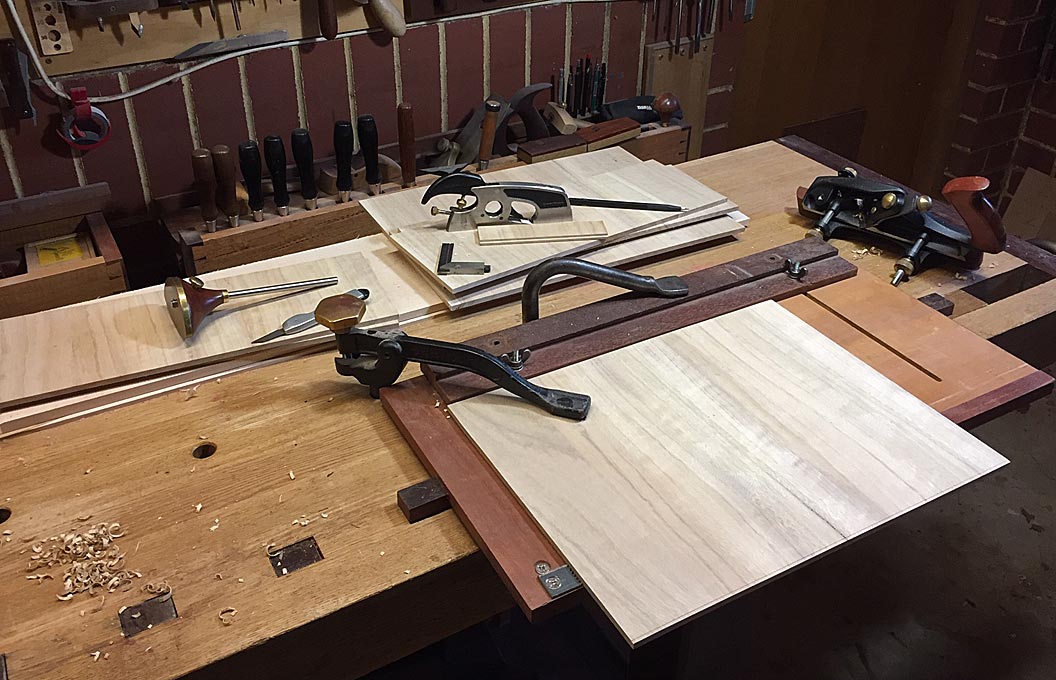
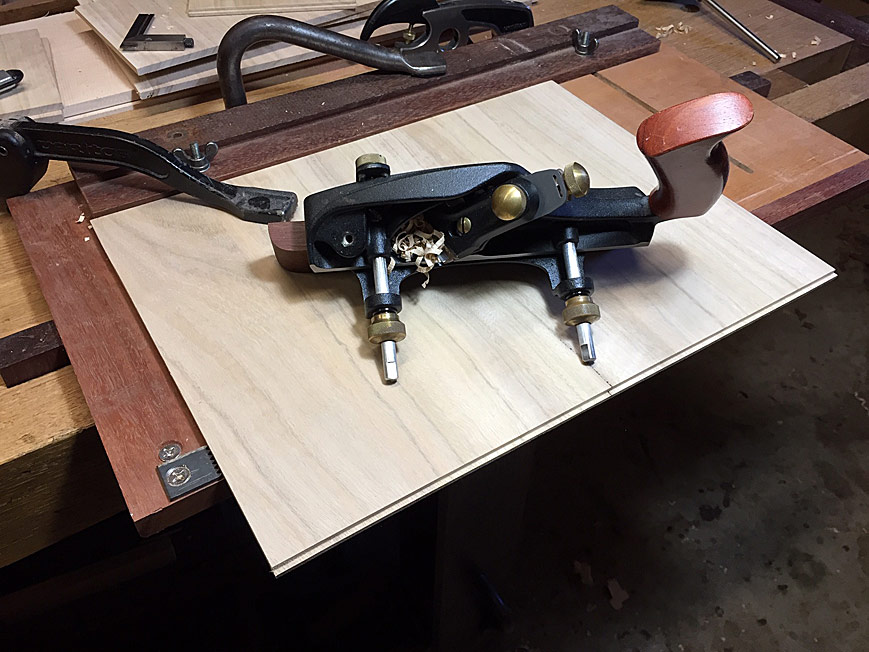
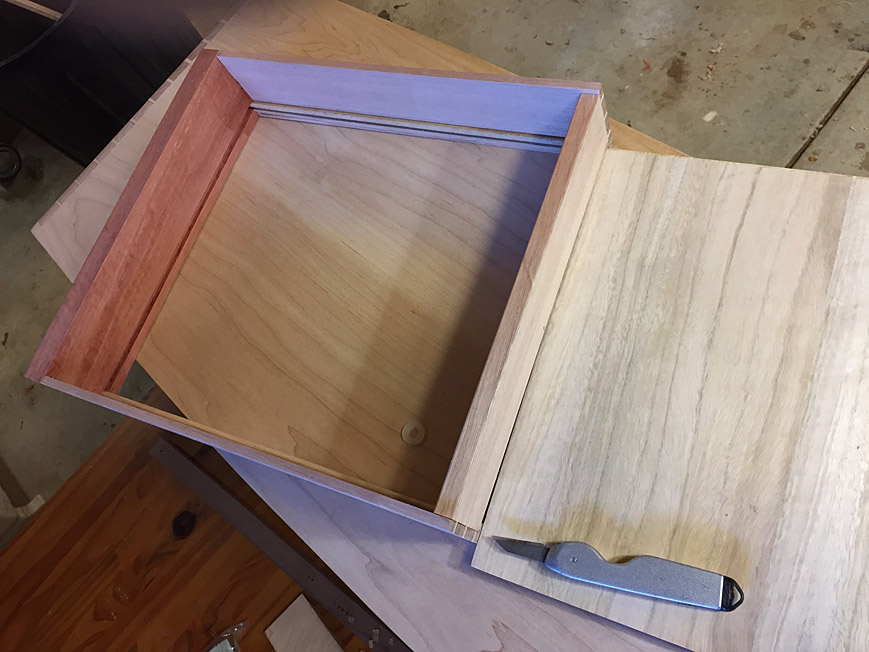
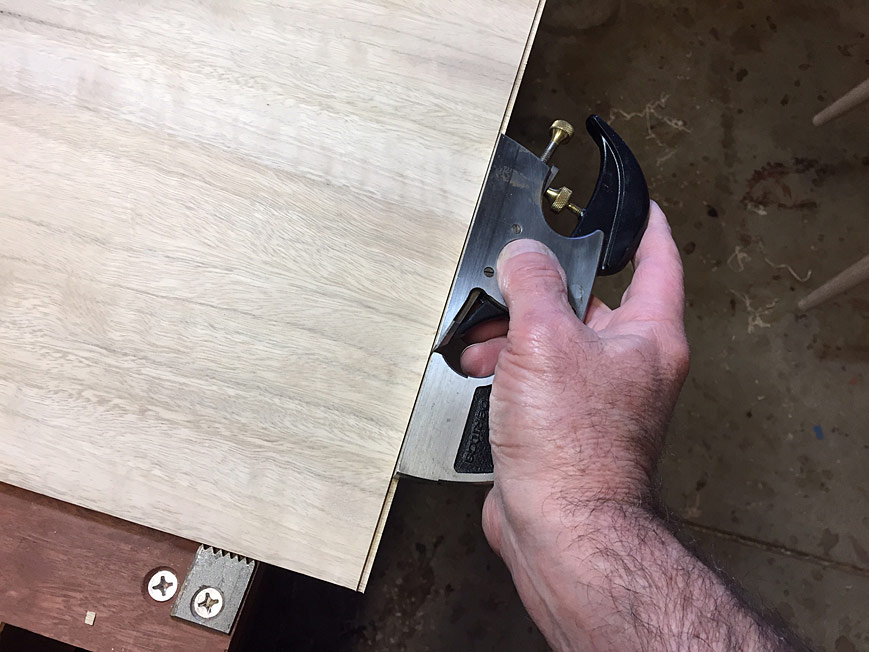
The groove in the slip is 1/8" (3mm). The slip requires a matching 1/8" rebate. This was planed with a skew rebate plane on a sticking board ...

DrawerB1.jpg


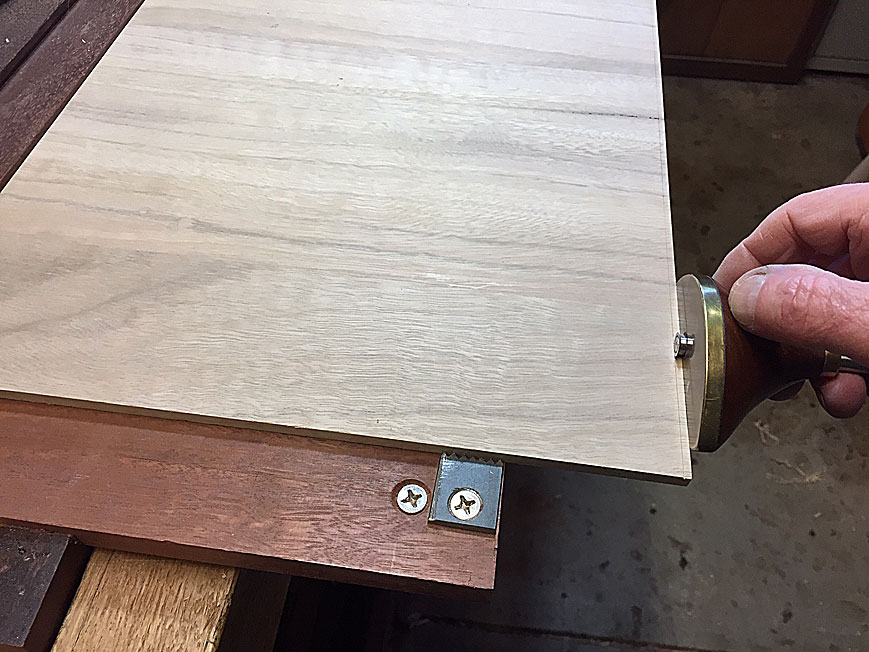
Although the plane has a nicker, I always scribe the line as well ...

DrawerB2.jpg


It is worth the effort to set up the rebate plane for a precise cut ...

DrawerB3.jpg


Once the one side is done, slide the tongue into the groove of the slip, and mark off the width of the drawer bottom ...

DrawerB4.jpg


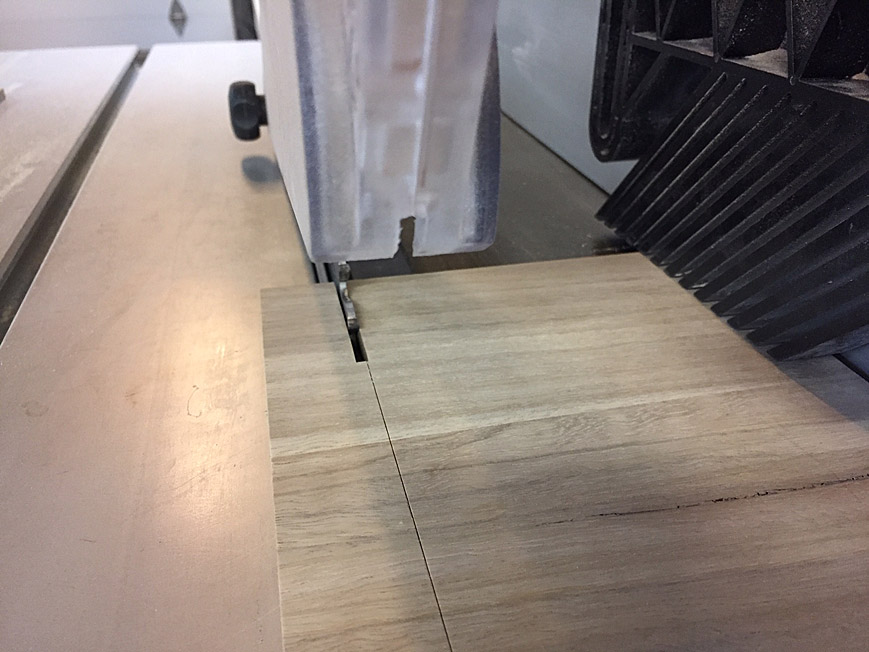
Then saw to width ...

Drawer-B4-1.jpg


Any fine tuning is done with a shoulder plane ...

DrawerB5.jpg


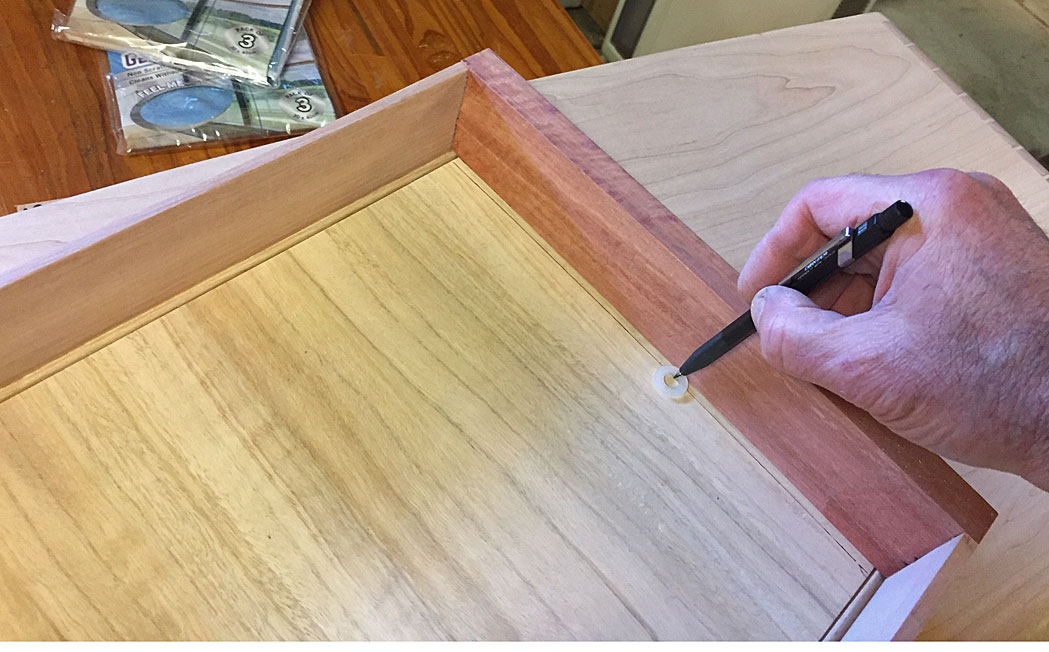
The drawer fronts are all curved, and the drawer bottom must be scribed to match this ...

DRawerB6.jpg


Here is the fit behind the front of the drawer, and the match with the beaded slips ...

DrawerB7.jpg


The rear of the drawer, with the added bearing surface from the slips ...

DrawerB8.jpg


The profile of the drawer sides ...

DrawerB9.jpg


Drawer-B10.jpg


Until the final pics ...

Regards from Perth

Derek
 
FINAL PICTURES

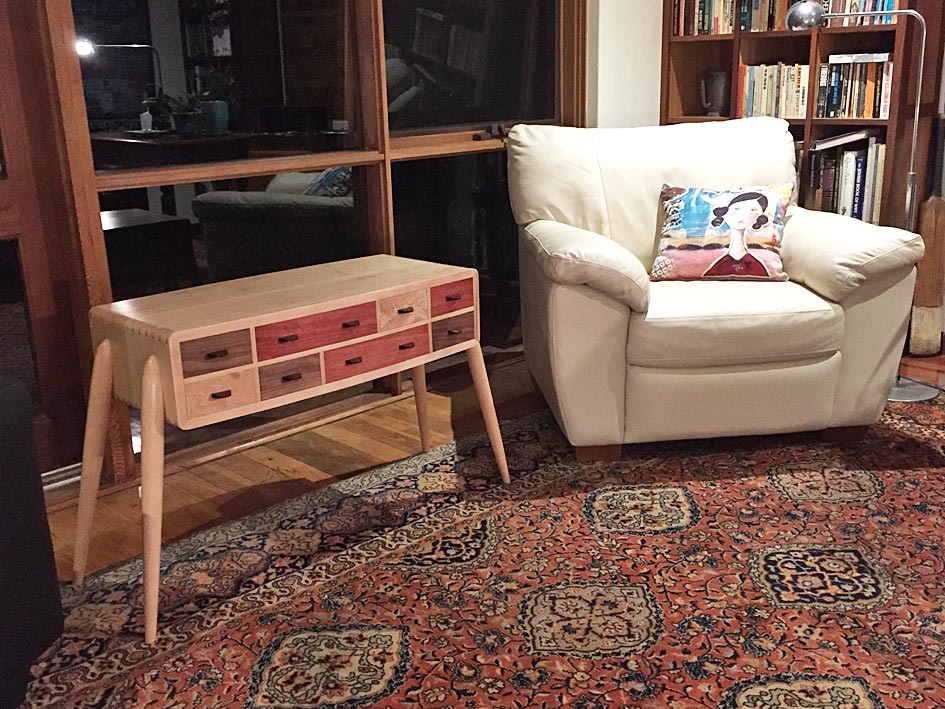
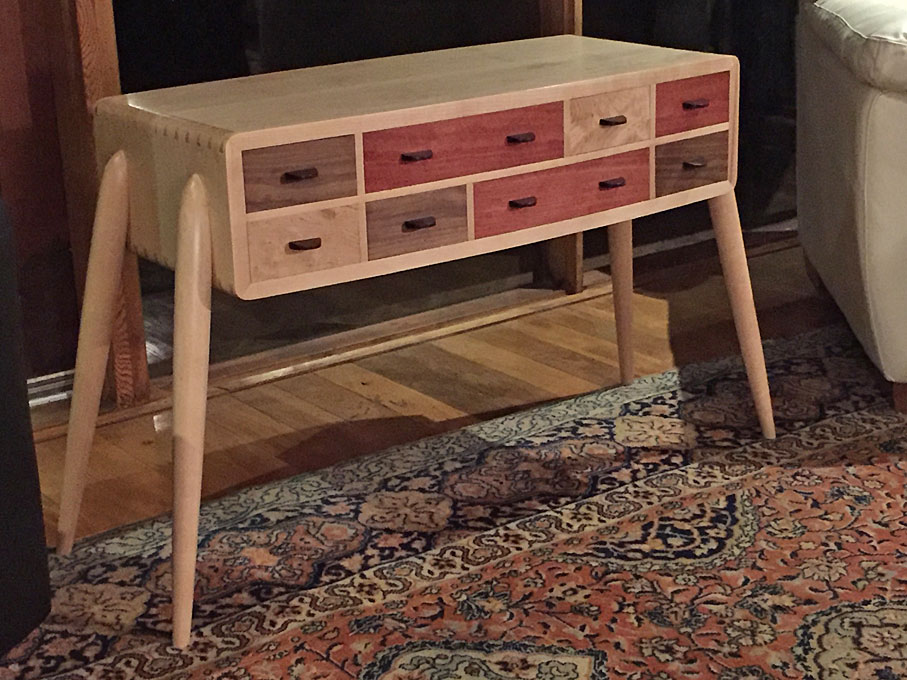
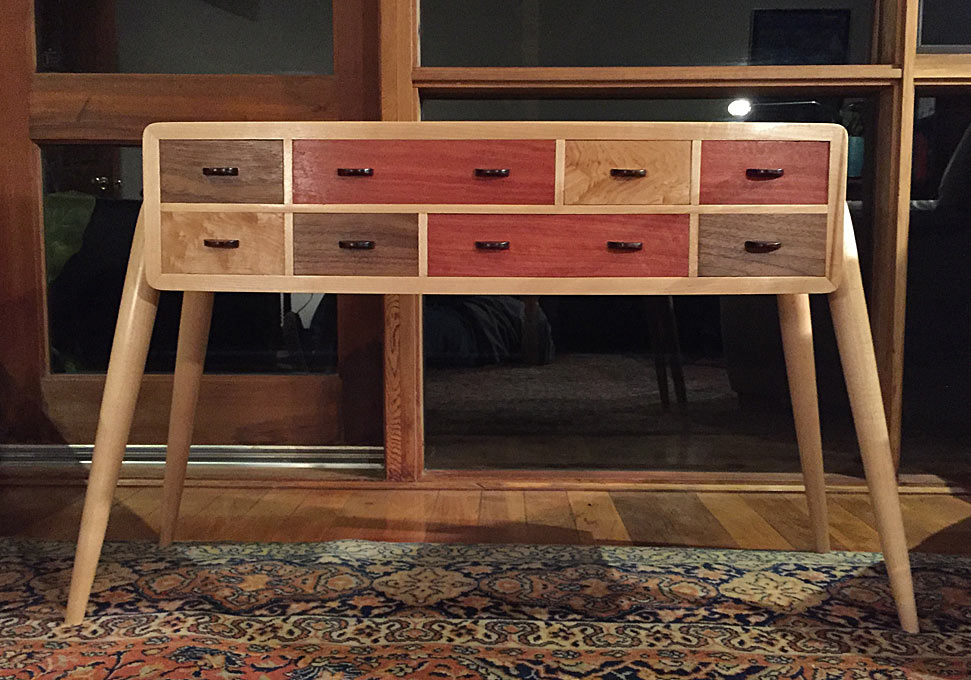
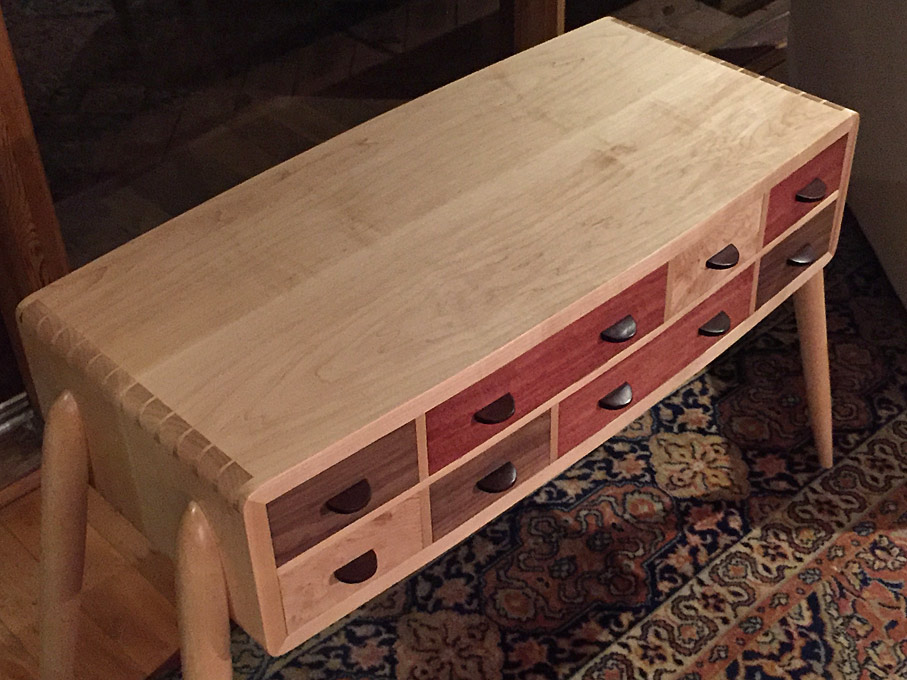
We are done building the side table. Here are pictures (taken with my iPhone6).

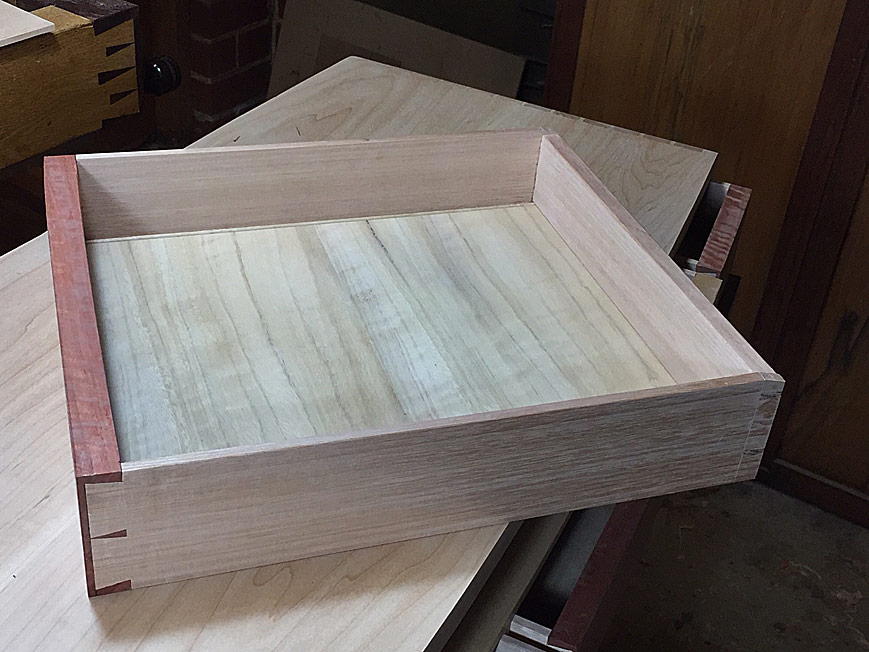
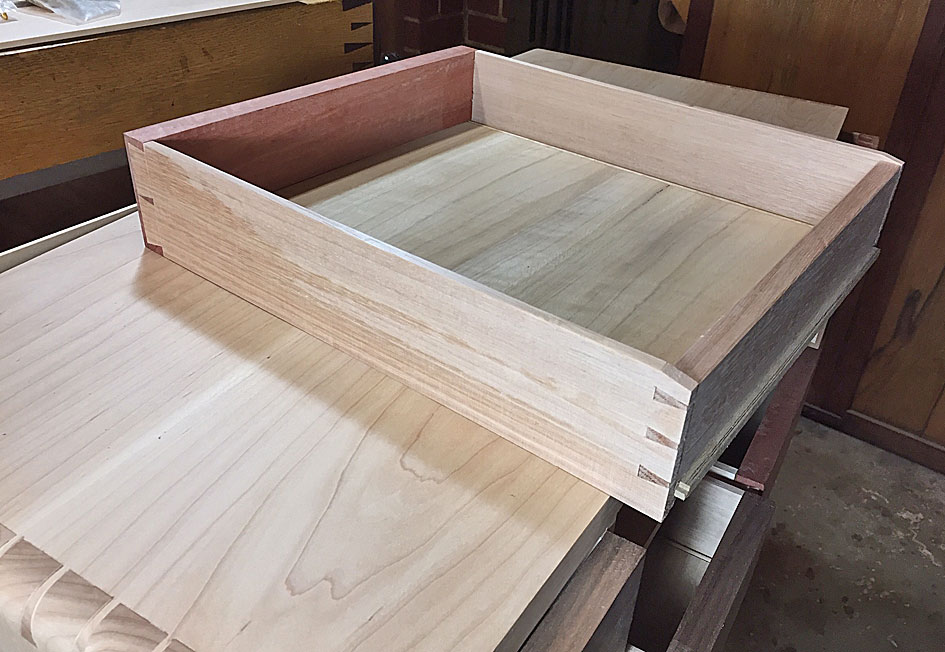
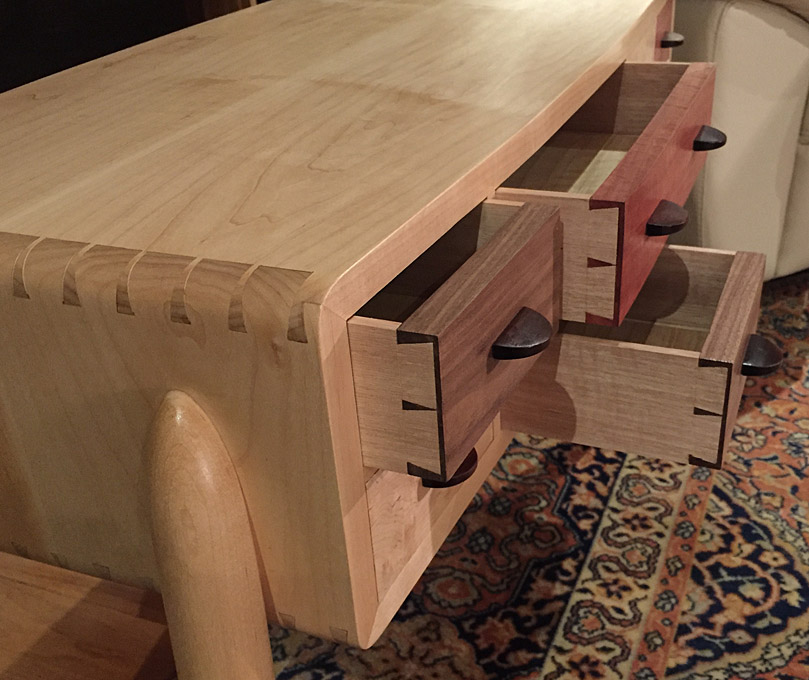
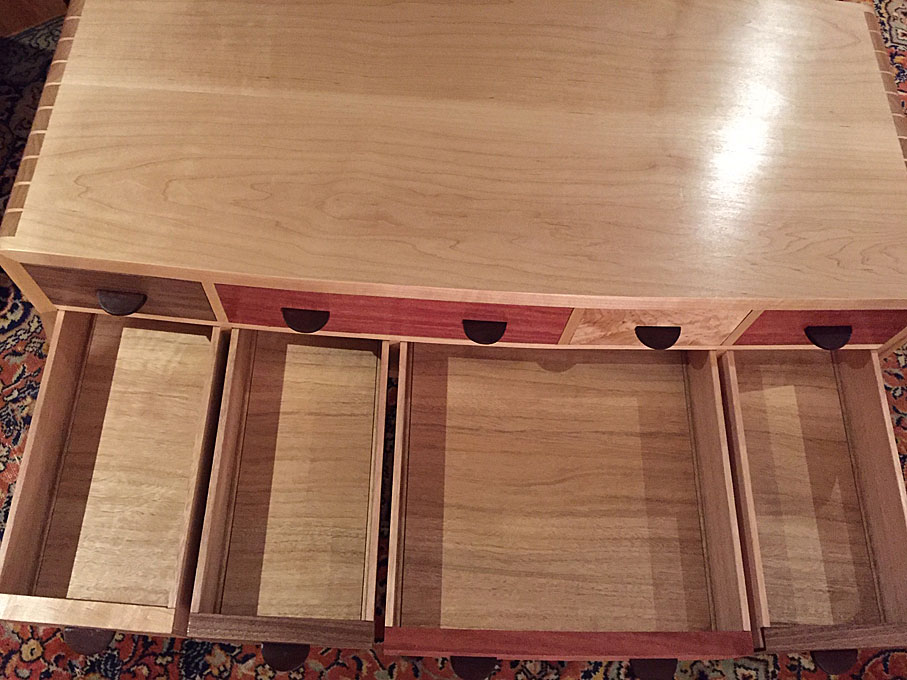
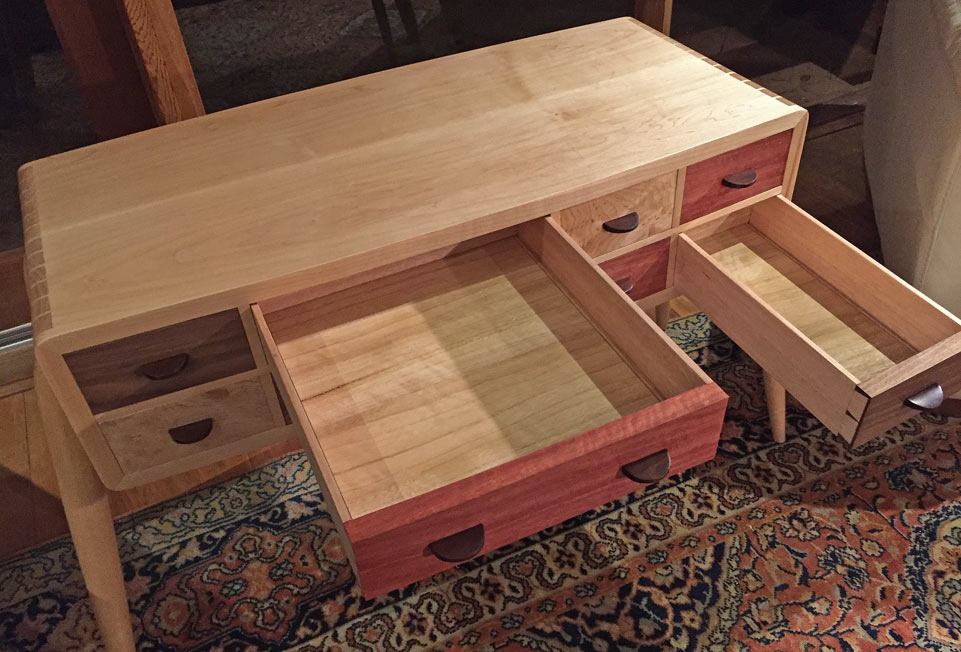
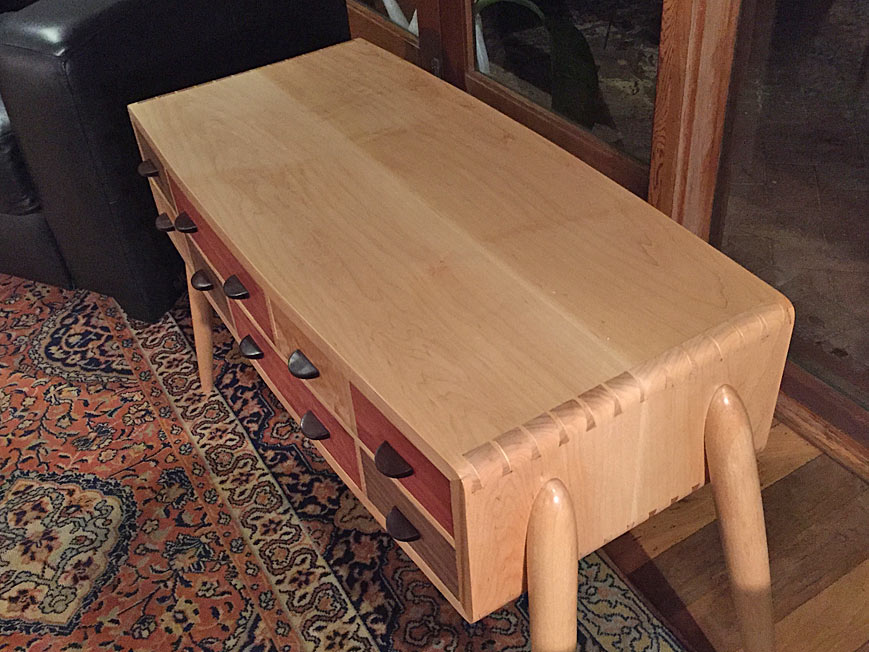
The case is Hard Maple from the USA. The drawer fronts are Black Walnut, figured Hard Maple, and pink Jarrah (hence the name, Harlequin). The drawer sides are quartersawn Tasmanian Oak, and the drawer bottoms/slips were made from Tasmanian Blue Gum.

Finish was, initially, two coats of dewaxed UBeaut Hard White Shellac (the very faint amber adds a little warmth), followed by three coats of General Finishes water-based poly (this remains clear - does not yellow the maple - and appears to have some UV protection. It is hard wearing, which is necessary for a side table).

The build features mitred, rounded dovetails and bow front and back. Eight drawers featuring compound dovetailing to match the bow front. Drawers are traditional half-blind dovetails at the front and through dovetails at the rear, with drawer bottoms into slips.

About 2 months to build, mainly on weekends.

Final3.jpg


Final11.jpg


Final5.jpg


Final10.jpg


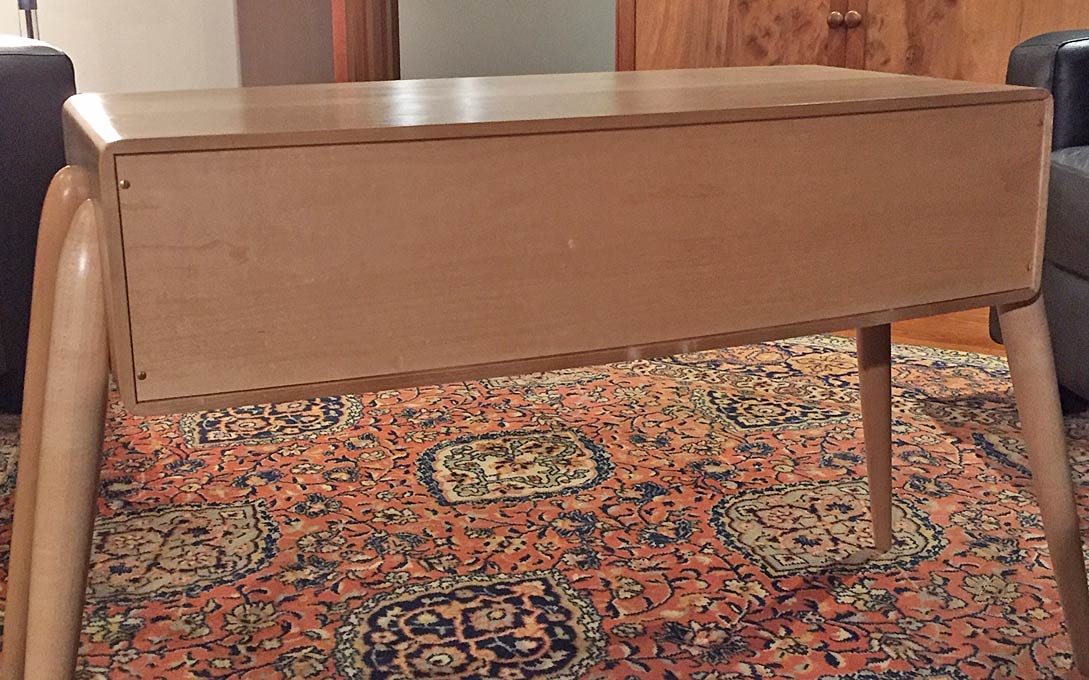
Here is the rear of the table (which will be seen through the windows, which run floor-to-ceiling along the family room ...

Final1.jpg


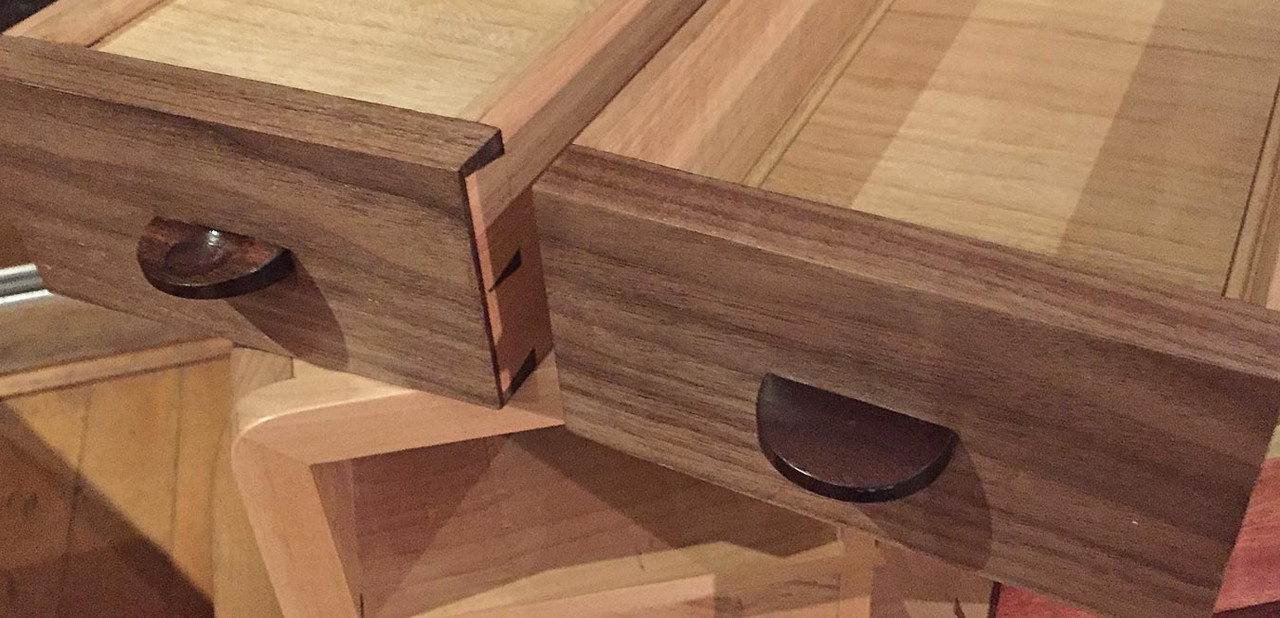
The pulls were shaped from what-I-believe-to-be-some-type-of Ebony ...

Final7.jpg


The obligatory dovetails ...

Final8.jpg


Do you think that anyone will notice that the drawer bottoms run sequentially? :)

Final2.jpg


And this one is for Bill, who was concerned that the chamfers at the end of the drawers (to ease entry into the case) might impair their extension ...

Final6.jpg


A last look ...

Final4.jpg


Thursday morning I haul the table to the Perth Wood Show for the annual furniture competition. Wish me luck.

Regards from Perth

Derek
 
Fantastic as ever!

I appreciate not only the superb workmanship, but also your perseverance in posting such a detailed work in progress. Many thanks.
 

Latest posts

Back
Top