Hand planing questions

UKworkshop.co.uk

Help Support UKworkshop.co.uk:

This site may earn a commission from merchant affiliate links, including eBay, Amazon, and others.

Chris152

Established Member
Joined
26 Apr 2017
Messages
3,095
Reaction score
798
Location
Cardiff
I'm currently planing and squaring a 2 metre x 20 cm x 3.5 cm piece of sweet chestnut that is rough sawn air dried with a 5 1/2 plane, and have a couple of questions if I may...

1. I've reduced the length to 120 cm and 80 cm to make it more manageable and for later dimensioning. I find the flate faces of the 120 length tricky to do from one end or even from the side in one pass. Should I continue to struggle with one pass along the length or do it in sections (I tried 2 sections, trying to be careful to take the same off each).

2. Particularly on the initial passes with the plane, a lot of dust seems to come off before and then with the shavings. I don't have any extraction for this (but have a window and garage door open). Would I be better off carefully using a belt sander with dust extraction to get the initial mess off, and then continue to plane? Or just put a mask on and hand plane till the dust reduces? Do people wear masks when using a hand plane??

I'd appreciate any advice. Thanks, Chris.
 
OK if it's just an exercise in planing but if you intend to make something you are doing it in the wrong order. You start with a cutting list taken from your design drawing, cut to length, rip to width, (both over size to allow for loss) and only then start planing. It's much easier and saves on materials.
No you don't need dust extraction or a mask for hand planing (except Iroko and some other timbers which are irritating).
Hard to give advice - basically carry on, keep the plane sharp, put candle wax on the sole (just a quick scribble), practice on waste wood - old pallets, anything. Practice with shortish pieces (say 30") and on edge of thin boards (say 1/2"). Plane it to nothing - spoil a lot of rubbish wood before you attack anything worth keeping
 
Chris152":3uerxdyj said:
Would I be better off carefully using a belt sander with dust extraction to get the initial mess off, and then continue to plane?

We were taught never to go back to edge tools after sanding, to avoid the tools being dulled by embedded grit. Mind you, we were using glass paper then that shed abrasive copiously. What you might want is a scrub plane, or other narrow, rough old plane with a heavily cambered iron set to take thick cuts, used across the grain to quickly "get the initial mess off" and down to flat-ish and approaching the thickness required.
 
Scrub a bit OTT IMHO but yes you definitely need a cambered blade on your 5 1/2. On all planes in fact, to a greater or lesser extent.
Amongst other things you'd get less dust as the camber makes a deeper cut into the cleaner wood beneath and lifts off the dust with it. A scrub does this but even more so.
 
Thanks both!
I'll do as you say in future, Jacob. My reason for planing before dimensioning was to get it square before taking it to the bandsaw (I guess two faces would have done for this), and to get constant thickness across the board for the table legs in one go, rather than resizing all four faces (rather than just two) of each leg in turn with a plane. If that makes any sense at all.
And I hadn't thought of bits of grit in the wood getting at the blade of the plane, Tony. I do have a scrub plane now but thought I could remove the mess on this board without it - but can see that the scrub plane probably could have dug deeper than the dustier wood on the surface and reduced dust in the air, so definitely going to use it next time.
On the one pass vs sections question, I found doing it in sections and then finishing with long single passes seems to have worked ok, but will definitely keep practising with stepping along the wood while planing. I'm starting to get calluses on my hands, which I assume is a good thing... :?
 
The rough-sawn texture might explain some of the dust, at least in my experience. Once the sawn surface has been removed (with a cambered iron as suggested above), you might find that the dust is significantly reduced.
 
Have to agree with Jacob about a cambered iron - I wouldn't consider myself overly endowed in the experience department, but when I first tried a Jack with a cambered iron it was a revelation, if you have another iron set up for smoothing you can swap them and not need another plane. I have a few old irons near the end of their useful life, one of which might be suitable, if you're interested I'll have a look and if it's the right size post it to you so you can try it out without regrinding the iron you do have.

Cheers,

Carl
 
I'm sure the dust did reduce once I'd got the top layer off, it just surprised me how much there was - there seemed to be way more in the air initially than when I use my bandsaw (which now seems to have good extraction on the port and below the table/ cutting area).
I have a couple of other planes that came second hand and already had cambers on the blades, but I bought the 5 1/2 new and have never really put one on it. Is it still good for use with a shooting board if you put a camber on it? As it happens, I have a second blade for it still in a packet (many thanks for the kind offer though, Carl!) so I'm going to seek out a decent video showing how to do it on one blade. Do I need a grinder for the job or can abrasive paper work?
 
If it's a heavy camber, I use a grinder, camber marked in felt tip, and grind the cutting straight on and then when the shape is right, grind the bevel.

Cheers,

Carl
 
Chris, have a watch of this - https://www.youtube.com/watch?v=Ojeul33vXL4 - it explains the basics. There are quite a few printed reference books and videos, and they all have minor variations of approach, but the general idea is as follows;

1) Plane up the face side, using first a jack plane with a cambered iron to take off high spots, then a try plane to true up the rough, scalloped surface.

2) Plane the face edge true to the face side.

3) Gauge to width, plane to the line.

4) Gauge to thickness, plane to the line.

5) Trim to length and plane the ends if necessary (it isn't always necessary!).

Make frequent use of straightedge, winding sticks and try square to find high spots, and aim to take off the lumps without removing anything from the hollows.

The video is a bit long - about half an hour - but it does demonstrate the procedure. Getting used to the practice does take a while, but it's a skill well worth building, and like any skill, your speed improves a lot with practice.
 
StraightOffTheArk":2s1vzt0x said:
If it's a heavy camber, I use a grinder, camber marked in felt tip, and grind the cutting straight on and then when the shape is right, grind the bevel.

Cheers,

Carl
I just do it freehand the old fashioned way, on a slightly hollow stone, without thinking about it at all.
It's quicker, easier, cheaper and they come out cambered whether you want them to or not!
But most importantly it makes a huge difference if you can very rapidly touch up an edge rather than going through a modern sharpening ritual.
 
You're on the cusp of learning to dimension by hand. There's one thing that's true about that, and that is if you bother to do it on a few projects, you'll learn more about it than you could ever learn reading about it. You learn it by feel, by the amount of effort it takes (you will automatically tend toward what's more efficient), by making mistakes (you will tend toward things that are both efficient and safe so that you can hit a mark rather than planing through it chasing tearout, etc).

The basic process of face then edge, and then work from there marking is simple, the rest of the stuff is subtlety you'll gain over time. You'll be able to tell pretty quickly if you like it, and if you do, you'll get better at it. I personally think it's a nice change of pace from cutting dovetails and gluing things, and it makes the whole project more enjoyable.

Learn to use the cap iron on your planes to control tearout when needed rather than going to other gimmicks. It'll pay off even if you don't dimension everything by hand down the road (by allowing you to prep surfaces very quickly and safely (safety of the wood, not safety for you), and allowing you to get a good surface without constantly sharpening or looking for gimmicks).
 
It might not be the case here but a plane that produces dust is often a dull plane. It does have to be sharp to work, and generally the sharper the better. What DW is talking about is that a close set chipbreaker will allow the plane to cut well for quite a while after the fresh new edge has settled in a bit. If it's actually dull it won't work, and one of the clues is that you get dust along with your shavings.
 
Agree with Bridger. The test is as mentioned above - plane until the coarse saw marks are gone. if you don't get a shaving once you have a smooth surface, there are other issues. If you have a smooth shaving after the marks are gone, but dust before, not a big deal. You can't get a smooth shaving from a coarse interrupted surface, and that outside fuzz often looks like little single bits of velcro in the plane mouth.

No need for dust extraction or anything like that, and definitely no case for a belt sander. Just let the plane fill until it starts taking shavings, and then turn it over and dump the dust out on the ground. It won't be nearly as fine as the kind of dust that presents long term breathing issues (though with close hand tool work over thousands of hours, I'm sure you could accumulate some dust. My top lip is brown any time I work on an infill plane, even if I'm just scraping. You gotta get up close to see the lines and make sure they're crisp. If I did it often or had a sensitivity to cocobolo dust, I'd have a fan. Strangely, I have a sensitivity to cherry dust (induces an asthmatic cough and eventually bigger trouble than that if the cough persists), but cocobolo causes no issues....yet).
 
Chris, as will have become obvious already but might need spelling out you really need two planes for this at least. That can be two (or more) separate planes or one plane with a spare iron (or irons) prepared differently to drop in as replacements that convert the plane from one type to another. So a 5 or 5 1/2 with a well-cambered iron is set up as a traditional jack, without that it is in essence a fore plane or short jointer if you choose to see it that way.

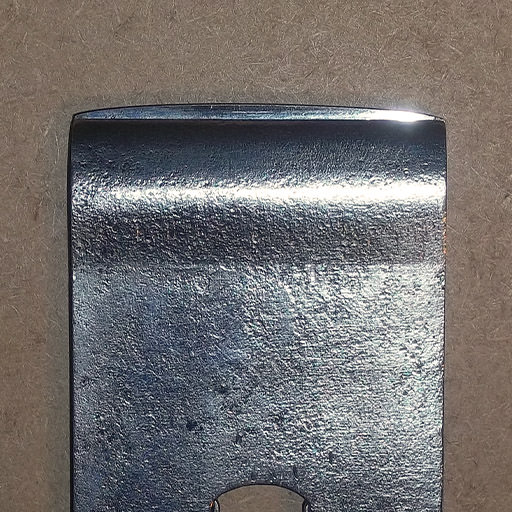
So for roughing work the edge needs to be curved/cambered to scoop wood from the surface and this is about the minimum camber you should expect to use:

Df8VNOf.jpg


Chris152":1enuozgy said:
I find the flate faces of the 120 length tricky to do from one end or even from the side in one pass. Should I continue to struggle with one pass along the length or do it in sections (I tried 2 sections, trying to be careful to take the same off each).
There's no rule that says one must plane every surface eventually with full-length passes, such that you produce an unbroken shaving. Some writing sort of implies that but it's not at all something that must be done, or indeed can be done in many cases; the longer the wood becomes the less feasible it is and the less it will be done in practice.

Chris152":1enuozgy said:
2. Particularly on the initial passes with the plane, a lot of dust seems to come off before and then with the shavings. I don't have any extraction for this (but have a window and garage door open). Would I be better off carefully using a belt sander with dust extraction to get the initial mess off, and then continue to plane? Or just put a mask on and hand plane till the dust reduces? Do people wear masks when using a hand plane??
This isn't the type of fine dust that stays airborne for ages that is produced by power sanding and it's much less of a risk than the latter, but by all means wear a dust mask if you prefer.

You could take a belt sander fitted with a coarse belt to wood like this if you wanted to but a plane set up properly for rough work will cut beneath the rough-sawn, aged surface very efficiently and especially if you plane at a diagonal or straight across initially will actually do the job much faster. Plus of course much much more quietly and producing far less dust.
 
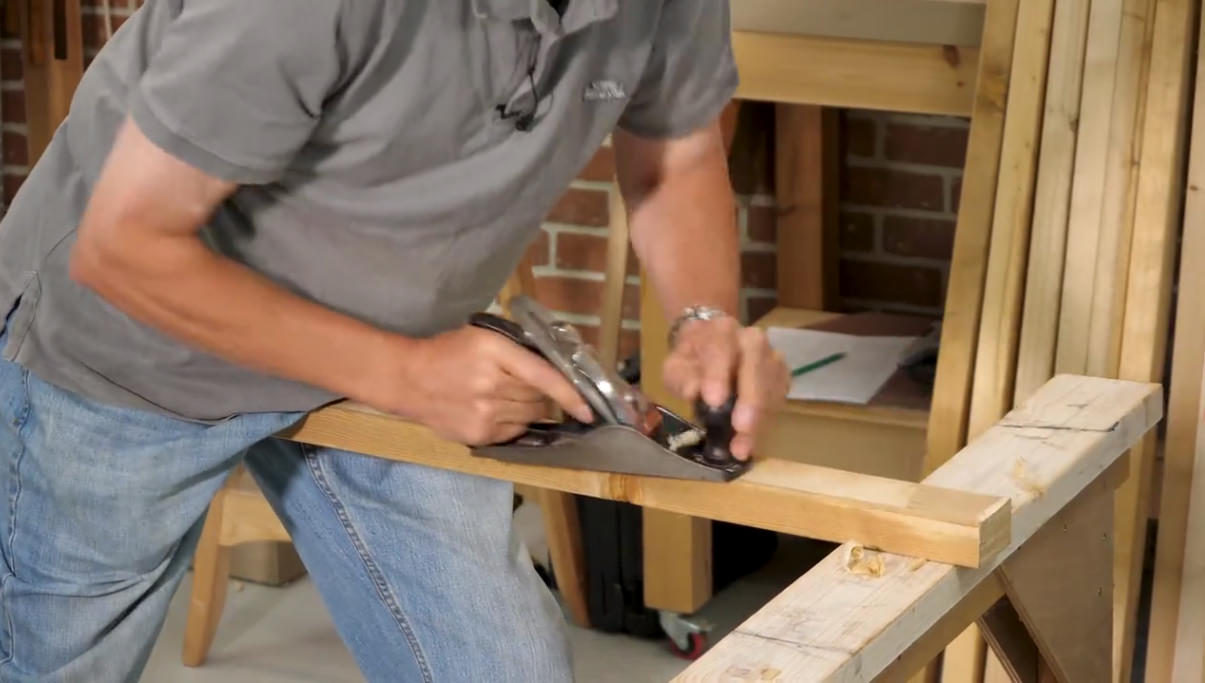
For long pieces, like those for my first workbench currently in progress, I tried this method of planing demonstrated by Paul Sellers, and it worked very well, along with the method of starting at the far end and planing in short sections towards the near end. One advantage was that afterwards I was able to hum along to much higher pitched parts of my favourite tunes... :lol:

zlTL0zQ.jpg
 
I'm in the process of processing the really helpful advice you've all given, but in the meantime I have to say there's something terribly disturbing about that photo, Nick! :shock:
 
It sounds to me like you have no reference surface that you can trust.
I personally find that I always need to use stop shavings.
If I continue to use through shavings, I end up with what could be called snipe.

I suggest you get a reference surface to work on, for progressiveness and the use of techniques for
speed and understanding ...
And an angle poise lamp or other good local light source to be able to show light underneath
So rounding up a few techniques to aid you would be ...

Candling (sort of) mentioned above, about the light shining under the timber when the work is checked against the bench .
Grasping the timber one end, and trying to make it spin like a propeller, either that (high in middle) or pivot from edge instead (hollow in middle)
Trying to rock the timber, and pressing down the corners, in effort to show a flaw.
If your very close to dimention and worried to over shoot your thickness, you could rub crayons on the bench (try black its more noticeable) when you rub the timber against it, it will make witness marks on those high spots...kinda like prussian blue lapping technique.

I just got another 5 1/2 because I find them the nicest size for everything.
Camber on one (a lot, lot less than shown) and a very very slight, barely noticeable on the other for the
cap iron effect.
I have other planes for roughing..taking paint off and hitting metal/concrete.
I hit a staple a few months ago, and it turned my plane into a corrugated soled one with toothed blade :oops:
I don't need that much camber anymore, as I've surfaced all my lumber up face and edge.
If I was working rough timber from the kiln, I might use a 5 for that, or a woodie if I happen to get one...

Good luck
Tom
 
Dunno about a reference surface I've never used one. How do you check a reference surface?

Tell if the workpiece is flat, twisted or whatever by picking it up and looking at it from one end. It's easier than you think! The forgotten art of looking at things.
Tell if it's cupped put your plane across on edge and you can see any gaps.
 
I can tell its flat, by planing two pieces that's the same length as my bench up, using the methods I described earlier,
and comparing them.
I was surprised how hollow it was, making all the timber I surfaced beforehand to have a belly in the middle.

Not saying it's not a good thing, to be able to do it without the need for a reference, but I like it and think its
defiantly a major help

Tom
 

Latest posts

Back
Top