Getting a grip on handle's

UKworkshop.co.uk

Help Support UKworkshop.co.uk:

This site may earn a commission from merchant affiliate links, including eBay, Amazon, and others.
A

Anonymous

Guest
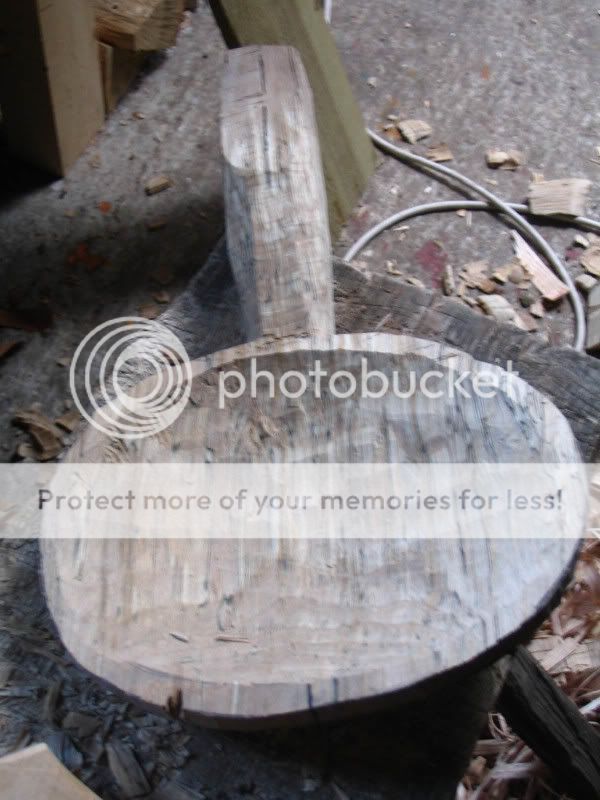
Here is a few pics of my 1 st attempt at handle carving this afternoon
the wood is burr elm.
I used a chisel, small rasp and normal files also. Its still roughed out stage, final claen up tomorrow

Untitled-96.jpg


heres a few close up's

Untitled-89.jpg

Untitled-90.jpg

Untitled-87.jpg

Untitled-97.jpg

another london pattern blank
Untitled-102.jpg

Untitled-101.jpg


unfortunately the burr elm turnrd out to be a bit crumbly but it should turn out ok with care
 
hopefully will be complete tomorrow :wink: :D :D

ps shame about the small crack under the handle, I might splice a sound bit in there its at a critical point DOH should have checked both sides of the wood more thoroughly when setting out ](*,) :D I also cut out a mahogany blankk today as well, that little marples bow saw goes like clockwork after its little sharpen, just as fast (and much quieter) than a powered jig saw and I filed it to rip as Mr Guidce suggeted!! :wink:
cheers Jonathan :D
 
Mr S

That's a remarkably good result. The burr elm must be a helluva challenge - doesn't the grain crumble around the burrs?

Regards.
 
Hello evergreen,
yes it is a bit crumbly, but if I am careful with the rasping direction and pressure, it seems to be ok, theres a few tiny little tearouts but nothing drastic, I've still to use a scraper etc on it. The rasp is good, not auriou, one from from workshop heaven on ebay, not sure what make?? Elm can take a bit of rough wear and tear any way!!
thanks for your compliments
cheers Jonathan :D
 
Hi Mr S

Nice job on the handle :)
I am to look forward to seeing it finished

Ps Its good fun making them :wink:
 
Mr S...shaping up.......also dont discount a powerfile for shaping...they are fantastic for this. and make cleaning up that bit easier
Although not too relevent here, if you want to keep edges crisp....protect the edges with an overlay of wood....this stops any accidents of oversanding.

looking forward to the finish

I
 
Exellent tip Ian! Sort of like using a extra piece when your planing endgrain to stop it braeking out or are you thinking of avoiding over rounded arrises so you get a sharp change from radius to flat side with no fuzzy messy radiuses?
De ye think it would be ok to use narrow strips of sand papers around some of those forms? I dont have a powerfile is that like the little thing like a chainsaw with a small sanding belt like what the salvager uses? I have a few scrapers also, made from an old croscut saw when there in the mood they cut better than the ece reform plane :shock:
Thanks for your encouragement everybody. :D
cheers Jonathan
ps I was going to use a meier blade, but will fit this handle to a different one possibly gray brothers?? any way a straight back nibber with 3 nuts although if its a split nut type I will increase the hole diameter and use some recycled disston or S&J ones, yes as you can probably tell I'm not strictly a purist, I want to create an attractive functional saw :lol:
 
That's going to be a gorgeous handle, Mr. S!

And purists can, well, I'll be polite.

Always amazed me about the old bolts. I can only imagine that it was due to cost of the things that they were made from both a softer brass than the brass backs were--even on the same saw--and as small a diameter as they were. Changing either the hardness or the diameter would have been "better."

But then again, maybe they didn't expect them to last 200 years before they were sharpened out!

Take care. I look forward to seeing it finished and on a saw.

Mike
 
hello again Mike :D

just as a matter of intrest what would you do with that little crack under the handle? I thought to perhaps make a clean litle v shaped opening with a scalpel, and whittle a plug to fit? is there a better way?
Cheers Jonathan :D
 
I would probably mix up a little epoxy and sawdust from shaping. Tape the sides to prevent much spillage .

I would put a little epoxy without sawdust down in it first using a toothpick or fine brush and then cram the mix down in there. Alternately, a little of the thick super-glue and sawdust, with a little dribbled thin in it first.

But epoxy is my first choice. My wife uses the super-glue method on turnings all the time.

What I like about either is the filled in crack ends up near black and I think it would look good on that wood.

Take care, Mike
 
as promised here are a few more wip photos of my first adventue in handle carving

Untitled-1-1.jpg

Untitled-5-1.jpg

Untitled-4-1.jpg

Untitled-6-1.jpg


Lacking 9/16" drills I had to cut the recesses for the nuts and medalion using a small gouge.
Looking at the photos theres still one or 2 areas that are rough and need taking down a bit.
the blade I usd is a diston D7?

I'll continue over the weekend
cheers Jonathan :D
 
That has turned out very nice, =D> just needs a couple of decades of patina of complete it, which should not be a problem. :D
 
Thanks Dave. Its been a very rewarding project, theres still a fair bit to complete. I thought I'd use the burr elm, "english exotic" :lol: I had a little board thats made 2 handle blanks. I'll finish it with linseed and wax when the time comes.
Thanks for the epoxy tip Mike, I'll do that last before final finishing, there might be one or 2 other "pits" to repair :shock:
Cheers Jonathan :D
 
Finished now just neds to be set and sharpened!
saw1.jpg

Untitled-3a.jpg

Untitled-4a.jpg

Untitled-11.jpg

Untitled-10.jpg

Untitled-6a.jpg

Untitled-14.jpg


This was an extremely satisfying project, thanks to Mike for giving inspiration advice and encouragement so generously :wink: 8)
I am no where near Mikes standard, it makes me apreciate his work even more highly after having a go myself.
When I do the next one I will definately use a 9/16 inch drill to do the recesse's for the nuts, that part of the job (hand cut with a gouge) let me down a bit I think. Also I will be more careful where I position the pattern on the stock to avoid cracks etc :roll: ](*,) :lol:
Impetuous lad that I am, I clean forgot to repair that little crack I was so keen to apply linseed oil and wax :roll:
 
But overall it looks good and I reckon it's great as a first attempt at something that's really quite difficult =D> =D> =D>

Paul
 
Tis gorgeous, Mr. S!

Love those eyes in a burl. I can get lost looking into them and the patterns around 'em. The bolt holes came out exceptional for the tool--I can barely cope molding at times using gouges and that's on softwood!

If you have auger bits of the right size and a brace, it makes for drilling the holes an easy task.

d-8_0057.jpg


I have also used inexpensive Forstner bits in a brace. I think this would work well because they are such shallow holes. Just would take a bit more pressure. Another alternative are simply metric bradpoint bits in a brace or 'lectric drill.

But--it looks wonderful and we can chalk off one more saw rescued from the list of the neglected vintage saws out there!

Take care, Mike
 
Thanks Mike 8)
The crumbly texture of the burr broke down a bit near some of the edges of the recesses as you can see in the pictures. My little scrapers and emory papers worked fine to get the velvety sheen, plus I rub the surface with very fine softwood shavings as well to burnish up the wax.
I use brace and bit as first choice for most hole drilling but have..yes you guessed..only 1/2" and 5/8", not a 9/16" bit. But a fortsner in the drill press seems a better bet any way (for more acurate depth setting).
As it happens I used the blade clamped to the handle as a drilling template, I drilled out the extra for the slotted sides with a wider drill. It went together perfect first time, easier in fact than reassembling some factory saws!! :lol:

Plus another first for me-working with one of those jewellers loupee eye pieces, what an experience, looking at all the crevices and arrises thinking they were cleaned up then looking again with the eye piece-what an eye opener :shock: Its a bit starnge at first paring and filing with one of those in your eye :lol: But it helped A LOT!!
Cheers Jonathan :D
 
Mr S

Looks terrific. That burr elm has such a distinctive texture. Reminds me of wholemeal bread. Could bite chunks out of it!

Regards.
 

Latest posts

Back
Top