Fitted wardrobes on a budget. FINALLY FINISHED!! FINALLY!

UKworkshop.co.uk

Help Support UKworkshop.co.uk:

This site may earn a commission from merchant affiliate links, including eBay, Amazon, and others.

pren

Established Member
Joined
13 Feb 2008
Messages
652
Reaction score
0
Location
Gogledd Cymru / North wales.
Ho there, citizens. Merry weekend to you all! :D

Some friends of mine are due a visit from Mr Stork soon, (the baby bringing type, not the margarine .... bringing one ...) and they asked me if I could come up with some fitted wardrobes/drawers for the nursery. They wanted somewhere to store most of their own clothes as well as the baby things.

Now, as kiddies tend to consume vast amounts of money, they really didn't have much at all in the way of a budget.

So.. after much designing and re-designing to reduce the amount of materials needed, I decided to make the drawer section as a separate 'base' unit, upon which to mount the framing for the clothes hanging/shelf section.

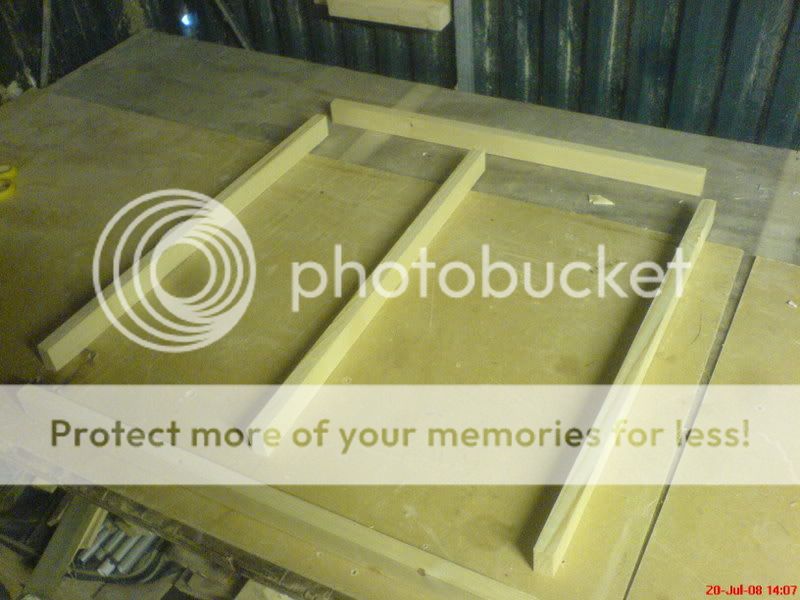
The whole lot will eventually be secured to the walls, with the hanging rail mounted directly to the walls. Because of this, I've decided to use 34x34mm par for the frame, which will mainly act as hinge points for the doors and half of the support for the shelves that are to run down the right hand side, from floor to cieling.

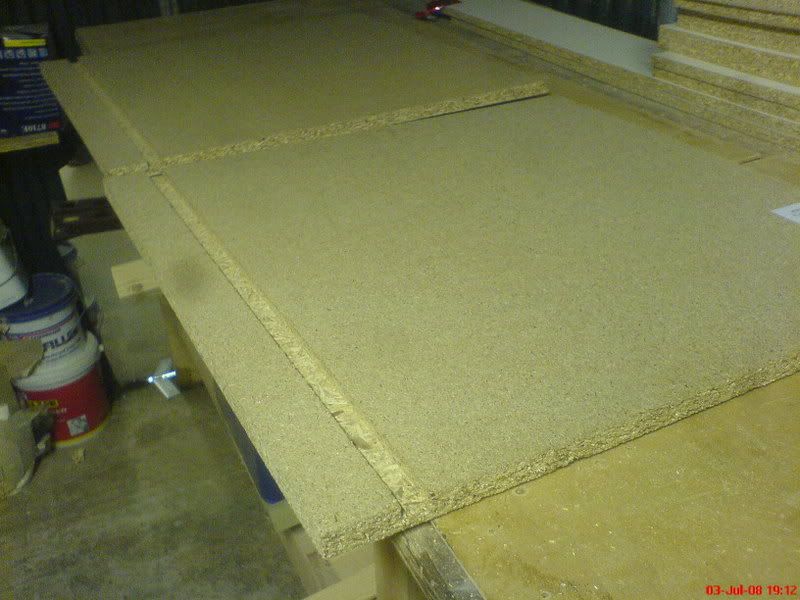
The 'base unit' has been made from 18mm chipboard which will be veneered with 4mm ply to make it less ... chipboardy ... as well as to cover the rough edging on the front.


So far:
DSC00778.jpg

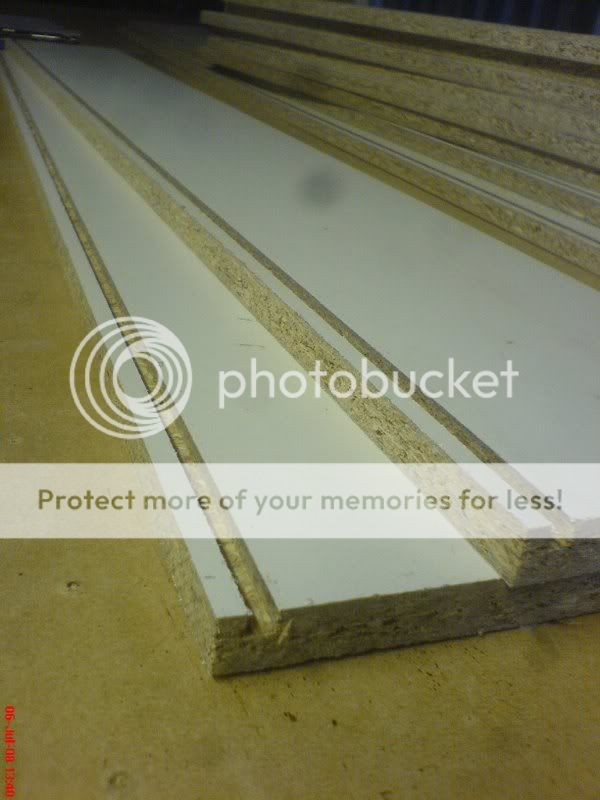
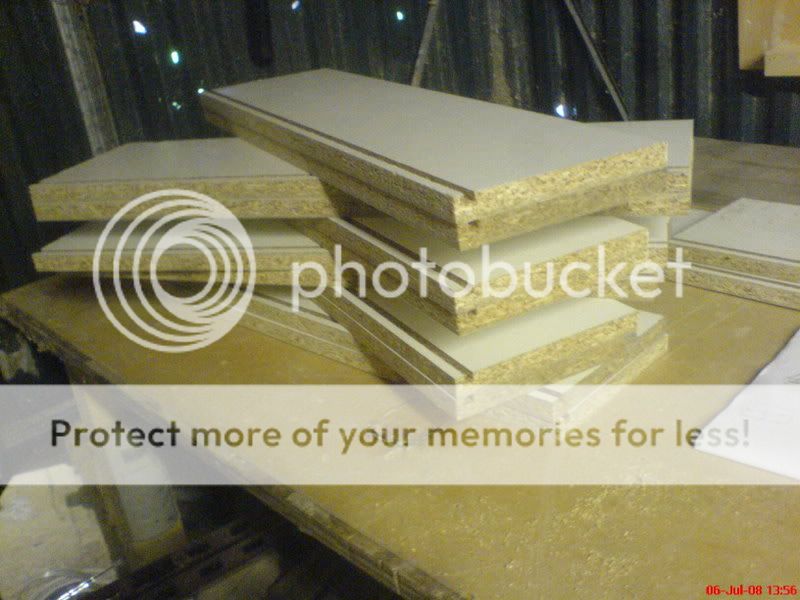
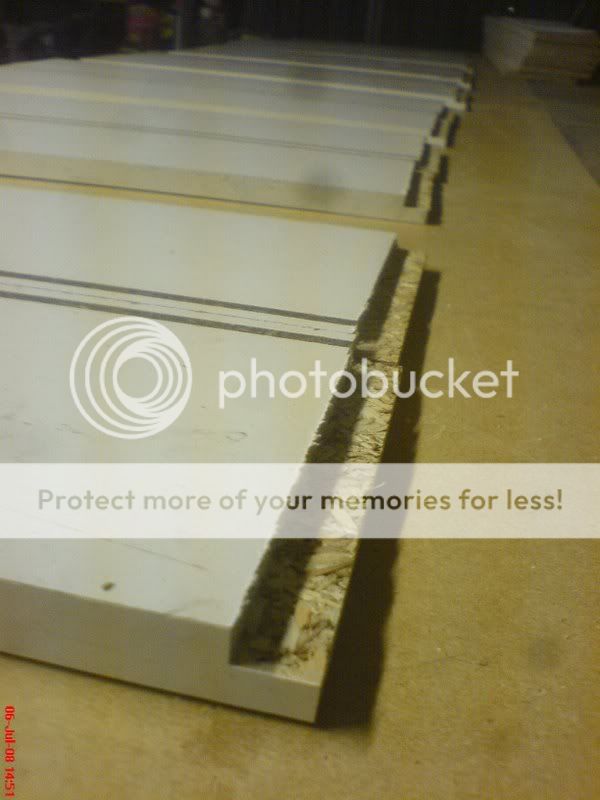
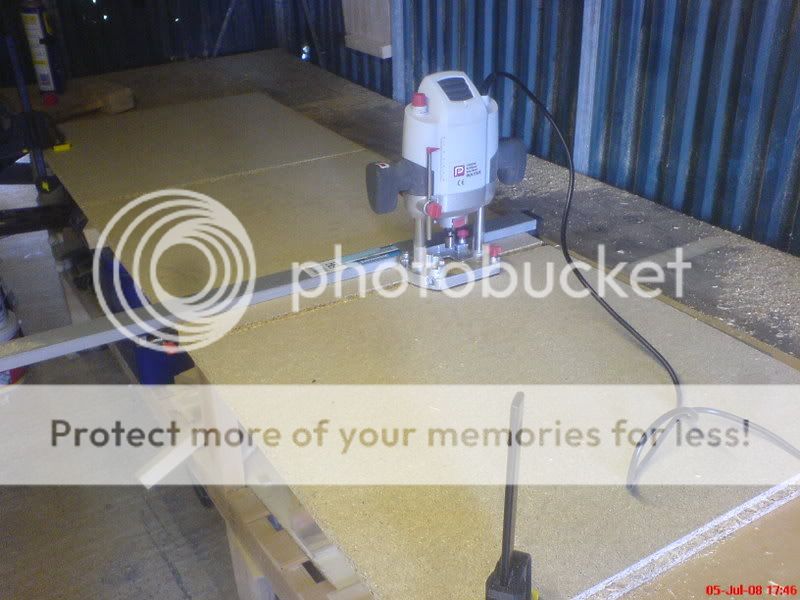
End panels for base unit. Routed with 18x9mm housings and 9x9mm rebate for top piece.
DSC00781.jpg

Top and bottom panels being routed with 18mmx9mm housing and 9x9mm rebate on ends.
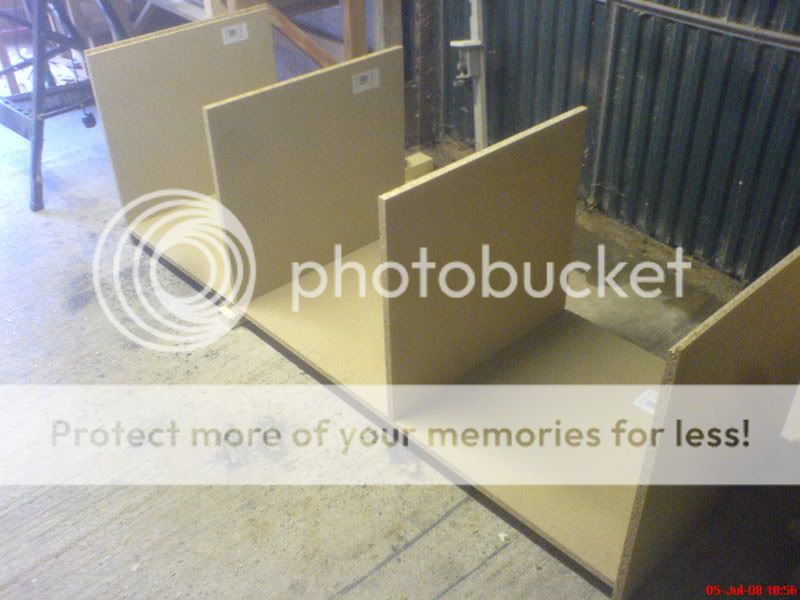
DSC00786.jpg

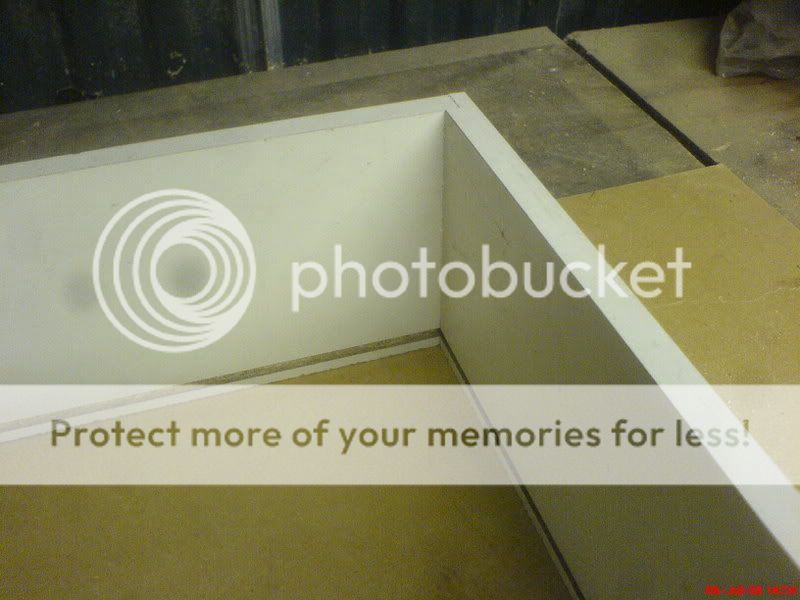
Dry fitting panels for drawer supports. Due to swelling at the ends of these panels, I had to plane about 1mm off in order to get them to fit :evil: It's almost as if the manufacturers of chipboard never had fine furniture making in mind! :roll: :lol:
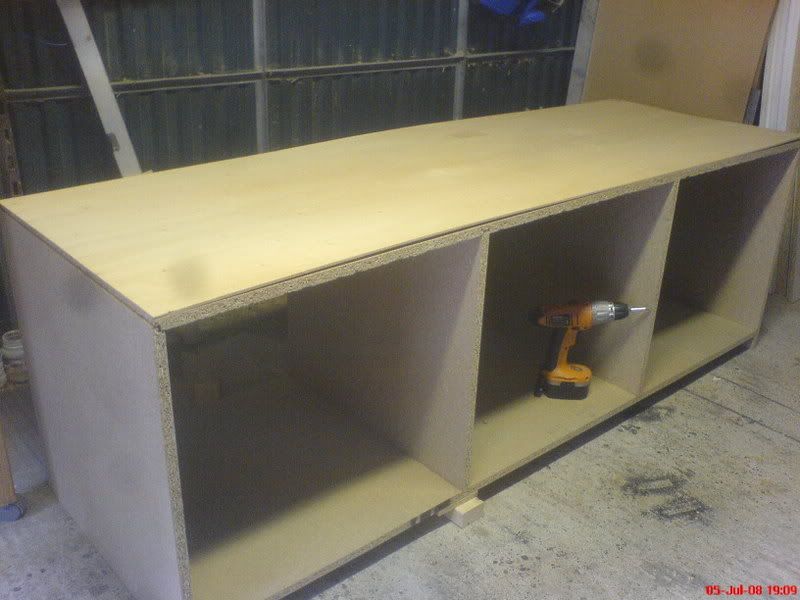
DSC00788.jpg

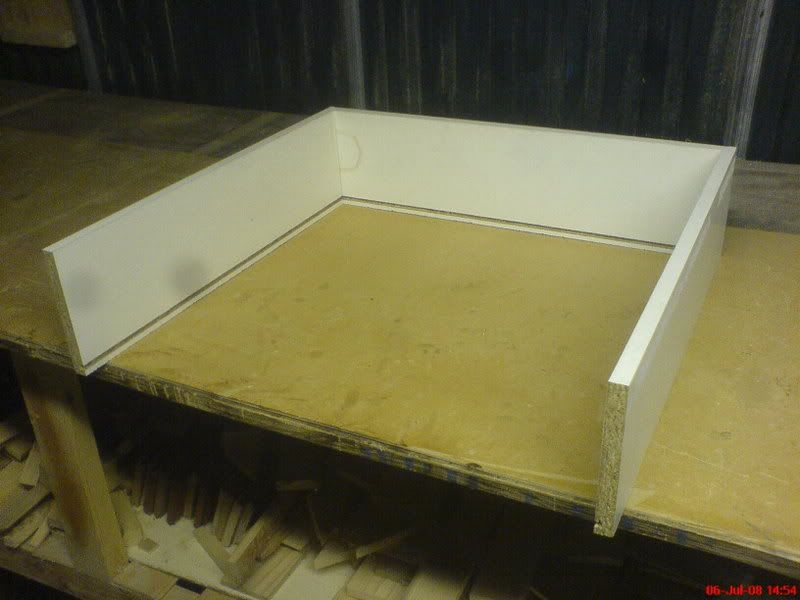
Final dry assembly with 4mm ply placed on top. The first two bays will hold 3, 200 x 580 x 570mm drawers each (that's alot of baby socks!!) with the right hand bay being for two shelves.
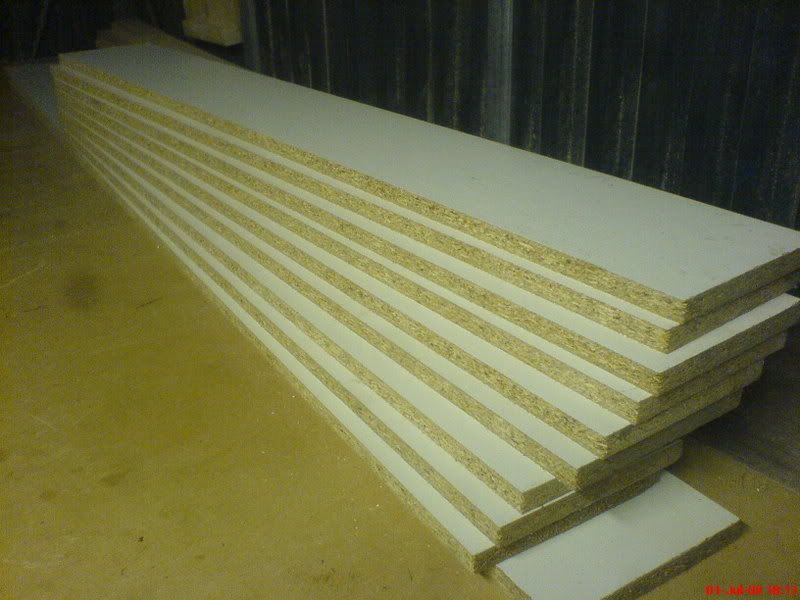
DSC00777.jpg

MFC ripped to width for the drawer sides. This was salvaged from work as it was destined for the scrap heap.


That's all for now. Hopefully tomorrow will see most of the drawers made up and possibly some of the ply trim fixed to the front of the carcass. I also indend to fix some feet to the undersides of the two internal drawer support panels to prevent saggage.

TTFN for now.
Bryn. :D
 
Appreciate there was an element of costing involved but I don't think I would have used chipboard :shock: - Rob
 
i have 2 of them them clamps im not 2 keen on them
as you have to make sure both ends are on the line measured. dont know about the other clamps guides if there the same or lock/clamp a bit better.

better than nothing though :)
 
Evenin' all.

I was intending on using 12 or 18mm ply for this, but found that the chipboard was over 1/2 the price for thicker stock. The budget for this project really is THAT tight! :shock:

Weather it was a wise compromise remains to be seen, but I'm confident so far. (crosses everything ... :lol: )

Anyhoo,

Day 2.

Concentrated on sorting out the stock for the drawers today.

DSC00789.jpg

DSC00790.jpg

Managed to get a 6x7mm channel routed in the MFC to take the drawer bases.

DSC00792.jpg

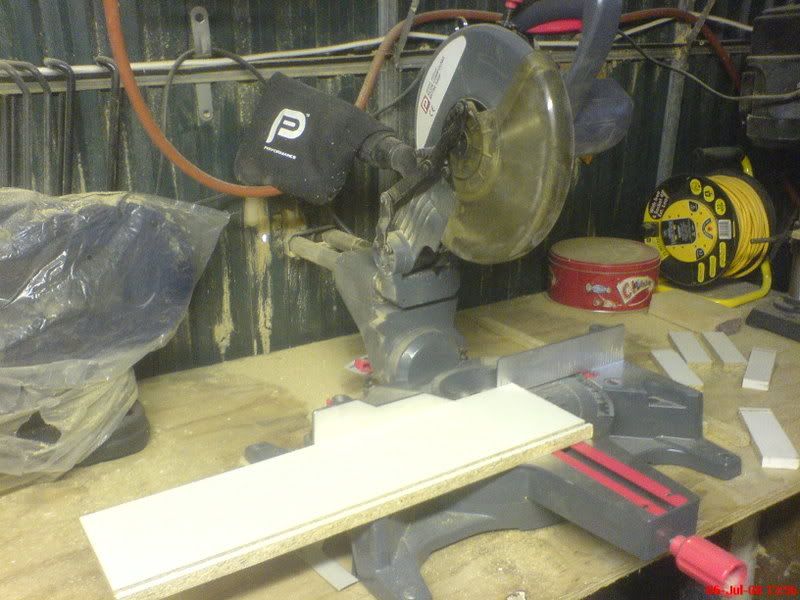
Then cut them all to length on my (t)rusty CSMS.

DSC00793.jpg

DSC00791.jpg


DSC00795.jpg

I then ran a 15x7mm rebate in the rear of each drawer sides to house the back drawer panel.

DSC00797.jpg

Ran into a bit of bother with tear out on the thin part below the channel!! :oops:

DSC00795.jpg

Solved this by pre-cutting the small section with a coping saw prior to routing. 8)

DSC00798.jpg

DSC00799.jpg

DSC00800.jpg

Test fitting the 3 drawer sides to make sure I've got the measurements correct for the drawer bays. (phew).


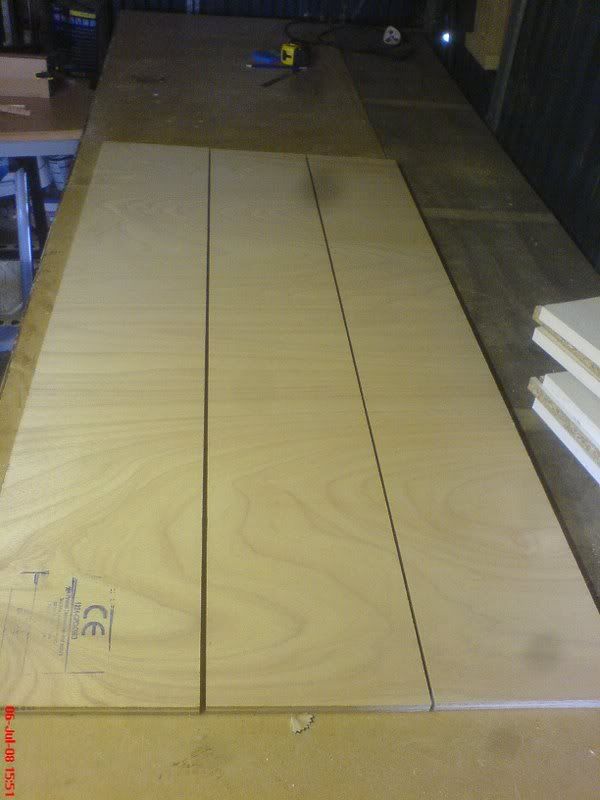
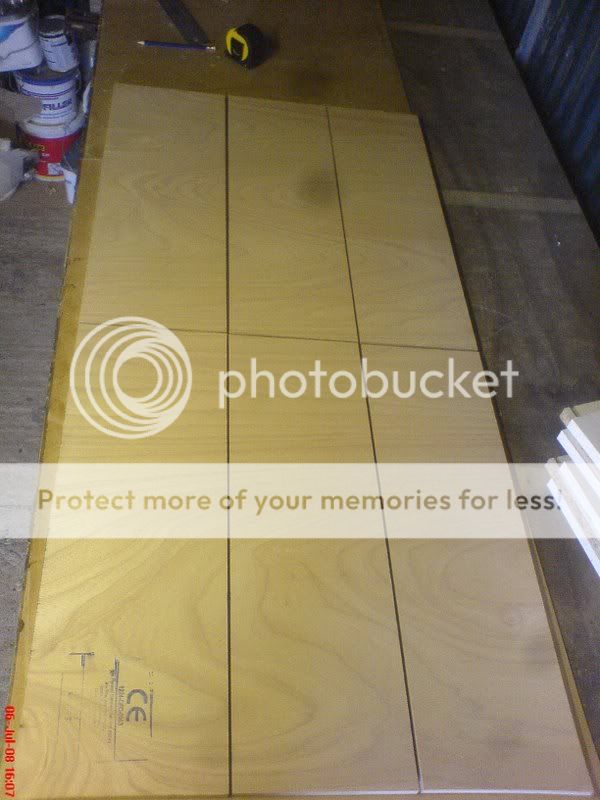
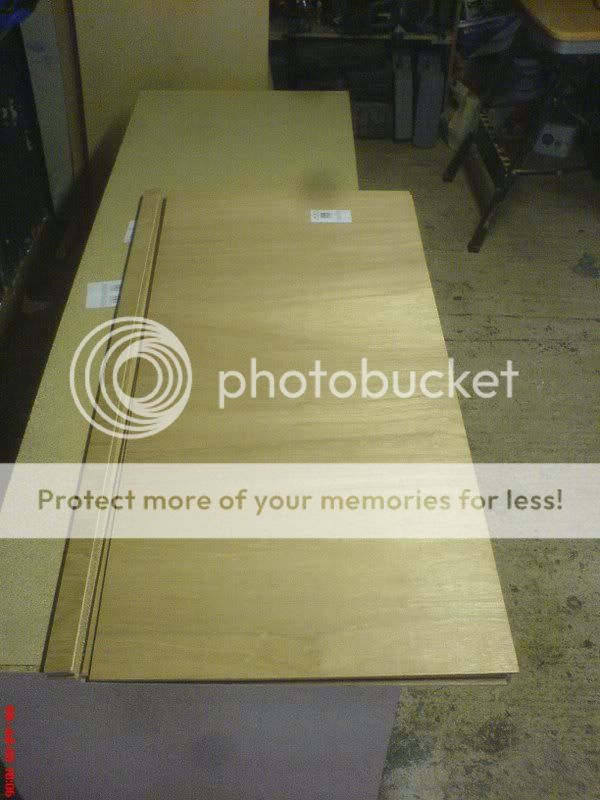
For the drawer fronts, I decided to use 12mm exterior ply. I've always found these sheets in the sheds to have some surprisingly attracive grain patterns to them.

DSC00801.jpg

DSC00802.jpg

This one was rather nice, IMO, with some hints of purple in the grain!

DSC00803.jpg

DSC00804.jpg

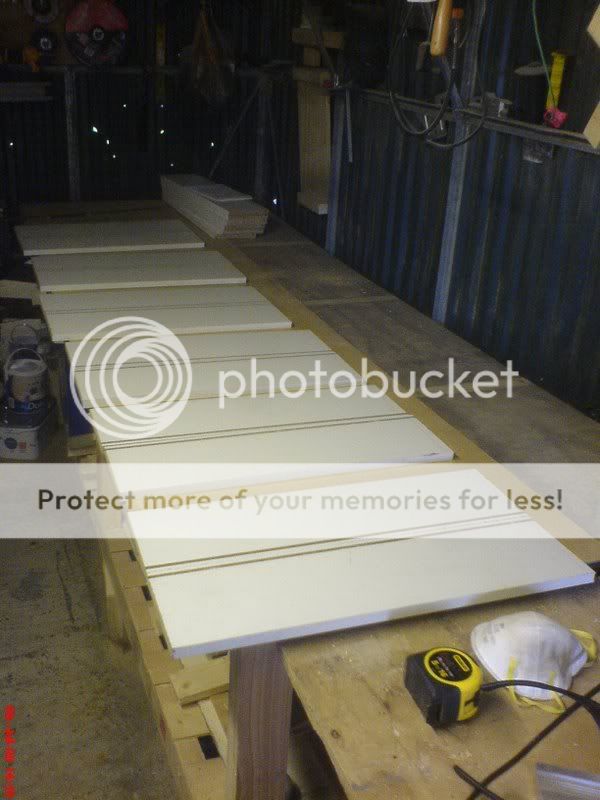
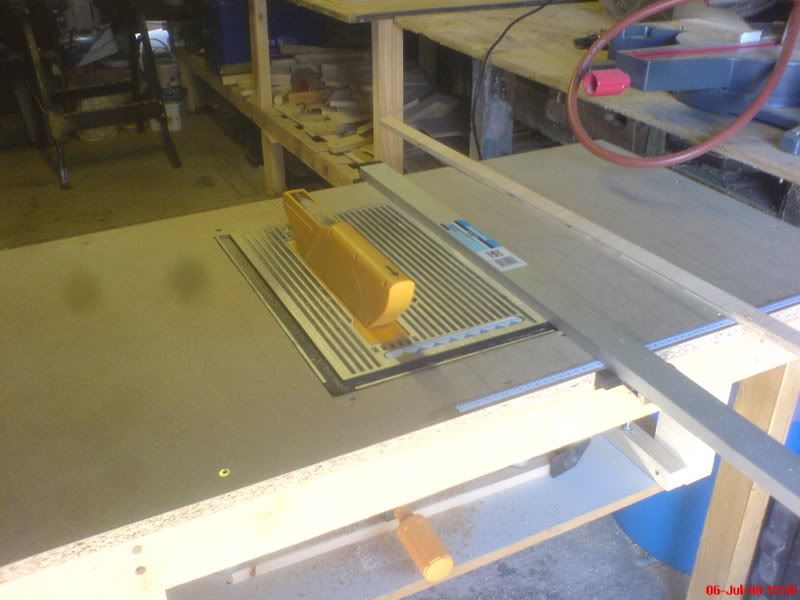
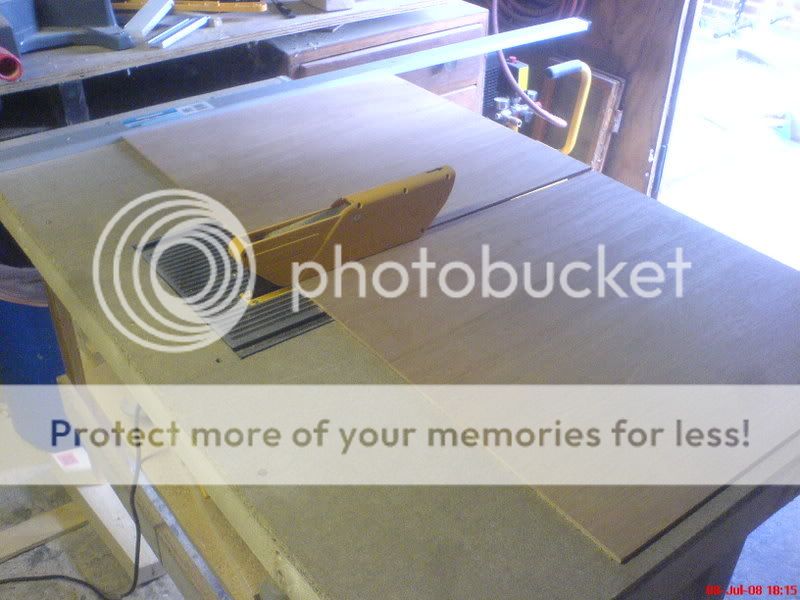
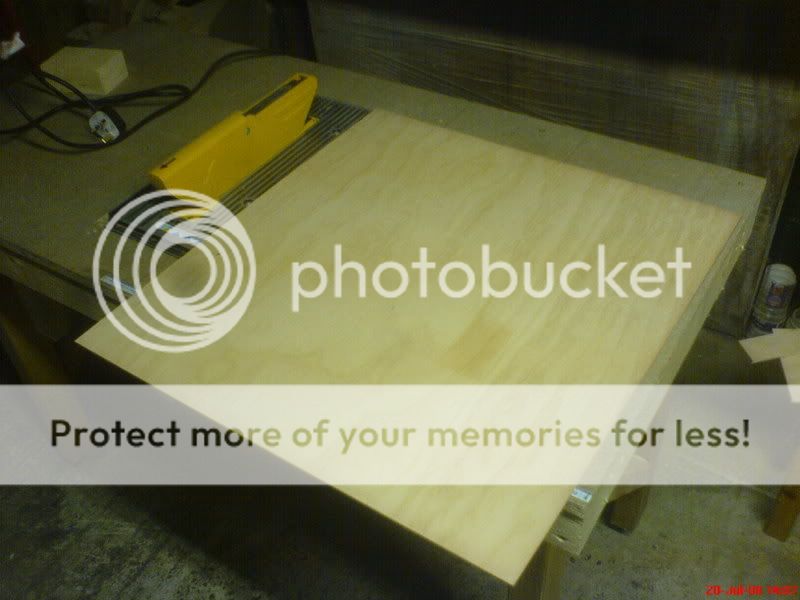
I ripped the ply to the drawer front heights on my home made table saw.

DSC00805.jpg

Then in half on my SCMS for the drawer witdths.

Tune in next time for drawer front housing rebates and possibly even some gluing action!! :lol:

TTFN for now.

Bryn :D
 
Interesting Bryn. Certainly a rough and ready build. Is that TS a tile cutter?
 
Rough and ready?! *splutters*

I'll have you know that chipboard is the new ABW! ... :lol: :lol: :lol:

All that chipping in the MFC? Thats .... thats distressing, that is.

Antiquing.


Yeah.

That's in vogue in .... in .... New York .... :lol: :lol:


The TS is the top half of a compound mitre/table saw combo from B&Q. It dismounts from the table should I need to take it to other jobs.

As it's my first TS, I can't comment on its performance relative to other TS's, but I've found it to be surprisingly accurate and neat. There's no rise/fall on it, but it makes ripping a **** of a lot easier that farting around with my CS! 8) :D

Cheers.
Bryn :D
 
Righty ho, then. Day the third.

Didn't really get as far along this evening as I would have liked but here be my offerings to the group.


DSC00808.jpg

Using my router table, I put grooves (rebates?) into the backs of the drawer front panels to house both the sides and base (6mm ply). As you may be able to see, there are a few issues with breakout/splintering from the ply as it is cut cross grain. :roll: I've yet to sand any of these peices so the are all still raw from the saw. Not sure how well they'll sand up but here's hoping [-o<


DSC00809.jpg

I ripped the 6mm ply down to drawer base width on my table saw ....


DSC00813.jpg

... and then in again to base depth. Got two drawer bases from one 1220x606mm sheet.


DSC00811.jpg

having ripped and routed for what seem like weeks, I finally got round to the point of dry assembling the drawers. Only at this point did I realise that the rebate for the drawer sides didn't need to go all the way to the top :oops: .

Also didn't realise that the ply would be so fragile along the cross-grained edge :shock: . The 0.5mm or so of veneer on the ply chips off along that edge in rather sharp splinters. I really wanted to have the faces left as one plain sheet so as to make the most of the grain pattern. I think I'm going to have to resort to gluing some sort of face frame to the fronts to prevent further chipping.

Ah well. Every day's a school day ....


Hopefully tomorrow will see some sanding action and face frame fabrication. Perhaps also some ACTUAL ASSEMBLY!! (Ever had that feeling that a project just goes on and on and on and on and on ....

TTFN for now.

Cheers.
Bryn :D
 
Reet! Apologies for not keeping this updated. After work, I go straight out to the 'cave' and bash away until I get sleepy. keep forgetting to update.

Anyhoo..

Since the last instalment, I've managed to avoid having to glue on some 'orrible face frame to the drawer fronts to cover the breakout from the t/s. Having spoken to Mr. Friend, I decided to round over the edges of the fronts and sand them well.

DSC00816.jpg

Before


DSC00817.jpg

After. Yes, there is a difference. It's just my phone camera is pants. :roll: :lol:


After all the routing, sanding and sawing, I finally came to the gloooing!!
DSC00815.jpg

Forgot to take a shot of the drawers in the clamps, but I have now decided to buy waaaay more sash clamps! Never enough. never, Never, never .... :lol:

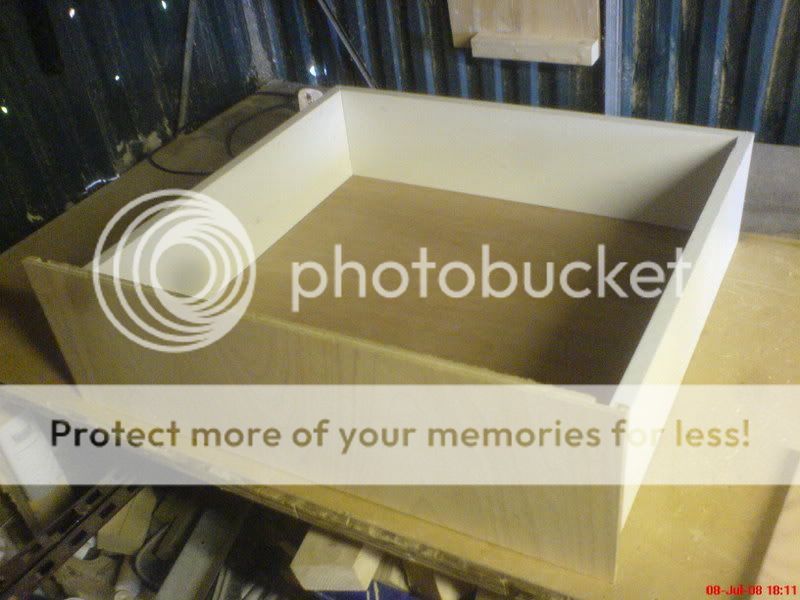
Once I got the hang of where the clamps needed to go, the drawers came together thick and fast. I'd take the one from the previous night out of the clamps when I got home, then clamp up the next one at around 4:30pm. I'd then come back out at 10:00pm to swap the next one over.

It was really, really fun.


PICT0152.jpg

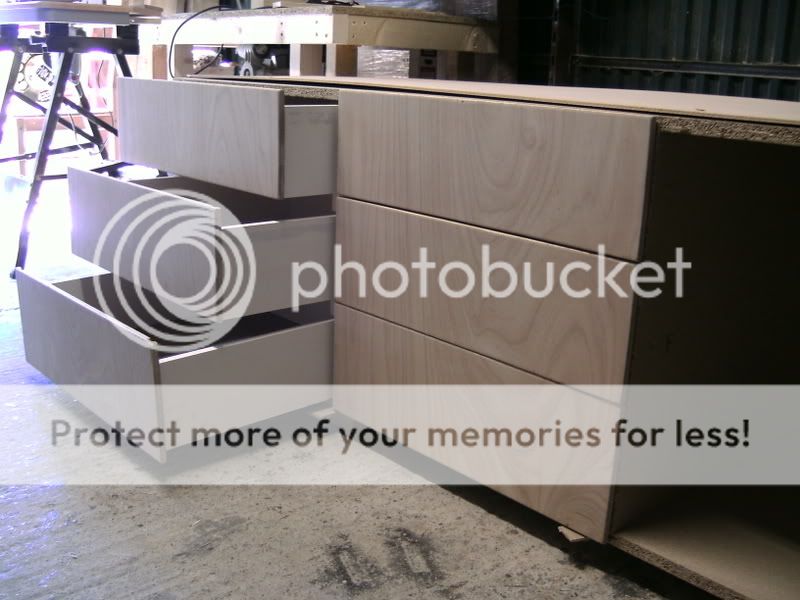
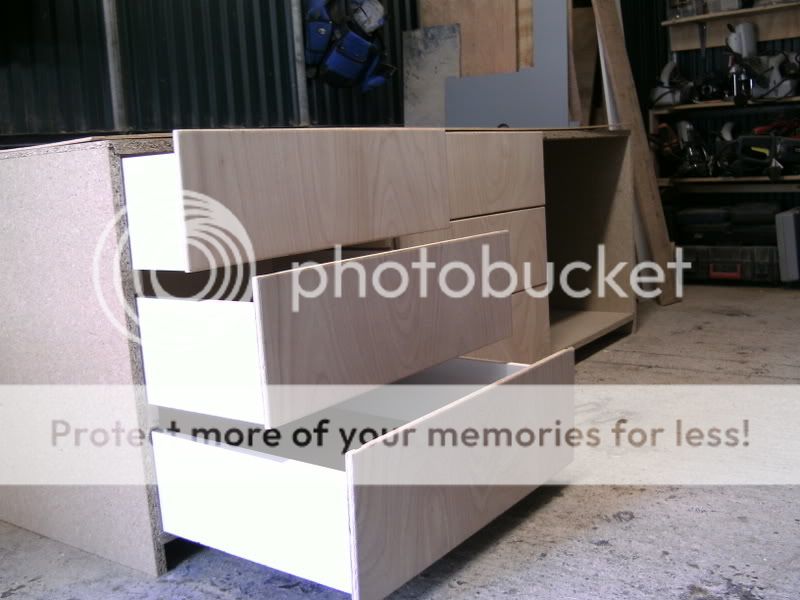
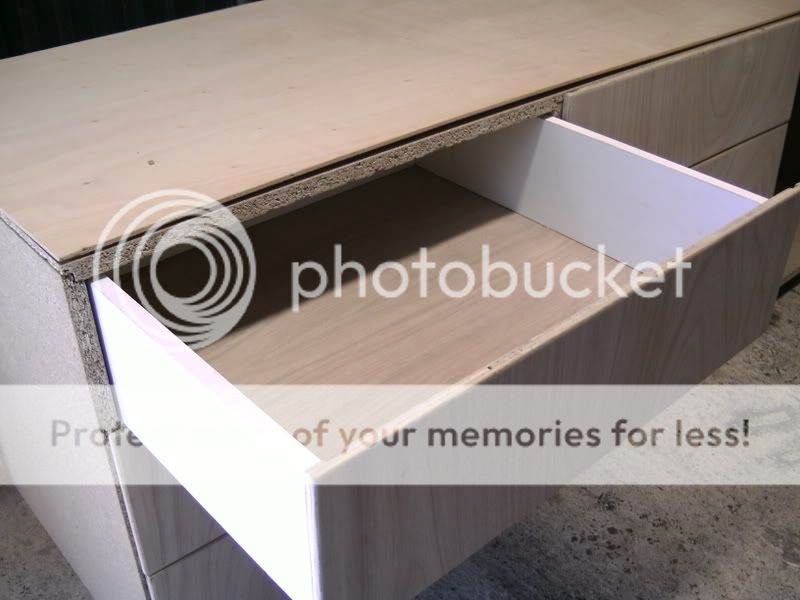
Glad I kept the clean lines of the drawers. The wavy top bit is the 4mm ply. It's not yet been glued down ... which explains the waviness.

PICT0151.jpg

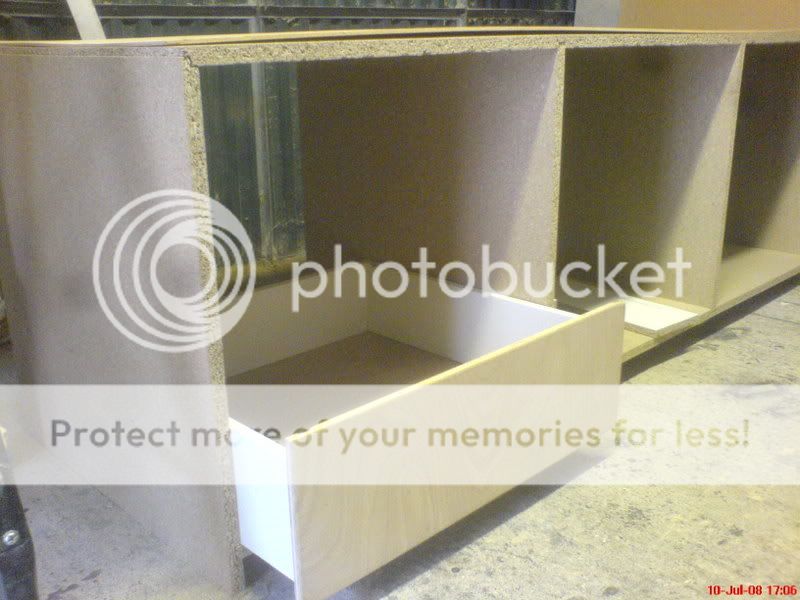
Having had a bit of a quandary over weather or not the simple wooden batten runners would provide adequate ... sliption .... :-s I decided to go ahead and fix them in place. Nice mr Dennis pointed out that I could have used bottom fixed runners if I'd fixed the battens inboard by 12.5mm (measurements from jasonB) and used the bottom of that as the required rebate. By that time, however, my impetuousness had gotten the better of me and I'd fixed them on anyhow.

Luckily, the wooden runners work just fine! :eek:ccasion5:

PICT0150.jpg


PICT0155.jpg


Well, that's it for now. On next week's show: Gluing on the edging to cover all that expensive chipboard (it's the new ABW, dontchaknow!). Need to wait until it's all fitted in its final location before I can glue down the top sheet of 4mm ply. My w/s floor is more crooked that a government ministers expense account, so I don't want to risk setting the wiggles in place by veneering it here.

Thanks for watching.

TTFN for now.

Bryn :D
 
Thanks Bryn, I was thinking about this one today. I do like how you have lined the grain up for the drawers. How will they be finished?
 
Cheers, Wizer!

As soon as I saw the grain pattern, I was determined to make a feature of it.

As for finishing, I think I'll bow to the experience of the group. I want something that will bring out the purple tinge to the grain as well as the blond. I don't want it to all turn yellow as has happened to most of my projects in the past when I've used clear varnish, but I also don't want to colour it.

I'm not really a believer in staining wood. I prefer the wood to be honest.

I've never worked with an oil (Danish, Tung ..) before so I'd like to give that a try, perhaps.

Any suggestions? It will be for a nursery, so nowt toxic would be best.

If it's preferred, I'll open a thread on this in the Finishing section.

Cheers.
Bryn :D
 
Bryn

Looking now the suggestion that I gave would not work as the raised front of the door below would be in the way.It would have worked if the fronts went down not up.

Dennis
 
Hi Dennis.

You know, you're absolutely right #-o

I hadn't considered that the base batten would actually move with the drawer! Obviously it would, just didn't realise it untill you mentioned it.

Ah well. You lives, you learns.

Thanks anyway, dennis.

Bryn :D
 
Hi Bryn,
Hats off to you my friend, thats starting to look really well :D
Im sure Mr Friend and his other half will be delighted with it.
Thanks for taking the time to post your WIP, Very interesting, just goes to show that you dont need to spend a fortune on wood or machinery to make practical furniture.
Looking foward to the finished article.
Cheers,
Gary.
 
Howdy do.

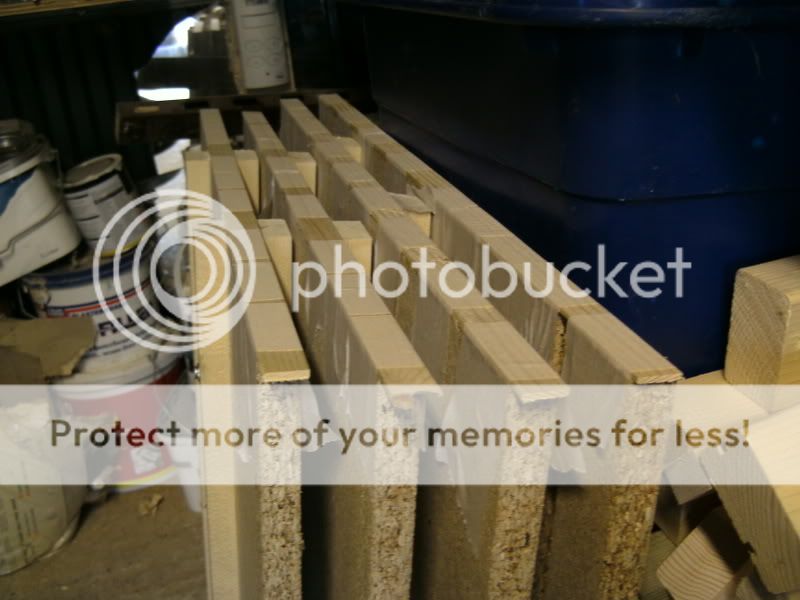
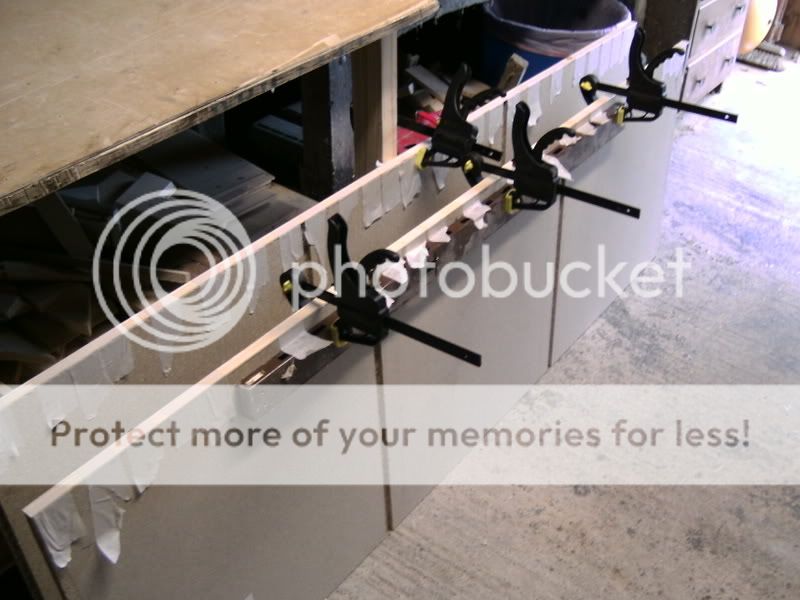
A nice easy step today. I took apart the drawer unit (having first marked which edges face out) and glued on some 4mm thick strips of redwood pine to cover the rough edges of the chipboard. The edging had been ripped down on my table saw.

I held the edging in place with some wide masking tape until the glue dries.

Apologies for the lack of photos. I find gluing up rather stressful, so I keep on forgetting to take pics. :oops: Also found that my camera wouldn't focus on the masking tape in macro mode.

PICT0163.jpg


PICT0162.jpg


PICT0164.jpg

The base of the unit had developed a bit of a curve whilst it was sat in the w/s. I clamped a straight length of box steel to it to hold it straight whilst edging.


.... well, that's it for today. Sorry it's not the usual white-knuckle ride of my previous posts.

Must try better ....

Once the glues gone off tomorrow, I'll trim and sand the edging, Glue on the top sheet of 4mm ply and then it's on to the next stage: The MainFrame!!

DUN DUN Dunnnn!! :shock: :lol:


TTFN for now.

Cheers.
Bryn :D
 
Mornin'.

Apologies for the lack of updates. My evenings have been spent veneering and oiling the various pieces. Not exactly exhilarating viewing .. :roll: :lol:

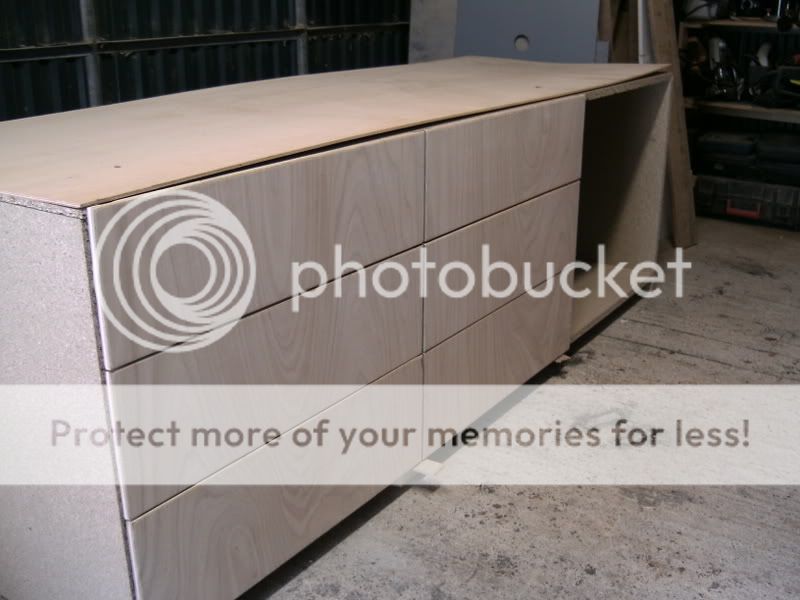
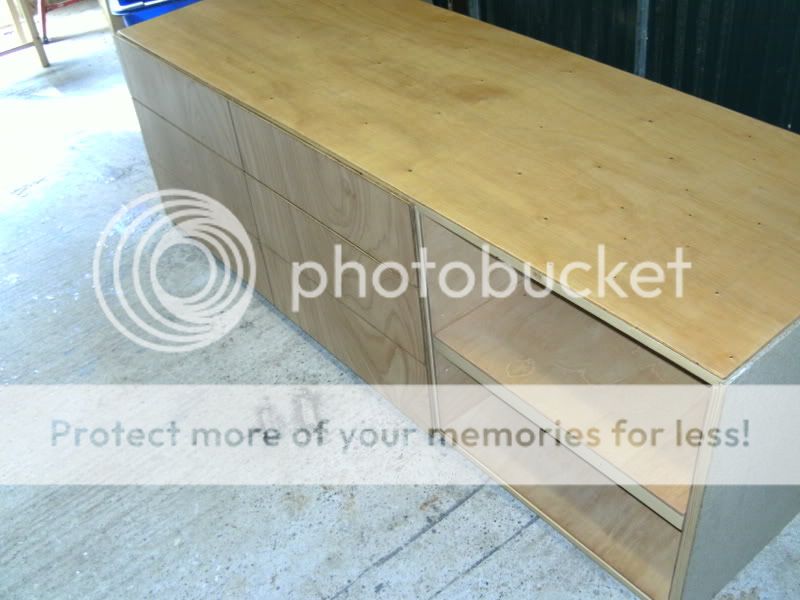
Finally got the drawer 'base' unit completed last night. It's all dry assembled in my workshop at the mo, only lacking drawer handles.

So, since the last installment:


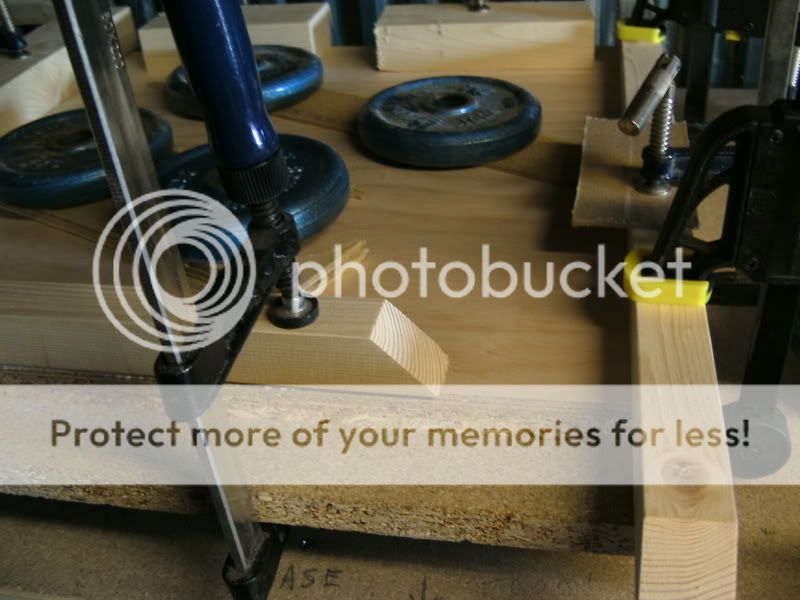
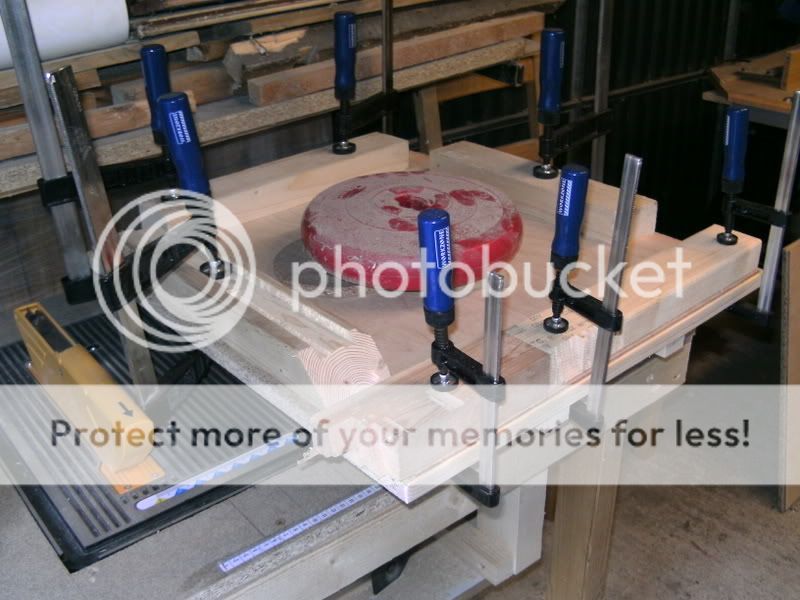
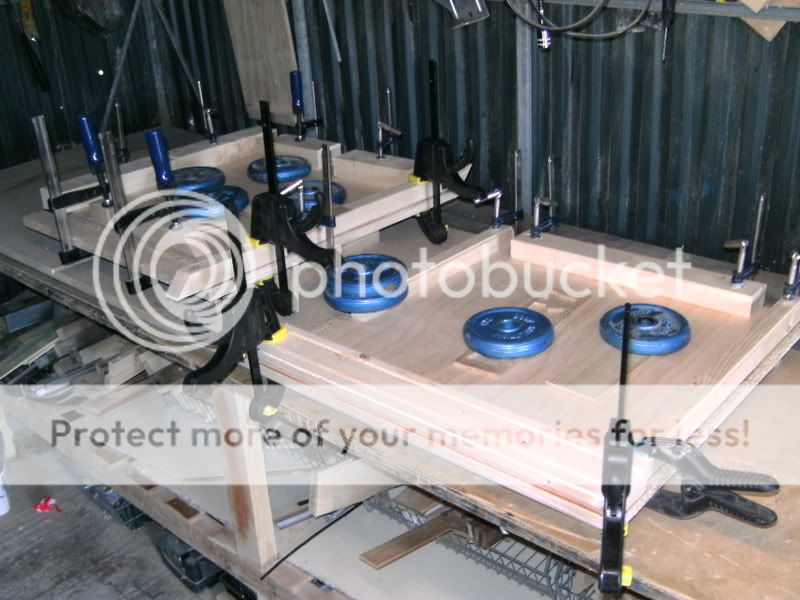
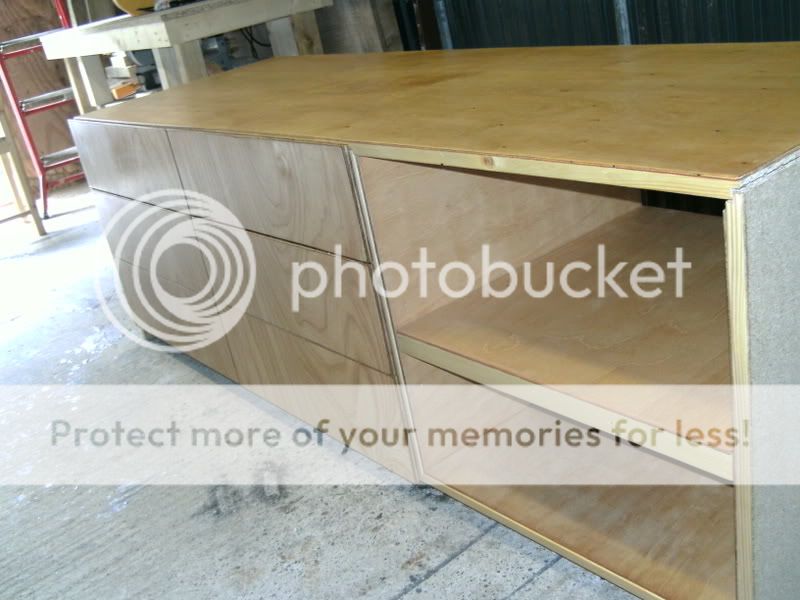
Veneering the visible chipboard surfaces with 4mm ply. These include the top and the inside of the end bay which is to become a shelf section.
PICT0212.jpg

PICT0210.jpg

PICT0209.jpg

Glad I finally found a use for all those weights that i seem to have acquired ... :oops: :lol:

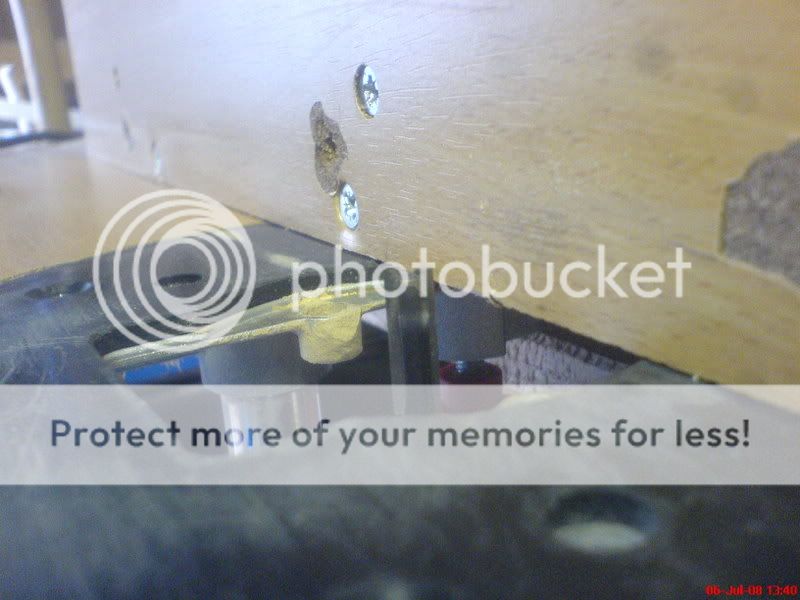
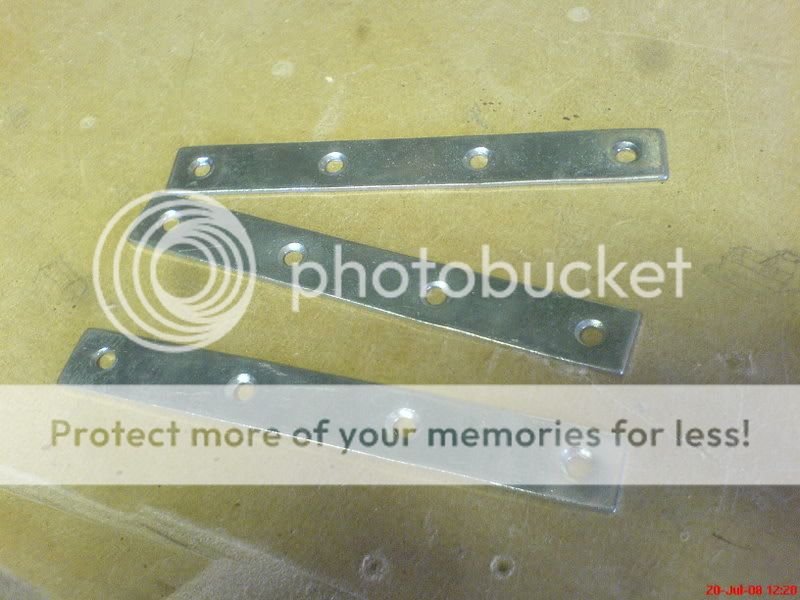
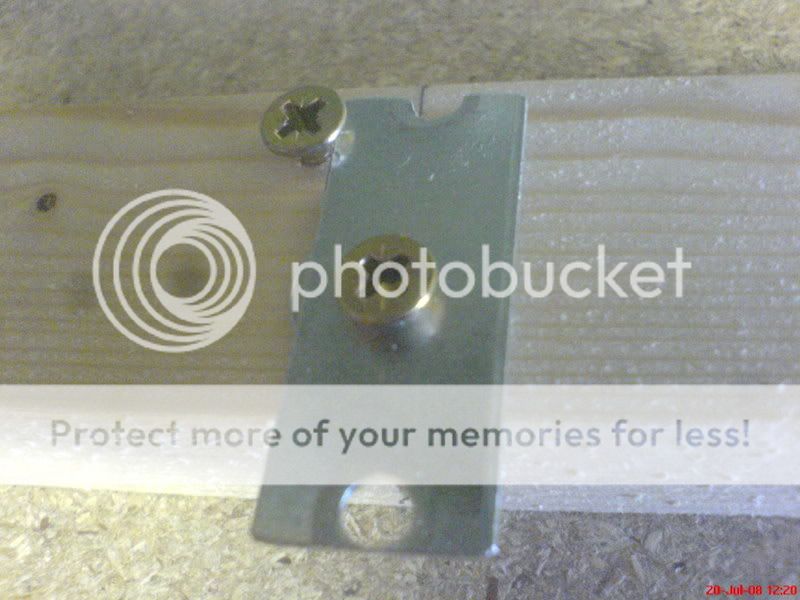
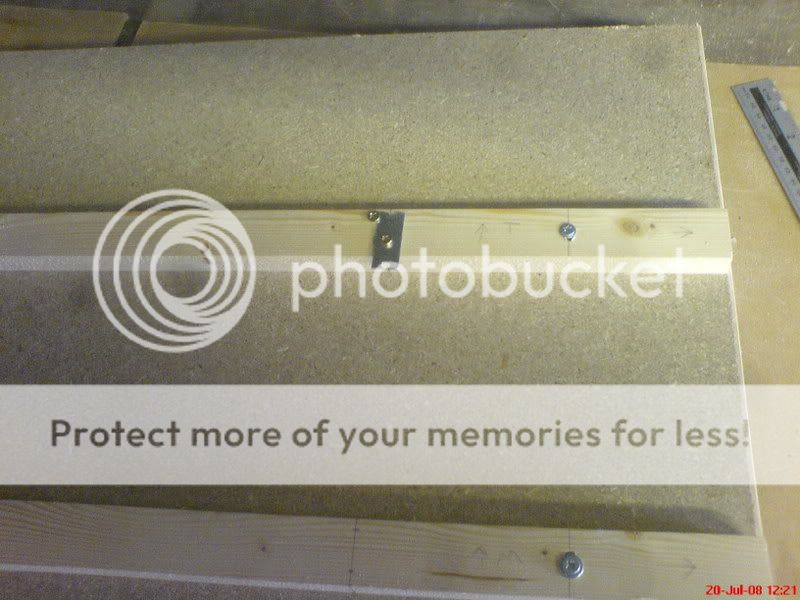
For drawer stops, I came up with a turn-buckle design. Some repair straps from B&Q were cut to size and screwed to the runners. A second screw, positioned at the top leading corner prevented the stop from freely rotating forward but allowed the drawer to be pushed in. Does that make sense? :-k
DSC00819.jpg

DSC00820.jpg

DSC00821.jpg

DSC00822.jpg


The end bay shelf was made from 18mm x 32mm batens covered in 4mm ply.
DSC00825.jpg

DSC00824.jpg

I seem to have misplaced the pic of the finished shelf :oops:
To mount it, I drilled 6mm holes in the sides of the bay to take the 6mm dowels. As the shelf height needed to be adjustable, I also drilled 2 more holes per edge at 70mm centres to the centre hole. Any more than this would have left an unusable space above or below the shelf.


When everything was complete, I oiled all the ply surfaces with 3 coats of Coloron ( :?: ) Danish Oil (having cut back with 120g after the first coat). The final coat was wiped over with a cloth to remove any excess so as to prevent stickiness.
PICT0223.jpg

PICT0226.jpg

PICT0225.jpg


All that's left now is to attach the drawer handles and glue and pin the back, hardboard, panel to stiffen the whole shebang. That will be done when it's installed at Mr Friends house.

Thanks for looking!

Bryn :D
 
Right!

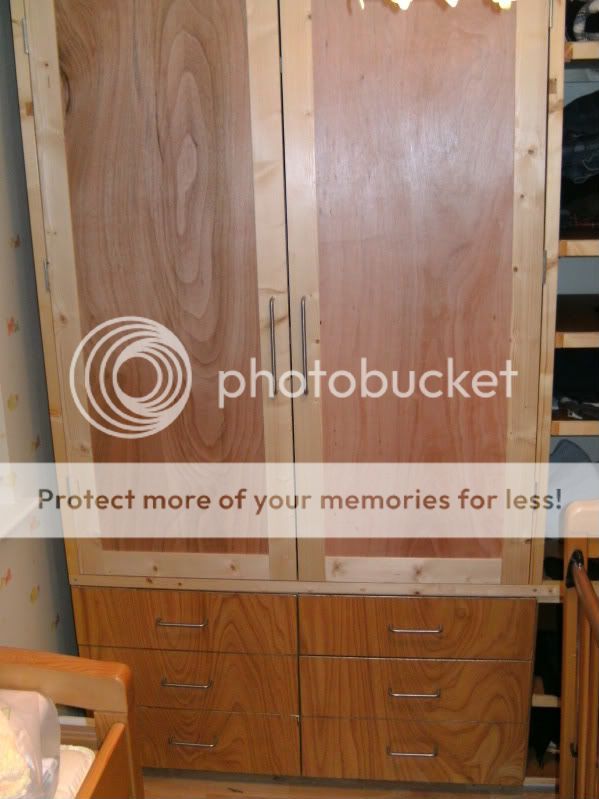
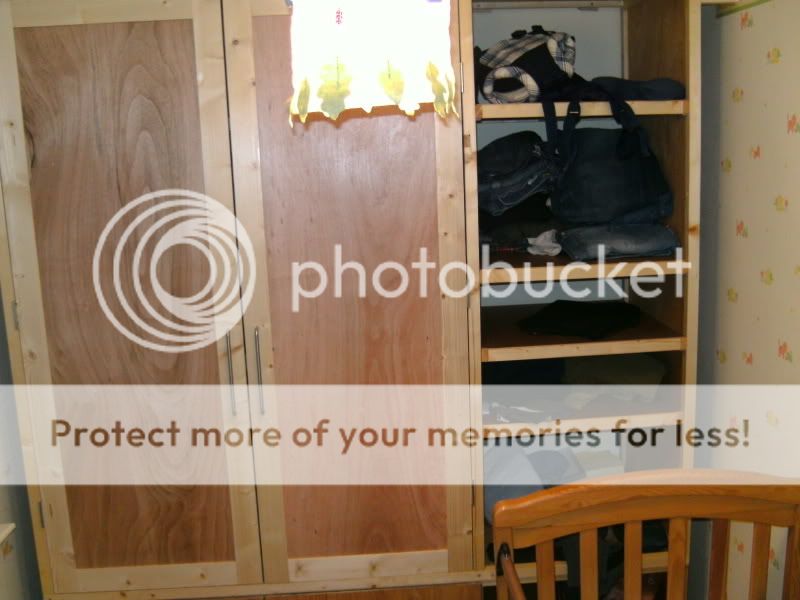
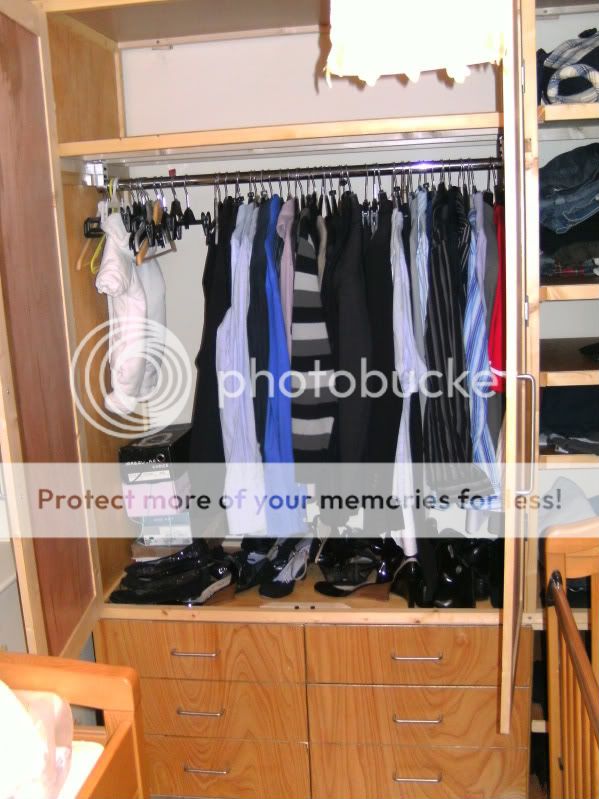
Finally got round to finishing this beasty!! :D

It would seem that I've lapsed in my WIP taking, but here's the final whatsit.


PICT0689.jpg


PICT0687.jpg


PICT0688.jpg


Apologies for the rubbish pics - I was very tempted to remove a section of the wall behind the camera so as to get a better shot. Friends weren't overly up for that, oddly. :? :lol:

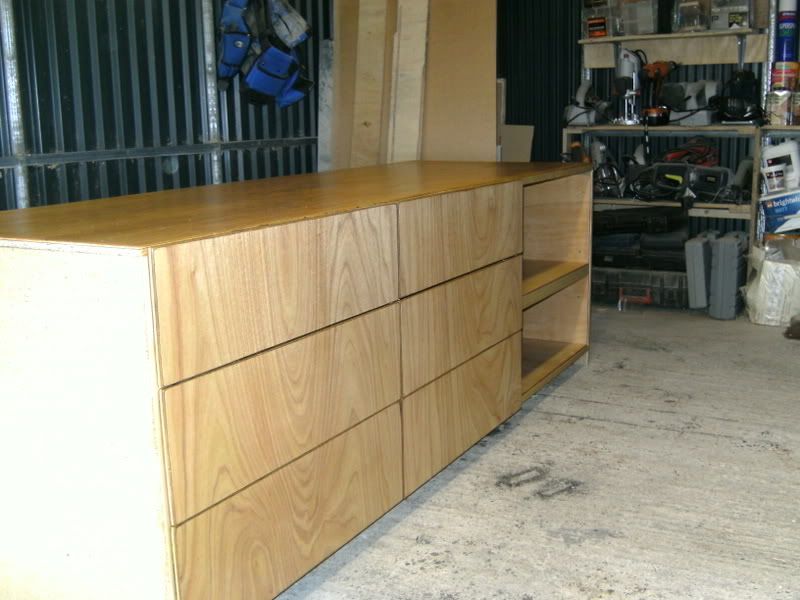
I would rather the whole look wasn't quite so mis-matched but that's sort of the deal with WBP ply from B&Q.

The whole lot cost around £140. It measures 1800 x 2300 x 600mm approx.

Lessons learnt:

- I don't like making things that have to be made in small bits to assemble on site.

- I will use rolling drawer runners in future instead of battens.

- Ply needs an edge banding to prevent it from splintering.

- 34mm battens are too bendy for a job like this.

- Thicker in-fill panels make for stiffer/stronger panels. (I used 3mm ply for the carcass in-fills and 6mm for the doors - too bendy!)

- There is no such thing as a '5-minute job' :roll: :lol:

We lives and we learns!

Cheers.
Bryn :D
 

Latest posts

Back
Top