goldeneyedmonkey
Established Member
Hello all, been a member for quite a while now, and have never posted a W.I.P. I'm usually pretty busy so as this project was for my daughter's Christmas present I thought I'd make a bit more time and put a W.I.P together. Unfortunately I came down with a fever on the 2 days I'd put aside for doing it. So I did make a few mistakes along the way and didn't document the whole thing as much as I'd have liked. But here you go anyway, a ride-on 'plane for a 2 year old:
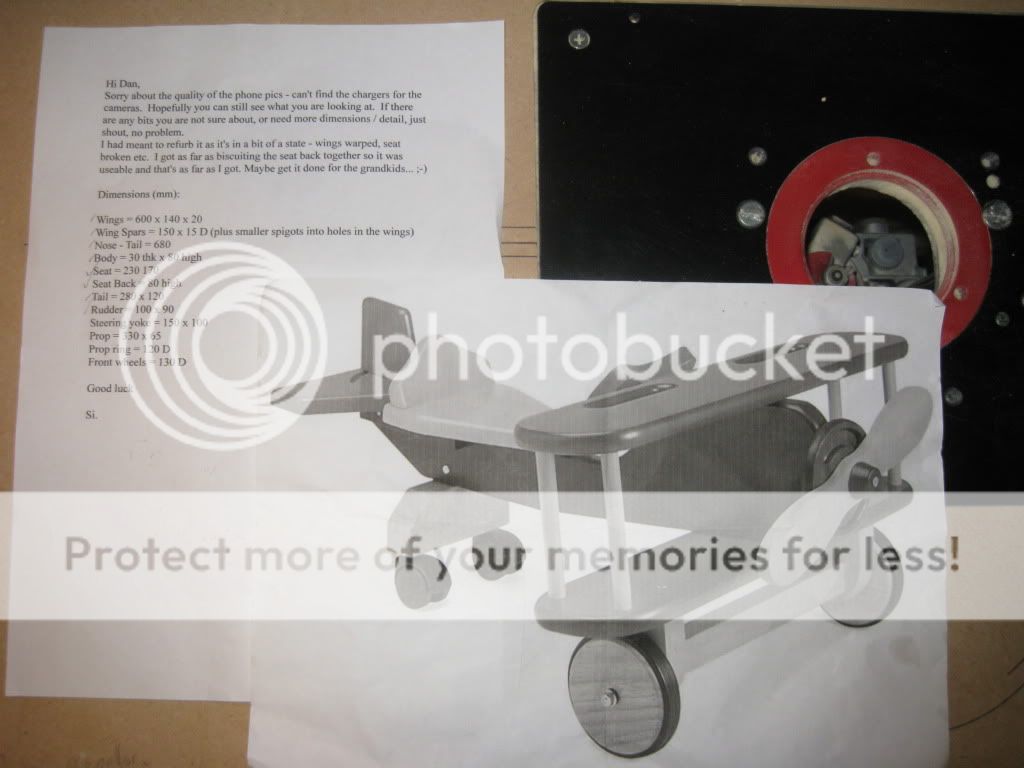
So we start with some dimensions that I aquired from another member on here (Cheers Si aka Knappers very kind of you to measure up for me!") ) and a rough guide to what it was going to look like in the end.
) and a rough guide to what it was going to look like in the end.
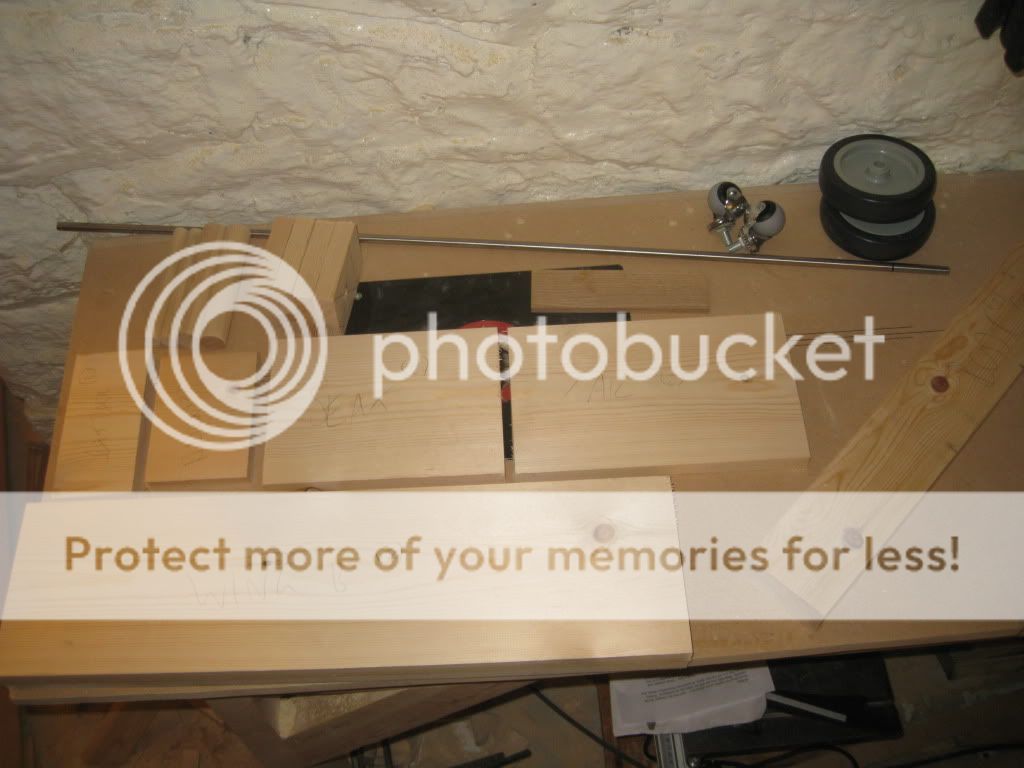
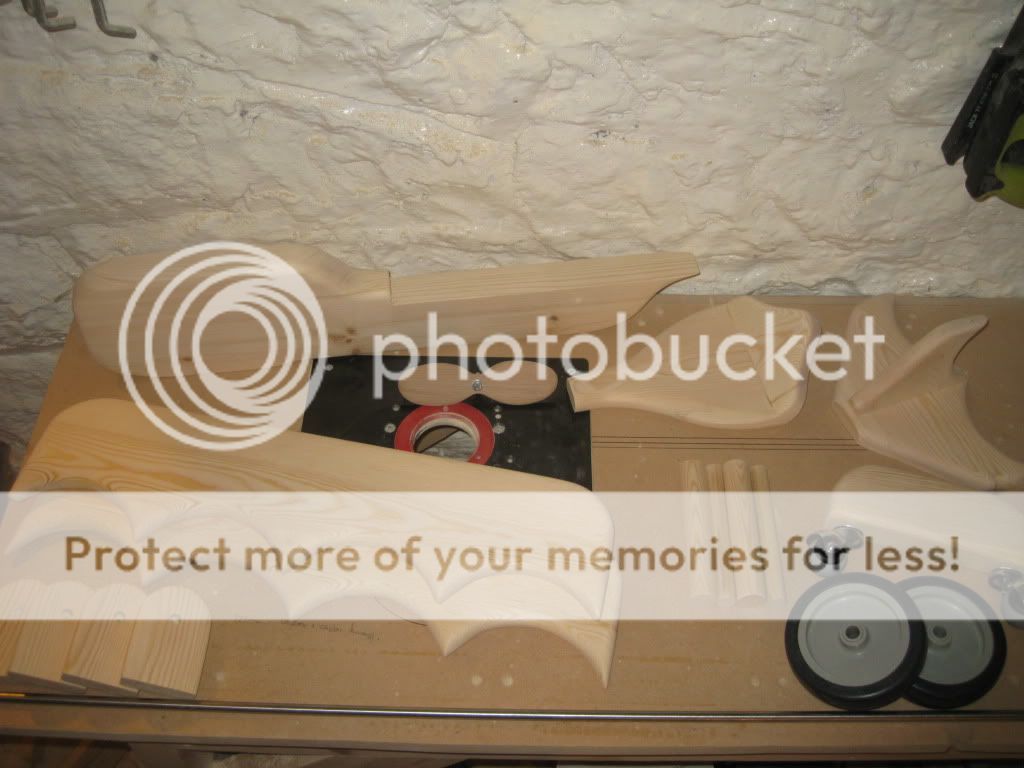
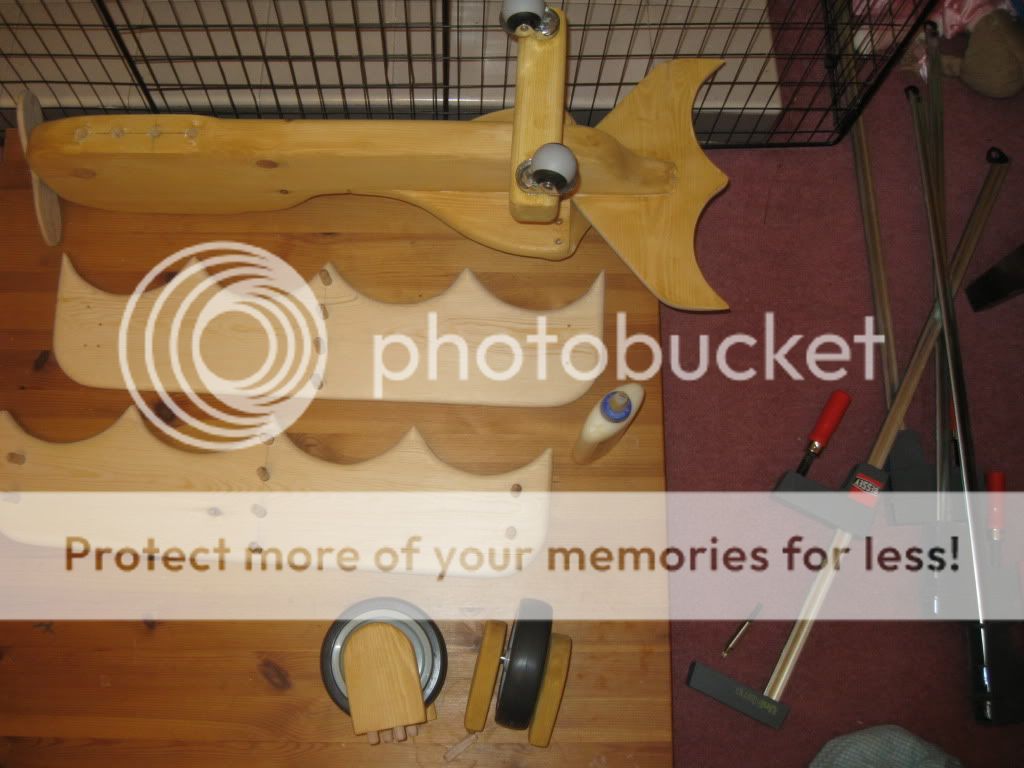
Then all parts cut & other elements like 10mm steel rod for the axles, non-marking rubber wheels for the front and fancy castors for the back.
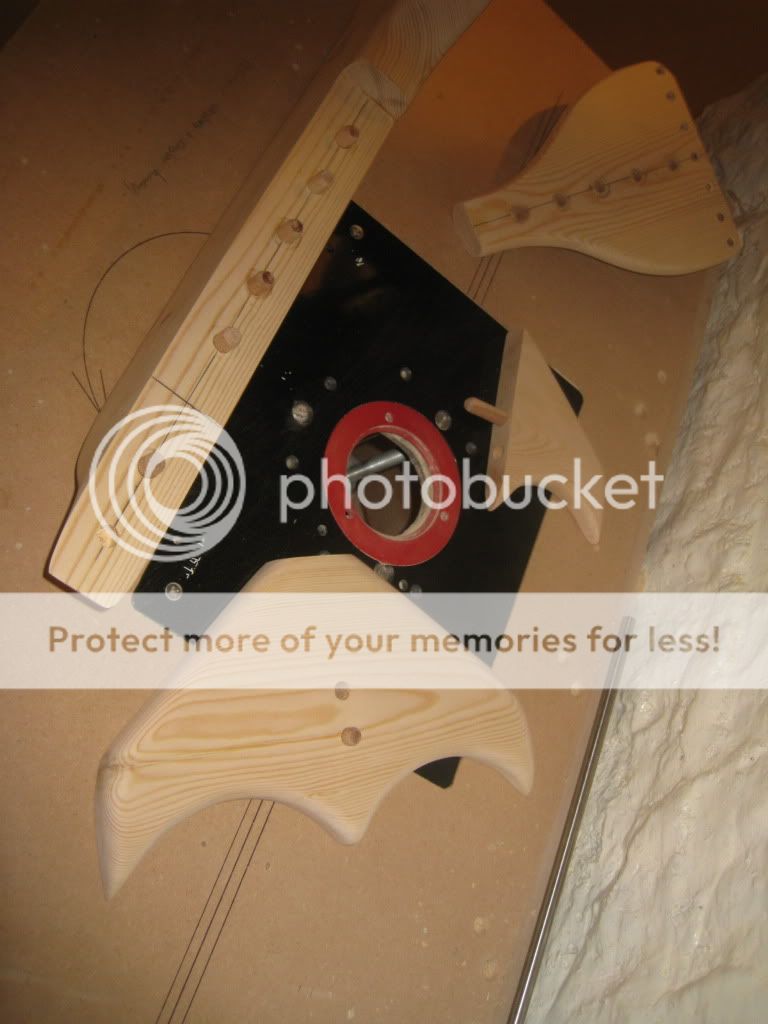
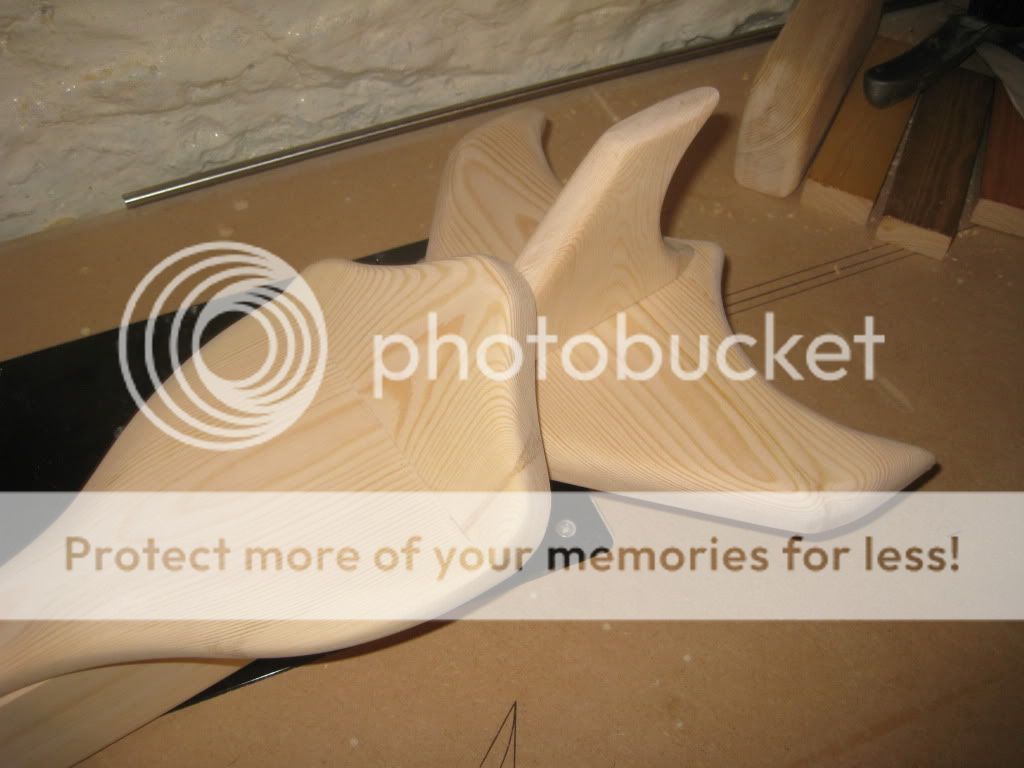
Then all pieces of timber (I've only used Pine this time 'cos it's cheap and light and also this is a prototype) next time I'd definitely use a hardwood and make all the pieces slightly smaller and thinner. After the initial shaping I moved onto the router table and gave all parts a quick round-over. Also it was a ball-ache to glue up without having anything showing, as I used dowels. I think for the most part next time I'll just glue and screw and then plug the screw holes. This would save a lot of time and meither and I don't think it would detract too much from the overall effect.
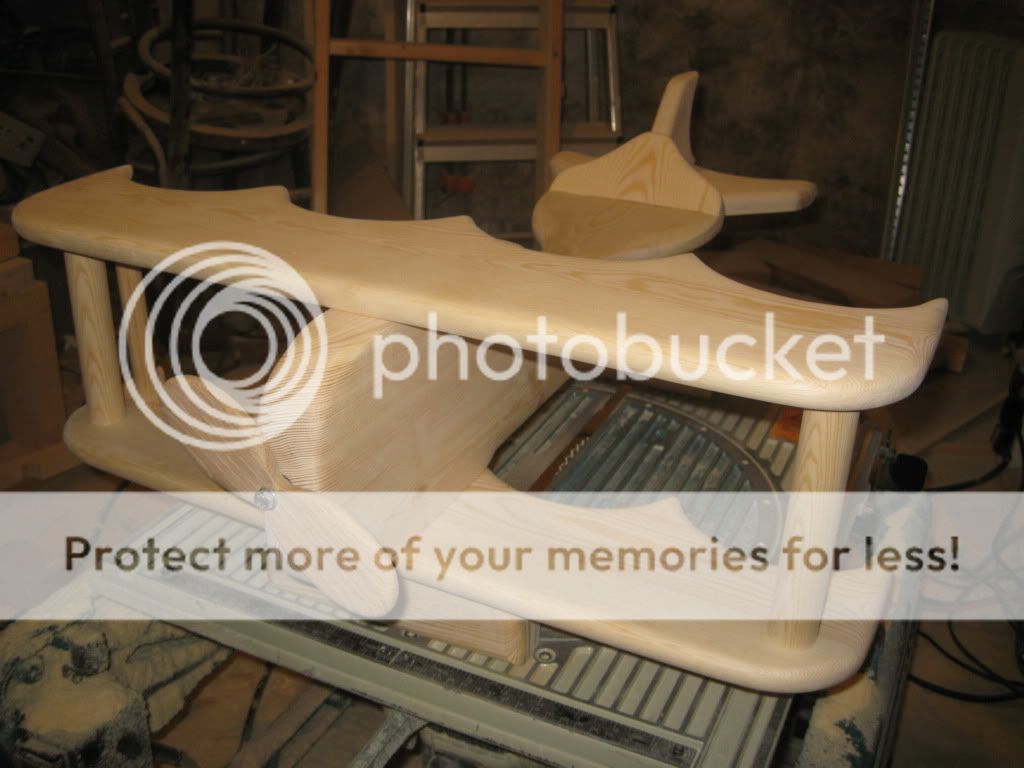
Then a quick dry-fit with all parts except both sets of wheels and the axles etc.
This is a picture of some of the dowelling that had to be done. (Sorry I missed out a fair few-pics of this part of the build, was starting to feel really s***e at this point!)
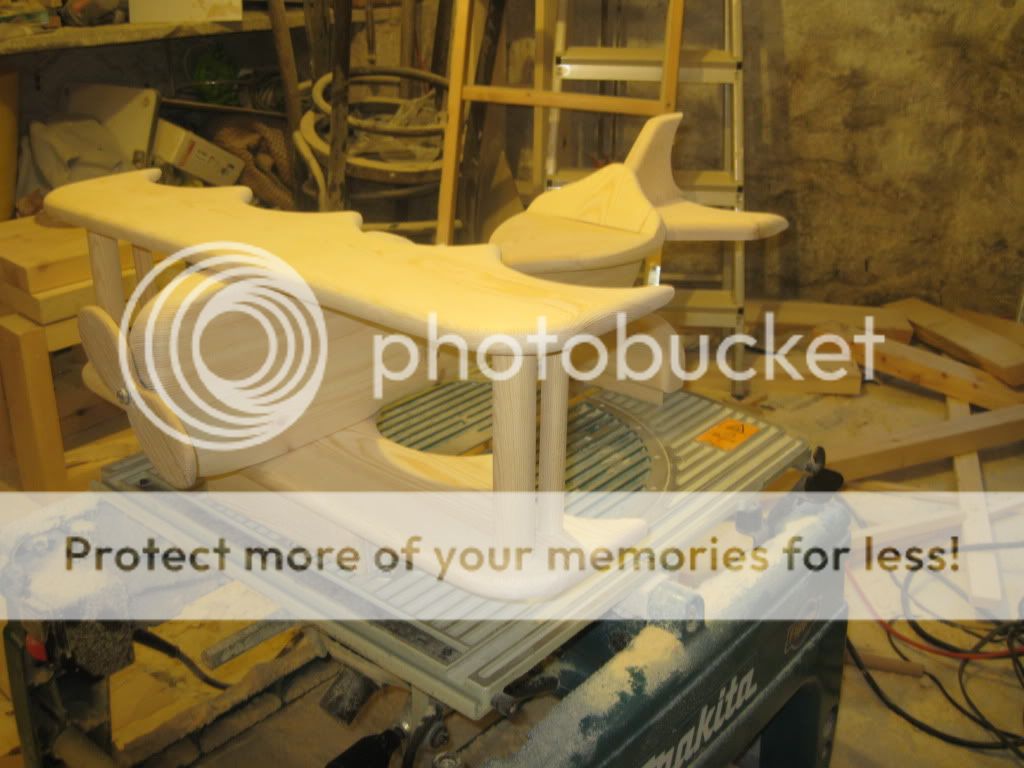
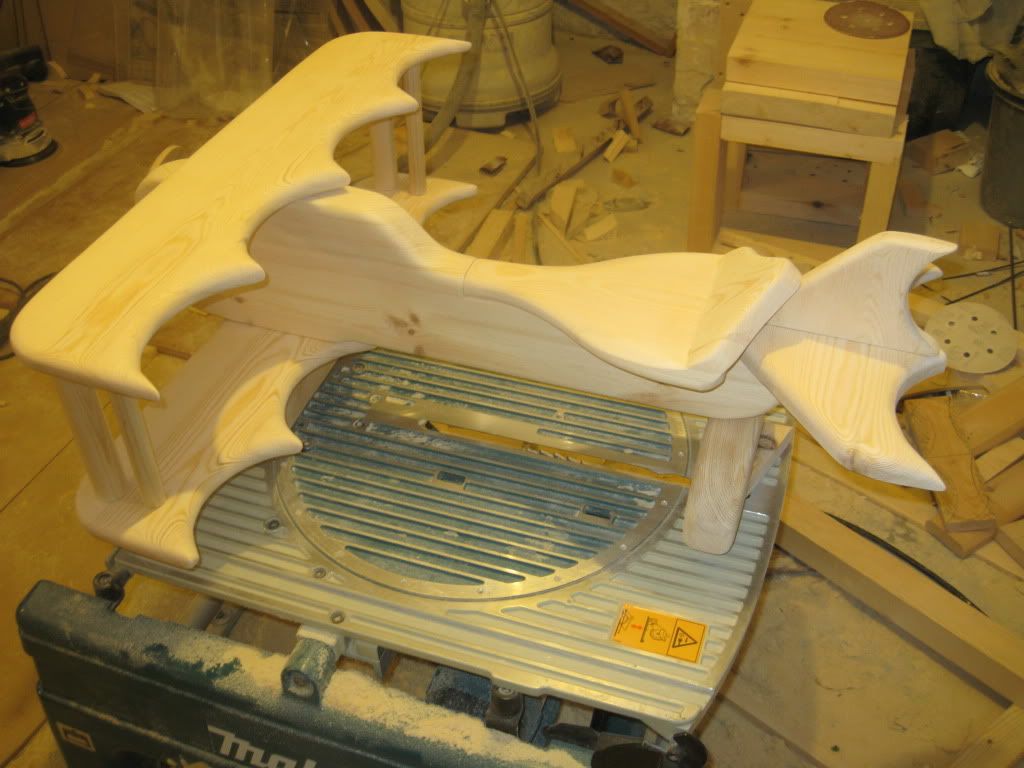
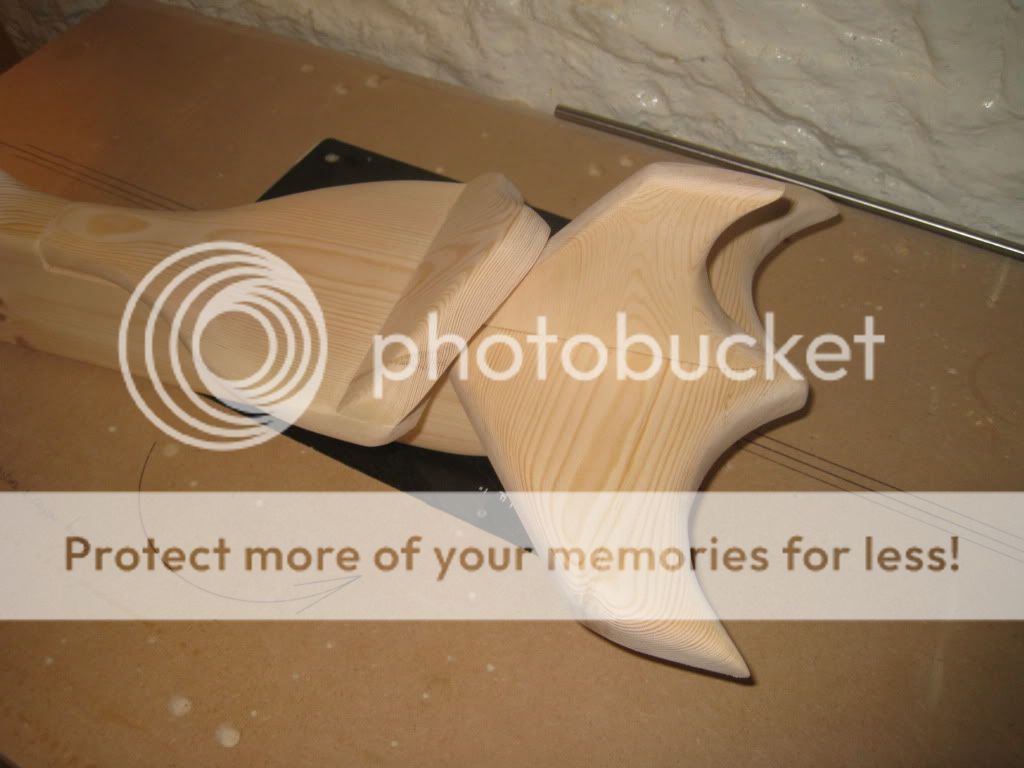
Dry-fit of the seat and tail:
Note to self (and anyone else, make the seat easier to attach to the main-body)
And if doing any staining finishing, probably best to do as much of this as possible first.
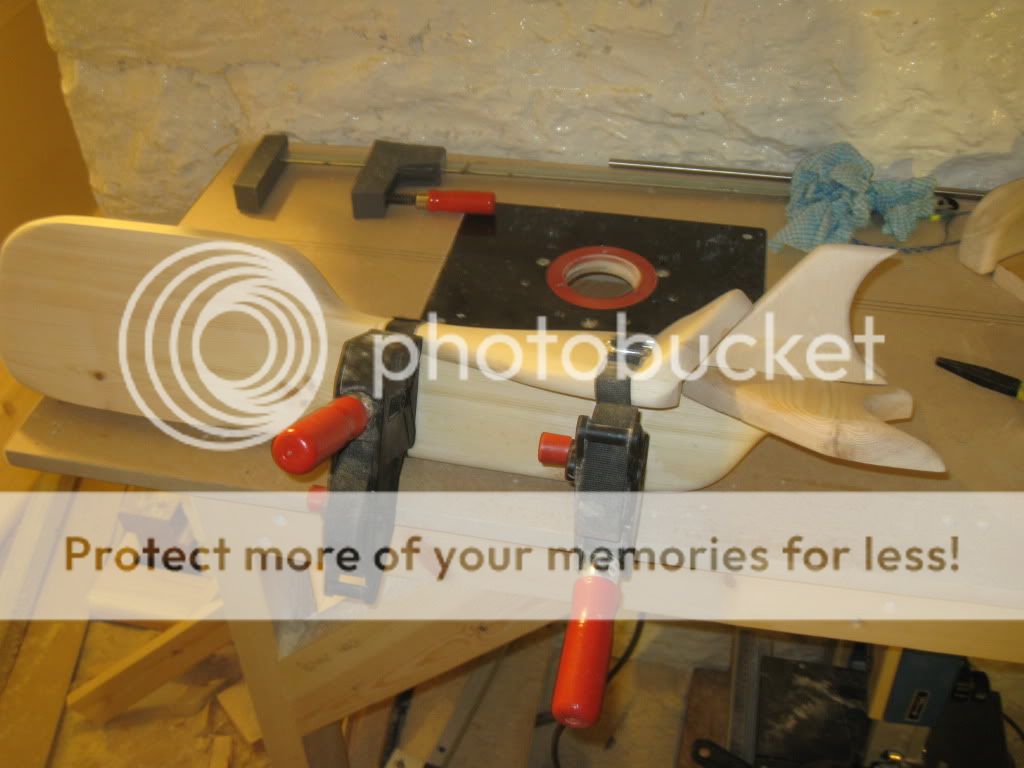
Used band clamps for attaching seat and tail to the main body. Titebond II used throughout.
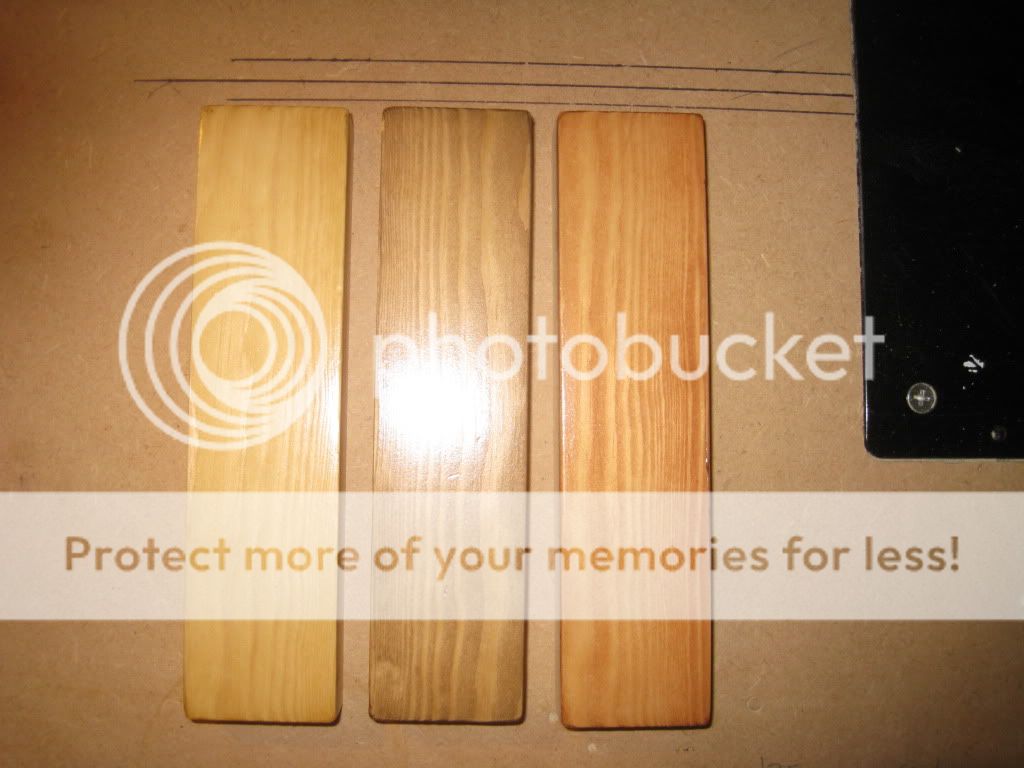
Choices of stain to be used for certain parts:
More dowelling and after some staining ready to glue up. Note that the tail is stained here, this is a mistake that I made and had to sand back, I also made a mistake on one of the front wheels, one hub is not exactly square and this really annoyed me. Working when ill seems like it's prone to many silly mistakes.
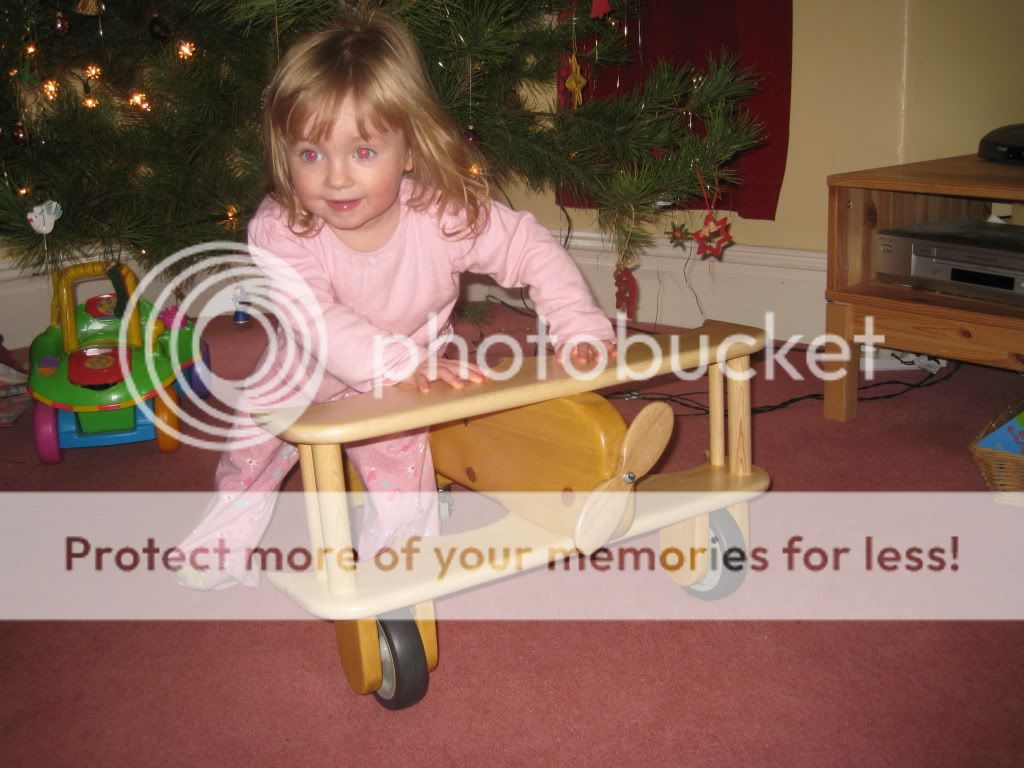
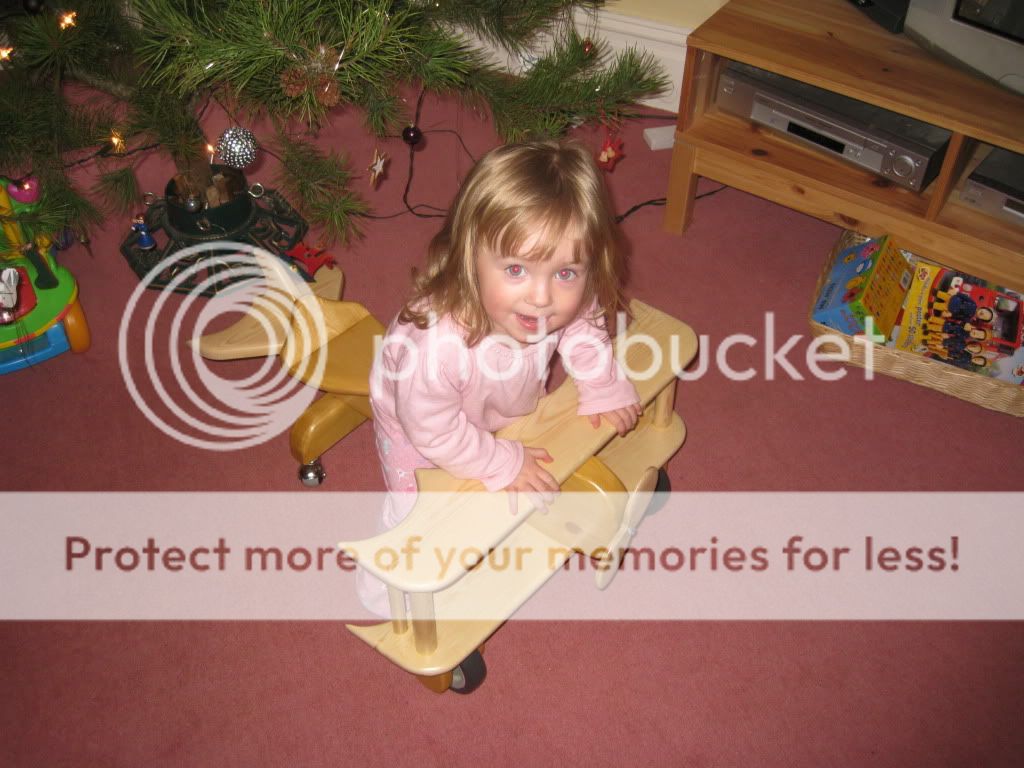
Finished article, after some staining and varnishing. Used Liberon Palette wood dye, and Diamond Tough Varnish intended for floors. Not reall sure about the colurs, I wanted to do a few pinstripes to accentuate certain parts of the shapes on the wings and tails. Black and Pink were to be the colours, but I had lost enough patience and time by this point!
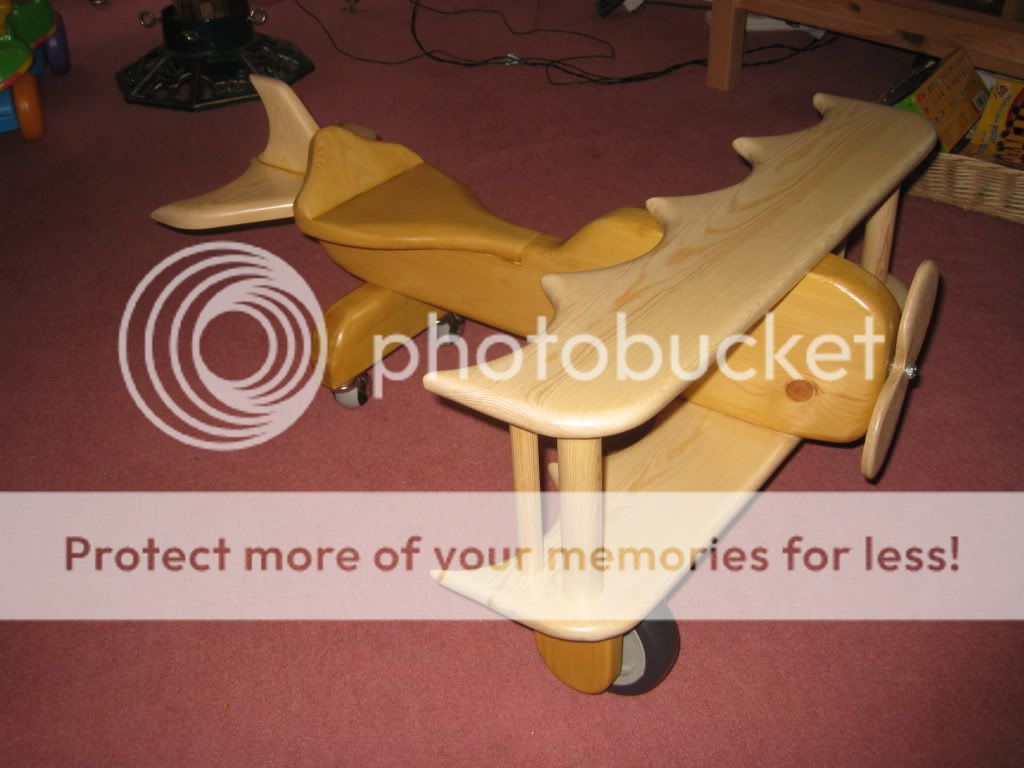
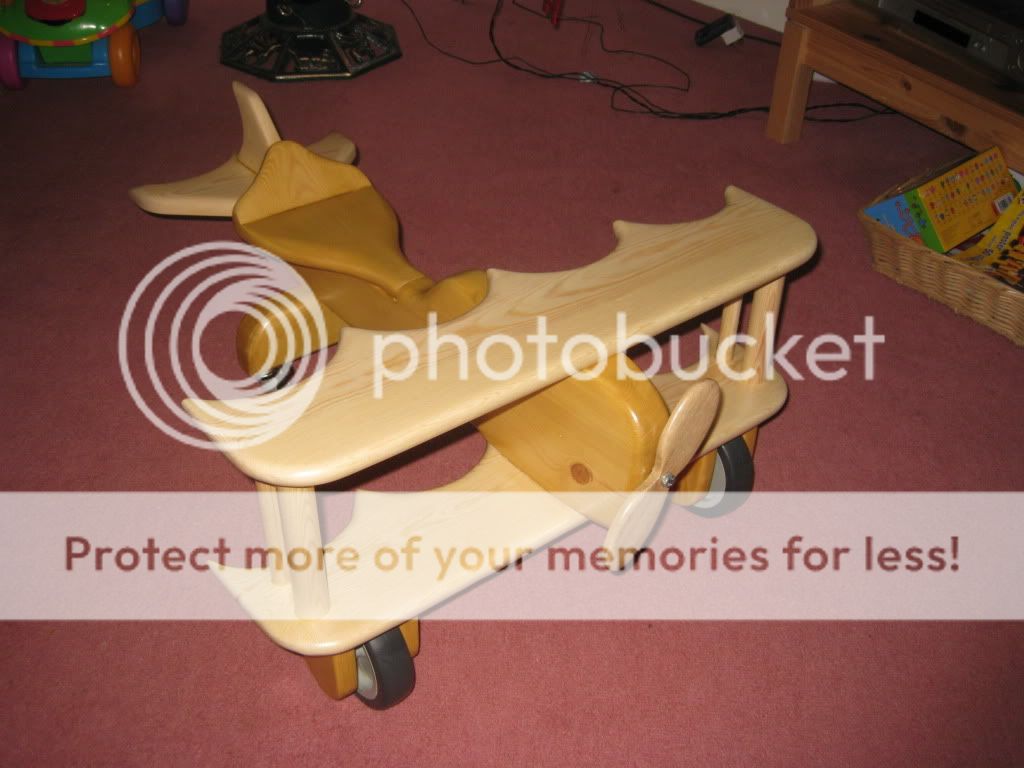
One happy customer It's surprisingly easy to move around. She absolutely loves it. Not bad for a prototype build me-thinks. Now onto the kitchen that I'm gonna make her!
Cheers for looking_Dan
So we start with some dimensions that I aquired from another member on here (Cheers Si aka Knappers very kind of you to measure up for me!
) and a rough guide to what it was going to look like in the end.
Then all parts cut & other elements like 10mm steel rod for the axles, non-marking rubber wheels for the front and fancy castors for the back.
Then all pieces of timber (I've only used Pine this time 'cos it's cheap and light and also this is a prototype) next time I'd definitely use a hardwood and make all the pieces slightly smaller and thinner. After the initial shaping I moved onto the router table and gave all parts a quick round-over. Also it was a ball-ache to glue up without having anything showing, as I used dowels. I think for the most part next time I'll just glue and screw and then plug the screw holes. This would save a lot of time and meither and I don't think it would detract too much from the overall effect.
Then a quick dry-fit with all parts except both sets of wheels and the axles etc.
This is a picture of some of the dowelling that had to be done. (Sorry I missed out a fair few-pics of this part of the build, was starting to feel really s***e at this point!)
Dry-fit of the seat and tail:
Note to self (and anyone else, make the seat easier to attach to the main-body)
And if doing any staining finishing, probably best to do as much of this as possible first.
Used band clamps for attaching seat and tail to the main body. Titebond II used throughout.
Choices of stain to be used for certain parts:
More dowelling and after some staining ready to glue up. Note that the tail is stained here, this is a mistake that I made and had to sand back, I also made a mistake on one of the front wheels, one hub is not exactly square and this really annoyed me. Working when ill seems like it's prone to many silly mistakes.
Finished article, after some staining and varnishing. Used Liberon Palette wood dye, and Diamond Tough Varnish intended for floors. Not reall sure about the colurs, I wanted to do a few pinstripes to accentuate certain parts of the shapes on the wings and tails. Black and Pink were to be the colours, but I had lost enough patience and time by this point!
One happy customer
It's surprisingly easy to move around. She absolutely loves it. Not bad for a prototype build me-thinks. Now onto the kitchen that I'm gonna make her!
Cheers for looking_Dan