February's Challenge, a Candlestick

UKworkshop.co.uk

Help Support UKworkshop.co.uk:

This site may earn a commission from merchant affiliate links, including eBay, Amazon, and others.
Status
Not open for further replies.
Hi all, please forgive my dodgey photos!
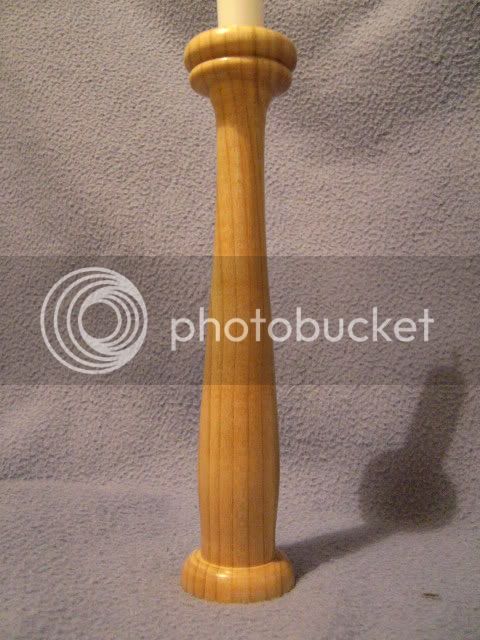
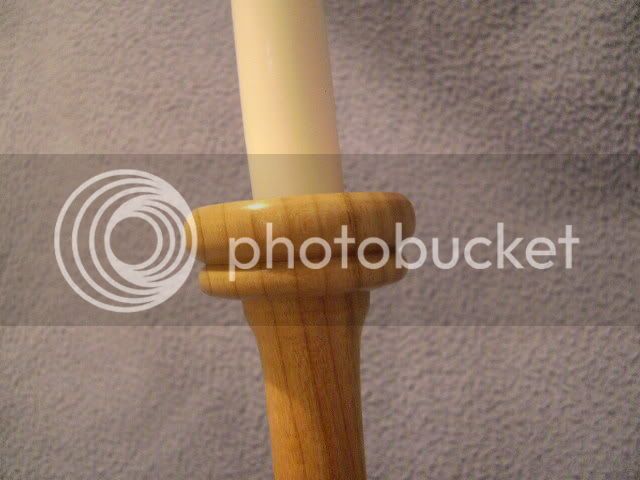
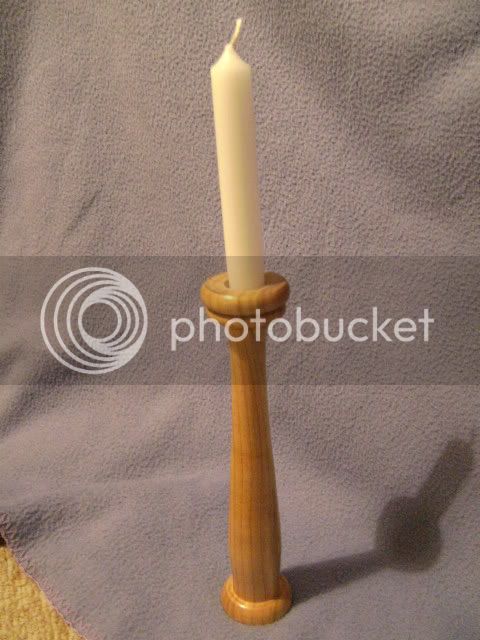
This is my entry for this month. (also my first candlestick, and first project with a skew.... bit scary, but check out my first ever beads!!! =D> )
It's made of cherry...... basically coz it will go in my living room.
It's just over 8.5" tall, sanded to 600, and finished with 3 coats of Lathe finishing oil.
A fairly simple entry, but i think it looks quite modern
I had a few problems doing this, as my drill press was too small to get the wood and drill bit under, and my lathe bed was too small too.... had to resort to a cordless!! :oops:
It's not perfect, but I love it and am really proud of it........
Yeeees, my second point!!!
PICT0749.jpg

PICT0751.jpg

PICT0756.jpg
 
Just scrapes 8", unknown wood, sanded to 1500grit and 5 coats of clear/light wax.
 

Attachments

  • x (Custom).JPG
    x (Custom).JPG
    40 KB
  • xx (Custom).jpg
    xx (Custom).jpg
    52.6 KB
  • xxx (Custom).JPG
    xxx (Custom).JPG
    42.3 KB
Made from an old oak gate post that was as hard as iron!

2" square at the base, 1.5" at the top, and 9 1/4" tall.

Finished with cellulose sanding sealer, friction polish, and microcrystalline wax,


Malc :D
 
Hi All,

Here is mine - made in Ash, approx 16" tall.
 

Attachments

  • CIMG1389.JPG
    CIMG1389.JPG
    88.6 KB
  • CIMG1388.JPG
    CIMG1388.JPG
    77.5 KB
  • CIMG1391.JPG
    CIMG1391.JPG
    105.3 KB
This is my candlestick it is made out of olive ash and ash it is 8 1/2" tall
it is finished with sanding sealer and microcrystalline wax and gold gilt cream
It is an ornament and a candlestick when you need one

100_3212.jpg


100_3210.jpg


100_3217.jpg
 
This is a candle 'holder', although it does have a 'stick' like thingy up the middle.

We were watching The Day of the Triffids again and the wife said "they can't hold a candle to that plant in the 'Little shop of horrors' - BOING!!!

The wood is Robinia which is extremely yellow. This made getting the colours how I wanted them a bit tricky as I had to compensate for the tint all the time. As this was the first time I have used the Chestnut spirit stains it made for slight nervousness. Very thinned and build up was the name of the game. In the end, I'm quite pleased with the colour. Once the stain was dry it has a brushed lacquer coat to seal.

Its just over 8" tall and 4" wide to the edge of the leaves.

Leaves just cut out with a coping saw and the Dremel did the shaping and texturing.

The wood is amazingly hard and strong. We only cut the tree down two months ago! Its already very dry and blunts tools very quickly. The coping saw had a bit of trouble er... coping.

I like the way the candles makes the light flicker through the leaves!

My wife thinks its a bit wierd so it suits me then.
 

Attachments

  • With candle.jpg
    With candle.jpg
    85 KB
  • View of leaves.jpg
    View of leaves.jpg
    174 KB
  • Side view.jpg
    Side view.jpg
    139.1 KB
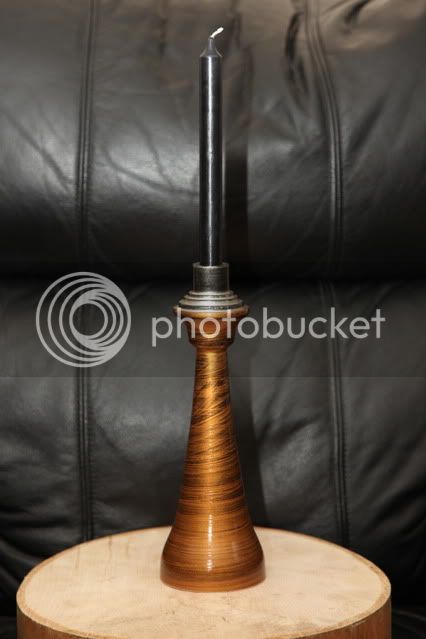
My entry for the Candlestick challenge :mrgreen:

Sycamore 12" tall x 4" wide at the base ( excluding the candle )

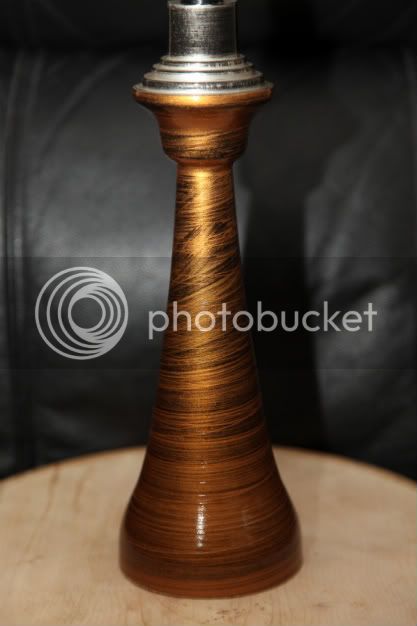
A mix of straight and flowing curves

Deliberately heavy at the base to give it stability

Turned and sanded to 400 grit

3 coats of black Ebonising spray left to dry between coats

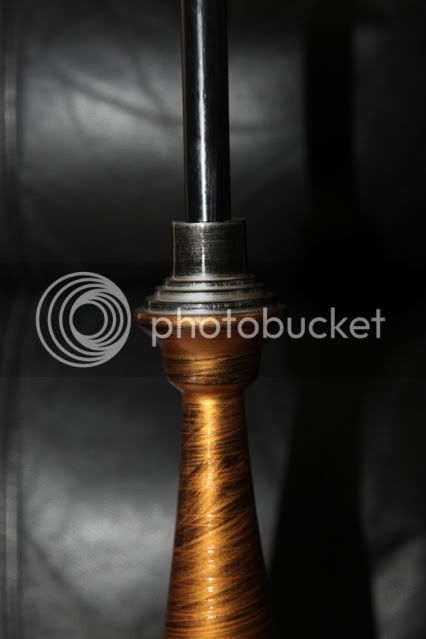
The some random spiral texturing with a Sorby texturing wheel just to score the surface of the spray

Mix up some Gold guilt cream with Organ oil to a loose slurry and wipe on leaving a spiral affect

Same with the Silver on the top part

Dry on the lathe on slowest speed with a halogen heater

Then 2 coats of Acrylic Gloss Spray , dried between coats with the heater

and I ended up with this :lol:

IMG_0786-1.jpg

.
IMG_0787-1.jpg

.
IMG_0789-1.jpg


:D
 
Here is my entry for the candlestick competition.
Height 300mm.
Width at base 70mm.
Turned in beech, finished in black spray lacquer. Textured with Proxxon fitted with mini Arbotech blade. Liberon gilt cream applied to textured areas.
(Misty area on base is reflection of the background material and isn`t present on the candlestick).

Ian
 

Attachments

  • candlestick2.jpg
    candlestick2.jpg
    181.7 KB
  • candlestick3.jpg
    candlestick3.jpg
    164.9 KB
  • candlestick.jpg
    candlestick.jpg
    137.8 KB
My effort:-

Oak throughout, made in two pieces.
5" Diagonally at base, 3.5" diameter at top.
15" Tall.
Sanded to 400, approx. two coats of spirit sanding sealer, burnished then beeswax hand buffed.
Tools used... all of them one place or another.

full.JPG


top.JPG


base.JPG
 

Attachments

  • full.JPG
    full.JPG
    55 KB
  • base.JPG
    base.JPG
    49.8 KB
  • top.JPG
    top.JPG
    63.3 KB
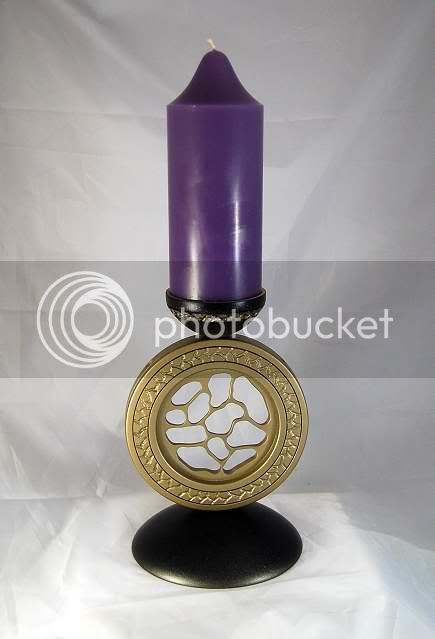
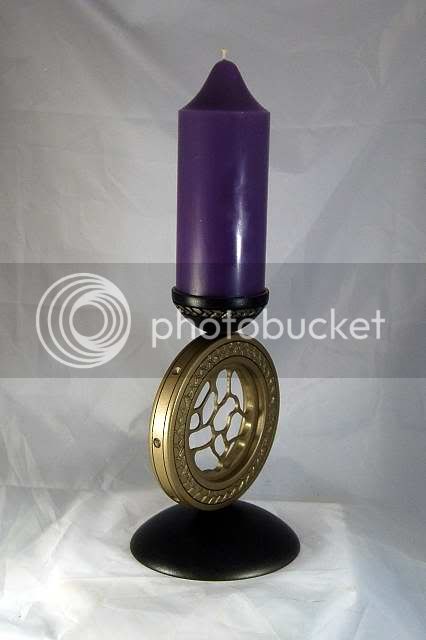
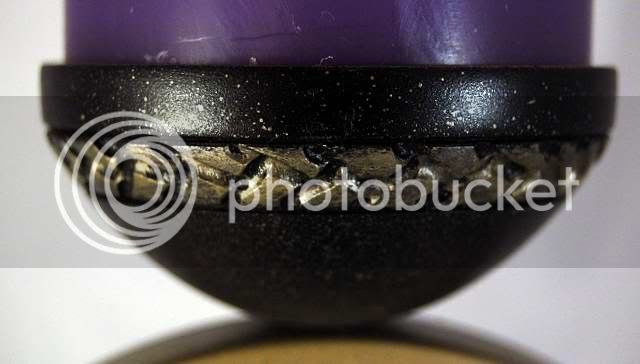
My candlestick is made from 3 pieces of sycamore. It is 9" tall and the disk is 6" wide. Its carved and pierced and coloured with acrylics. The black base and top have been dusted in gold and the gold band around the top is painted in such a way to give an old worn look.

candlestick001.jpg

candlestick003.jpg

candlestick004.jpg


Johnny
 
I bought a lovely bit of white oak many moons ago (3.5 x 2" x 8") and have been wondering what I could do with it which would do justice to the amazing figuring in the wood. Then along came the challenge. Turning it into a cylinder would have lost a lot of the wood which seemed to be a crime so I decided to do some offset turning and make a sort of oval. This is the first time I've ever tried this and to be fair it took my Perform to the limits of what seemed sensible :) I marked the centre line and then offset from that by around 10 mm (I think) and cut each side of the profile seperatly. As such I was turning air for a good section of each rotation which was fun.

This is also the first proper skew work that I've done. I set myself the challenge that as soon as I'd got it "round" with the bowl gouge (strength) I had to do everything else with the skew. Sanding was also fun :) Once the first side was done I same offset from the centre line was used the other way and the second face was turned. This proved t be the hardest part - not only was the degree of out of balance even worse now getting a straight line between the two sides was hard with any imperfection resulting in a horrid wiggle in the interfacing line.

The top and bottom are two bowls turned, finished and then cut. Getting the top to an even 3mm and the bottom to 4mm was hard but very satisfying. The top and bottom are elm.

Finish = sand to 320, buff and carnuba wax.

Hope you like it as much as I do - doing the design bit without any assistance from you guys and girls was hard as heck but I got what I wanted at the start which I'm pretty proud of.

Miles


Status
Not open for further replies.

Latest posts

Back
Top