HappyHacker
Established Member
Advice and guidance please on my current project.
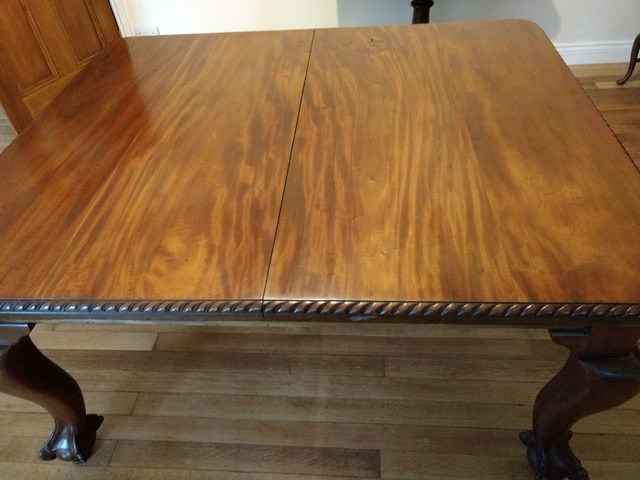
I am trying to make two inserts for this table which is four foot wide.


I have bought an old mahogany table which has provided the wood.

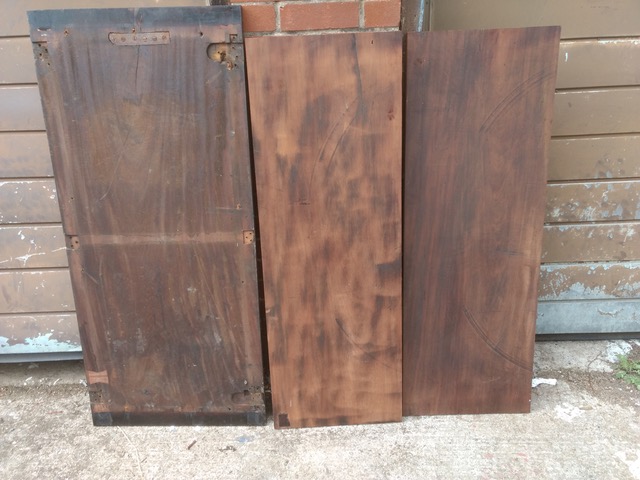
Front of boards with right two cut down and roughly sanded. Left hand board is still in original condition.

Back of boards
Unfortunately there is a split on one of the pieces approx 1mm wide at the edge.

Do I try to close it up, fill with sawdust to try and disguise it or make it a bit of a feature with clear resin filler?
If I go for close it up

Clamped with edging end grain strip at top.
it will still be visible but not too obvious . To match the existing top I need to add a piece of endgrain underneath along the edge. This will not provide any strength so i would need another piece long-grain about 2” wide behind, screwed and glued by the crack and screwed to allow movement at the edges of the top. If I glue over a 6” length by the crack will this provide adequate strength to stop the crack opening, would I be better putting an inlaid butterfly patch in the bottom as well as the long grain backer strip?
Finally; how would I go about carving the edge?

It is a 1/2 in radius and I have a round over bit that can cut the profile. The individual details are an inch apart and have a slight curve, slightly flatter than a No7 sweep. I may put this detail off for a few years, depends on how the managements other projects go.
Thanks in advance for any suggestions.
Kevin
I am trying to make two inserts for this table which is four foot wide.


I have bought an old mahogany table which has provided the wood.

Front of boards with right two cut down and roughly sanded. Left hand board is still in original condition.

Back of boards
Unfortunately there is a split on one of the pieces approx 1mm wide at the edge.

Do I try to close it up, fill with sawdust to try and disguise it or make it a bit of a feature with clear resin filler?
If I go for close it up

Clamped with edging end grain strip at top.
it will still be visible but not too obvious . To match the existing top I need to add a piece of endgrain underneath along the edge. This will not provide any strength so i would need another piece long-grain about 2” wide behind, screwed and glued by the crack and screwed to allow movement at the edges of the top. If I glue over a 6” length by the crack will this provide adequate strength to stop the crack opening, would I be better putting an inlaid butterfly patch in the bottom as well as the long grain backer strip?
Finally; how would I go about carving the edge?

It is a 1/2 in radius and I have a round over bit that can cut the profile. The individual details are an inch apart and have a slight curve, slightly flatter than a No7 sweep. I may put this detail off for a few years, depends on how the managements other projects go.
Thanks in advance for any suggestions.
Kevin
Attachments
-
 IMG_20190723_214841093.jpeg64.3 KB
 -
 IMG_20190613_124306041.jpeg74.3 KB
 -
 IMG_20190614_132618159.jpeg108.1 KB
 -
 IMG_20190723_213657688.jpeg60.8 KB
 -
 IMG_20190720_183001581.jpeg83.9 KB
 -
 IMG_20190723_214841093.jpeg64.3 KB
 -
 IMG_20190723_214734624.jpeg66.6 KB
 -
 IMG_20190723_213657688.jpeg60.8 KB
 -
 IMG_20190720_182923688.jpeg78.9 KB


