Even more oak!

UKworkshop.co.uk

Help Support UKworkshop.co.uk:

This site may earn a commission from merchant affiliate links, including eBay, Amazon, and others.

mailee

Established Member
Joined
26 Jun 2005
Messages
5,502
Reaction score
4
Location
grimsby Humberside
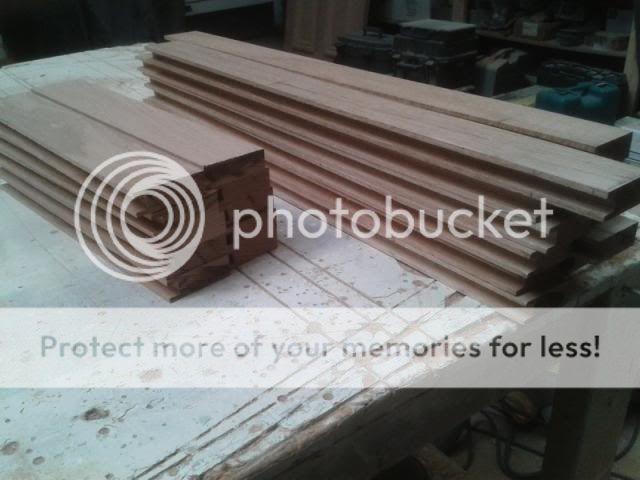
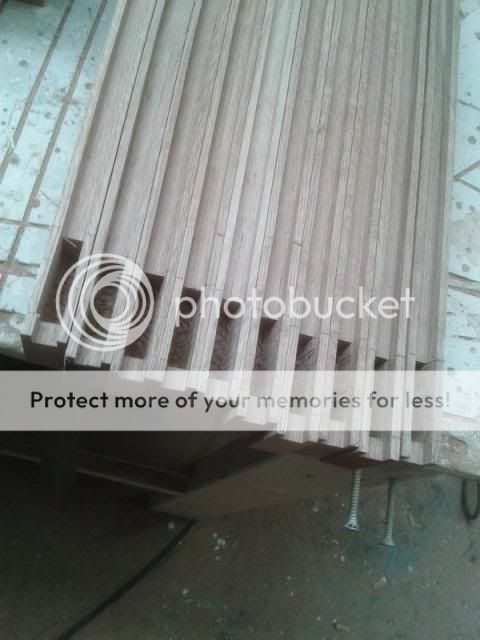
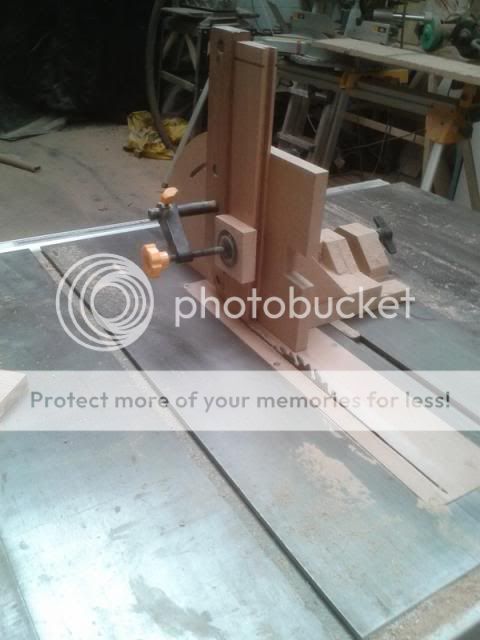
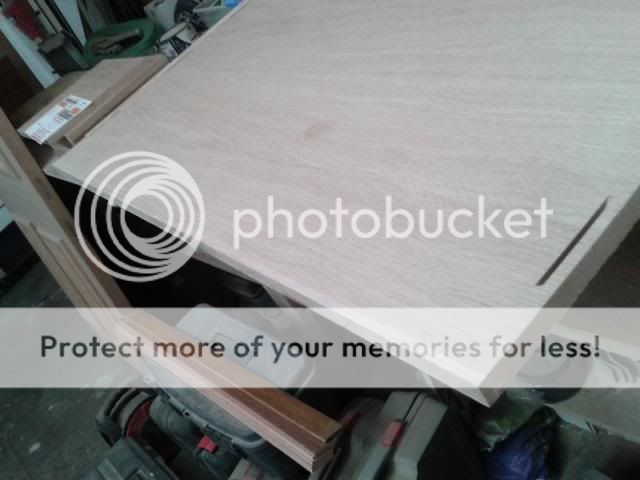
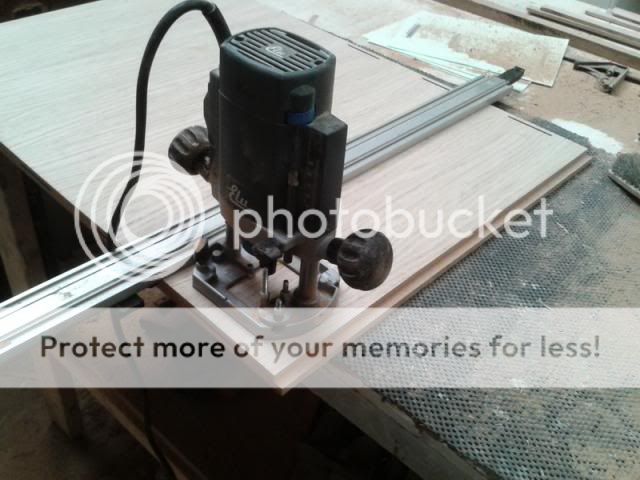
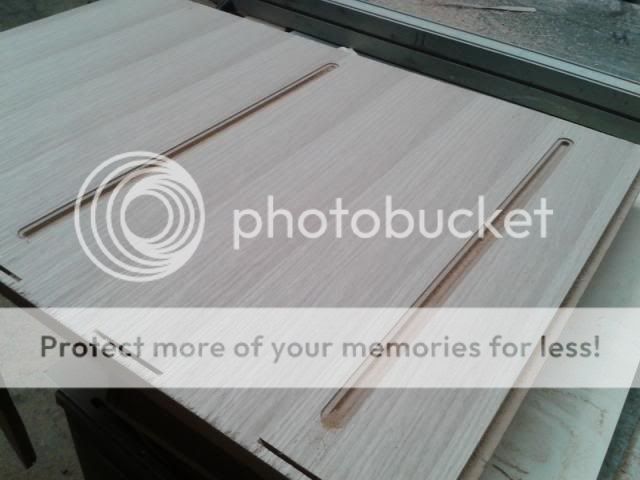
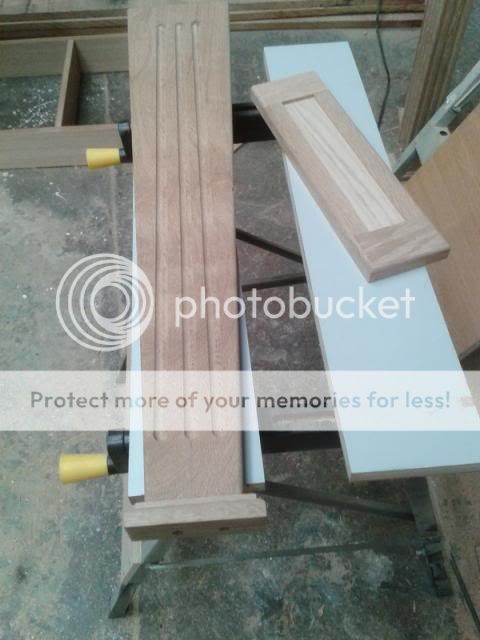
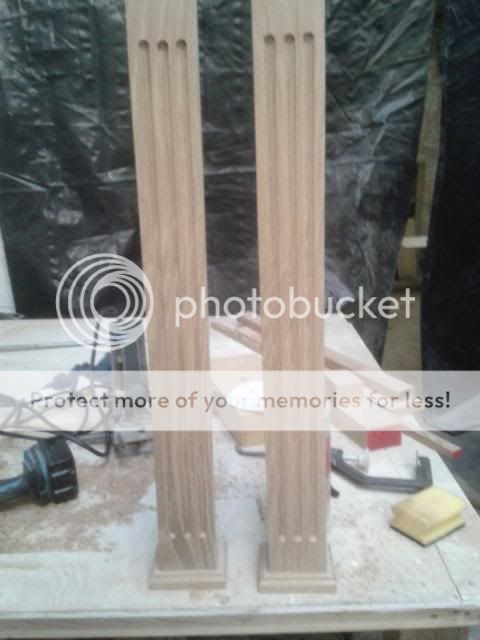
Well with the table and aquarium cabinet finished and not being one to sit on my laurels I started my next commission today. Surprisingly enough it is more AWO units too. :D This one is for a run of low cabinets into a corner and on the opposite wall a tall thin book case to fit into an alcove. on the same wall past a doorway a tall cupboard with adjustable shelves. I started by making some of the mouldings that will separate the units. After cutting and machining some 2" oak I rigged a jig on the bench to cut some flutes.
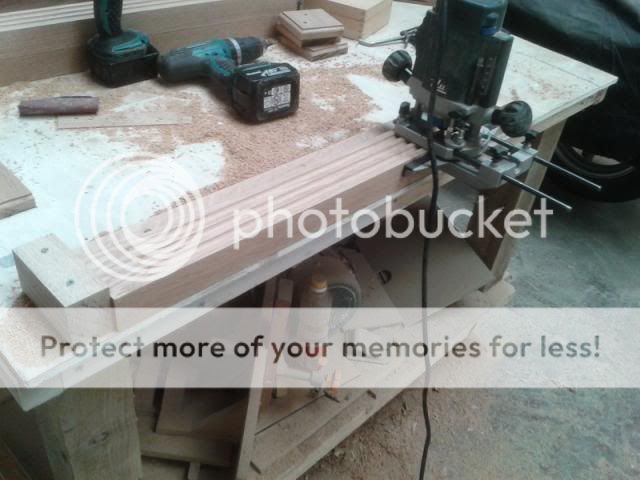
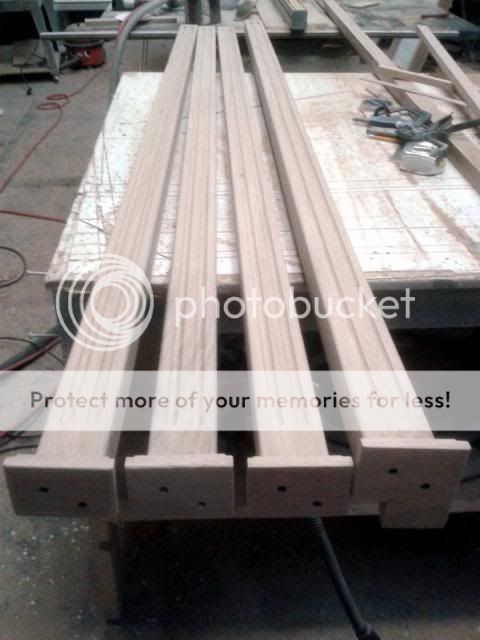
I had four to make and the jig made easy work of them.
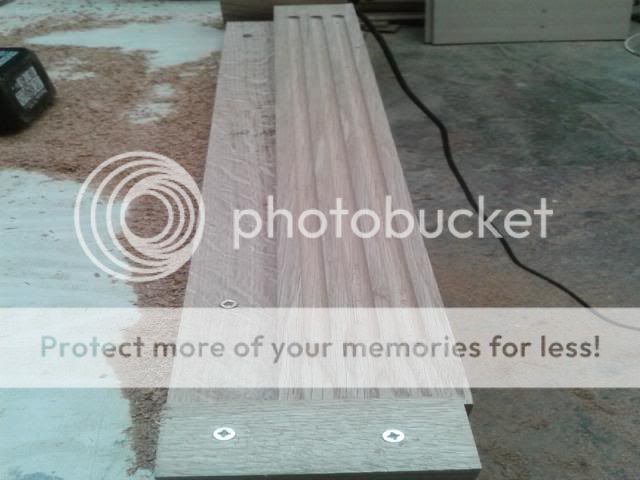
I then cut some squares of 1" to make the feet of the columns. I screwed them to the bench and then ran around them with the router.
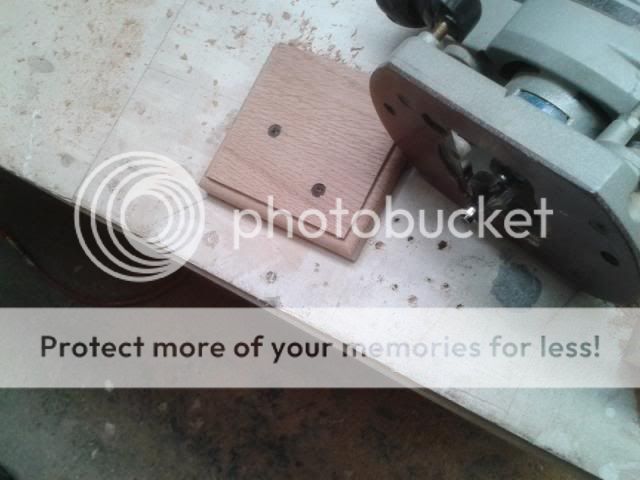
I then attached them to the bottom of each column with glue and screws to complete them.
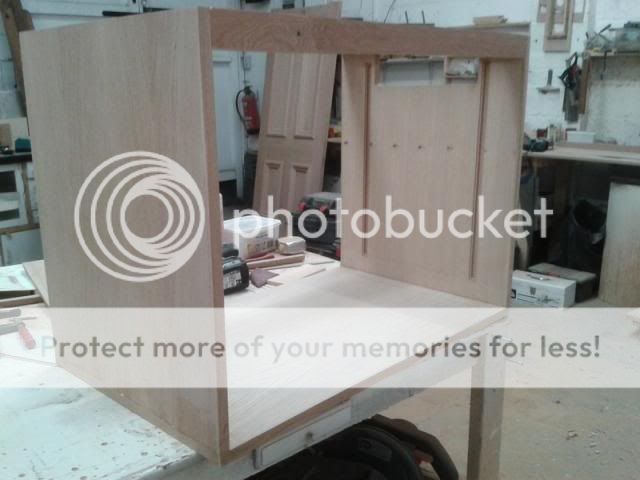
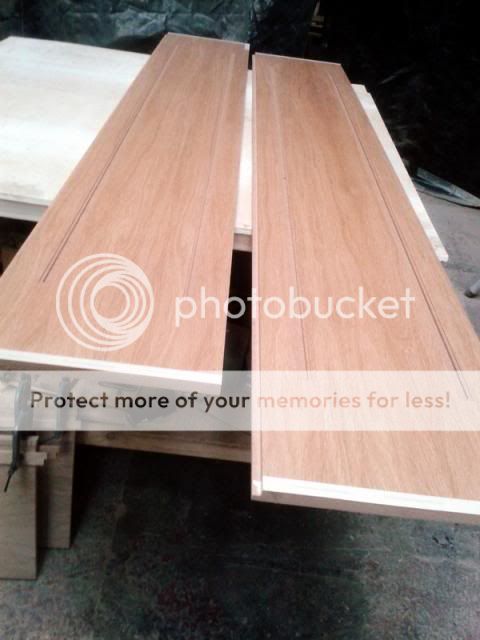
I also got the sides of the cabinets cut out of some veneered MDF before calling it a day.
 
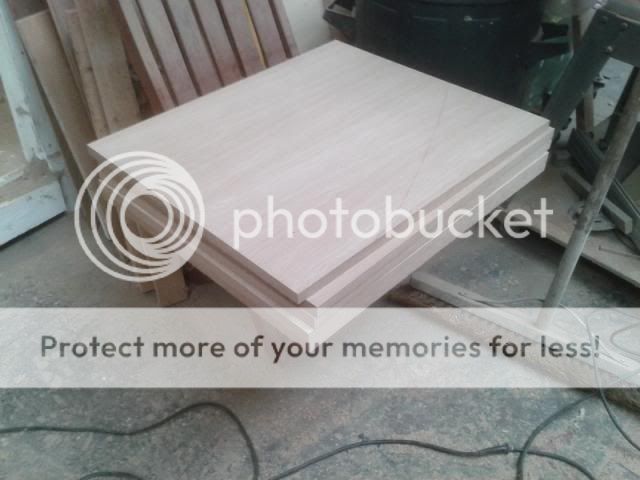
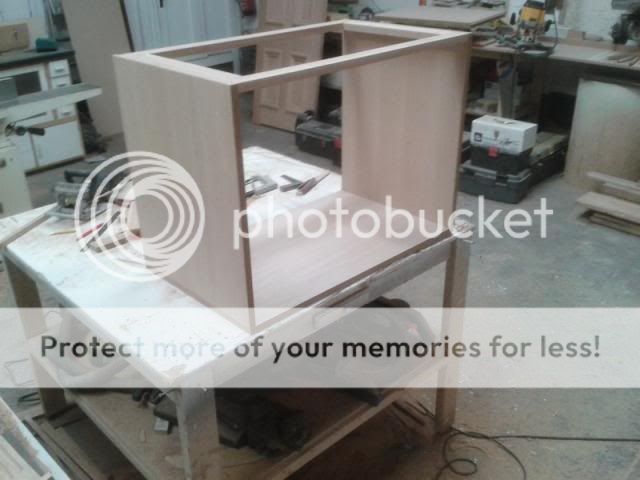
Today after delivering the Aquarium cabinet I got stuck in on the carcasses which are Veneered MDF. I got all the sides and bottoms cut first.

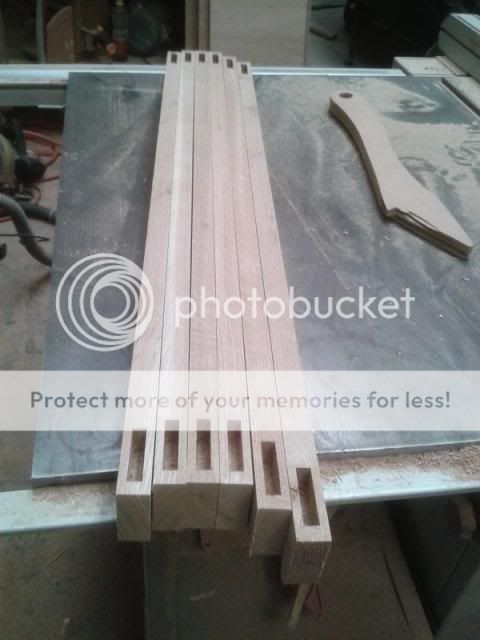
Then machined some oak for the top frames and busied myself cutting mortices.

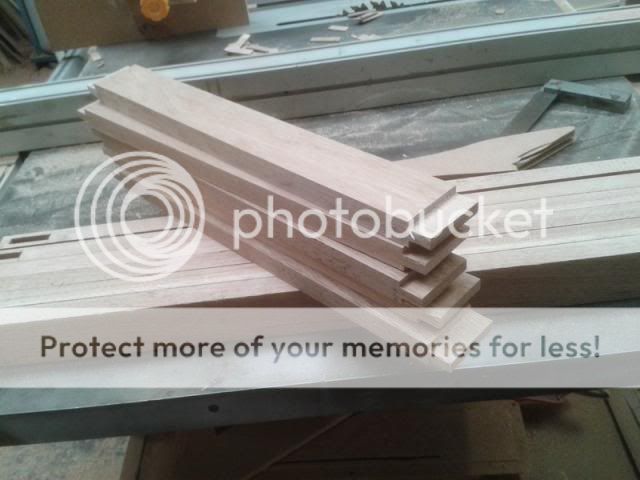
Next on the to do list was the tennons which I cut on the table saw with my jig.

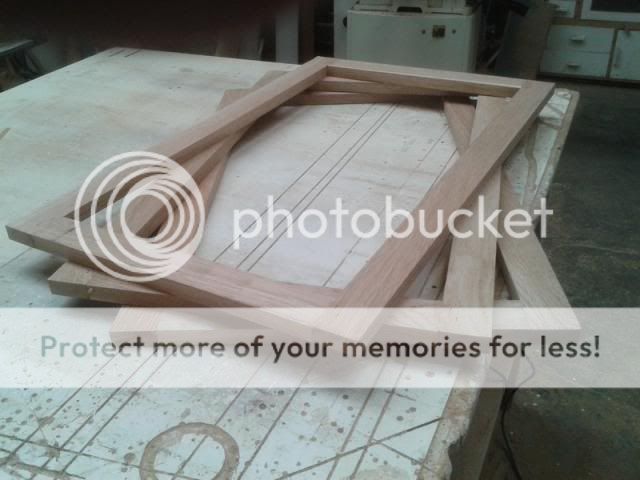
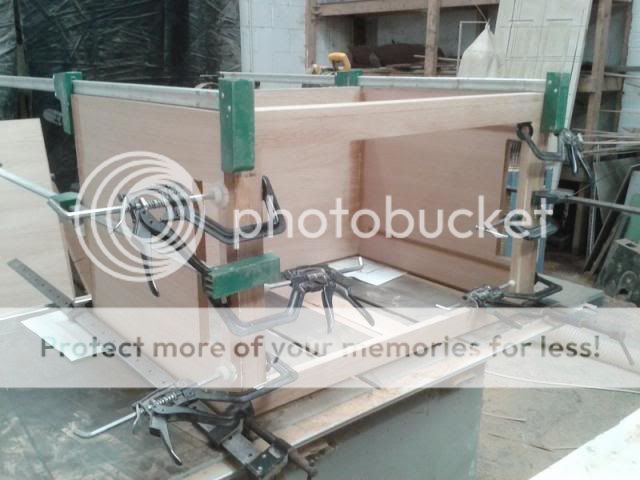
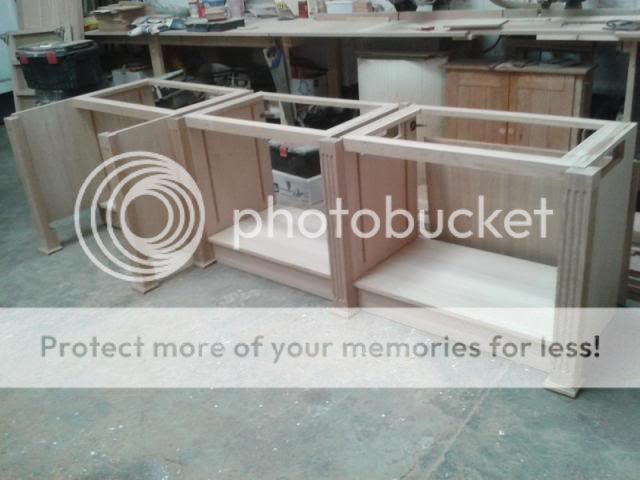
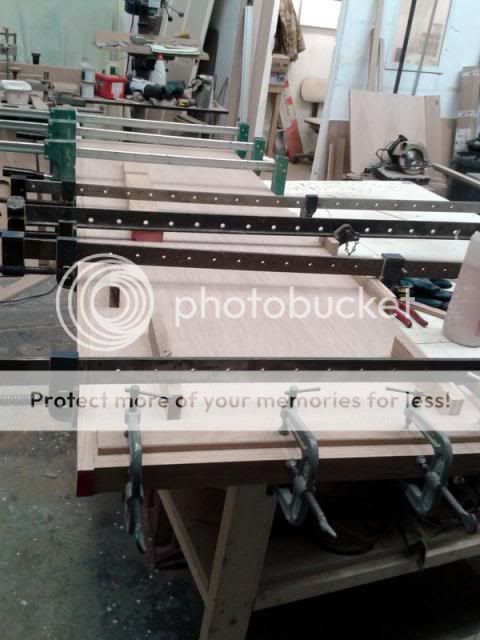
Out came the clamps and glue and all of the frames went together.

I then cut biscuit slots for the connection method and had a dry fit of them.

I couldn't glue them up yet as I am waiting for delivery of some book case strips to inlay in the sides. (Not to mention a router cutter for them too) :roll:
 
Hi Mailee - brilliant stuff!!
How do you work out the design/material requirement and layout etc for your projects? Are they customer supplied, or do you work them from initial consultations and/or sketches?
John
 
Thanks John. After getting an idea of what the customer wants I make some drawings in Sketchup. Using Sketchup I then work out a list of materials I will need for the build then work out a price from this. I will then present the drawings to the customer and if there are no changes to be made I take a deposit and give them a time scale. I have tried using Cut list in Sketchup but couldn't get my head around it to sort out the layout.
 
I made a start on the doors for the units today. I had already machined up the wood for them so set about cutting a groove for the panels with the table saw.

Then cut the mortices in the stiles.

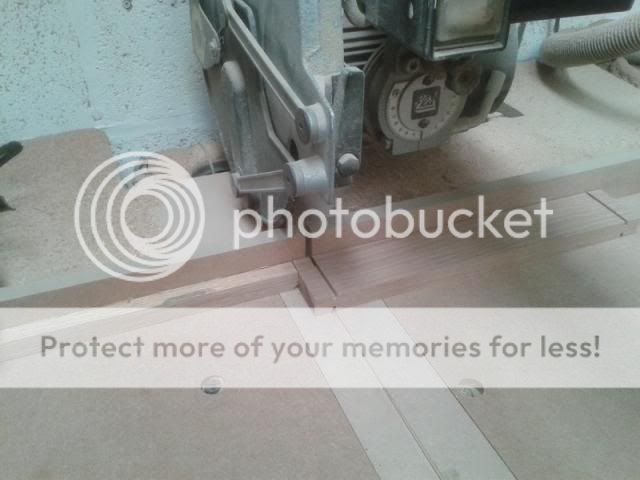
I set up the RAS to cut the lines for the Cheeks of the tennons.

The tennons were then cut using my jig on the table saw.

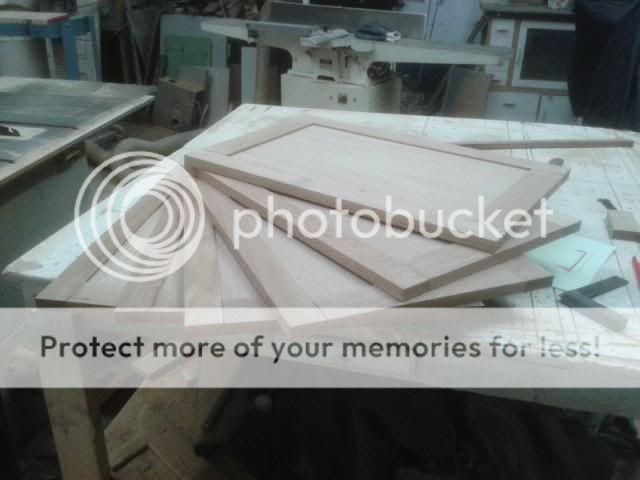
After sanding all the parts I put them in the clamps and had a glue up. In the mean time I cut out some parts for the tall book case that will go with these units. I finally took the doors out of the clamps and trimmed them ensuring they were square.

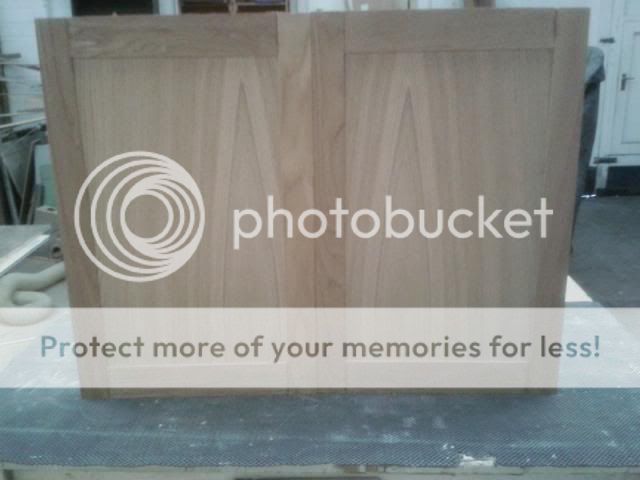
Eventually I had all six doors finished ready for sanding.

I now have the Tonk strips so will get the grooves cut for them tomorrow then I can put a finish on the interiors before assembling them. :D
 
Just wanted to say thanks for the WIP posts you have made, lots learned and and a level of production for a newbie to aspire too!!

Thanks,

Dean
 
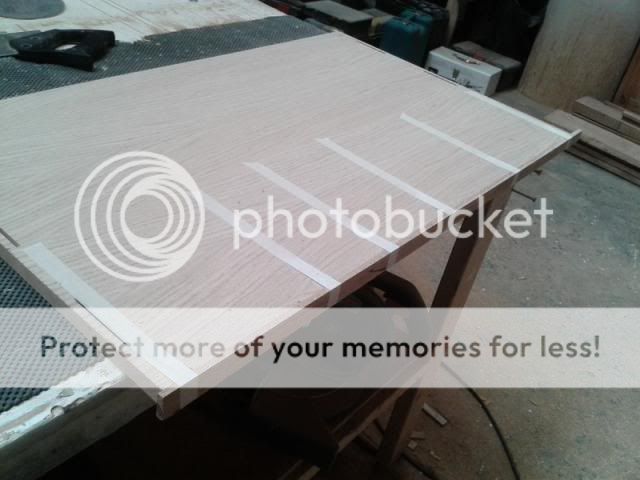
Thanks guys and I am glad you are enjoying it Dean. Got to admit I am also enjoying this build. I started the morning by adding the lipping to the edges of the panels. (Which I almost forgot!) :roll:

When it had set I trimmed them flush with the router.

Before I could assemble them I had to cut the grooves for the Tonk strips.

With all these done I could then start on the assembly.

I managed to get two of the units in clamps (I need more clamps :whistle: )

While these were in the clamps I gave the fluted columns a good sanding and cut out the rear panels from some 9mm veneered MDF. Then I attacked the doors with the sander and got them ready for a sealer coat.

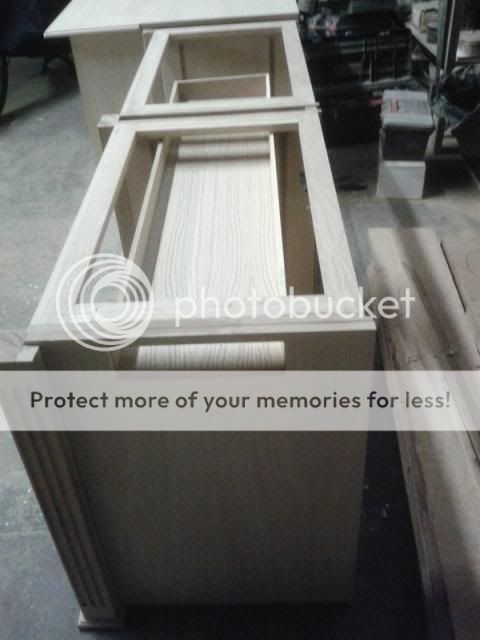
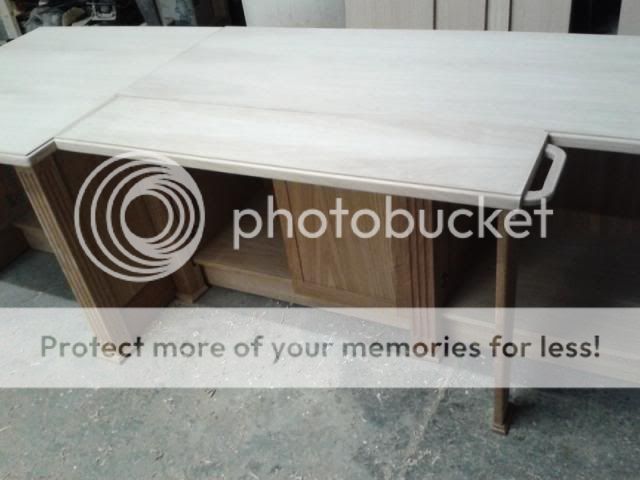
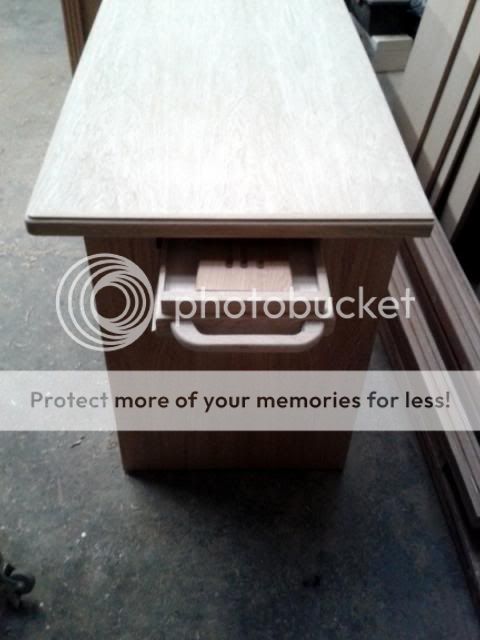
With the units out of the clamps you might have noticed the letterbox slot out of the sides. This is to allow a thin removable table top to be stored out of the way which will be used for a knitting machine.

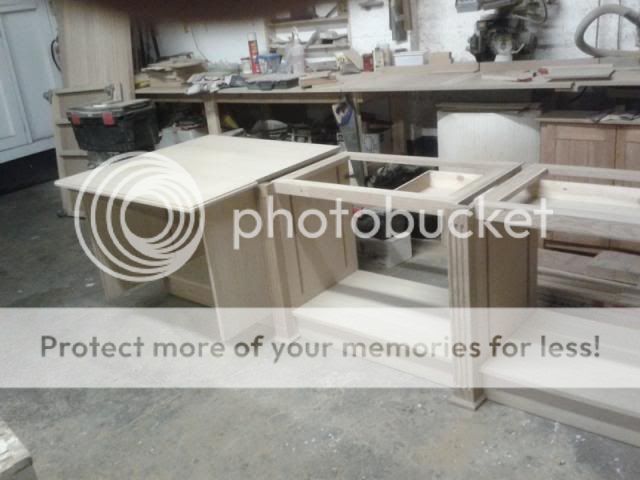
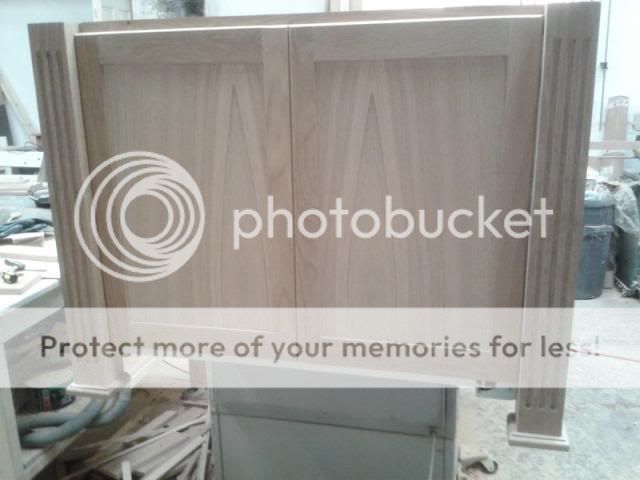
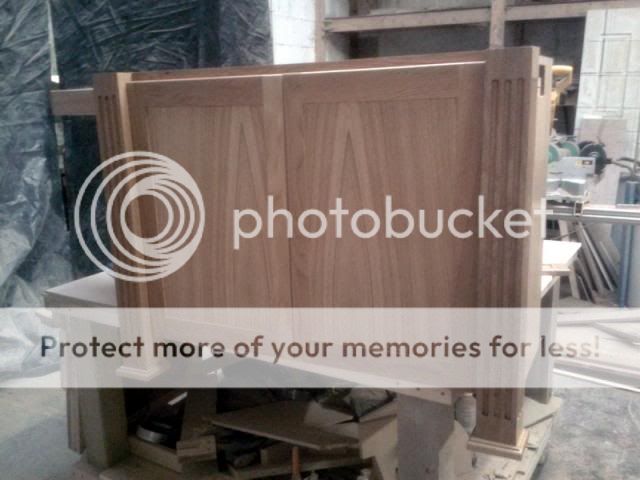
Finally by the end of the day I had a dry run of the units together as they will look when installed, (OK they are on their backs but you get the idea.) :lol: I intend to get the plinth built tomorrow if all goes well....we will see. :lol:
 
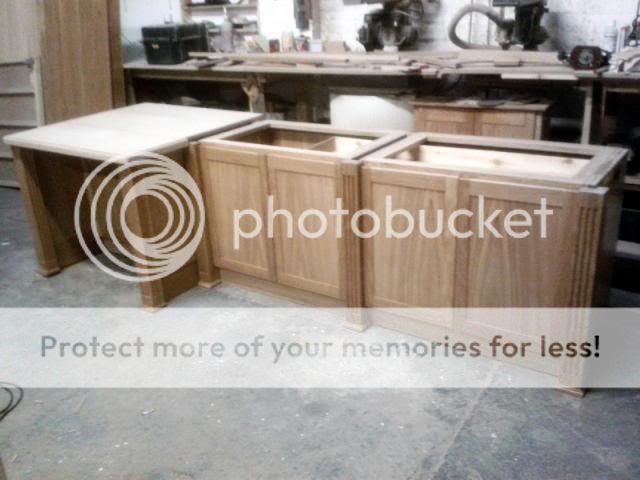
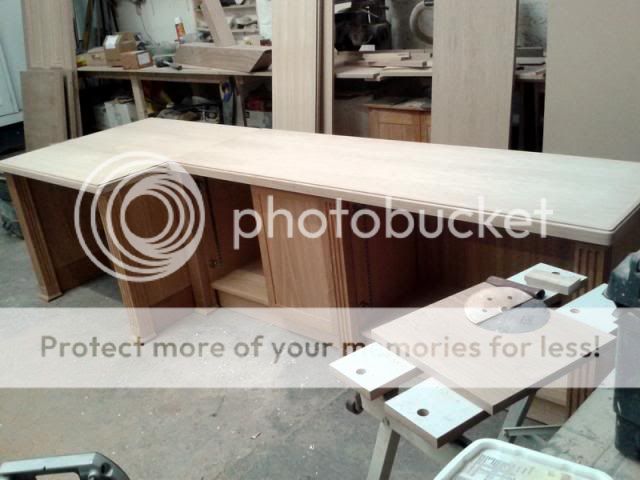
Well today I was getting on well and managed to get the plinth together. I then mounted the units onto it to check the fit and dimensions.

Then I got the chute built that will house the removable top and checked the fit in the units.

It was at this point that my surface planer decided to give up! doh: After spending most of the afternoon trying to find the fault and after a frantic call to Dodge he gave me some good advice but it will have to wait until the morning to replace a capacitor. Big thanks Dodge. I did manage to salvage the day by getting one of the tops made.

Hopefully i will be able to buy a new capacitor in the morning and get cracking again......fingers crossed. :hmm:
 
Thanks Richard. I didn't manage to get anything done today due to trying to get the planer working! I wasted all the morning trying to find someone who sells them and when I did eventually get one it didn't fix it! I am now thinking it may be the switch as it clicks when the motor cuts out, I will try to get one of those tomorrow but think I may have to order one.
 
Well with the planer up and running again I could crack on with the build. I made the leg for the removable worktop and a drawer front which will go on the end for when it is stored.

This leg will be hinged under the top and the top will attach to the main worktop with catches.
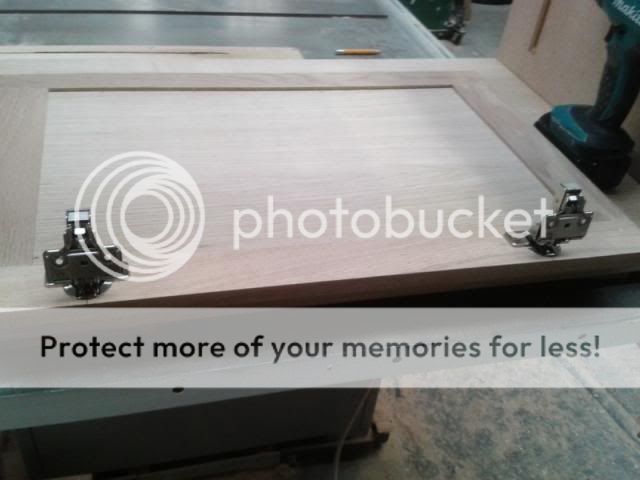
After giving all the insides a good sanding I started hinging the doors. I am using Hafele inset hinges for this due to the columns each side of the doors.

I usually use Blum hinges so made a template for mounting the Hafele ones after working out the hole positions.
it was a good job i did a dry fit of the doors as they were a little bit 'tight' so I trimmed a little off the sides to fit.

I am having the weekend off as I am at a wedding tomorrow. Will get some more done on monday. :D
 
I finally got back in the shop today after a couple of outside jobs and got cracking on the units. I spent today sanding the units and getting the finish on them. I had already managed to get the sealer on so it was just a case of a good sanding with 320 grit and on with the lacquer.

I am now waiting for another sheet of veneered MDF as I was short for the top (Can't think how I got that wrong) :? Anyway I did manage to get everything else in a finish.

I am out of the shop again tomorrow so hopefully I should be back on the job on Friday. :D
 
I got back into the shop this afternoon and made a start on the two tall units. I spent the afternoon making the fluted columns for them. By the end of the day I had them ready for a finish.

more veneered panels arrive tomorrow so I shall be able to finish the top and get the other tall units cut out. :D
 
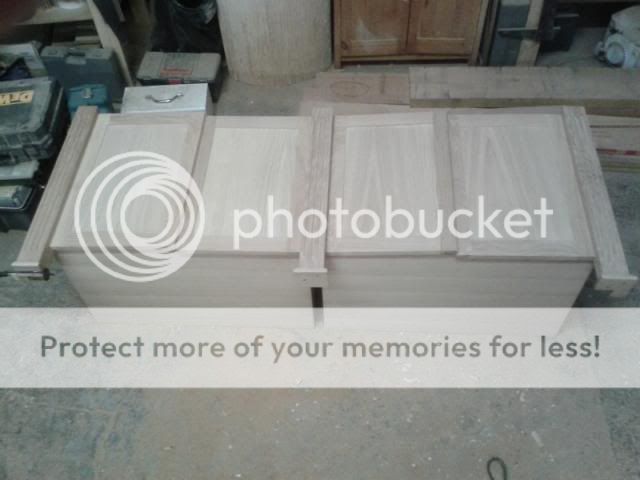
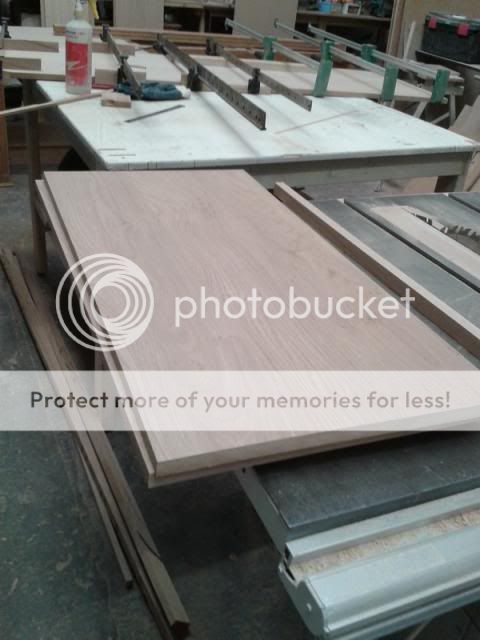
Had a good day in the workshop yesterday and today and got started on the rest of the top. Started by adding the solid wood edging.

While it was in the clamps I cut out the shelves for the units.

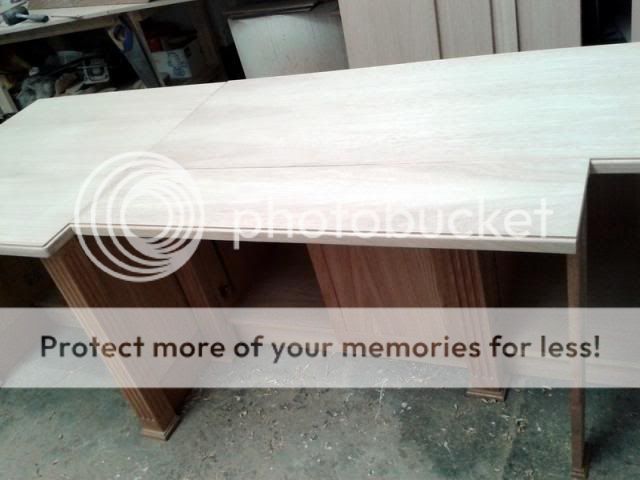
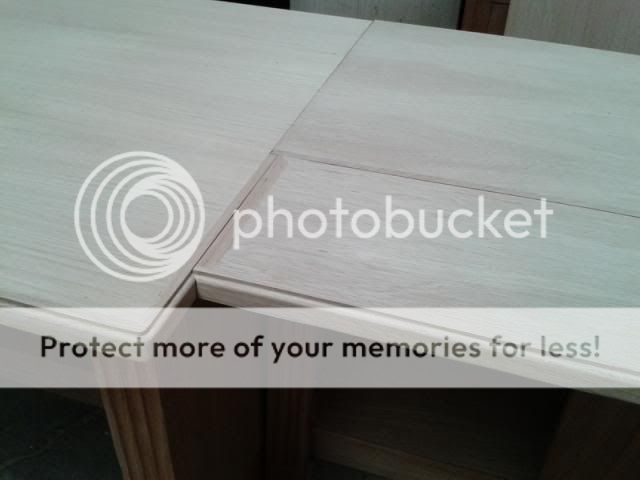
When the edging was glued I routed the profile on it and cut a profile where the two tops meet. Adding biscuit joints to attach it together I then dry fitted it to the units.

I left the shelves in the clamps tonight with the edging attached.
 
Well it was another disastrous day today as my surface planer packed up again! :evil: Same symptoms as before but this time it doesn't seem to be the switch? I didn't really have time to 'play around' with it so left it and got on with the removable top. I had to edge all of the sides of the veneered MDF and then rout a reverse of the edge moulding on the worktop edge. This process took a while to do but I ended up with a good fit on the top.

Here is a close up of the joint.

I then added the folding leg and a stop block to the end along with a handle to help remove it from the drawer slot.

This is the end where the top will be housed.

I will have to see what happens tomorrow as I need to get the planer sorted out. Looks like I may have to call in the professionals on this one. :(
 
Afraid there are no photos today of WIP, but I did get the planer working again thanks to Bob (9 fingers) Turns out it was the starter capacitor. I machined up a bit more of the oak and later this afternoon I got the top lacquered and made a good start on the tall thin book case. I was rushing a bit to catch up hence no photos but will get some more tomorrow.
 
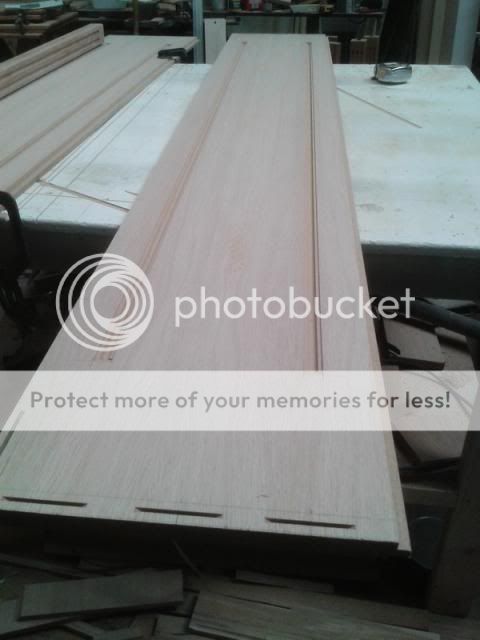
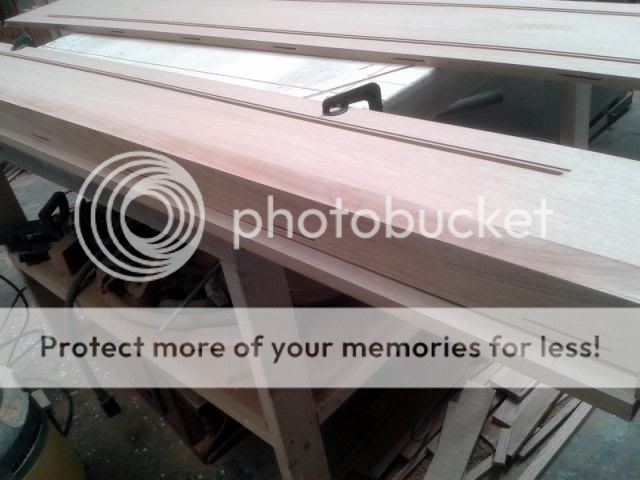
After cutting out the sides for the slim book case I cut the grooves for the Tonk strips and the biscuit slots cut ready for assembling.

I then cut the slots for the biscuits to mount the fluted columns on the side panels.

Then finally got them in a sealer coat.

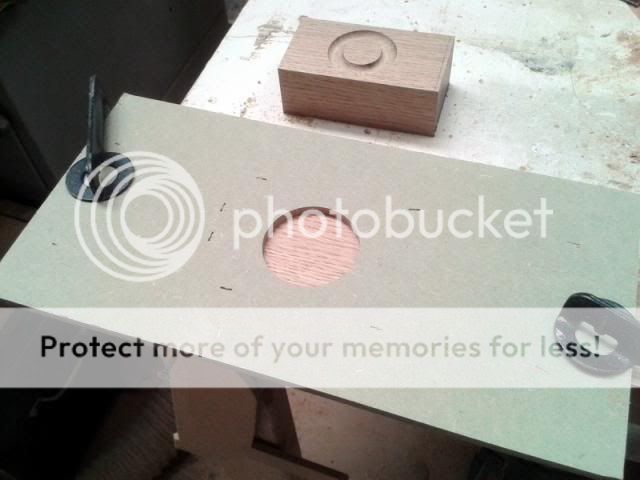
Due to a mistake the fluted columns were a bit short! :oops: (I forgot to add the plinth into the measurement) I decided the best way around the situation was to lengthen the columns with a feature. i cut some sections of oak to the same width and used a router and template to make the feature.

These sections will be installed on top of the columns with biscuits and a chamfer cut around the the joint to disguise it. ;) Who said measure twice? :roll:
 
Back
Top