What ho all.
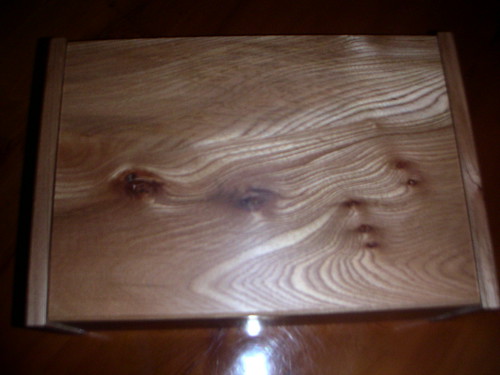
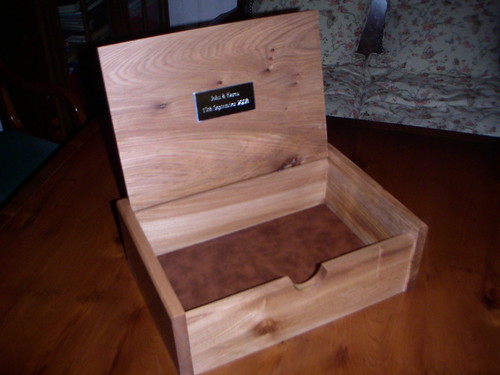
Here are a few pics of my latest project a box in Elm, for a forthcoming wedding present.
Here is the plank I plan to use part of;
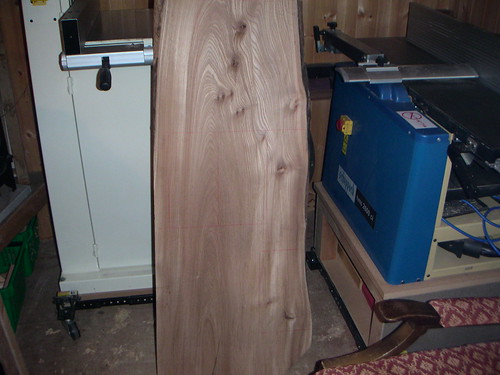
I carefully planed my attack on the plank and cut the pieces for the four sides and top. I tried to get the most interesting grain pattern on the top with a few of those "cats paws" included, with a view to leaving a useable piece of the timber for another project.
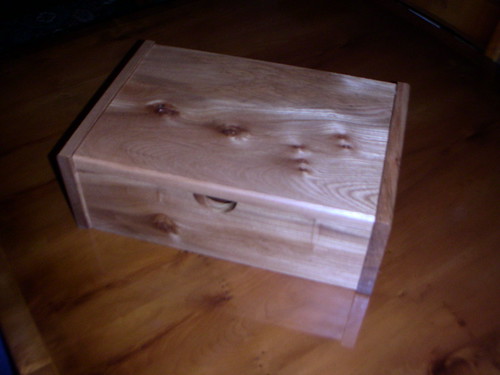
A pic of the roughly assembled box;
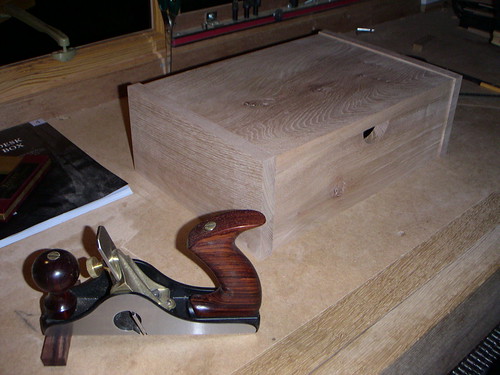
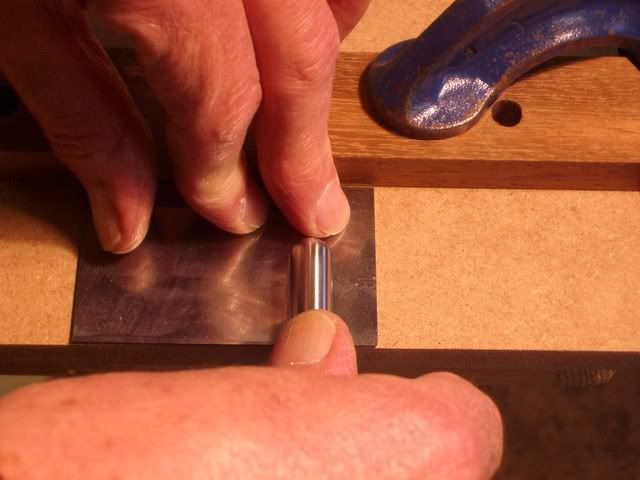
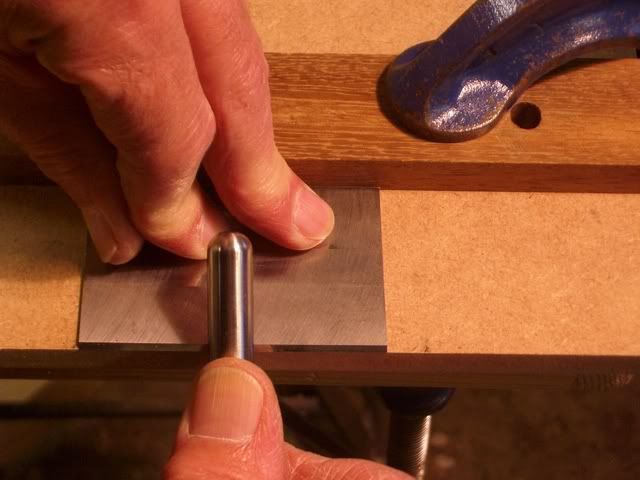
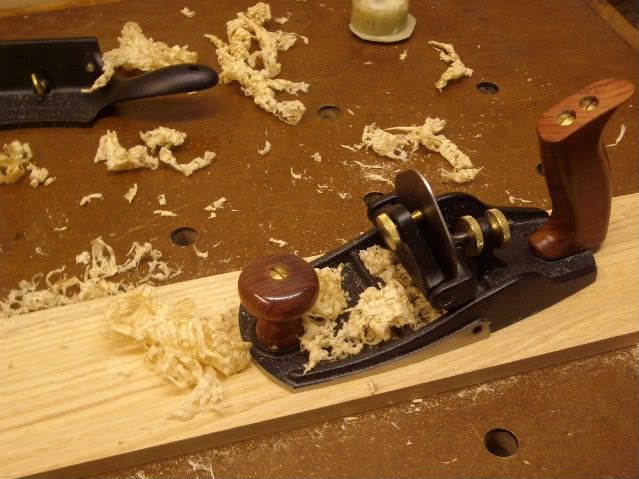
My latest addition to the tool cabinet a LN cabinet makers scraper plane is in the foreground. Very handy for difficult grain, most effective. I have no experience of this type of plane but it seemed easy to set-up and produced dust like shavings without any sign of tear-out. I need to perfect sharpening the blade to (round over?) the edges. The blade also does not fit in my honing guide.
I plan to assemble the box using some dowels through the sides which I may leave a little proud, this is the next job.
I cut some grooves in the sides of the box for the bottom using my woodrat . Here is a pic giving an idea of how I did this using my modification to the rat. It works really well, and means I don't have to use the brush for holding the work under the cutter.
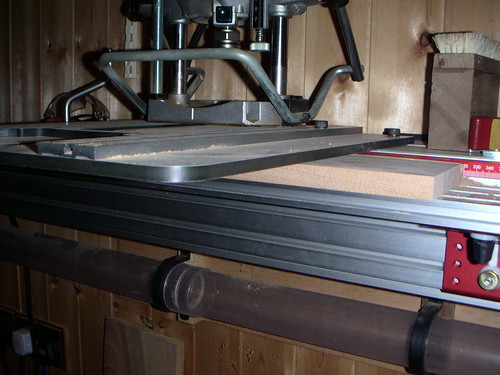
I can adjust the height of the aluminium t track to push the piece up under the cutter and then slide this along.
I was on the look out for a piece of leather to cover the plywood bottom, and called into the local furniture shop. The kind chap there gave me all these sample pieces. A great haul. Ideal for jewellery box linings etc. Top quality leather pieces which I guess you could also use for stropping. (well that gash blue piece).
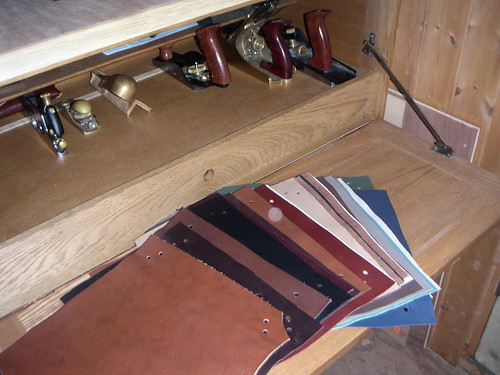
In the background you can see my tool cupboard, where I keep my planes. The cupboard was an old ercol server. I also made a sliding draw beneath the plane shelf to house my saws.
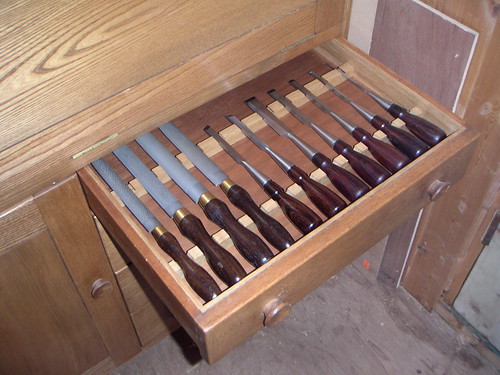
I turned the cutlery draw into a chisel and rasp store.
I hope these pics are of interest, I have enjoyed making this project. Elm is a lovely timber, and I can't wait to apply some finish to enjoy that lovely grain.
I will post some final pics when the project is completed.
Cheers, Tony
Here are a few pics of my latest project a box in Elm, for a forthcoming wedding present.
Here is the plank I plan to use part of;

I carefully planed my attack on the plank and cut the pieces for the four sides and top. I tried to get the most interesting grain pattern on the top with a few of those "cats paws" included, with a view to leaving a useable piece of the timber for another project.
A pic of the roughly assembled box;

My latest addition to the tool cabinet a LN cabinet makers scraper plane is in the foreground. Very handy for difficult grain, most effective. I have no experience of this type of plane but it seemed easy to set-up and produced dust like shavings without any sign of tear-out. I need to perfect sharpening the blade to (round over?) the edges. The blade also does not fit in my honing guide.
I plan to assemble the box using some dowels through the sides which I may leave a little proud, this is the next job.
I cut some grooves in the sides of the box for the bottom using my woodrat . Here is a pic giving an idea of how I did this using my modification to the rat. It works really well, and means I don't have to use the brush for holding the work under the cutter.

I can adjust the height of the aluminium t track to push the piece up under the cutter and then slide this along.
I was on the look out for a piece of leather to cover the plywood bottom, and called into the local furniture shop. The kind chap there gave me all these sample pieces. A great haul. Ideal for jewellery box linings etc. Top quality leather pieces which I guess you could also use for stropping. (well that gash blue piece).

In the background you can see my tool cupboard, where I keep my planes. The cupboard was an old ercol server. I also made a sliding draw beneath the plane shelf to house my saws.
I turned the cutlery draw into a chisel and rasp store.

I hope these pics are of interest, I have enjoyed making this project. Elm is a lovely timber, and I can't wait to apply some finish to enjoy that lovely grain.
I will post some final pics when the project is completed.
Cheers, Tony


