Derek Cohen (Perth Oz)
Established Member
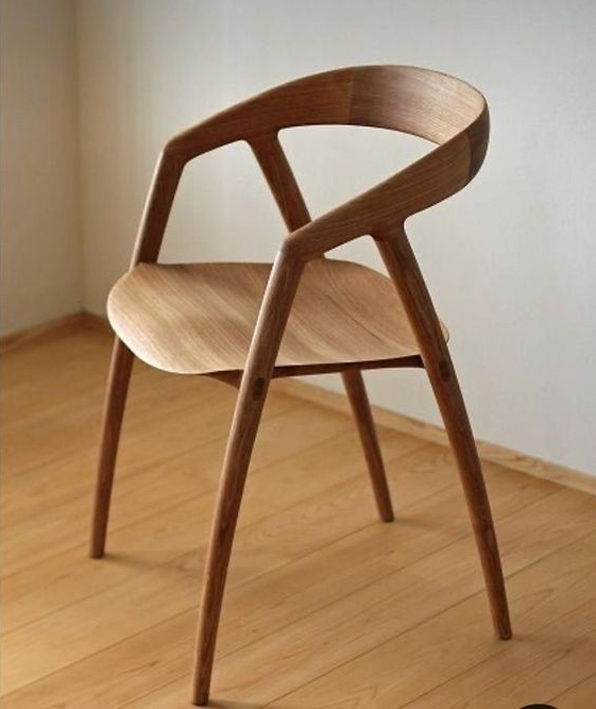
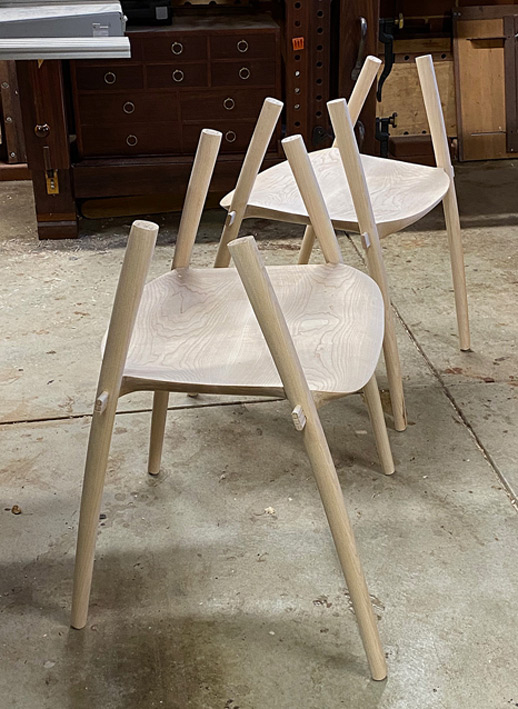
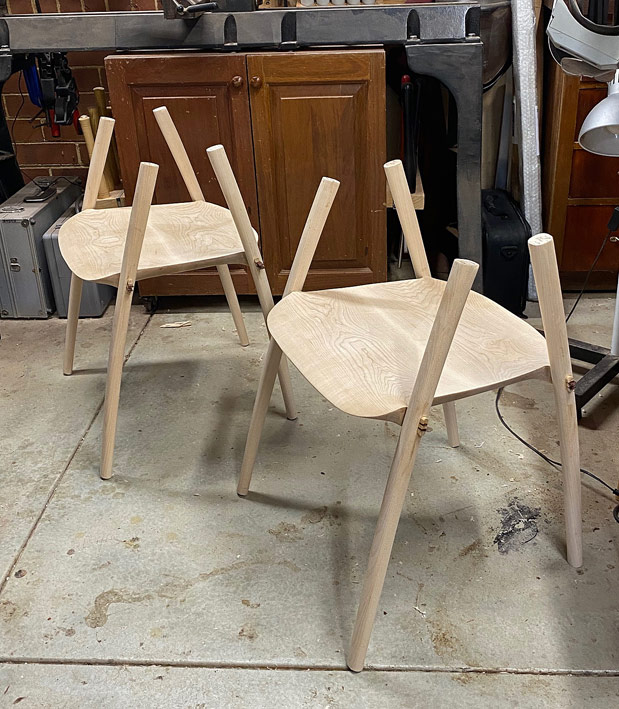
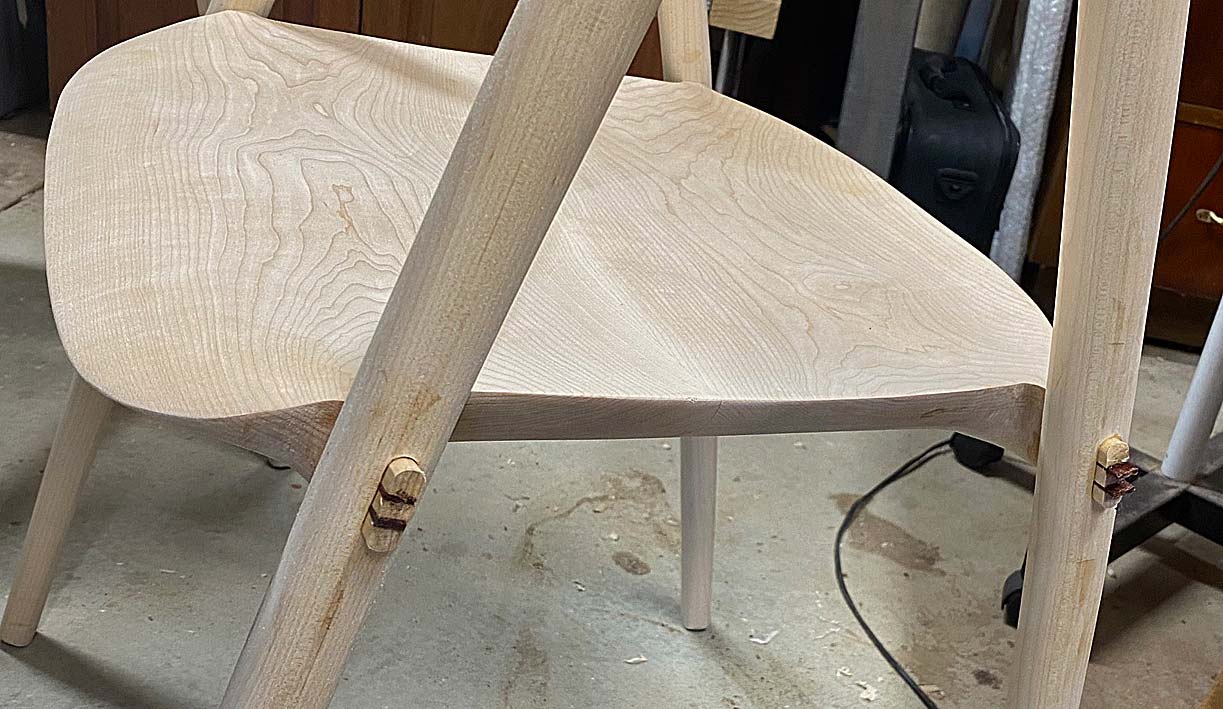
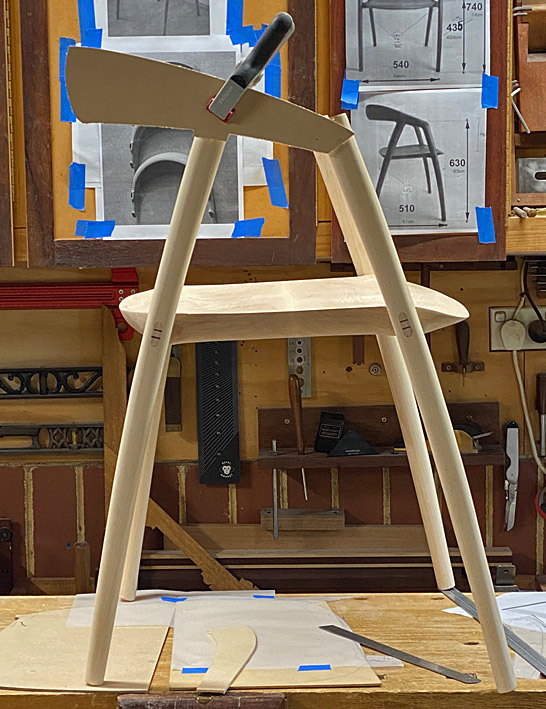
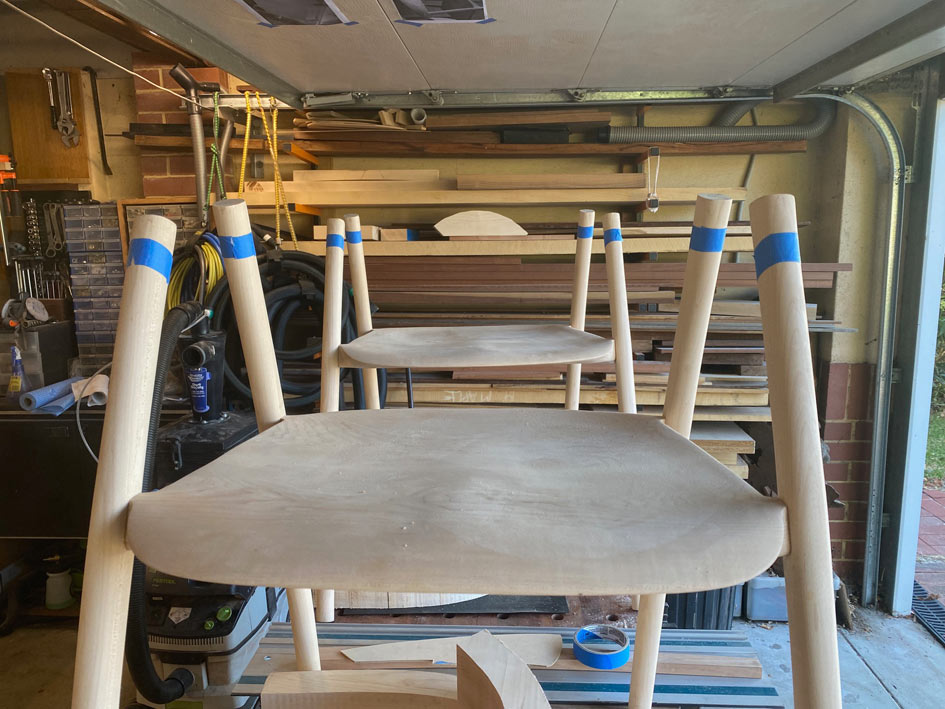
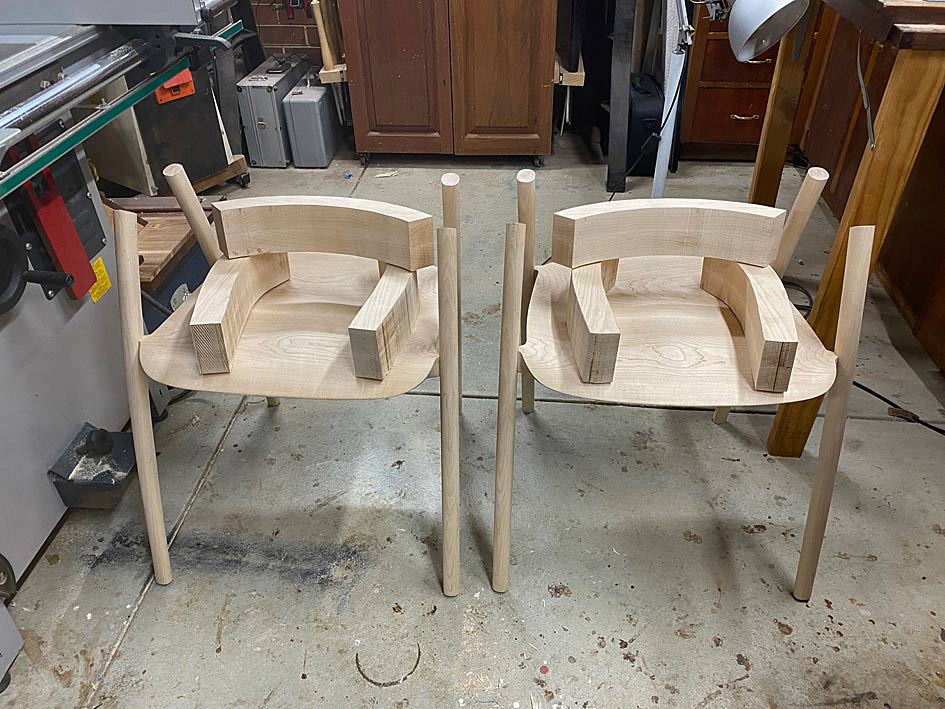
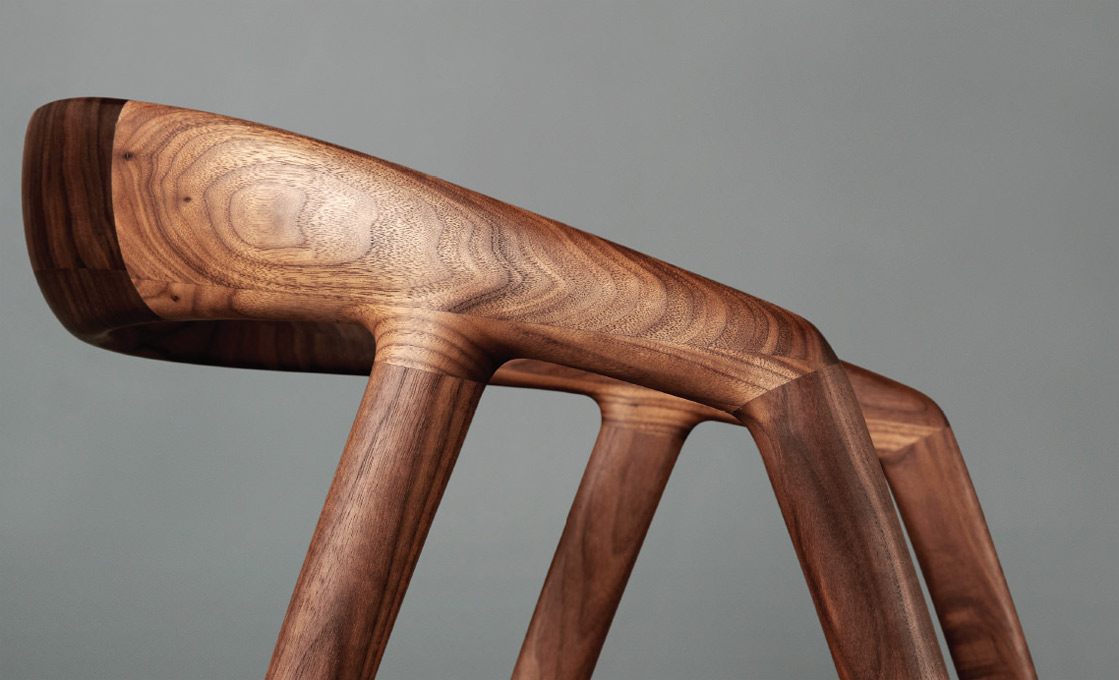
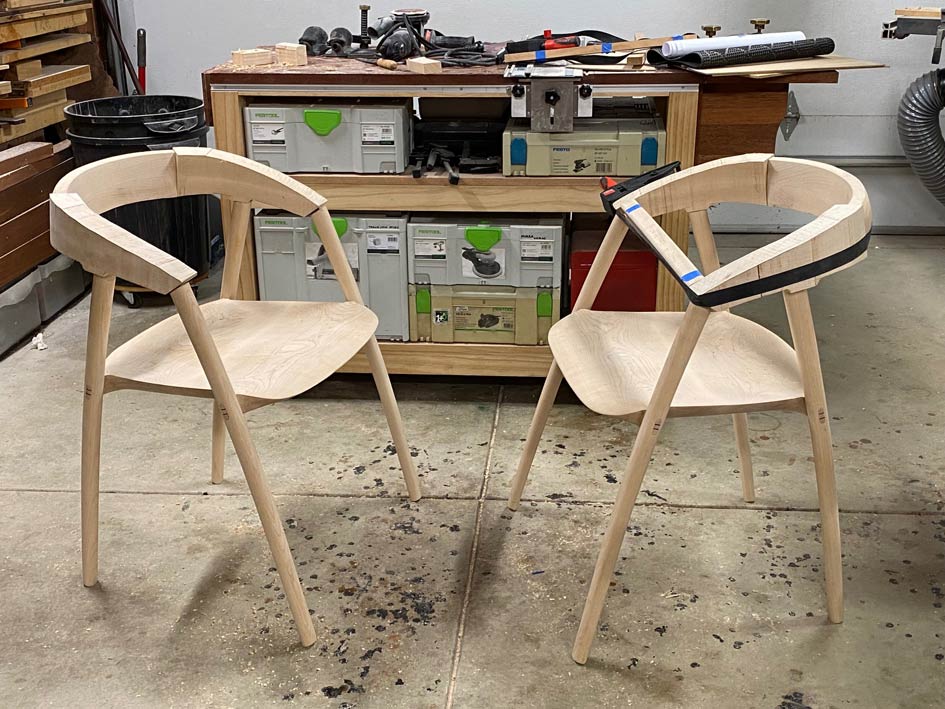
When I began this build, I looked at the legs of this chair and recognised that they were curved, tapered and oval. Well, oval at the top and round at the bottom ...
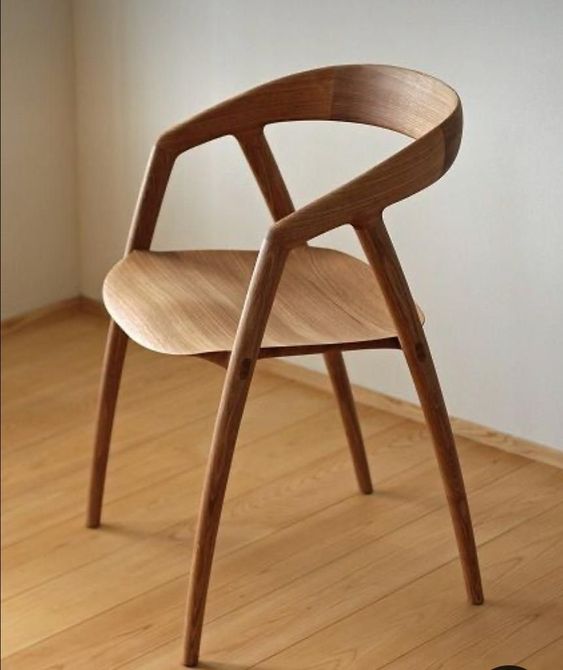
I wasn't sure how to do this - the tapered oval shape. I just accepted that I would discover this as we went along.
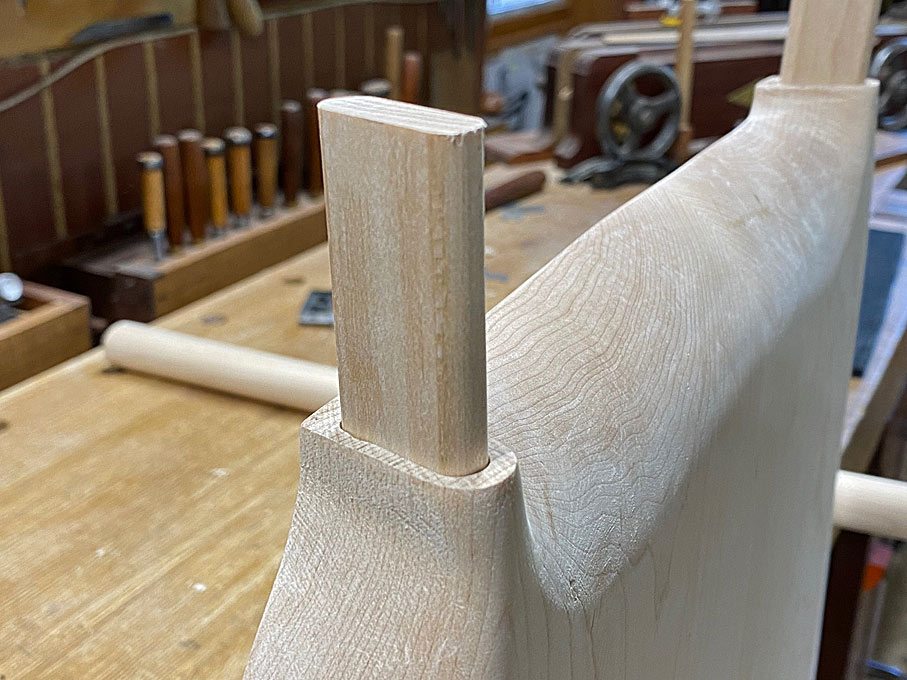
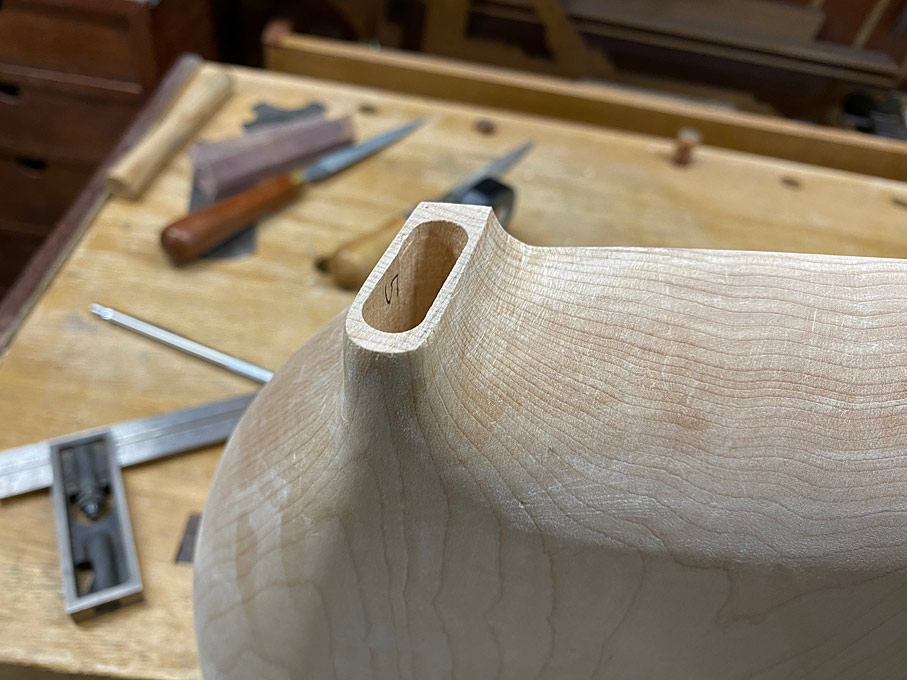
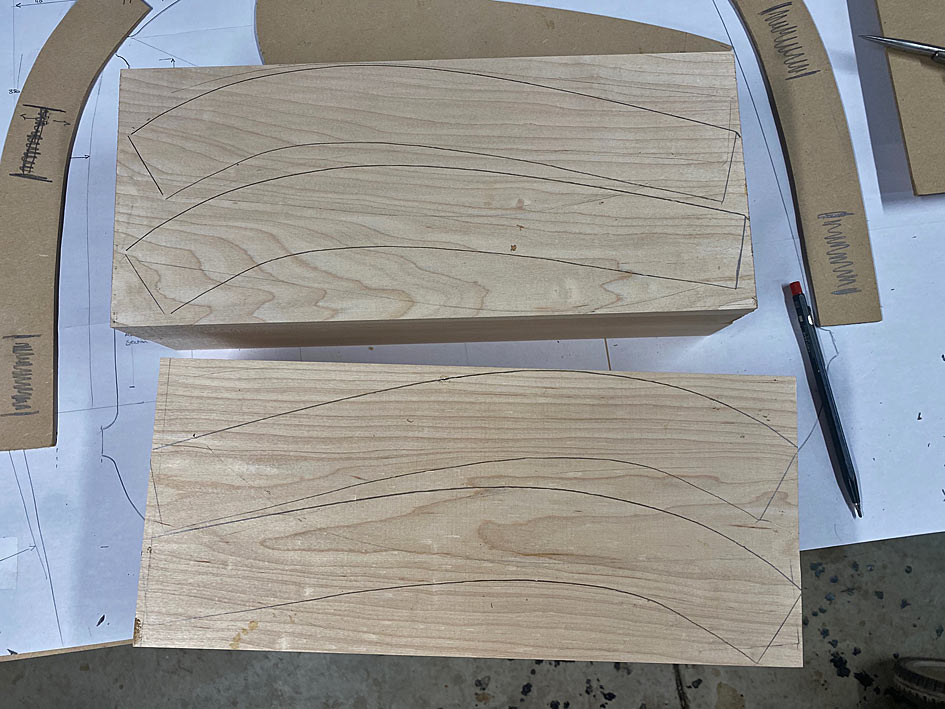
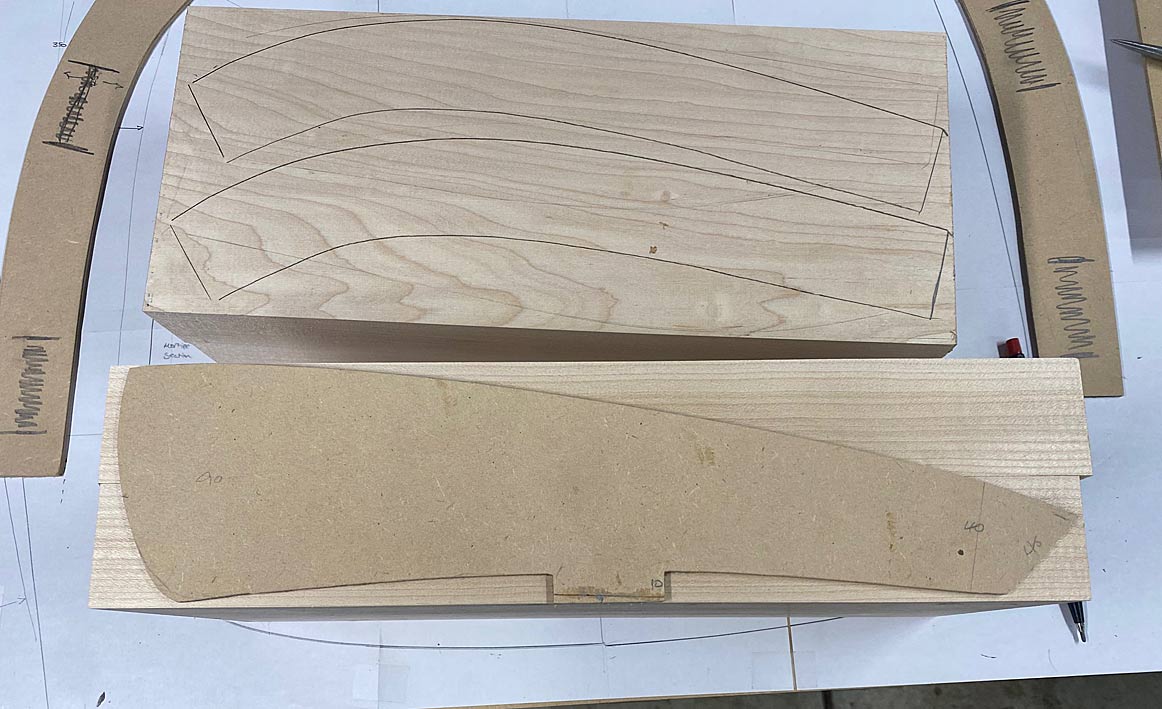
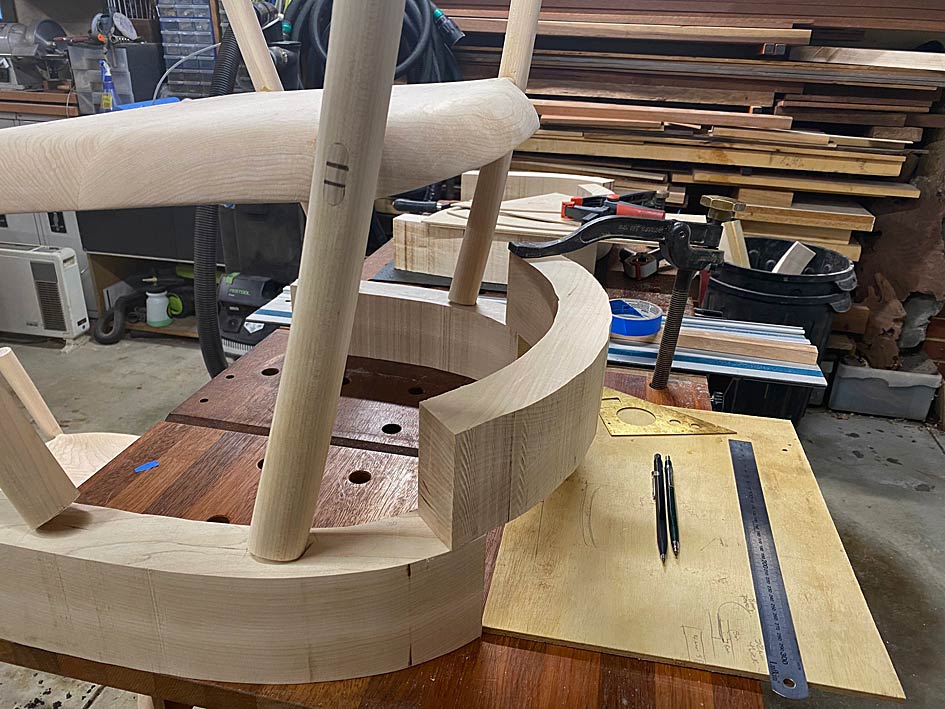
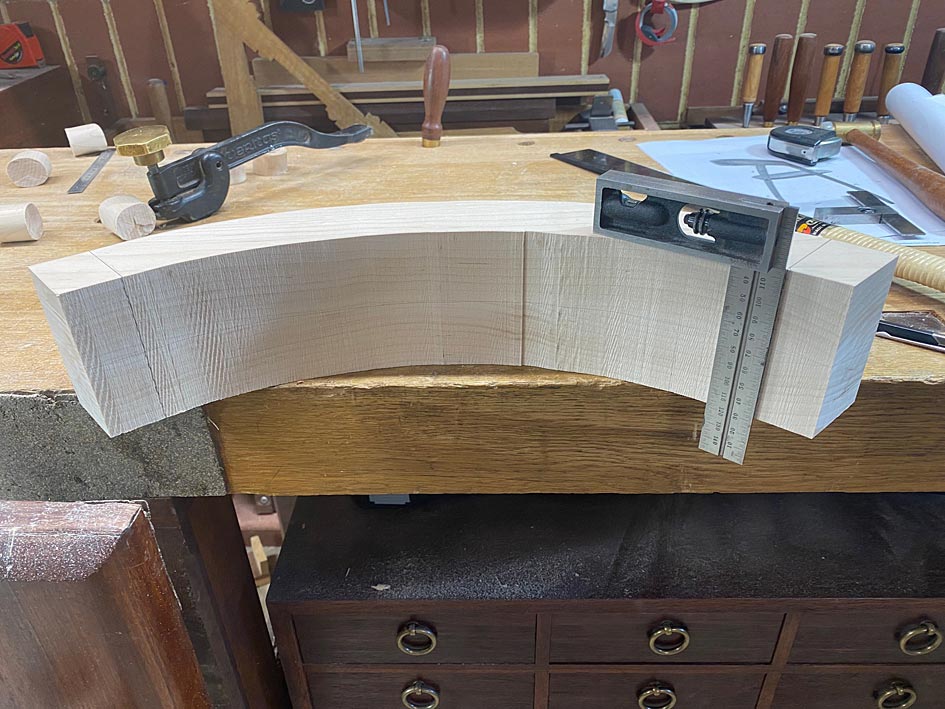
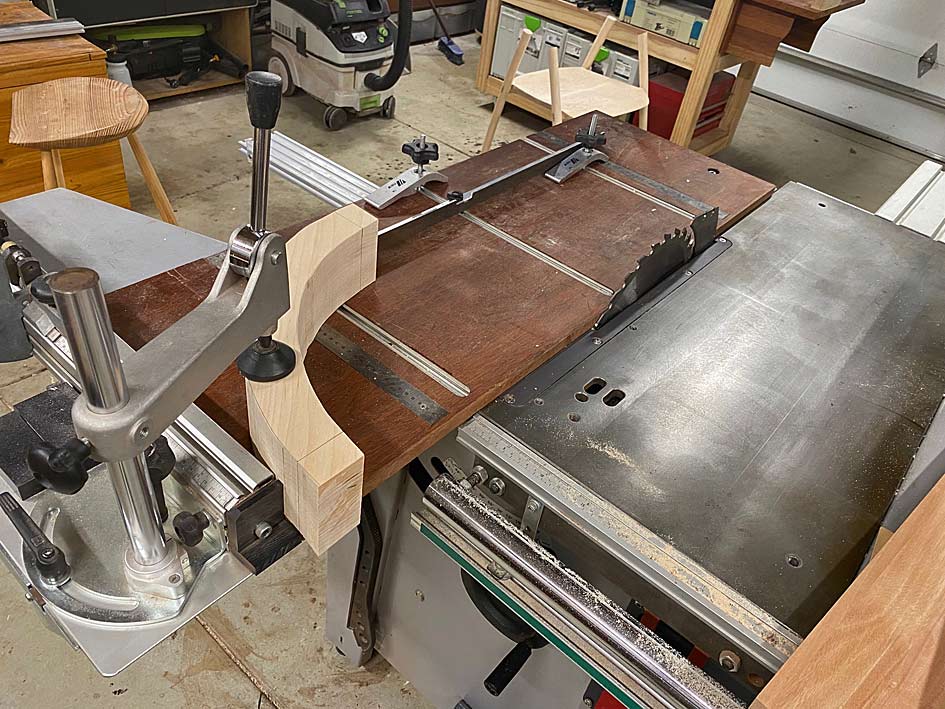
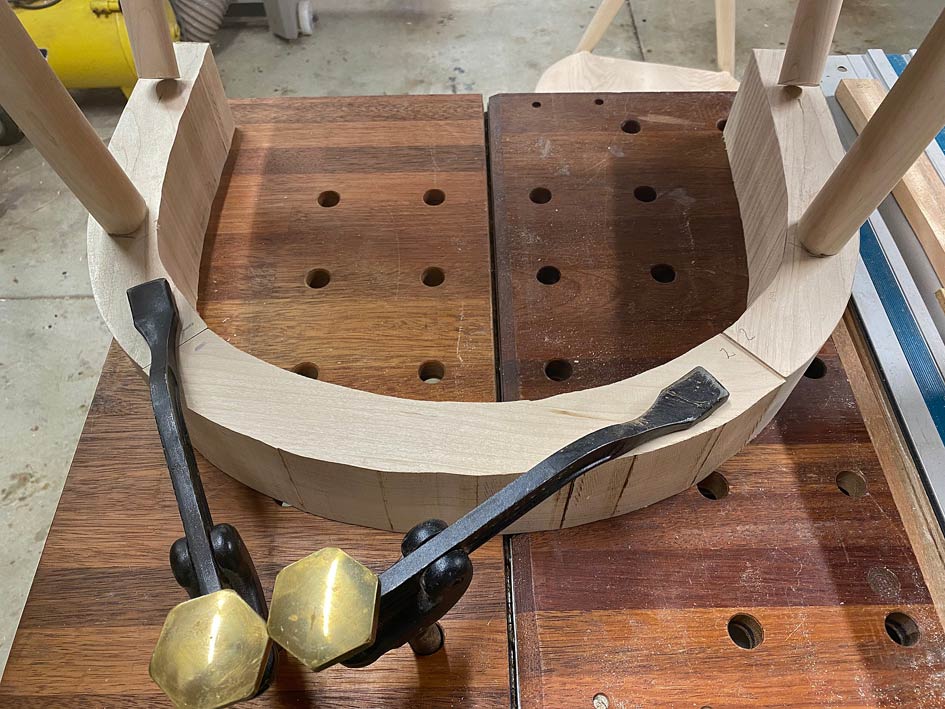
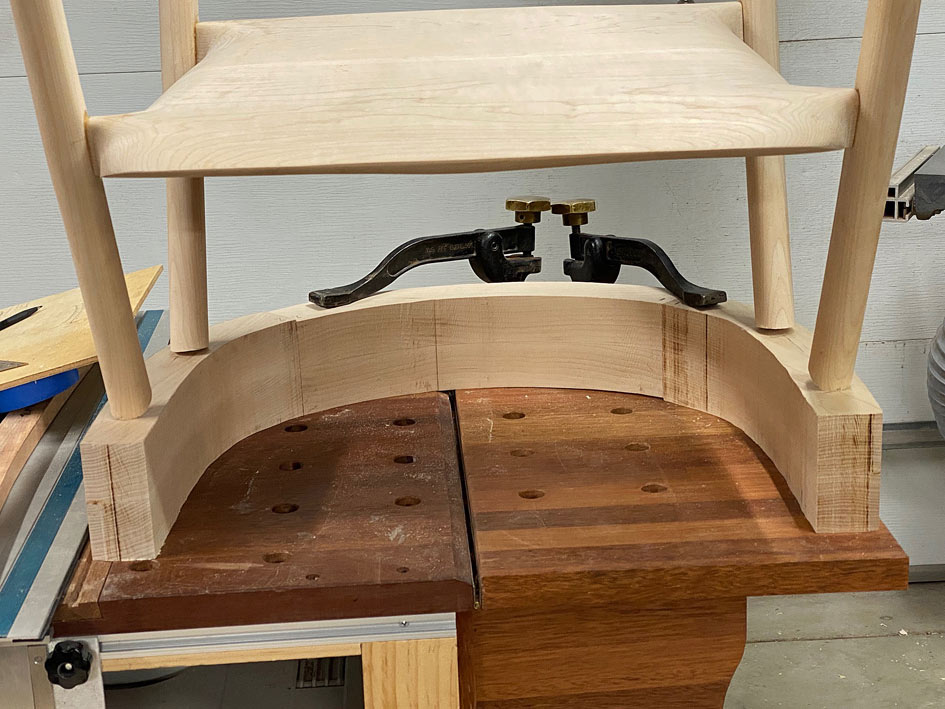
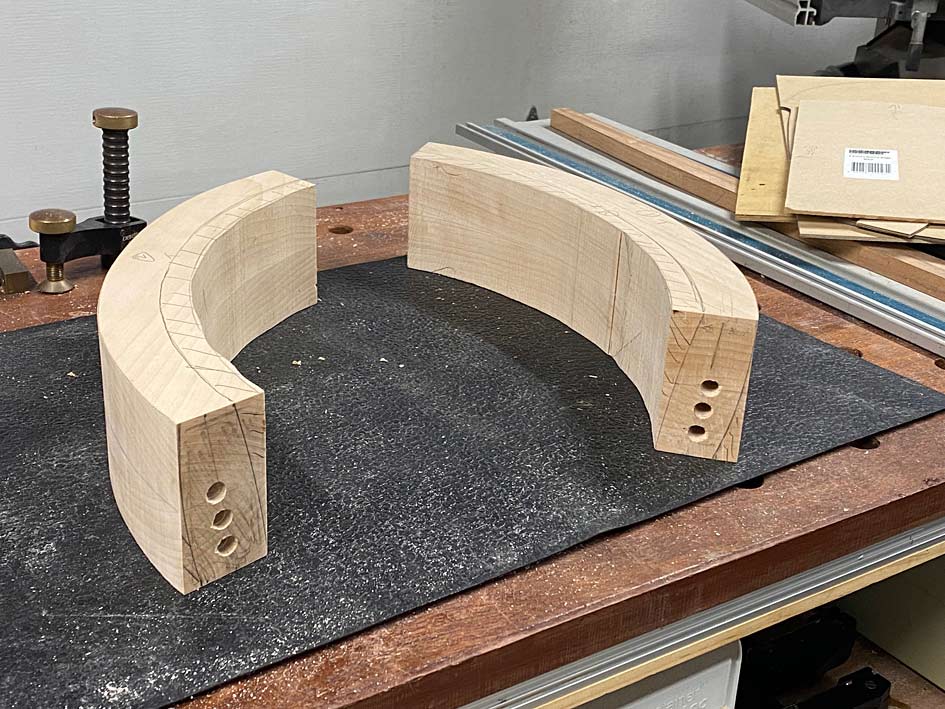
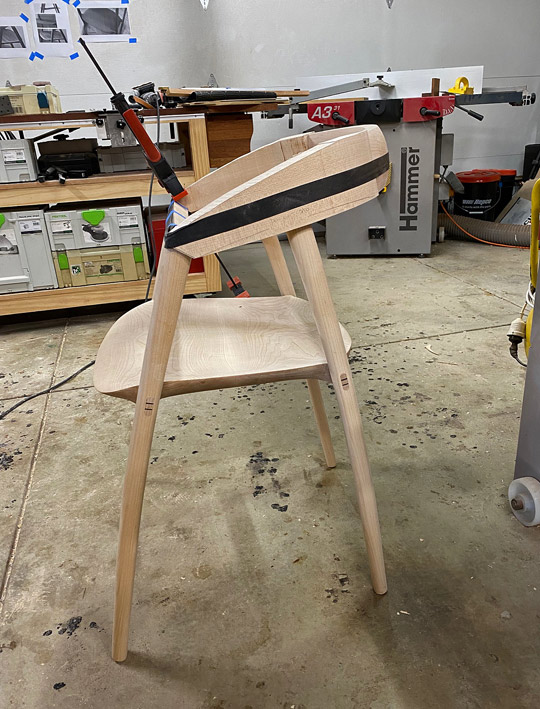
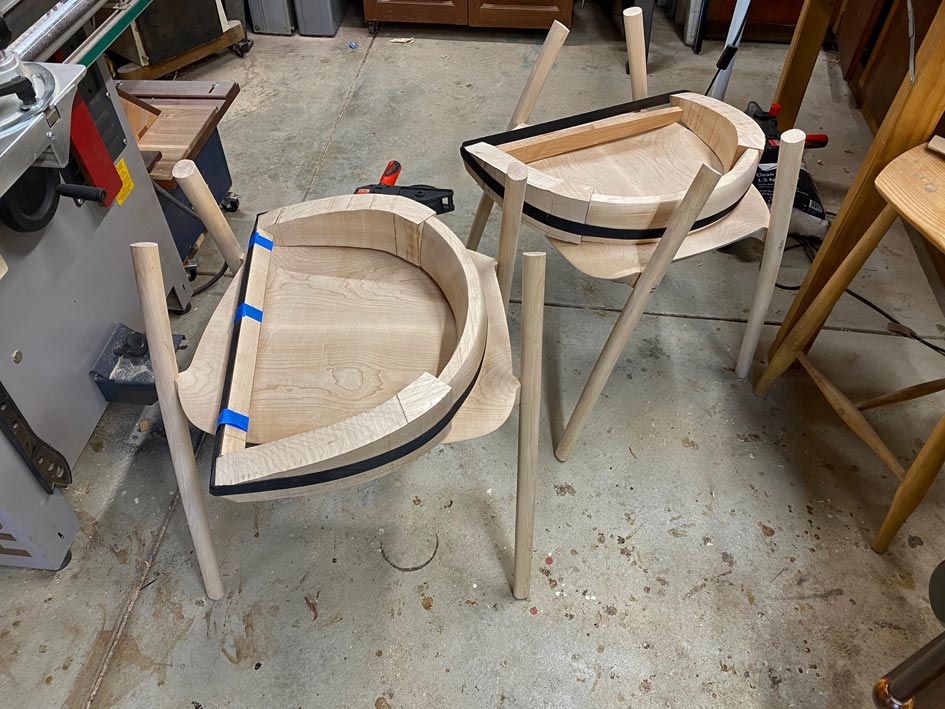
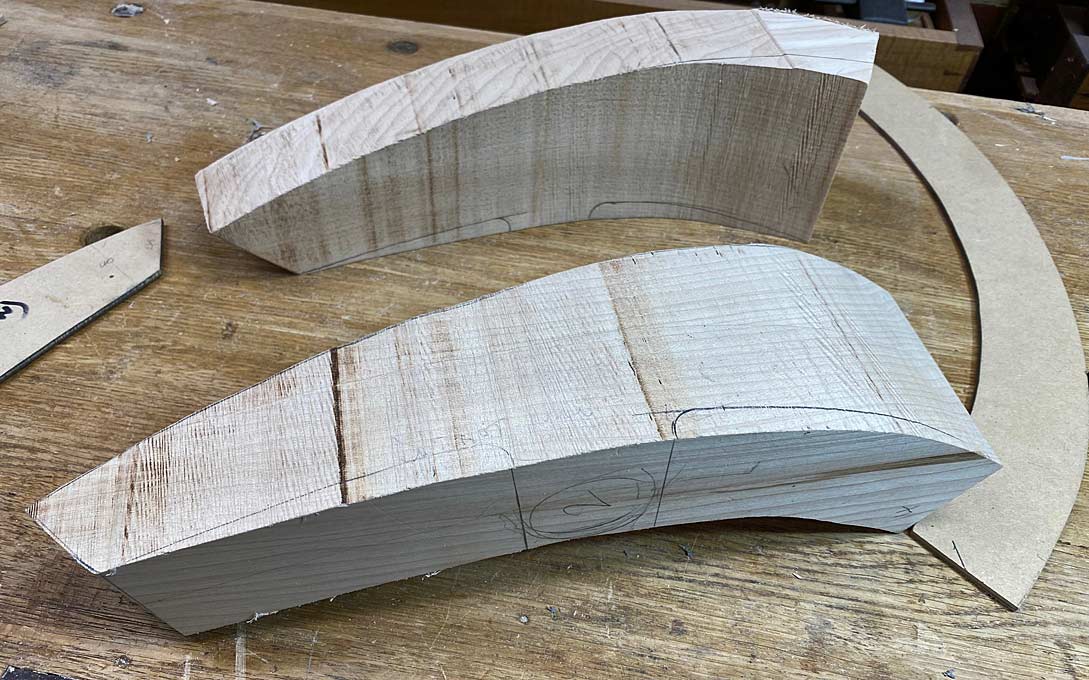
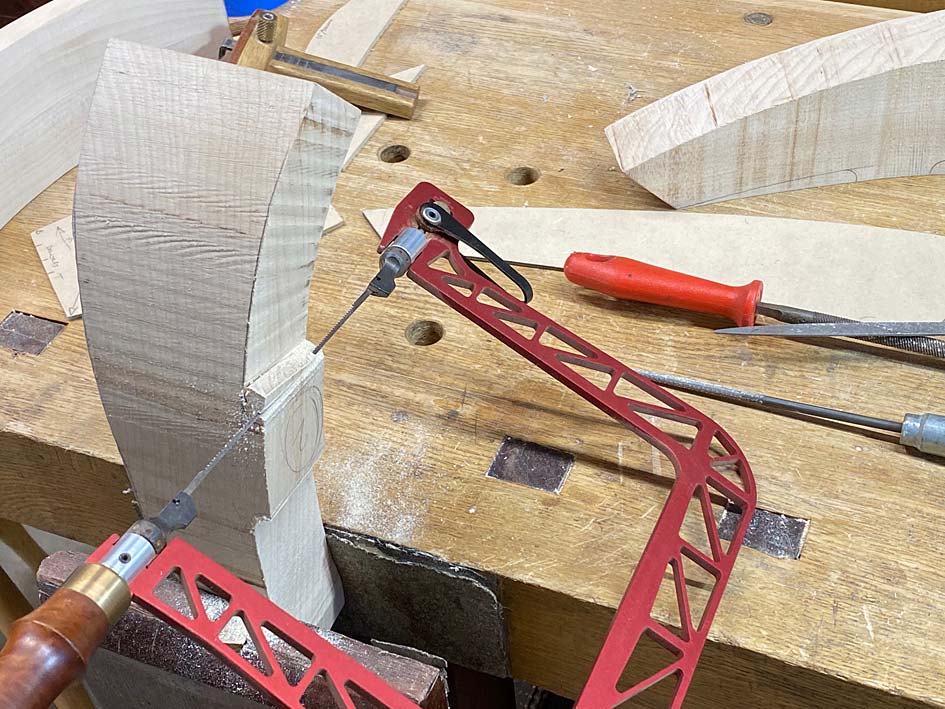
I began by shaping the legs in profile and cut the mortises ...
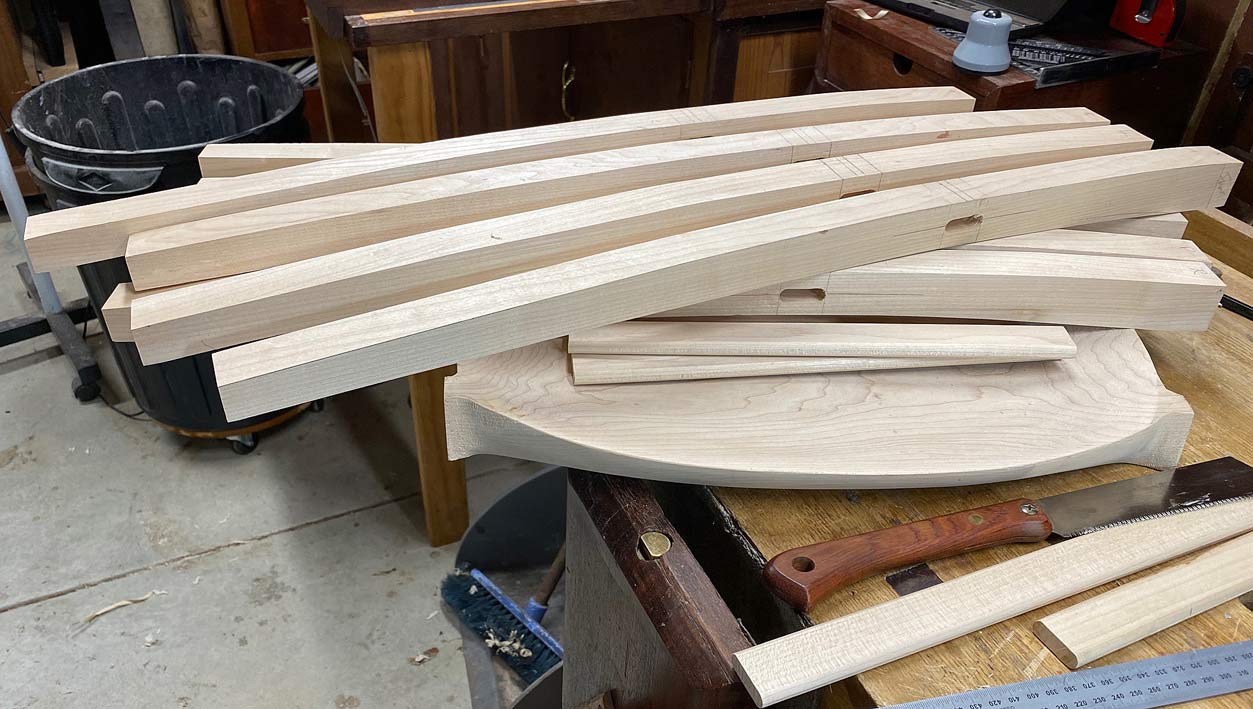
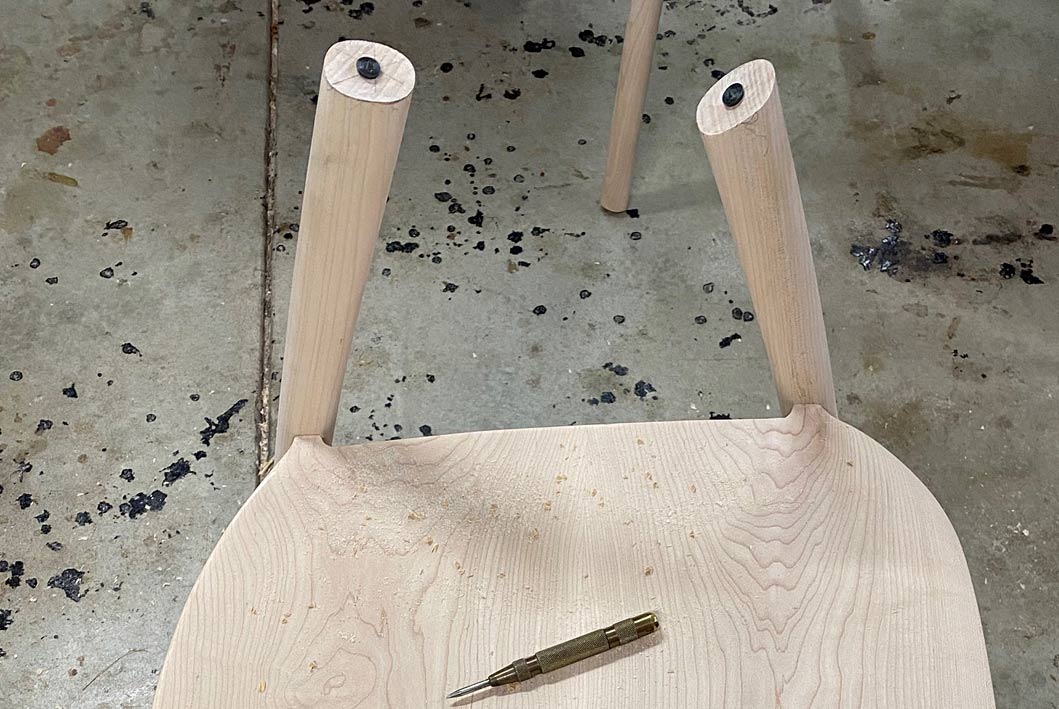
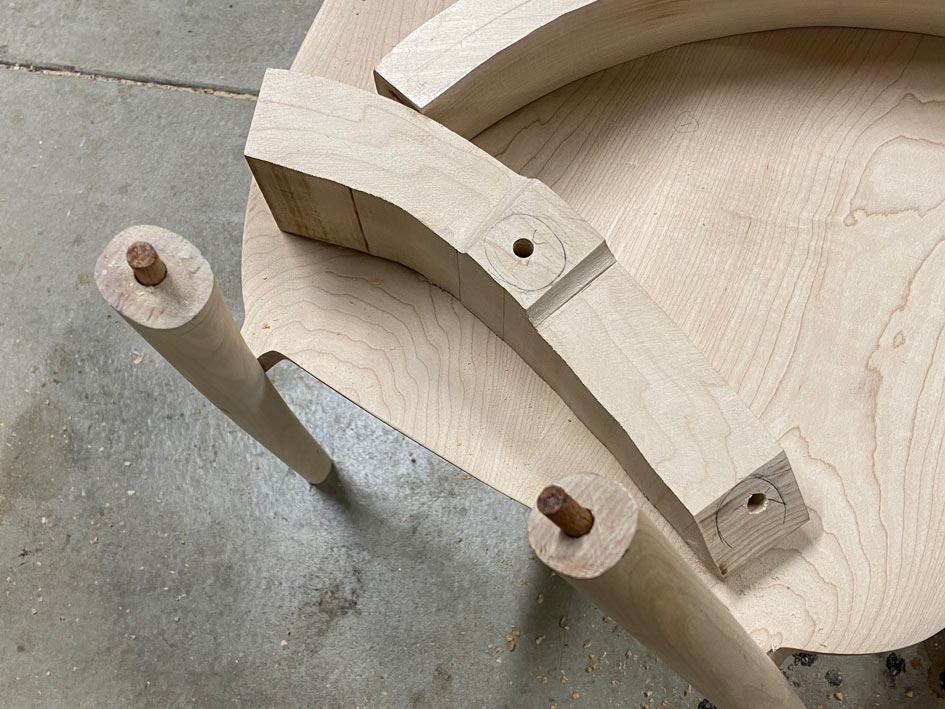
Then knocked off the corners with a round over bit. The leg at the rear was an attempt to do all with just spokeshaves - not great. The round over provides a helpful guide ...
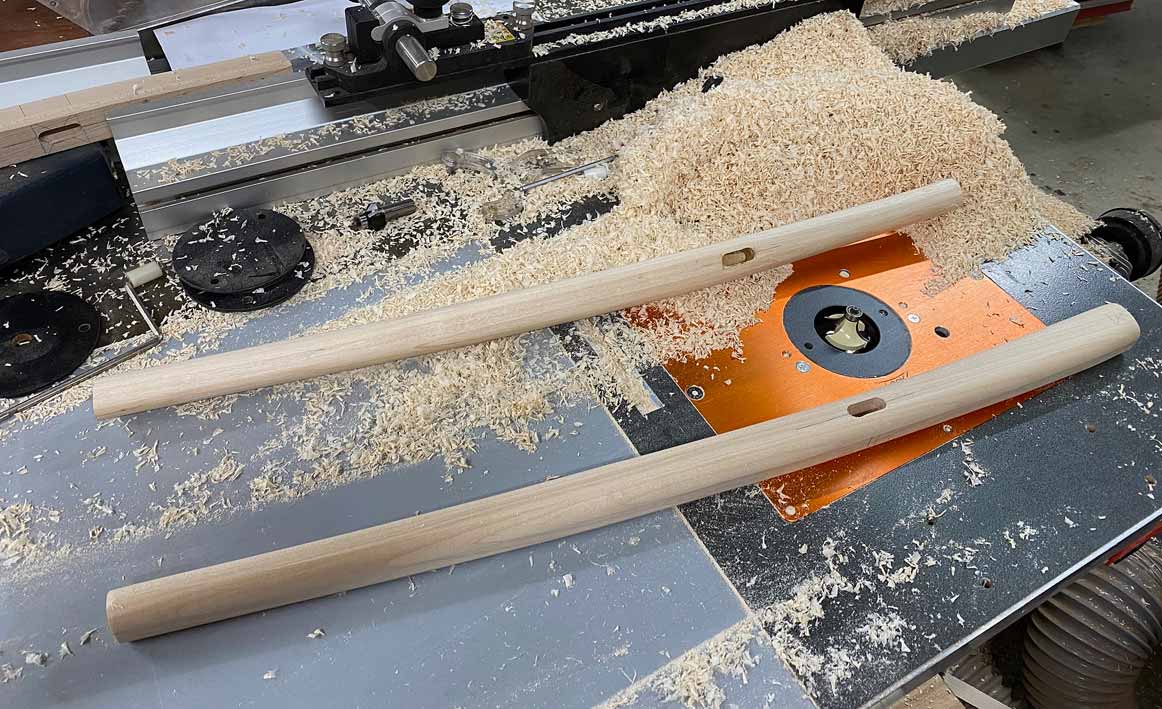
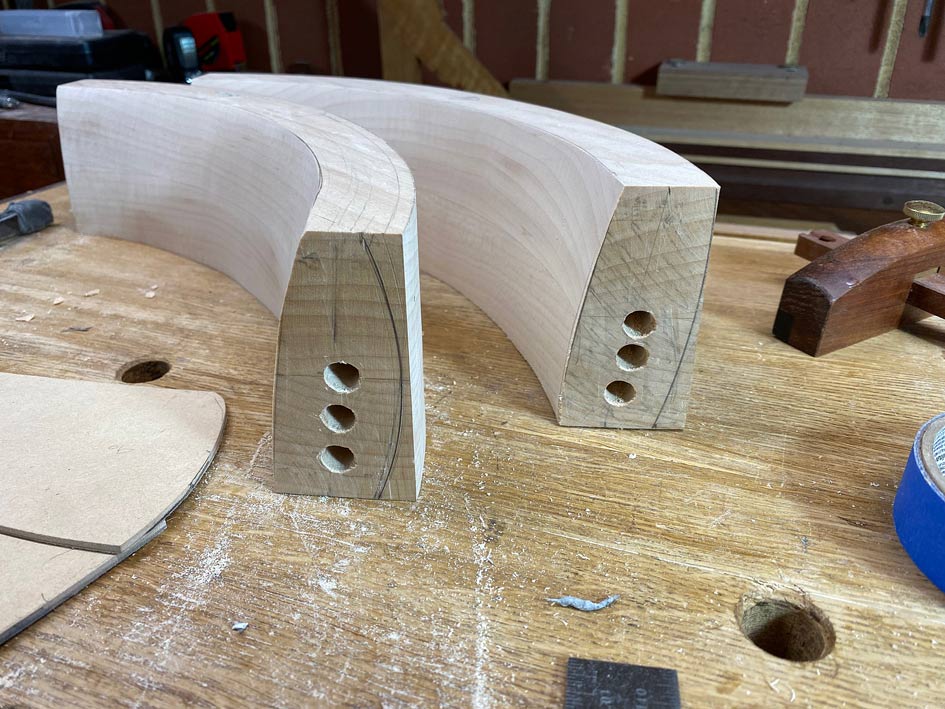
This left them rectangular with rounded corners. This weekend the rectangles became tapered ovals.
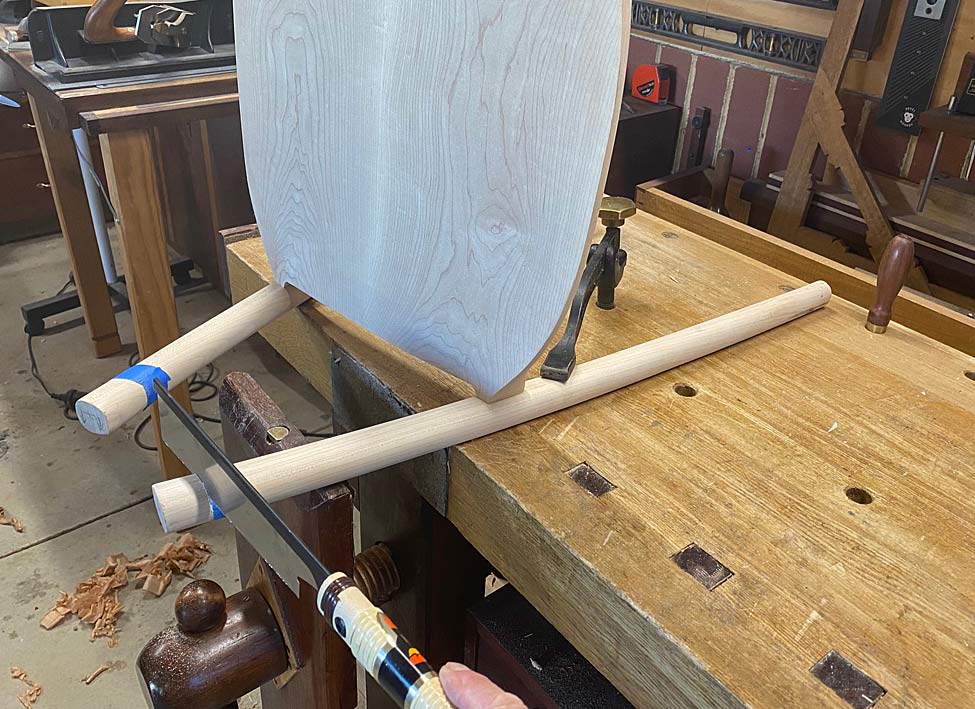
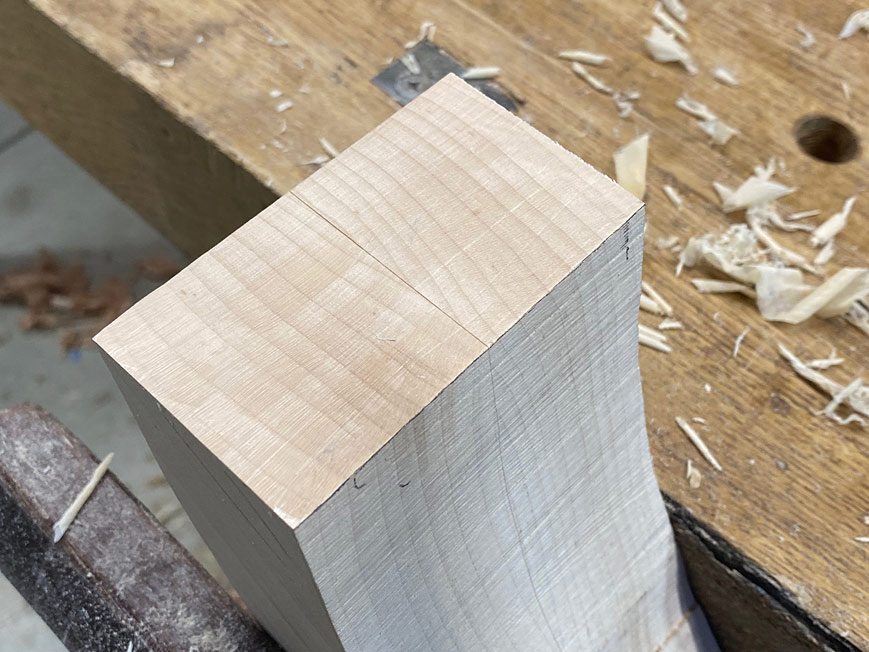
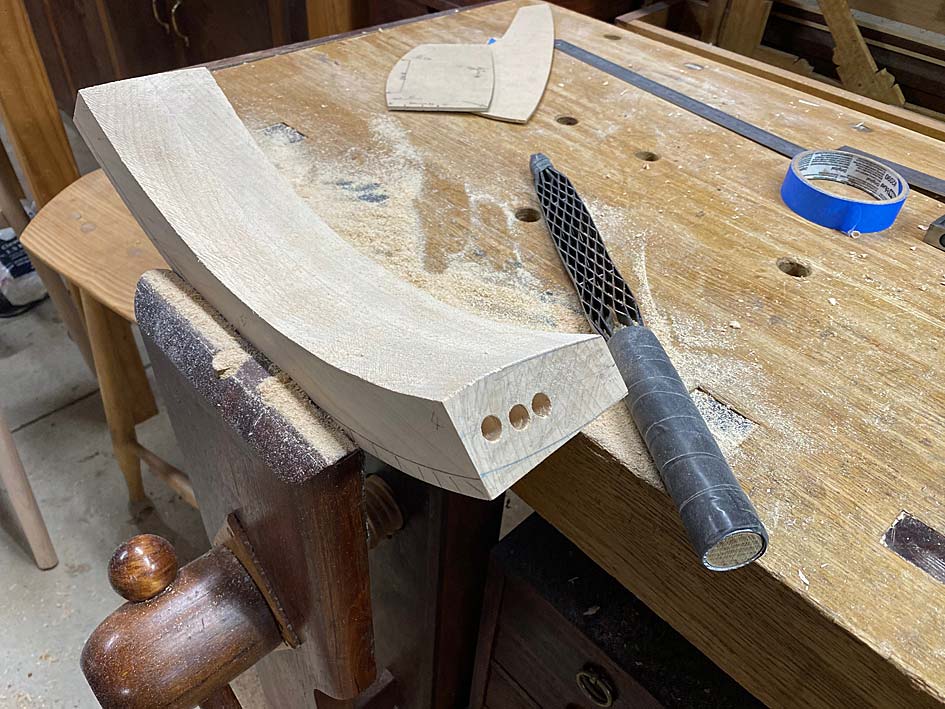
Working at the bench, holding the legs in a clamp ...
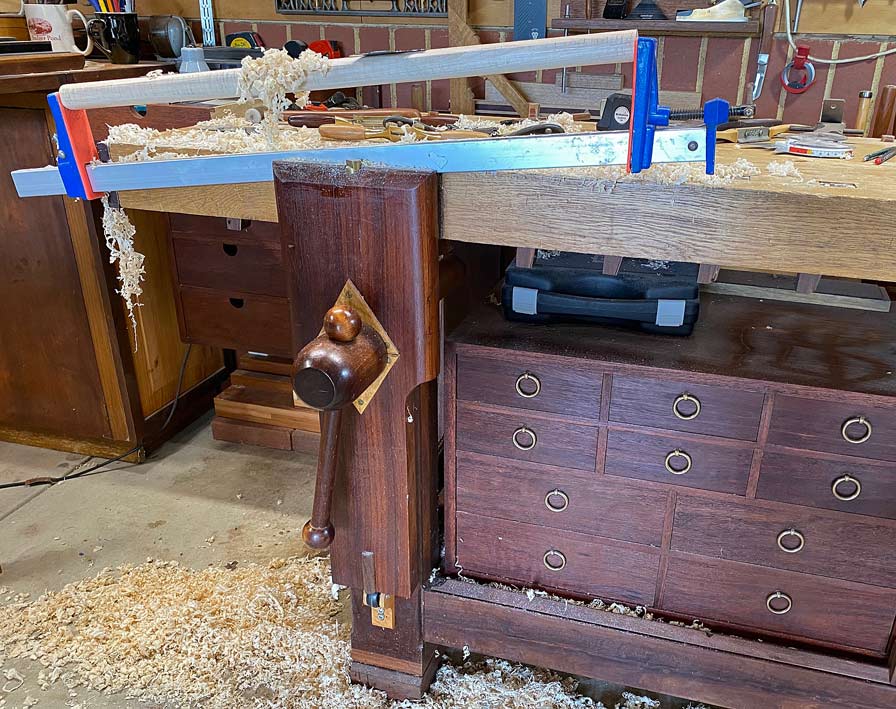
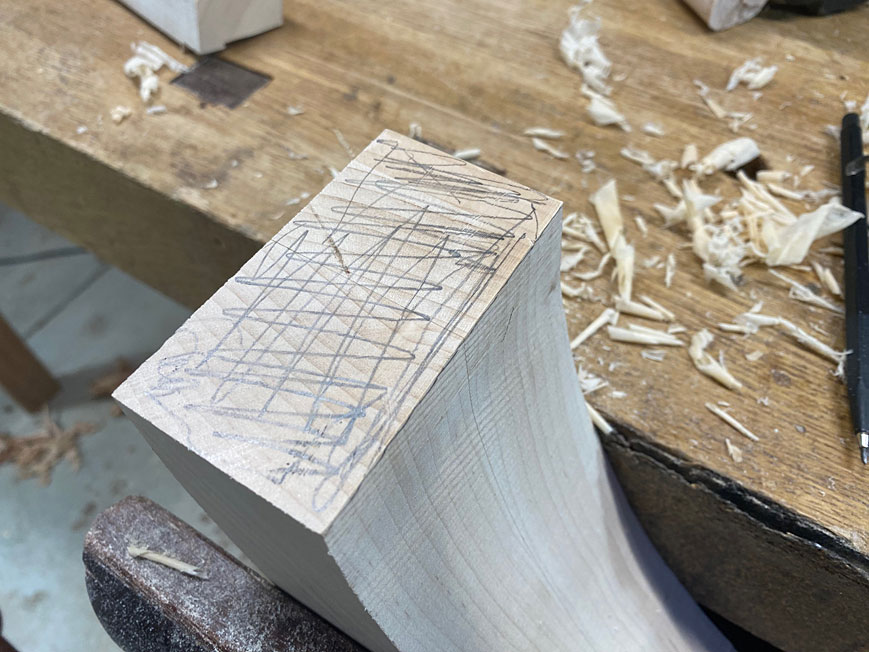
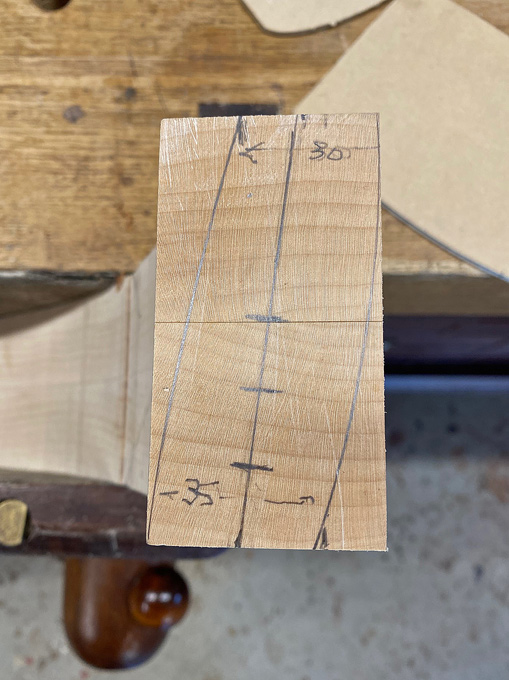
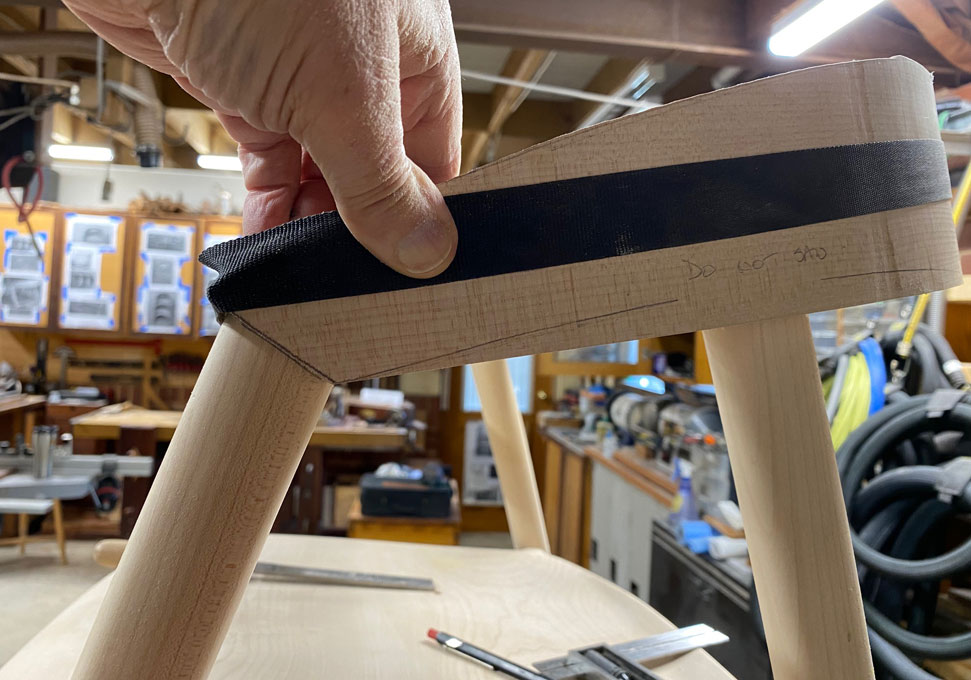
The first step was to cover the legs in pencil scribble. The purpose here is to make it easier to see where I am working. This Rock Maple is so light in colour and difficult to pick up details.
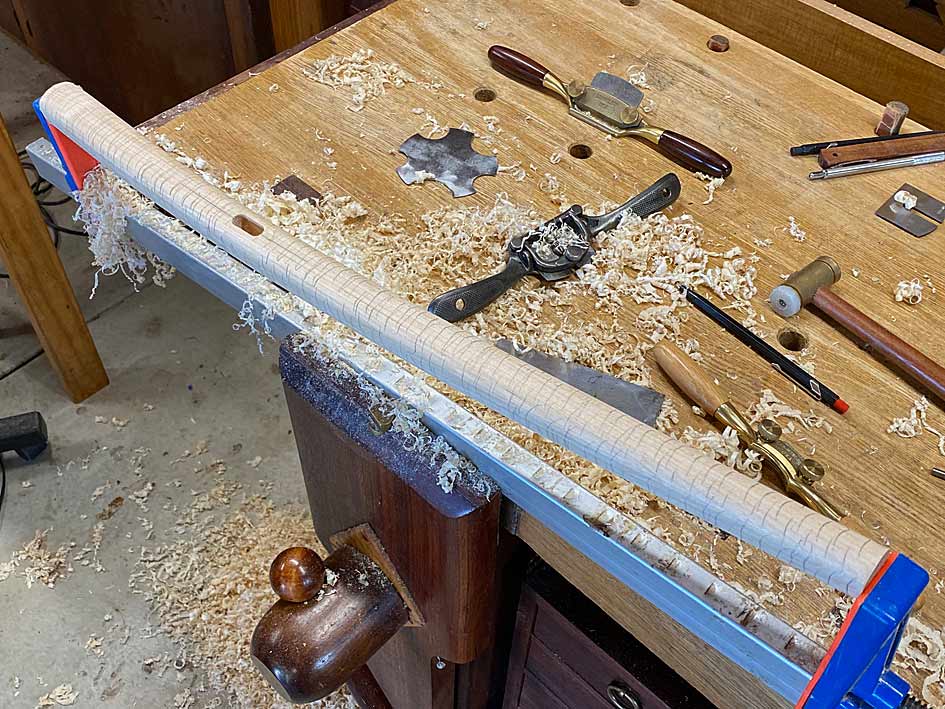
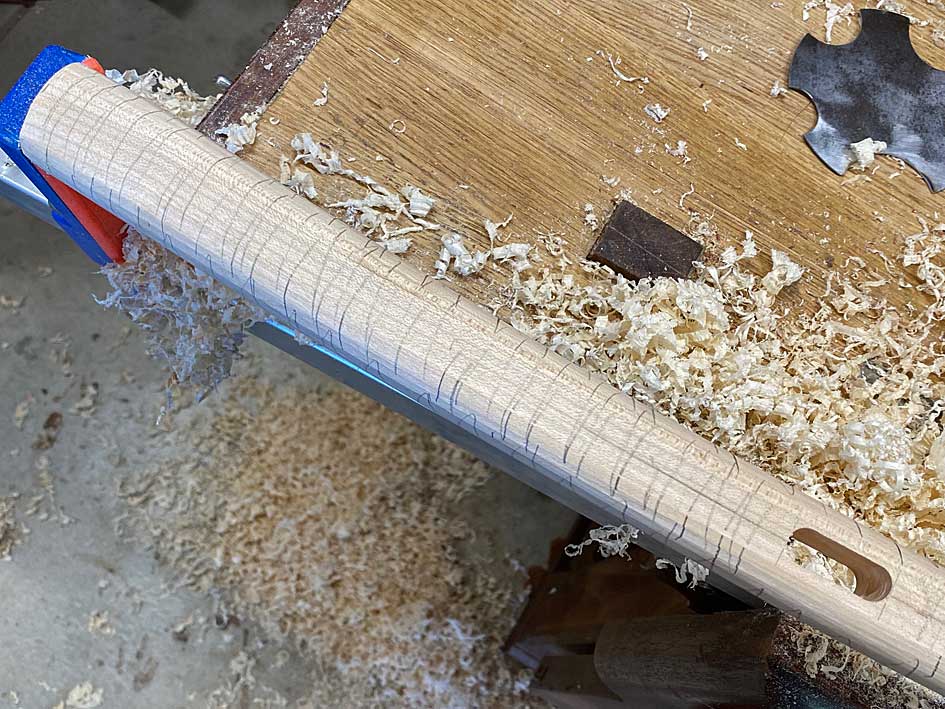
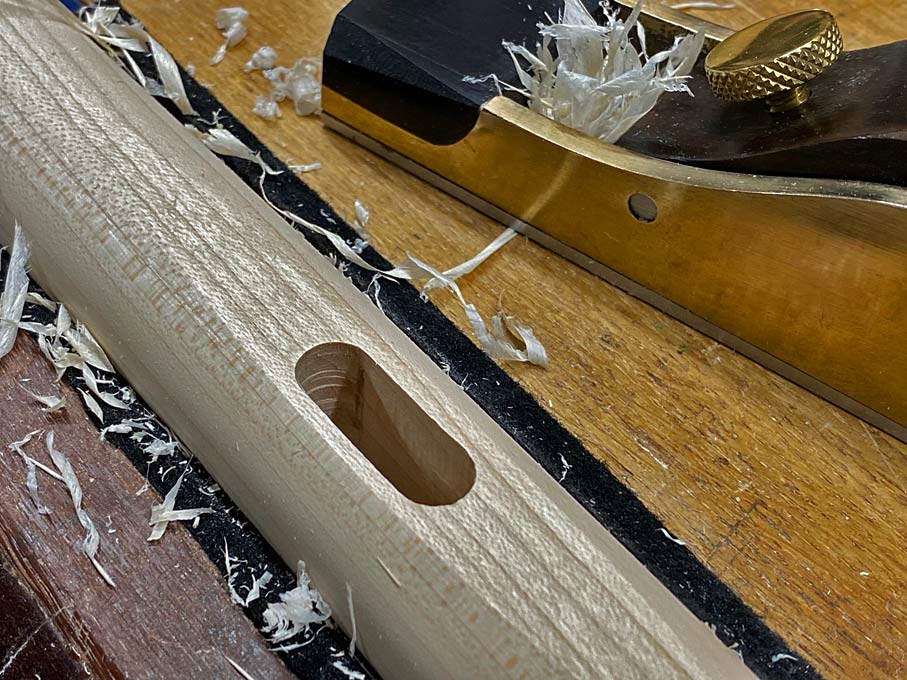
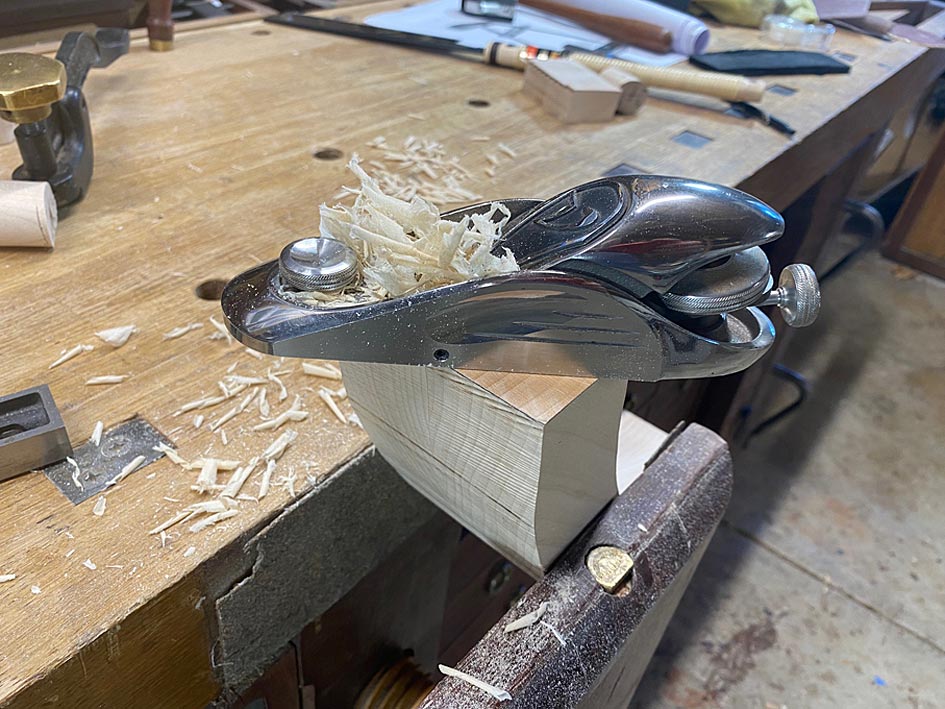
Some of the waste had already been removed by spokeshaves, but now the final shaping needed to take place. The tools used were a convex spokeshave and a set of convex scrapers - different sizes.
Once sharpened, the scraper make nice shavings ...
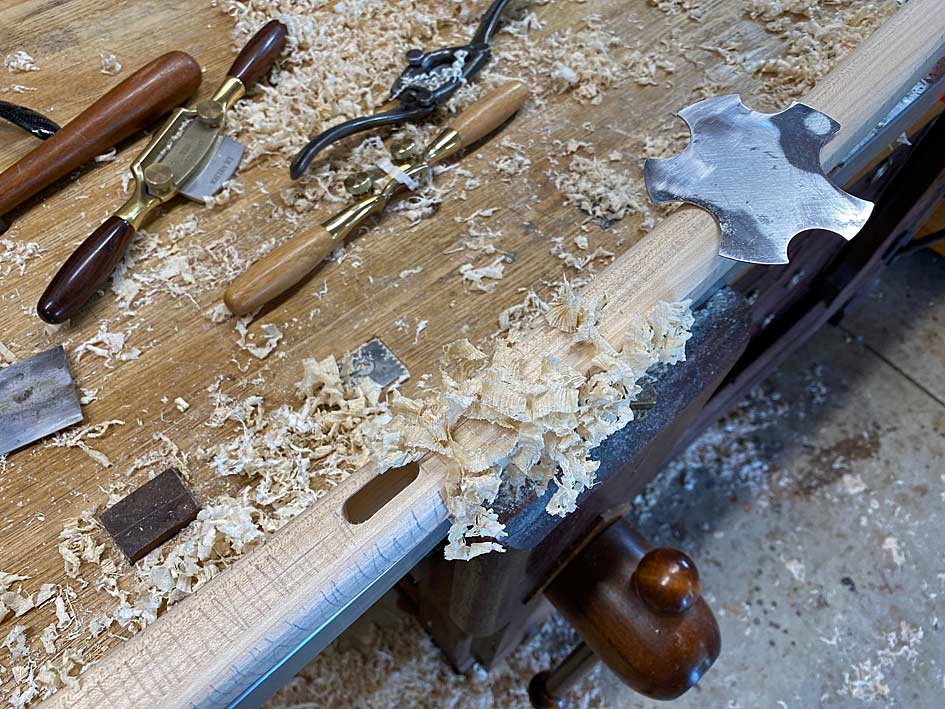
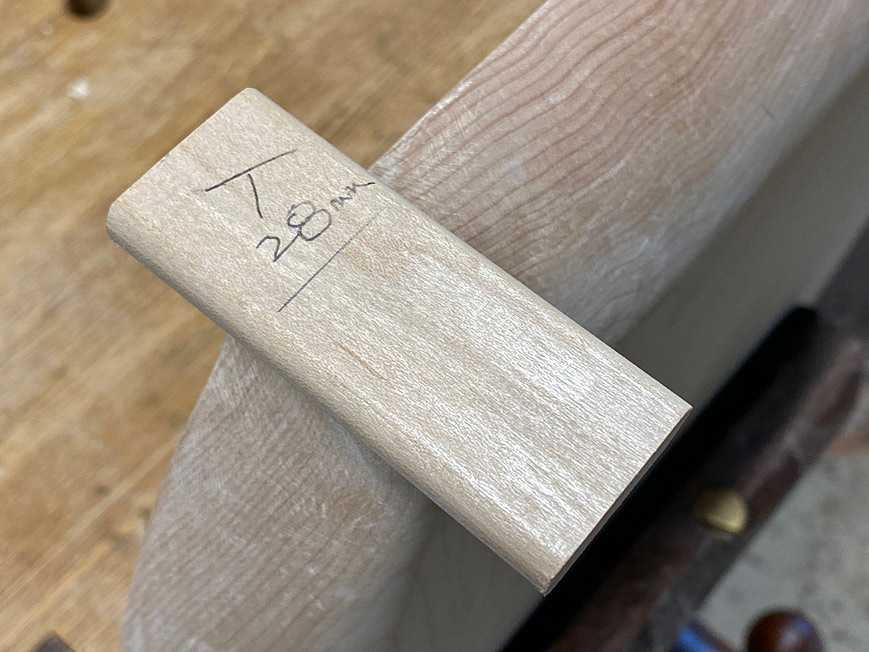
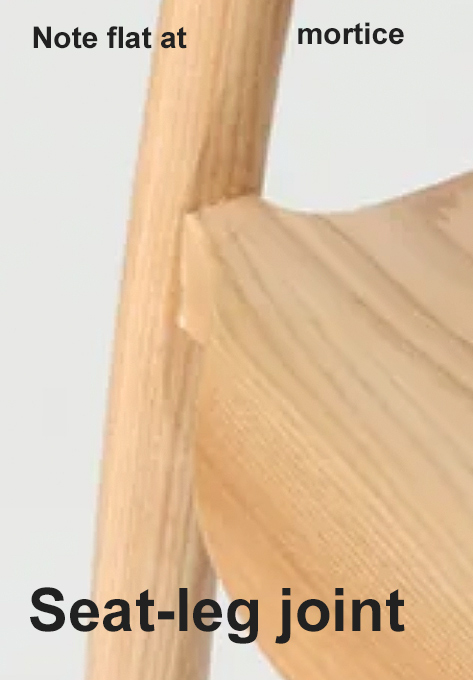
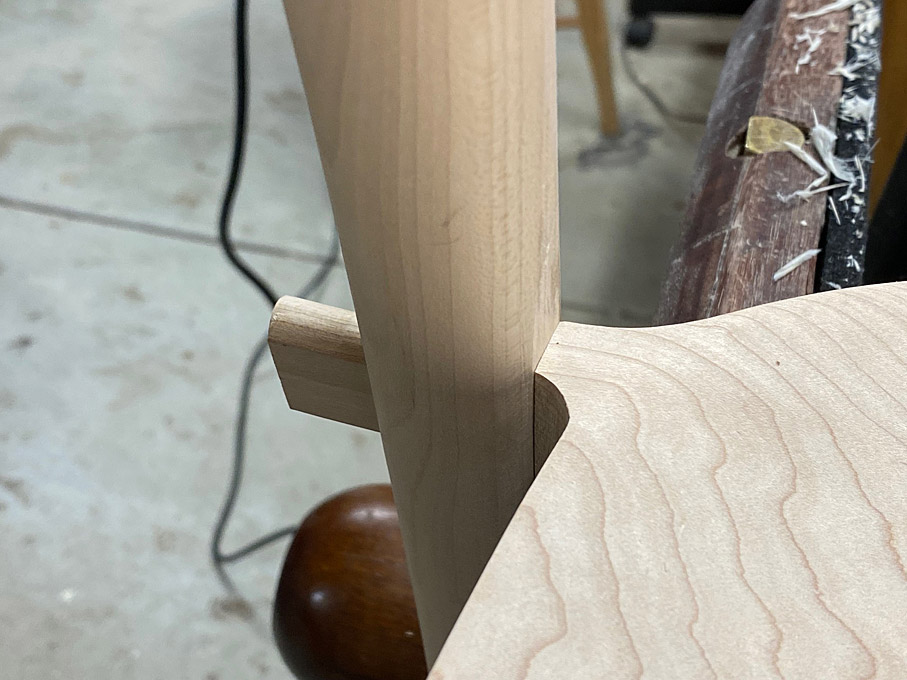
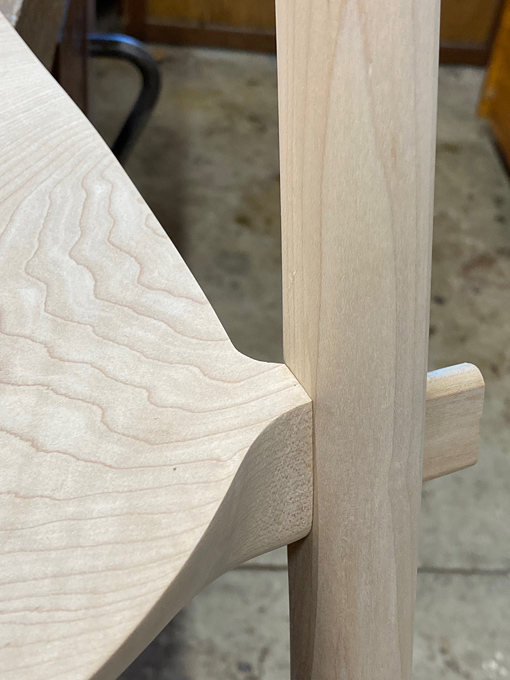
The scrapers also provided a template for the curves to be retained on the legs. The taper on the sides of the legs goes from 40mm at the top to 30mm at the mortice to 25mm at the feet. The edges (facing forward and rearward) is a uniform 30mm. So this meant that there was a single convex scraper for the edges and two scrapers for the sides.
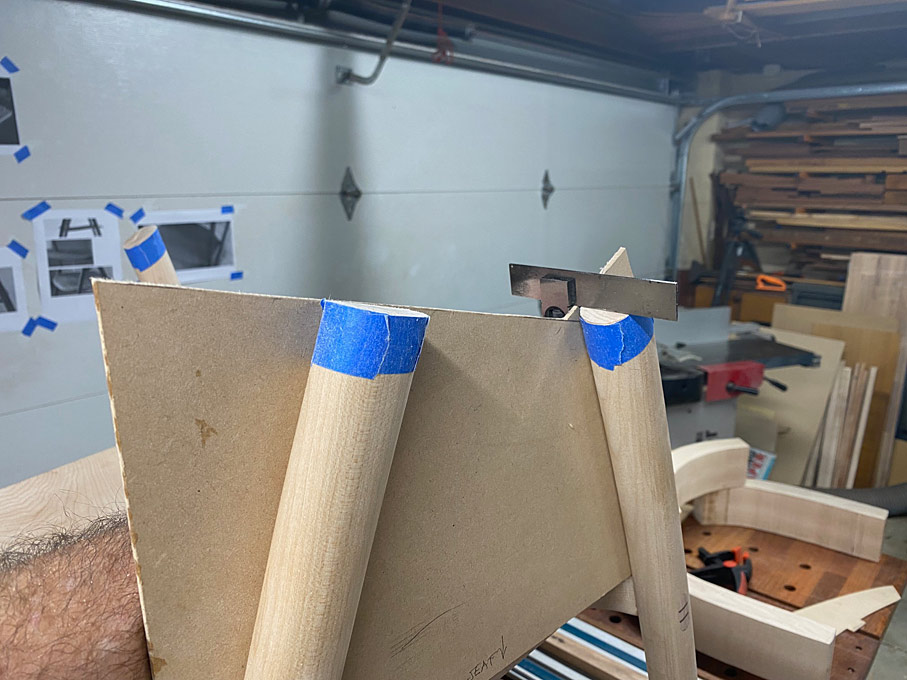
This is the difference between a scraper and the leg ...
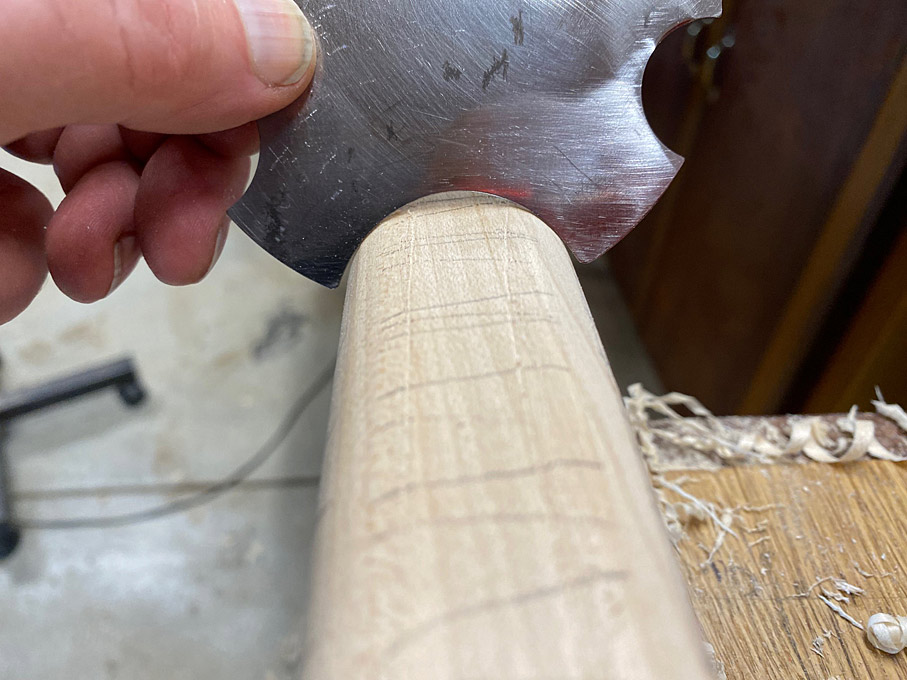
Running it along the leg reveals the low section through the centre ...
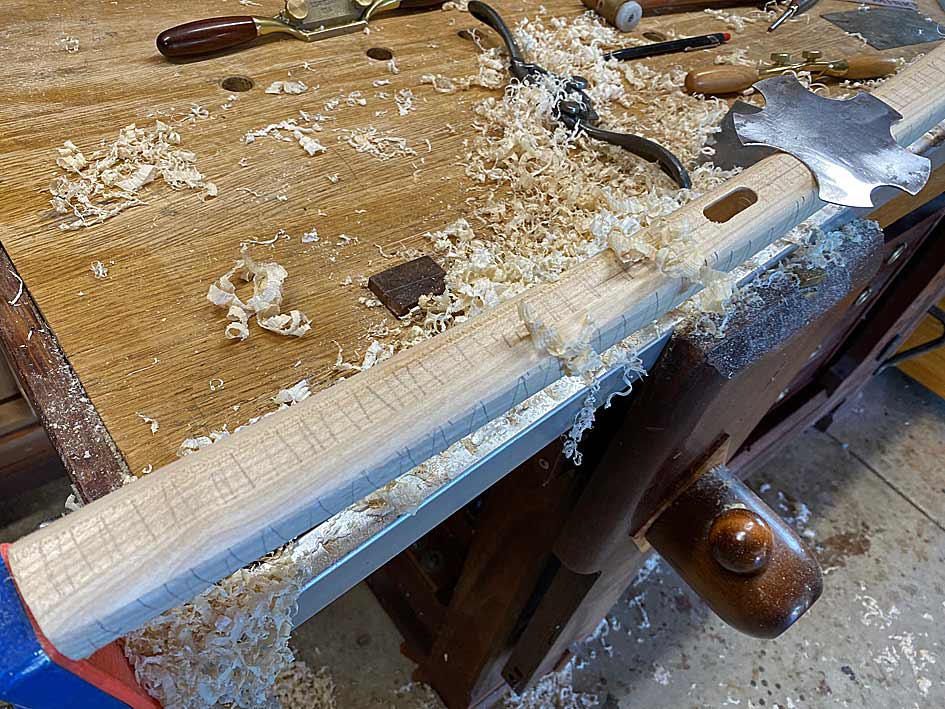
As you work down, so the curve increases, and the high spot gets smaller ...
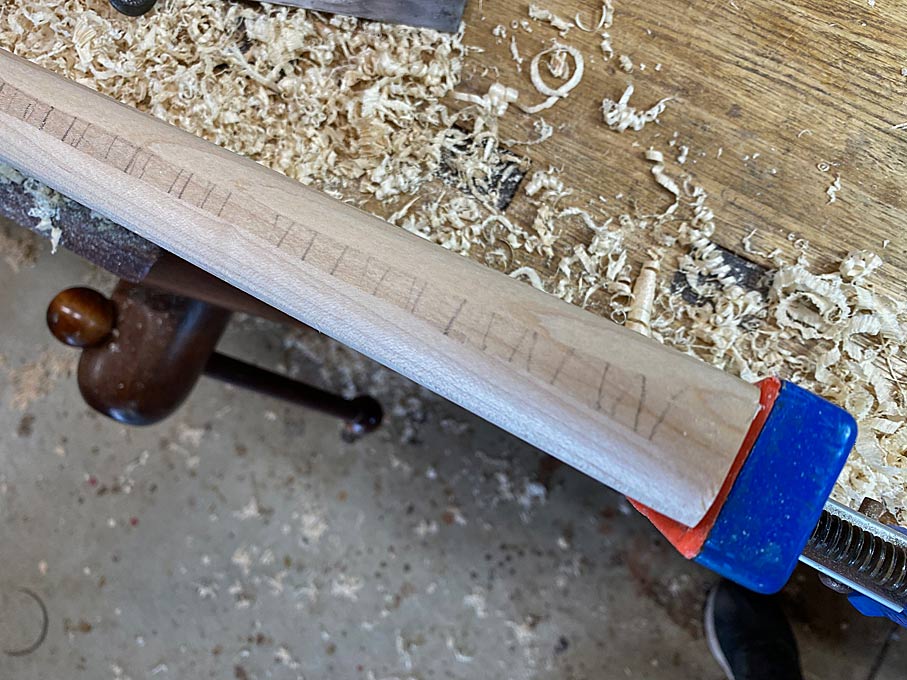
The convex spokeshave helps out ...
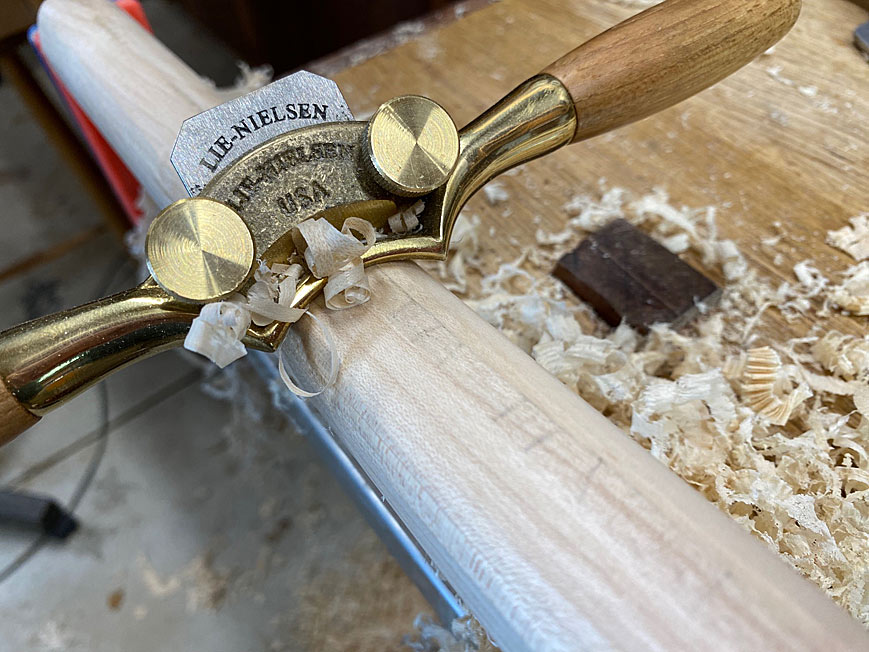
Also, angling the scraper allows a wider cutter to follow the outline of a narrower section ...
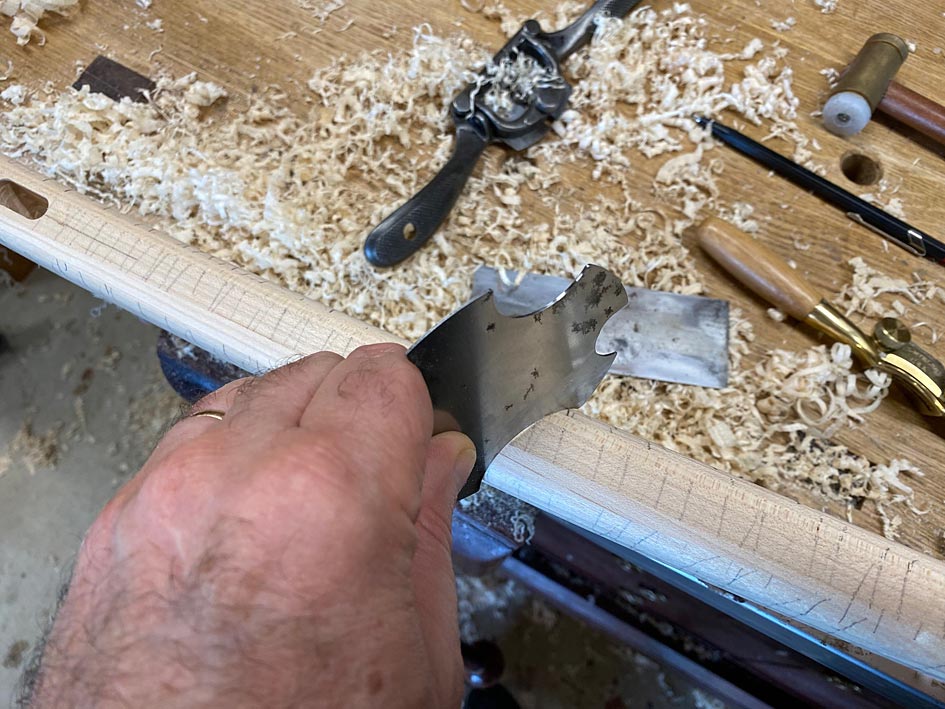
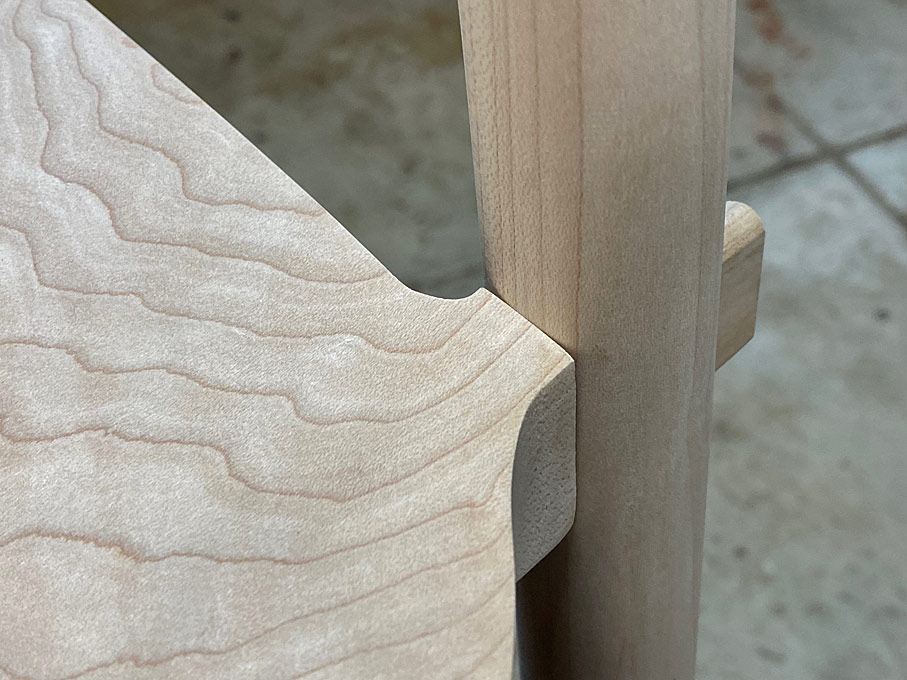
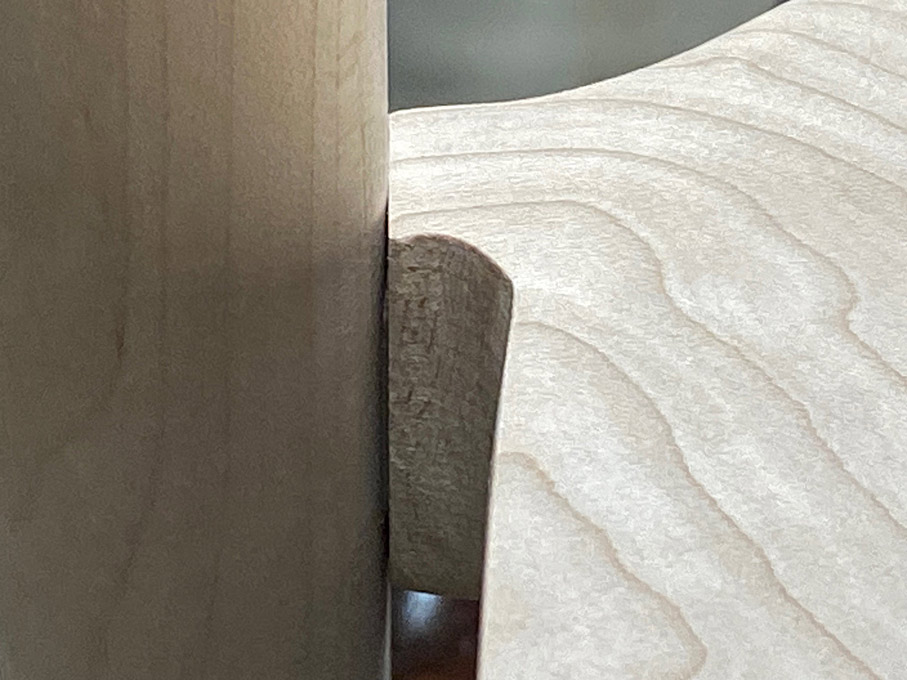
Eventually, the scraper and the leg share the same profile ..
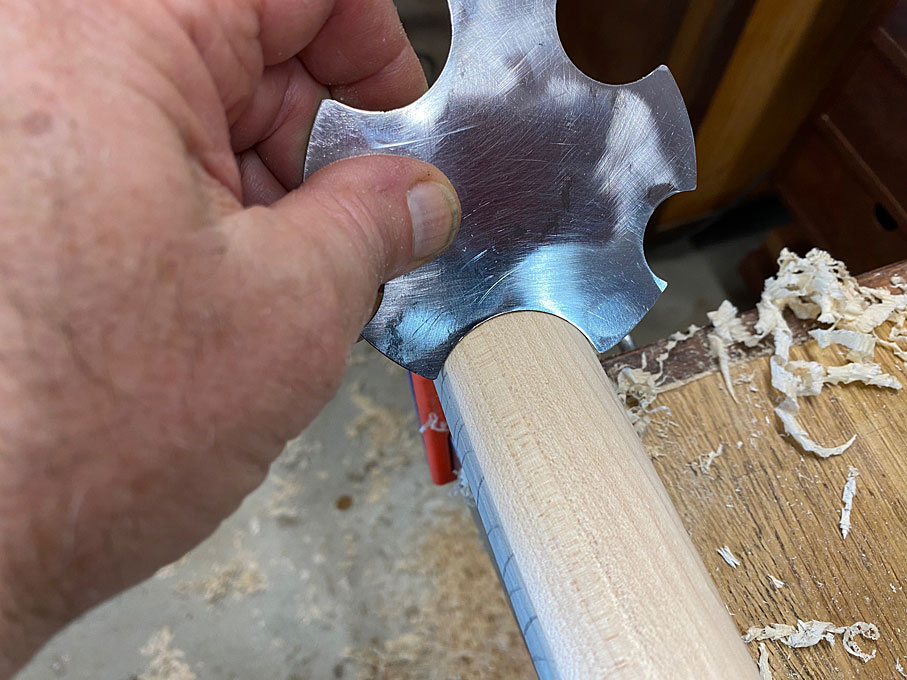
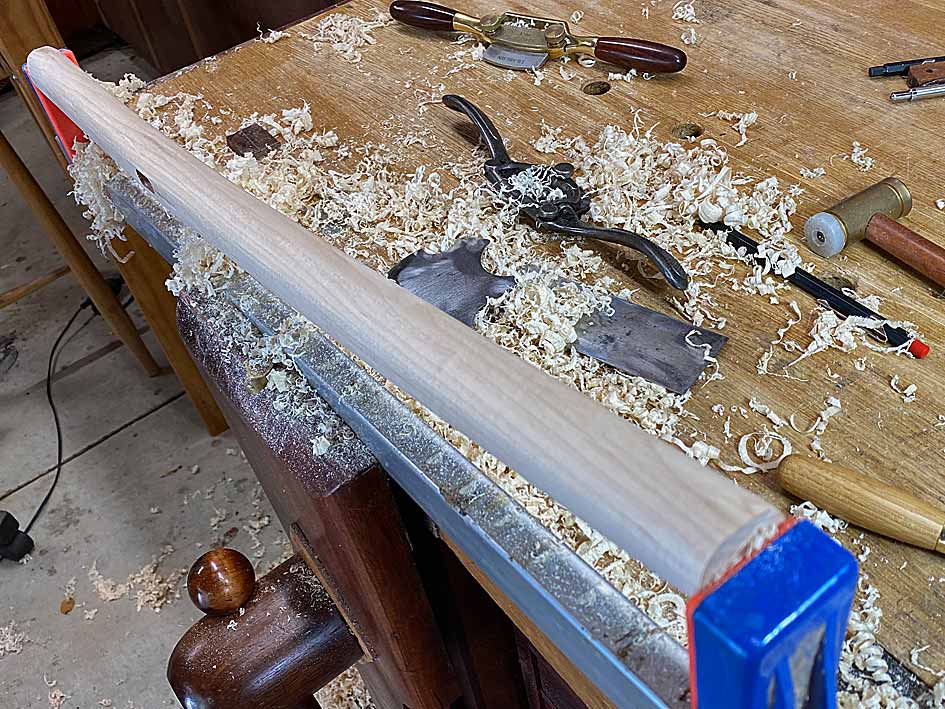
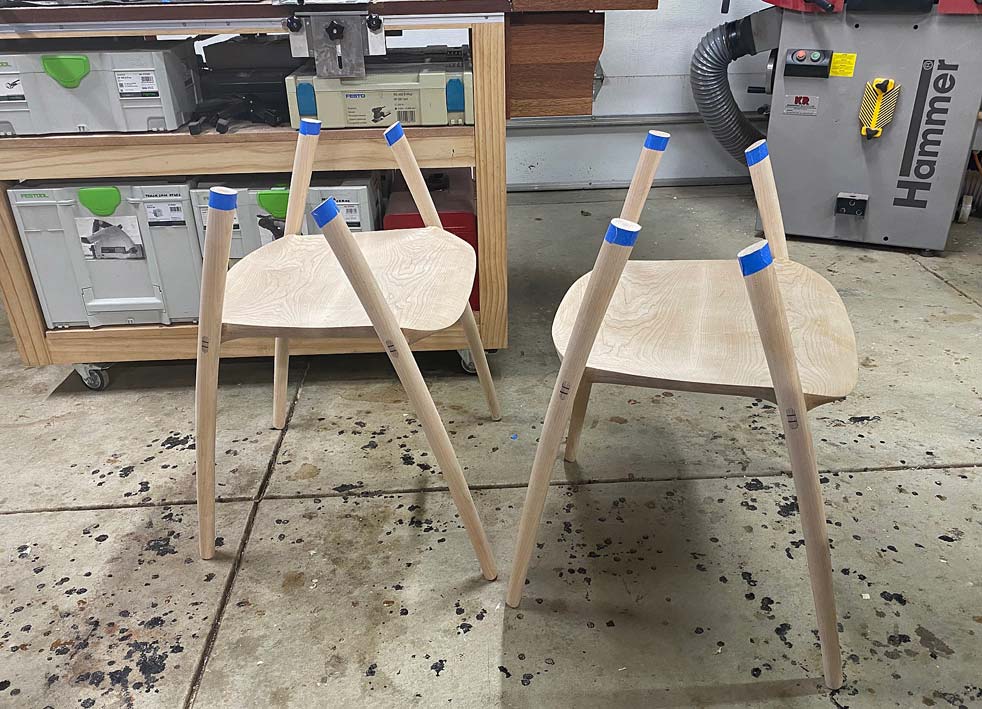
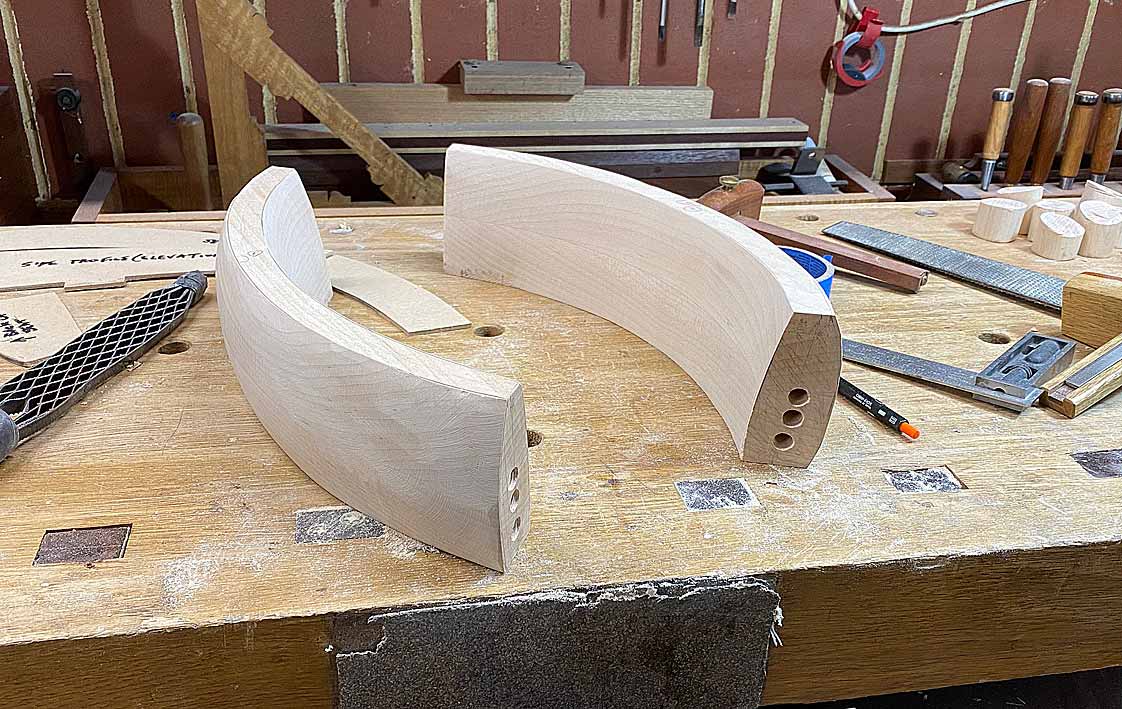
Lots of work on a very humid weekend. All legs completed now ...
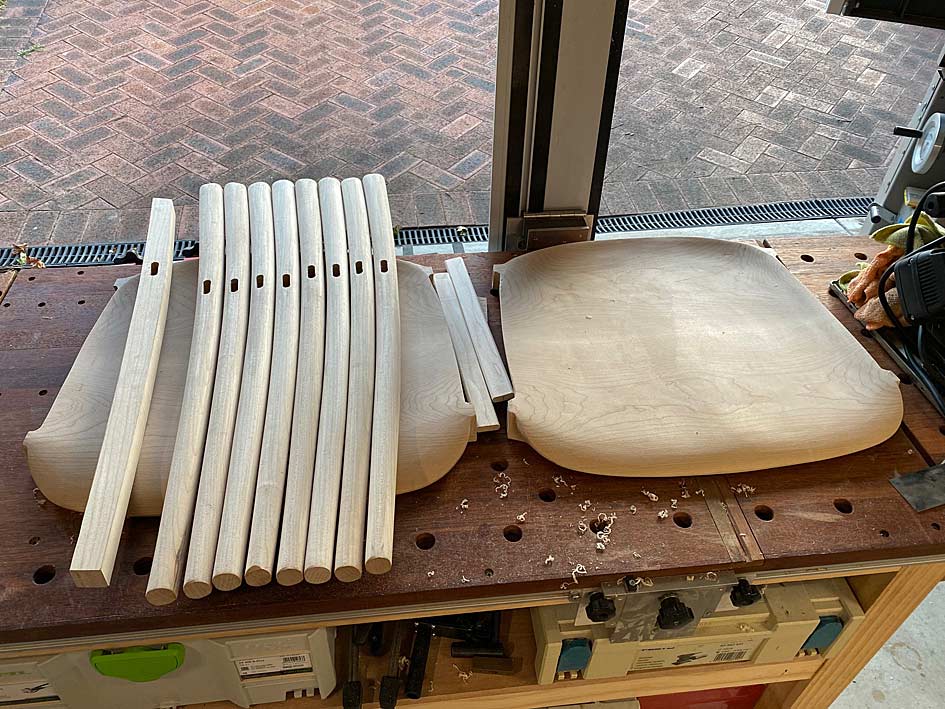
Regards from Perth
Derek

I wasn't sure how to do this - the tapered oval shape. I just accepted that I would discover this as we went along.
I began by shaping the legs in profile and cut the mortises ...

Then knocked off the corners with a round over bit. The leg at the rear was an attempt to do all with just spokeshaves - not great. The round over provides a helpful guide ...

This left them rectangular with rounded corners. This weekend the rectangles became tapered ovals.
Working at the bench, holding the legs in a clamp ...

The first step was to cover the legs in pencil scribble. The purpose here is to make it easier to see where I am working. This Rock Maple is so light in colour and difficult to pick up details.


Some of the waste had already been removed by spokeshaves, but now the final shaping needed to take place. The tools used were a convex spokeshave and a set of convex scrapers - different sizes.
Once sharpened, the scraper make nice shavings ...

The scrapers also provided a template for the curves to be retained on the legs. The taper on the sides of the legs goes from 40mm at the top to 30mm at the mortice to 25mm at the feet. The edges (facing forward and rearward) is a uniform 30mm. So this meant that there was a single convex scraper for the edges and two scrapers for the sides.
This is the difference between a scraper and the leg ...

Running it along the leg reveals the low section through the centre ...

As you work down, so the curve increases, and the high spot gets smaller ...

The convex spokeshave helps out ...

Also, angling the scraper allows a wider cutter to follow the outline of a narrower section ...

Eventually, the scraper and the leg share the same profile ..


Lots of work on a very humid weekend. All legs completed now ...

Regards from Perth
Derek


