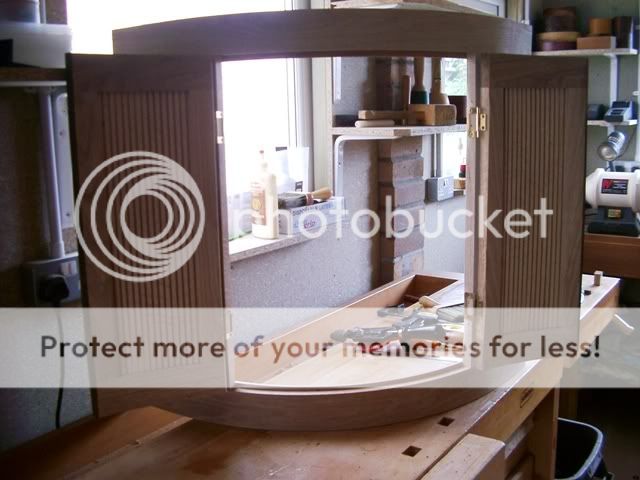
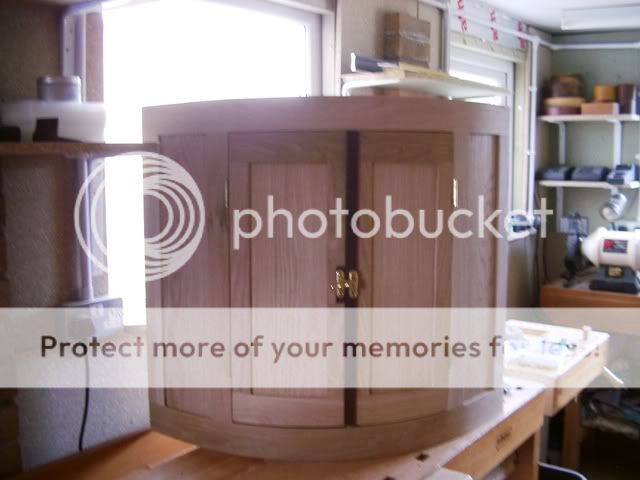
Curved Front Finished.

UKworkshop.co.uk

Help Support UKworkshop.co.uk:

This site may earn a commission from merchant affiliate links, including eBay, Amazon, and others.

Waka

Established Member
UKW Supporter
Joined
8 Mar 2004
Messages
4,496
Reaction score
7
Location
Weymouth
Inspired by Tenpins curved cupboard I thought I'd do one for my boat, this was the front of the existing cupboard which fits into a corner.
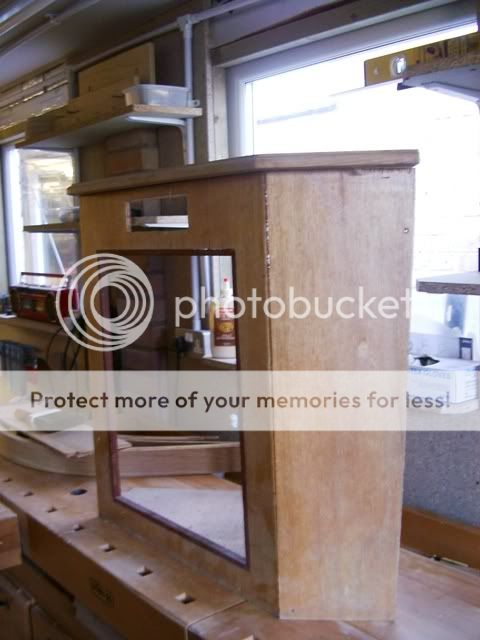
IMGP2438.jpg


First job was to make a former, for this I used some left over bits of floorboard that I'd used in the workshop, this glued together made the ideal former.
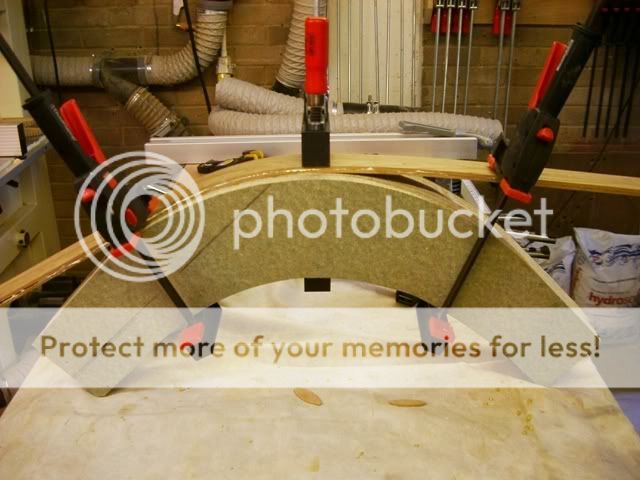
IMGP2436.jpg


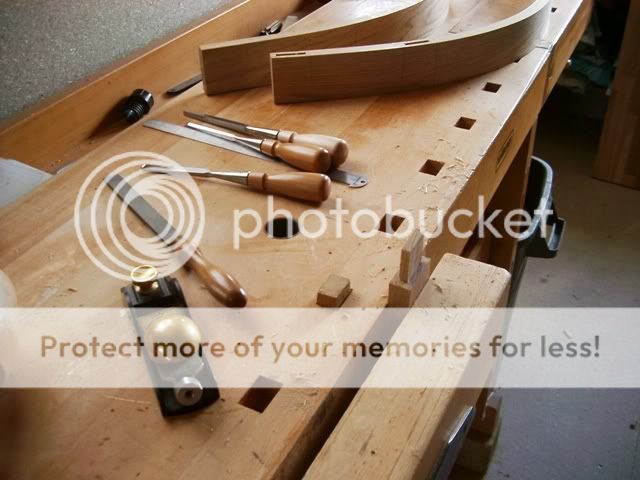
I then resawed some oak on the bandsaw into thin strips 3/16" thick and place two together on the former.
IMGP2437.jpg


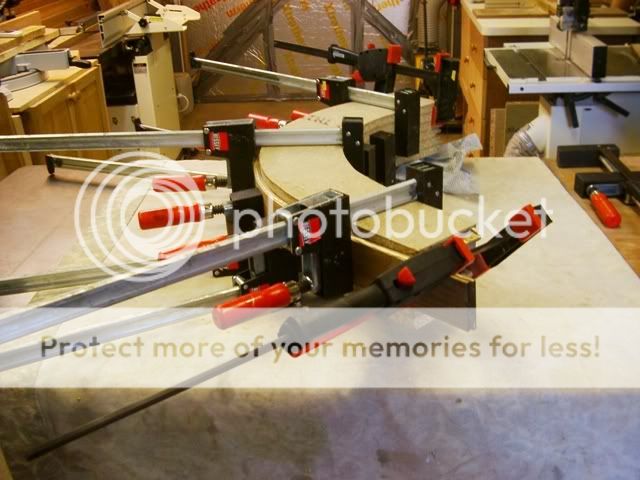
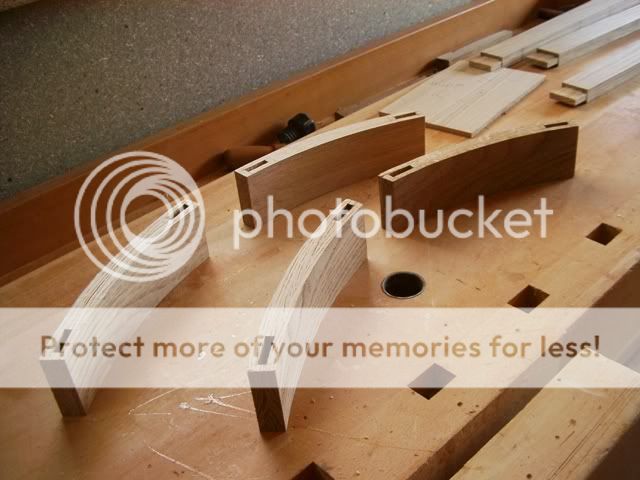
I then repearted this with another two pieces, then the two double pieces were laminated over the former, the result being a curved section 3/4" thick.
IMGP2440.jpg


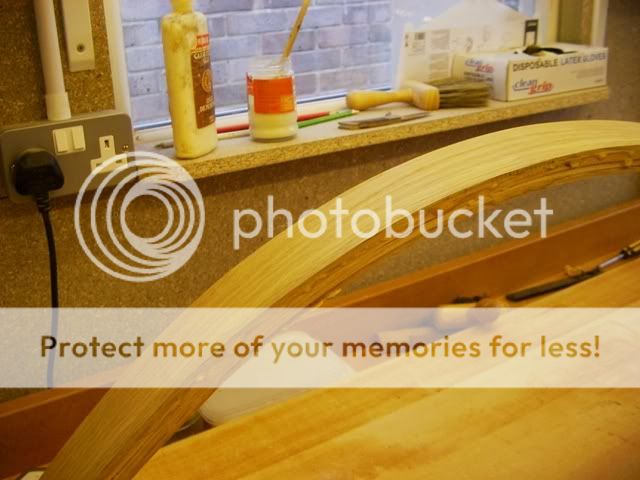
Once cut to size I was amazed that they were both a perfect match, remember I've never done this before.
IMGP2441.jpg


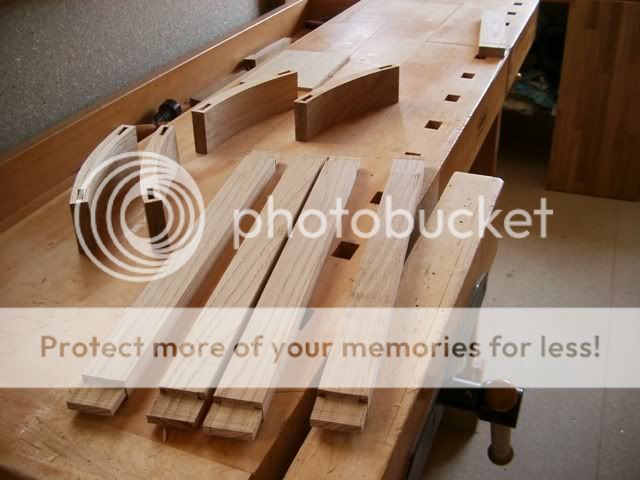
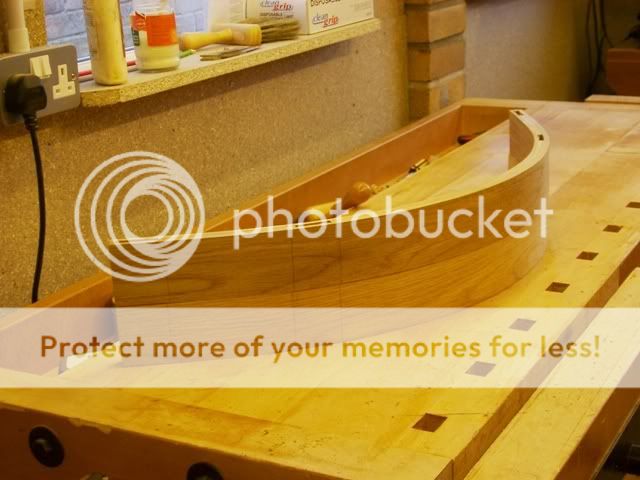
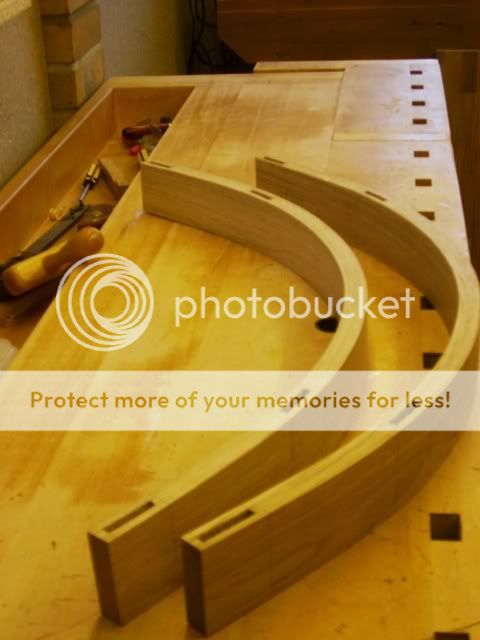
Next job was to cut the mortices in the curved sections, I wasn't to sure how this was going to turn out using the morticer, but in the end it went pretty well.
IMGP2442.jpg


Today I'm going to put the uprights in that will form the small panels each side of the door, hope this goes as well as the bits so far.
 
Looks very good so far. I intend doing something with curves myself and have a 1" thick cherry board that I need to resaw. Maybe I should add a band saw to my wishlist.

D
 
Lord Nibbo":1gaw5889 said:
Looks pretty cool Waka :)

I do hope though (the last pic) that i'm not looking at two bottoms and one is upside down. :wink:

Swing one 180 degrees and it fits on top nicely, therefore one top one bottom. You had me worried there for a moment :wink:
 
Looking good Waka. I've only ever bent wood using steam, and to see it work so well without the steam makes me wonder why I bothered :roll:

Keep the piccies coming :wink:
 
Tony":2il9i6hg said:
Looking good Waka. I've only ever bent wood using steam, and to see it work so well without the steam makes me wonder why I bothered :roll:

Keep the piccies coming :wink:

Hi Tony

It may depend on how tight you need the curves and the type of wood. I am sure I recall a coat rack made using solid pieces of wood and the wood needed to be steamed first.

D
 
Waka,
Nice job.

Having done cold forming twice now, on chairs backs (x 4) and door handles handles (x2), I agree with you that there is a little surprise at how easy it was to obtain acceptable results.

For anyone who has not tried it, do not be afraid it is not difficult.

Cheers

andy
 
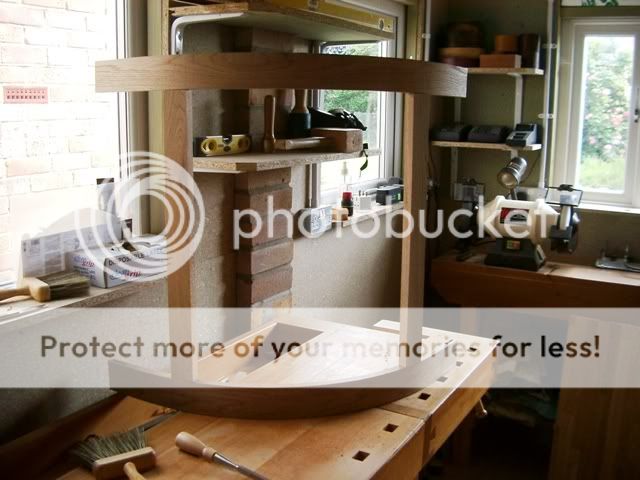
Made a fair bit of progress this morning, started off doing the tenons for the 4 stretchers, this went relatively well.

IMGP2443.jpg


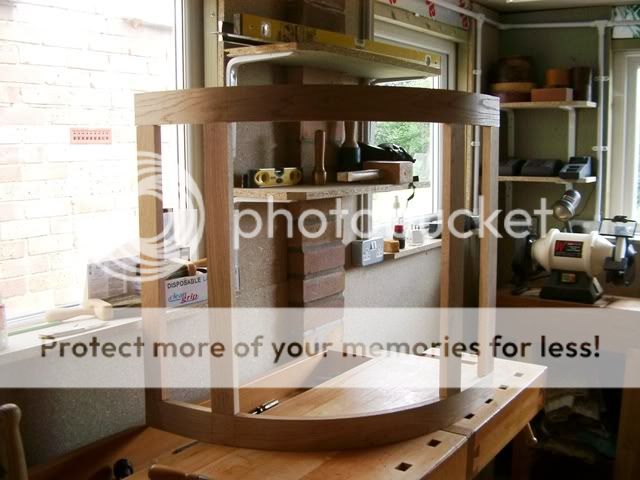
All 4 complete so its time to see if it will go together on a dry run.

IMGP2444.jpg

IMGP2445.jpg


I do love it when a plan comes together.
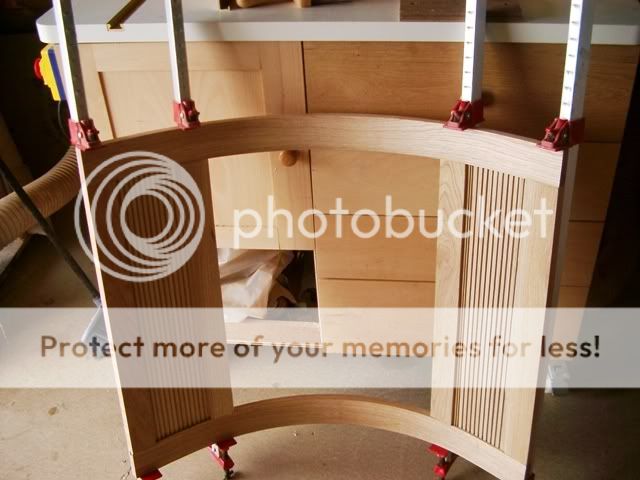
For the side panels I have used o9ak faced MDF and just run a kerf along the back every 10mm, I wasn't sure how far they should be apart but it curved the required amount, so it looks like I got that right.
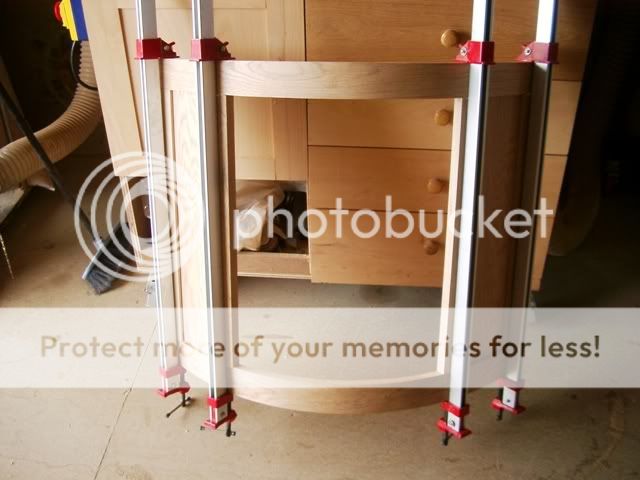
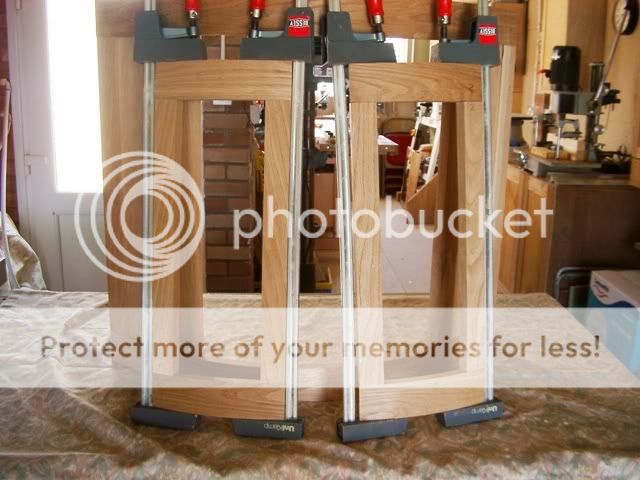
Now for the glue up, always a tense time I find but as luck would have it a smooth operation.

IMGP2446.jpg


IMGP2447.jpg


Tomorrow I'll tackle the door, I've already got the wood curved and laminated so it should be just a case of cutting to length and putting in the stretchers, umm have to think about that one.
 
Looking good Waka, when you removed them from the former did they maintain the same profile or did they spread slightly?
 
Oryxdesign":1mey09se said:
Looking good Waka, when you removed them from the former did they maintain the same profile or did they spread slightly?

When I removed the two strips from the former they did spring back quite a bit, but when laminating the two sections of 2 then there was hardly any springback. I did actually make the former slightly smaller than the the curve I wanted to allow for the springback, again this was trial and error.
 
Waka.
That looks really good for a trial and error piece,especially for your first attempt. :D
Looking forward to the finished piece.
Is this been made in the new part of the WS :?:
Seem to have missed the final finishing stages of the build :?
 
Paul.J":1kckd7tm said:
Waka.
That looks really good for a trial and error piece,especially for your first attempt. :D
Looking forward to the finished piece.
Is this been made in the new part of the WS :?:
Seem to have missed the final finishing stages of the build :?

Some of it was done in the new build, I haven't actually shown any pic's of the completed WS, thought I'd do a WS tour sometime during the summer when I can get the other woodkateers together.
 
Another good day in the workshop this time making the doors for the front of the cabinet. First job was to morise the rails, this went ok as I'd learnt from doing the others.

IMGP2448.jpg


Now full steam ahead on doing the tenons for the styles, again relatively easy, before I'd finished them off I thought I'd just check the measurements again, good job I did becasue the styles were 1/4" to short, can't think how I messed that up. So start again with the styles.

IMGP2449.jpg


Still got to trim up the sides of the tenon.

Time for a dry fit to see what it looks like, umm not bad.

IMGP2450.jpg


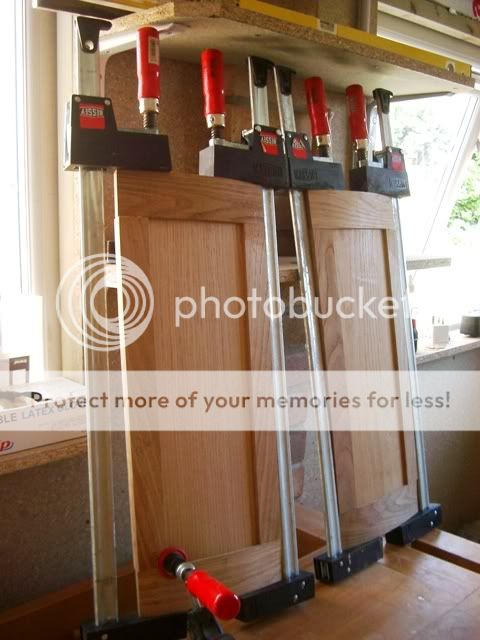
Now its time for preparing the panels, I did the same as the panels for the frame, ran a kerf on the underside to help with the bending, then its glue up time.

IMGP2451.jpg


I'm quite pleased with the way things have turned out so far, its certainly been a learning experience for me.

Tomorrow they'll be a lot of sanding, scraping etc in preparation for the finish.
Then its the top and inside to work on, I don't have to worry about sides because it will be up against a corner section of the boat.
 
Mcluma":52mm2d5y said:
Looks like you are making good use of the new shop.

Certainly am, its wonderful to have the extra space, I'm also getting fit walking from one end to the other, the other thing I'm not used to is working with natural light, really makes a difference.
 
Your making a really nice job of this! keep posting the pics. I know someone who's making something similar but has used constructional veneers at 1.6mm thick to make the curved parts. Needed a male and female former to keep them right though, not just clamps.
 
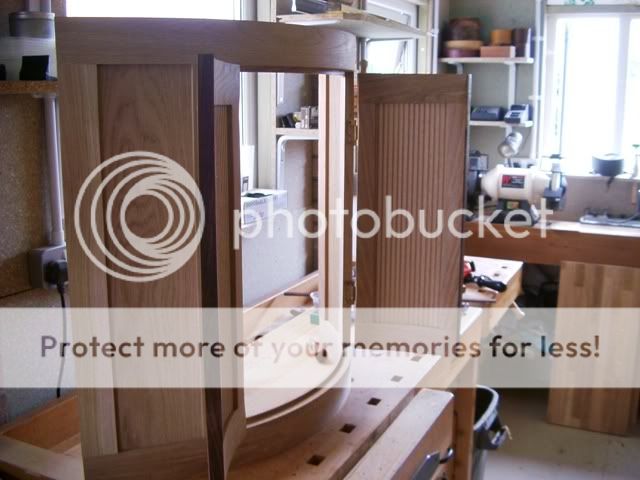
Spent yesterday and today playing with the doors, for some reason one of them just didn't want to p[lay, I got there in the end and I'm not to sure how I actually solved the problem

IMGP2452.jpg


IMGP2454.jpg


Beacuse I had to plane off a bit here and there thre gap in the middle got a little out of had, only 3/16", so I covered this up with a strip of Indonesian Rosewood.

The brass catch will notbe the liking of everybody but as this is going on a boat I've used a traditional one.

IMGP2453.jpg


Tomorrow I'll start working on the top, luckily I have a 2ft wide board of oak, so I'll be able to make the top out of one piece, then its the inside shelving which will be out of ply with an oak lipping.

When I've fitted this on the boat I'll taks some pic's of it in place.
 

Latest posts

Back
Top