Nailer
Established Member
These have been a on going project for the last eighteen months :shock: but with re plastering and decorating the upstairs of our house....a dining room extension and the birth of our son (9mts now)......i've been a bit busy 
Now things have calmed down a bit i thought it was about time i got them finished......more to the point there getting in my way
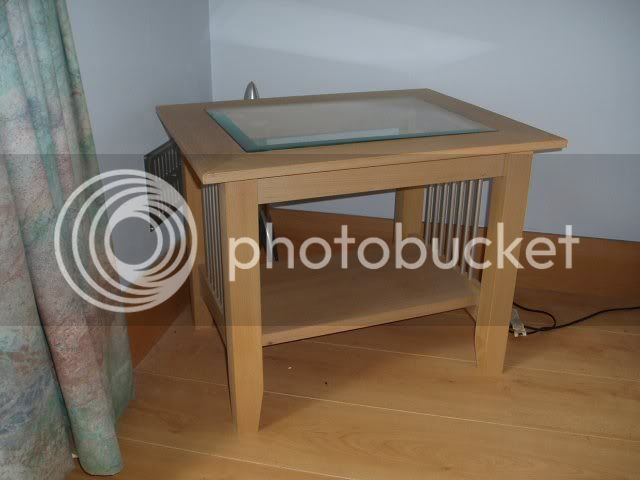
Anyway i started building them to go with the two tables i built for the lounge about two years ago
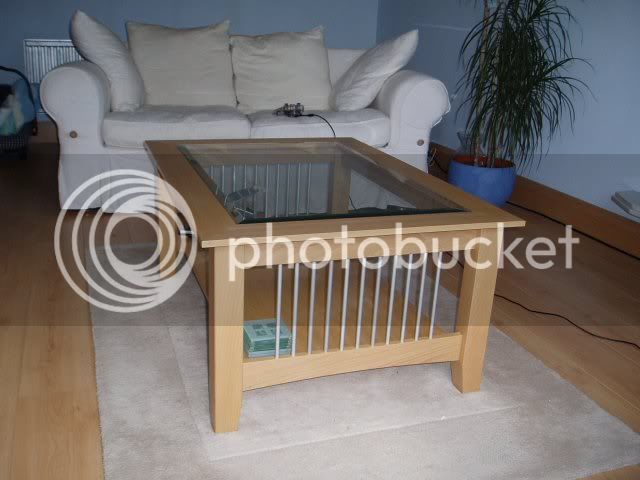
Coffee Table
Side table
The carcases are built out of 19mm beech veneer mdf biscuit jointed together at the back.
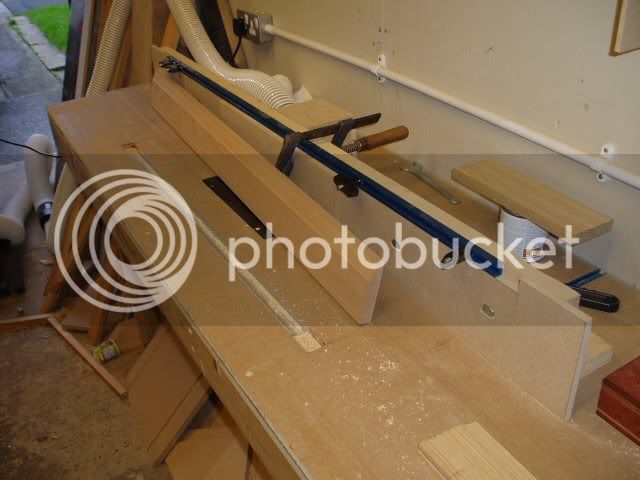
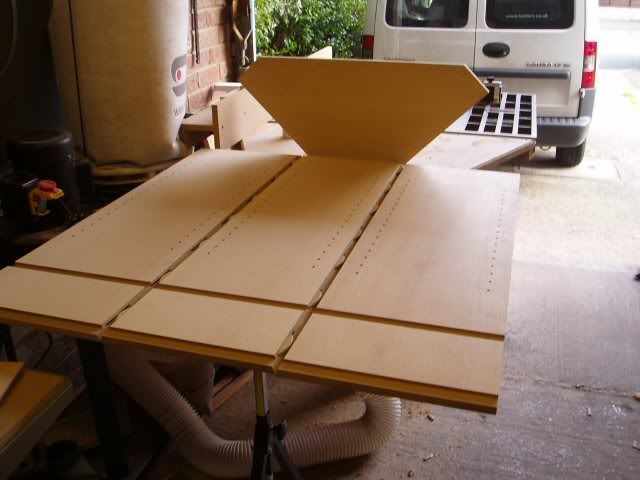
I cut dado's and rebates for the shelves and top/bottoms using the table saw with a freud 8" stacked dado cutter
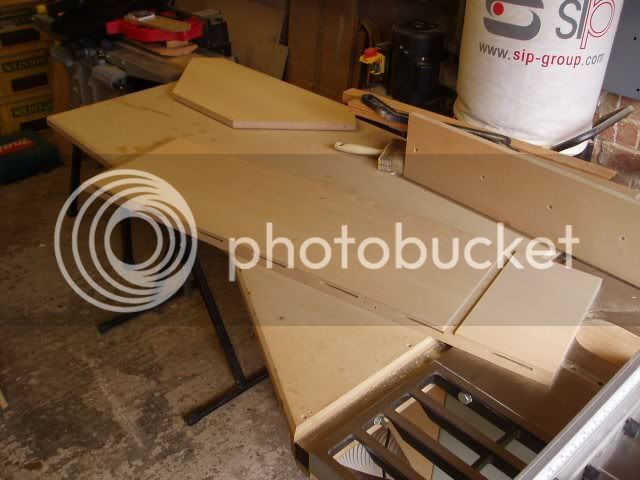
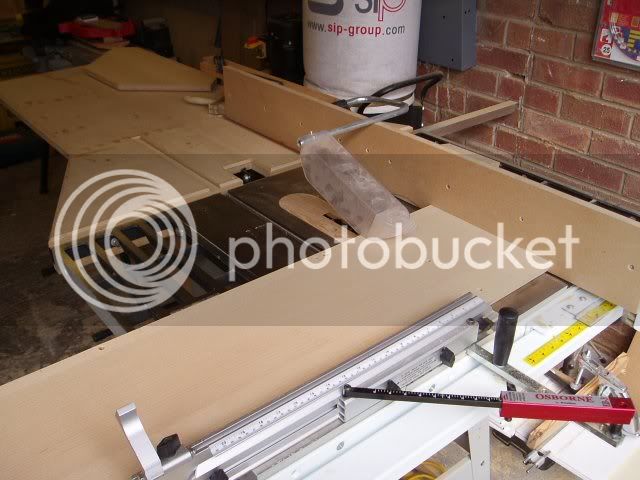
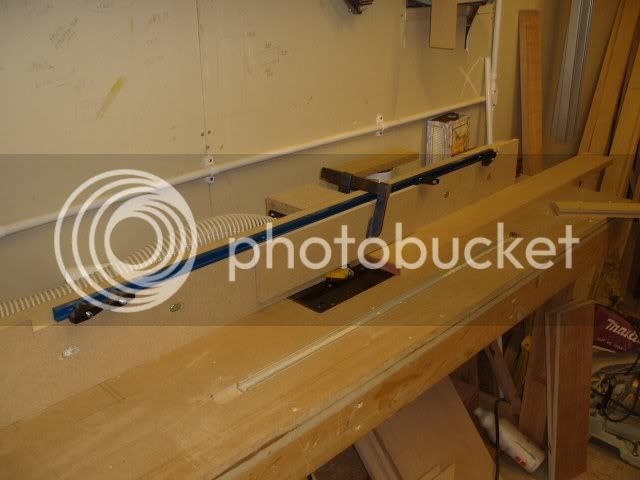
I then drilled out the 5mm holes for the shelf supports using a router and home made mdf template.
The holes are 35mm apart and are 16mm dia to match the guide bush.
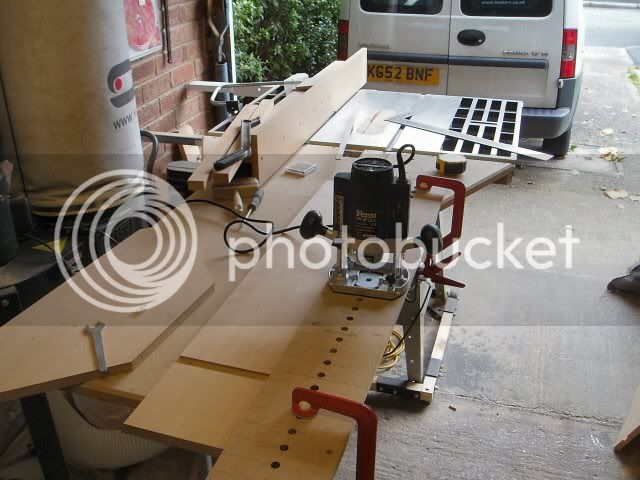
Here they are ready for glue up
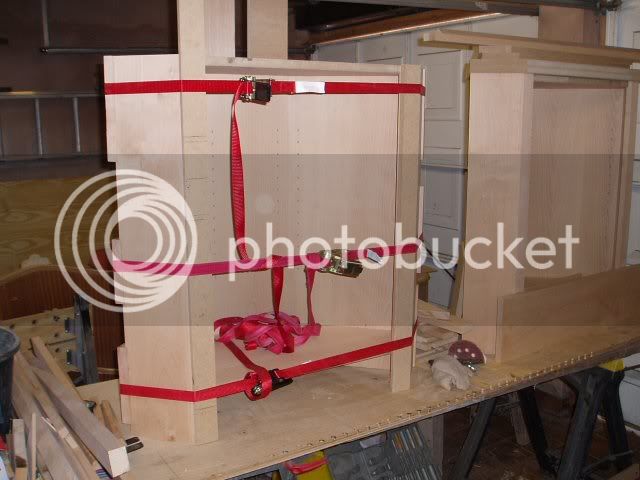
Err....forgot to take a pic of the glue up but they where clamped using band/ratchet clamps.
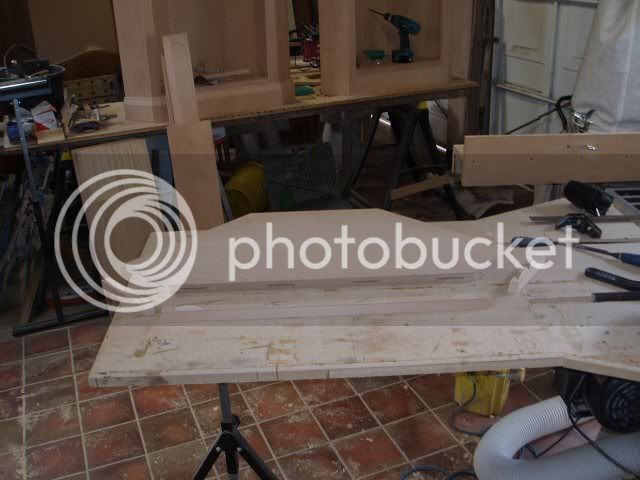
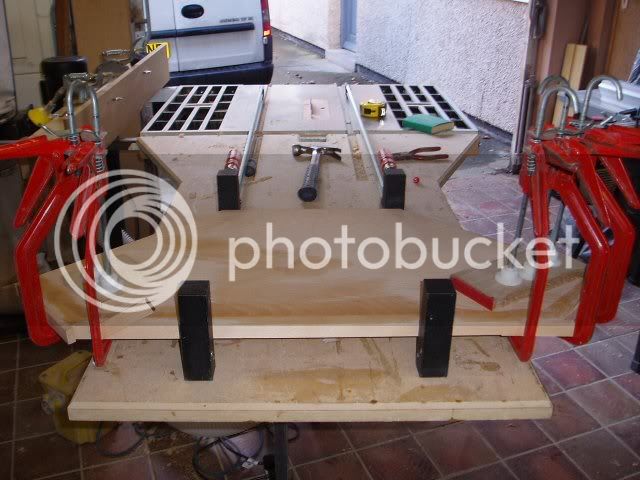
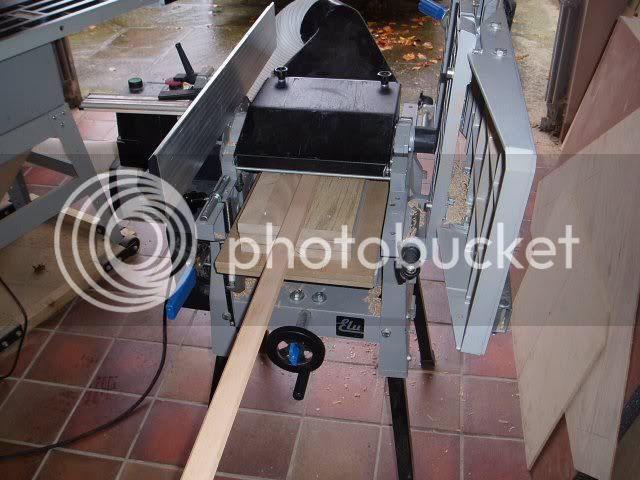
I made the fronts out of solid beech....the bevel cuts where ripped on the table saw and again both had dado's cut and the joints where reinforced with biscuits.I cut the two pieces out of the same piece of beech so the matching grain followed around the corner.
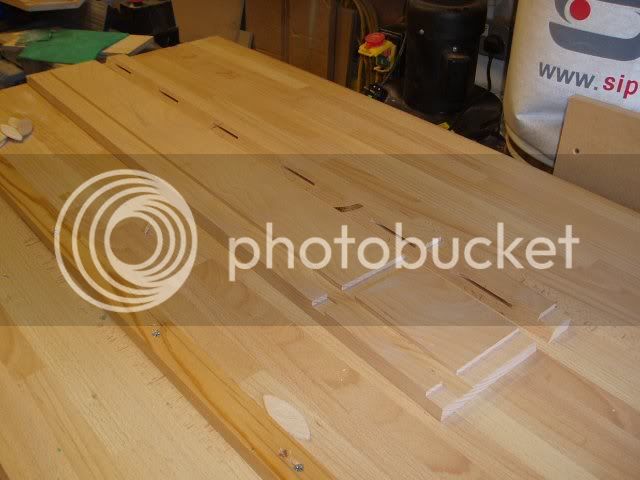
The glue up of the fronts
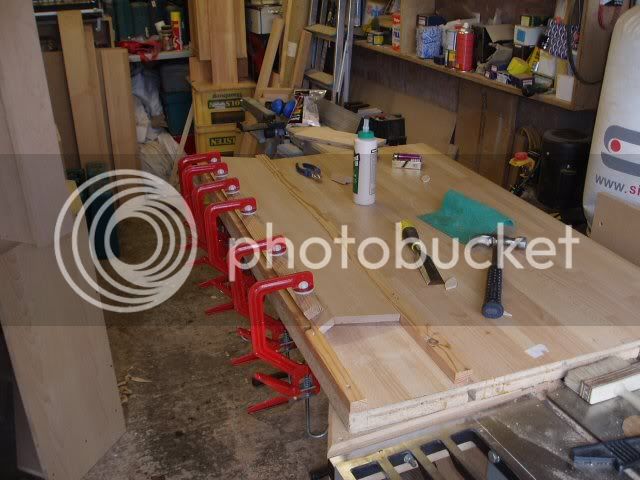
Here's one i prepared earlier
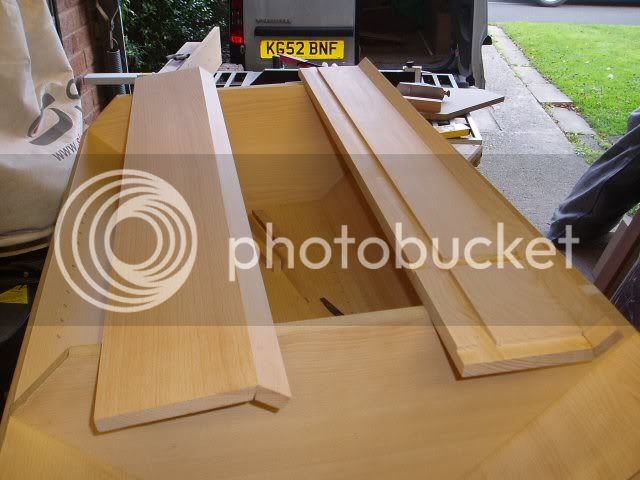
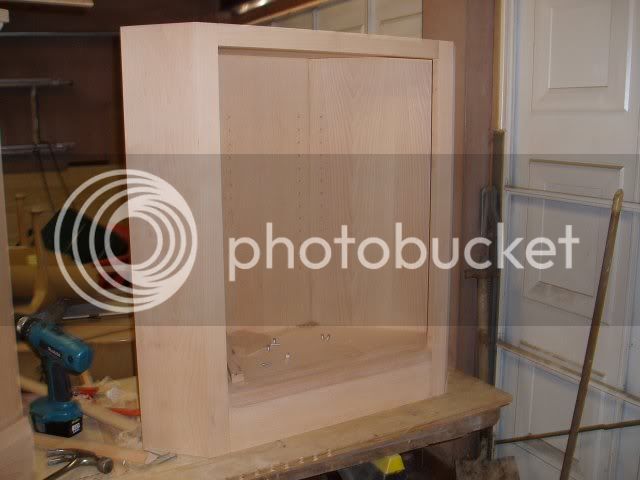
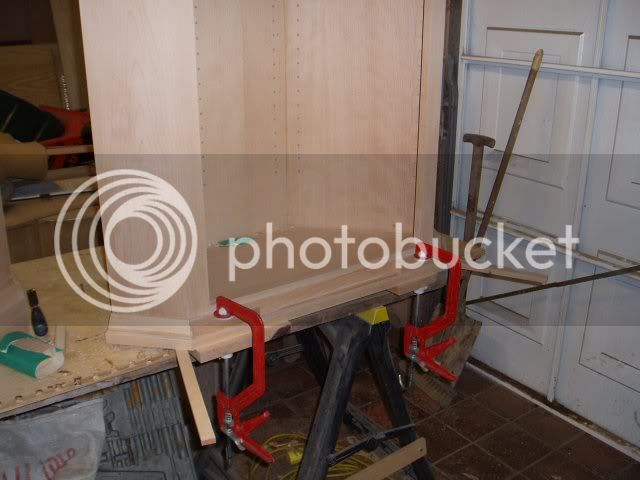
Gluing the fronts to the carcases
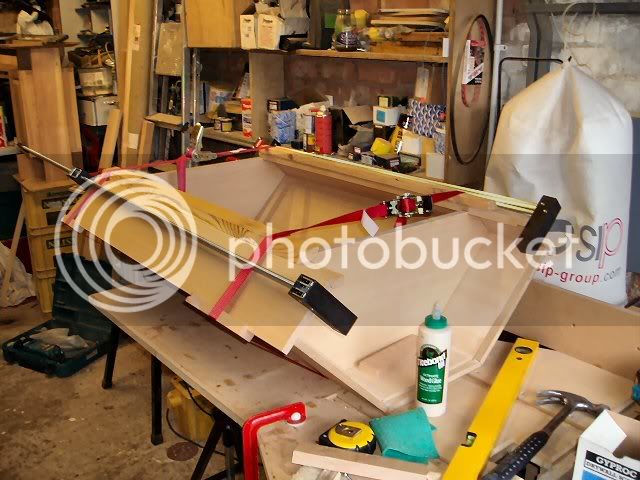
The bottom was glued in and was edged with beech along with the top and shelf.
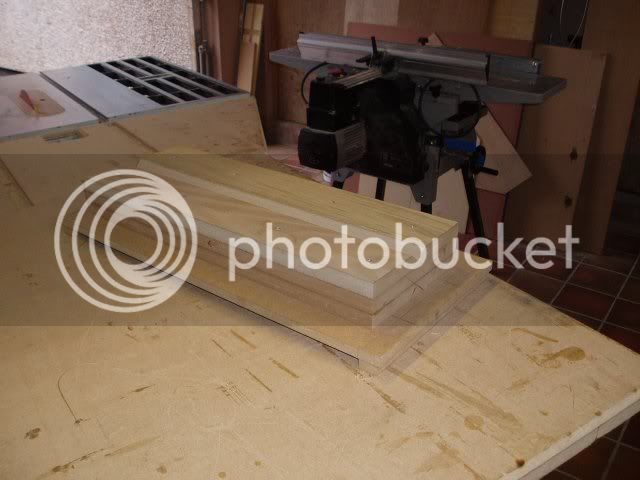
Cornice molding was next and this was made up of off cuts glued together...the rebate was cut on the table saw along with the bevel cut which was cleaned up using a hand plane :shock: :wink:
The miters where cut on the table saw using the miter gauge
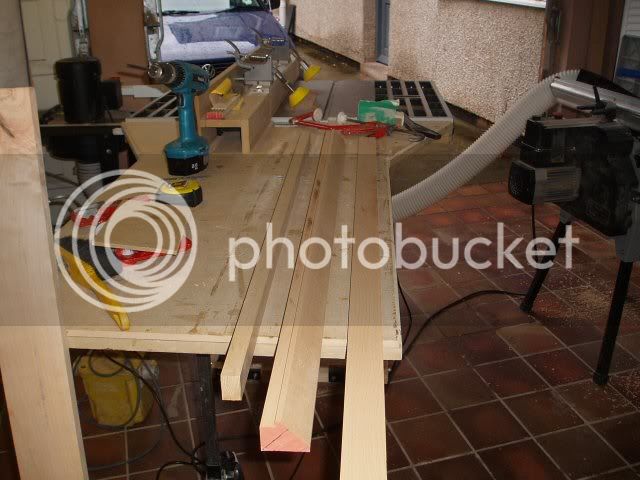
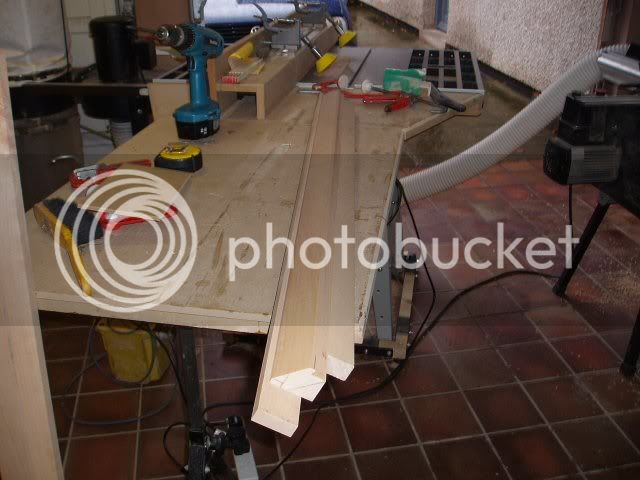
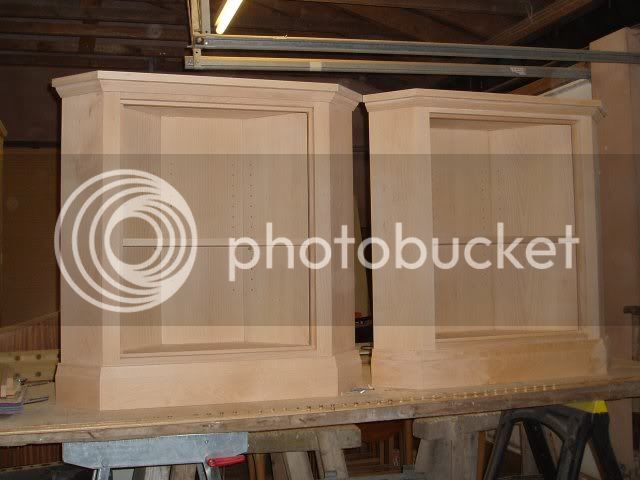
The units with the cornice and edgings fitted
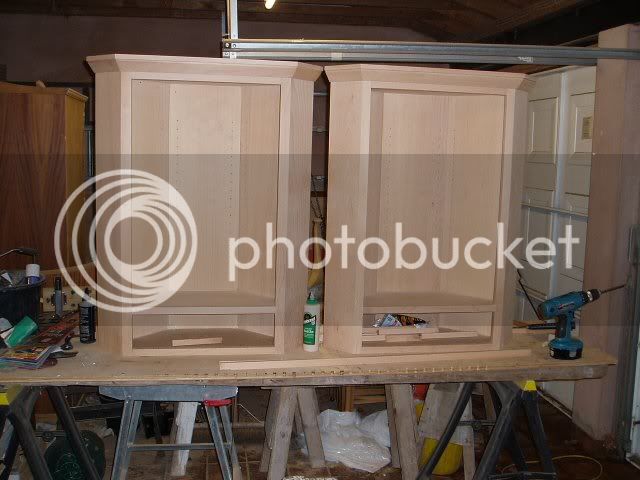
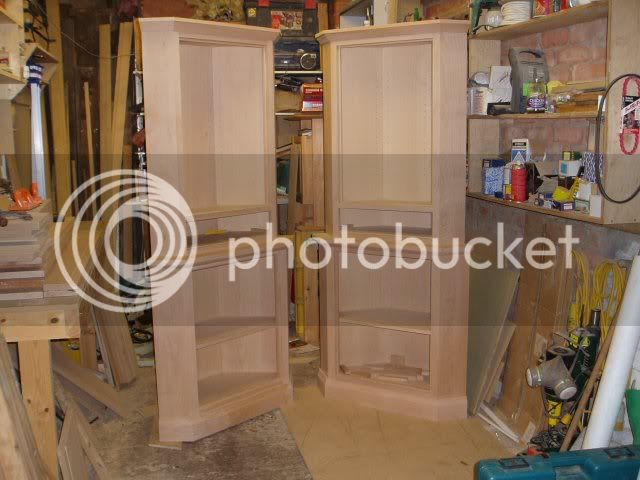
The space at the bottom was originally for a stand alone dvd player which was part of a home cinema system but i've since bought another one which is a hide away unit so a design opportunity ariose :wink: so a draw was the easiest was to solve the problem
Anyway thats the top nearly complete with only the draw and glazed door to do.........now for the bottom half of the cabinets.
More to follow
Now things have calmed down a bit i thought it was about time i got them finished......more to the point there getting in my way
Anyway i started building them to go with the two tables i built for the lounge about two years ago
Coffee Table

Side table

The carcases are built out of 19mm beech veneer mdf biscuit jointed together at the back.
I cut dado's and rebates for the shelves and top/bottoms using the table saw with a freud 8" stacked dado cutter


I then drilled out the 5mm holes for the shelf supports using a router and home made mdf template.
The holes are 35mm apart and are 16mm dia to match the guide bush.

Here they are ready for glue up

Err....forgot to take a pic of the glue up
I made the fronts out of solid beech....the bevel cuts where ripped on the table saw and again both had dado's cut and the joints where reinforced with biscuits.I cut the two pieces out of the same piece of beech so the matching grain followed around the corner.

The glue up of the fronts

Here's one i prepared earlier

Gluing the fronts to the carcases

The bottom was glued in and was edged with beech along with the top and shelf.
Cornice molding was next and this was made up of off cuts glued together...the rebate was cut on the table saw along with the bevel cut which was cleaned up using a hand plane :shock: :wink:
The miters where cut on the table saw using the miter gauge


The units with the cornice and edgings fitted

The space at the bottom was originally for a stand alone dvd player which was part of a home cinema system but i've since bought another one which is a hide away unit so a design opportunity ariose :wink: so a draw was the easiest was to solve the problem
Anyway thats the top nearly complete with only the draw and glazed door to do.........now for the bottom half of the cabinets.
More to follow


