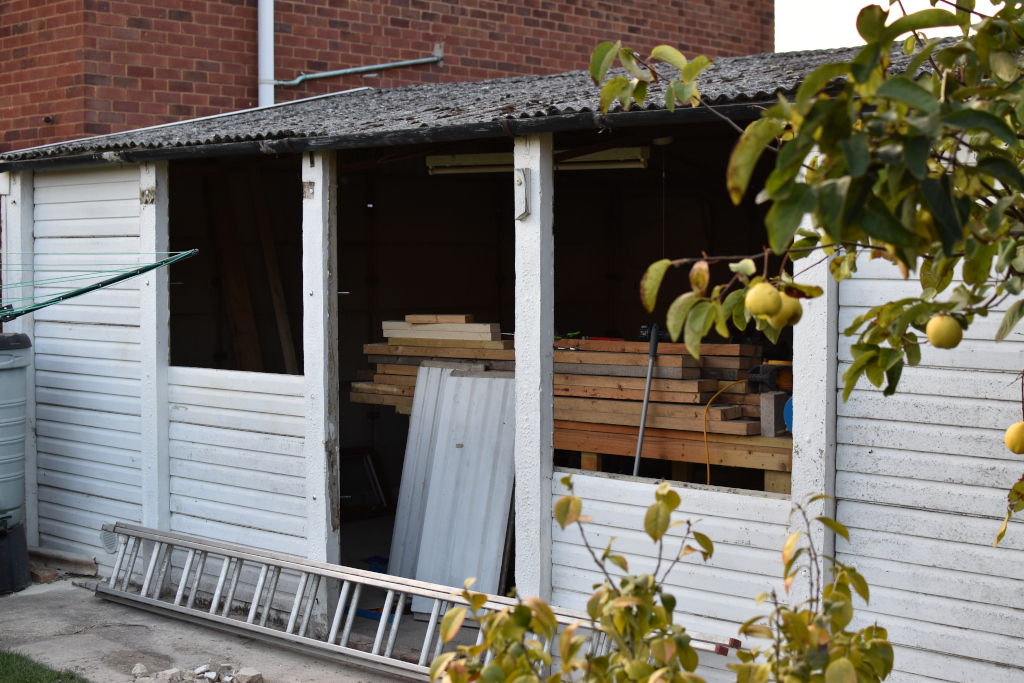
Concrete sectional garage workshop refurb - Work has begun.

UKworkshop.co.uk

Help Support UKworkshop.co.uk:

This site may earn a commission from merchant affiliate links, including eBay, Amazon, and others.
You already have ventilation at the join between walls and roof looking at the photo ( wouldn't that be enough at the top Mike? ) That would also need insect proofing.

Yep, that's more than enough at the top, but yes, making it insect proof is critical.
 
OK, then as others have said, if you use the existing structure to hold the top of your new stud walls then your roof doesn't need to do the job. It will only need bolting at the top.......but bear in mind that the forces on the wall (such as they are) are going to be outwards, not inwards, so you'll need to put a spacer between the timber wall and the concrete post before bolting the two together at the top.

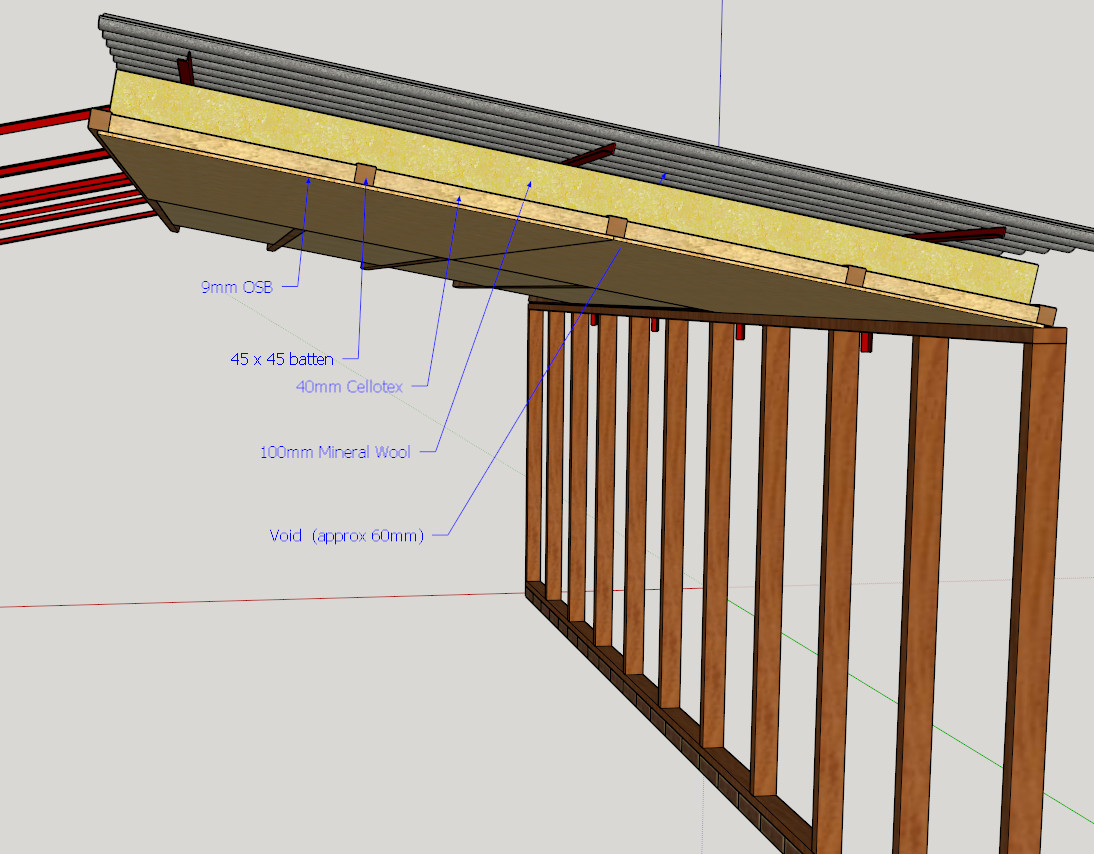
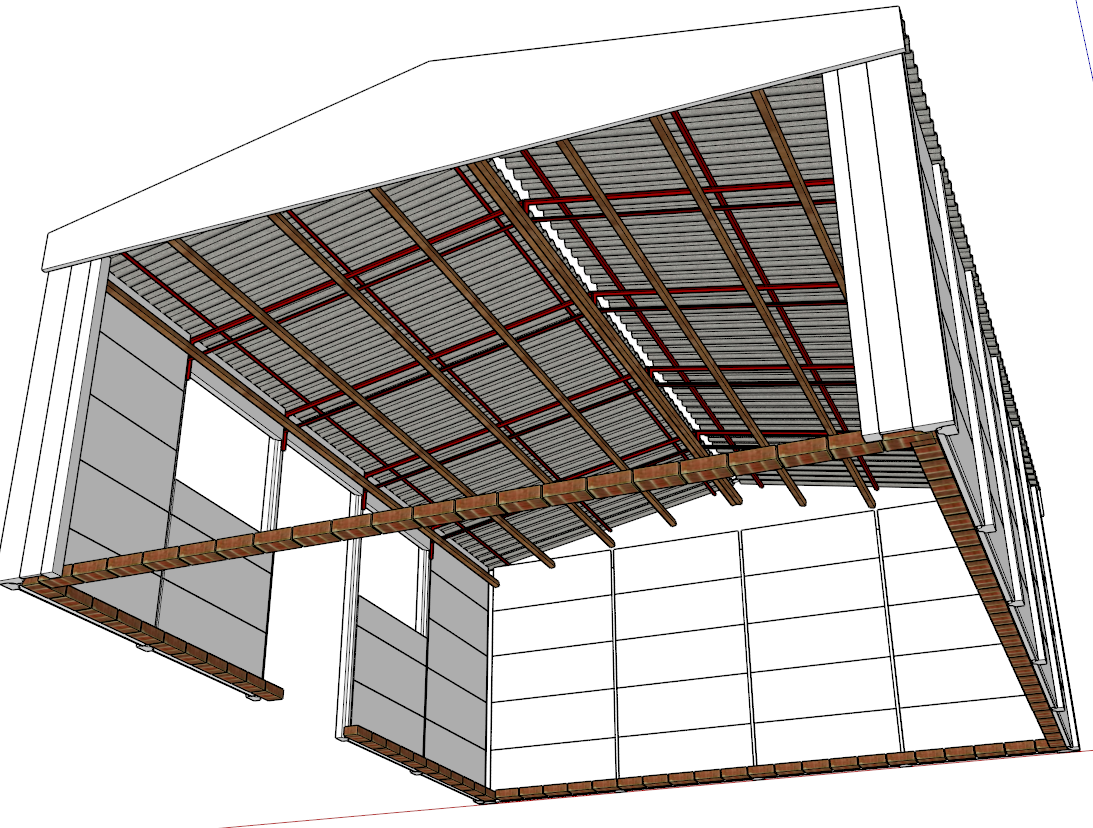
I think the easiest way to do the roof would be to Tek-screw some 45x45's to the underside of the truss members, running longitudinally (ie along the long axis of the building) at 600 max centres. Push some mineral wool up on top of them such there is still a clear 50mm gap to the underside of the roof sheet, and then friction fit some 40mm Celotex between the timber purlins. Screw your OSB to the underside of this, making sure that long-edge joins fall on the purlins. It's really important that the wall and roof insulation meet each other, but that there is still a continuous air path above the roof insulation.
 
Thanks Mike,

I've had a quick play in Sketchup to see if I have understood everything regarding the roof. Please let me know if I have misinterpreted anything.

Garage_Roof_Construction.JPG


Thanks

Dave
 
Well I've spent some time pondering, thinking, planning, drawing, budgeting etc.

With work on the loft conversion due to start in 2 weeks (it's a big job and I'm not doing it) I'm hoping to get started on the garage in the next three to four before the weather goes too far south.


The plan thus far... (Apologies for being a bit pic heavy but it helps me think it through).

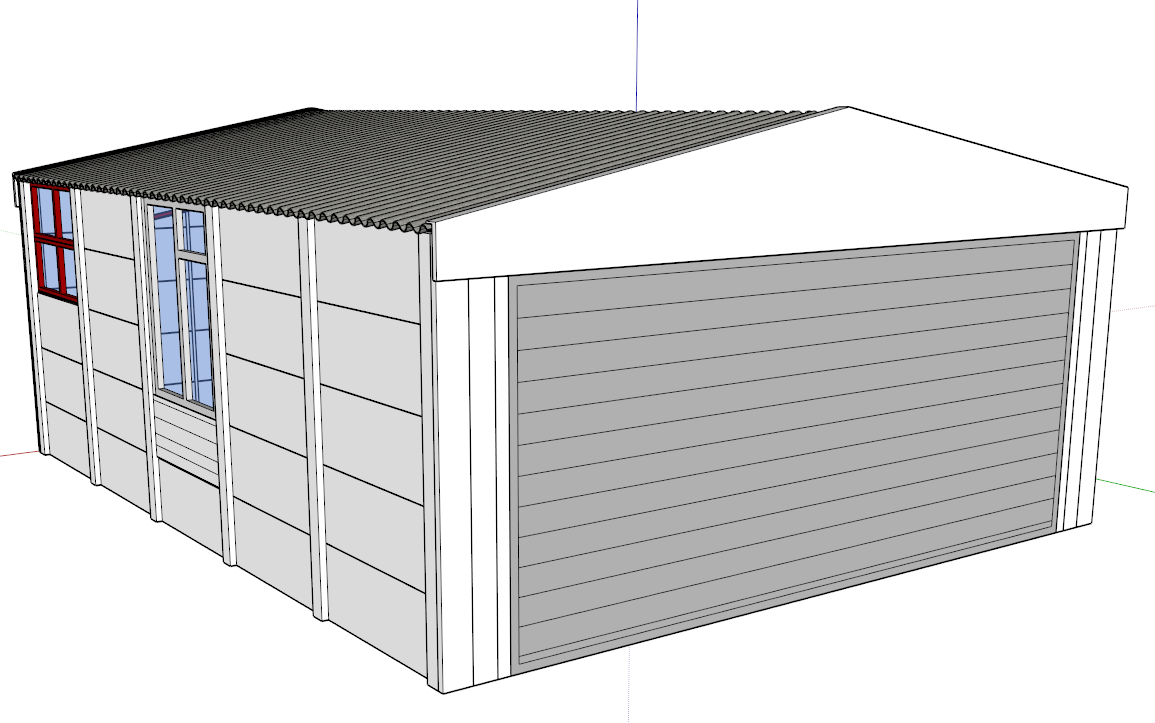
Here's where I'm starting from.

GaragePlan001.png


Step 1: Clear out the garage. (It really is a tip at the moment but I'm sure we've all been there!)

Step 2: Once I can see the whole of the floor and take a decent level, decide if any self levelling compound needs to be applied.

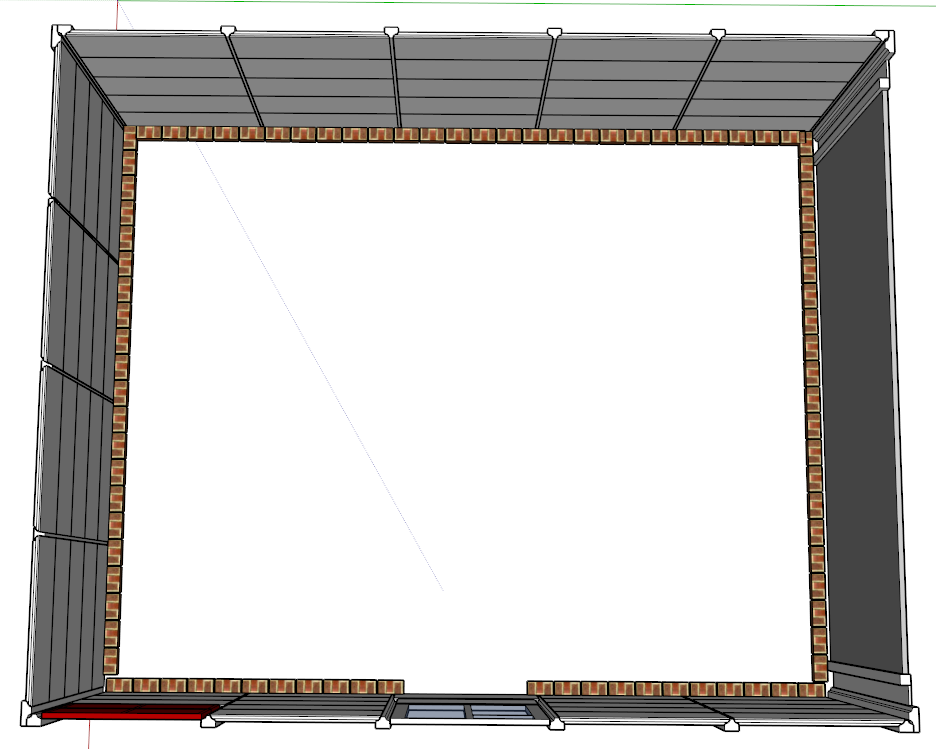
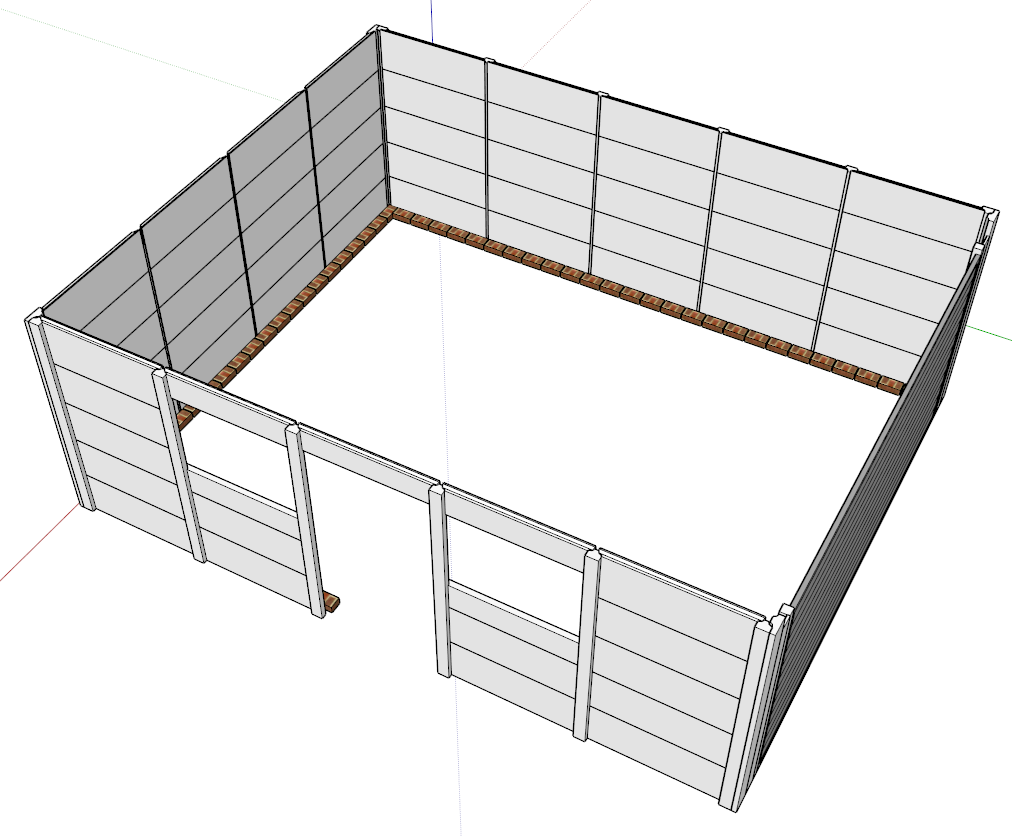
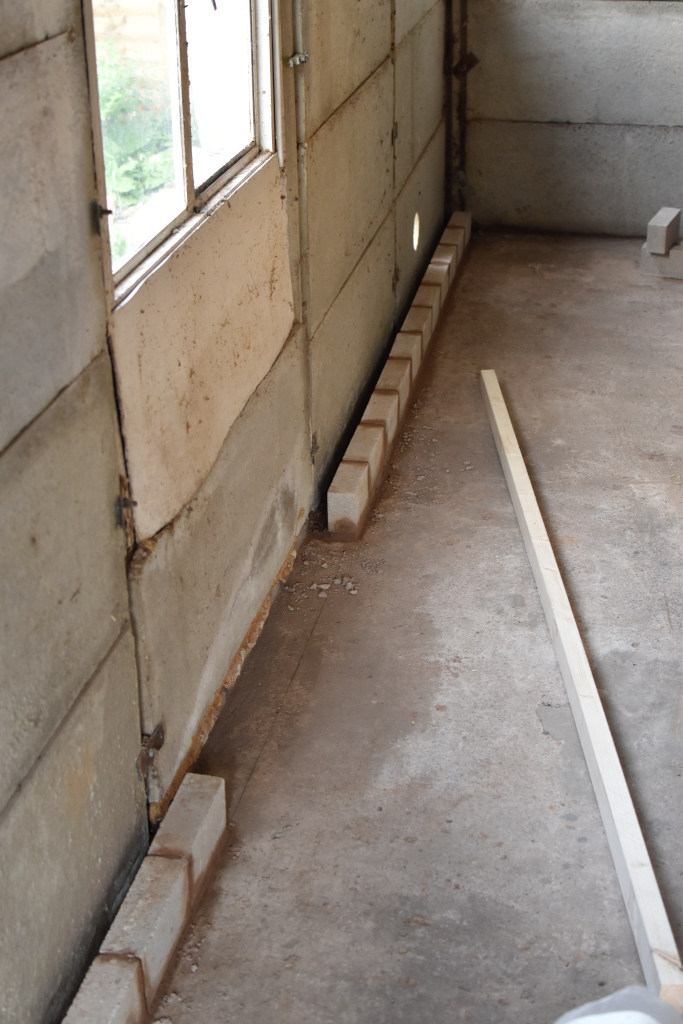
Step 3: Lay a course of bricks around the inside perimeter of the garage.

GaragePlan003.png


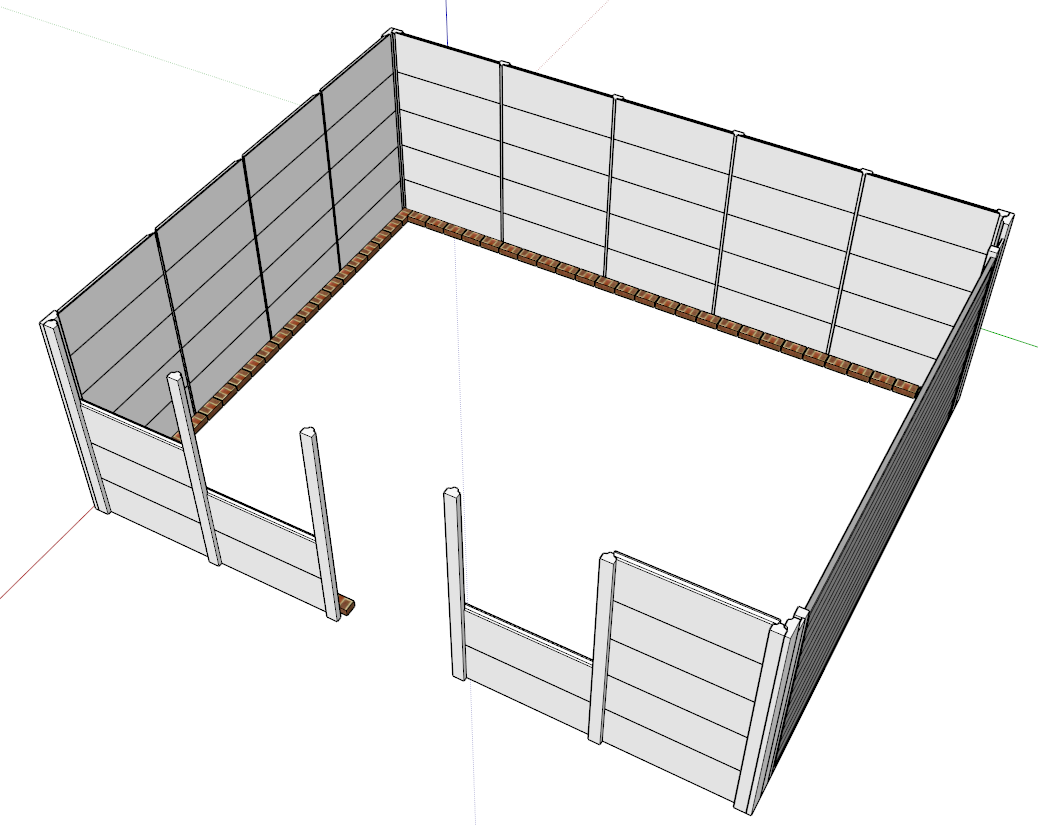
Step 4: Whilst the mortar is going off, remove the old windows and some of the wall panels for a bit of a rejig for windows and doors.

GaragePlan004.png


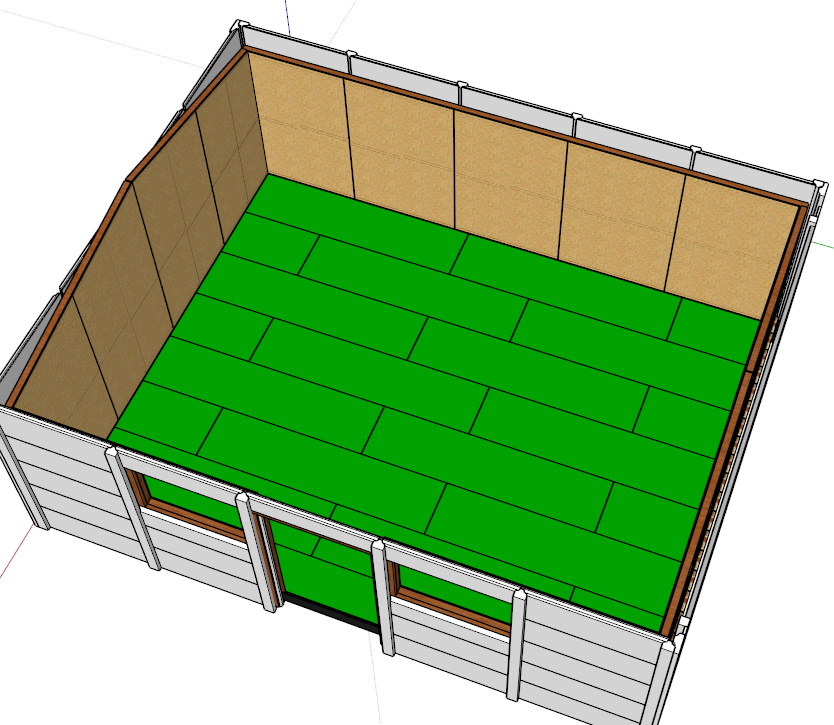
Step 5: Get the angle grinder out, trim some of the concrete panels and refit in the following configuration. Whilst in the mood for cutting concrete I'll drill holes for "air bricks" at two points in each wall with the exception of the up and over door. The budget is stretched at the moment so I will probably have to order and fit windows in the new year. For now I won't cut through the internal OSB and I'll weather proof the outer with some left over DPM and OSB, fitting some leftover PIR into the window sized hole between.

GaragePlan005.png


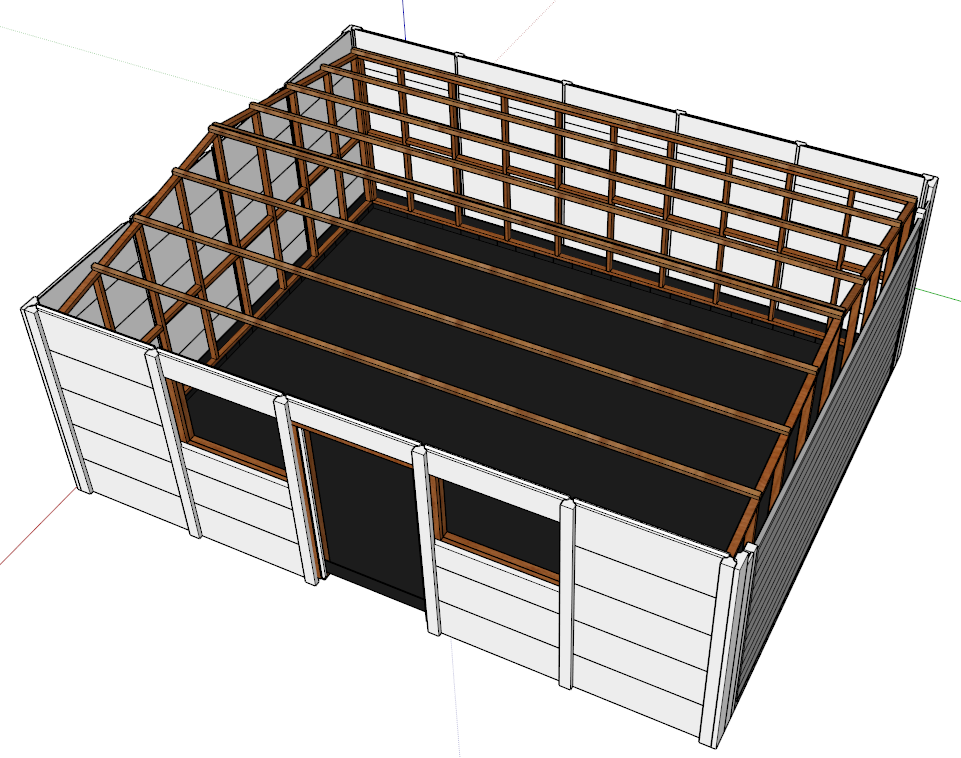
Step 6: Install the 45x45 purlins to the roof trusses.

GaragePlan006.png


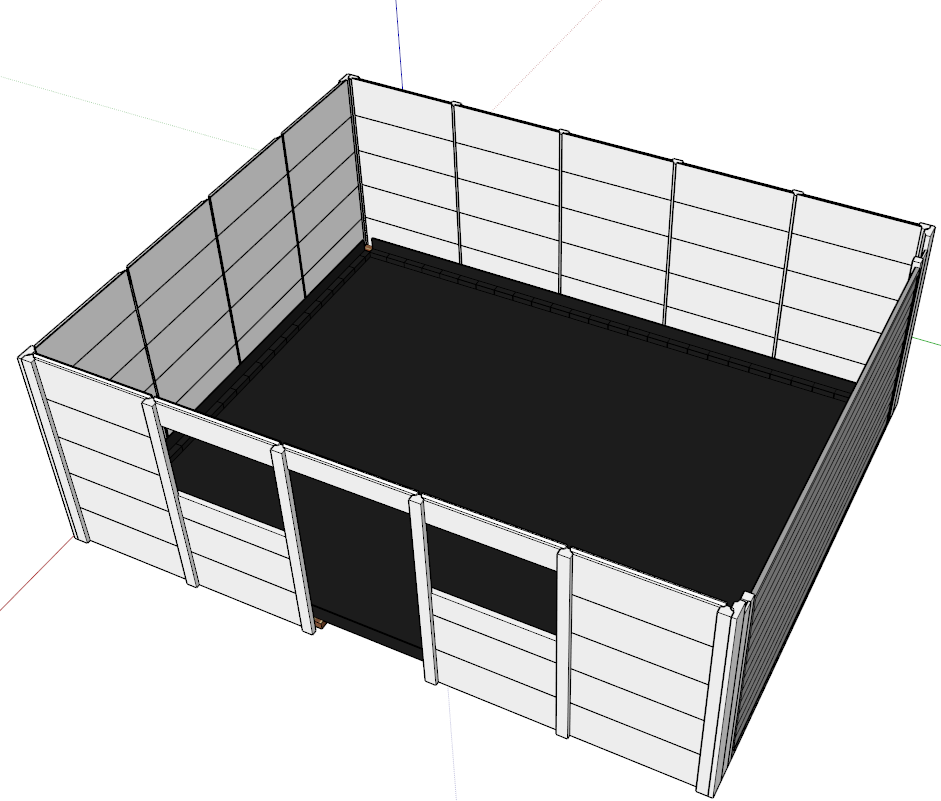
Step 7: With the mortar dry, lay down a DPM accross the whole floor. This will roll over the bricks so the stud sits on top of it.

Question: Can this finish at the outer edge of the brick or does it need to turn up the outside of the stud slightly?

GaragePlan007.png


Step 8: Erect the stud walls. (To be fixed top and bottom to the exisiting concrete posts, stood off the width of the cavity local to fixing points only.) I've chosen to go with 3x2 CLS for the studs.
a) Minimise lost space.
b) walls aren't loadbearing
c) dirt cheap at £2.50 per 8ft length.

GaragePlan008.png


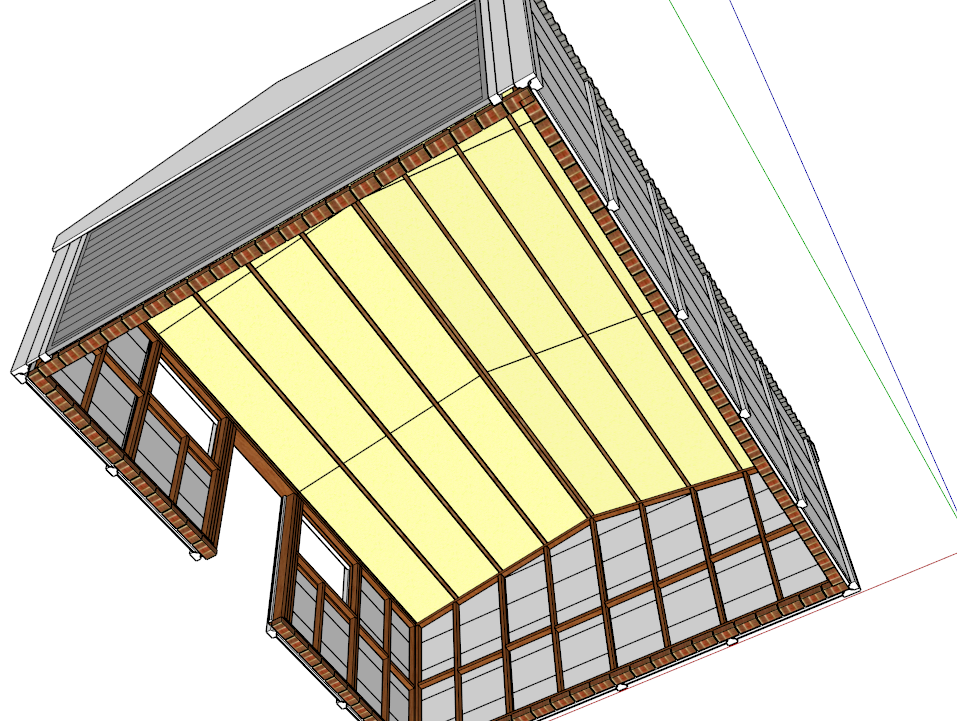
Step 9: Install the 100mm mineral wool over the purlins and friction fit 40mm PIR insulation between.

GaragePlan010.png


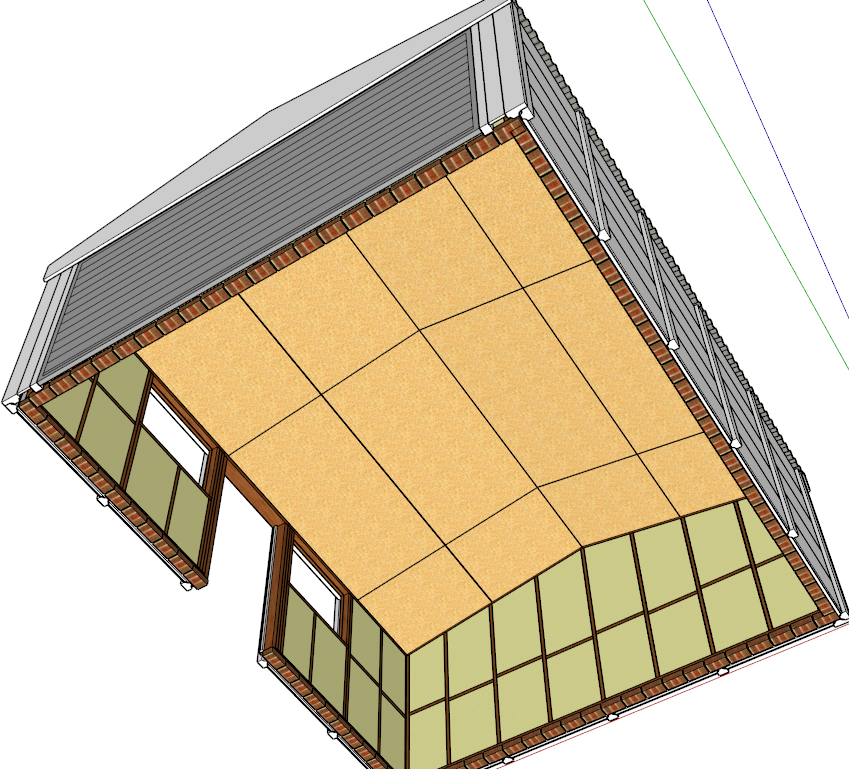
Step 10: Fit PIR insulation to the walls and board the ceiling with 9mm OSB.

GaragePlan012.png


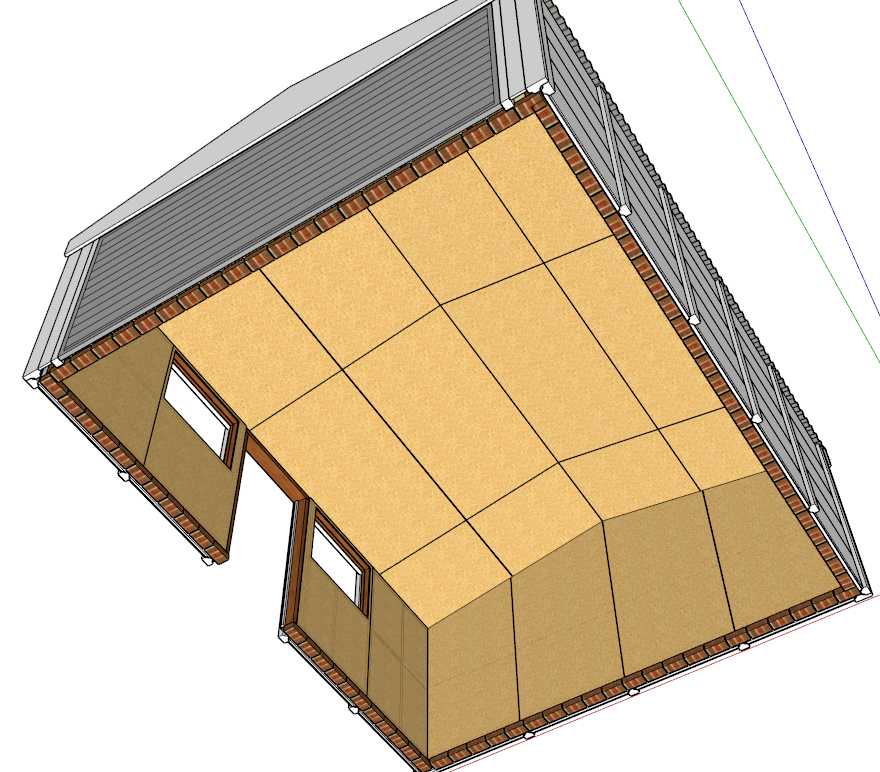
Step 11: Board out the walls with 11mm OSB. (Despite the drawing I won't be cutting out the windows).

GaragePlan013.png


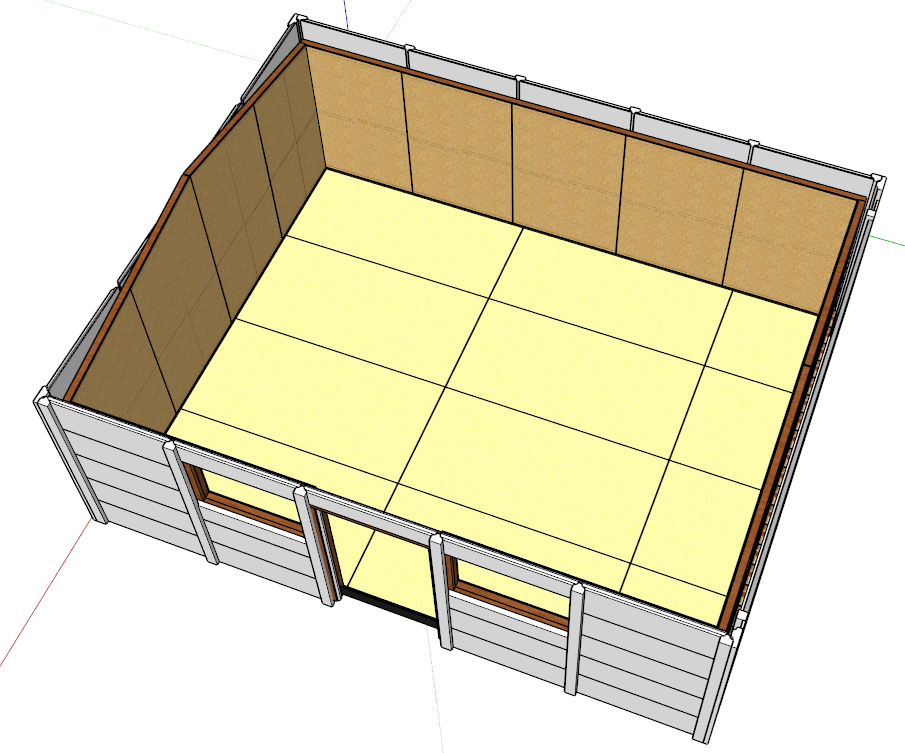
Step 12: Lay 25mm PIR on the DPM.

GaragePlan015.png


Step 13: Lay P5 T&G floor boards over the PIR.

GaragePlan016.png


Step 14: Paint

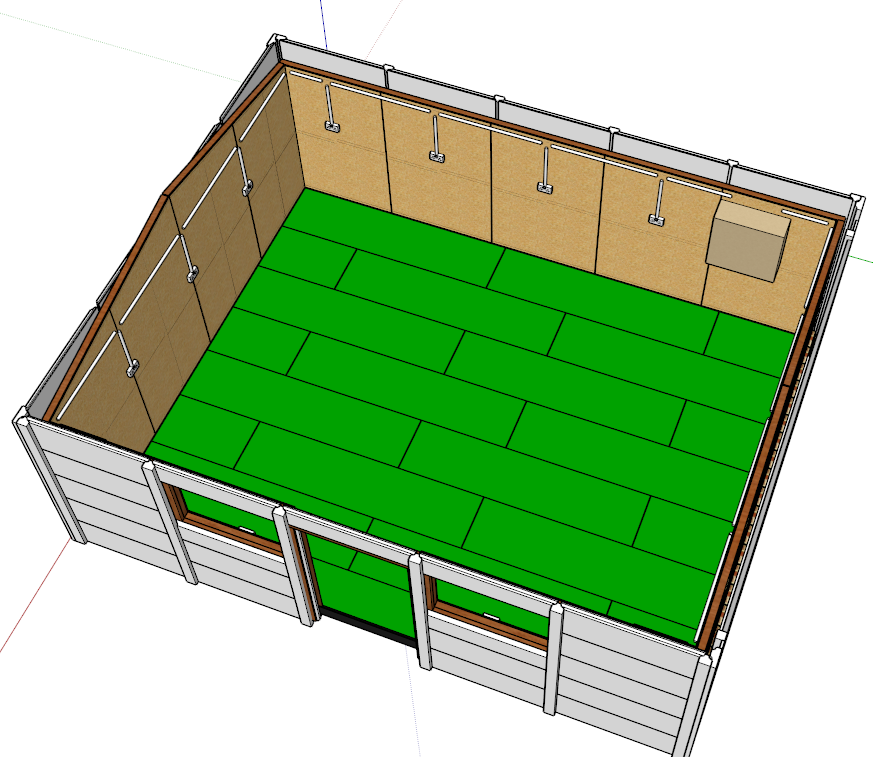
Step 15: Fit the electrics and lights.

GaragePlan017.png


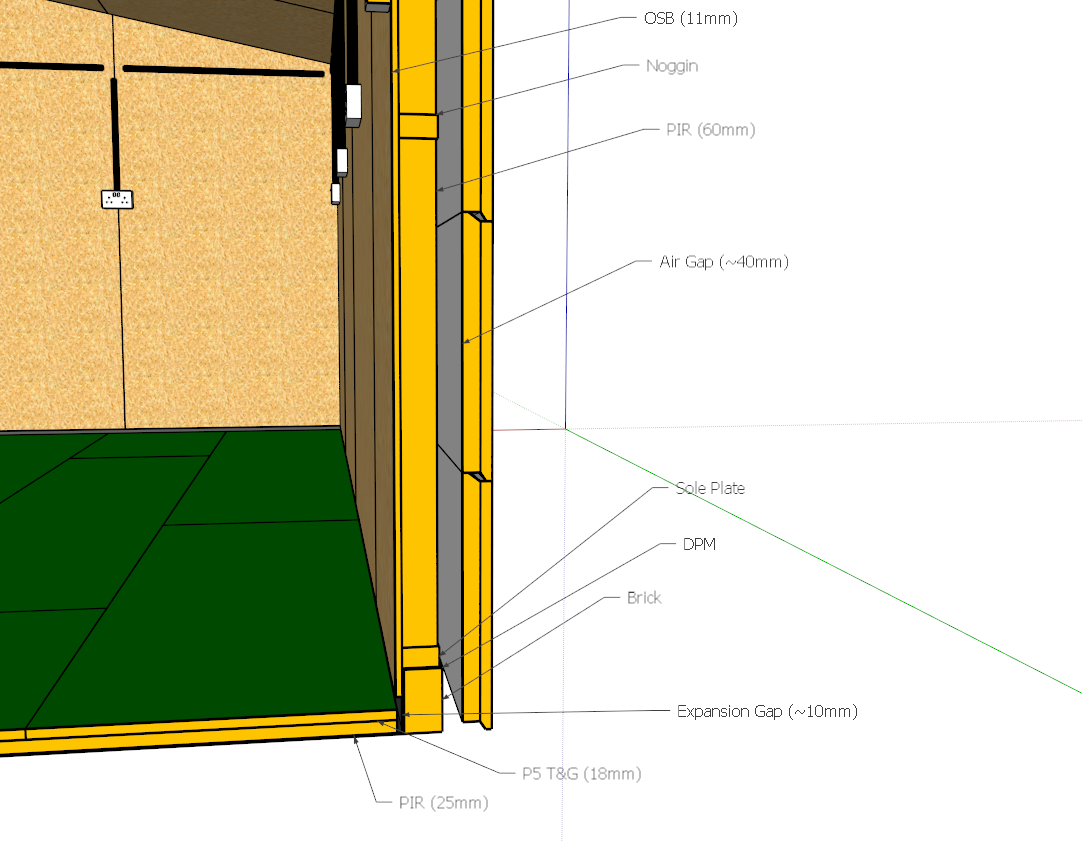
Finally, the section detail for the wall and floor.

LabelledSectionBottom.png


The budget, excluding windows, is circa £1600. I've priced everything up and should be pretty much there or there abouts.

Everybody has been really helpful so far so any further comments and advice very much welcome.

Cheers

Dave
 
Well, work is underway earlier than anticipated. Due to work commitments at the end of the month I bought my week of annual leave forward and cracked on with getting everything on order.

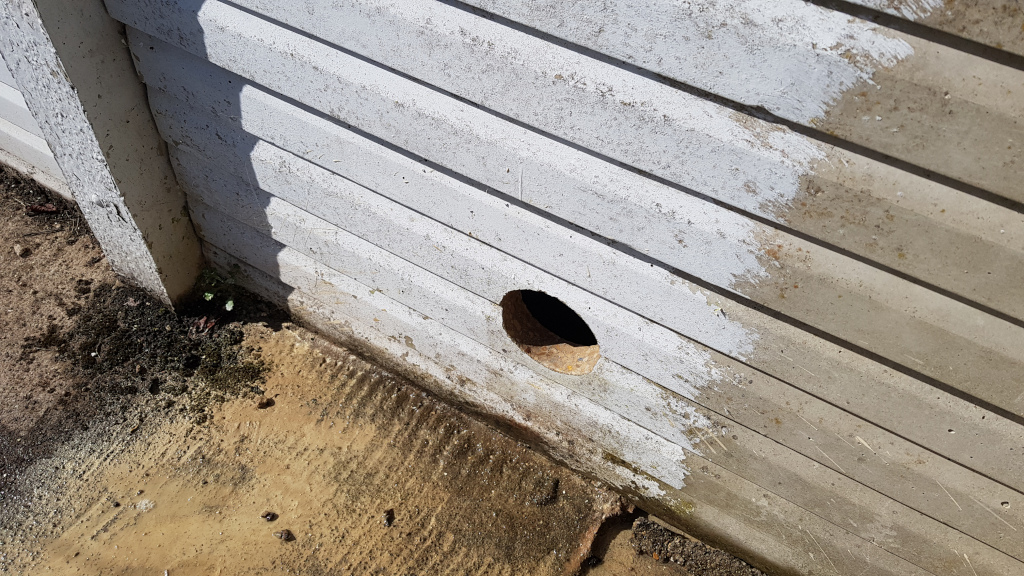
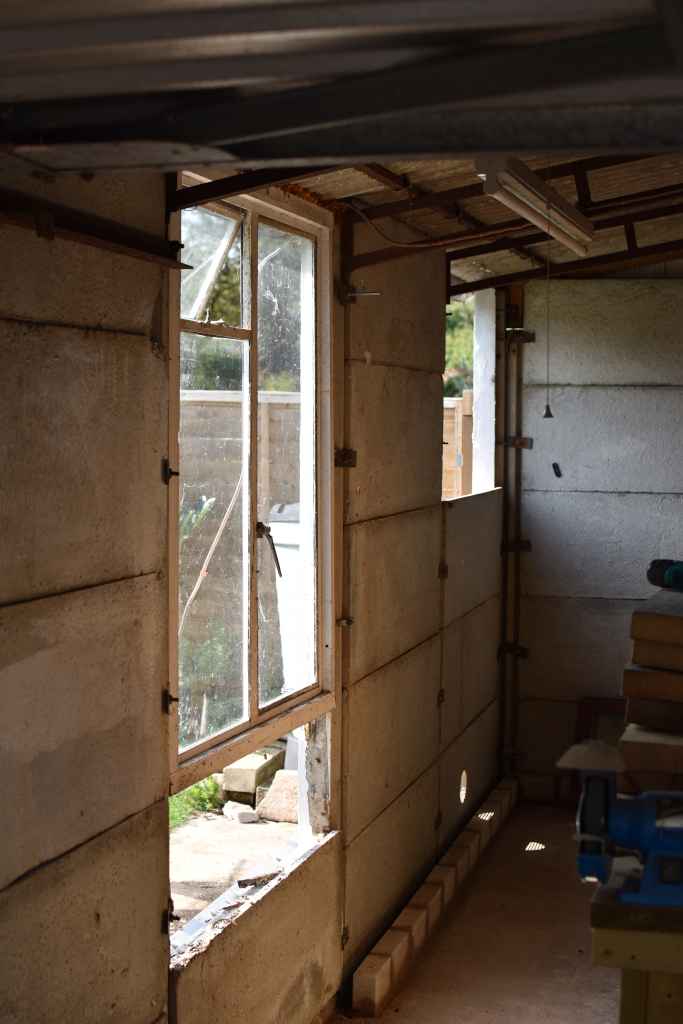
Last week I tried to get ahead of the game a little and took the diamond core bit to the walls and got three of the six vent holes drilled.

CoreDrillHole.jpg


Now with a final size for the holes it became apparent after much more ggogling that soffit vents do not come in the size I need anywhere. My wife suggested I 3D print them. She's a smart cookie, so that's exactly what I did.

AirVent.jpg


AirVentInPlace.jpg


Quite pleased with that if I do say so myself. Took three days to print all six.

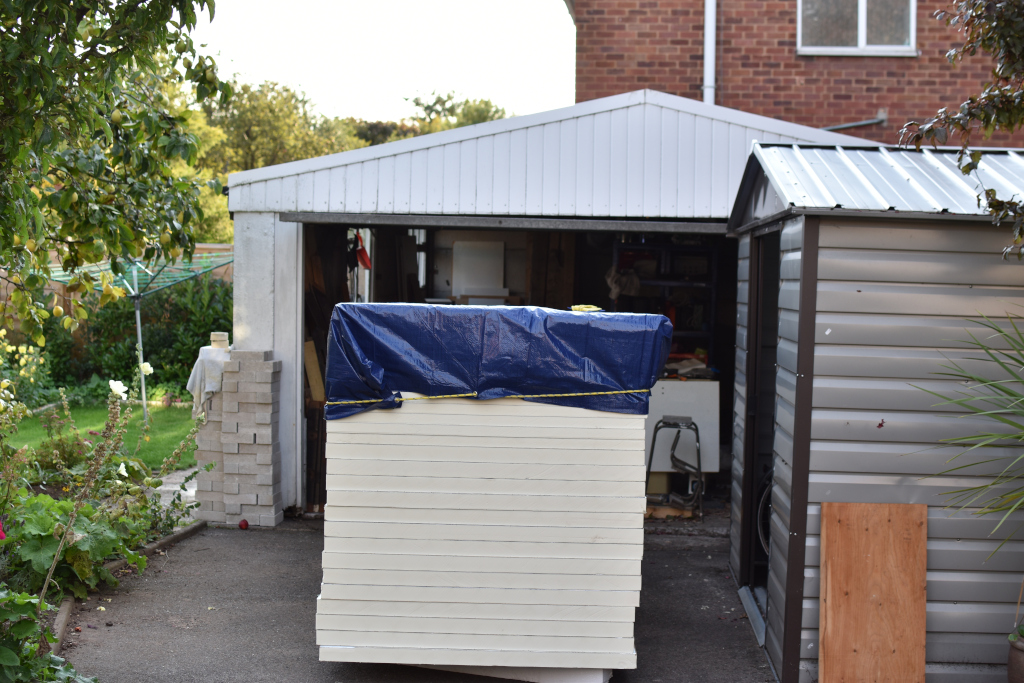
Lots of bits and bobs turned up over a few days plus trips to Toolstation, Screwfix and Wickes. The first major delivery arrived on Friday. The bulk of the PIR boards.

InsulationStacked.JPG


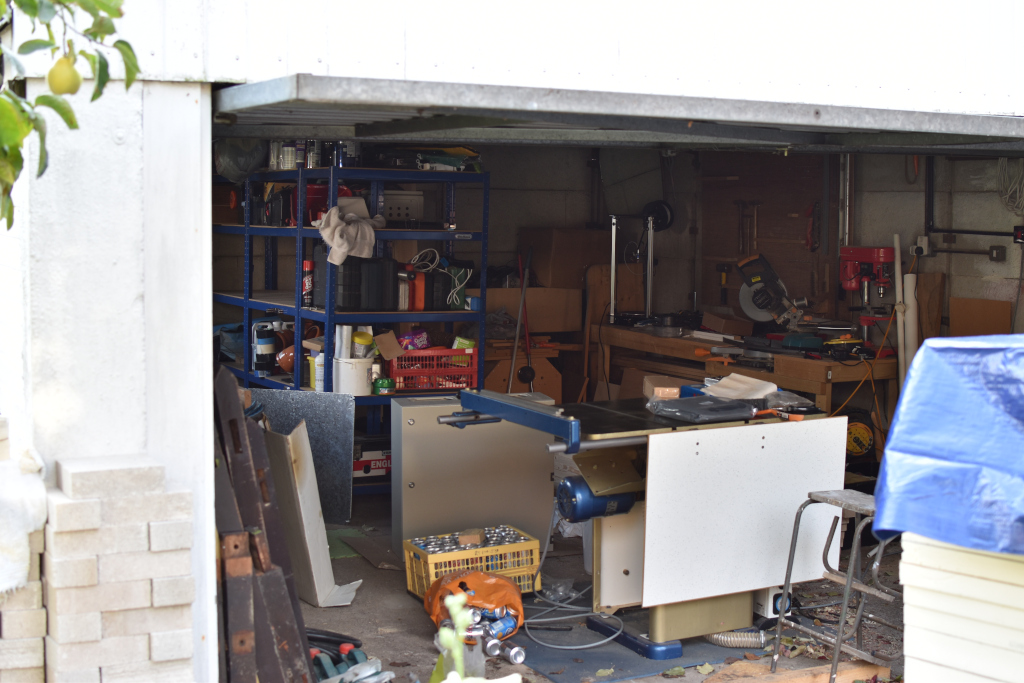
Saturday saw the start of the main bulk of the work. First off, clearing out the garage. Do NOT judge!

ShitTip.JPG


I knew it would take a while so started at early and had expected it to be done by lunch time so I could lay the bricks in the afternoon.

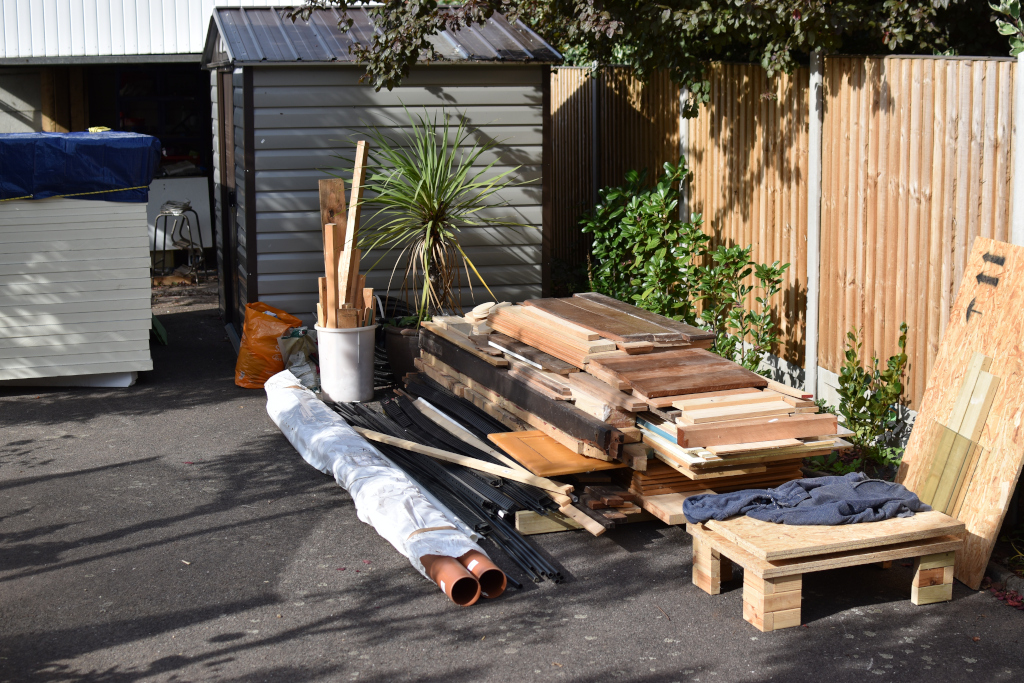
The timber supplies stacked up.

TimberStacked.JPG


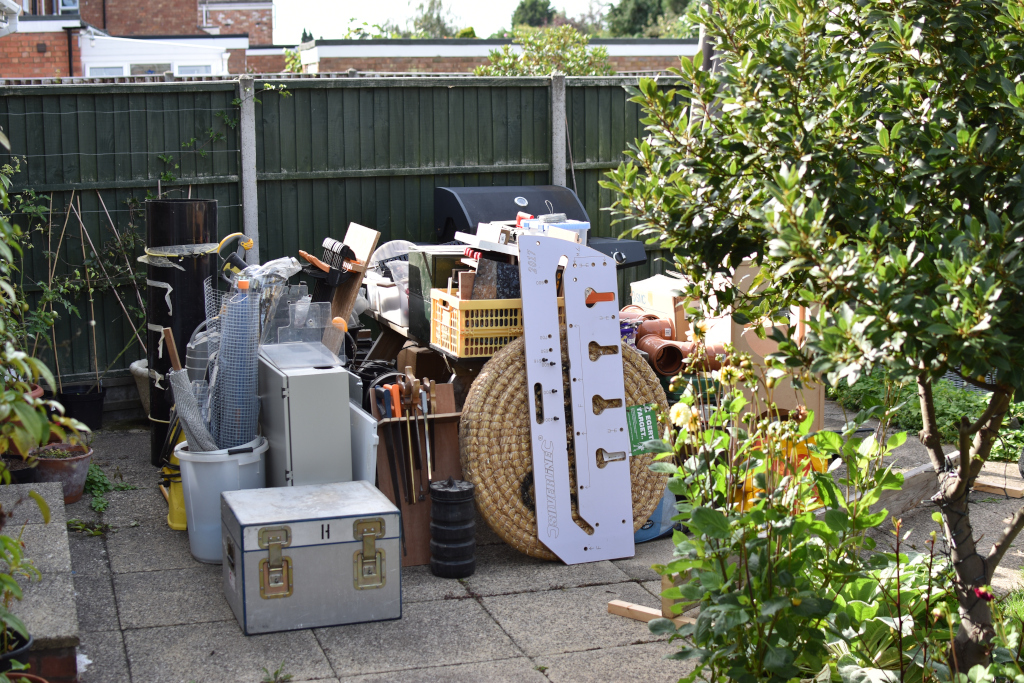
All the other random stuff that I hoard.

PileOfStuff.JPG


Well 3pm came and went before I got to the bricklaying. First time bricklayer here and doesn't my back know it! And my hands too! Looks like I've had an alergic reaction to the mortar. My poor little finger tips are all blistered and lacerated which is making doing anything quite painful.

I started by spacing a couple of bricks out from the walls with a packer and running a line around the perimeter with a straight edge. I then picked what seemed to be the highest corner of the floor and started at it. On the whole not a bad run, but keeping everthing level, straight and square saw me knocking off at half seven about 3 parts done.

BrickLaying.JPG


Sunday morning saw me finish off the brick course. Nitrile gloves a definate plus for my poor dainty digits. I was quiety smug that my levels met at the final corner.

Now it was time to start rejigging the wall for the door and windows. I am a big boy but I don't do well with big black spiders. To my credit I only jumped once and didn't cry for my mum at all.

Windows coming out and kicking through some rotten boards.

WindowsOut.JPG


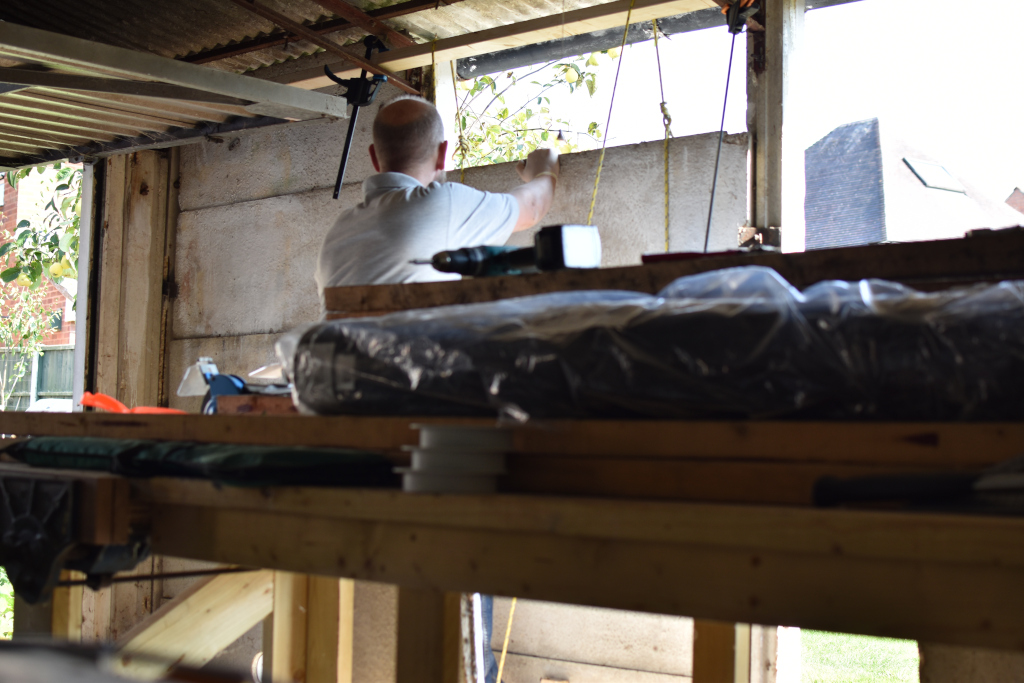
Getting the concrete panels out took some head scratching. They weigh about 60kg's a piece and I am doing this on my own. I resorted to a ropes and pulleys method (ish, no pulleys to hand). A piece of 3x2 went up in the trusses, the panels were eased up with some breaker bars and then a rope was secured around each panel towards each end. The rope was slung over the 3x2. I then removed the metal tabs that hold the panel to the posts and eased the panel into free space. After that I was able to lower them to the ground. By the way, that is my best side.

RopesAndPulleys.JPG


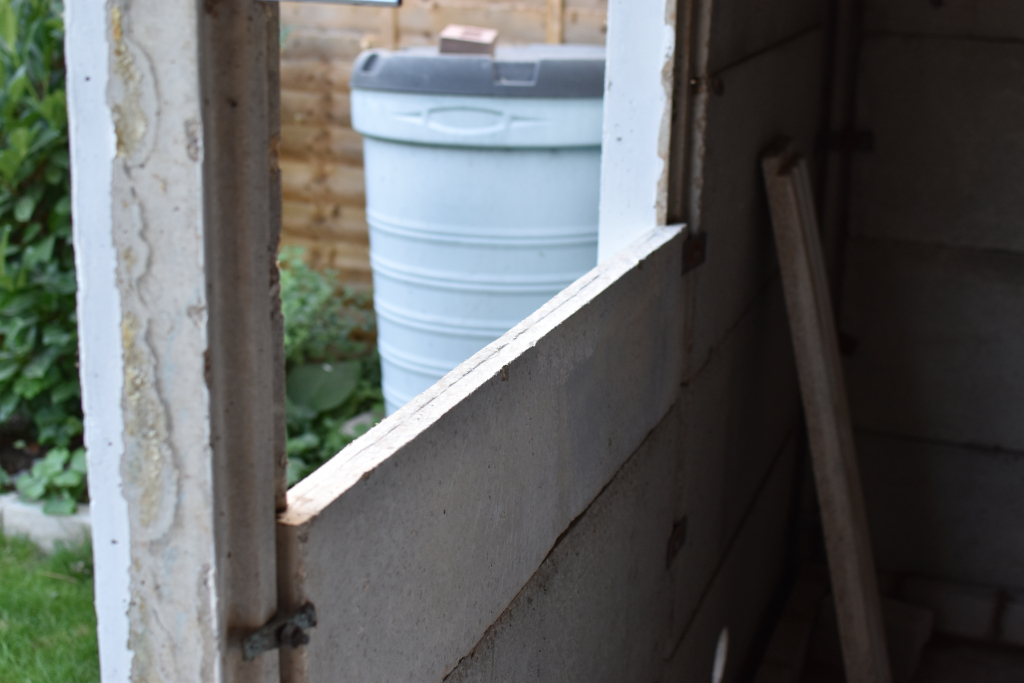
The really hard part was getting two full panels back up in to replace the two original windows that came out at the end. I was about to call my old man for help but my wife insisted that he was too old and she would help. What a gal. It was a struggle but we managed it.

Next up, slicing down some of the concrete panels to get the openings for the UPVC windows I will eventually put in. A segmented diamond blade went through these like a knife through hot butter. It went a lot more quickly than I had anticipated so making up the time lost clearing the garage out and getting back on schedule now.

CutSlab.JPG


And finally at the end of day 2. I ran out of beans about tea time so will cut and fit the other panels this morning.

EndOfDay2.JPG


Right, time to crack on with purlins for the roof and prepping the floor. Further updates to follow.
 
So, it's progress all in one big lump. I haven't really stopped to be able to post anything up in the interim.

Coming to the end of my week off and not nearly as far along as I had hoped. The order of tasks changed a little from the original plan, however, a reasonable amount of progress has been made.

Picking up from where I left off, the purlins were fitted to the roof trusses. These were ripped from some reclaimed 6x2 (145x45 sawn) to 45x45(ish), clamped up to the trusses and fixed with some M6 bolts which I had in abundance. Some very rudimentary hand sawn half lap joints, glued and screwed to tie the approx 2m lengths together into 6m runs.

PurlinsUp.JPG


Insect mesh fitted into every nook and cranny I could find. Due to having to fill all the little gaps where the corrugated roof meets the walls I elected to buy a large sheet of PVC coated fiberglass mesh and cut strips and pieces to the required sizes. Then, with out being able to staple into concrete, I used some silcone sealant to secure into place.

InsectMesh.JPG


VentMesh.JPG


Onto the DPM. I put a sand blinding down first as some of the concrete surface was quite rough and it also helped me level out the lumps and bumps. The DPM was laid in two pieces as the roll was only 4m wide. A good 1m+ overlap and then taped along the seam with DPM tape. Finally tucked into the corners and rolled over the bricks.

DPMDown.JPG


Next up, 25mm PIR boards were laid over the DPM. With the sun coming through the door and window openings it was quite difficult to see due to the reflection off the foil.

FloorInsulated.JPG


On to the floorboards next. Looks like Wickes gave me boards from two different manufacturers/batches so a little colour mismatch here and there. A very slight difference on the T&G too but got them all seated respectably in the end. I staggered the pattern by using the off cut of the last row to start the next row. Worked out quite nicely and avoided any joins in the insulation and floorboards joining up.

FloorDone.JPG


Now the fun bit. Starting to put the frame up.

FramingProgress.JPG


And finished with noggins in place. All stiffened up nicely. A sheet of insulation in the wall too to see how it went as it's the first time I've used it.

FramingDone.JPG


Before getting carried away with insulating the walls I slogged on with insulating the roof. Probably my least favourite part of the job, threading the mineral wool over the purlins. As the rolls were already part cut for 450crs joists I sliced the rolls into the narrower sections which made it much easier to handle and run over the purlins. Then the 40mm PIR board got stuffed up into place.

InsulationRoof.JPG


Finally, the long slog of finishing off stuffing insulation into the walls.

InsulationDone.JPG


I've had to start moving stuff back in as the weather is due to turn early next week and more importantly SWMBO wants the garden back.

Today should see the roof getting boarded with OSB and then hopefully use the evenings in the week to board the walls.

A quick measure up at the end of yesterday and the final internal space will be 5.8m x 4.65m when the OSB is up.

I am bent and broken. 12 to 14hr days 8 days in a row (OK, I slacked on Thursday and only did 10) but somehow still happy.

More updates as and when around work and life from now on.
 
Thanks Mike,

Although I haven't asked a great many questions I feel that all the advice you have given previously to others in other threads has answered pretty much all of my questions. So thank you for all your advice, not necessarily given to me.
 
With just the evenings available to me this week it took until last night to get the walls boarded. Unfortunately I forgot to take a photo before I started painting so here we are with the first coat on.
20200926_164911.jpg


Hopefully get the door frame and door in tomorrow.
 
Watching with interest and it's looking very good.
I noted you 3d printed the vents so you might need to find out if the plastic is UV stabilised which I suspect isn't the case and if not it will likely degrade over time. You may be able to buy a protective sealer or paint or maybe print off some spares for future replacements.
 
Thanks Lons, and everyone else.

I really can't wait to get done so I can start organising the inside and get back to some wood bashing. It's been far too long since I made something decent. LOML would like an oak frame bed for the new loft conversion before X-mas:).

The 3D filament is indeed not UV stabilised. Even so it should last 2 or 3 years as a minimum, maybe up to 10 depending on conditions from what I have read online.

I plan to refresh the masonry paint on the exterior of the garage next year when I put the UPVC windows in so a good slathering (careful not to fill the holes) over the vents should protect them.

Even if they do fail, eg through an errantly misplaced boot, it's only a matter of printing another 1 (or 2).

Dave
 
Still slow progress unfortunately due available time. Can't believe I originally thought it would all get done over a long week...

From where I left off:

I got a door frame knocked up from 2x6 treated timber. I made it slightly taller that the original plan so as to avoid ducking every time I went trough it. I had to trim a slice out of one of the purlins to get it to fit. That cheap reciprocating saw I bought a couple of years ago on a whim got an outing. I think it's only the second time I've used it but it would have been a ball ache with out it.

2020-09-27 14.36.39.jpg


This was followed by building a door. It's pretty basic, OSB both sides of a 2x3 frame with diagonal supports. The triangular voids will get filled with the same PIR as the walls. Hung from some nice big beefy ball bearing hinges. Nice and smooth.

2020-09-27 18.55.46.jpg


I fitted a 5 lever sash lock and then realised I hadn't bought a bloody door handle (hence the square file you can see poking out).

From the outside. It has since been primed and is waiting to be painted.

2020-09-27 18.55.24.jpg


Now to try and restore some power. The old consumer unit went in the bin and was replaced by this.

2020-10-06 18.58.42.jpg


I work for a company that designs and builds machines for the food industry so might have gone a bit over board :). At least I have somewhere sawdust free for the table saw VFD to live now. There is room for another one too!

Then on with installing the rings for the wall sockets and lighting. I've got one light lashed up on straps for now. It's amazing how much light there is from just this one panel. There will be eight in total.

2020-10-06 18.58.31.jpg


2020-10-06 18.58.56.jpg


In between pulling wires (should have gone for 25mm conduit rather than 20mm (and white) but availability forced my hand. Now I've started installing it, 25mm white seems to be back in stock!!! Ce la vie.) I stuffed the door with insulation and started paneling the back with OSB offcuts. Why offcuts? because numpty here under ordered by one board! Just need to find a strip for the top and paint the inside.

2020-10-06 18.59.26.jpg


Finally got a door handle too. Due to the thickness of the door, the square shaft was too short so ordered some 8mm key steel to make one to suit. The keys would also not reach the lock in the center so these were graciously extended by one of the chaps at work with the welder.

Still some work to do on the electrics, fit some skirting boards and door trim and then build some box frames to hold the LED panels/transformers but it feels like the home straight now.

Dave
 

Attachments

  • 2020-10-06 18.59.19.jpg
    2020-10-06 18.59.19.jpg
    1.1 MB
Back
Top