Instead of hogging Derek's thread I've moved this lot here instead:
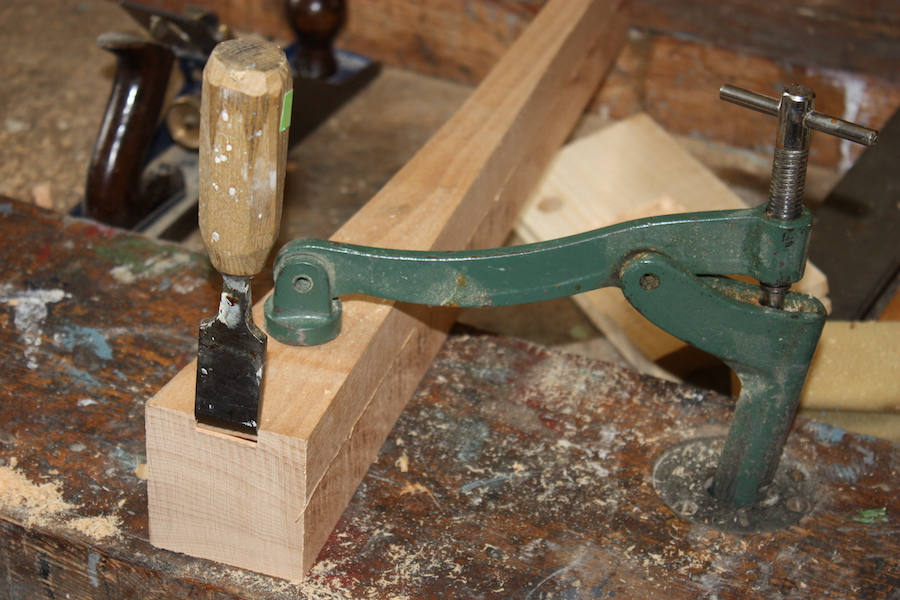
...... The clamping method could not be easier.
Easier clamping method below
The most important quality in any work - especially as we get older - is not just working to the lines ... it is being able to see the bloody lines! This is a big factor for me here. The reason I can rout so close to the lines is that the method is geared towards visibility. Any bloody fool can work to a line ... but us old farts cannot always tell where they are!

Well yes. I need to get close up, without specs, even varifocals not good enough. Luckily I've got good near sight in one eye.
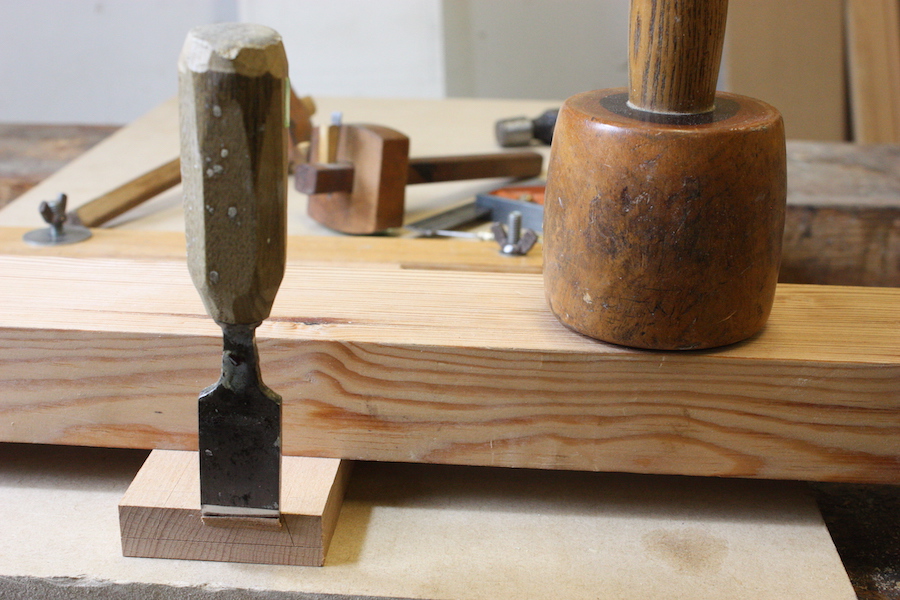
Fact of life - this simple chisel chop is near impossible until the piece is firmly held down, then it's quite easy. Holding vertically in a vice wouldn't do it it'd be too springy - it has to be held down to something solid.
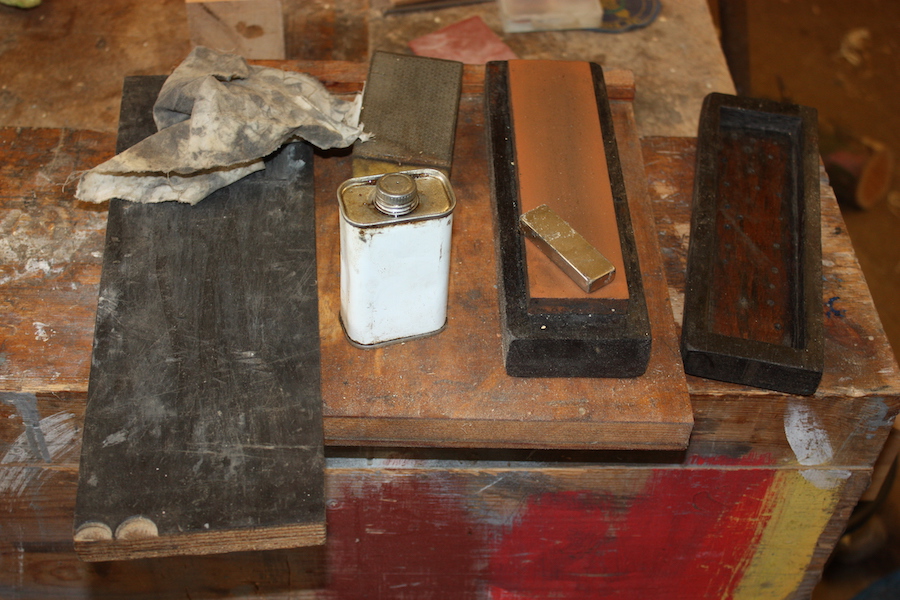
Sharpening has to be done every few minutes. Leave it too long and it takes much longer. Oil stone, oil, magnet to remove swarf, 3m diapad to freshen stone, strop for a bit of a polish, oily rag
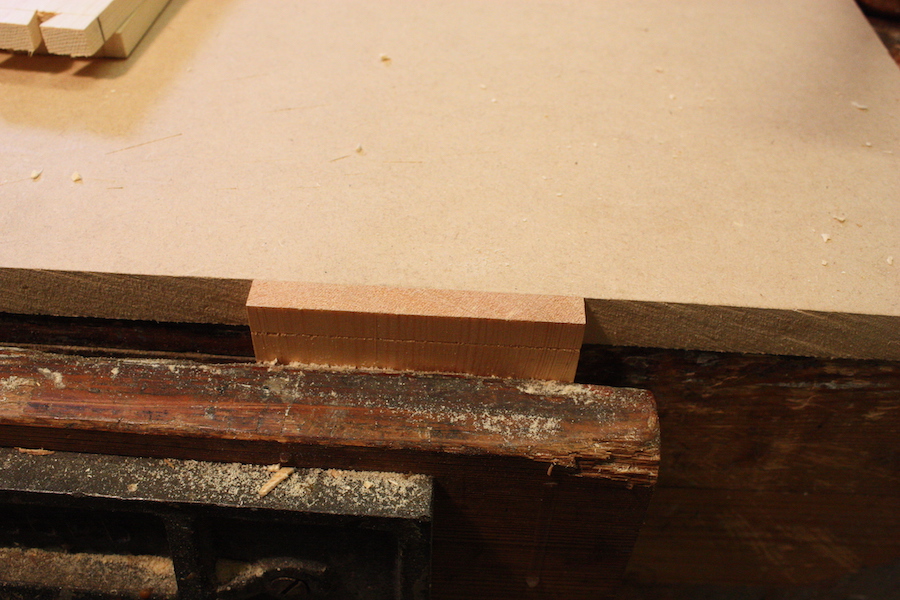
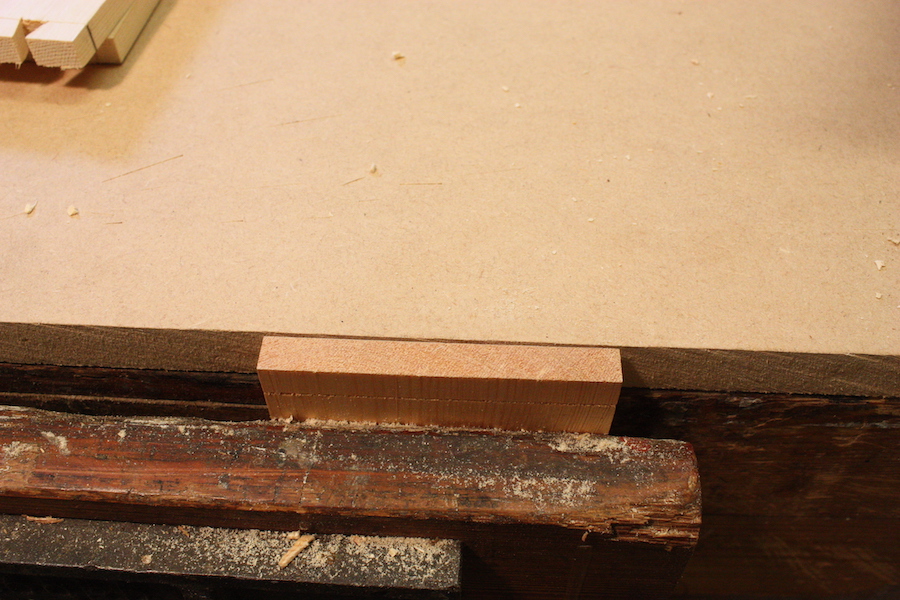
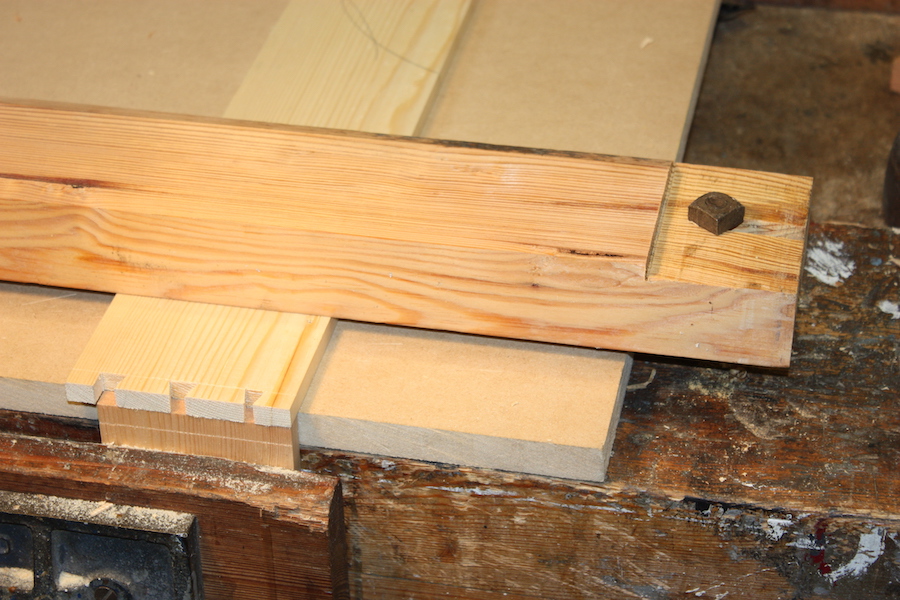
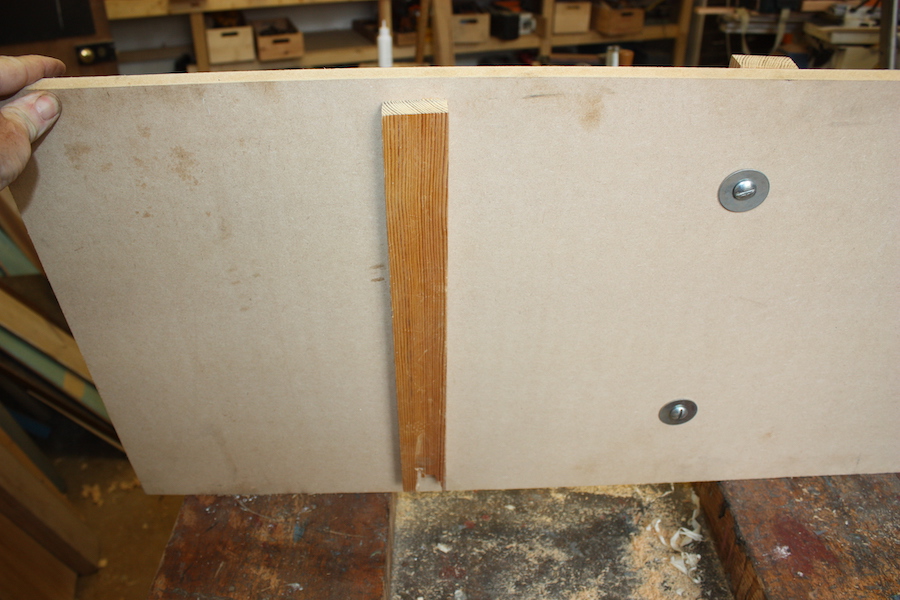
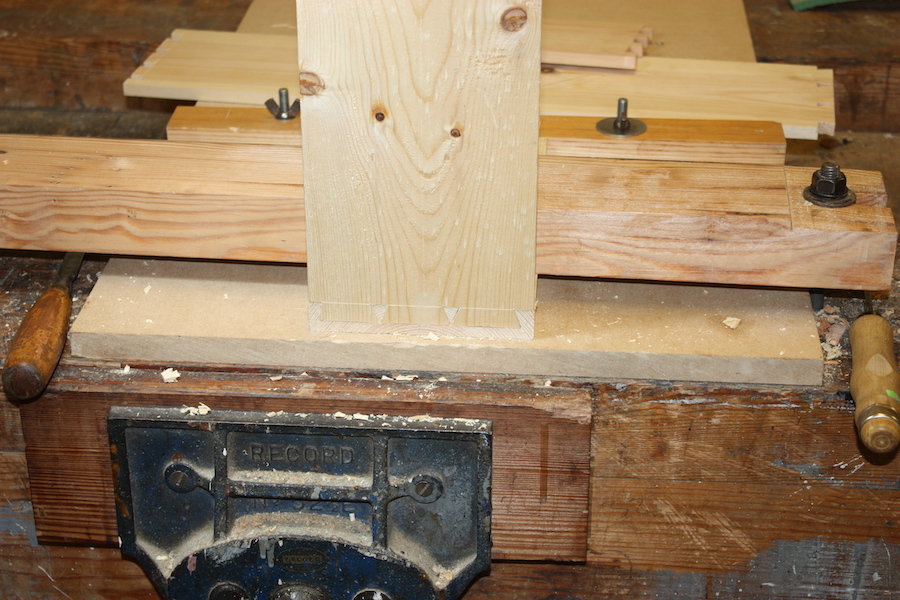
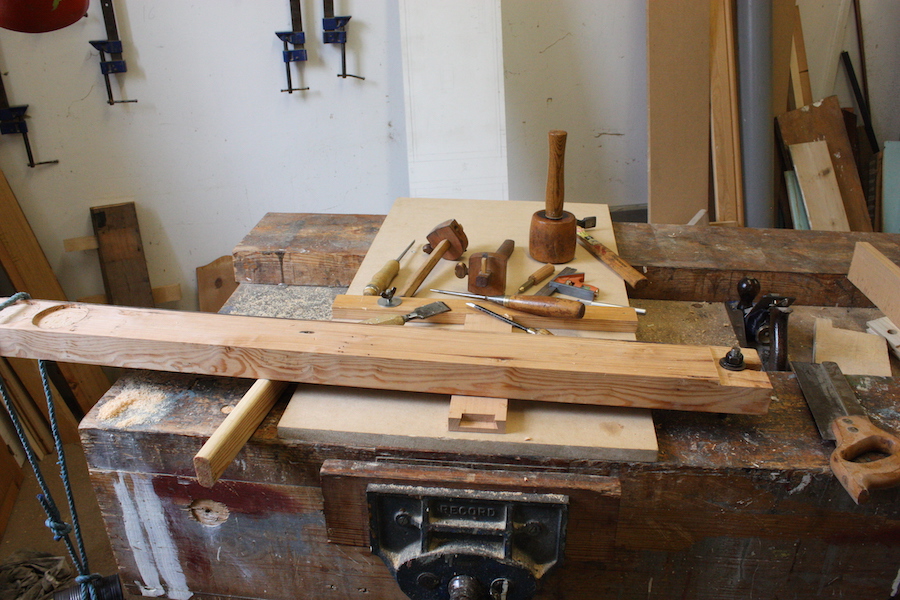
Chopping board. MDF. Stop fixed underneath to bear against back beam of bench
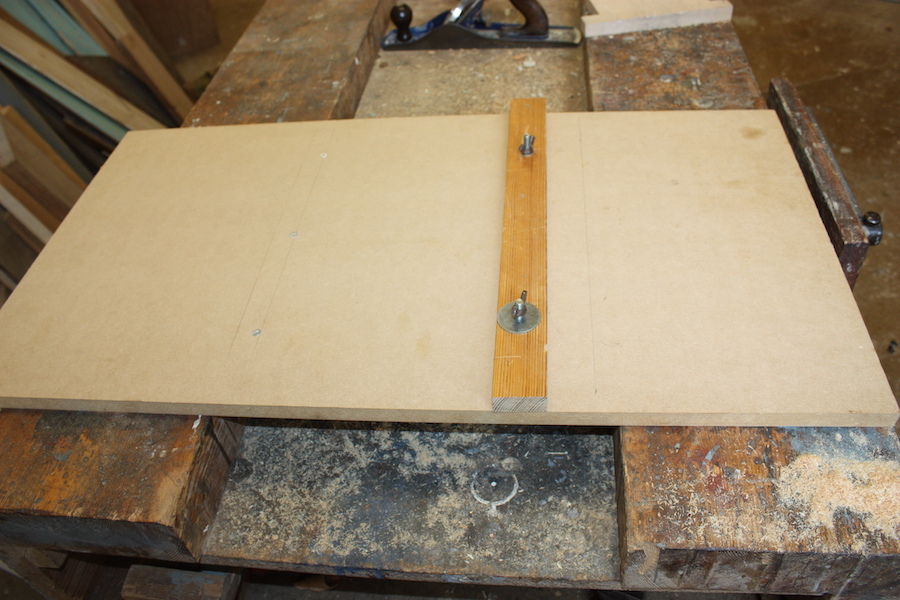
Movable stop on top (drill more holes for change of position)
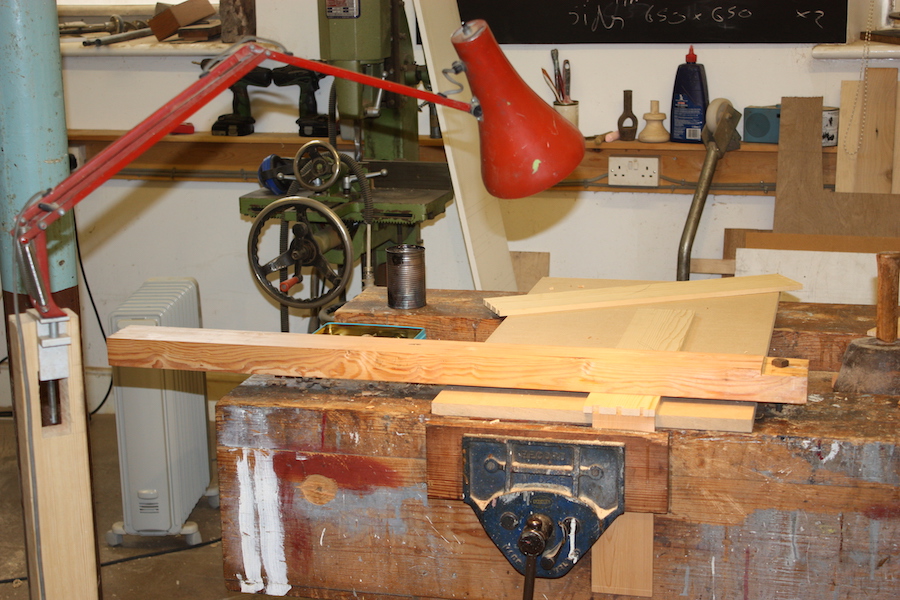
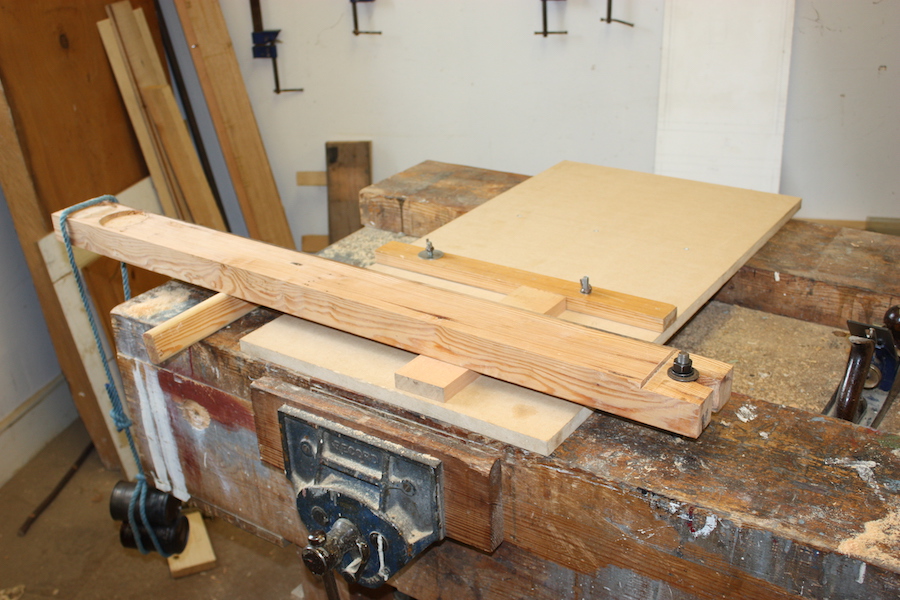
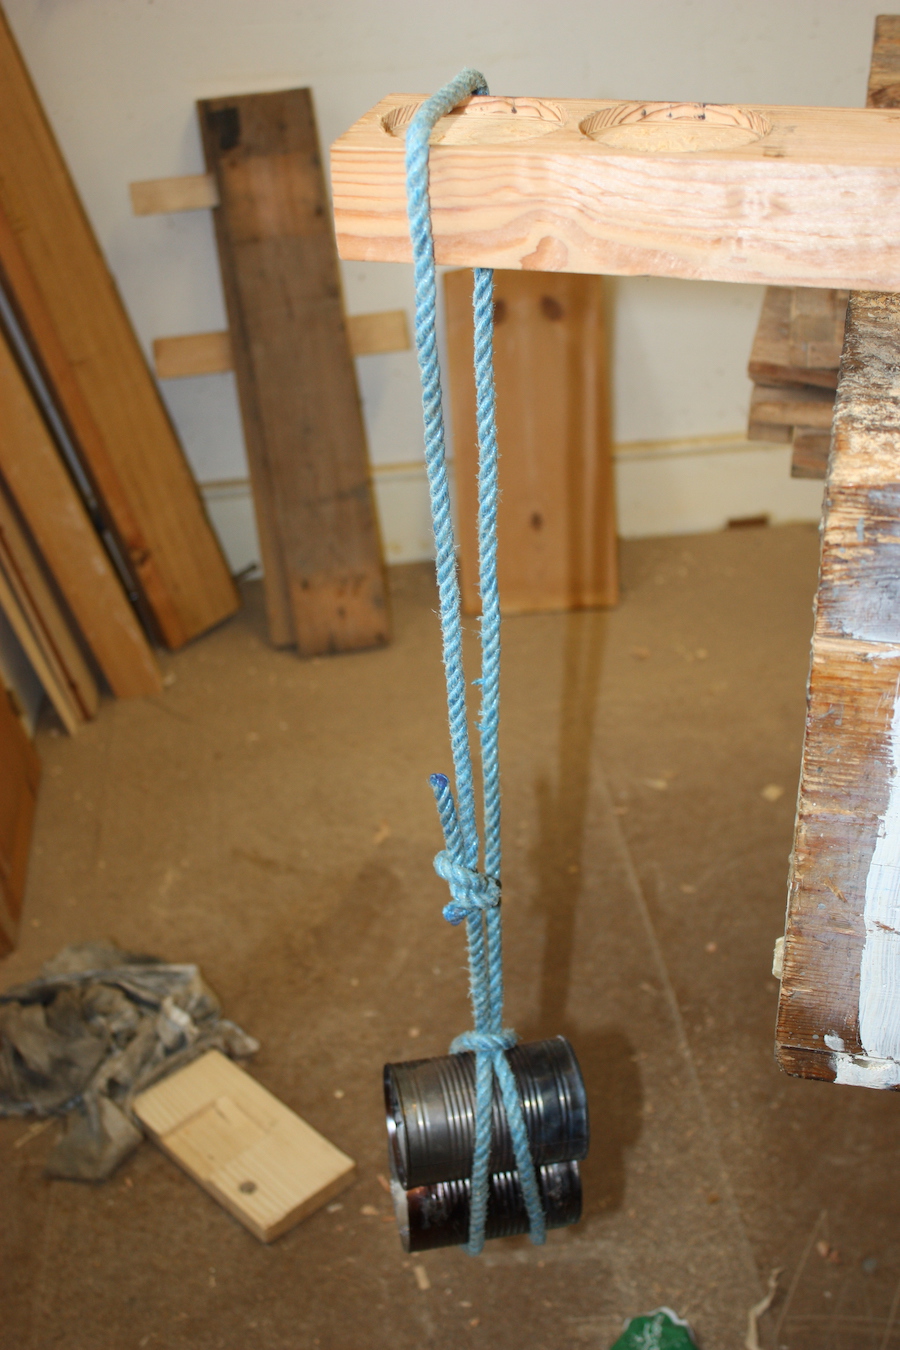
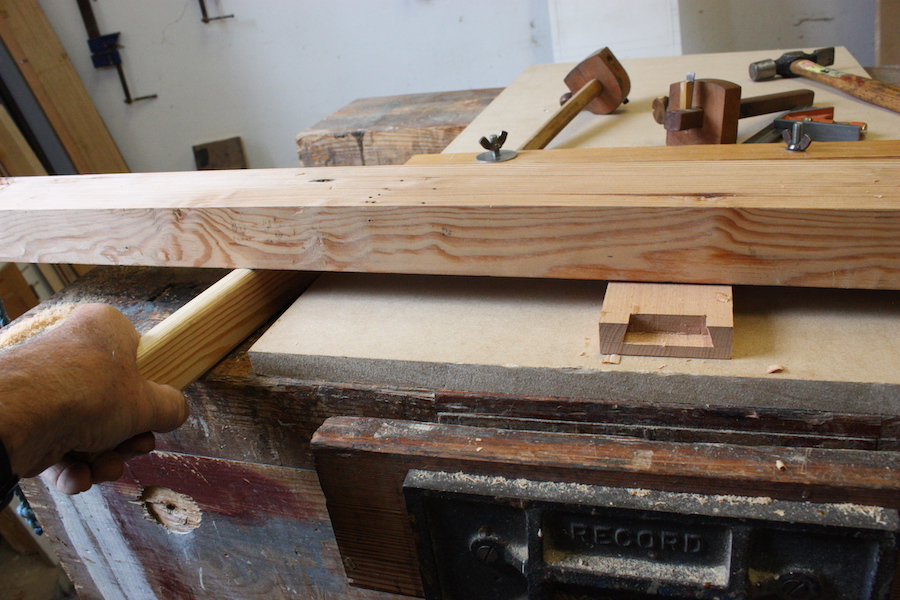
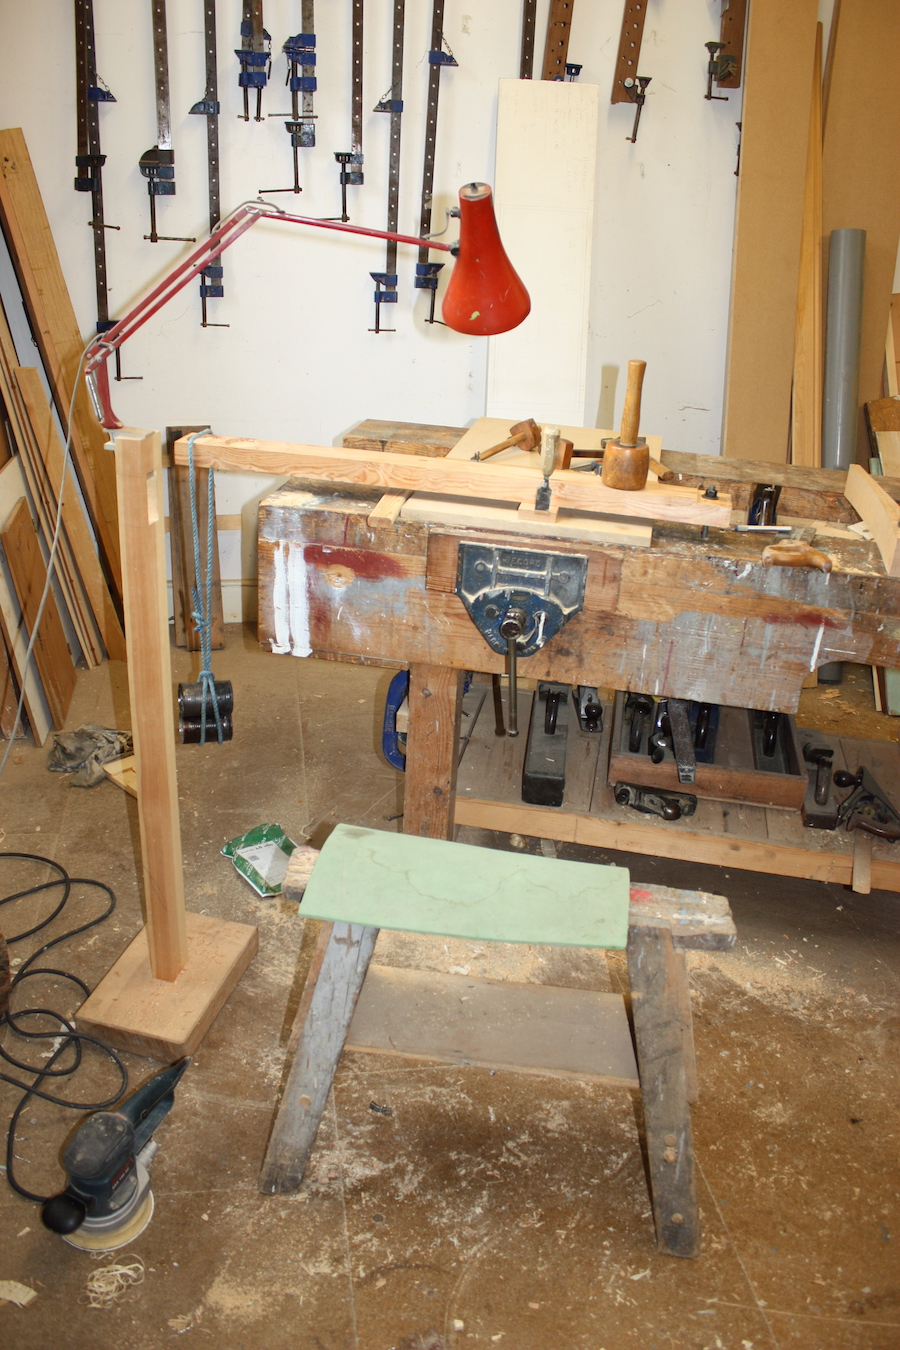
The whole set up. Work piece in place. Big enough to hold the whole side of a chest o drawers so you could do all the DTs on one end in one sitting. Clamp beam slots (removable) on to bolt through bench at right hand end, weighted at left hand end by two bean tins with lead scraps melted in, and a piece of string.
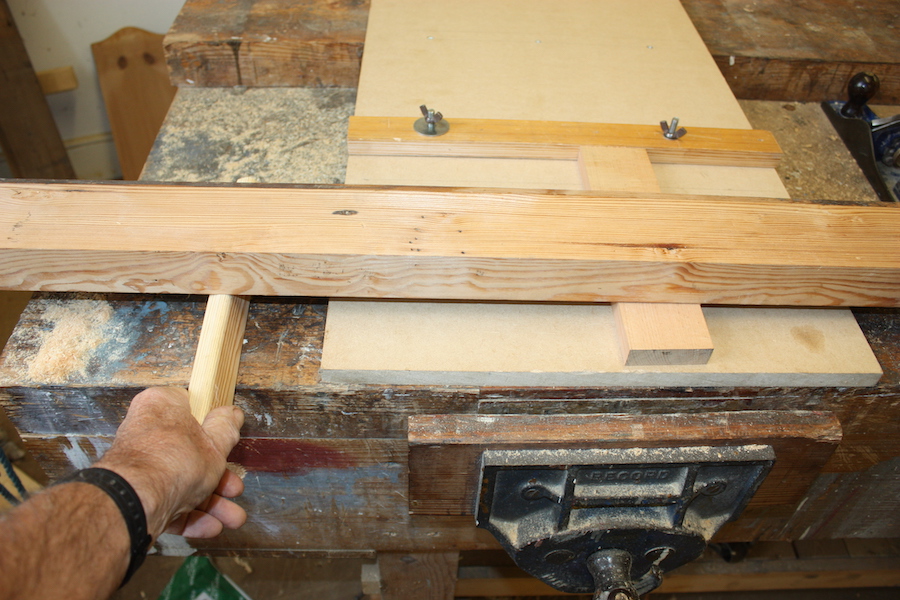
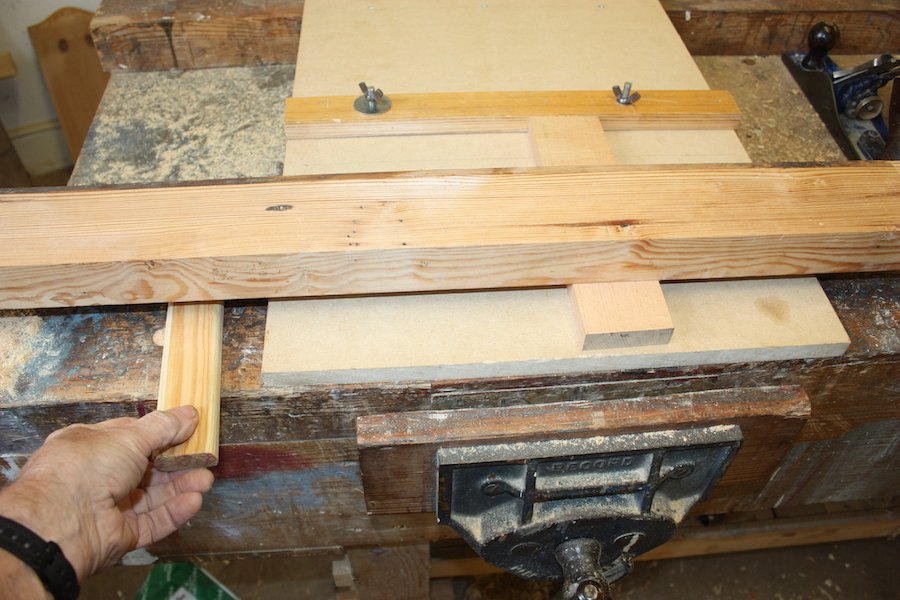
Quick release is the little piece of wood under the beam. Turn it vertical and it lifts the beam and you can take out the workpiece. Turn it back and it returns to the same setting. Change setting by turning the nut - fingers if not loaded, spanner otherwise.
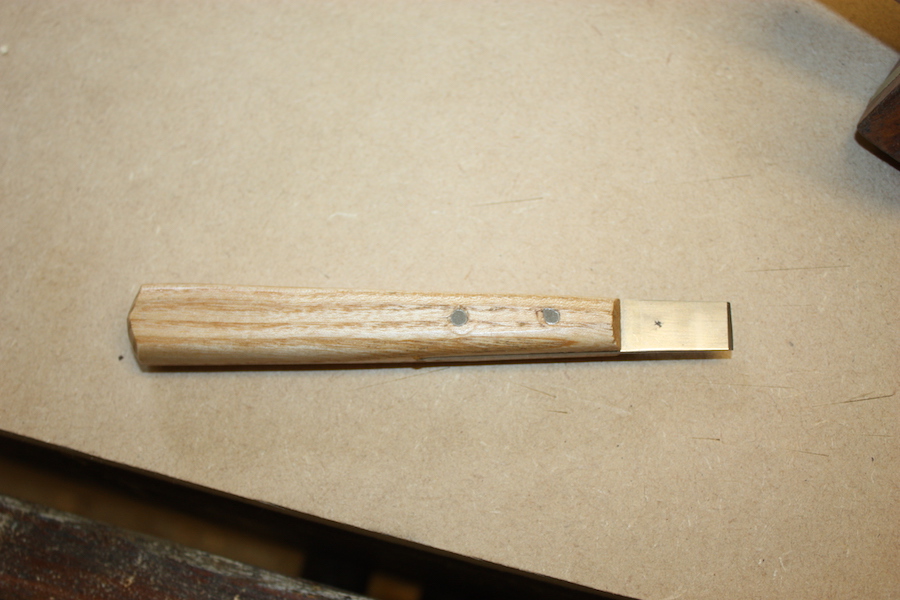
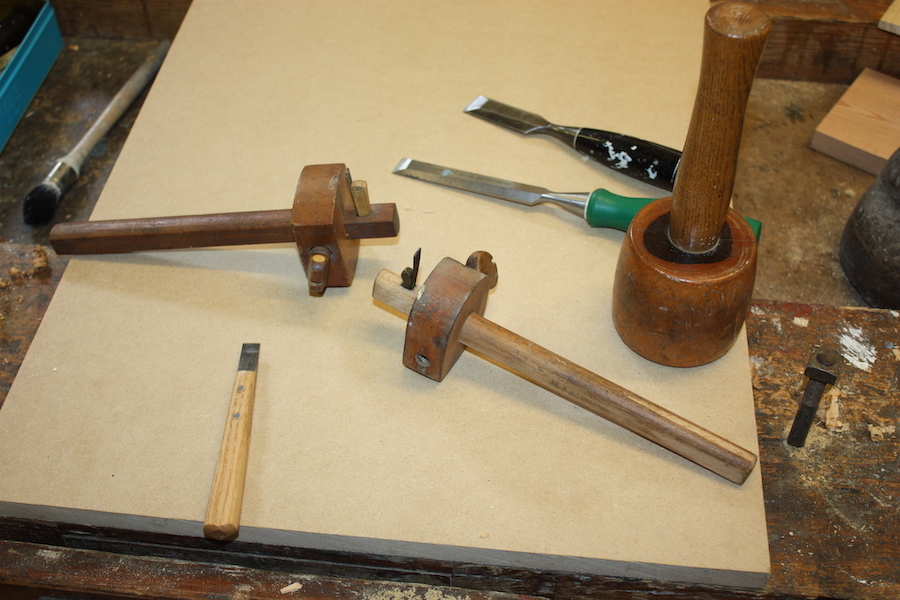
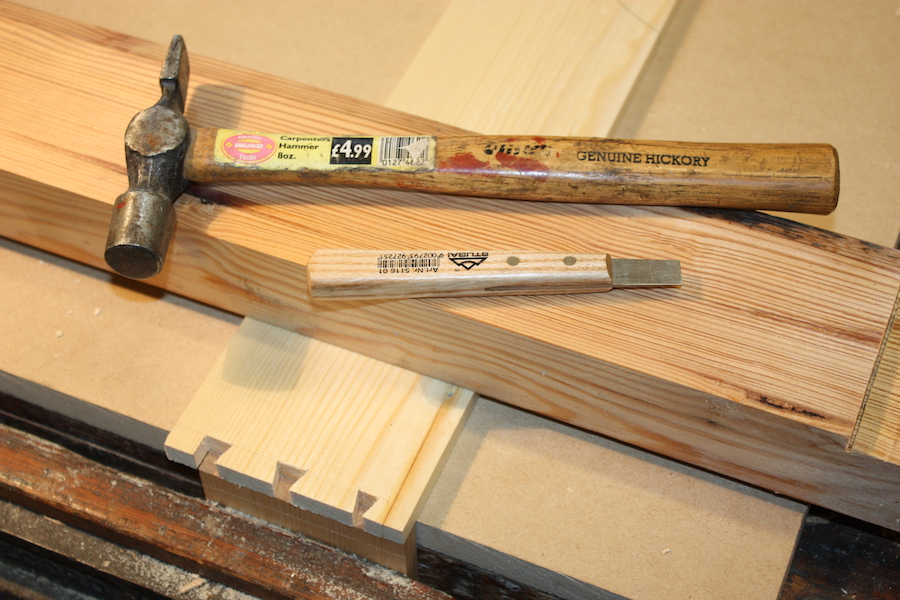
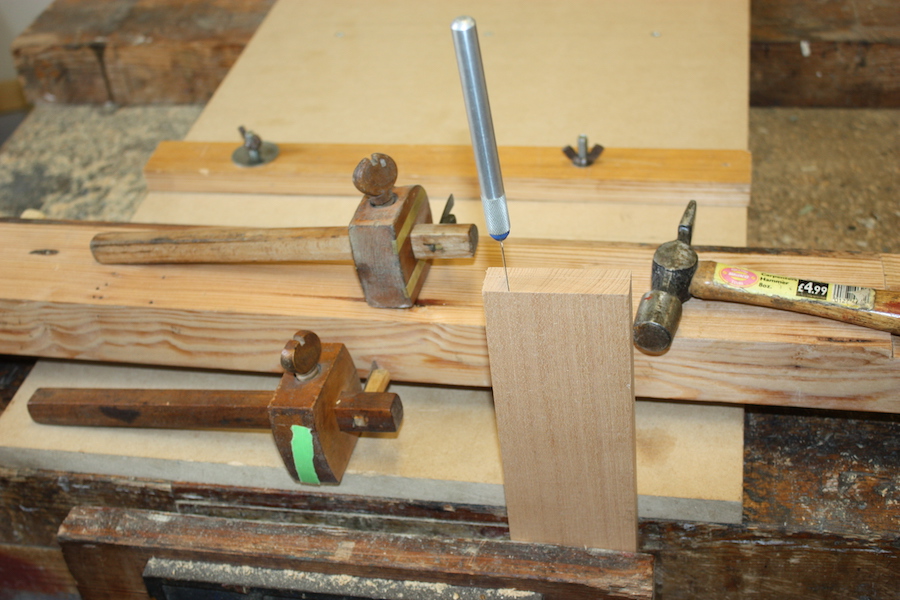
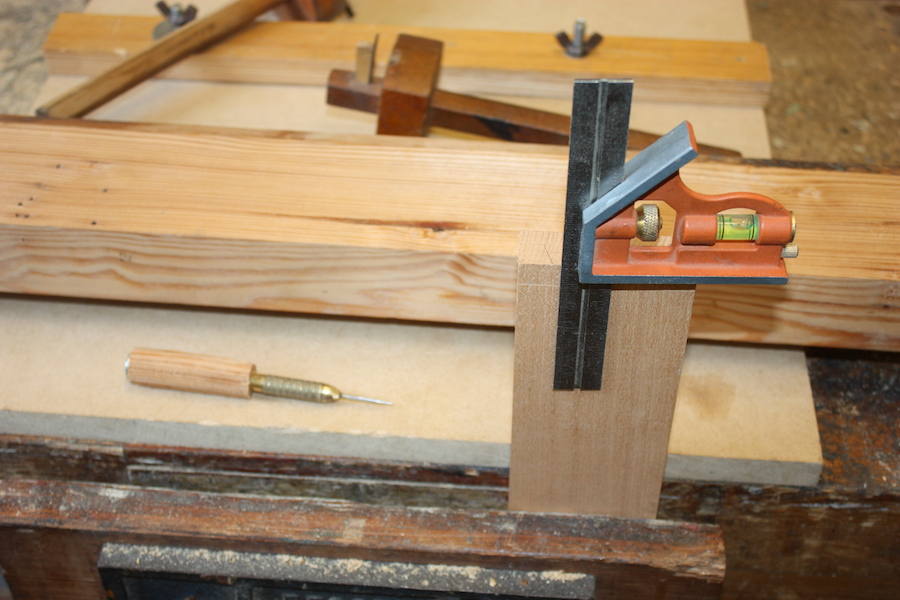
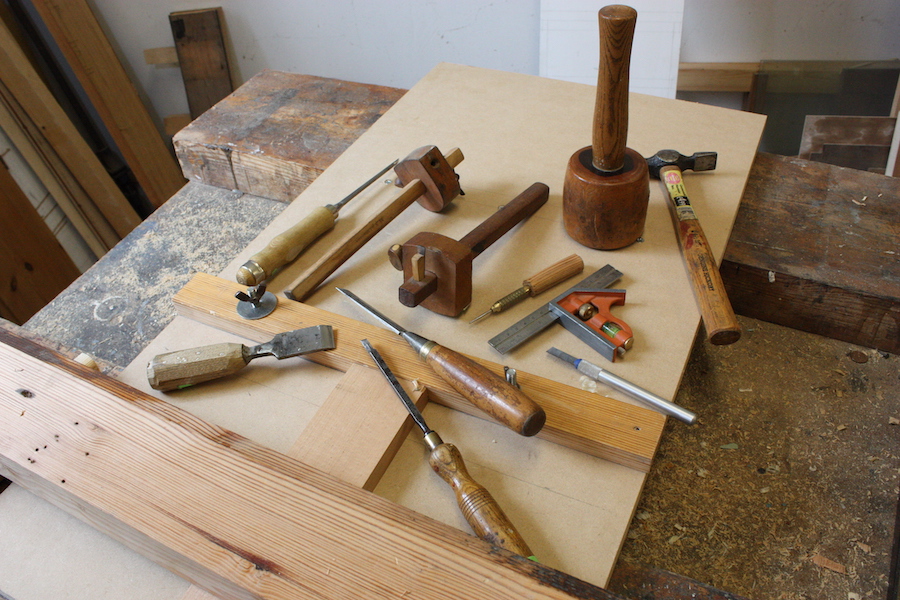
Vice is still free. Used here to mark up worpiece direct i.e. not from drawer side pin holes as this is just a demo. The ideal tool - a very thin chisel end craft knife. Little tap with hammer. Thin enough to go into single kerf tiny pinholes. Two cutting gauges - stay set throughout the job.
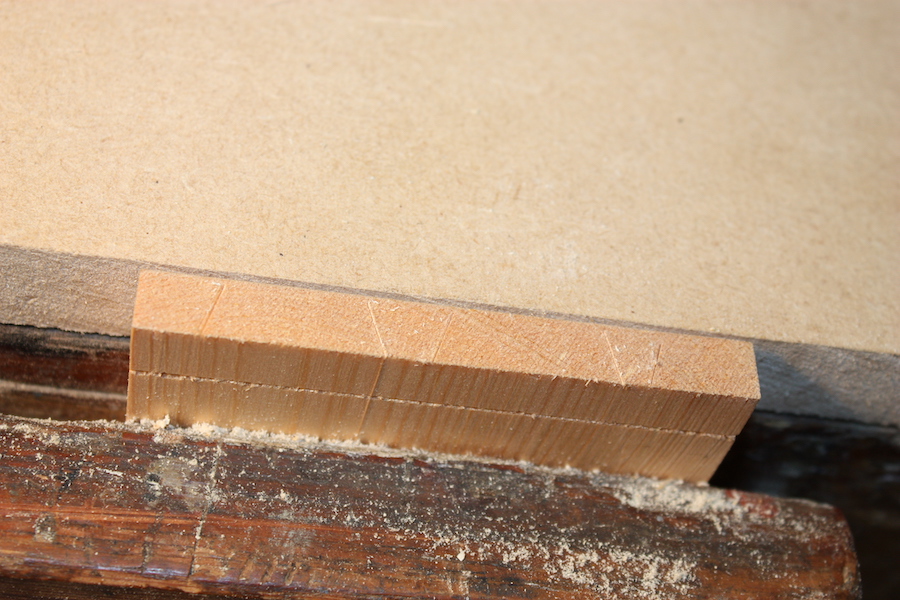
Scribing lines
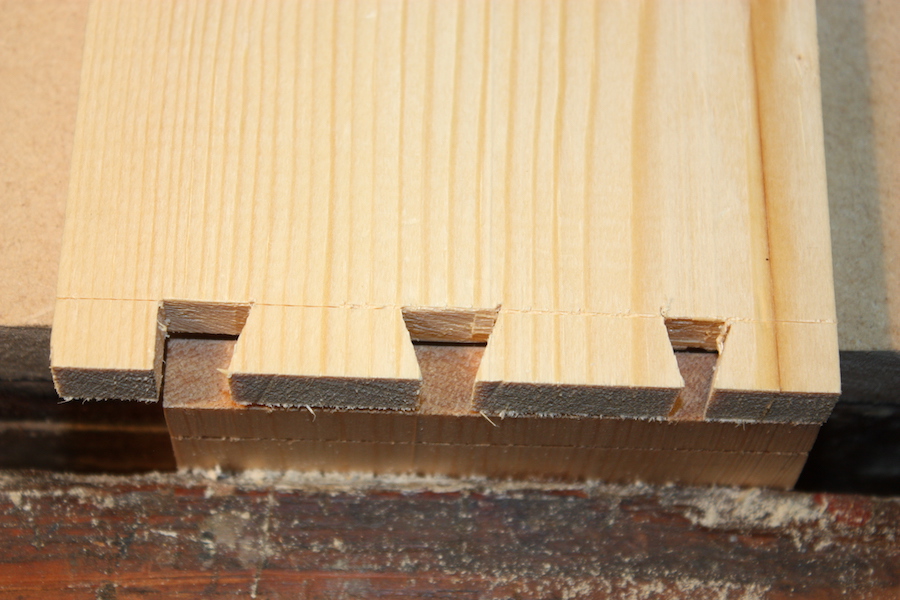
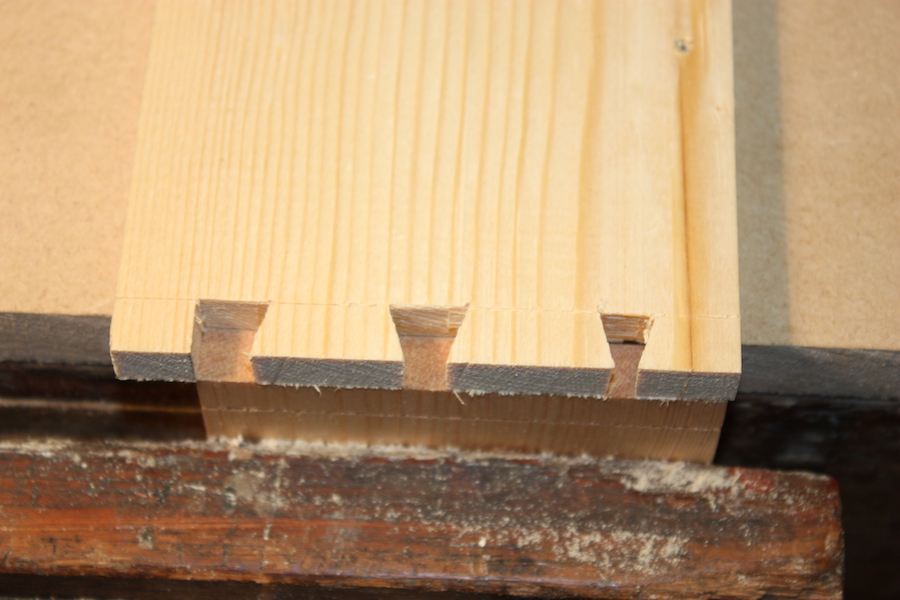
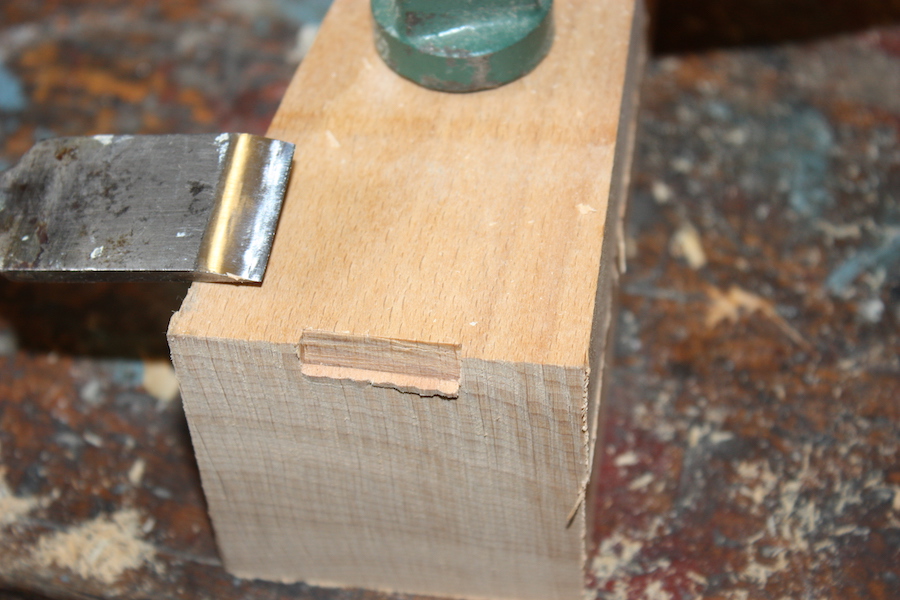
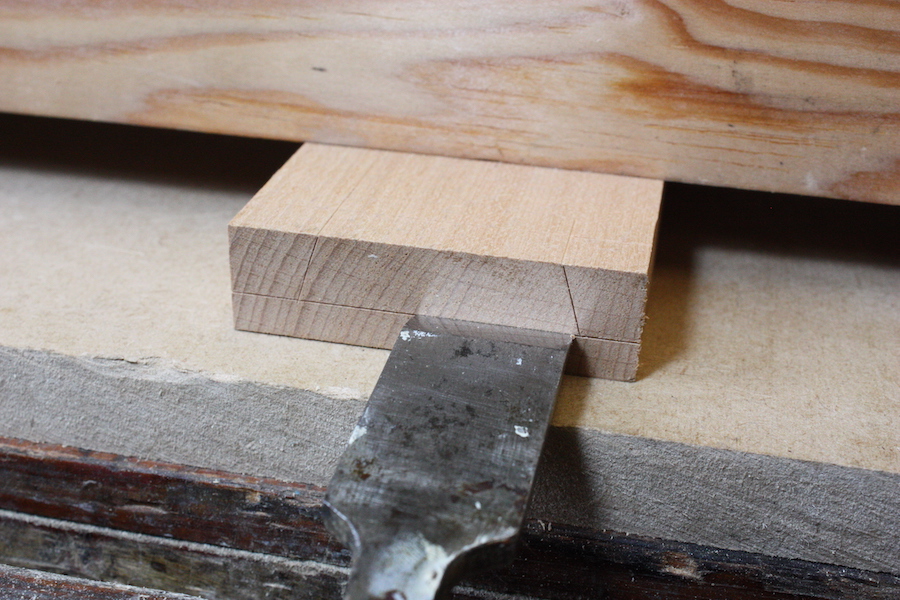
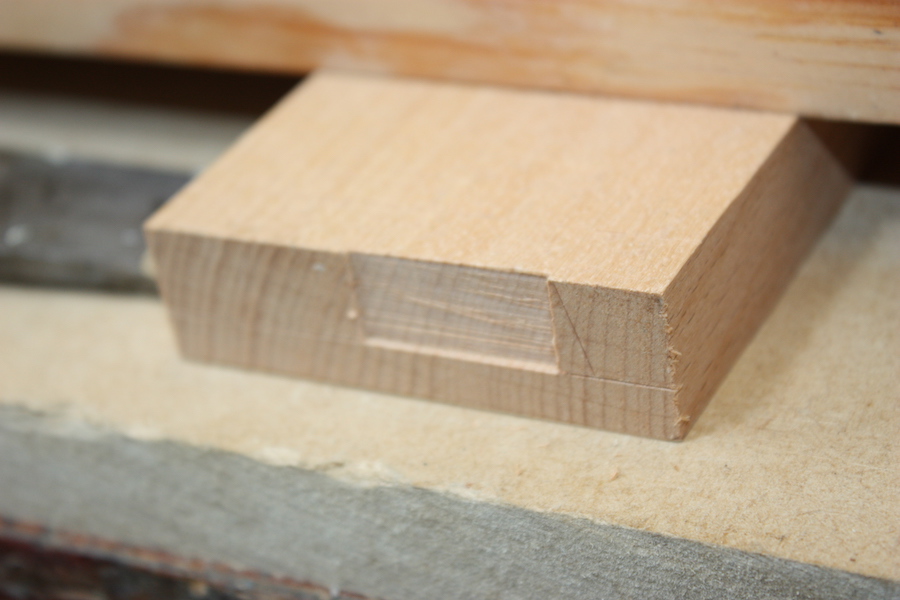
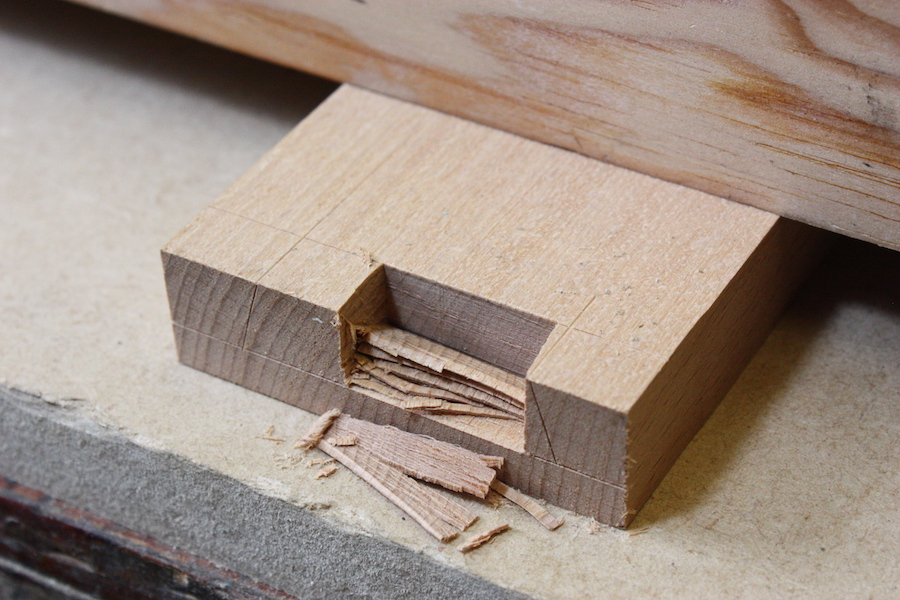
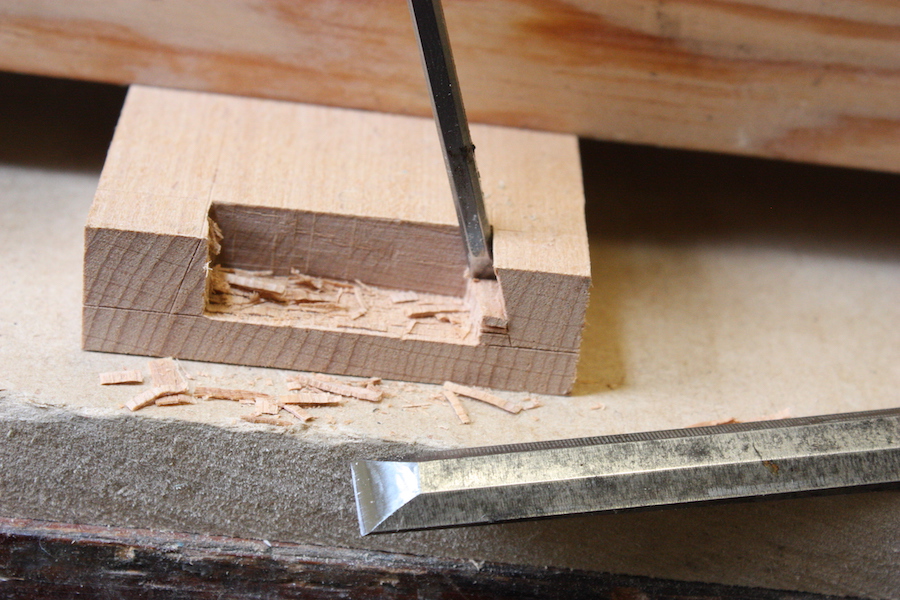
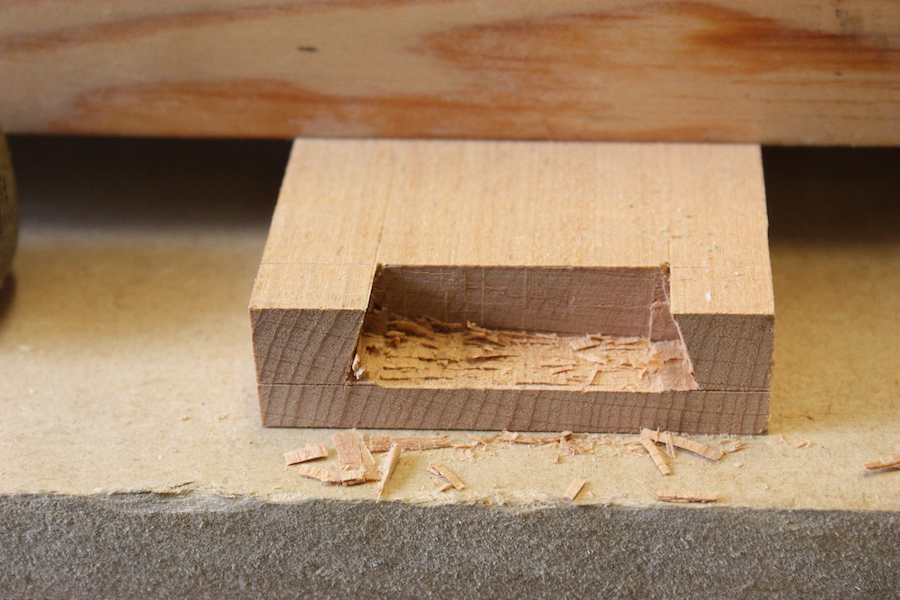
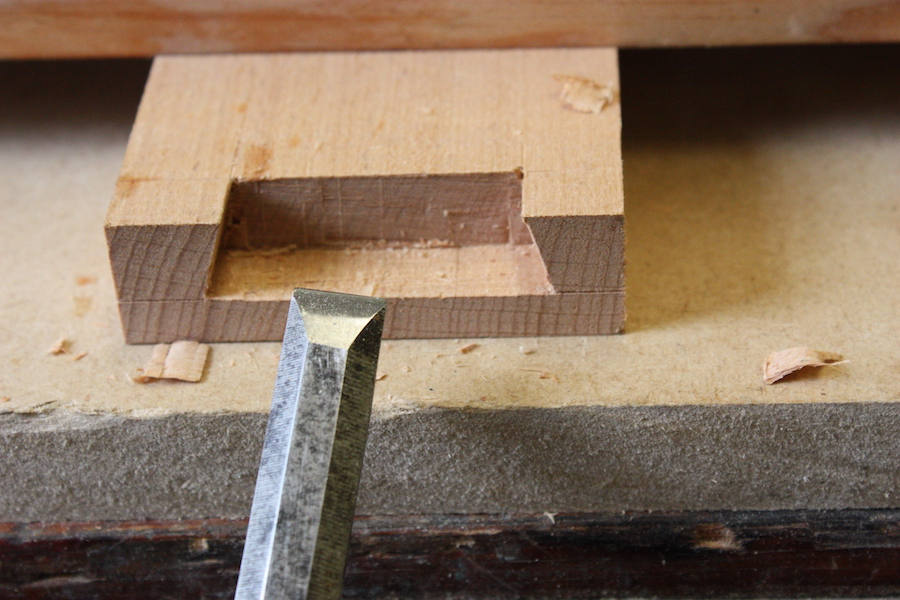
First cut - just a tap in the line to deepen it. Good reason for this - you want the waste to drop out neatly from the line on this first cut then you don't have to touch it again. The rest of the waste will follow pretty well but you can clean it up if necessary without having to rework to the line itself.
PS - these 4 photos above were my eureka moment on how to cut DT sockets. :lol:
NB just like cutting mortices which I already knew. :roll:
Then clean out corners with 10 and 4mm bevel edge chisels
Tidy up
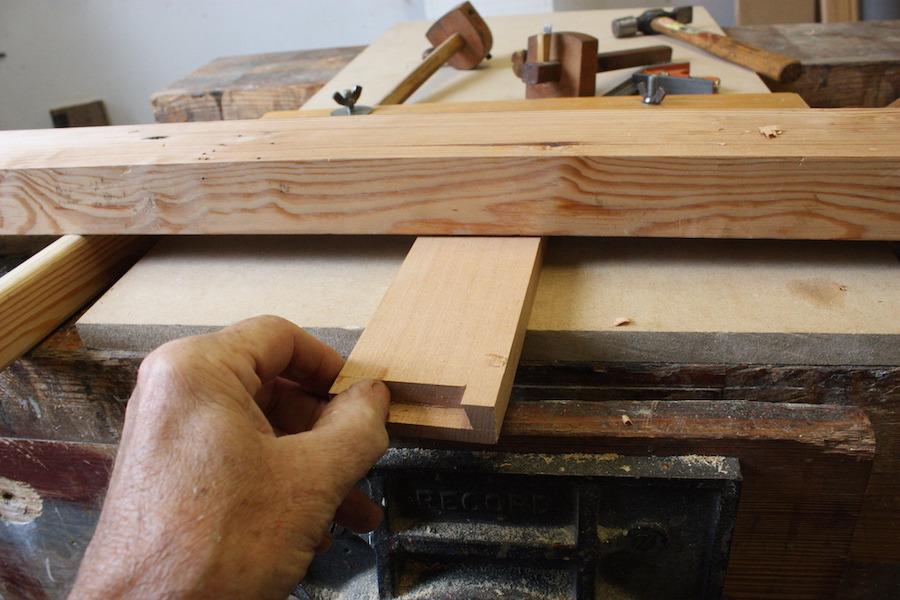
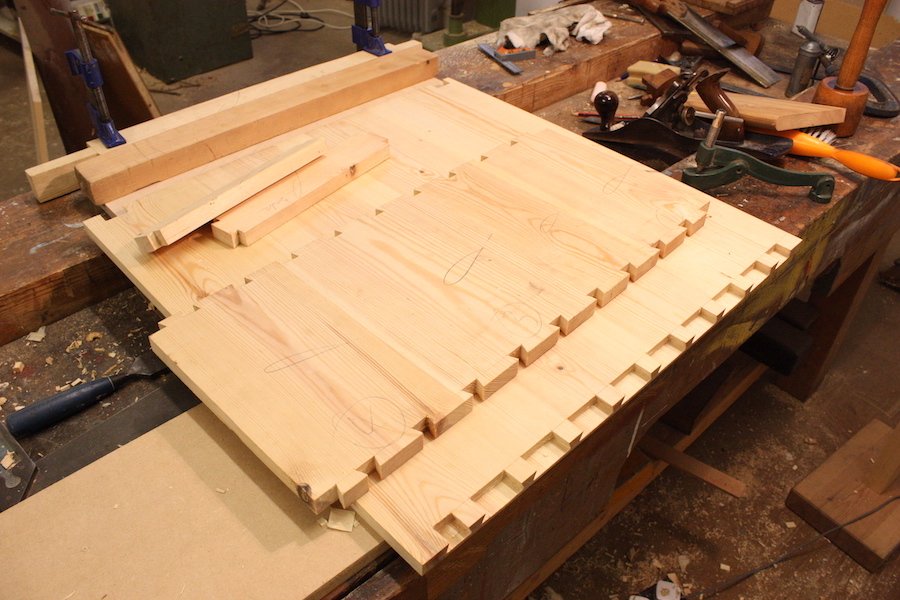
At this point you can trial fit the side piece - no need to remove the workpiece yet, adjustments made in situ. One I did earlier:
Release workpiece with quick flip of the wrist
The whole set up
With seat and lamp
PS just noticed I forgot to do any saw cuts. Didn't miss them! Learn something new every day!
The chisel was a little nub end of a 1" firmer. Firmer better for wedging out the waste, like a mortice chisel. Bevel edge only for when you need to get into corners.
Short chisel handy if you are working from a sitting position. If too difficult (Jarrah?) a narrower chisel would be better - a mortice chisel even.
PPS for me the point of this set up is that it is easier and faster than my other ad hoc earlier set ups. This means you have more time to achieve perfection if that's what you want, though 'just good enough' is good enough for me as a rule.
You could use a router by setting the clamp beam at the right spacing to guide the router. I might try that next time, especially for multiple blind DTs along a chest side, but I wanted to get up to speed with hand tools only.


